Mid-Century Modern Cabinet
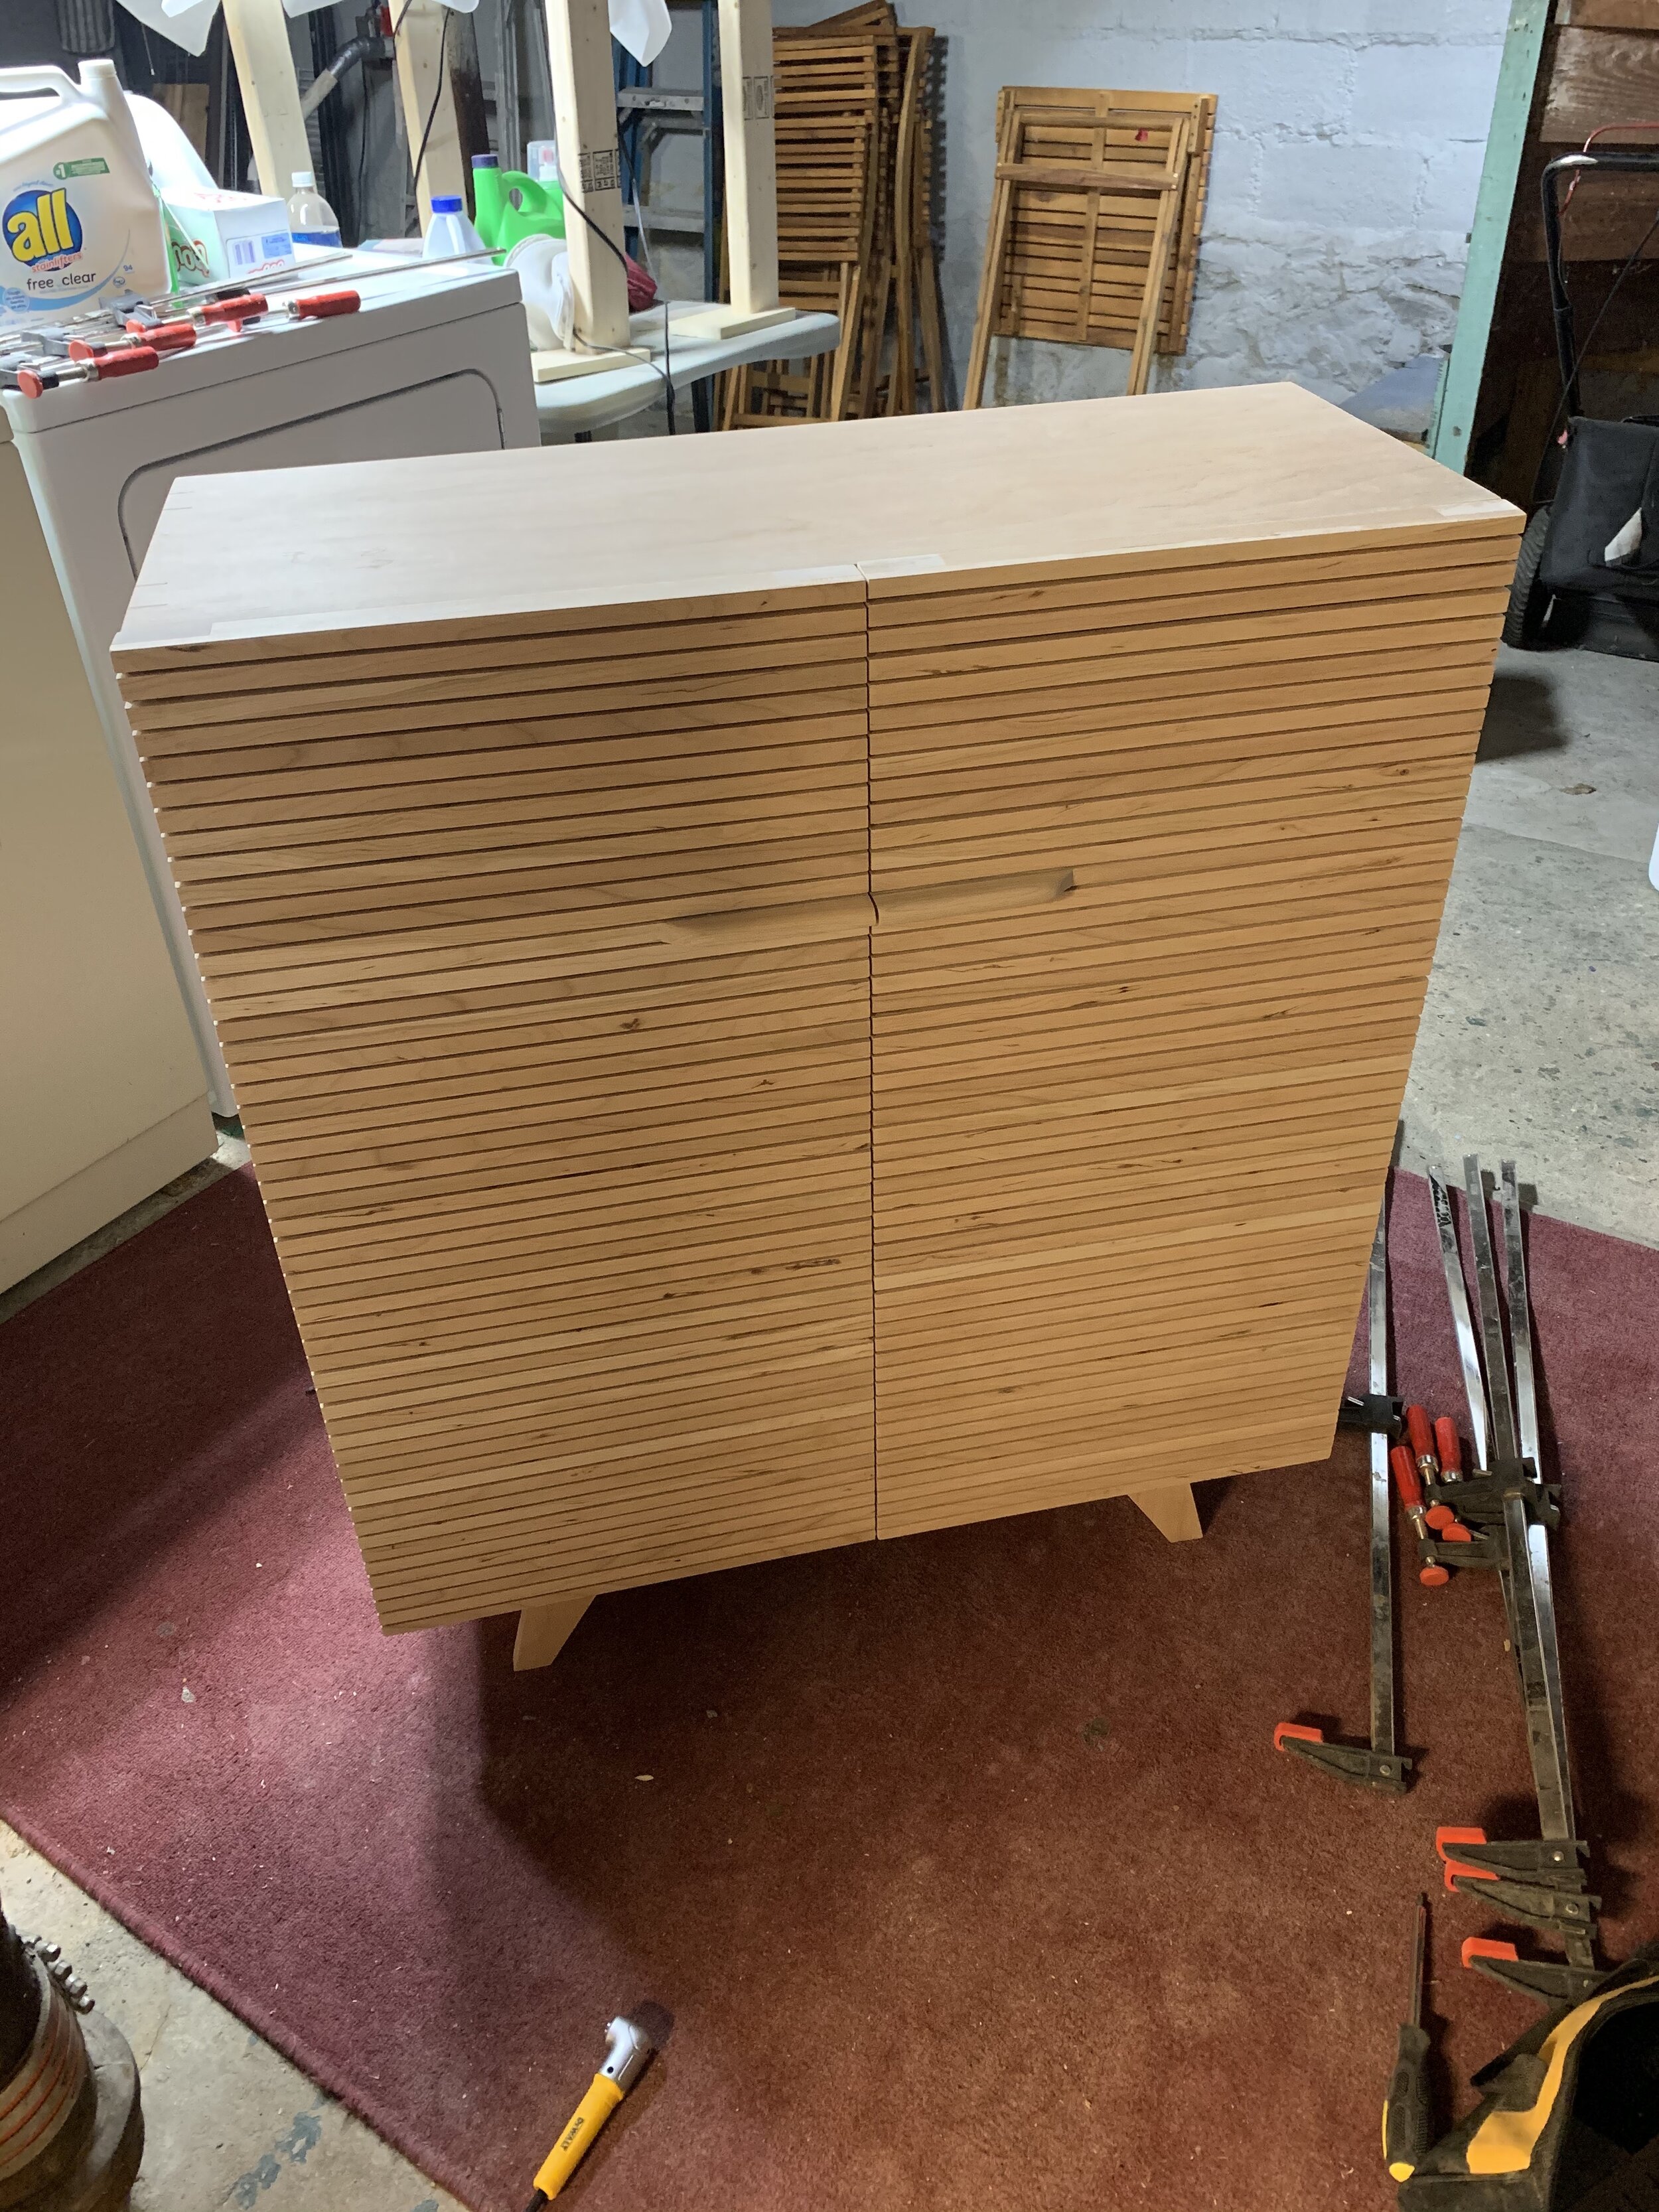
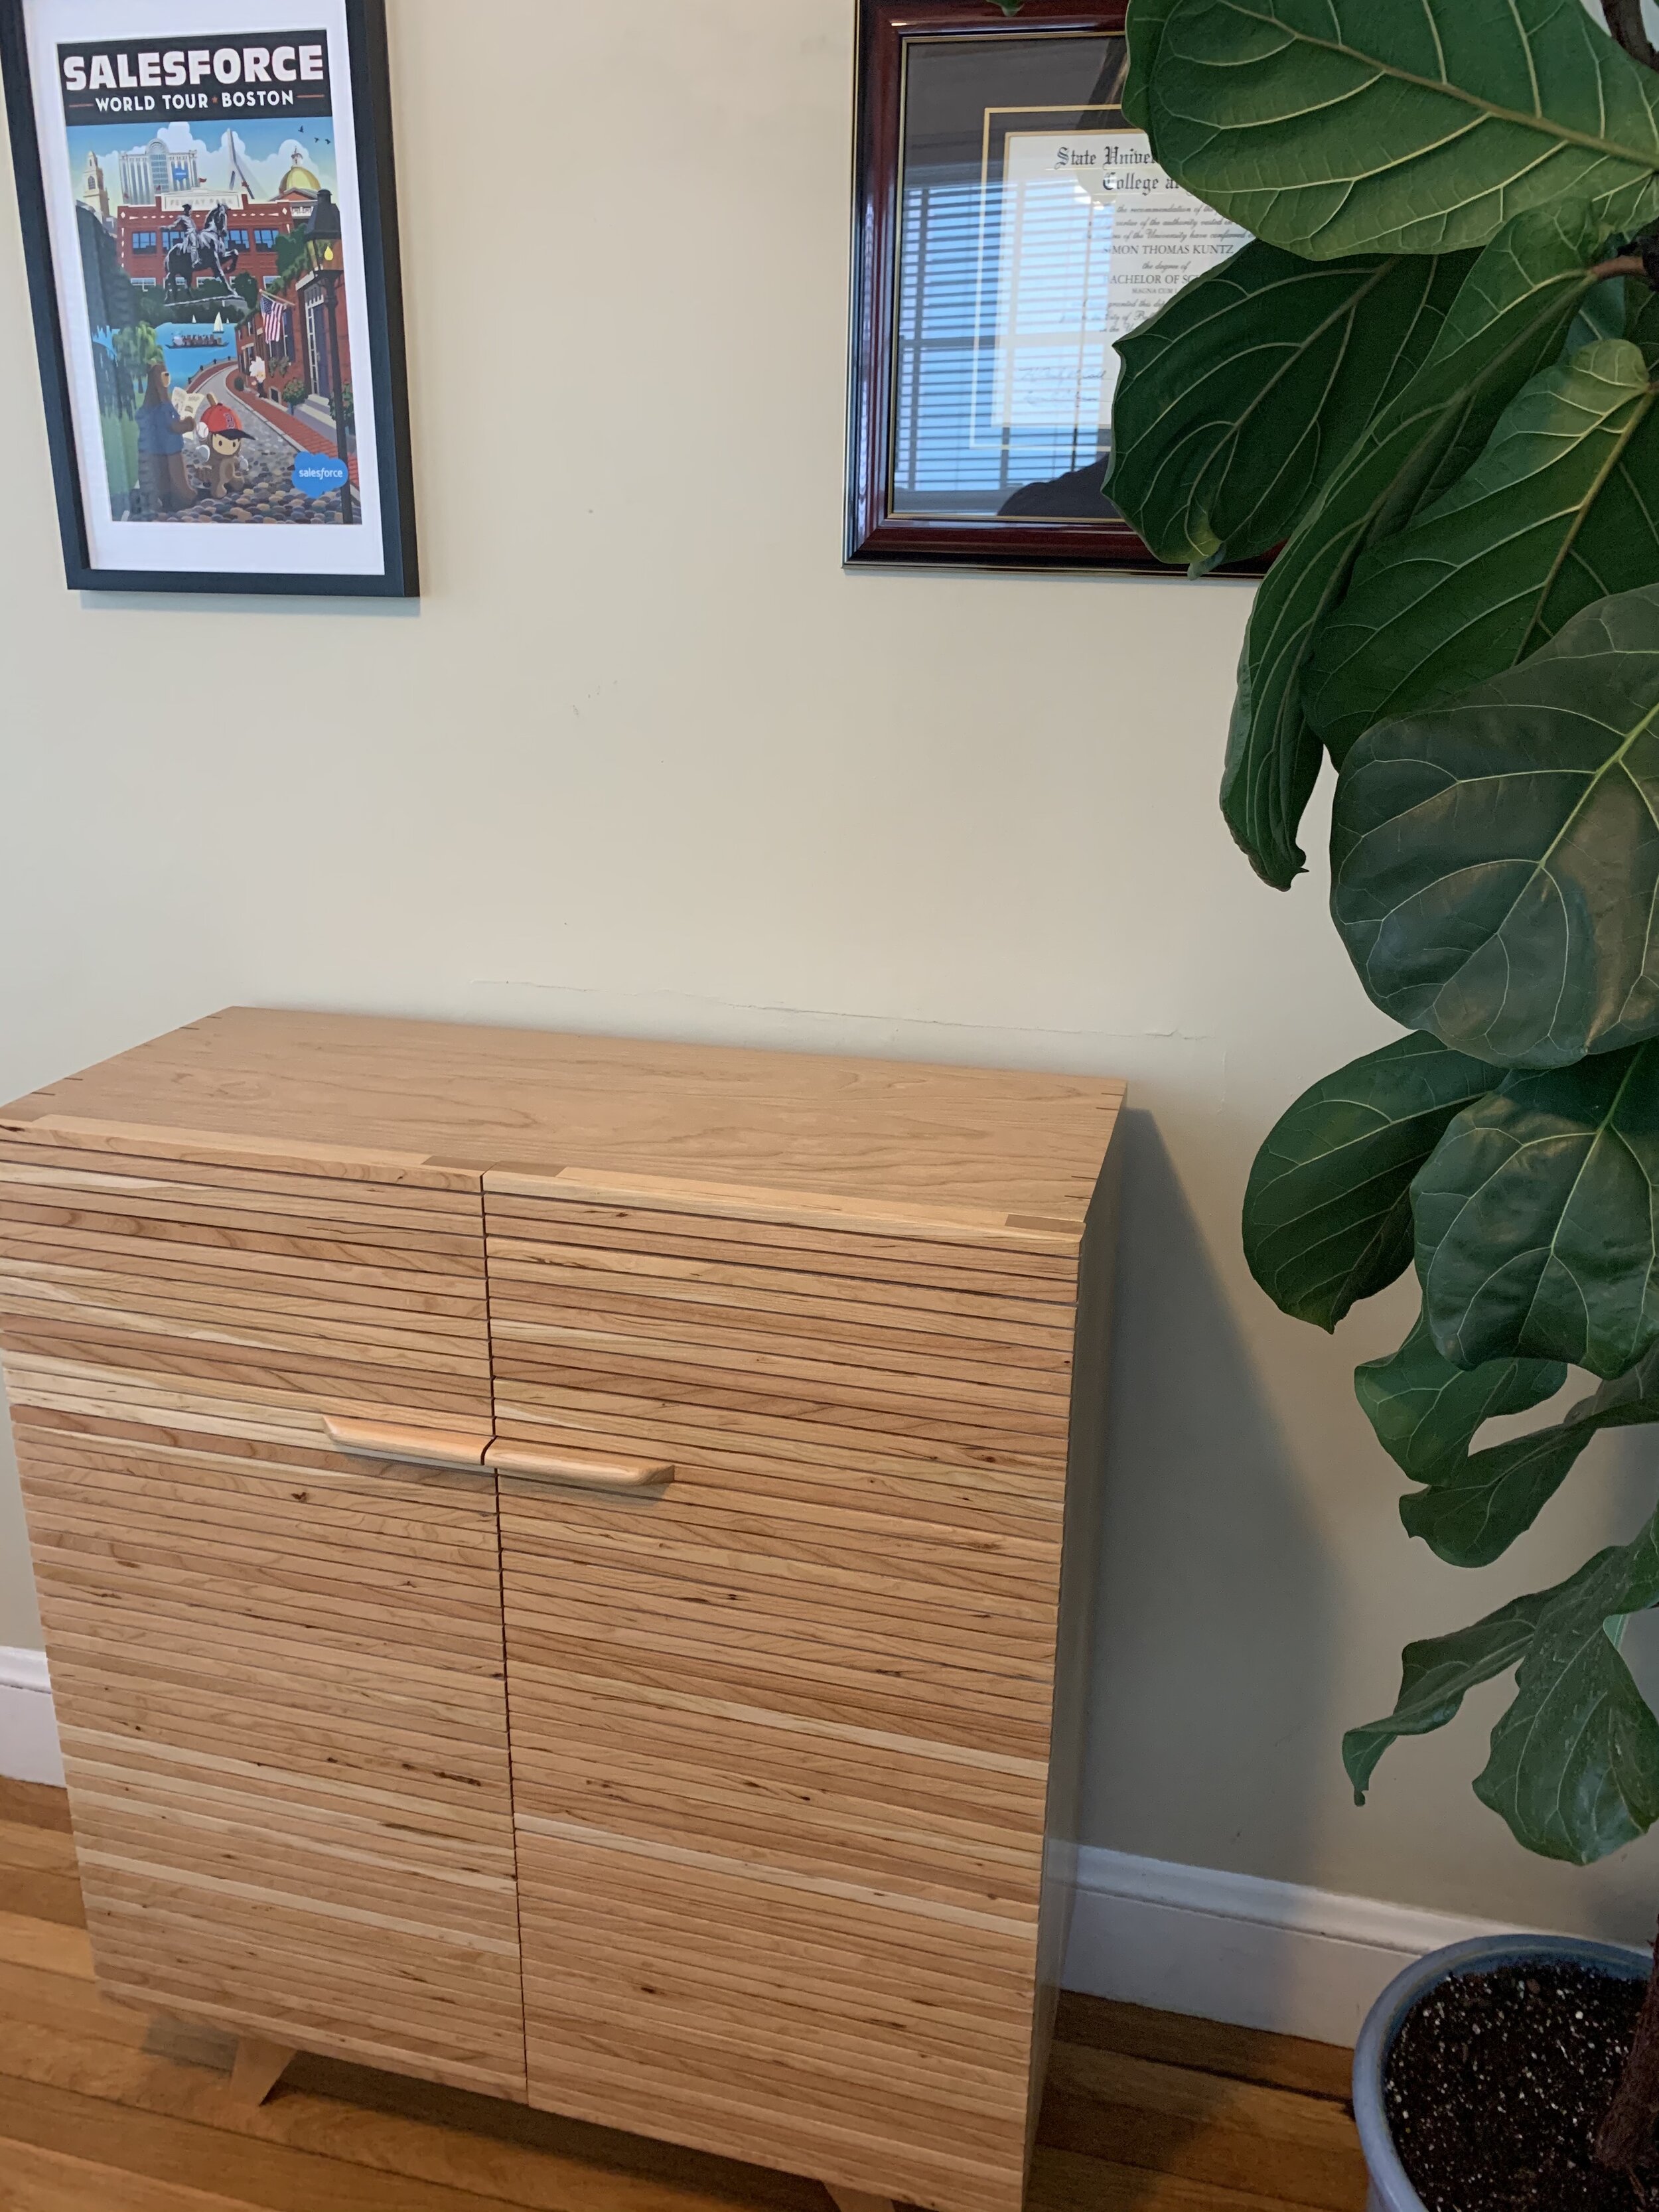
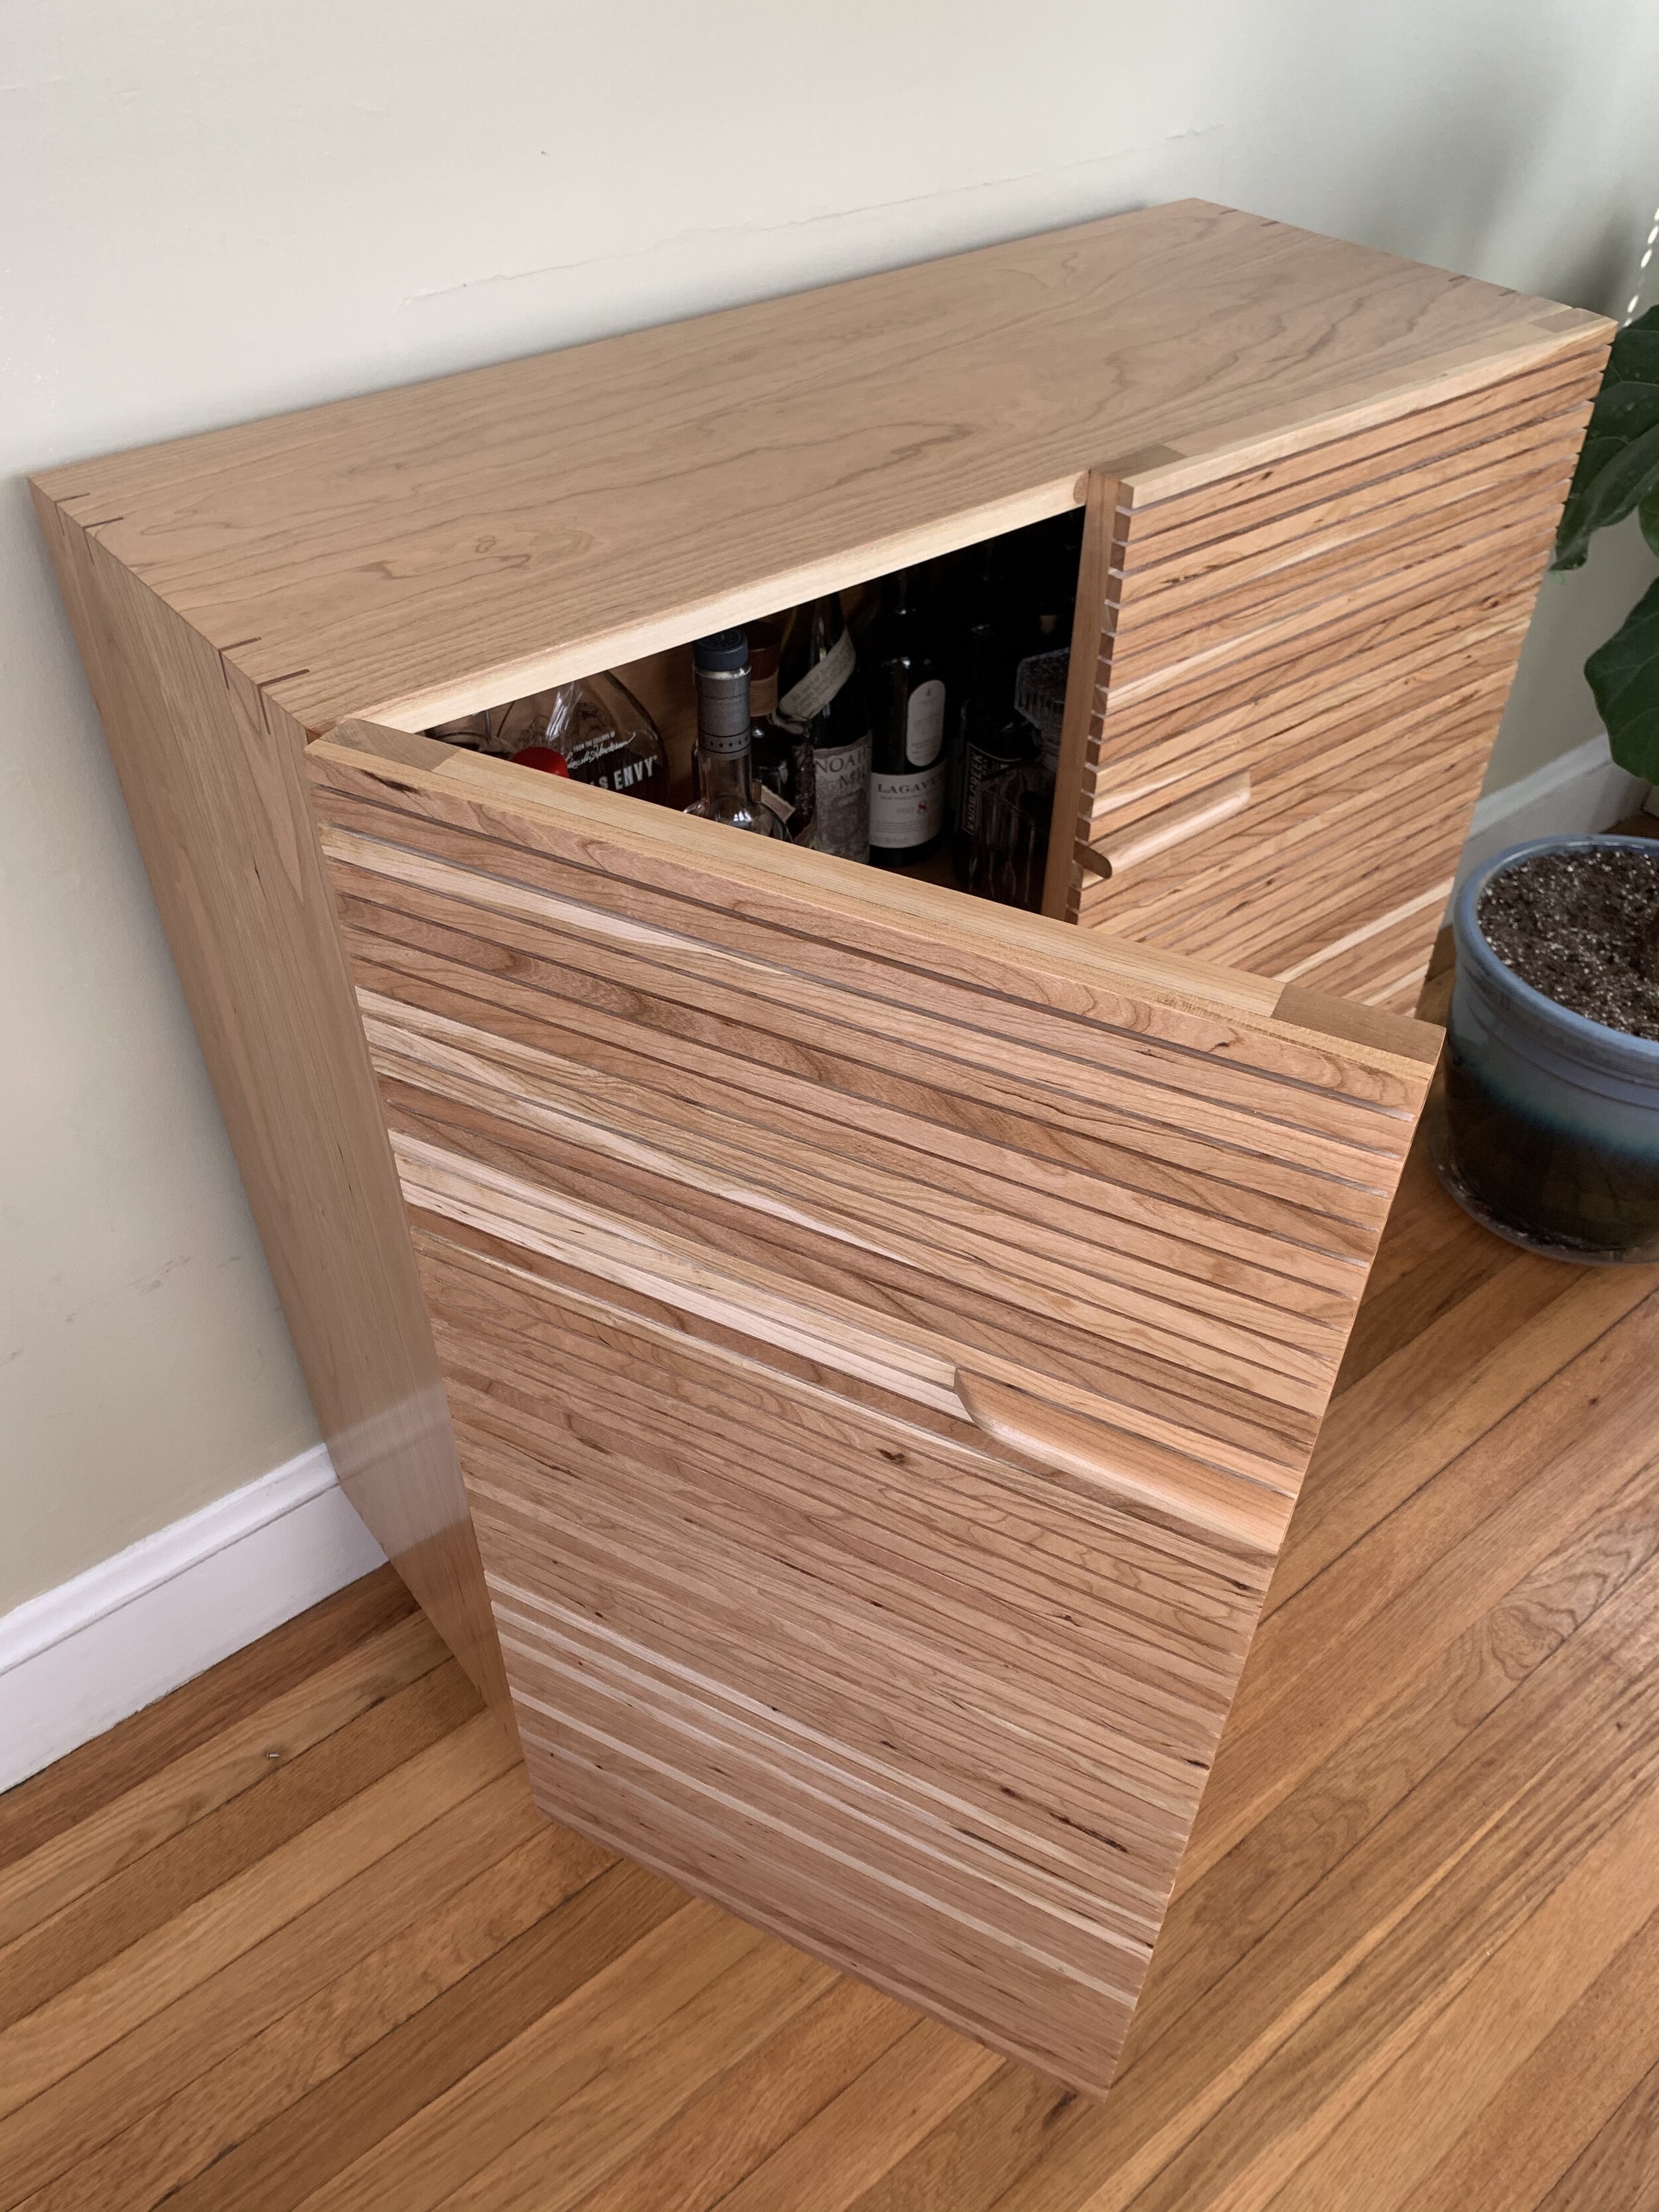
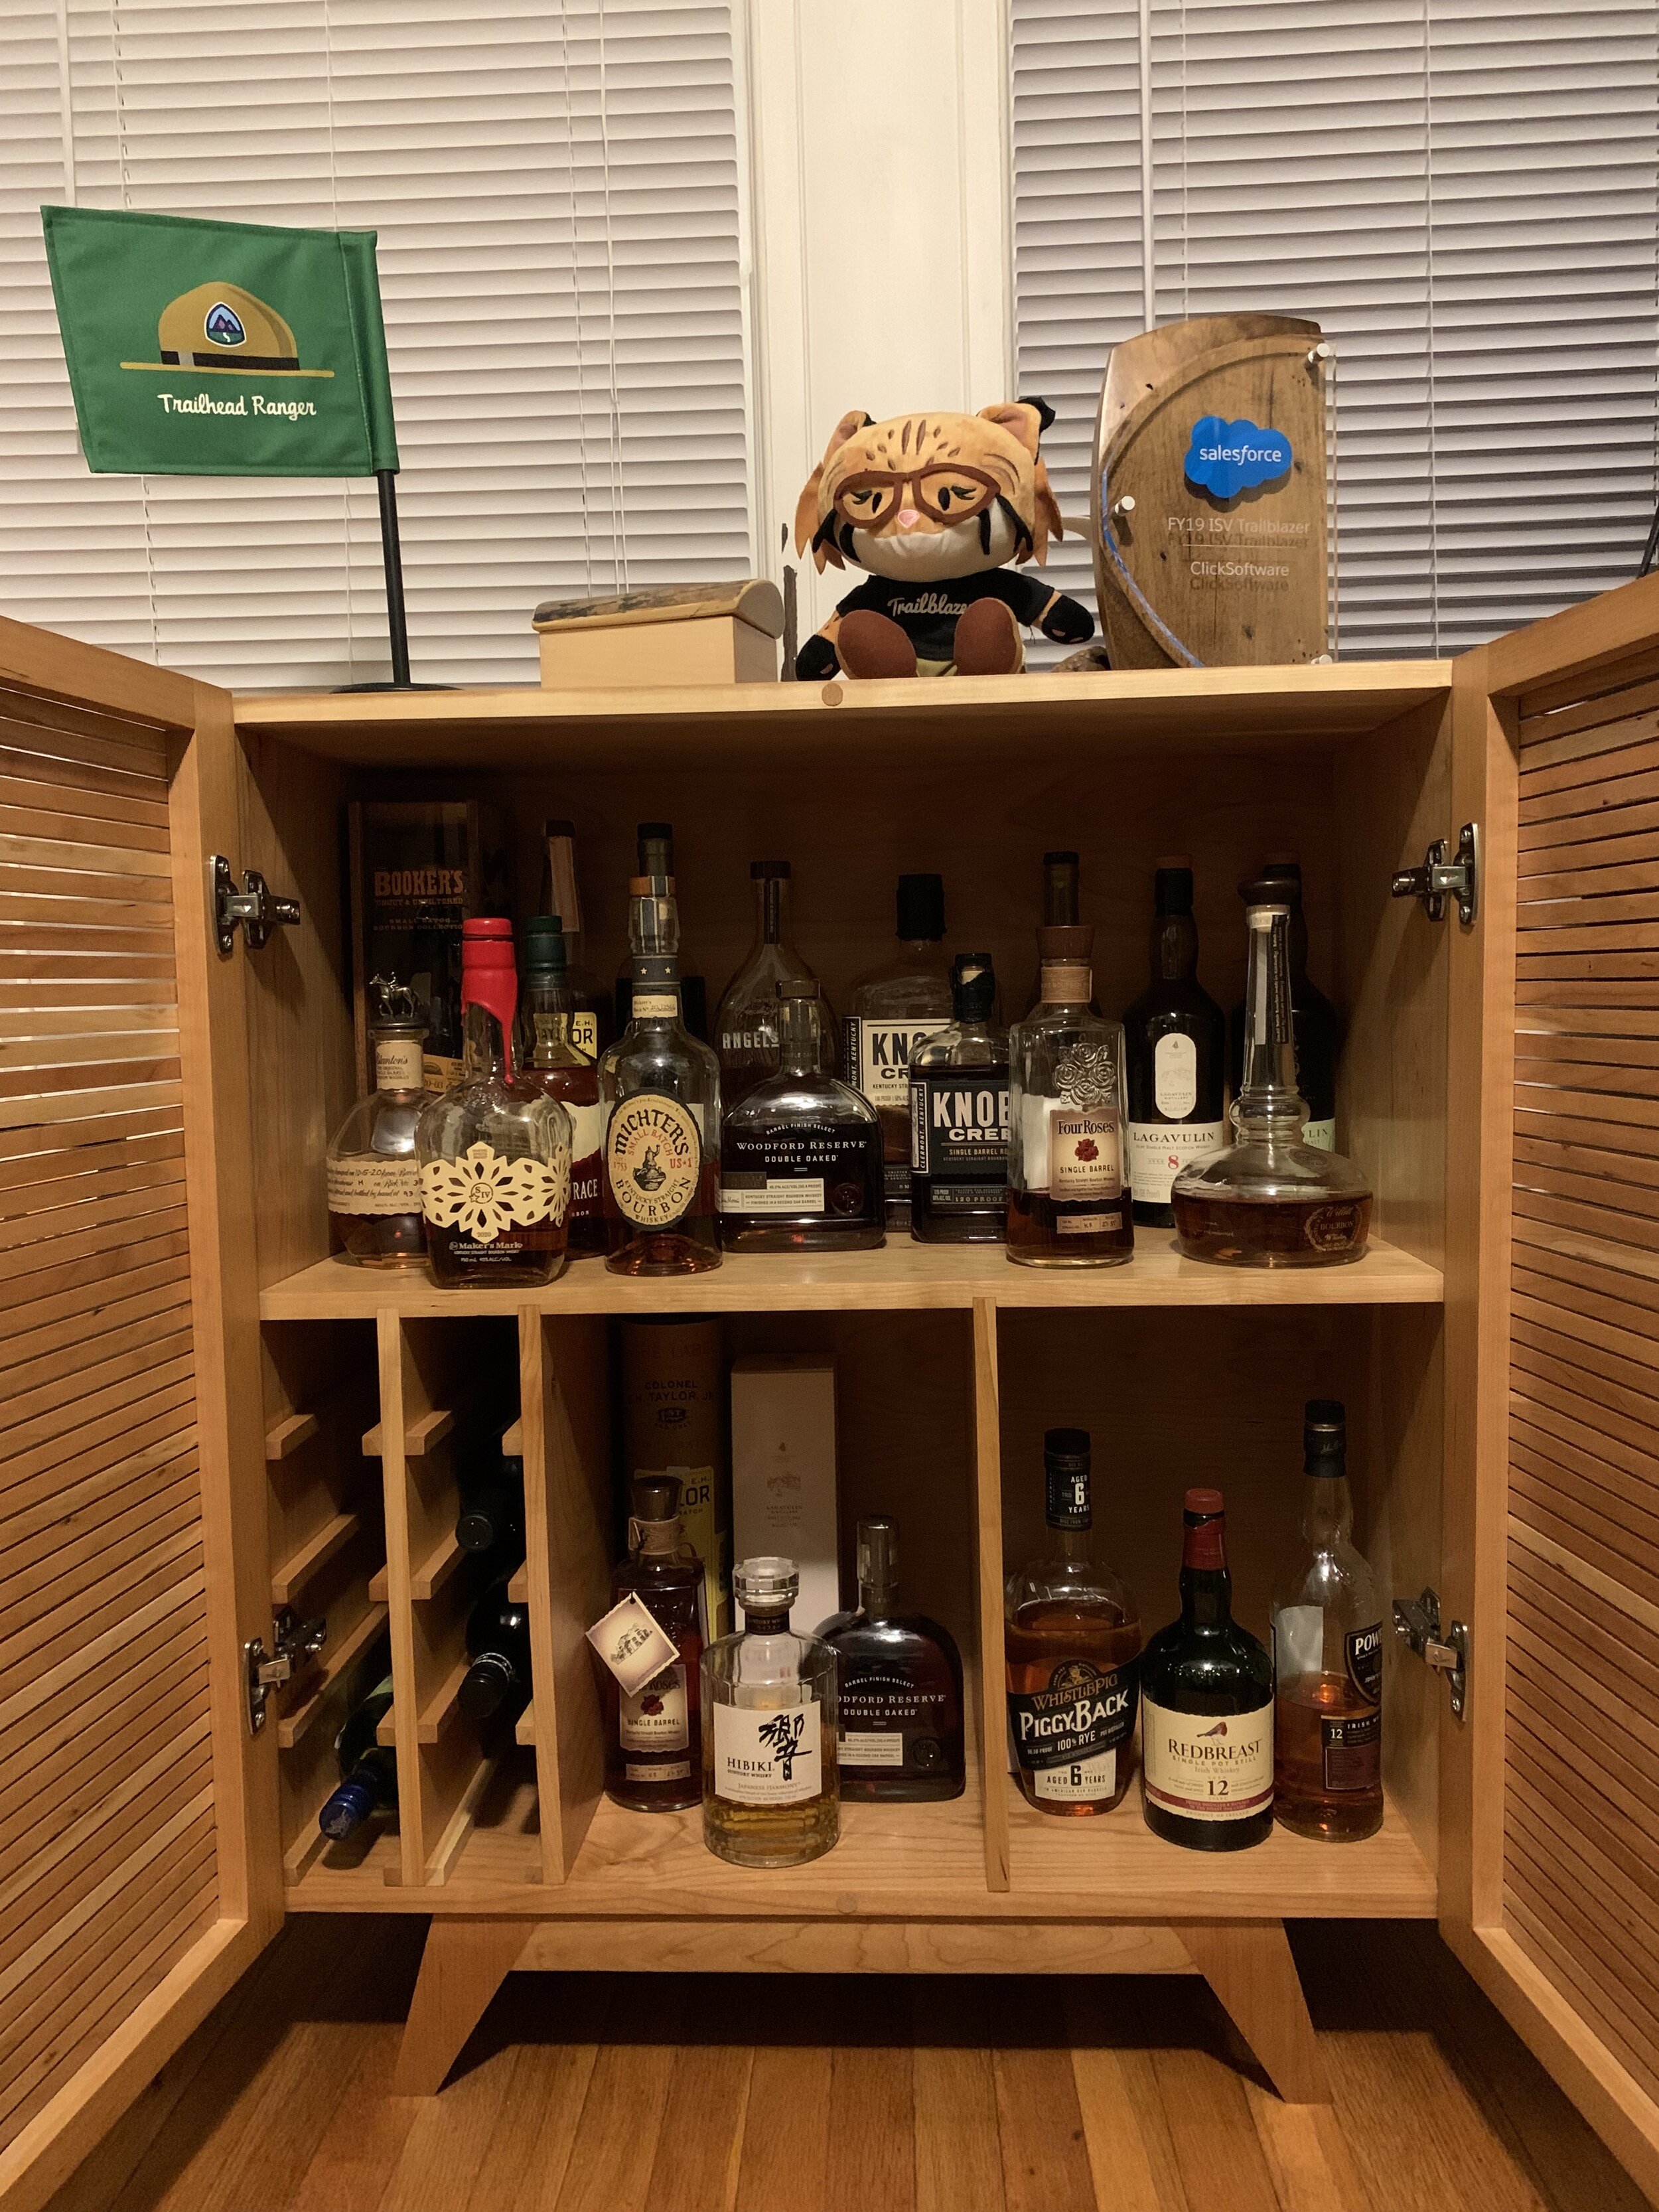
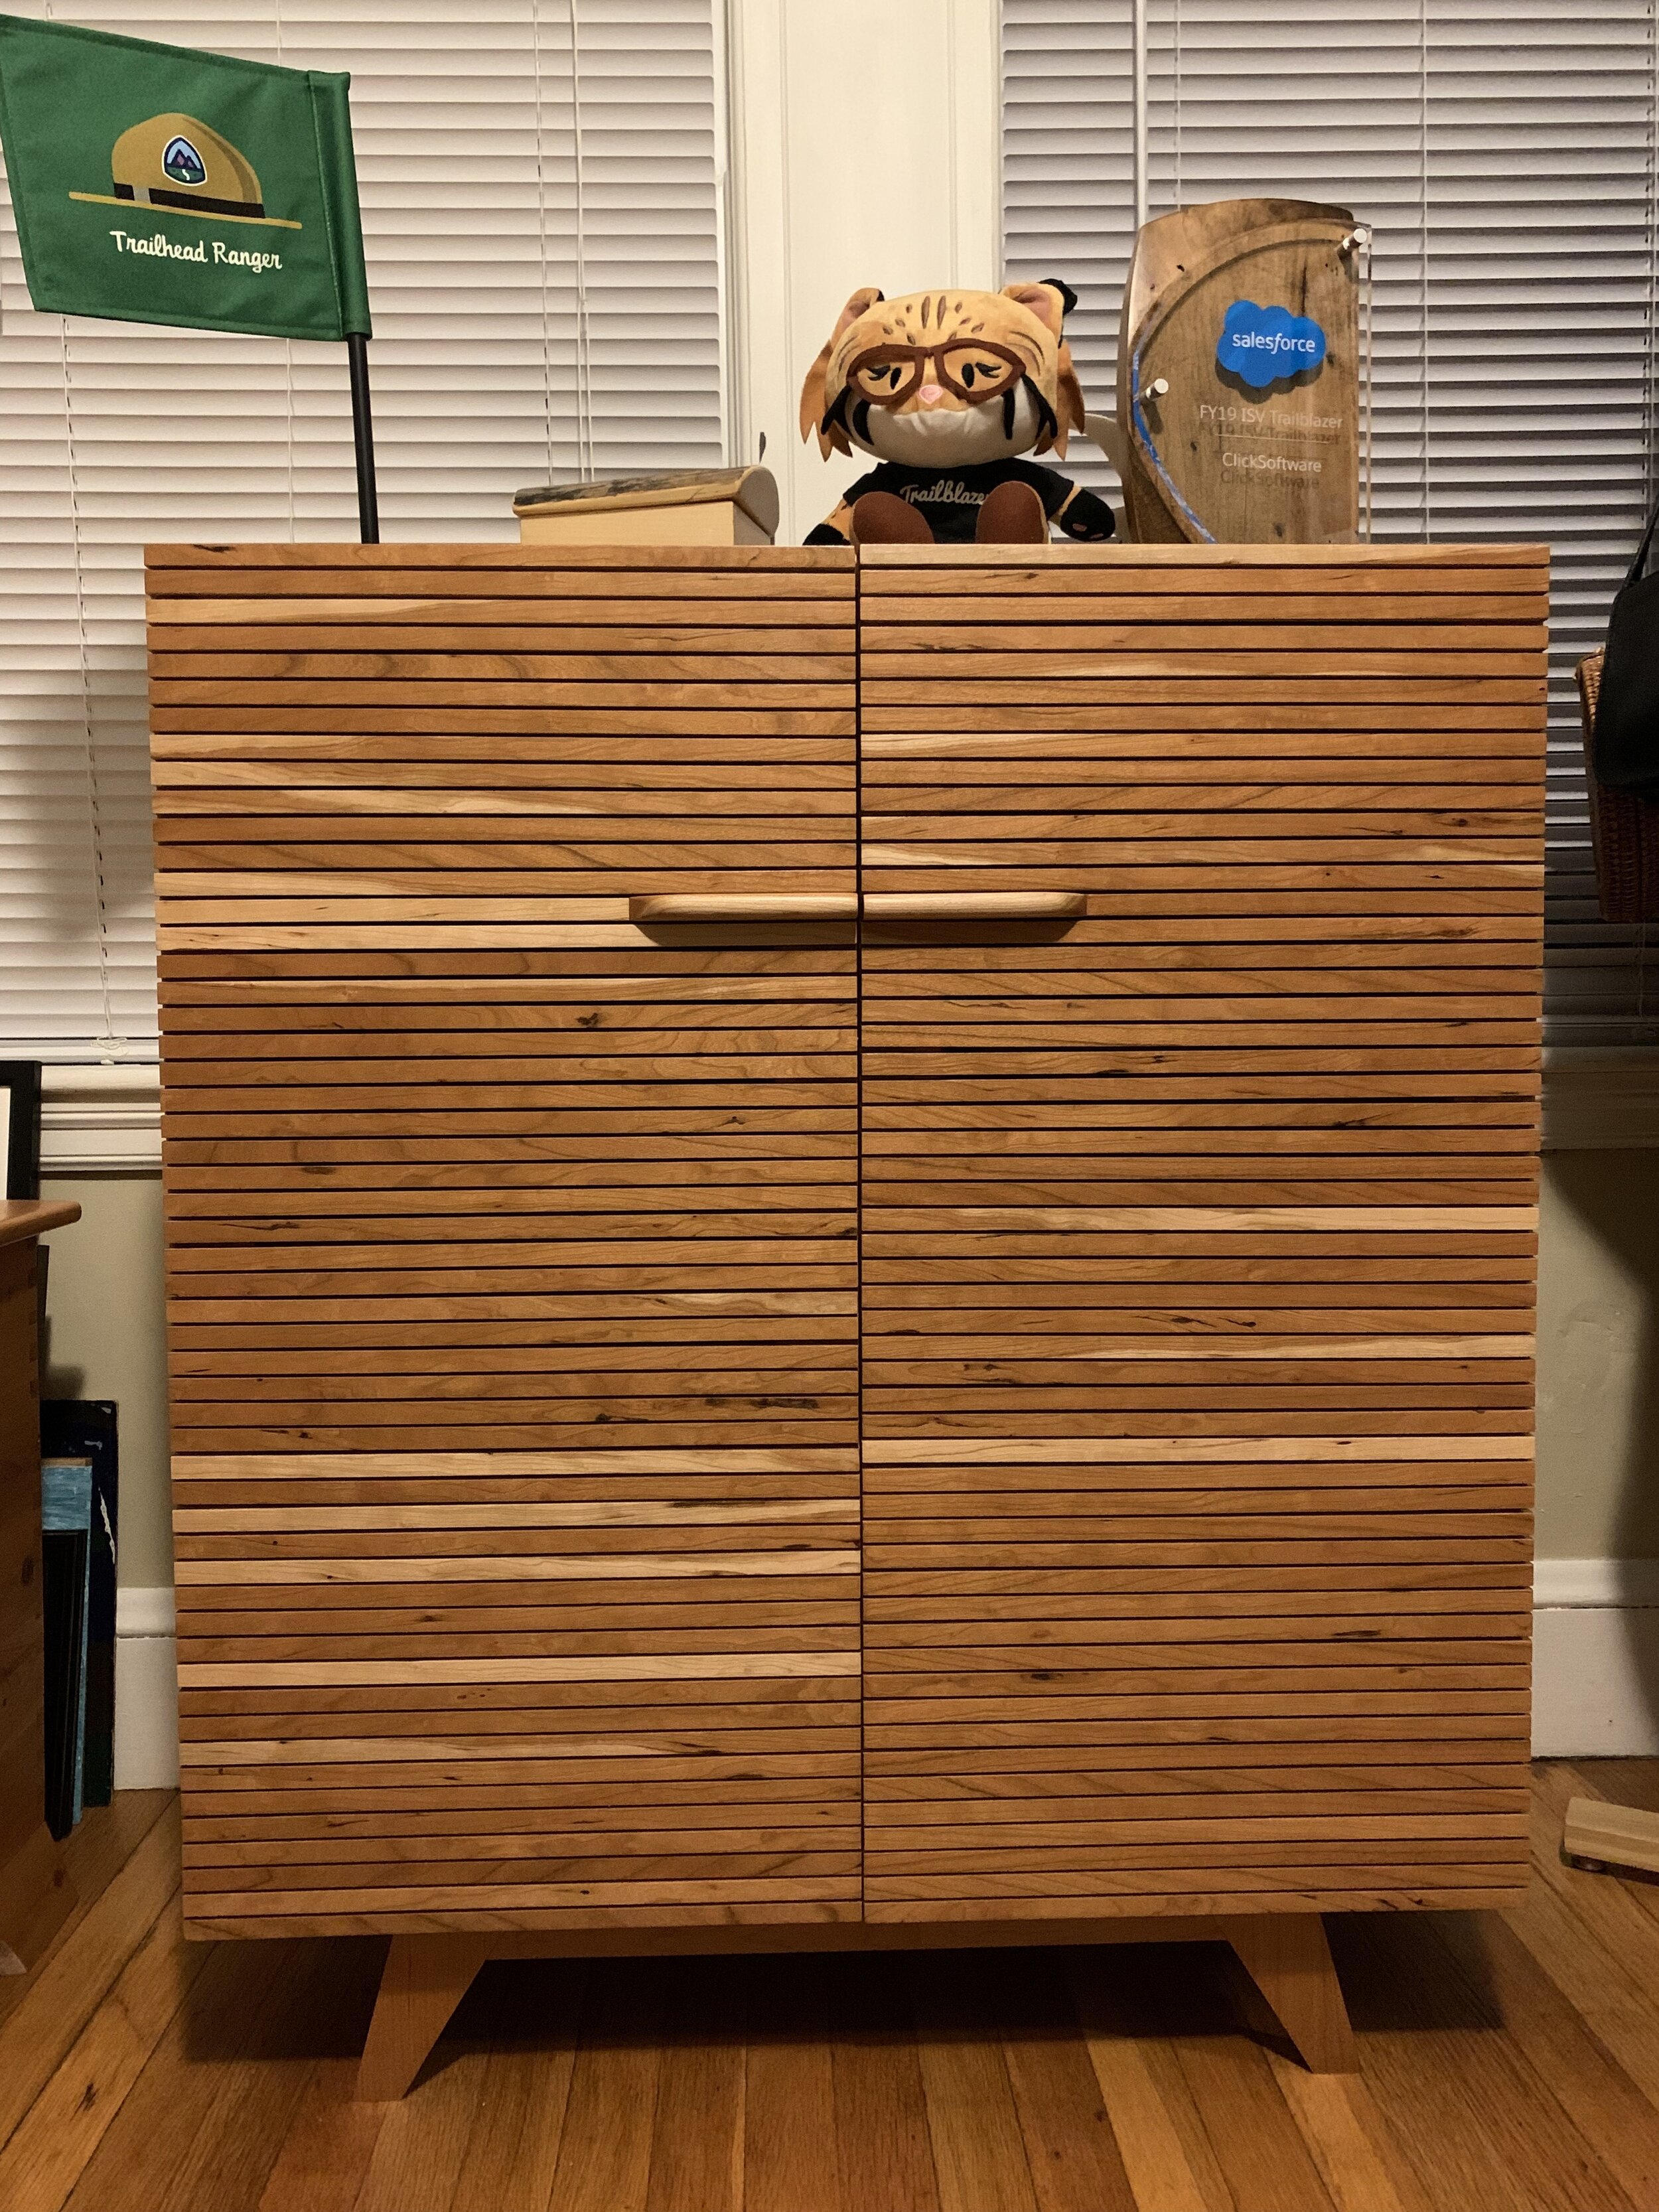
This is a mid-century modern inspired whiskey cabinet I made out of Cherry.


Project Story
Building the Cabinet Shell
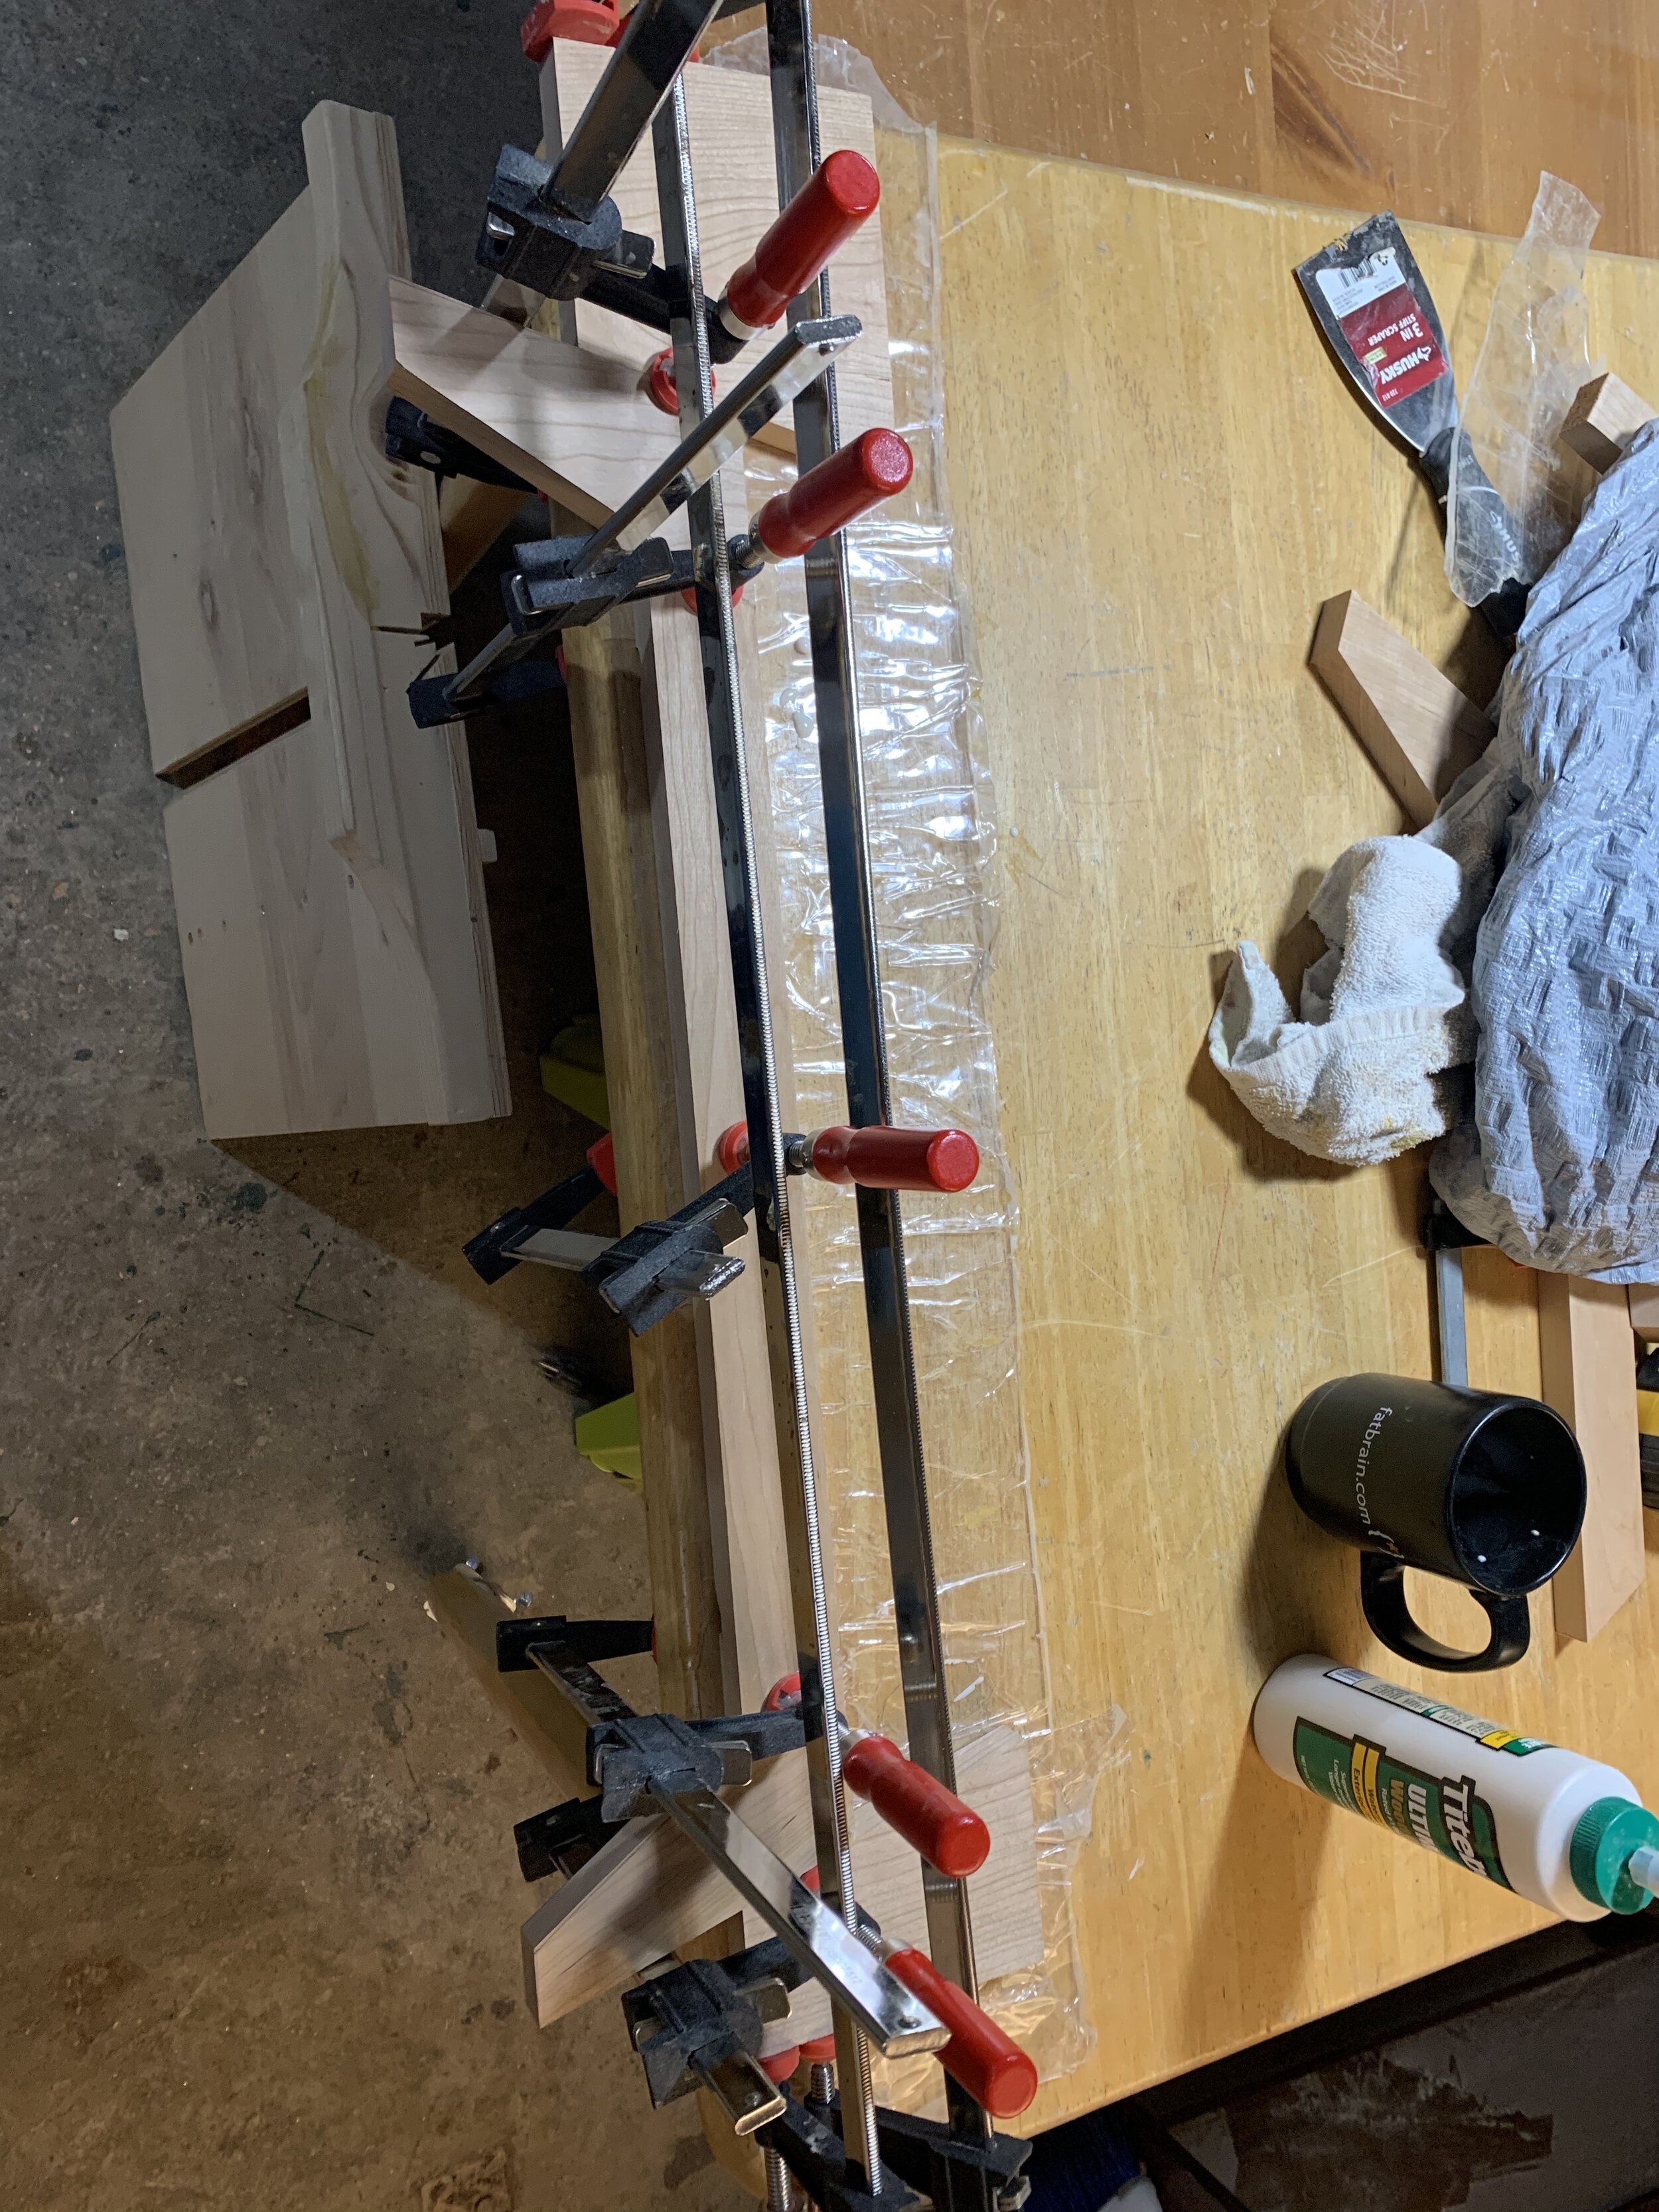
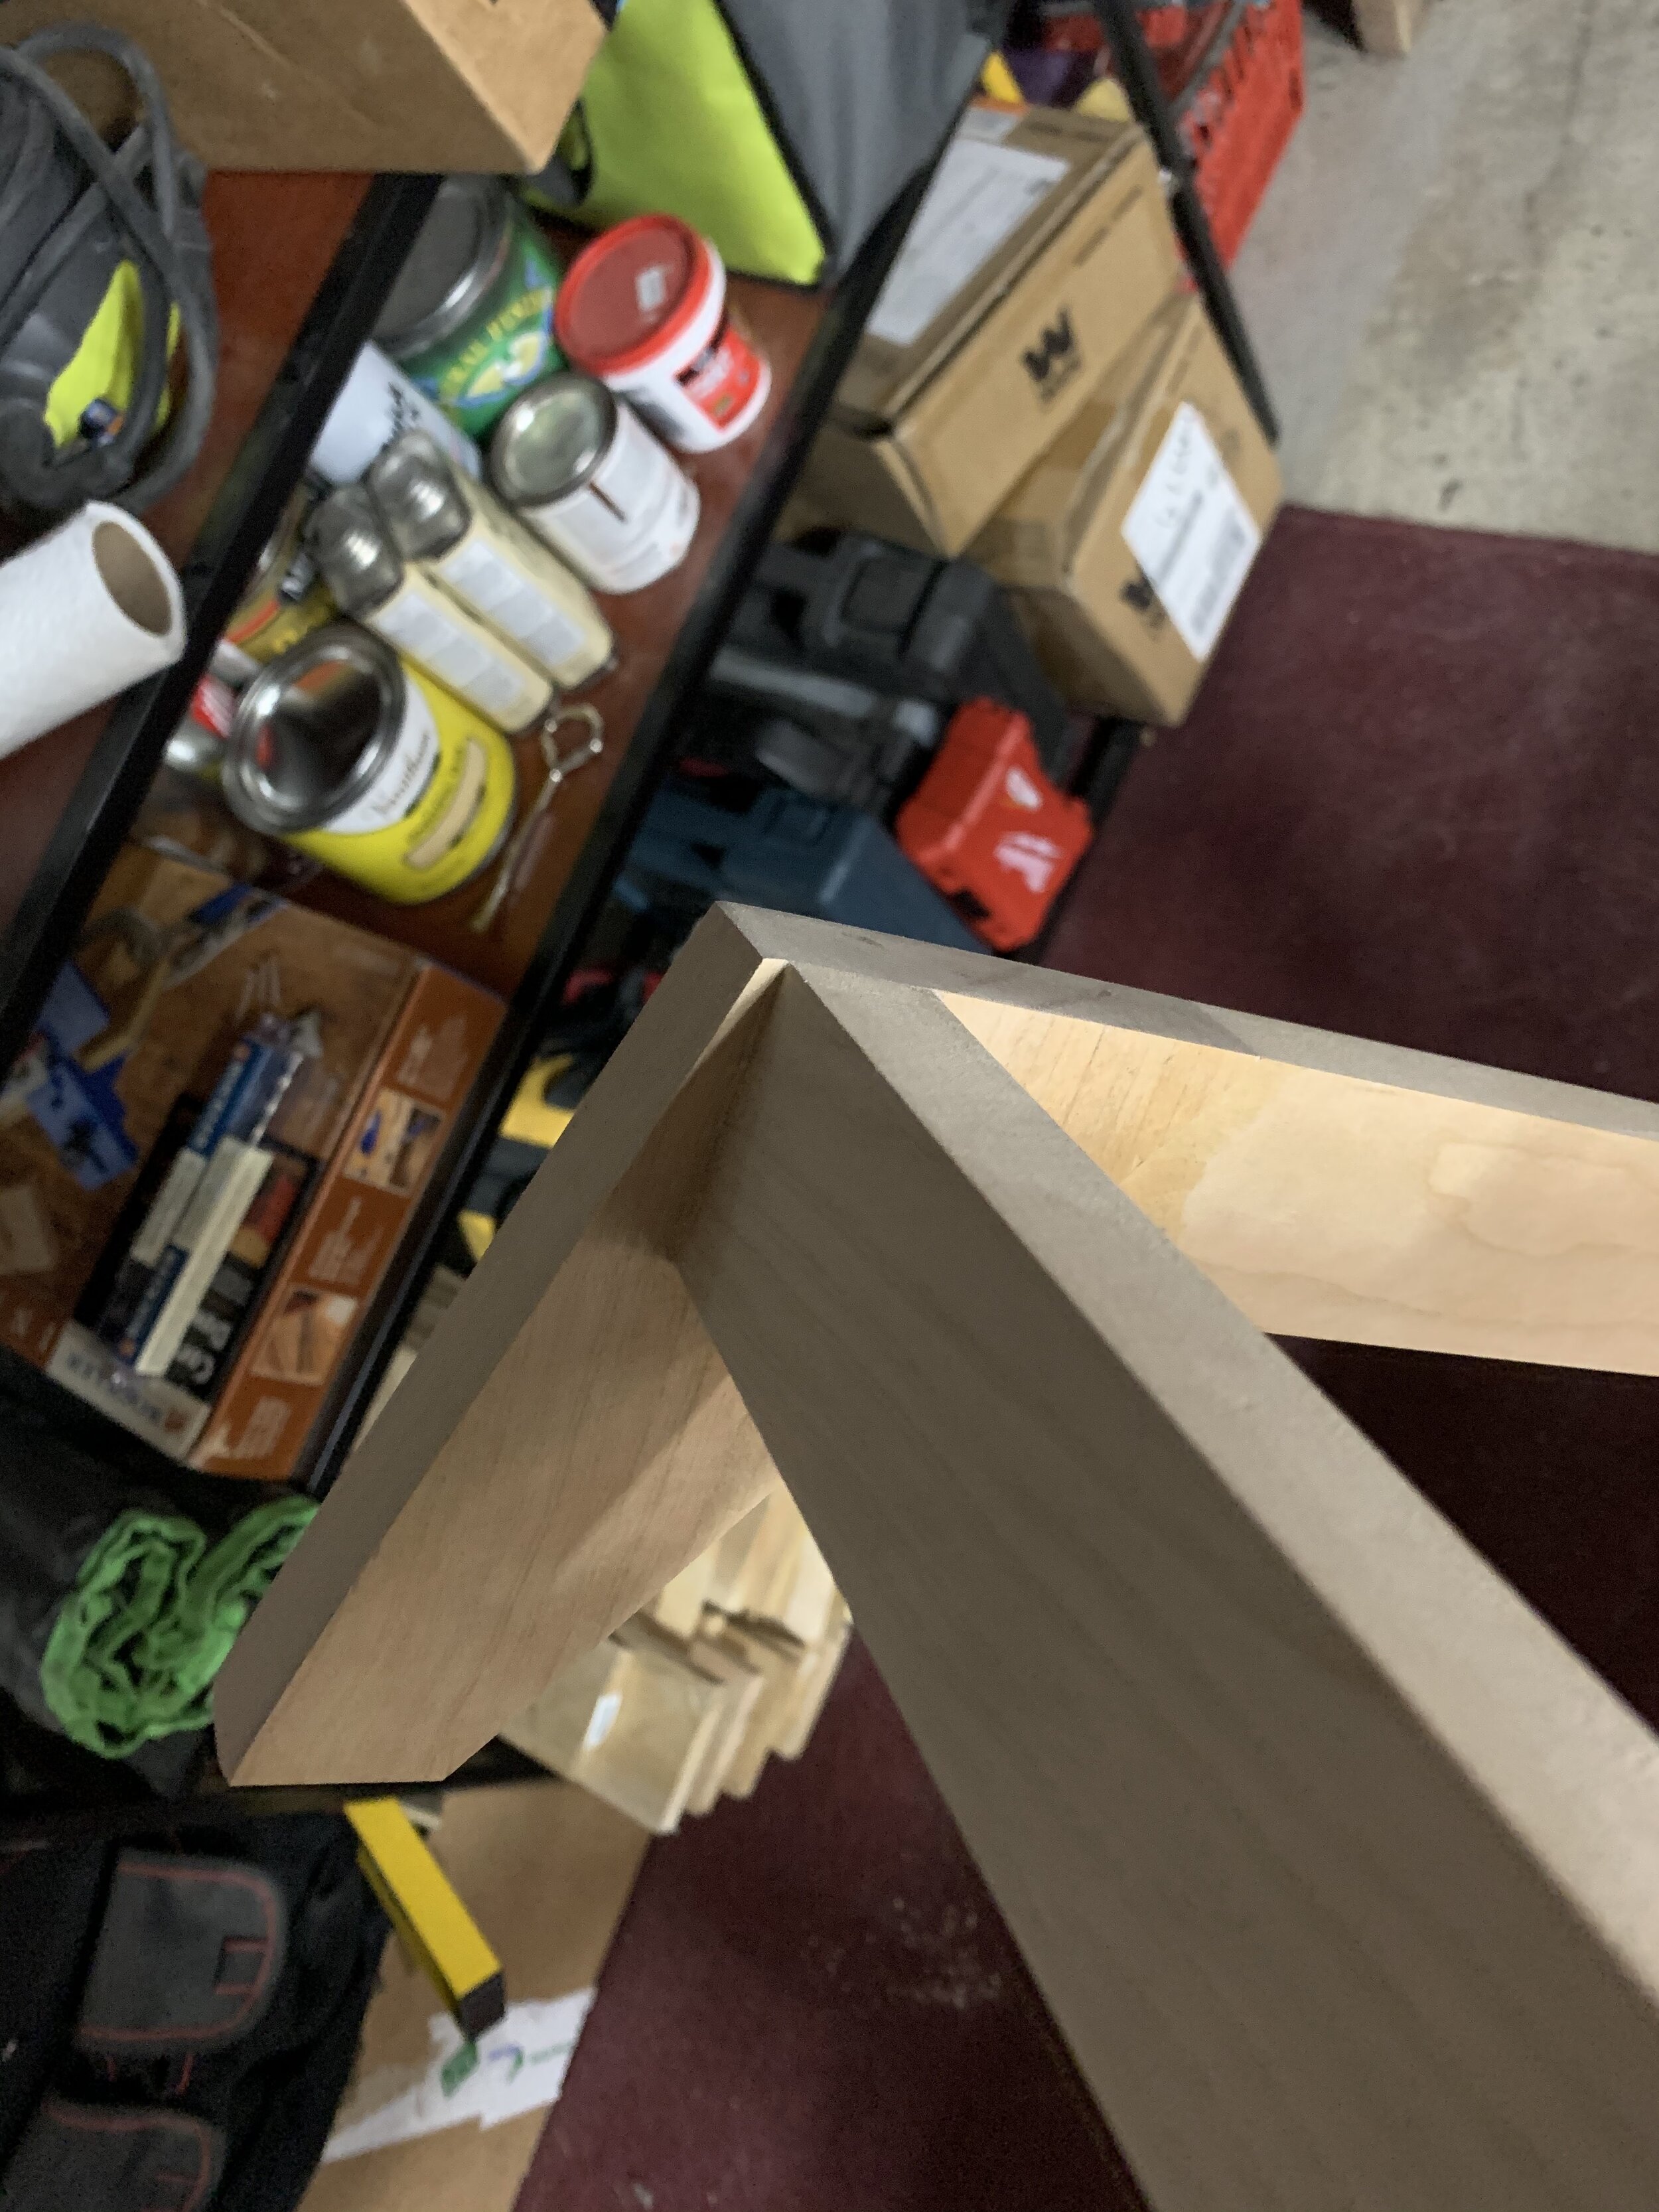
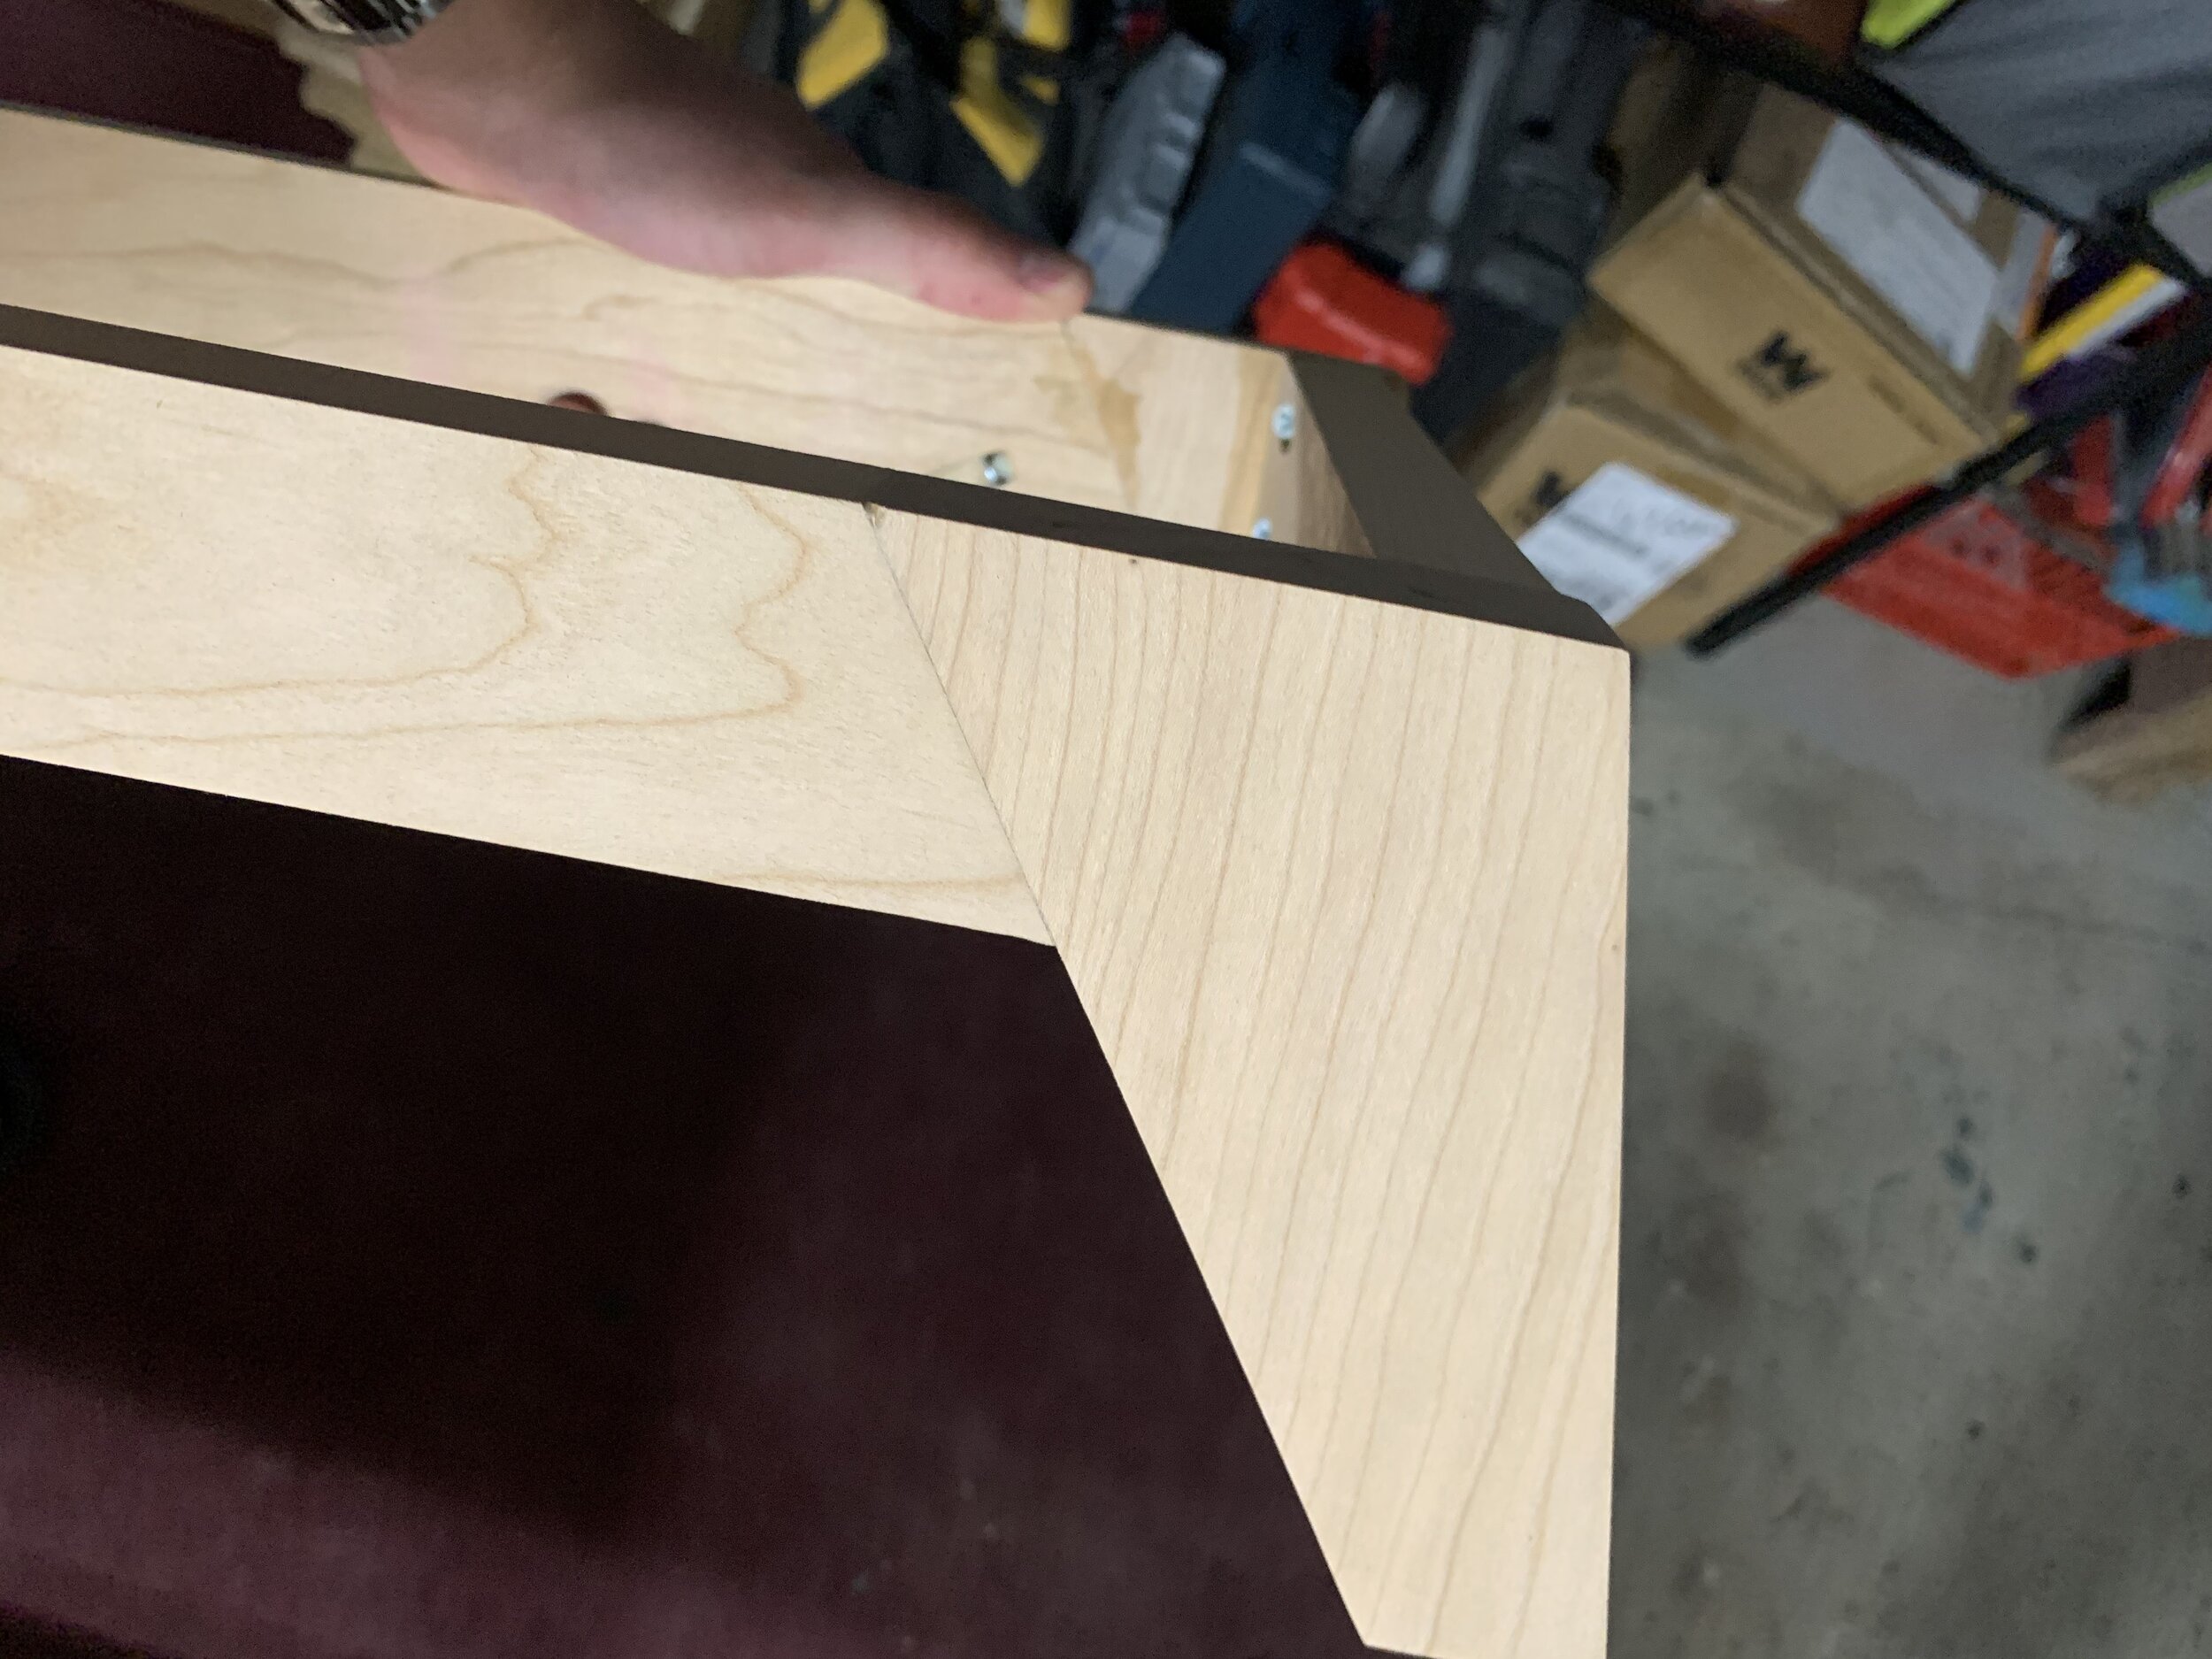
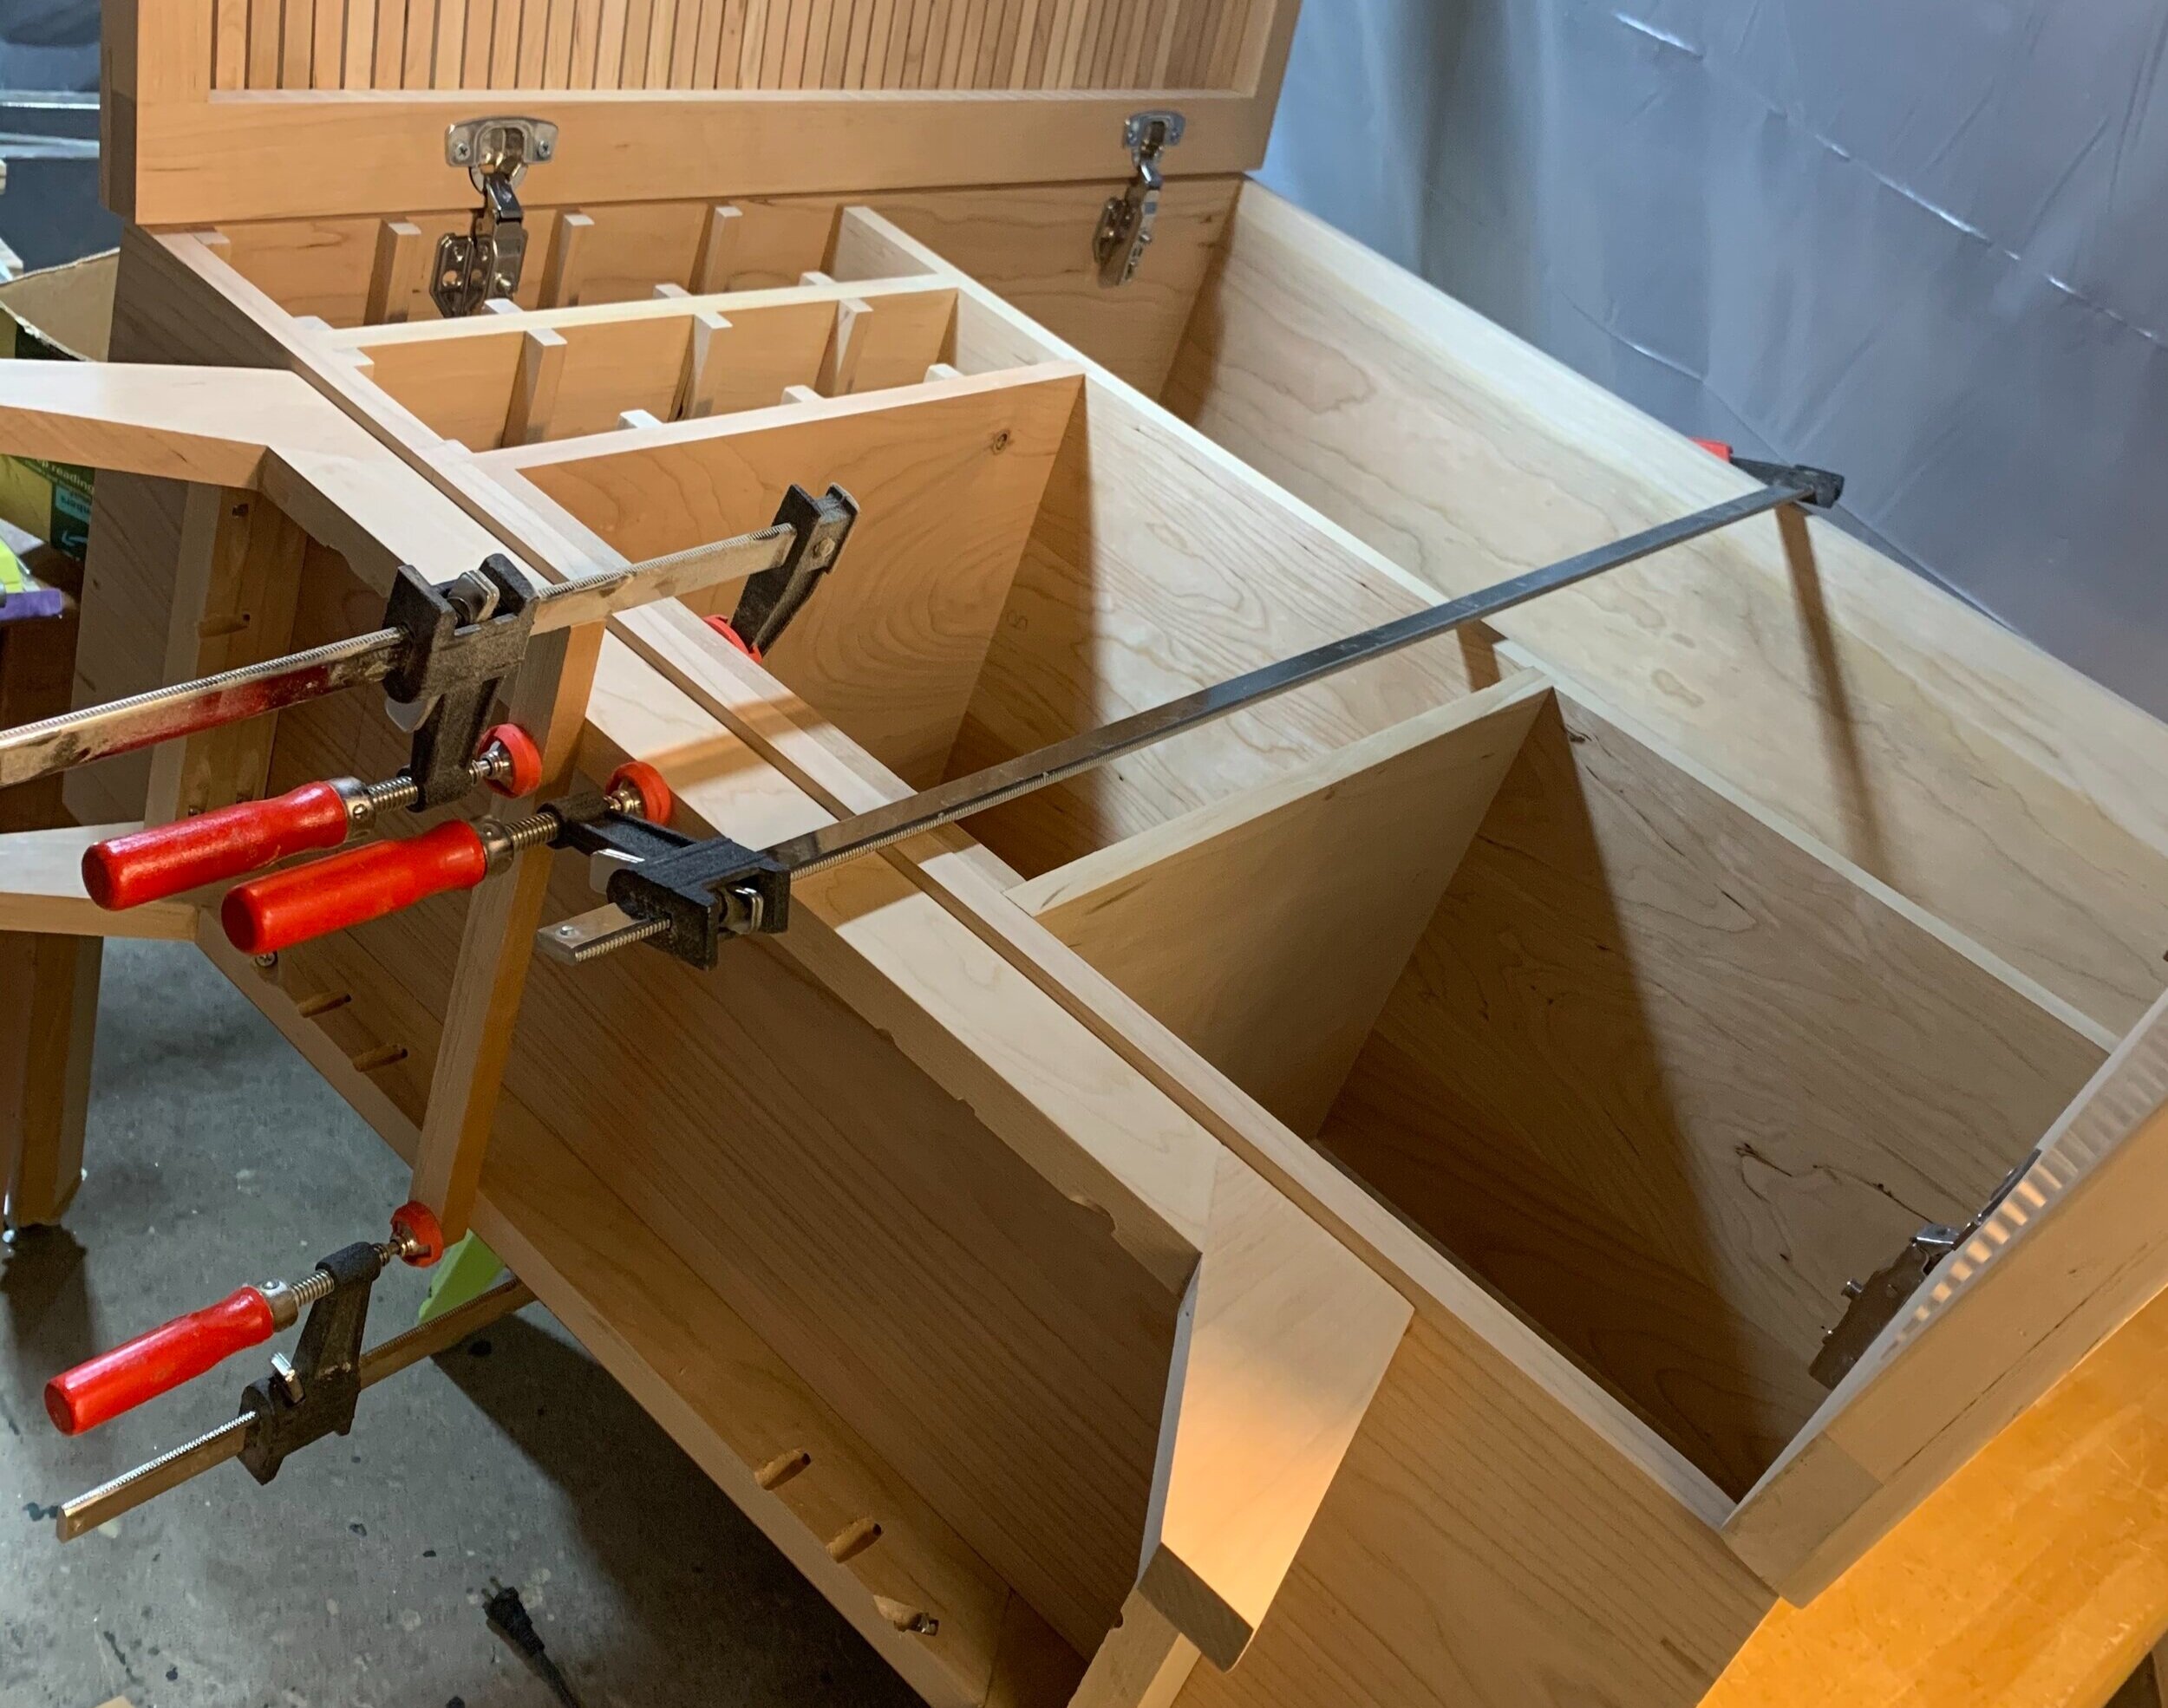
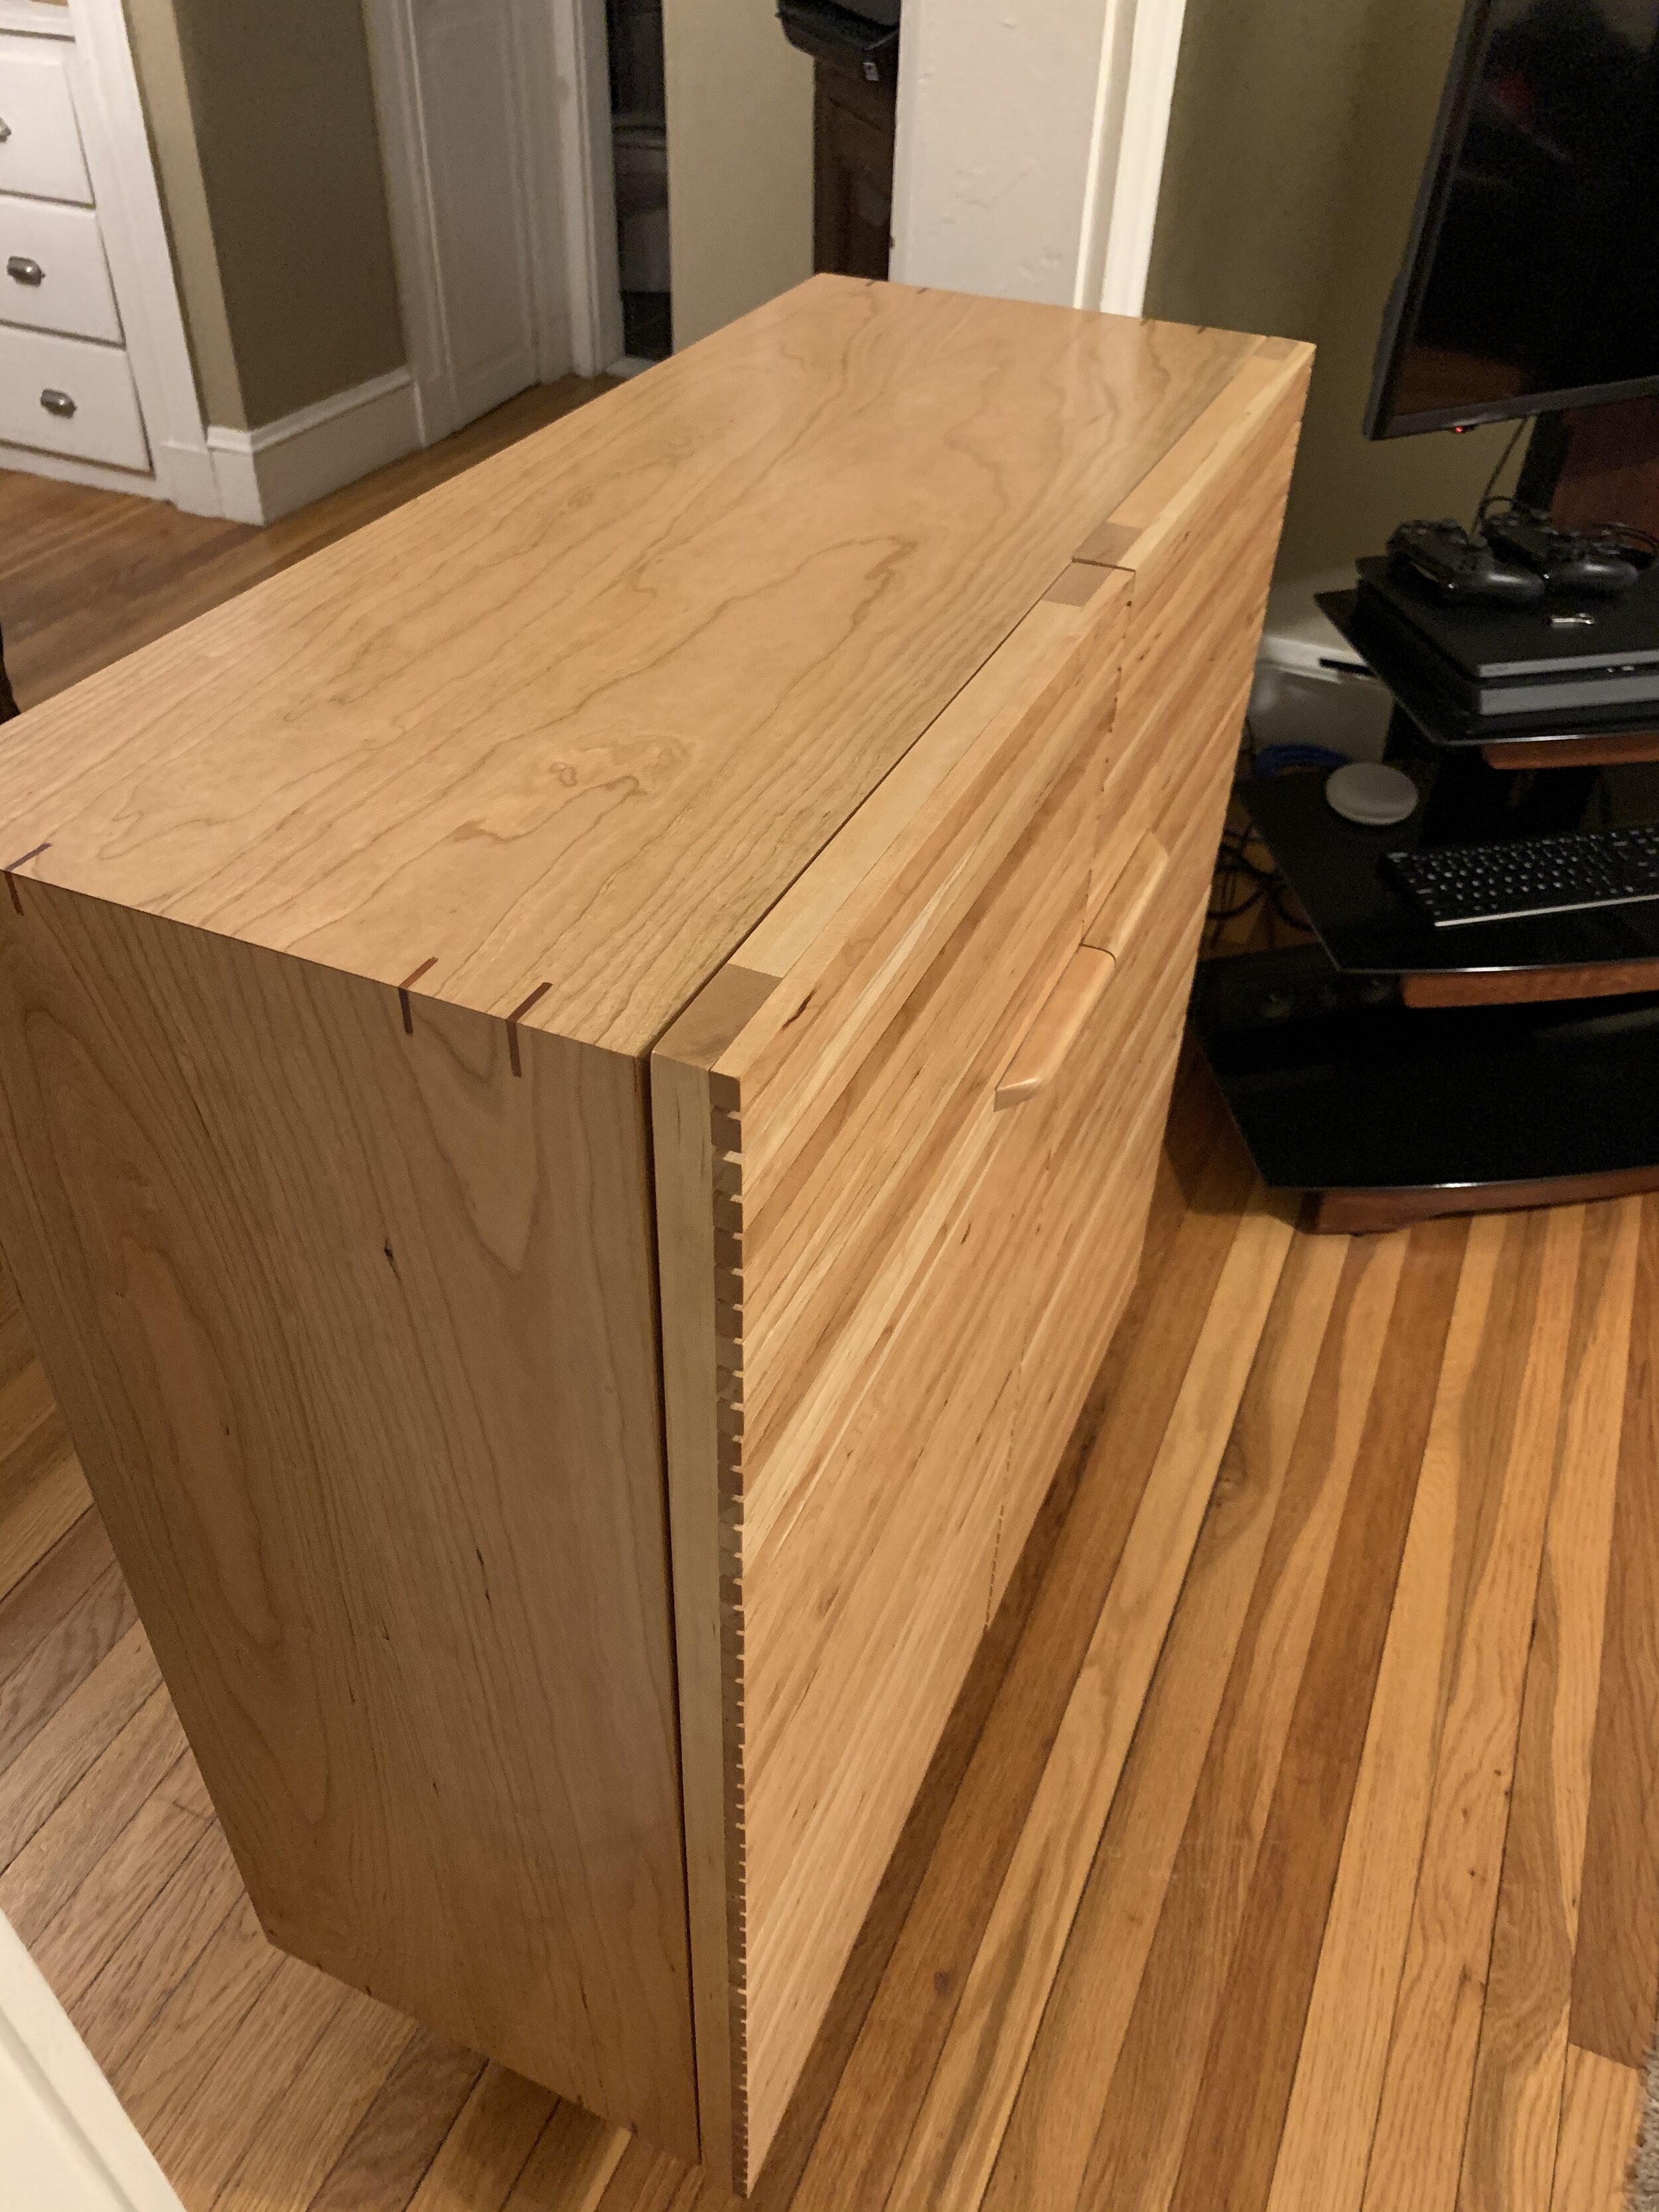
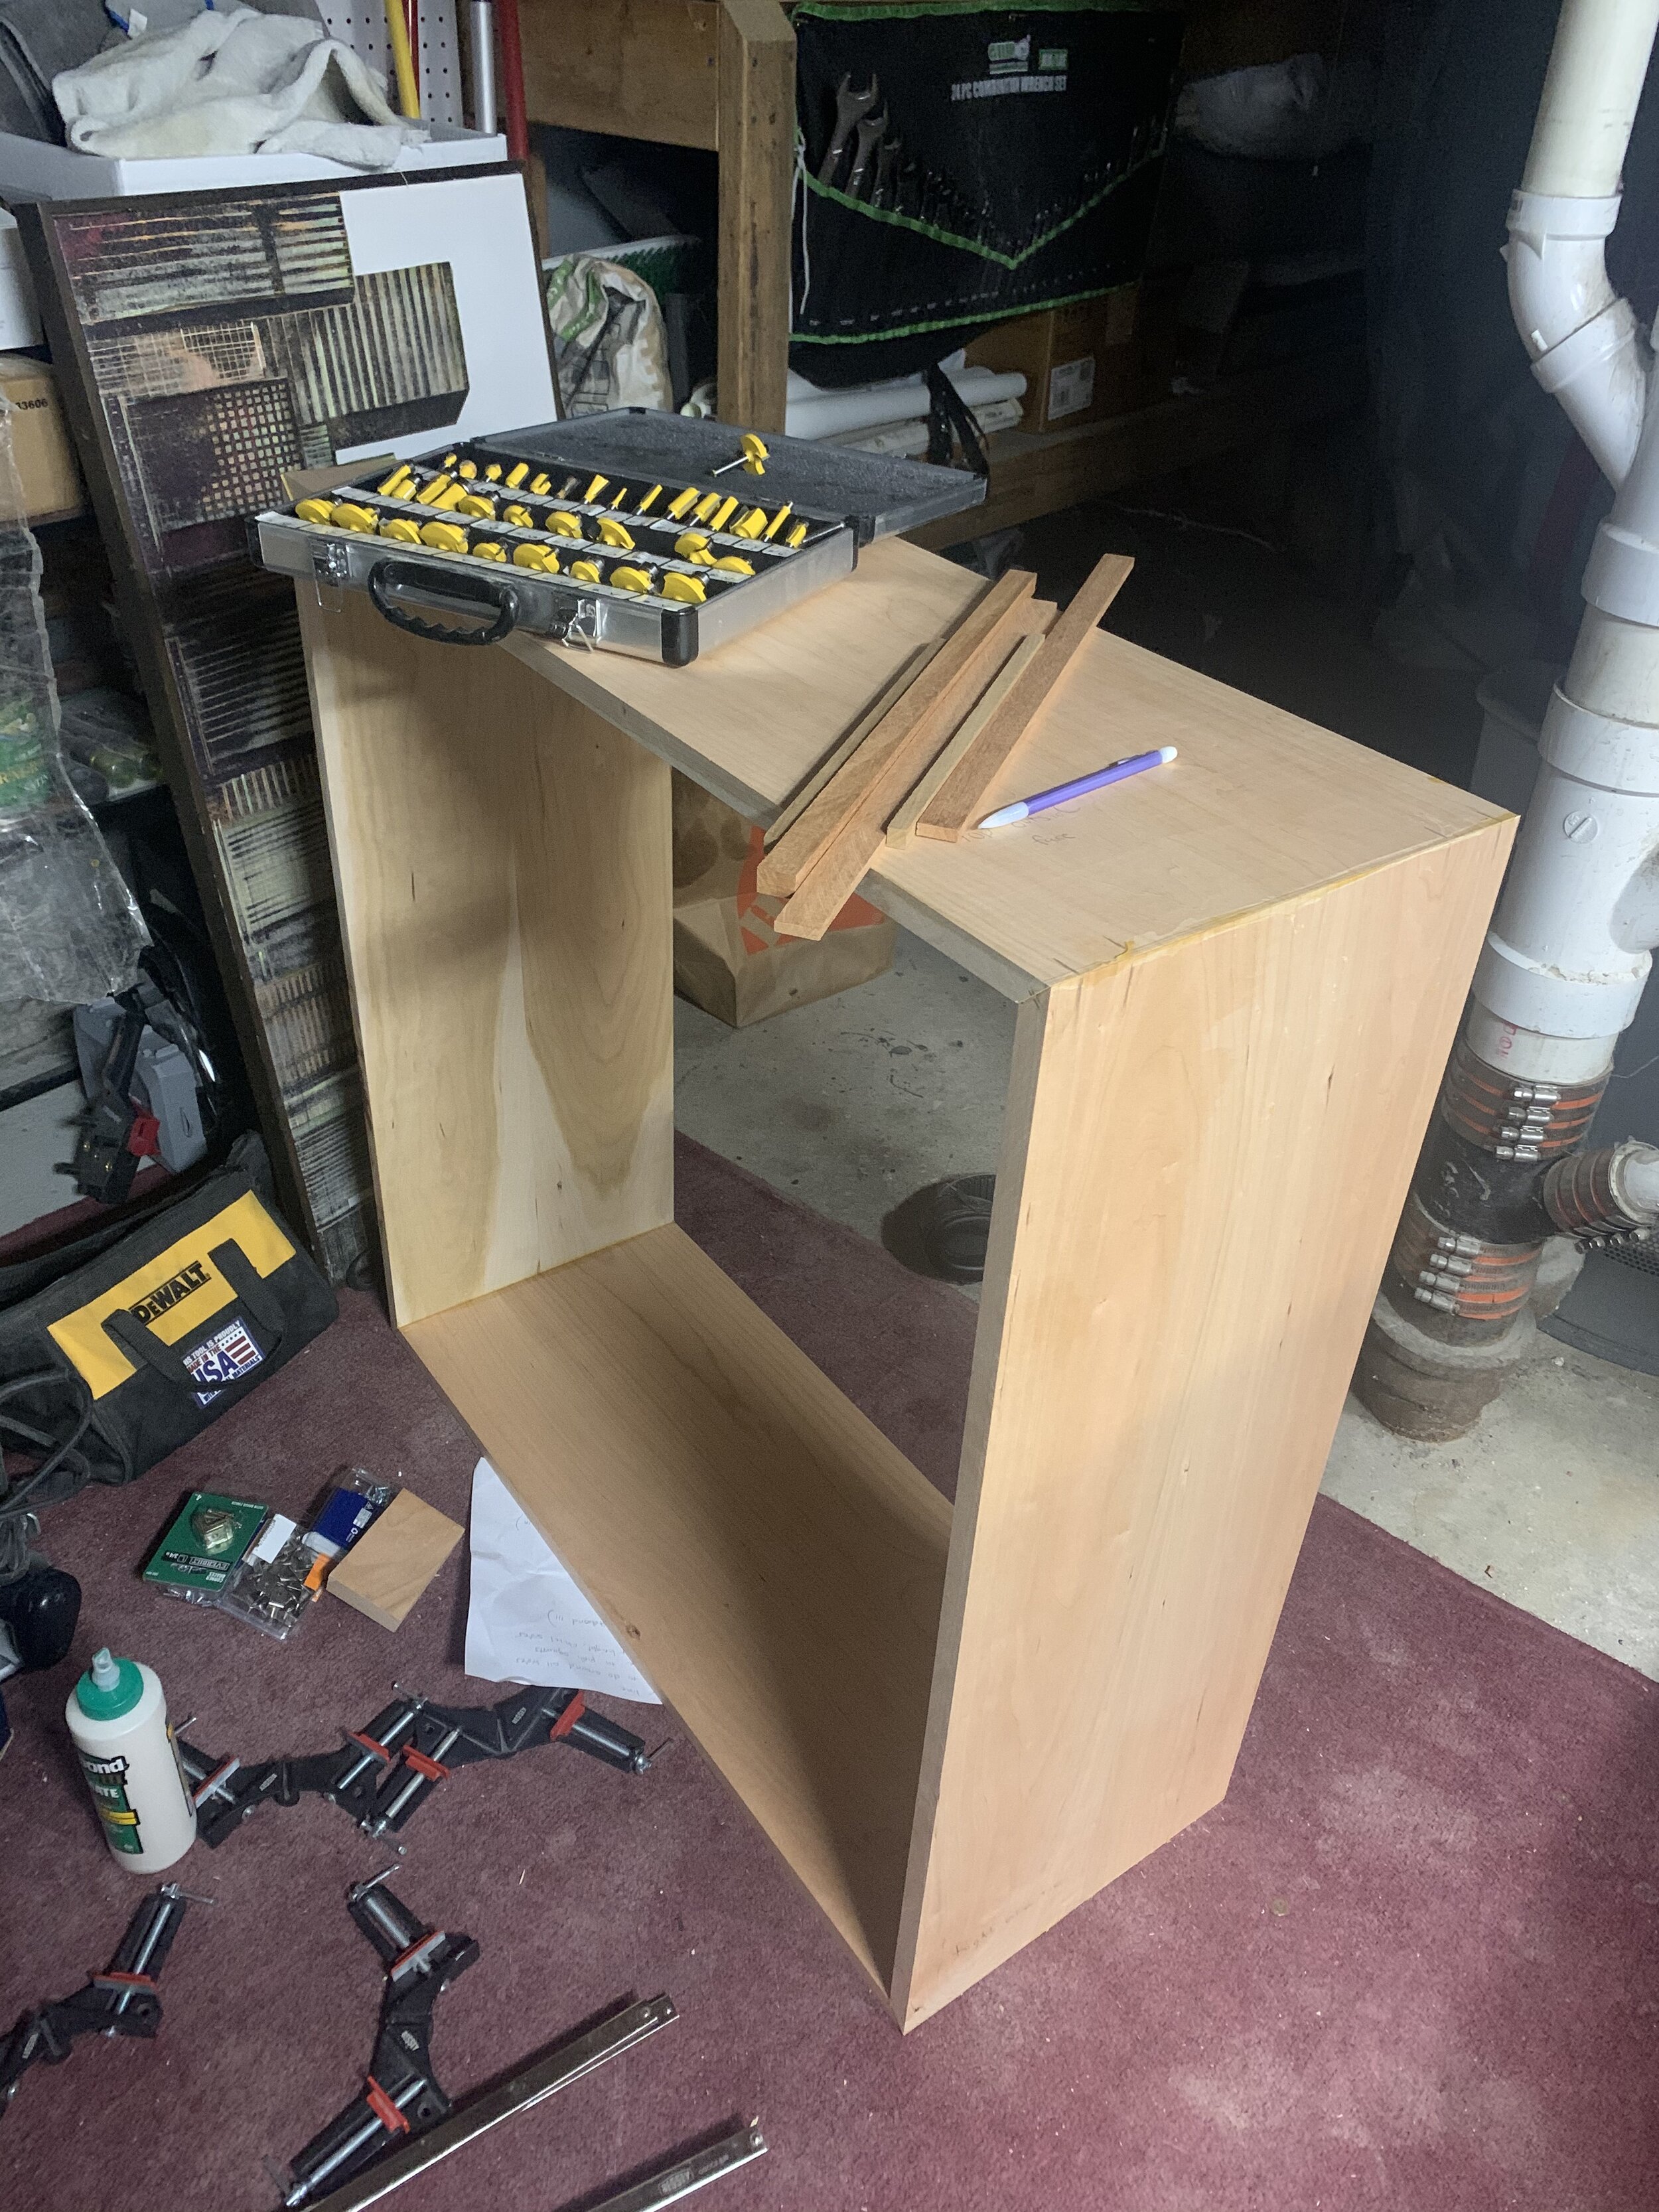
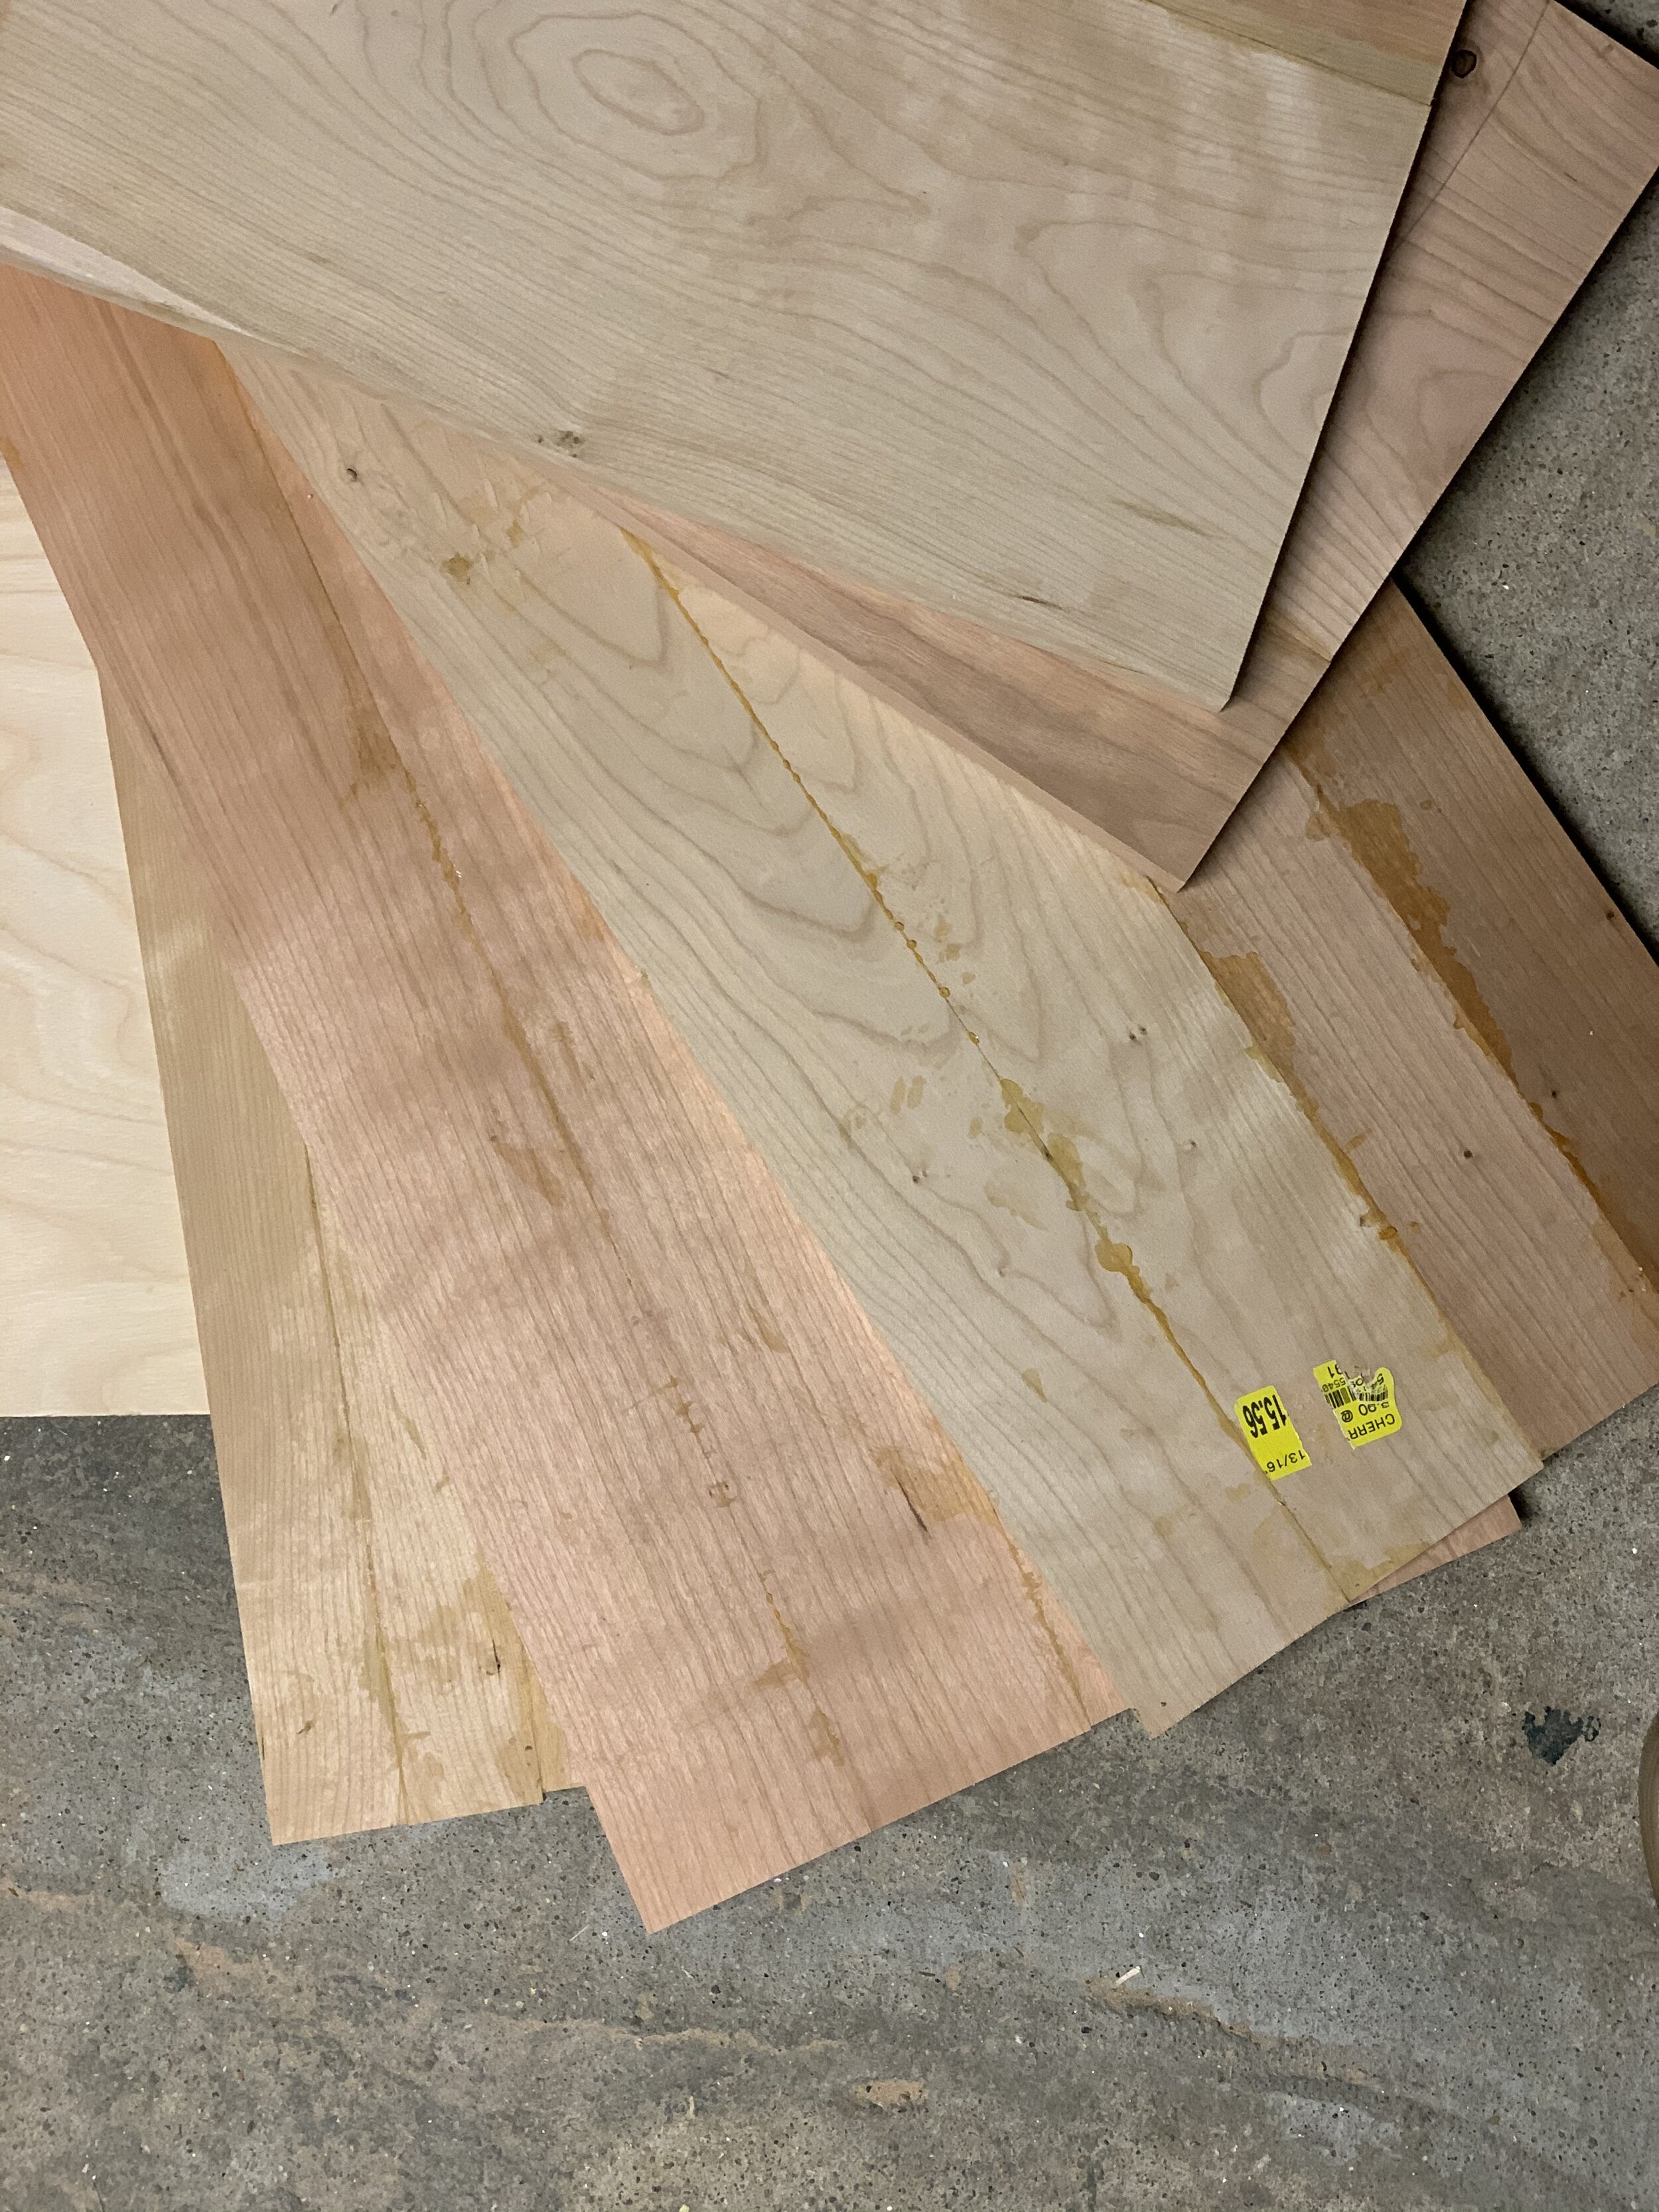
To build the sides of the cabinet I first laminated together cherry boards, trying my best to line up the grain patterns on the boards so as to not show the seam of where the boards met. I then cut all my stock to final size, cut miters for the corners, and began glue up with a few extra long clamps strung together. Miter joints are inherently weak due to relatively small glueing surface area, and end-grain to end-grain contact.
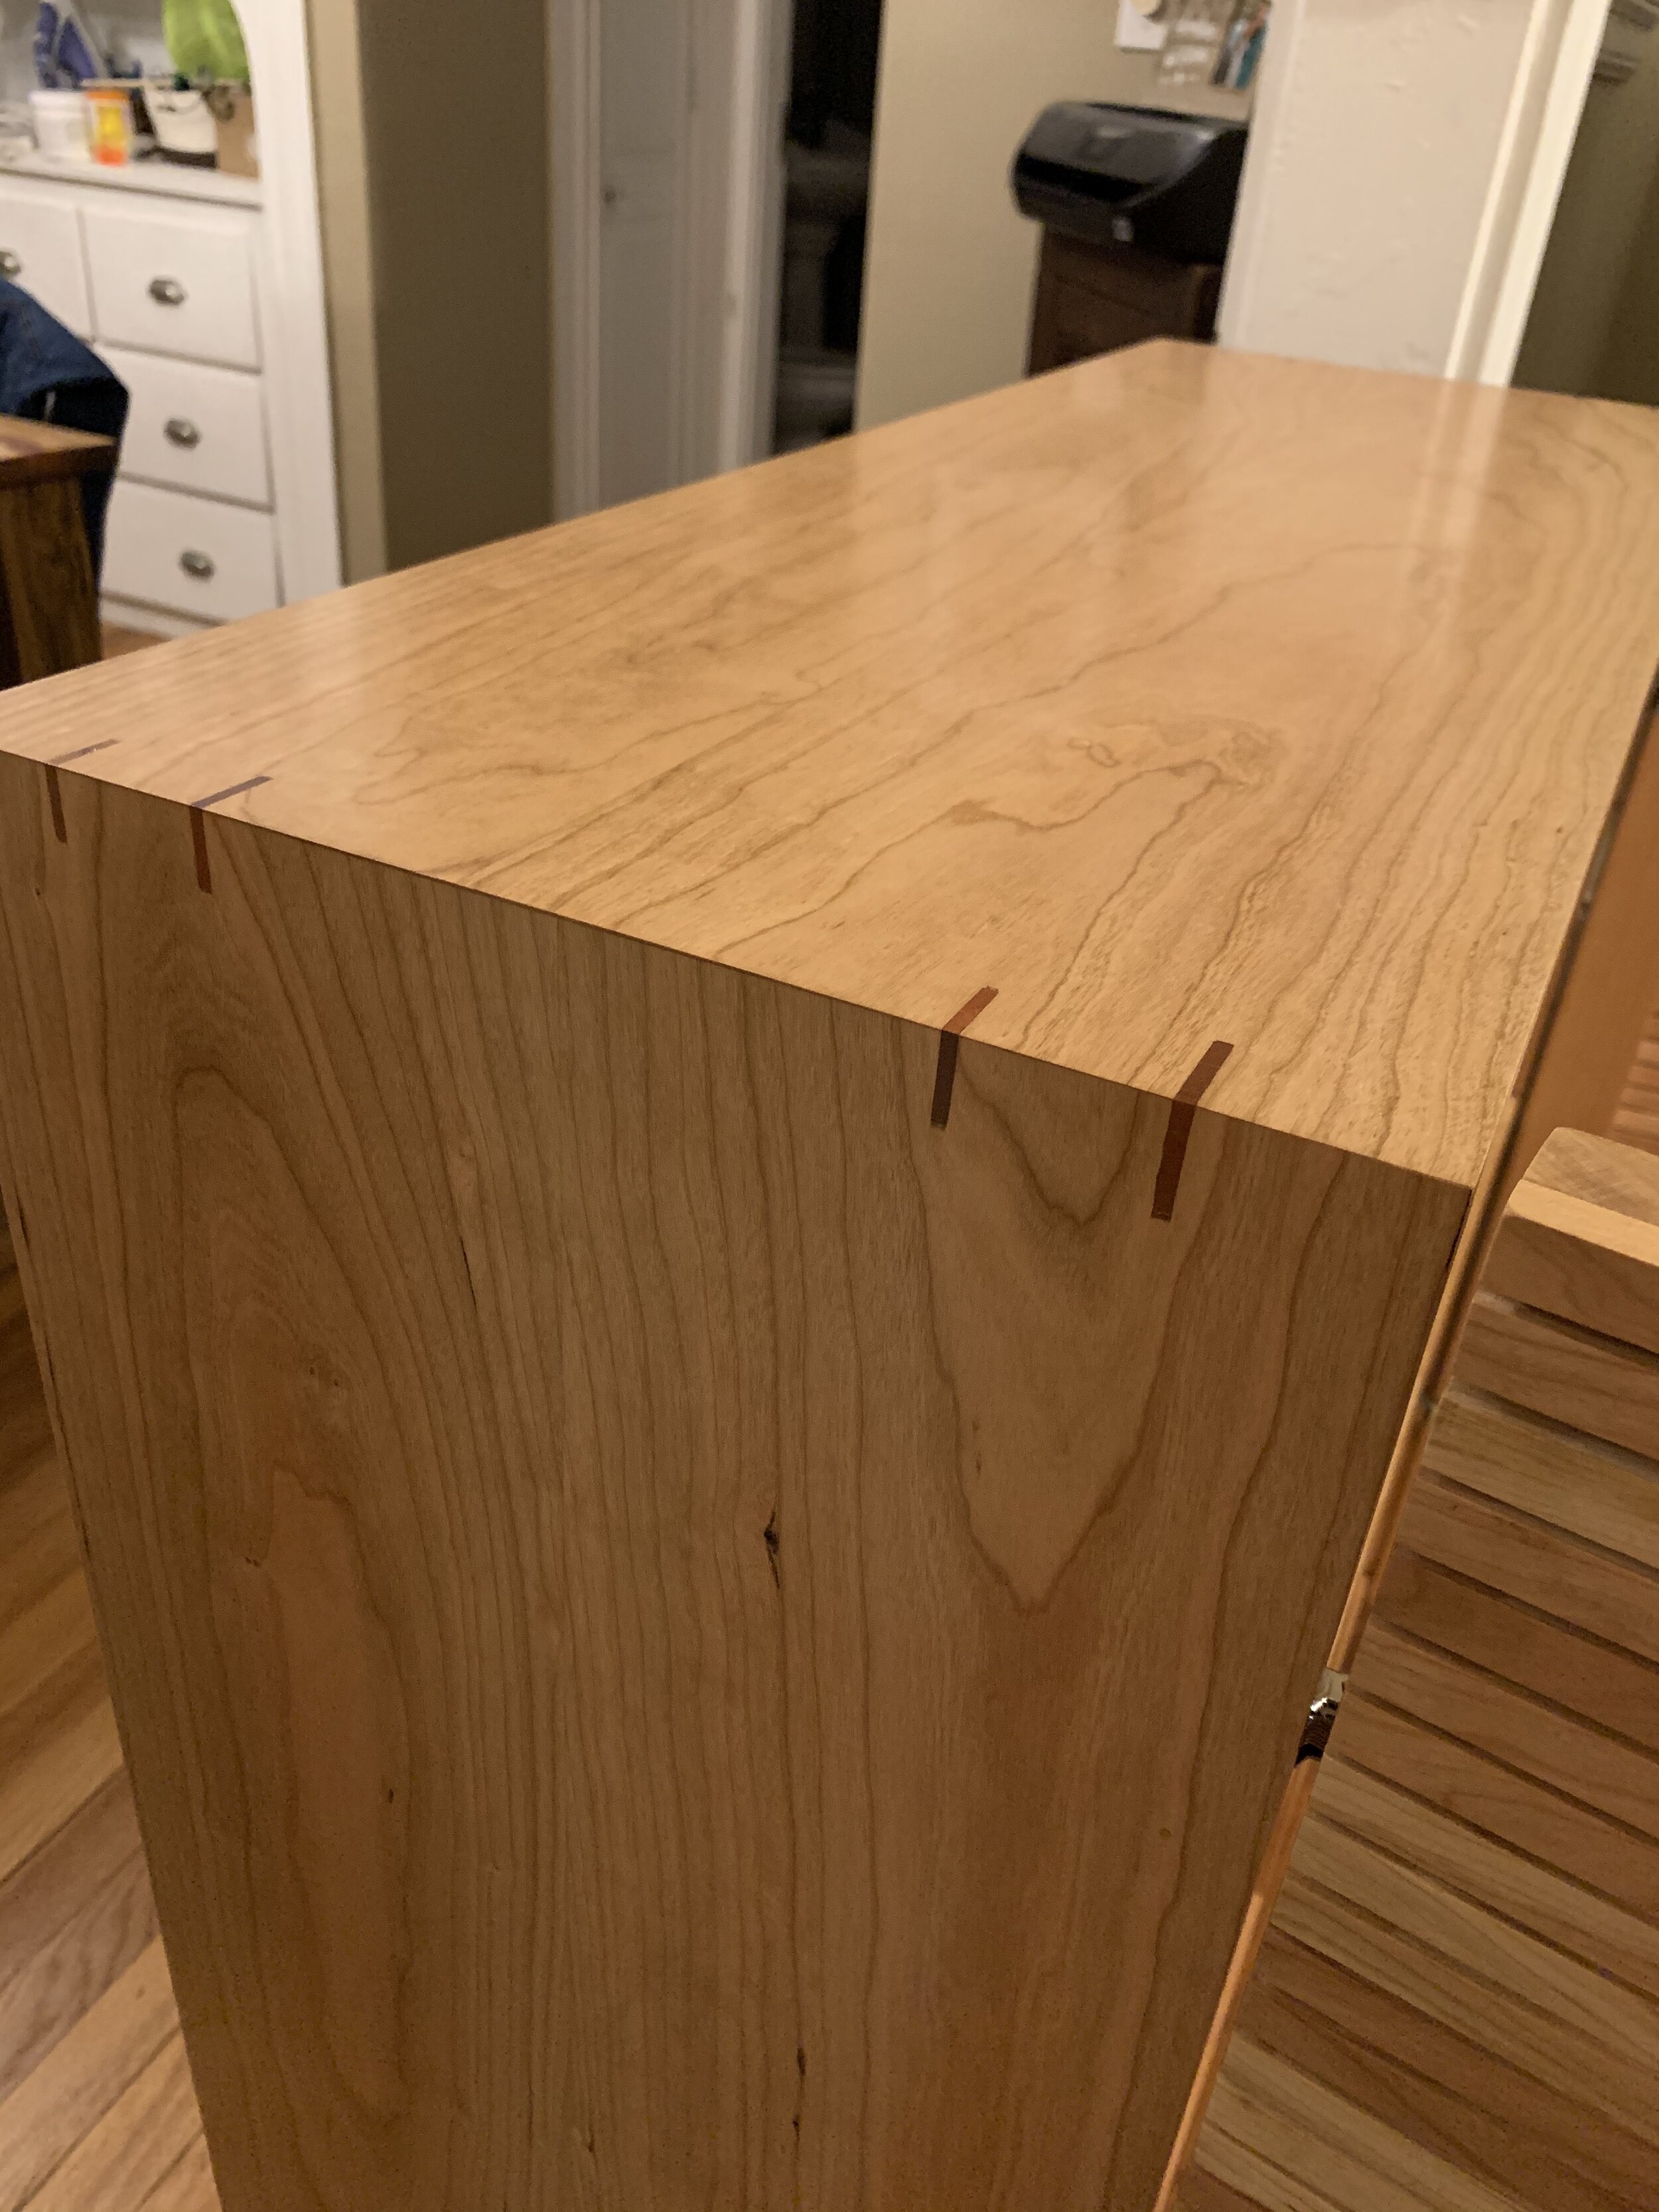
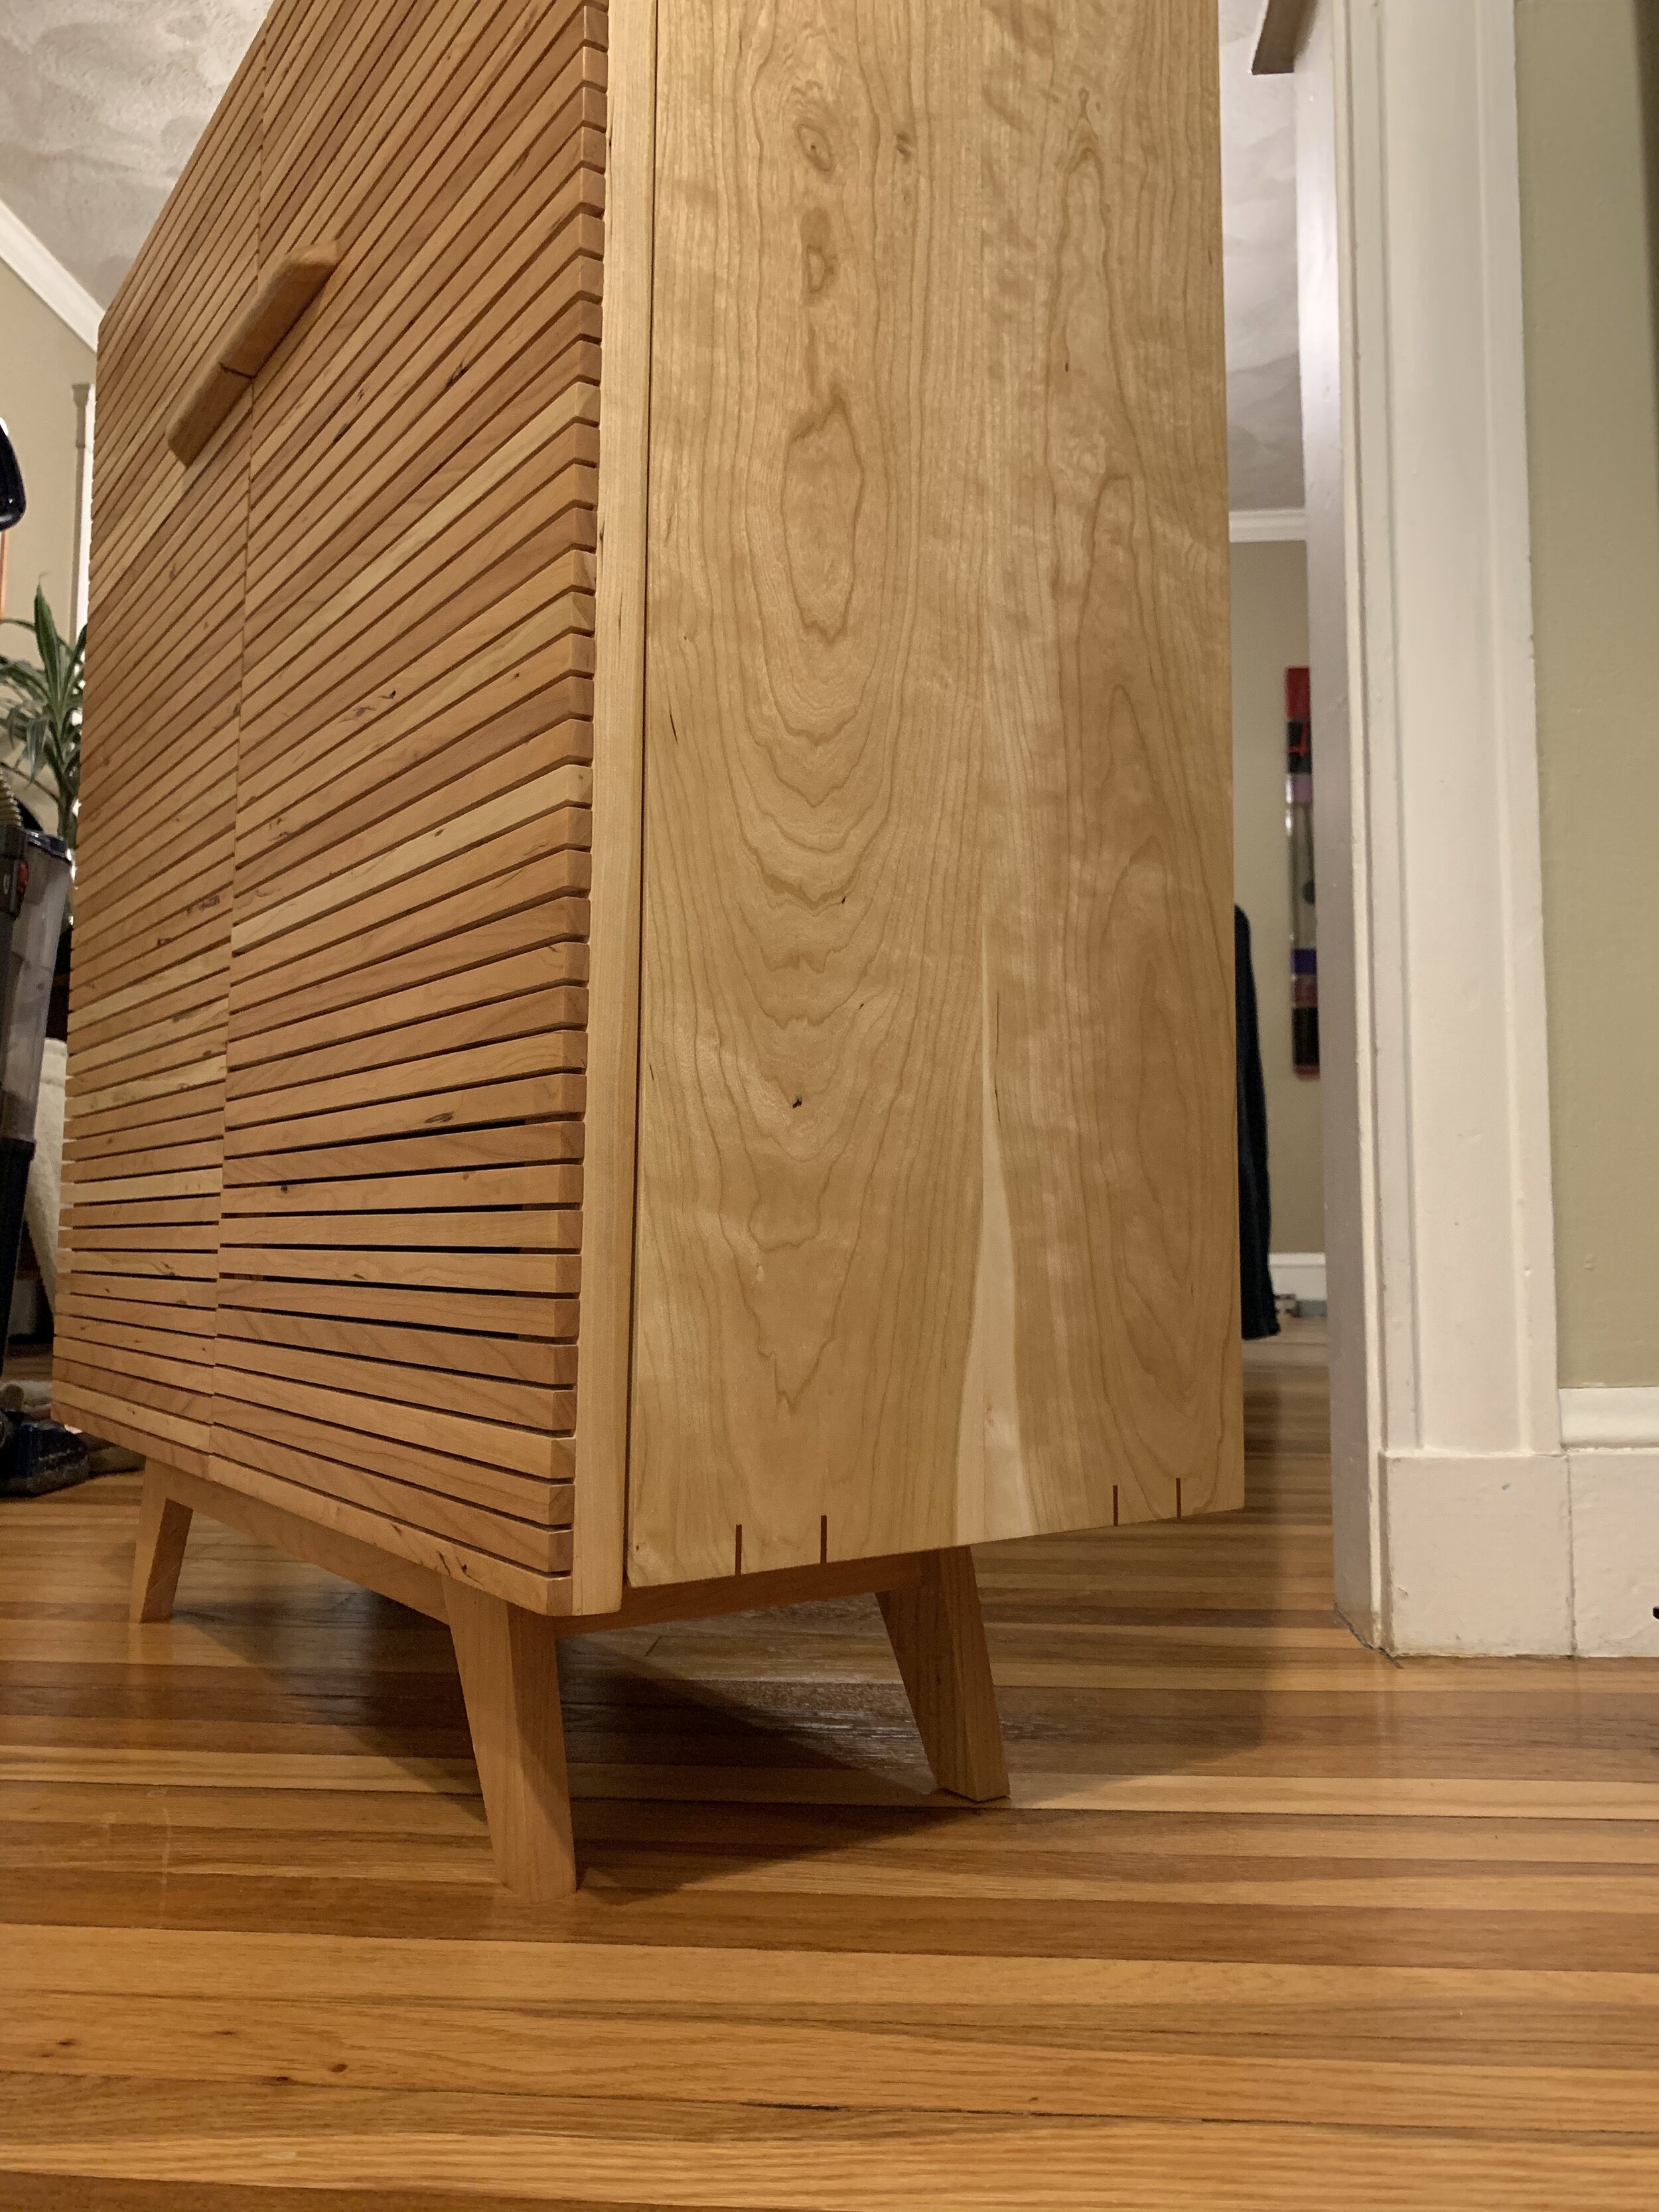
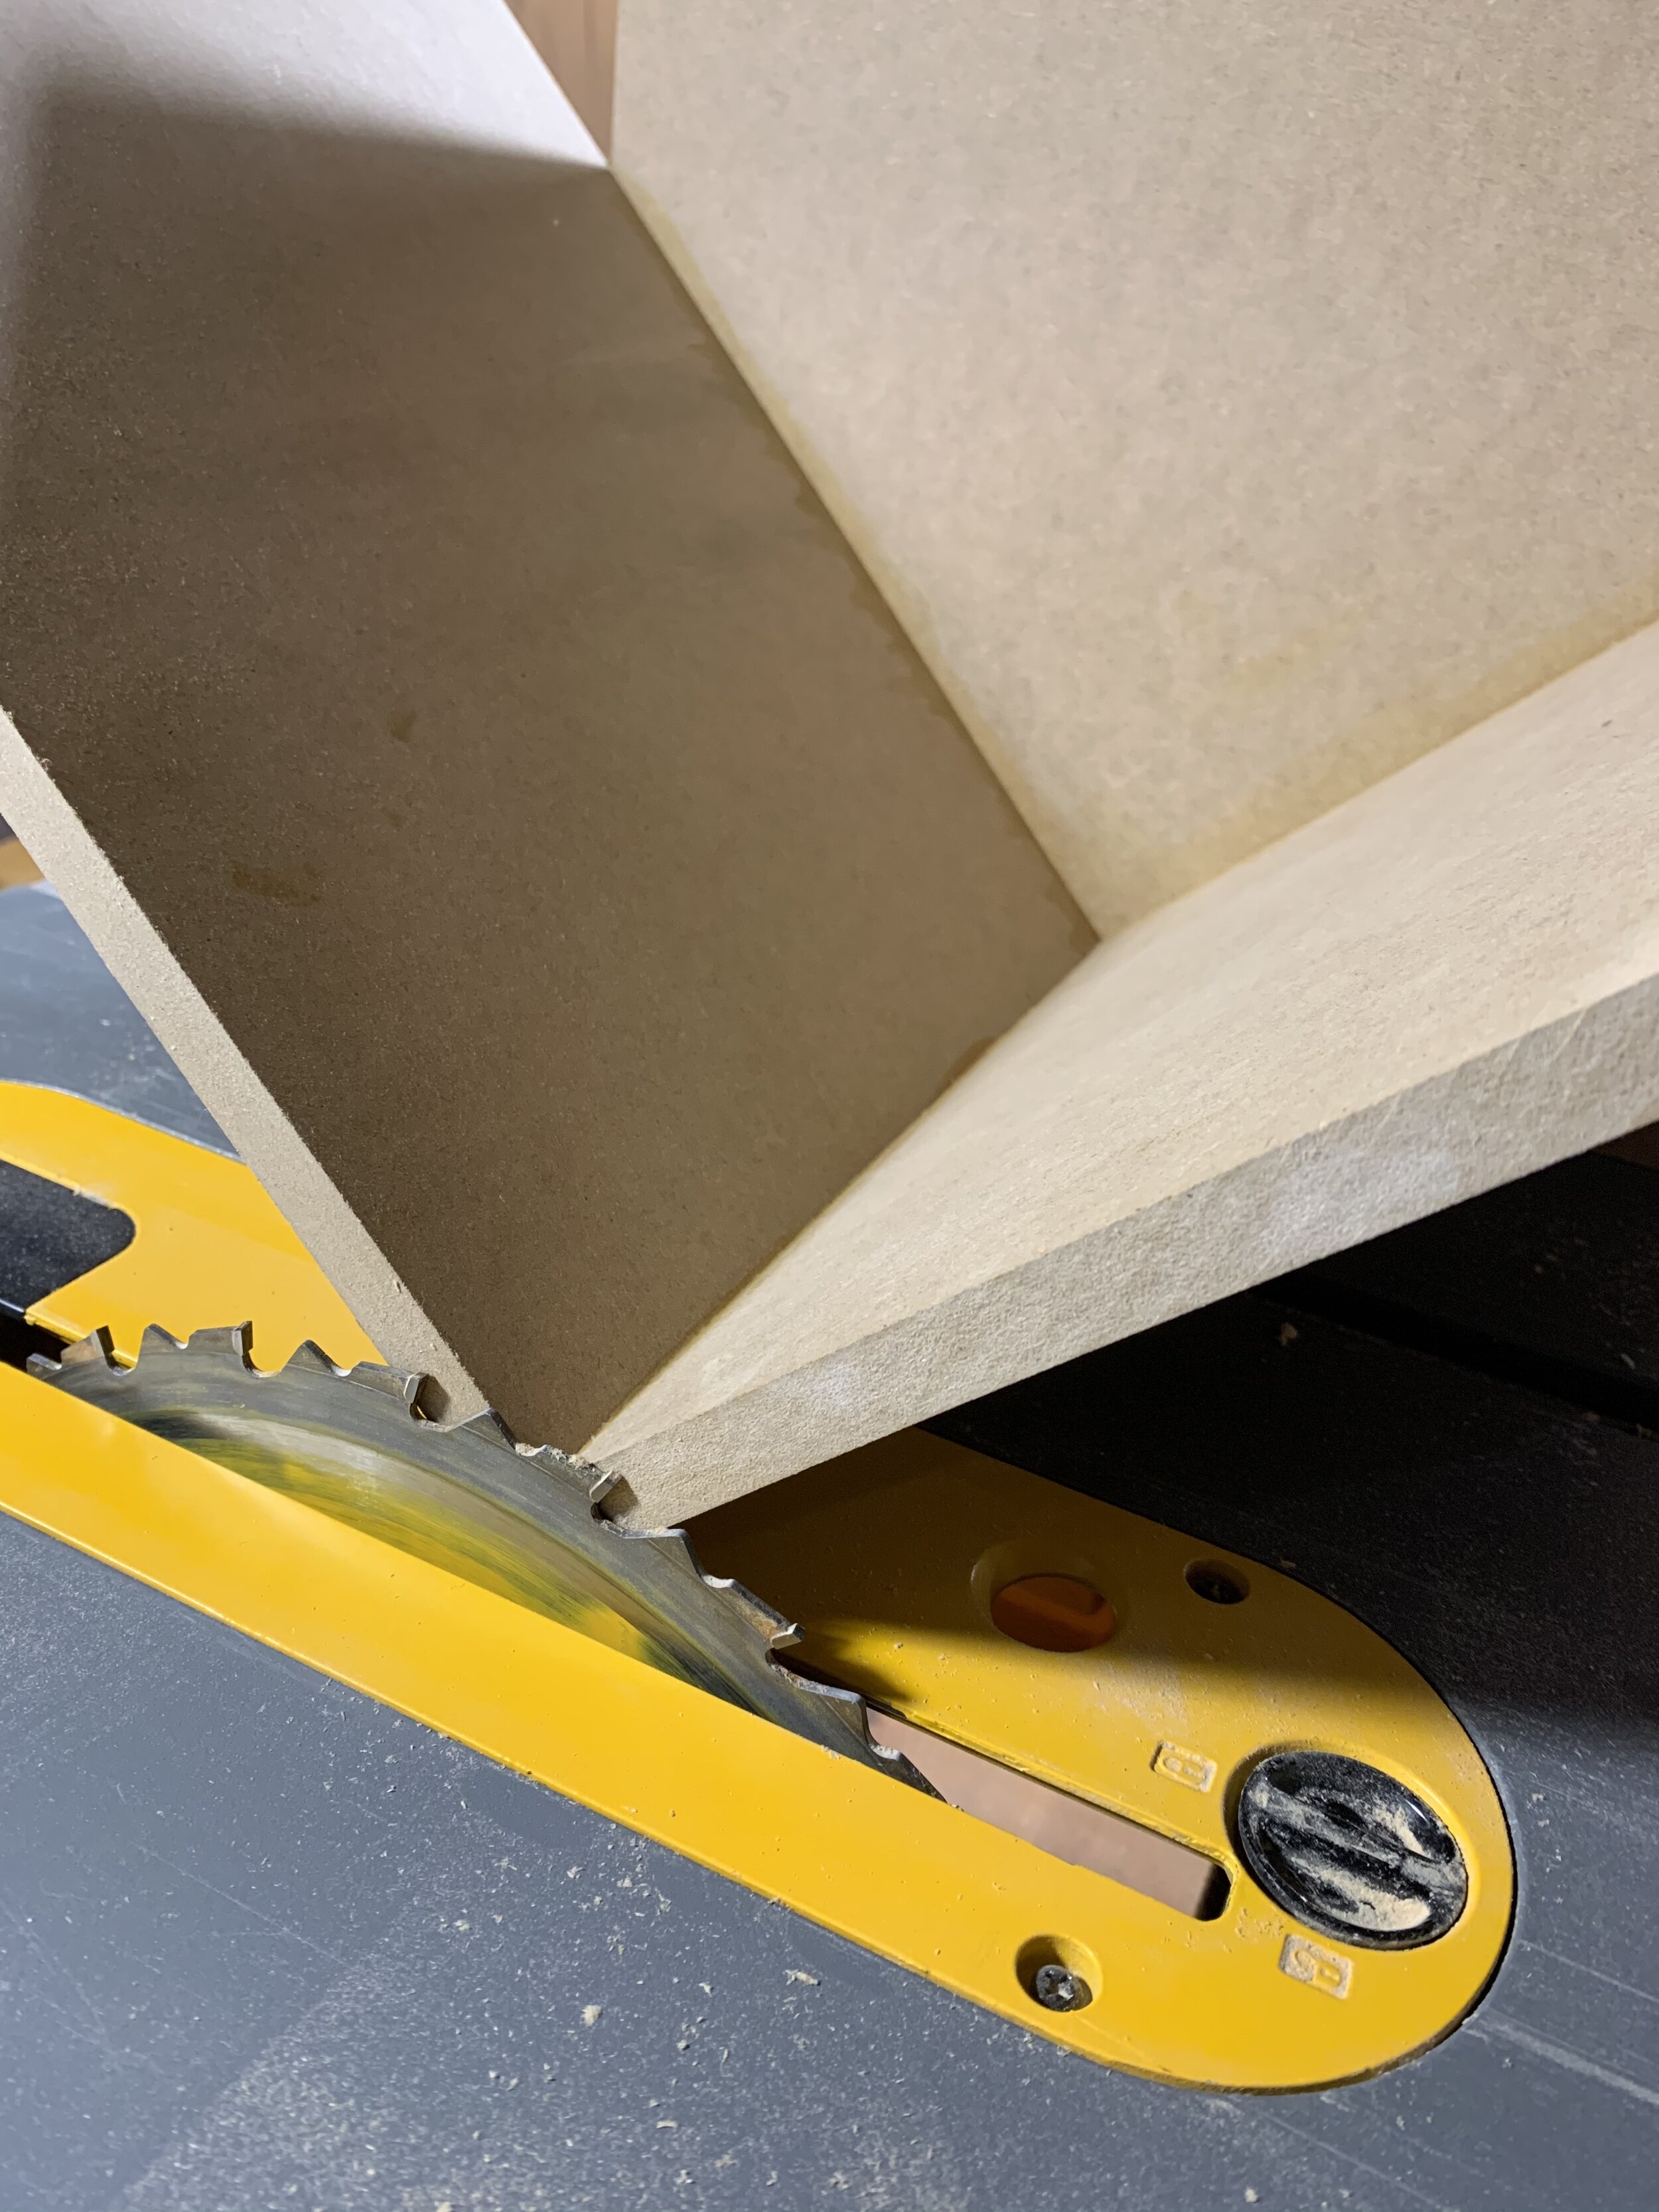
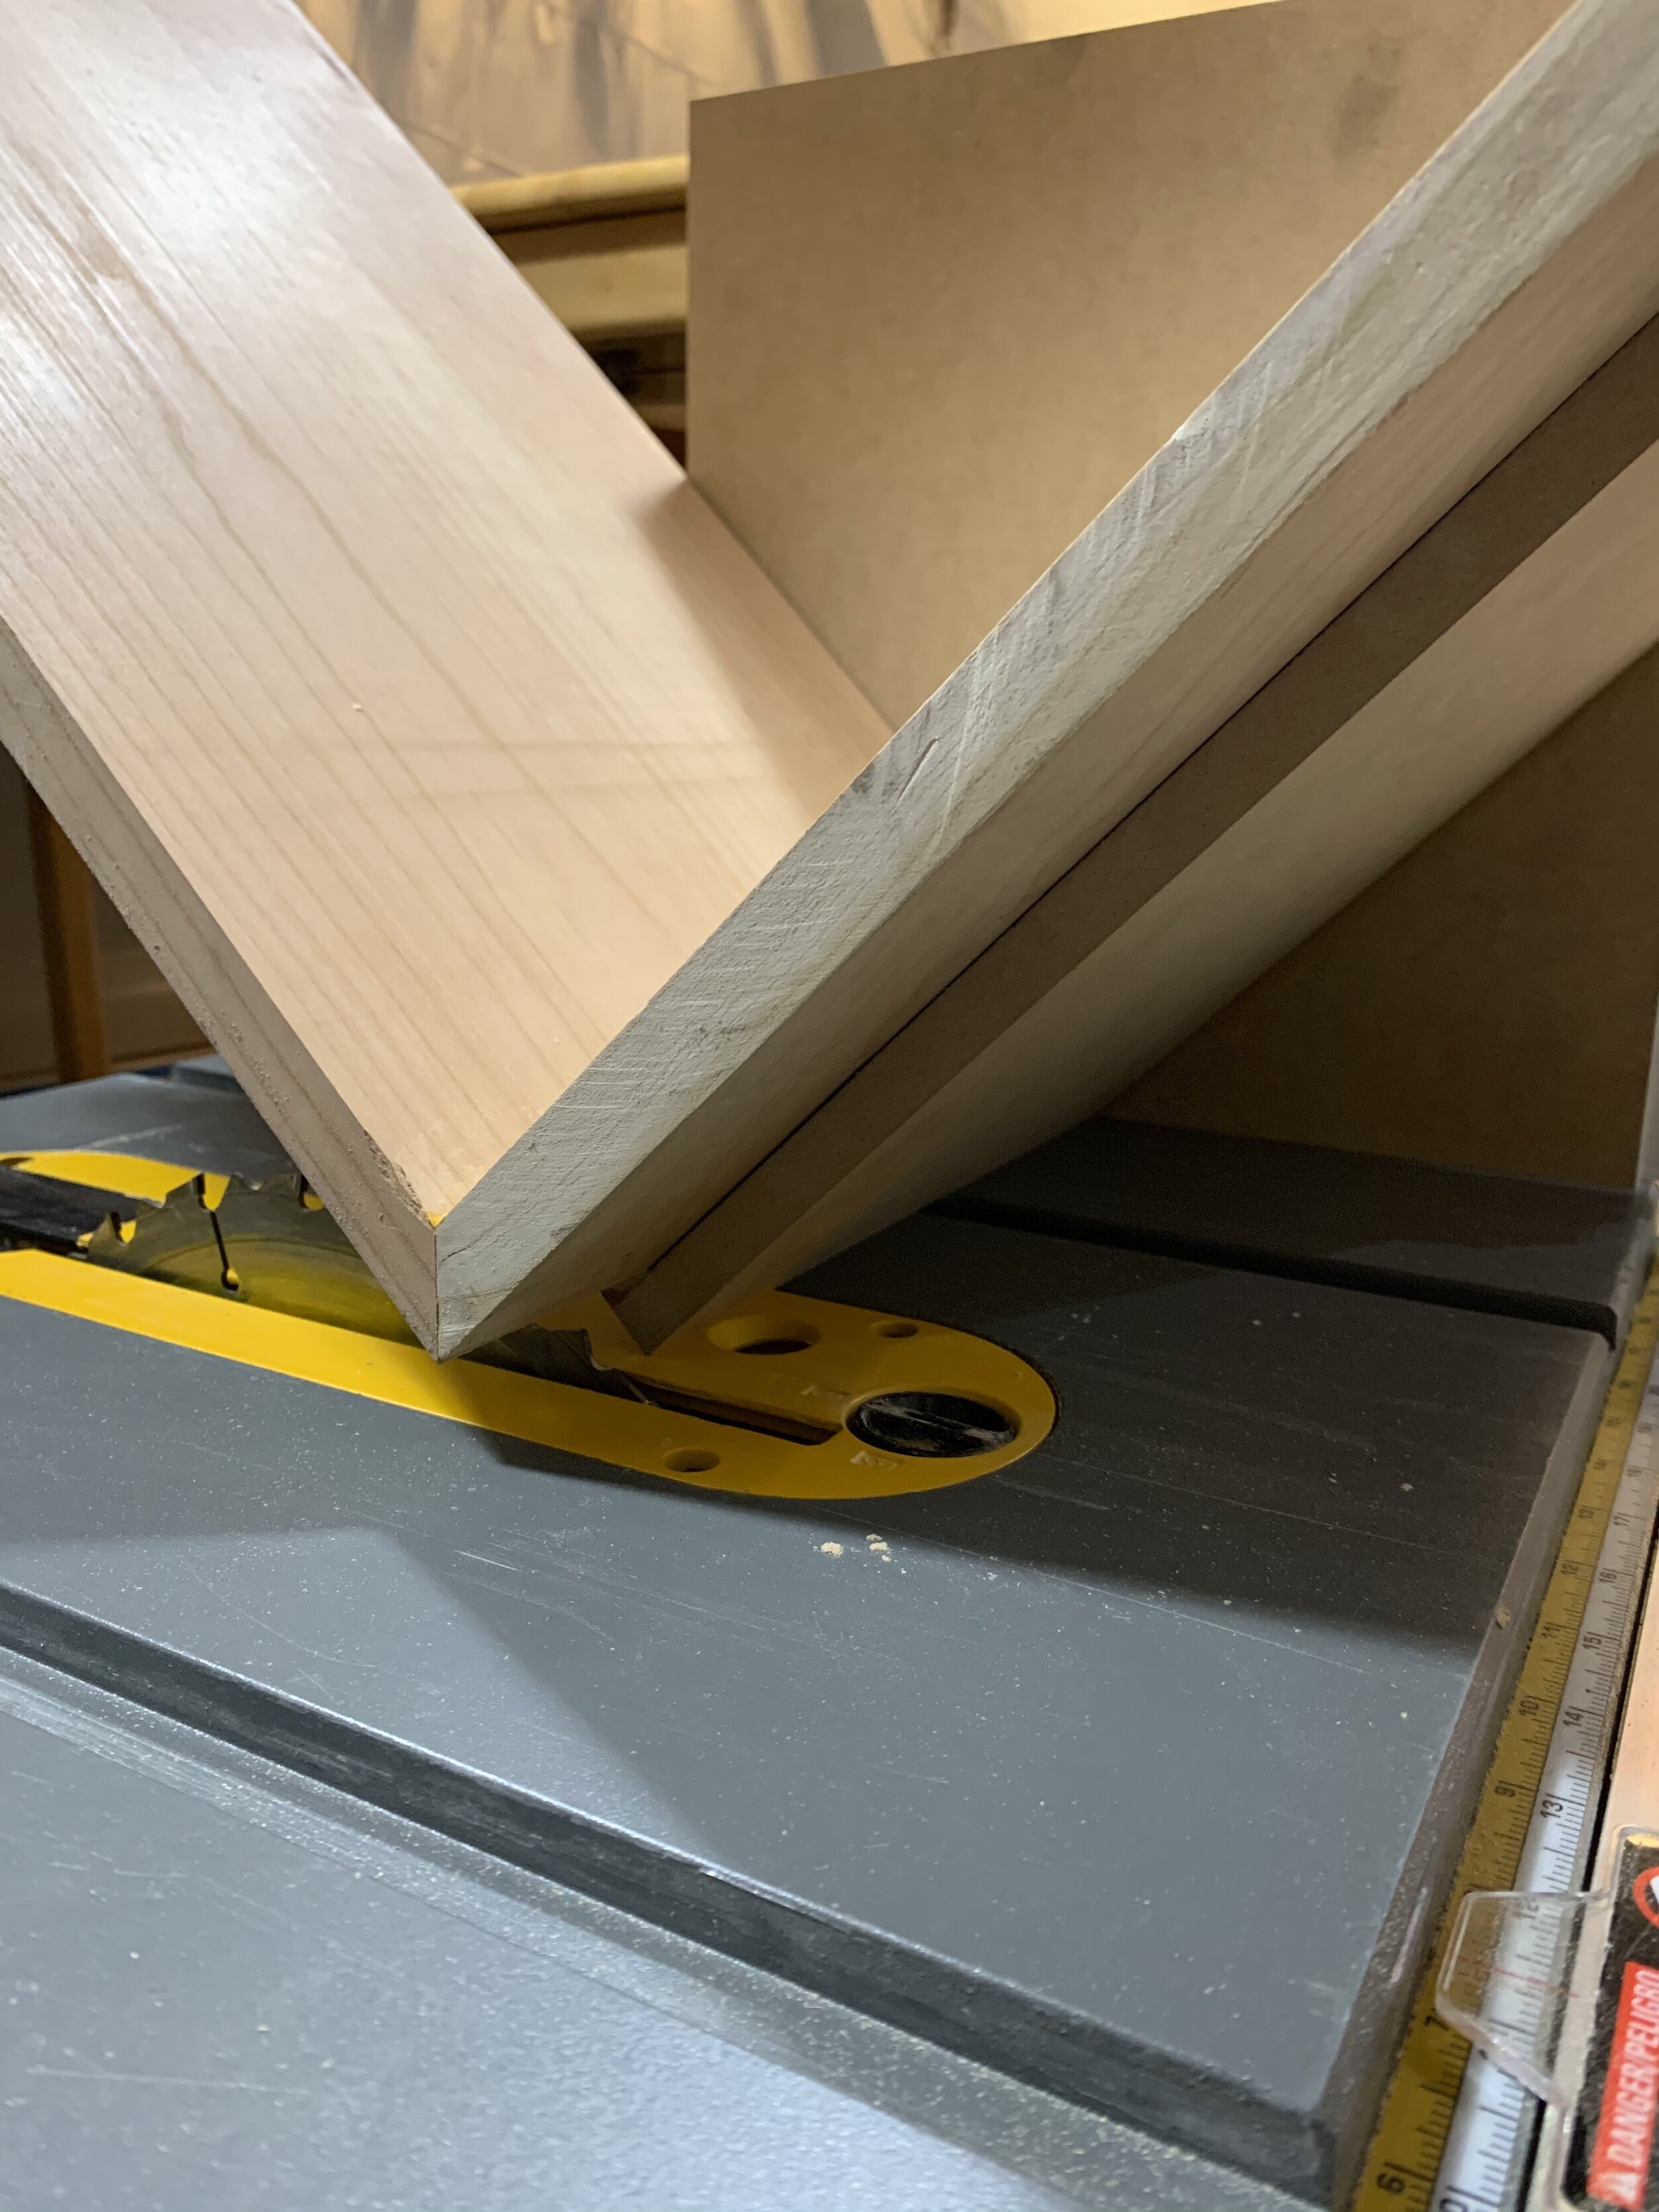
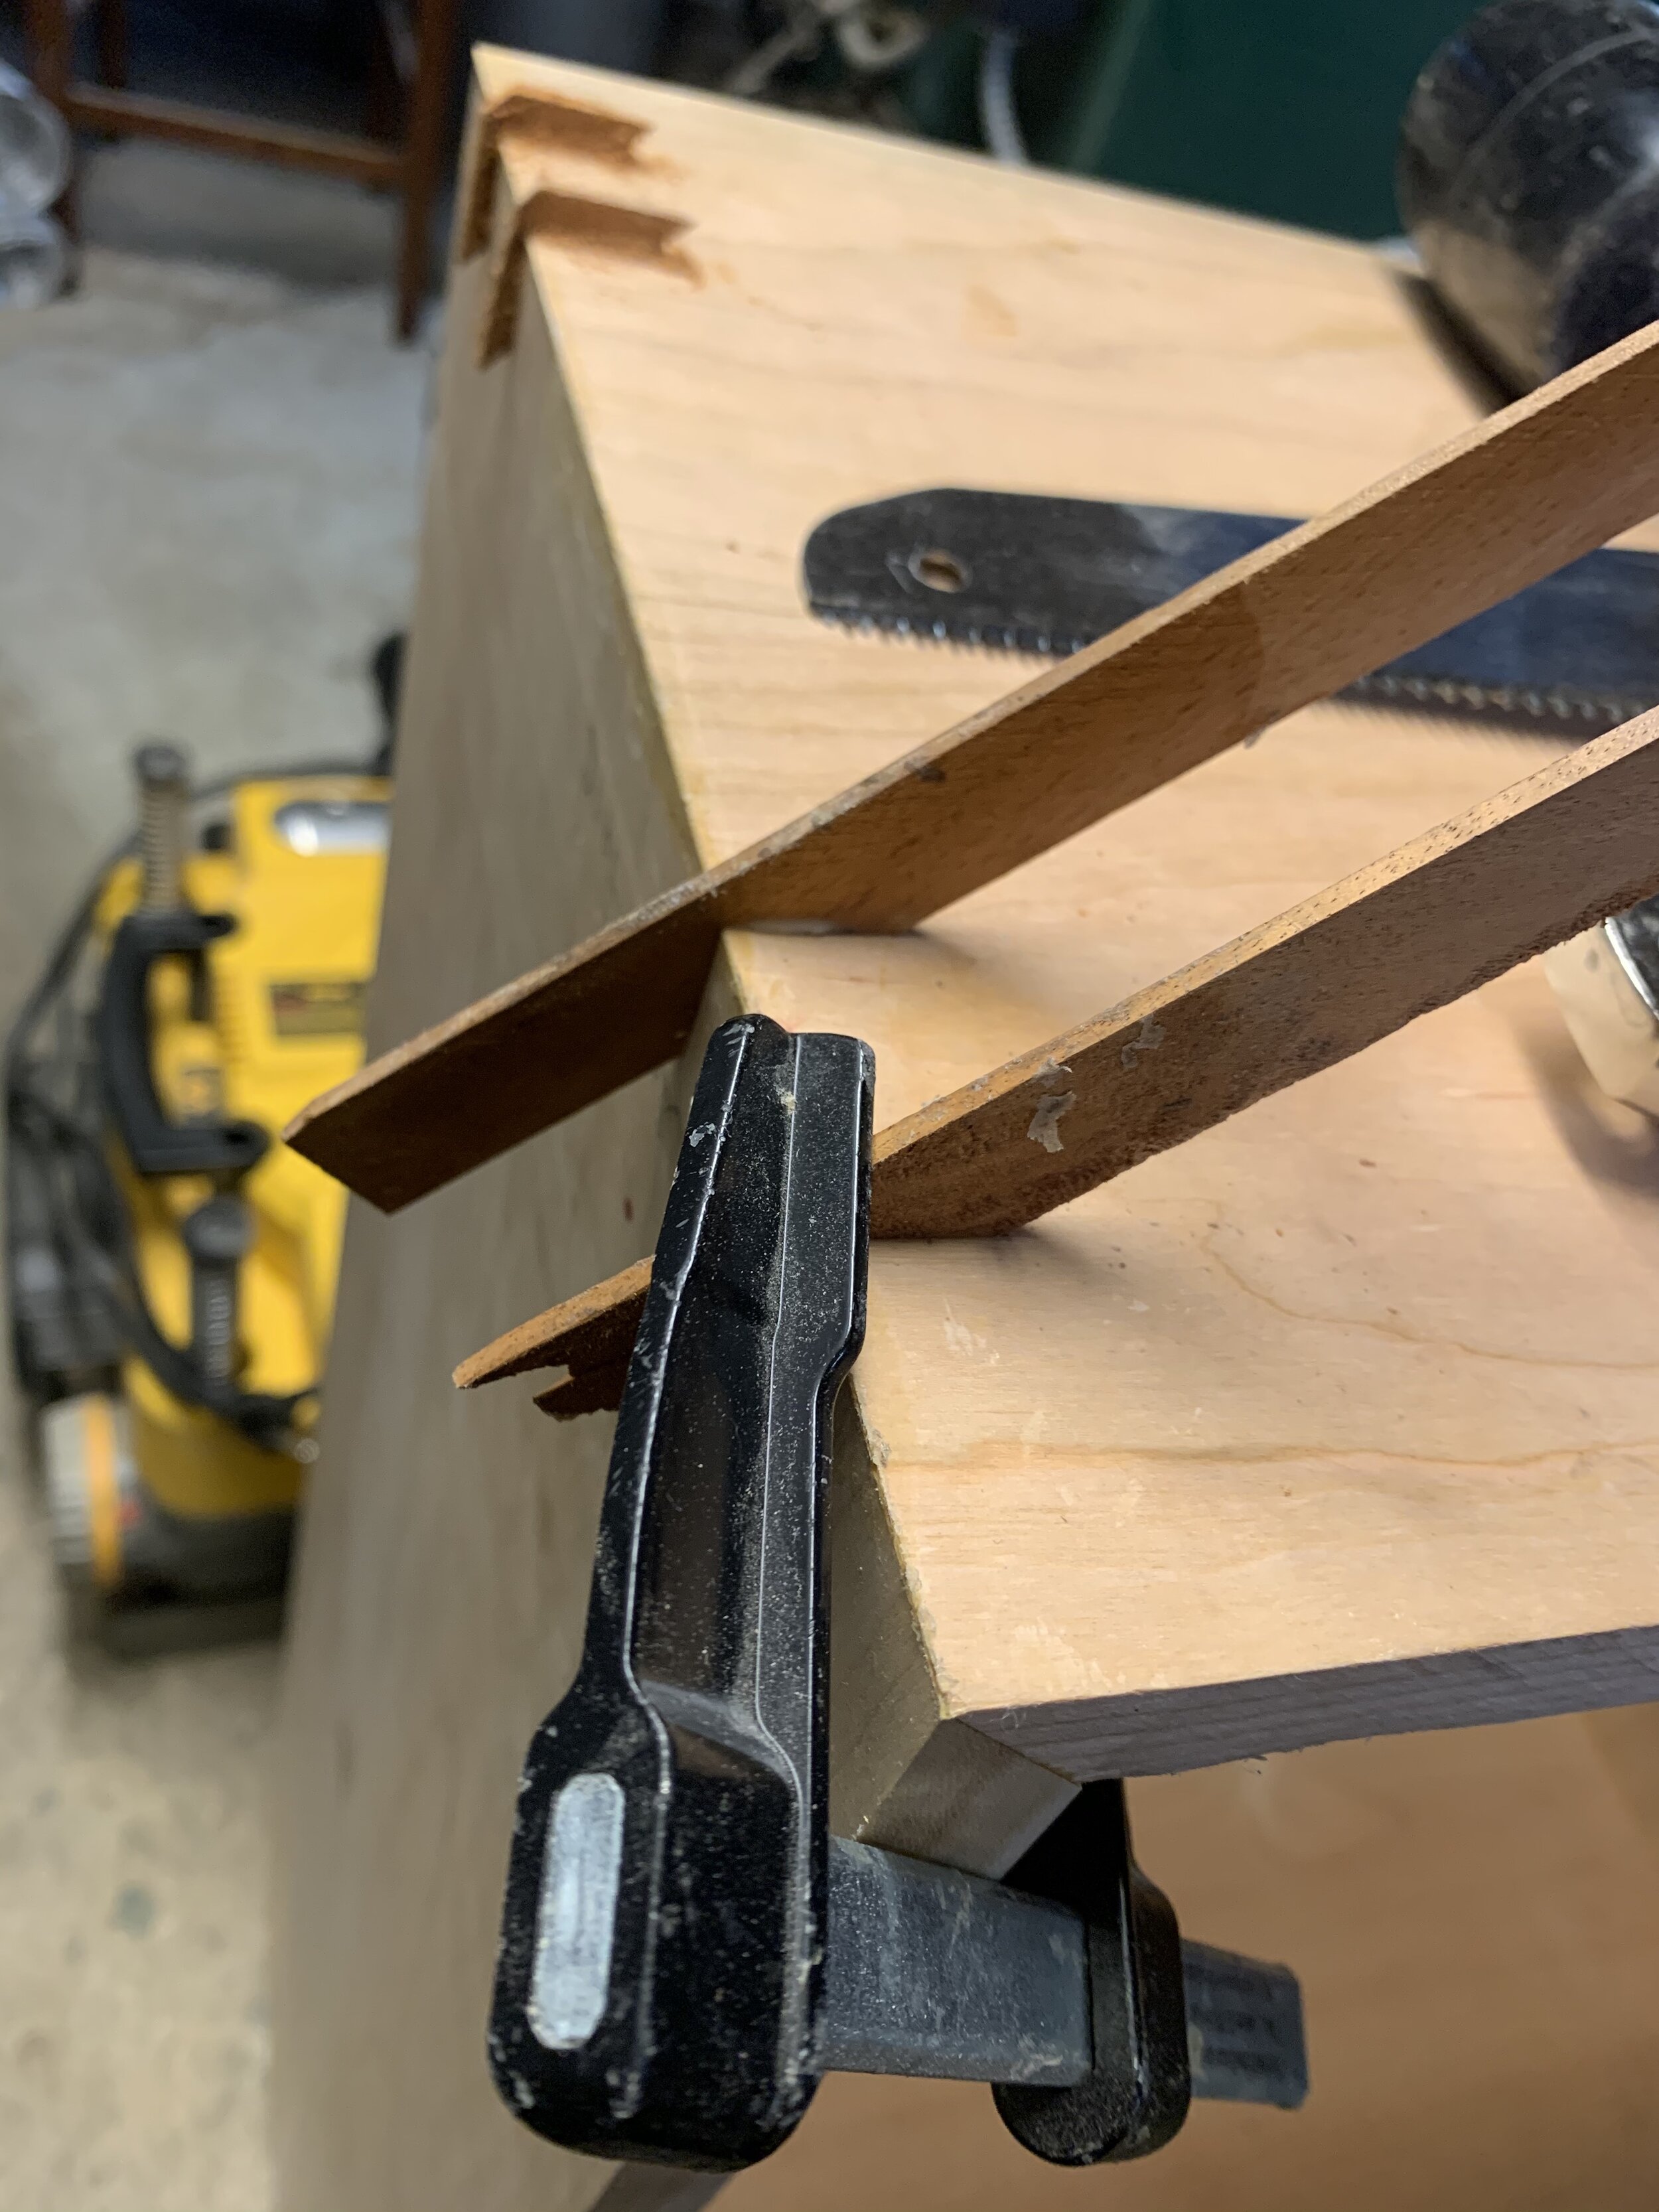
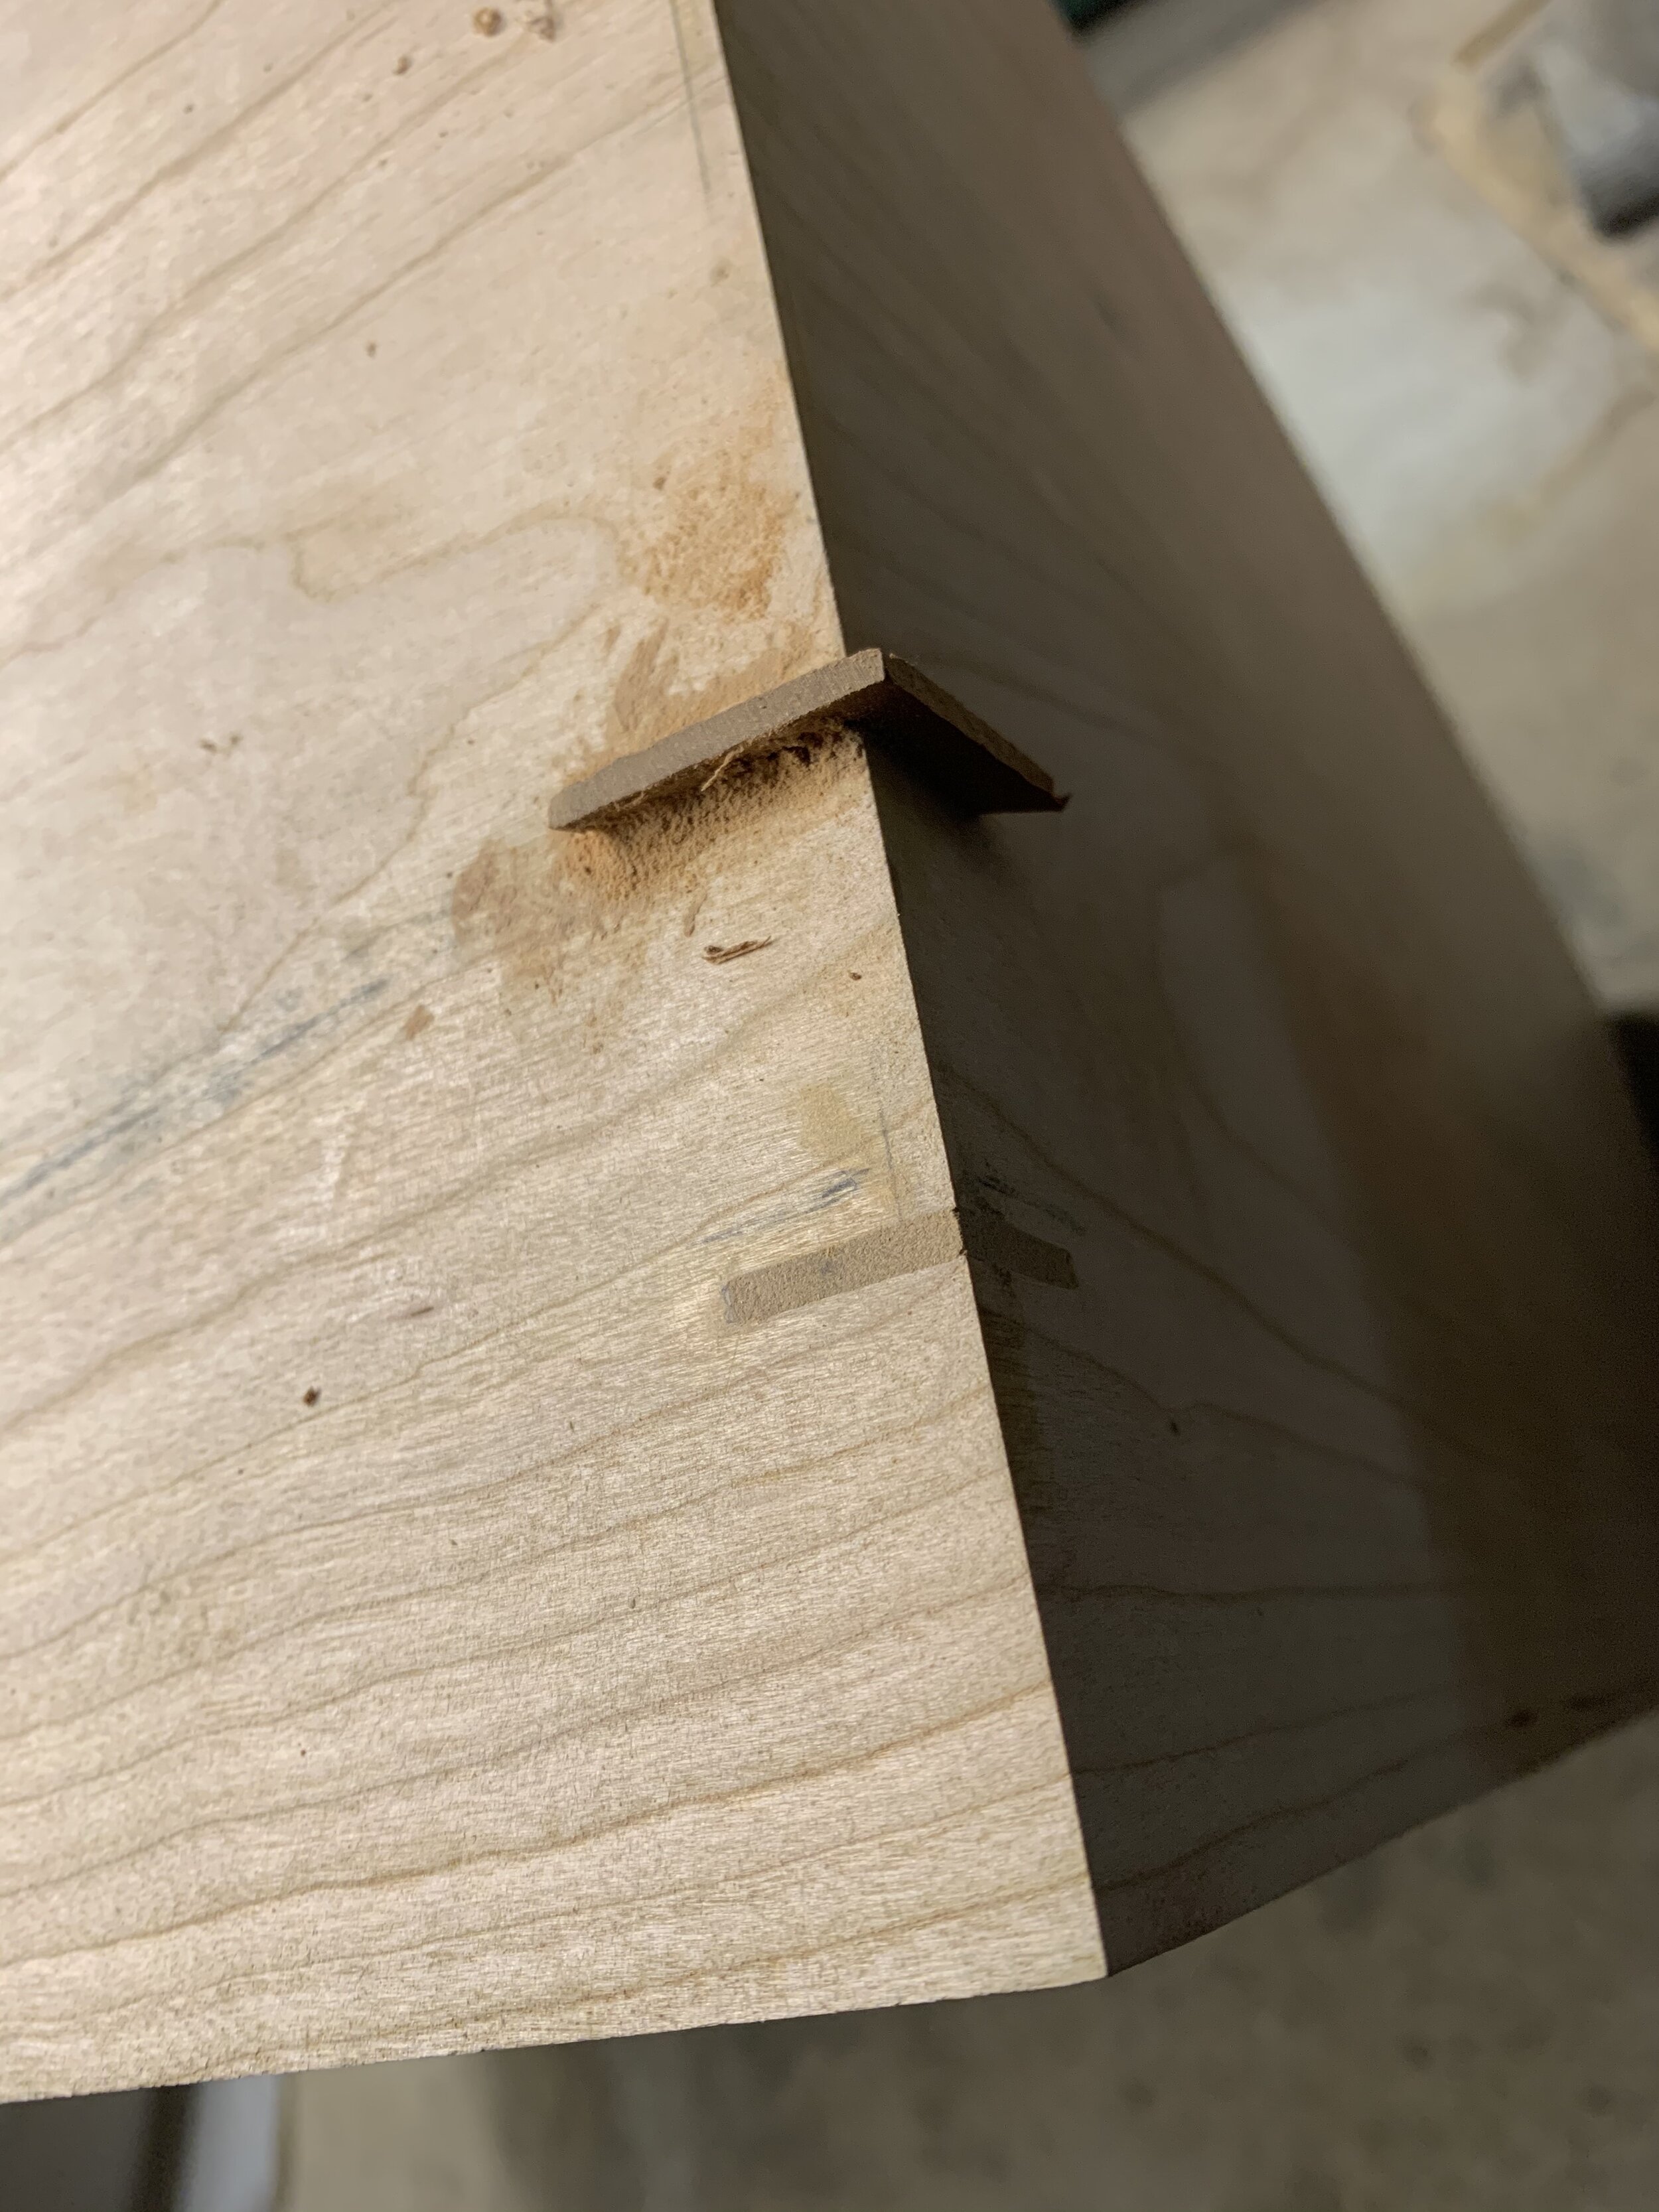
To reinforce the mitered joints and add structural rigidity to the cabinet, I created a table saw jig to cut a few perpendicular kerf grooves in the corners of the cabinet, spaced a few inches from the cabinet edge. I then created the splines using 1/8” thick mahogany stock. Aside from being aesthetically beautiful, splines can add quite a lot of strength to mitered corners - there is more gluing surface area, close fiber-to-fiber wood contact, and long grain to long grain mating area.
To add the splines, I used some wood glue and a rubbery mallet - quickly realizing that splines are fragile, and for best results the spline should be slightly smaller than the blade kerf so that they slide in nicely without force (I cracked some splines in the process using a bit too much force, which were a pain to remove or in some cases even redo once the glue had dried). Once all corner splines were in place and the wood glue had dried, I sawed and sanded flush with the project.

Inner Shelf
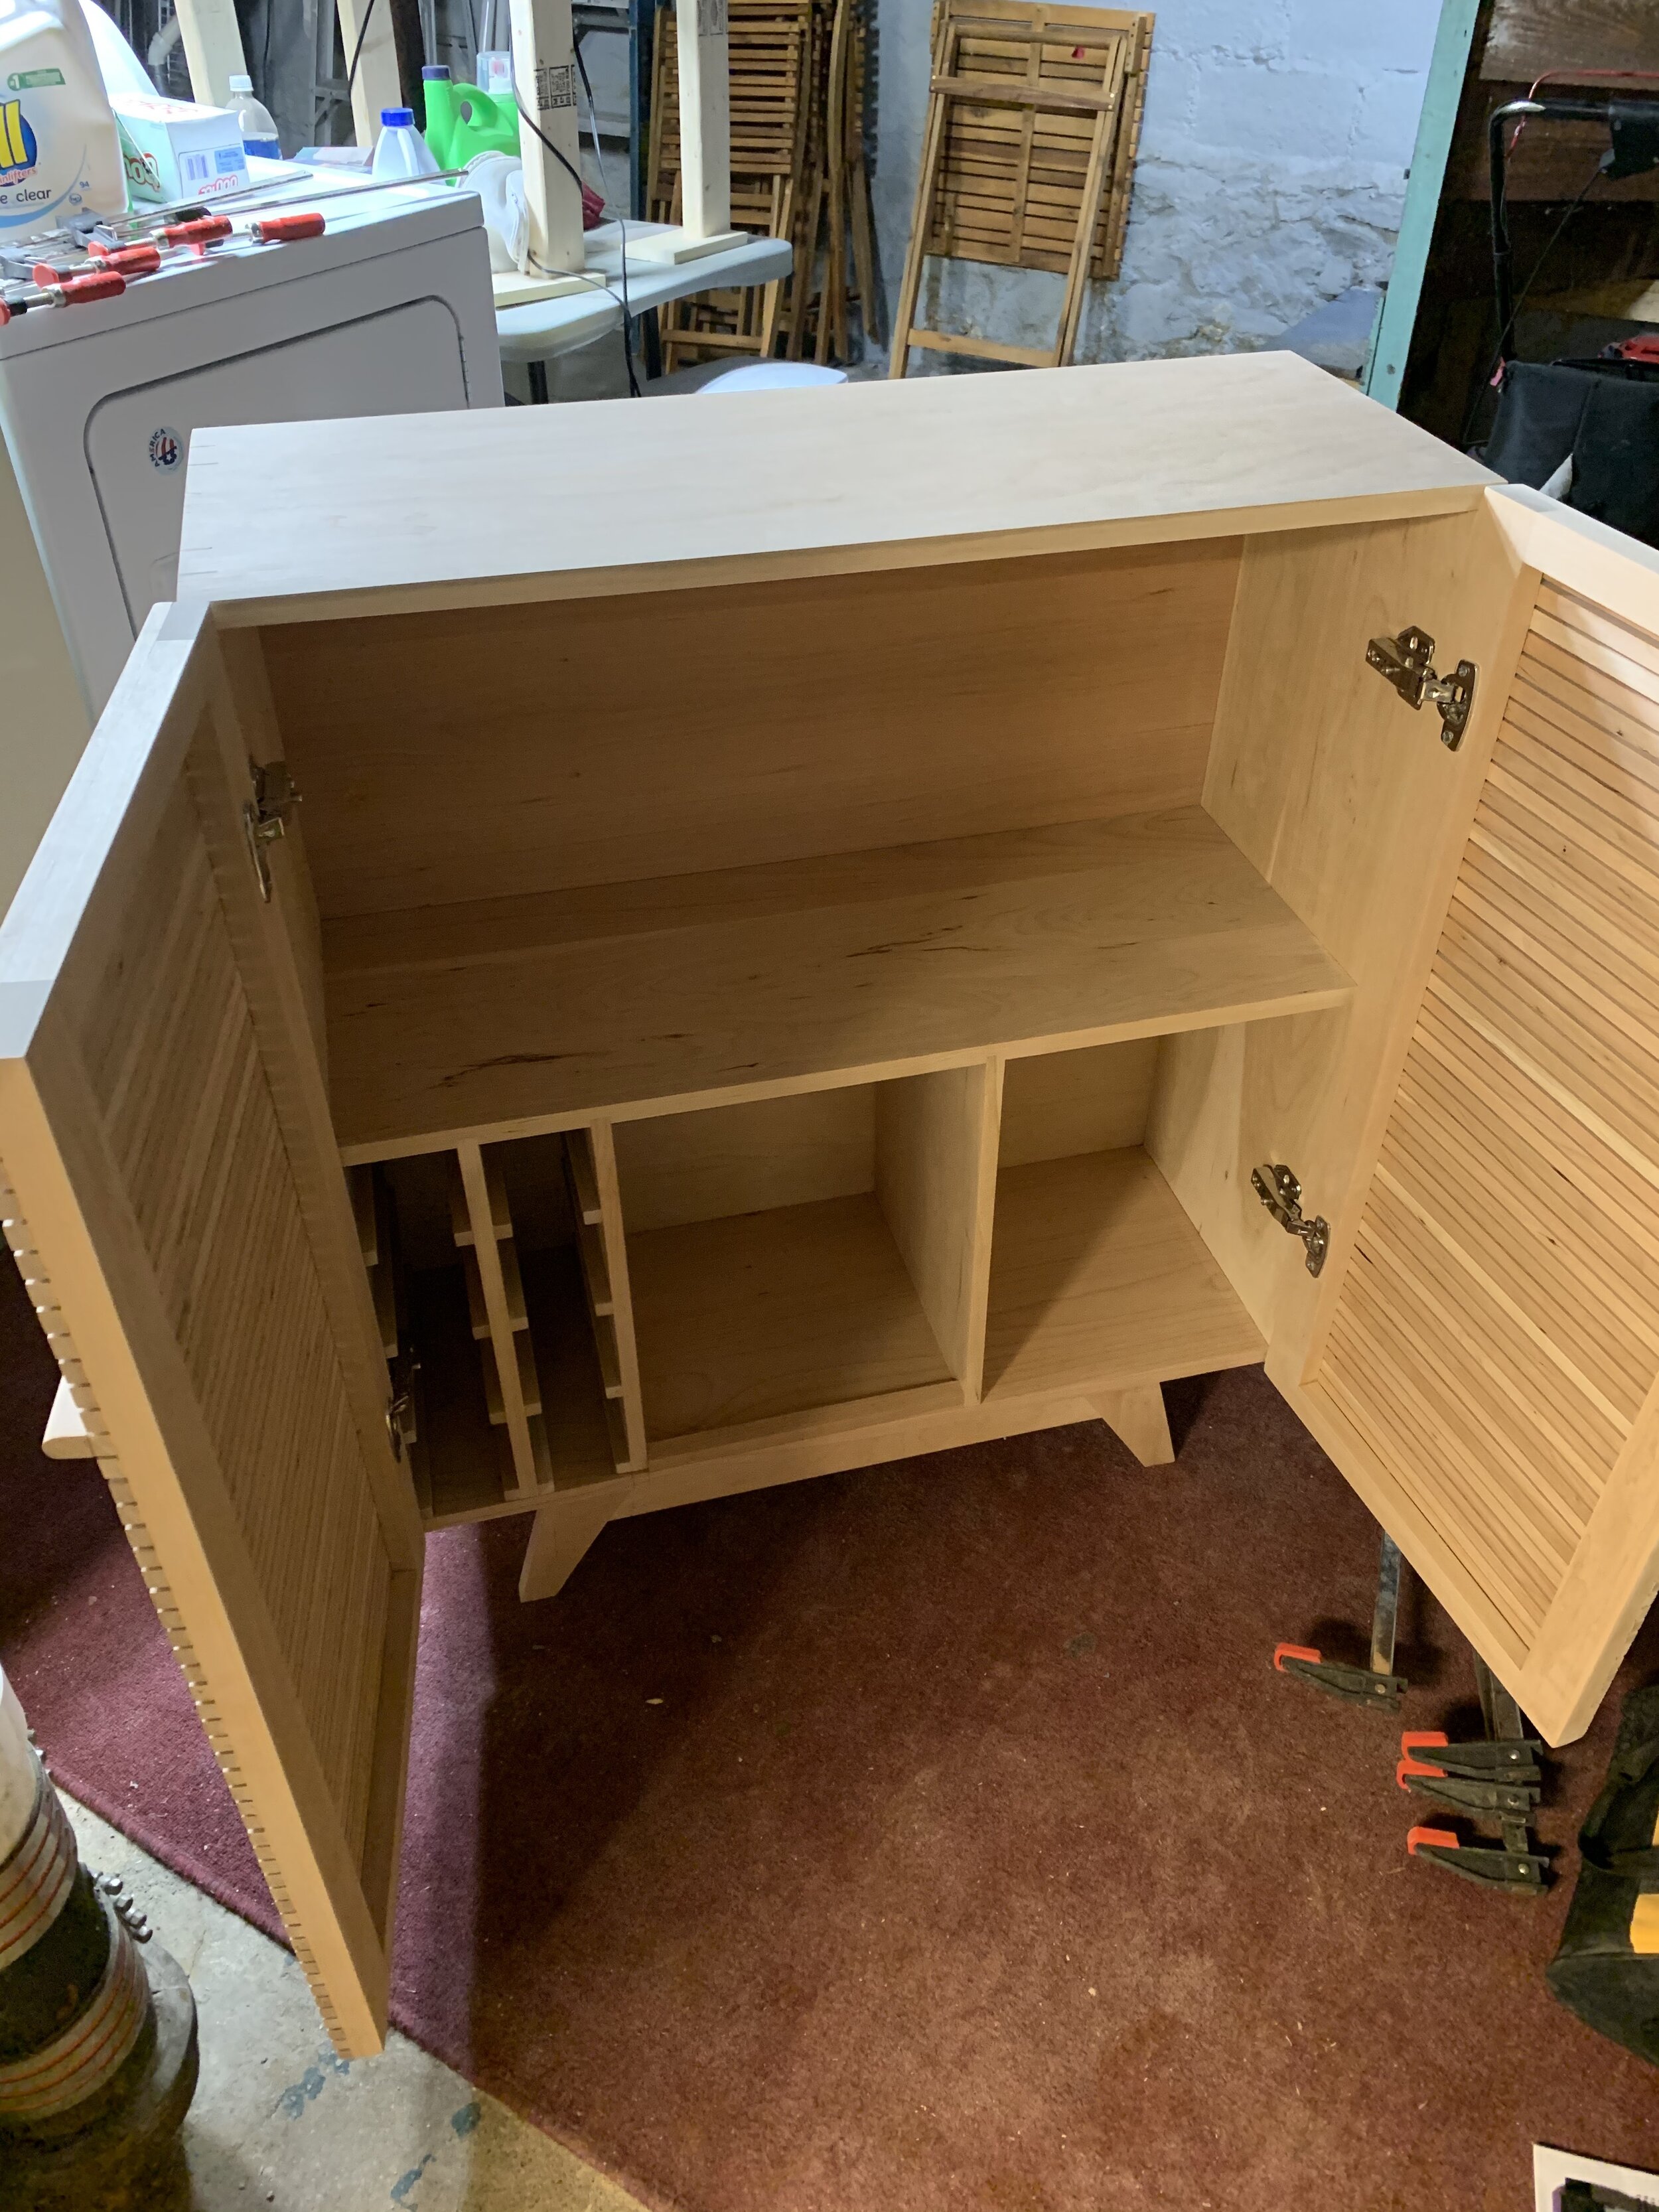
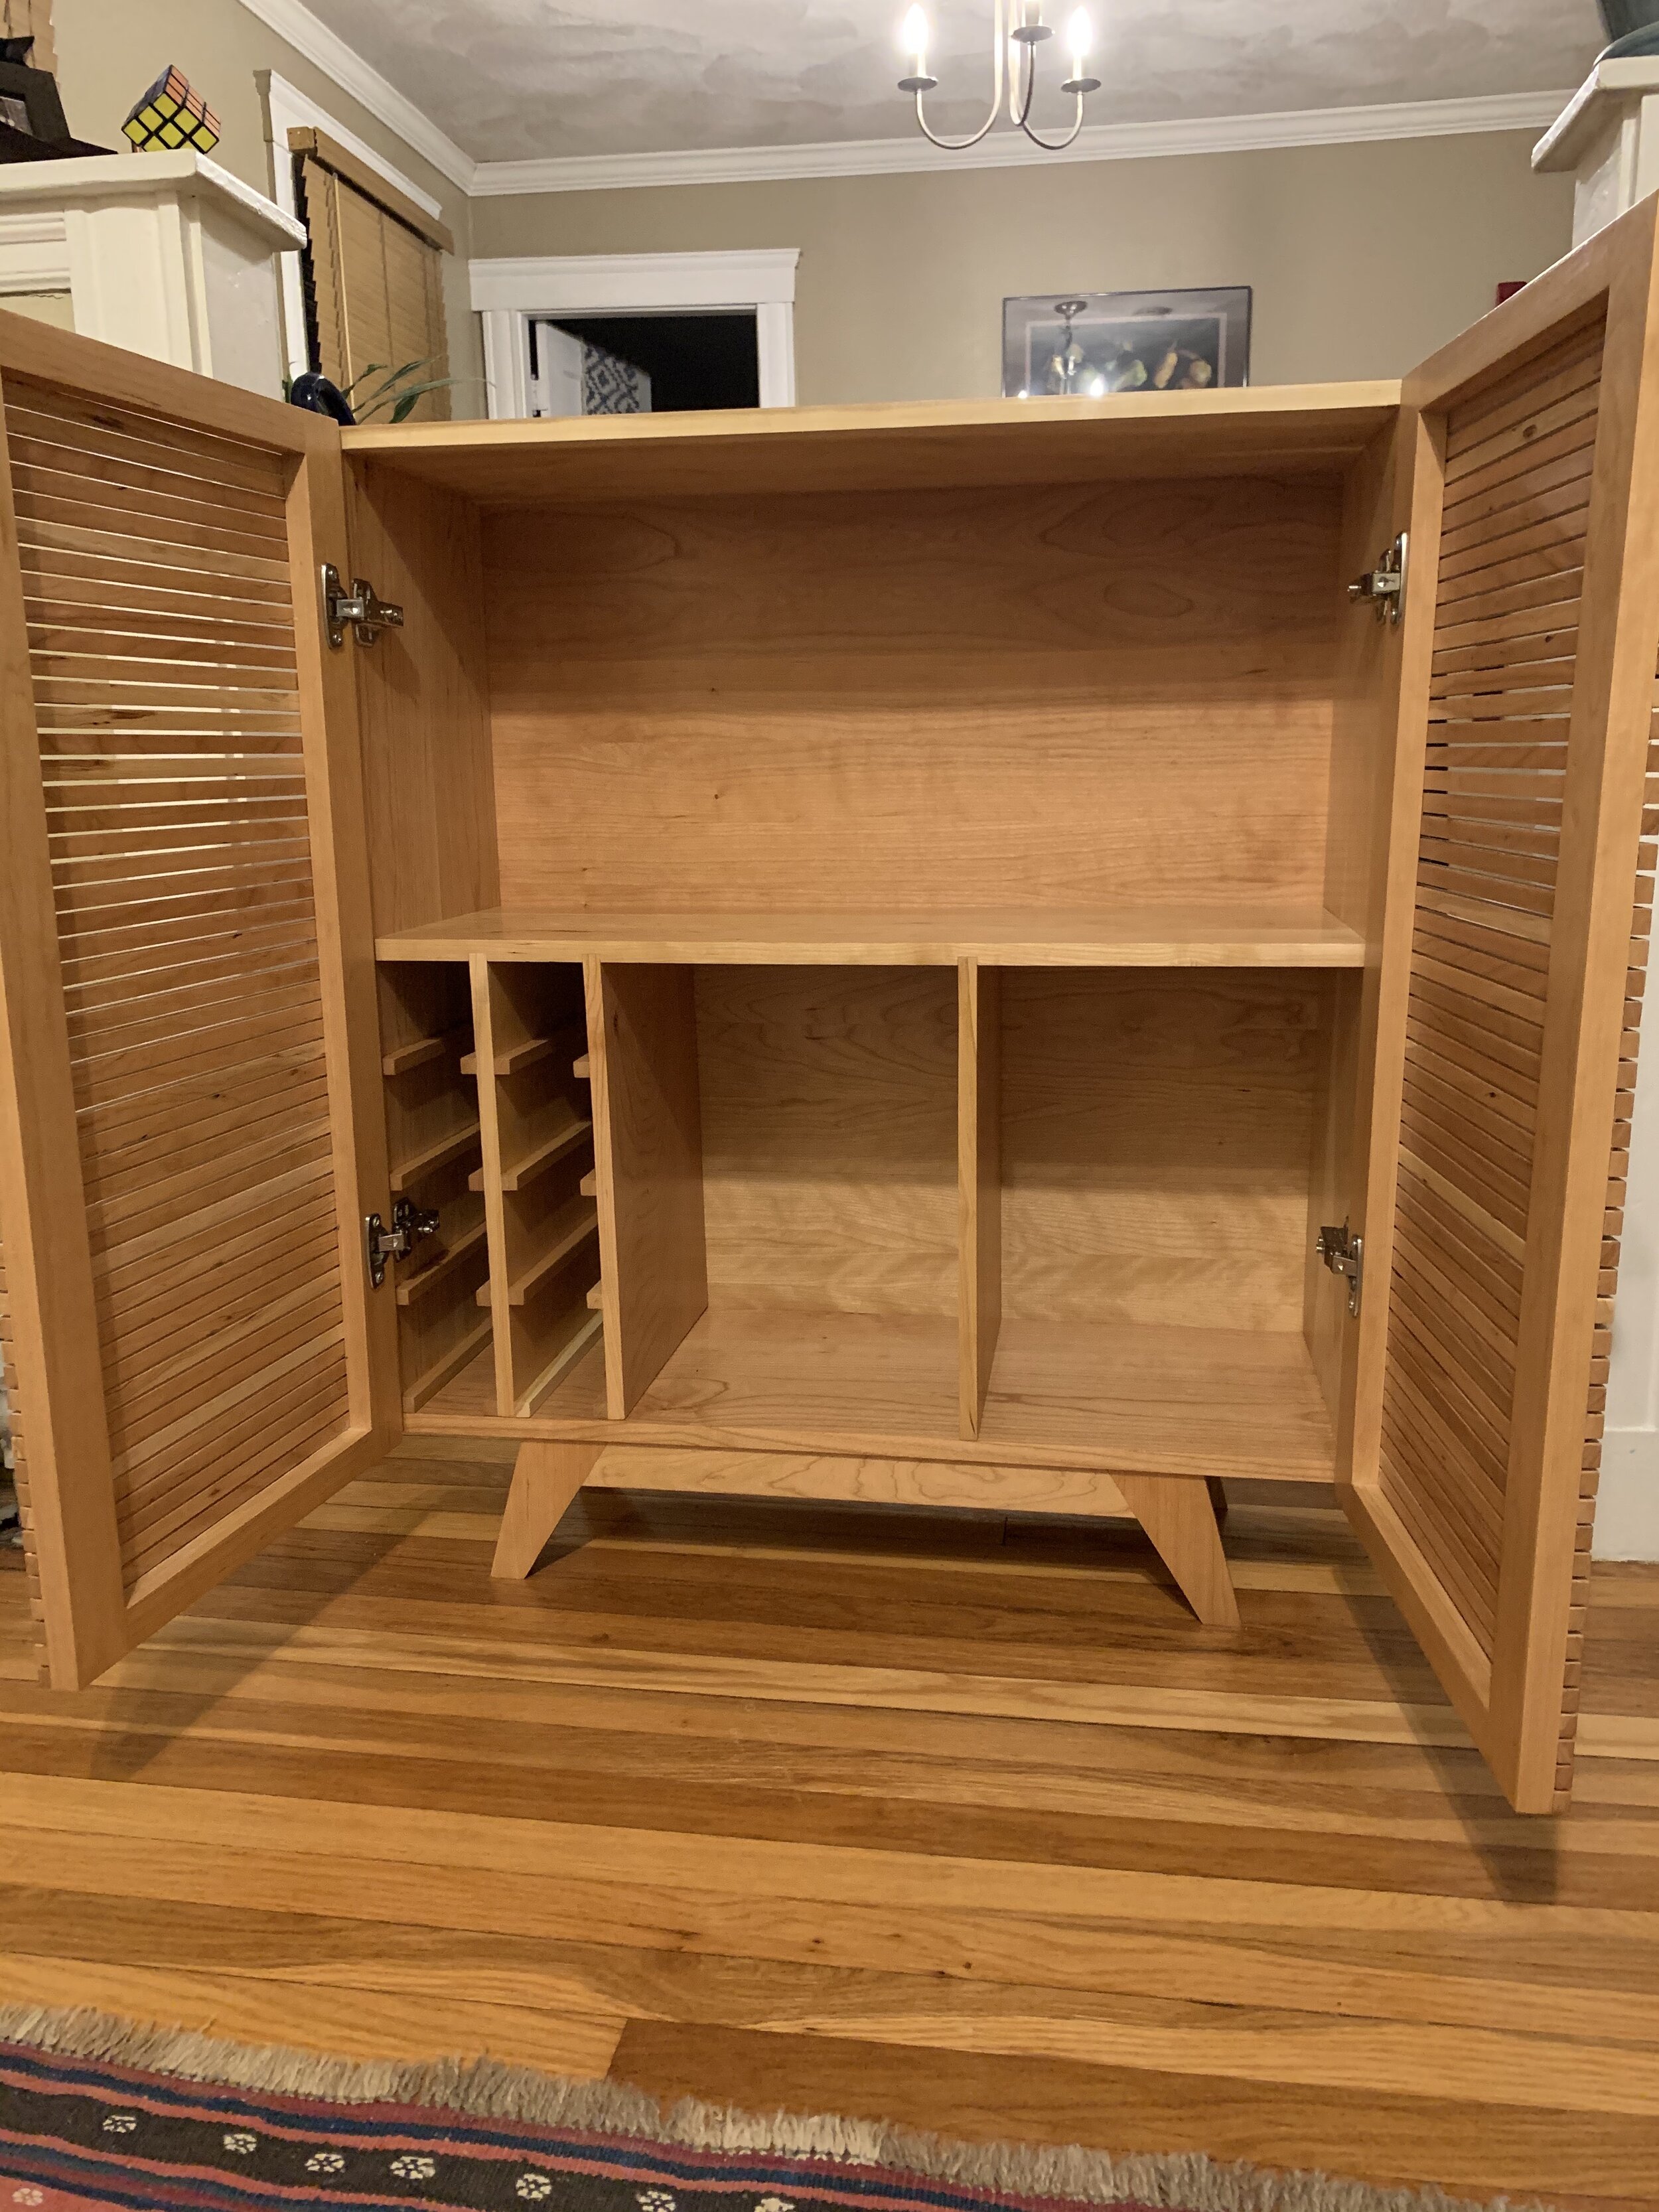
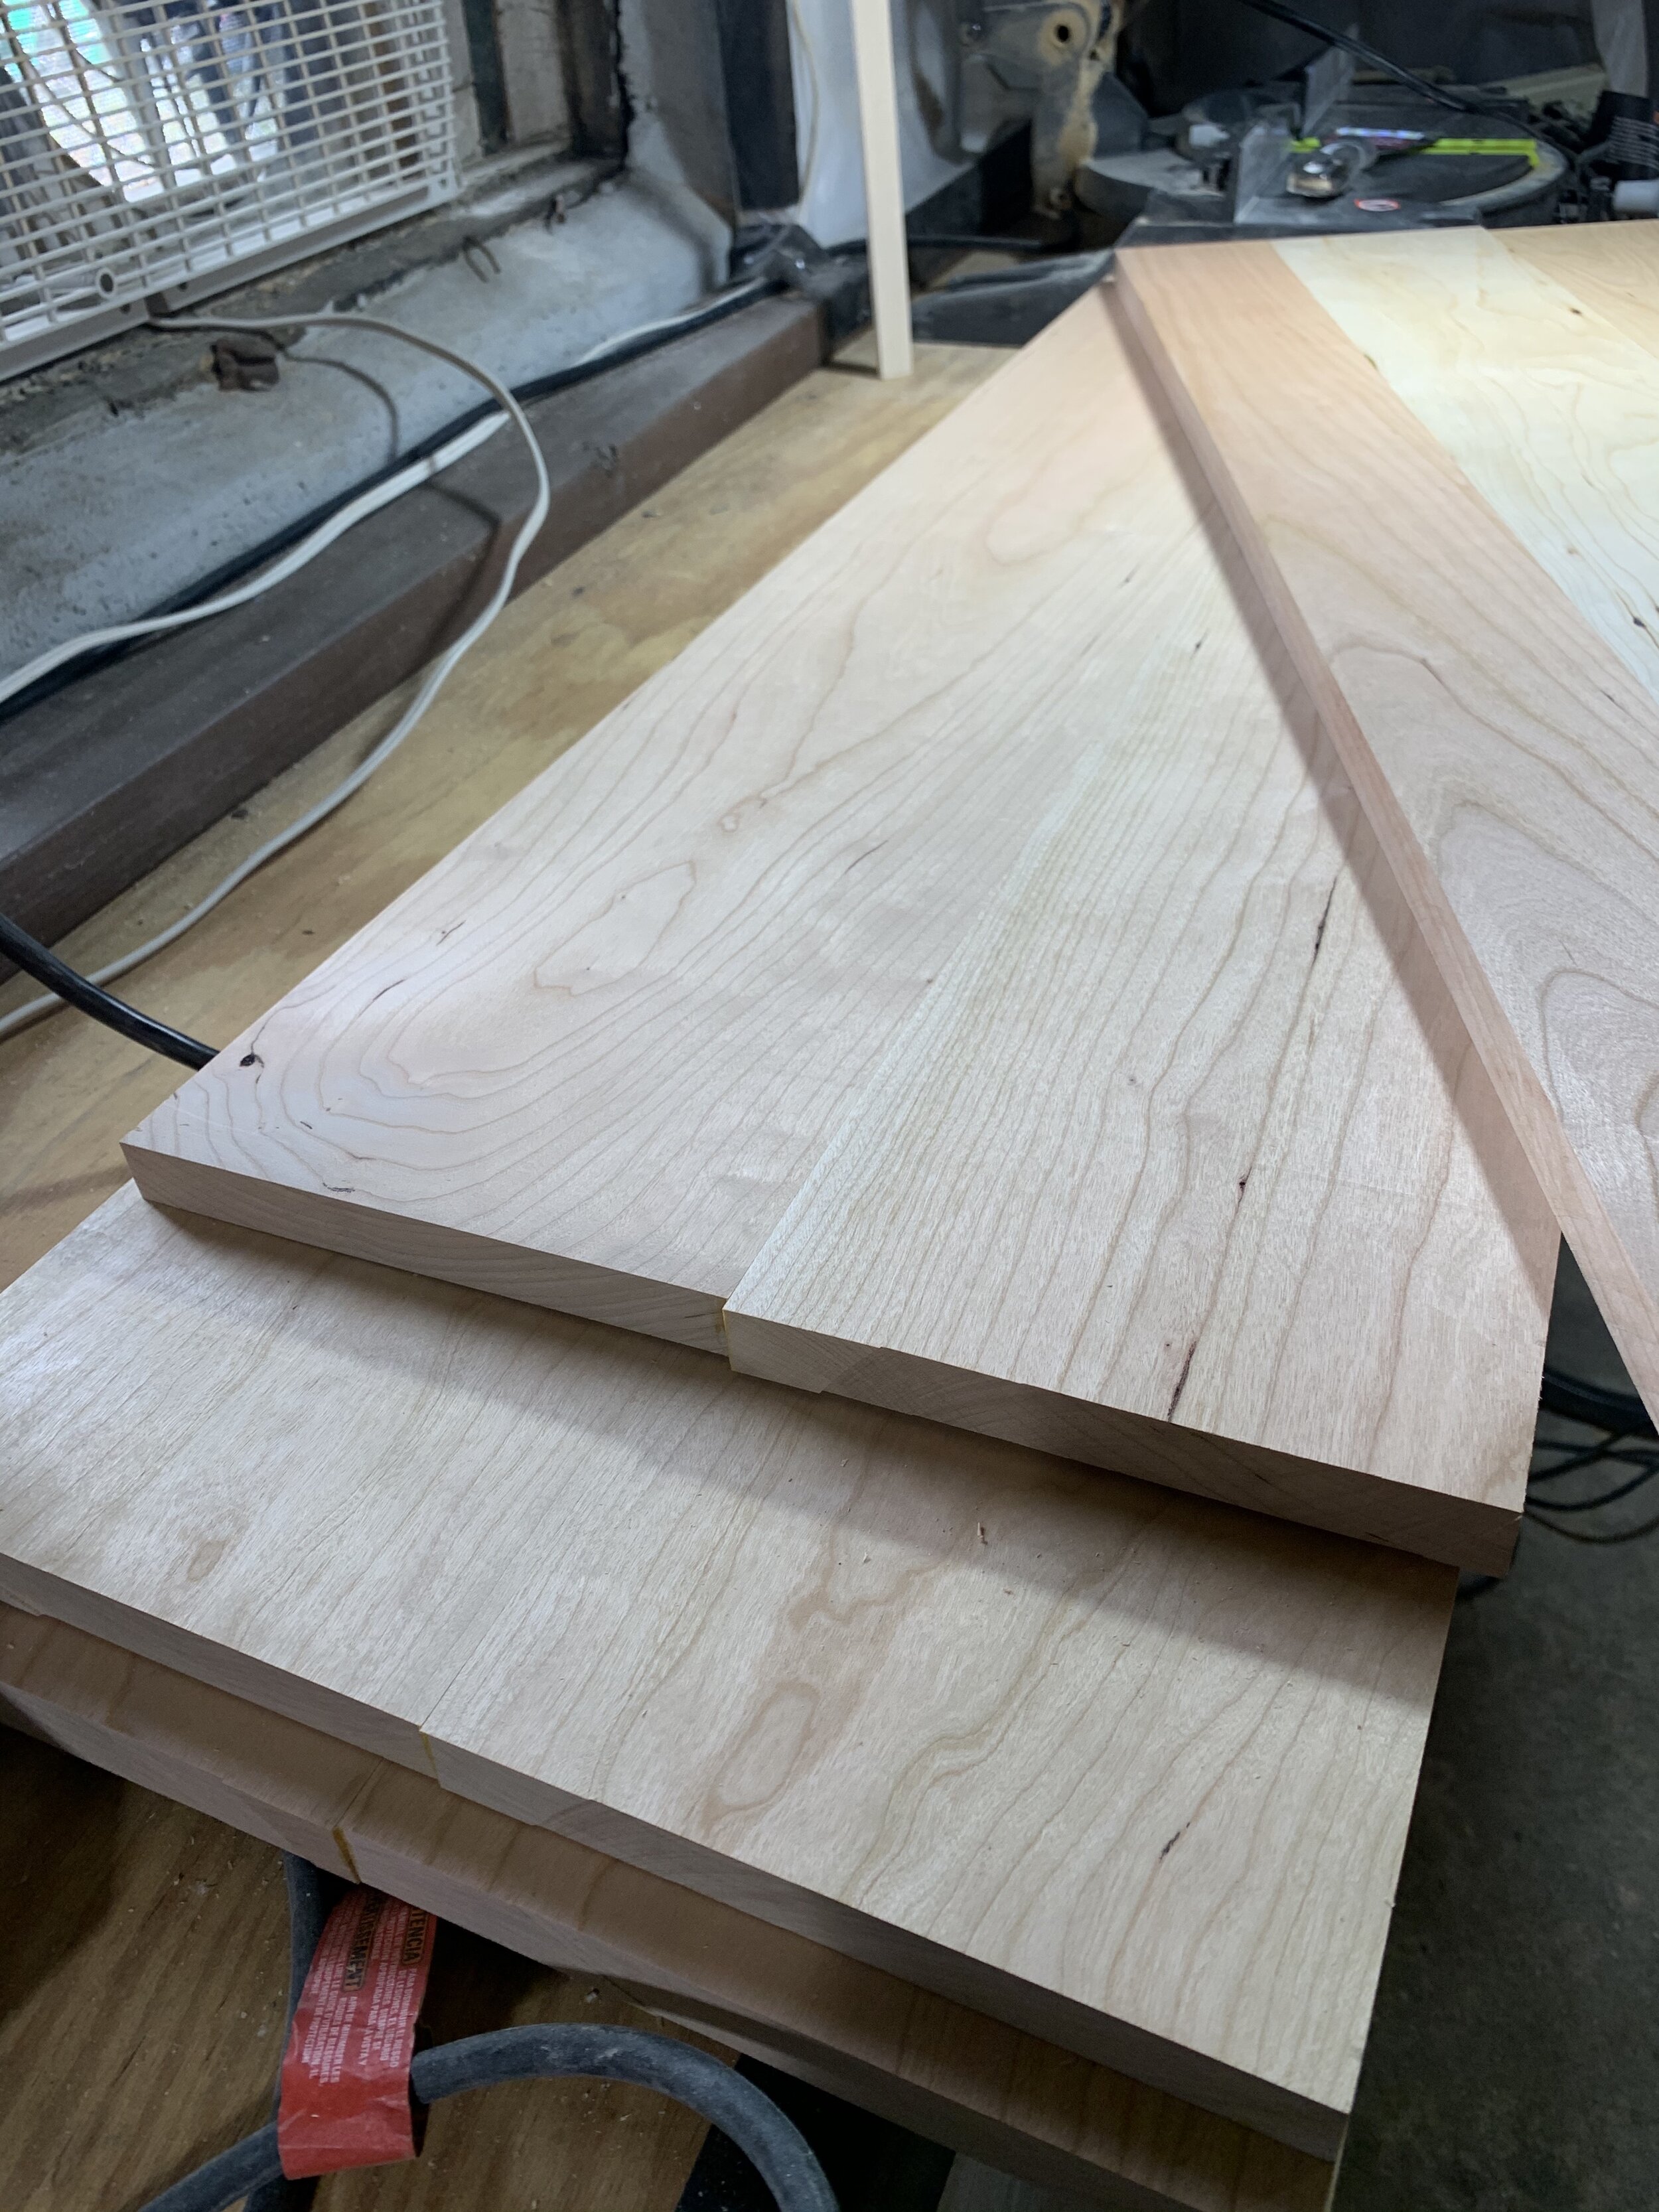
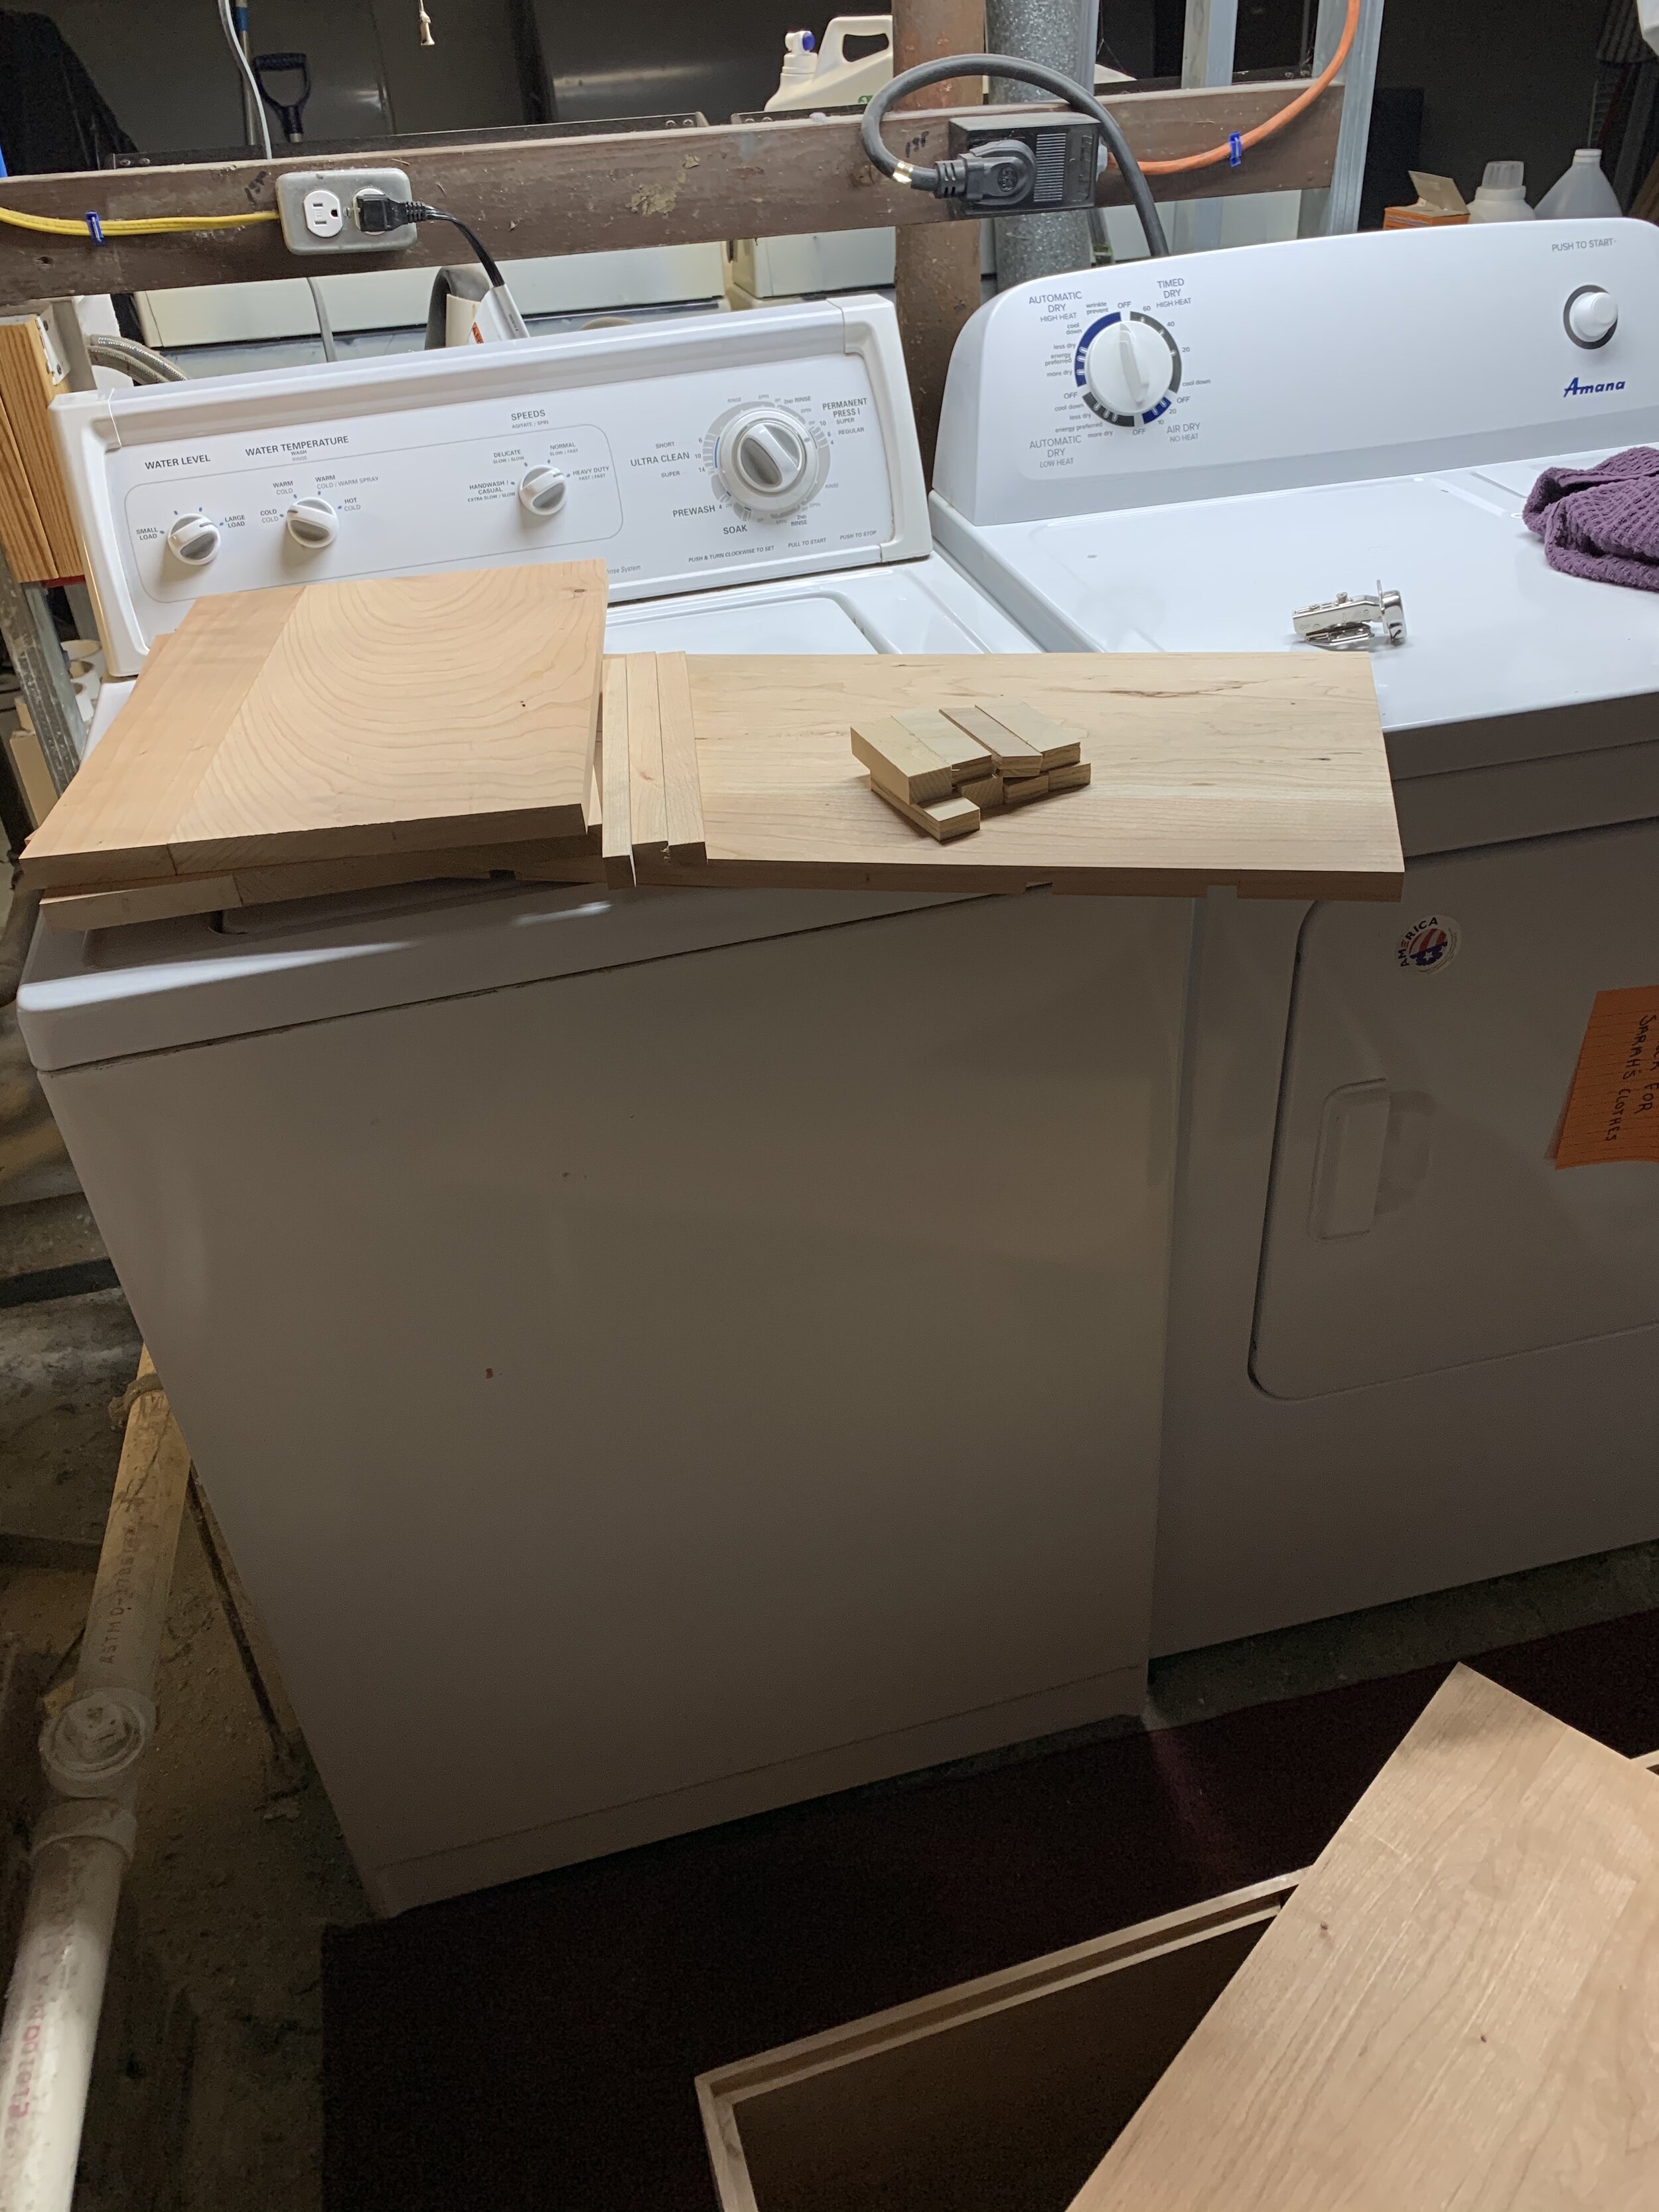
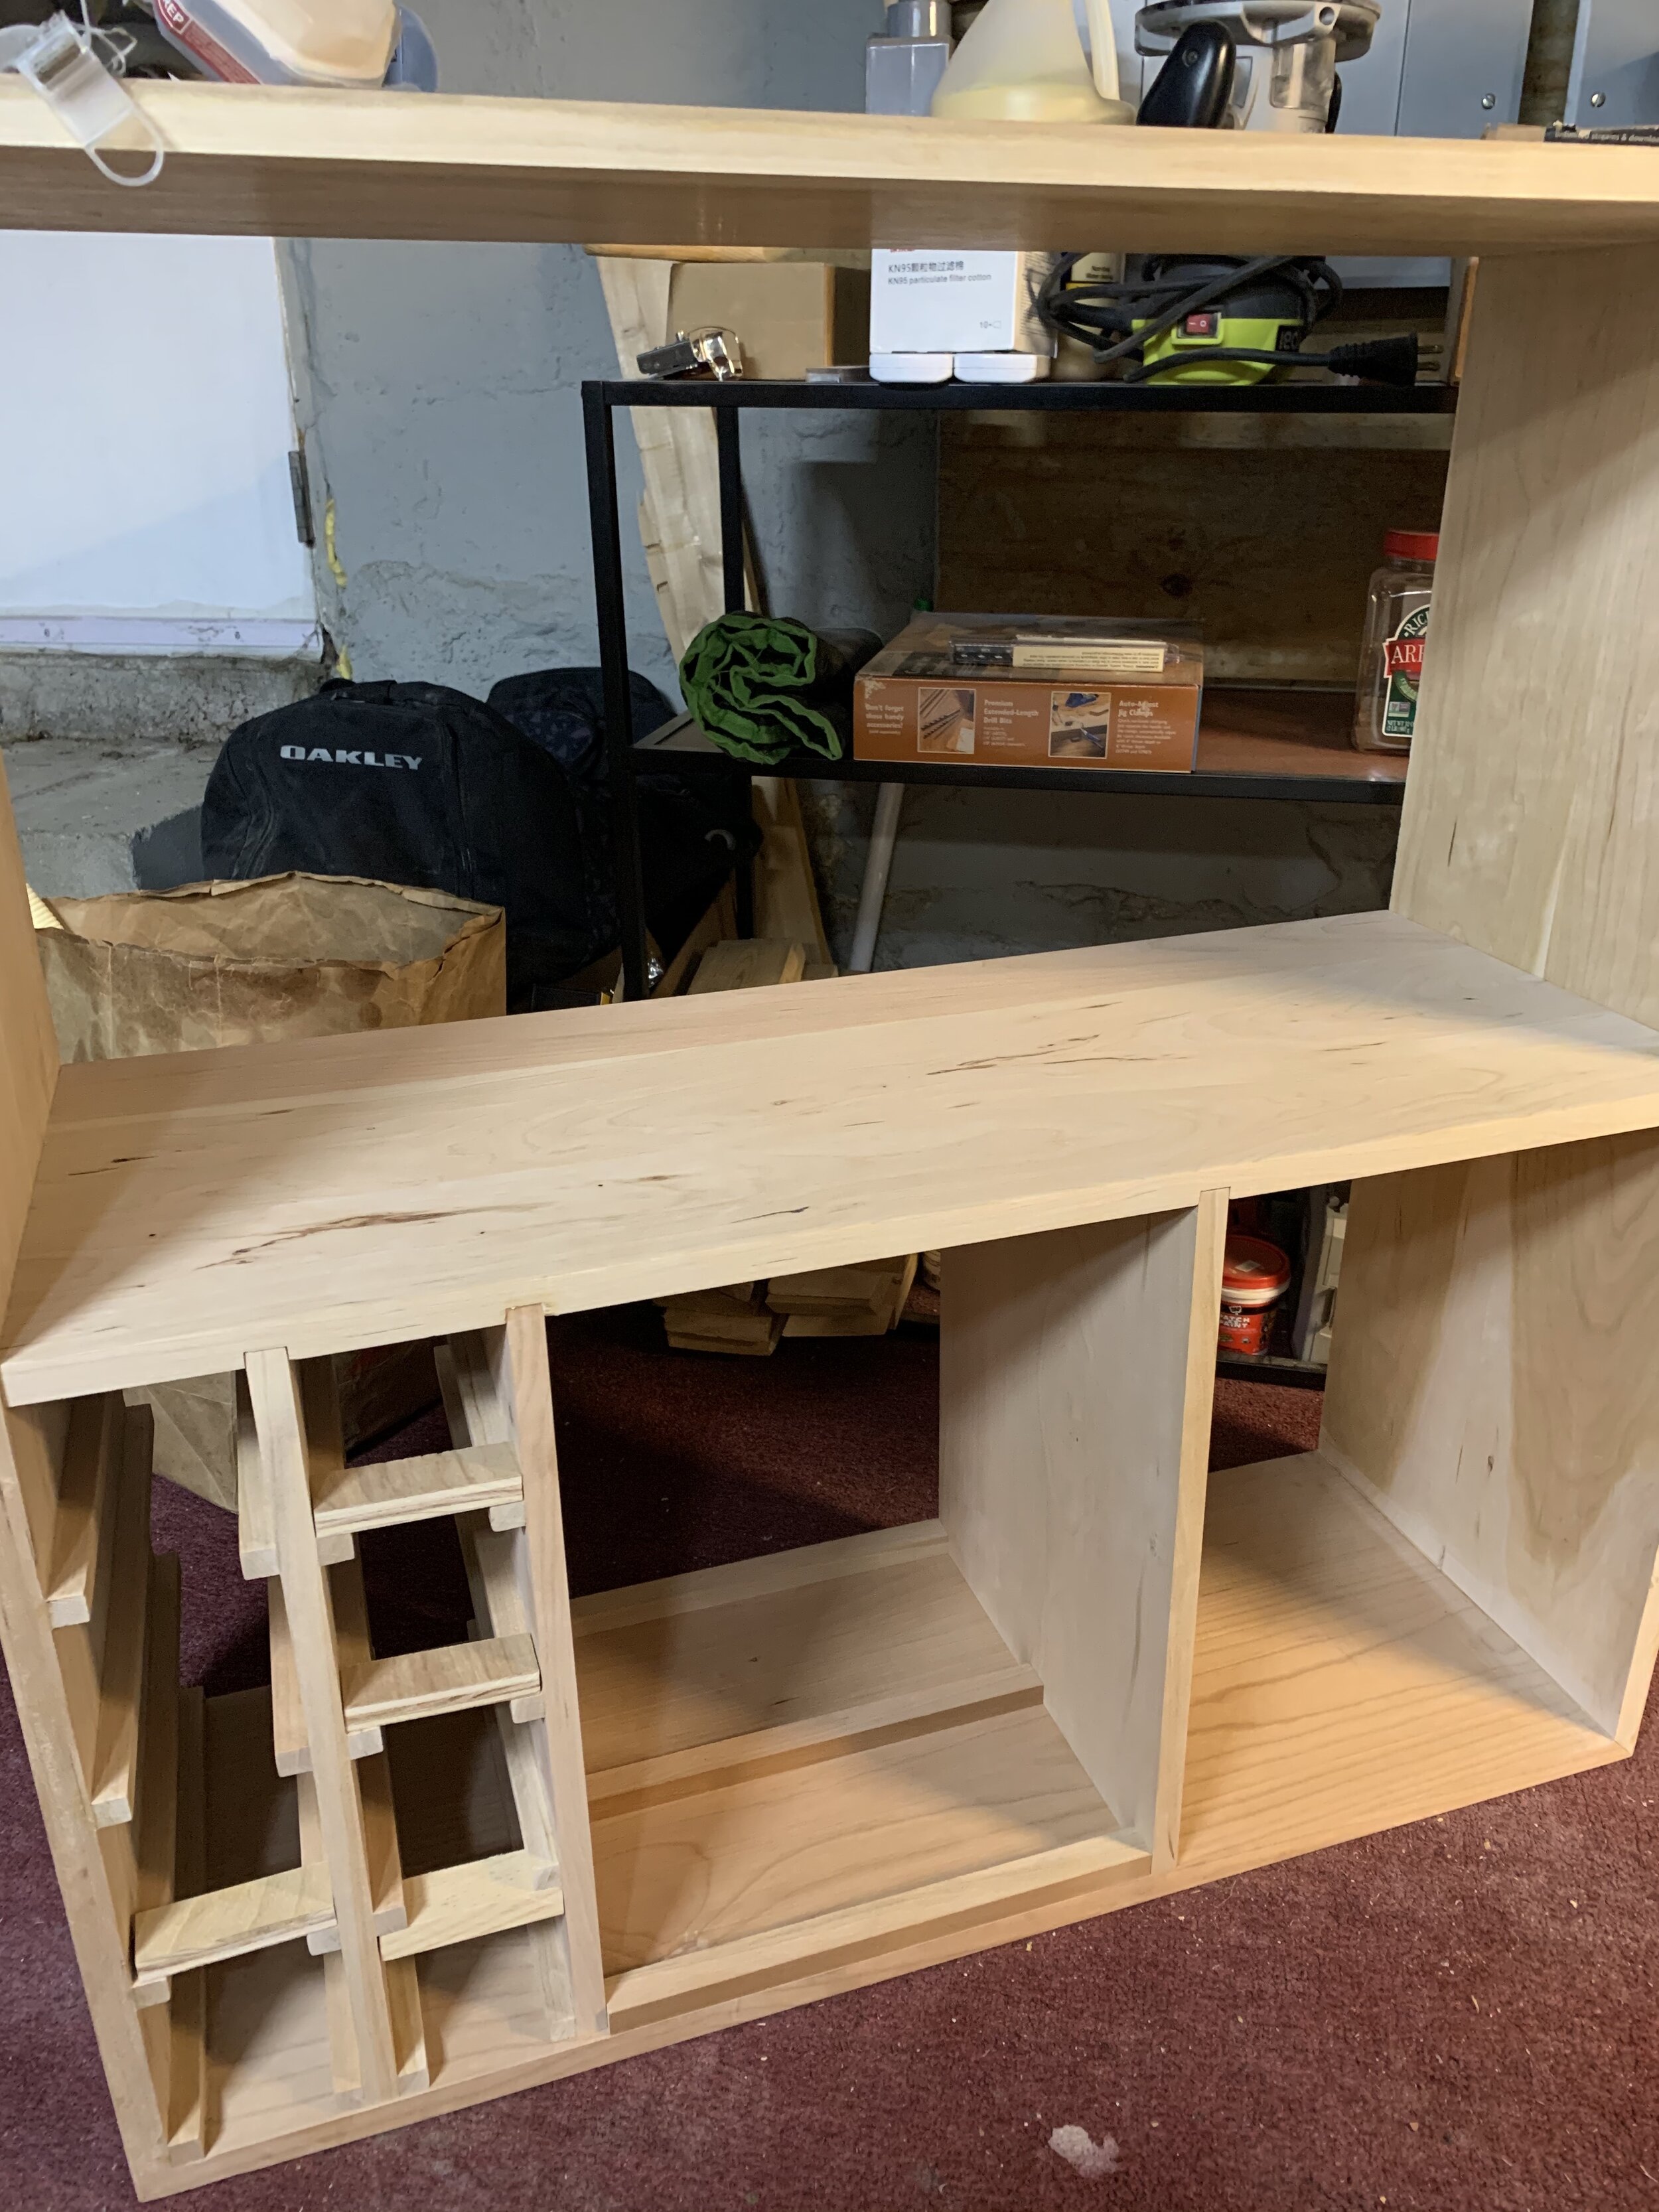
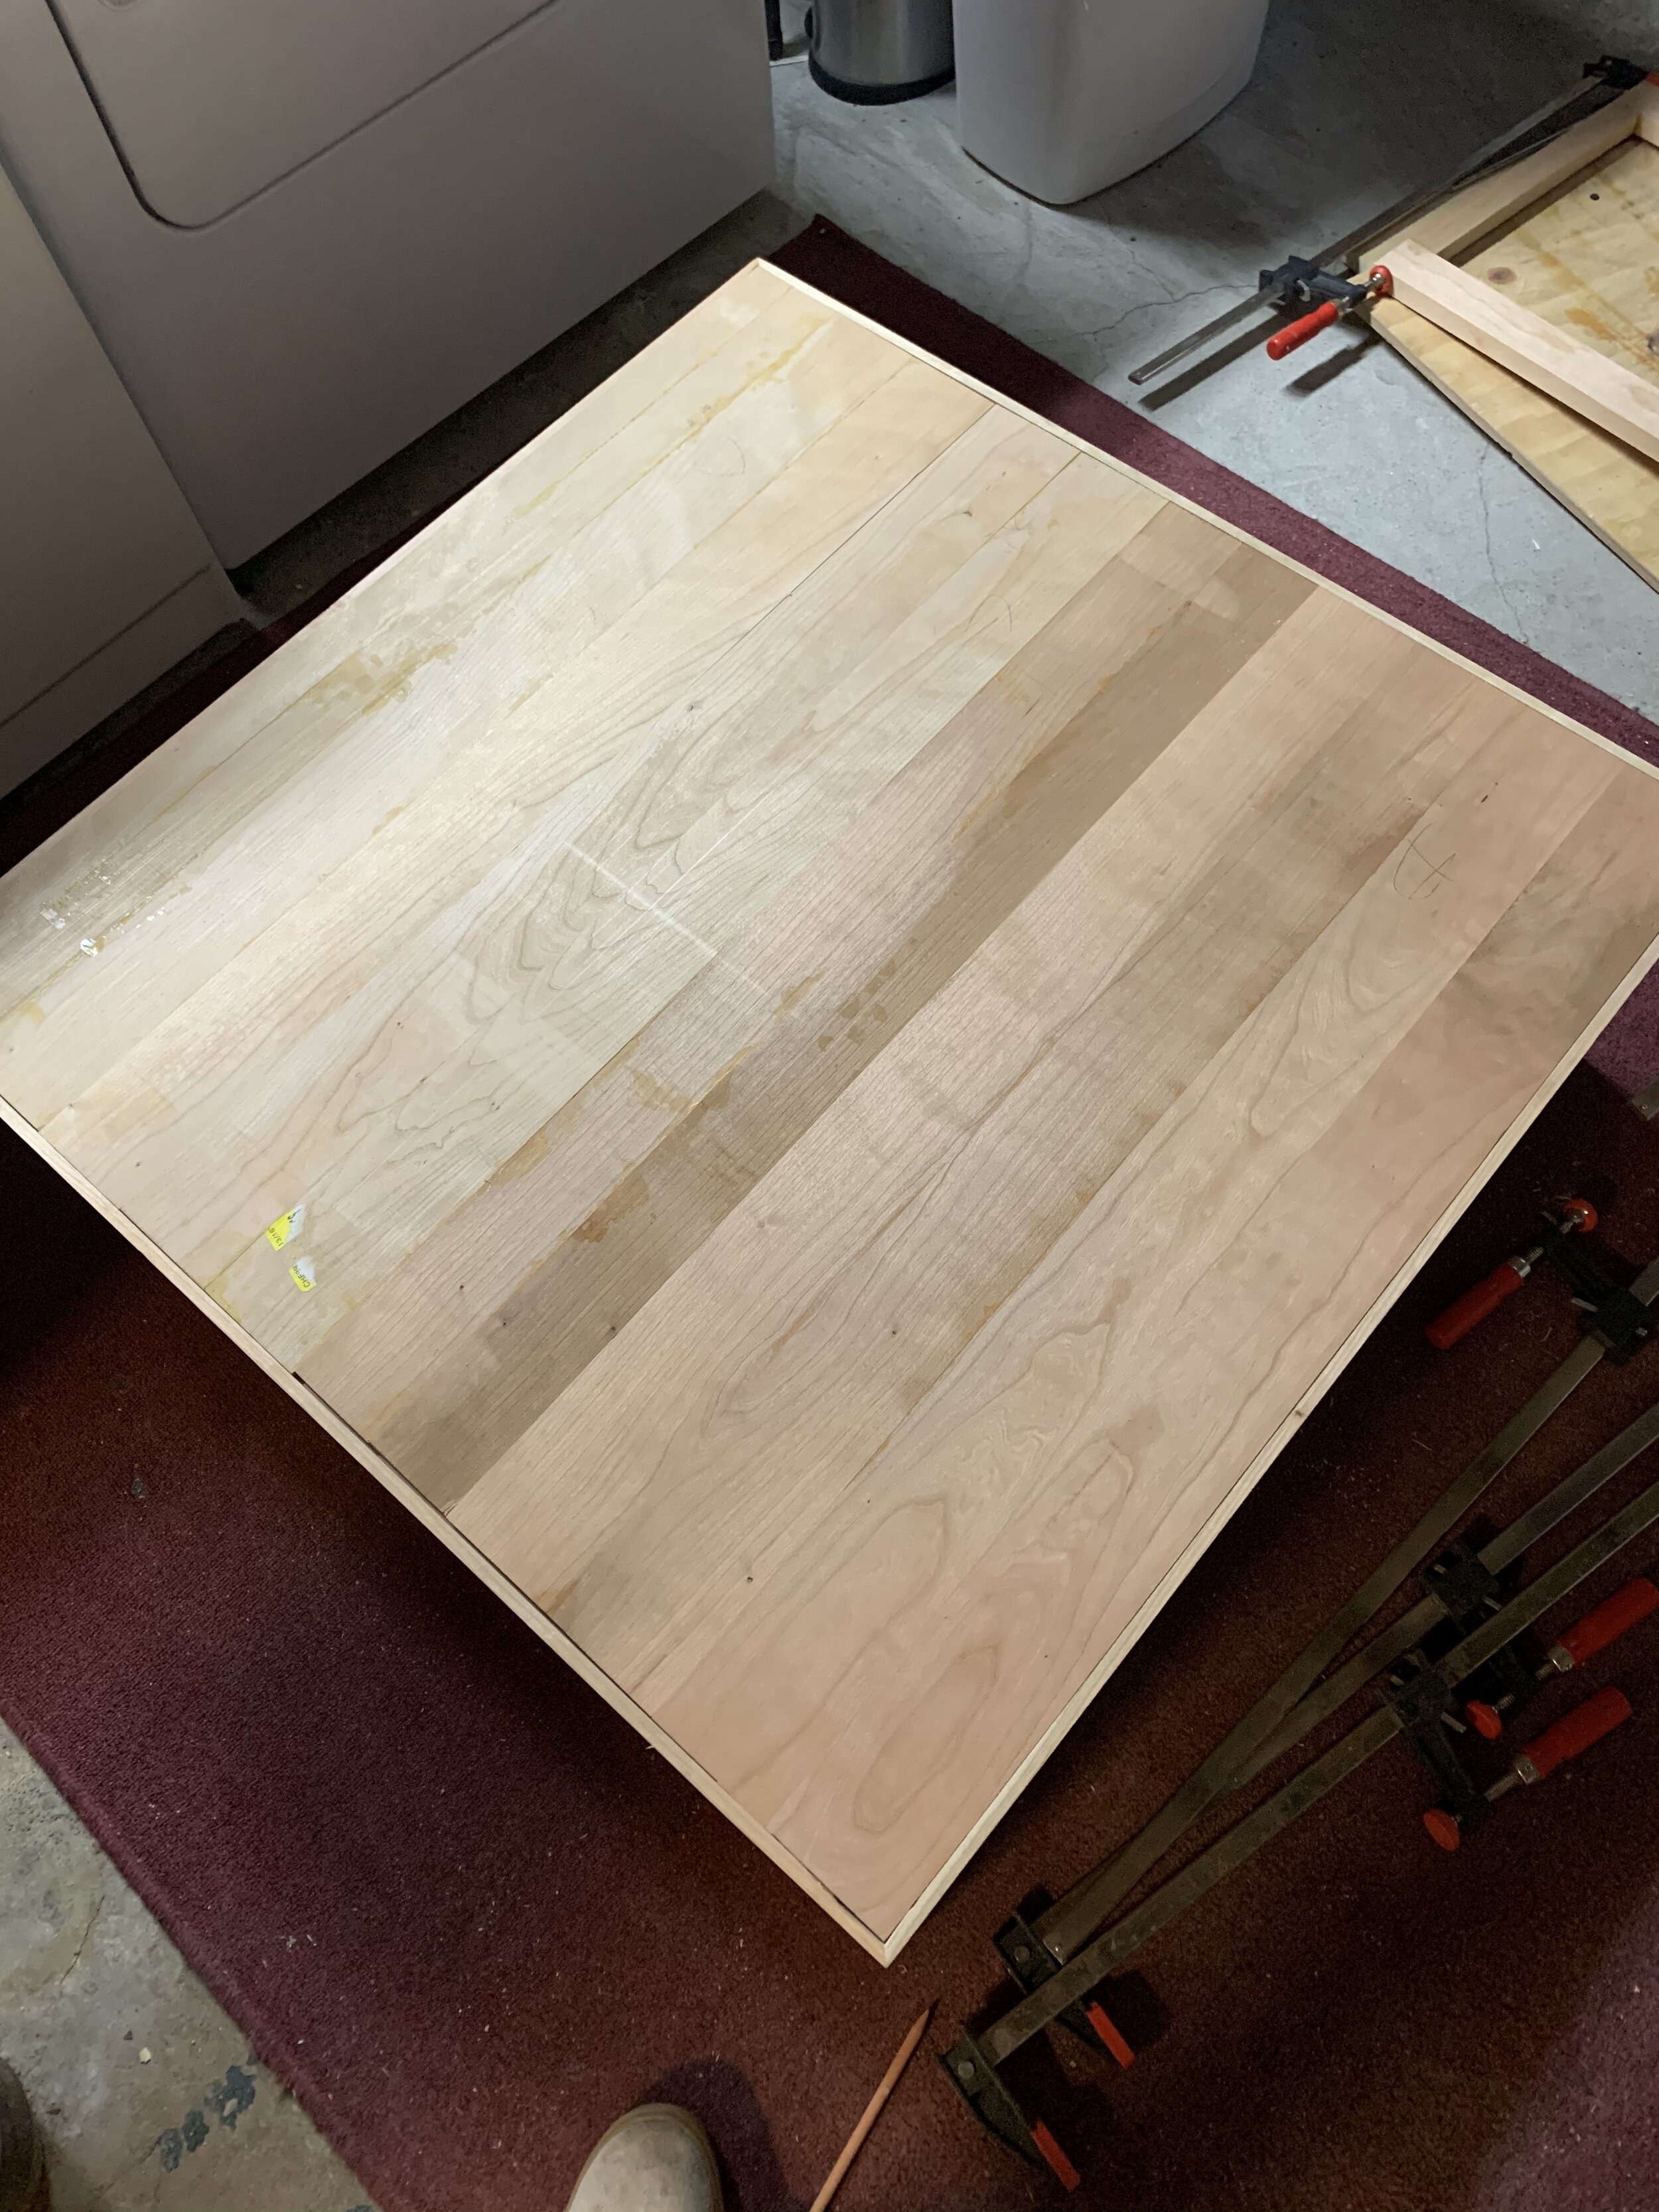
To build the inside of the cabinet, I first made the inside shelf by laminating some high-character cherry boards I particularly liked together. I then made my cuts so that the shelf would fit snuggly inside the cabinet without glue or any hardware, for easy removal.
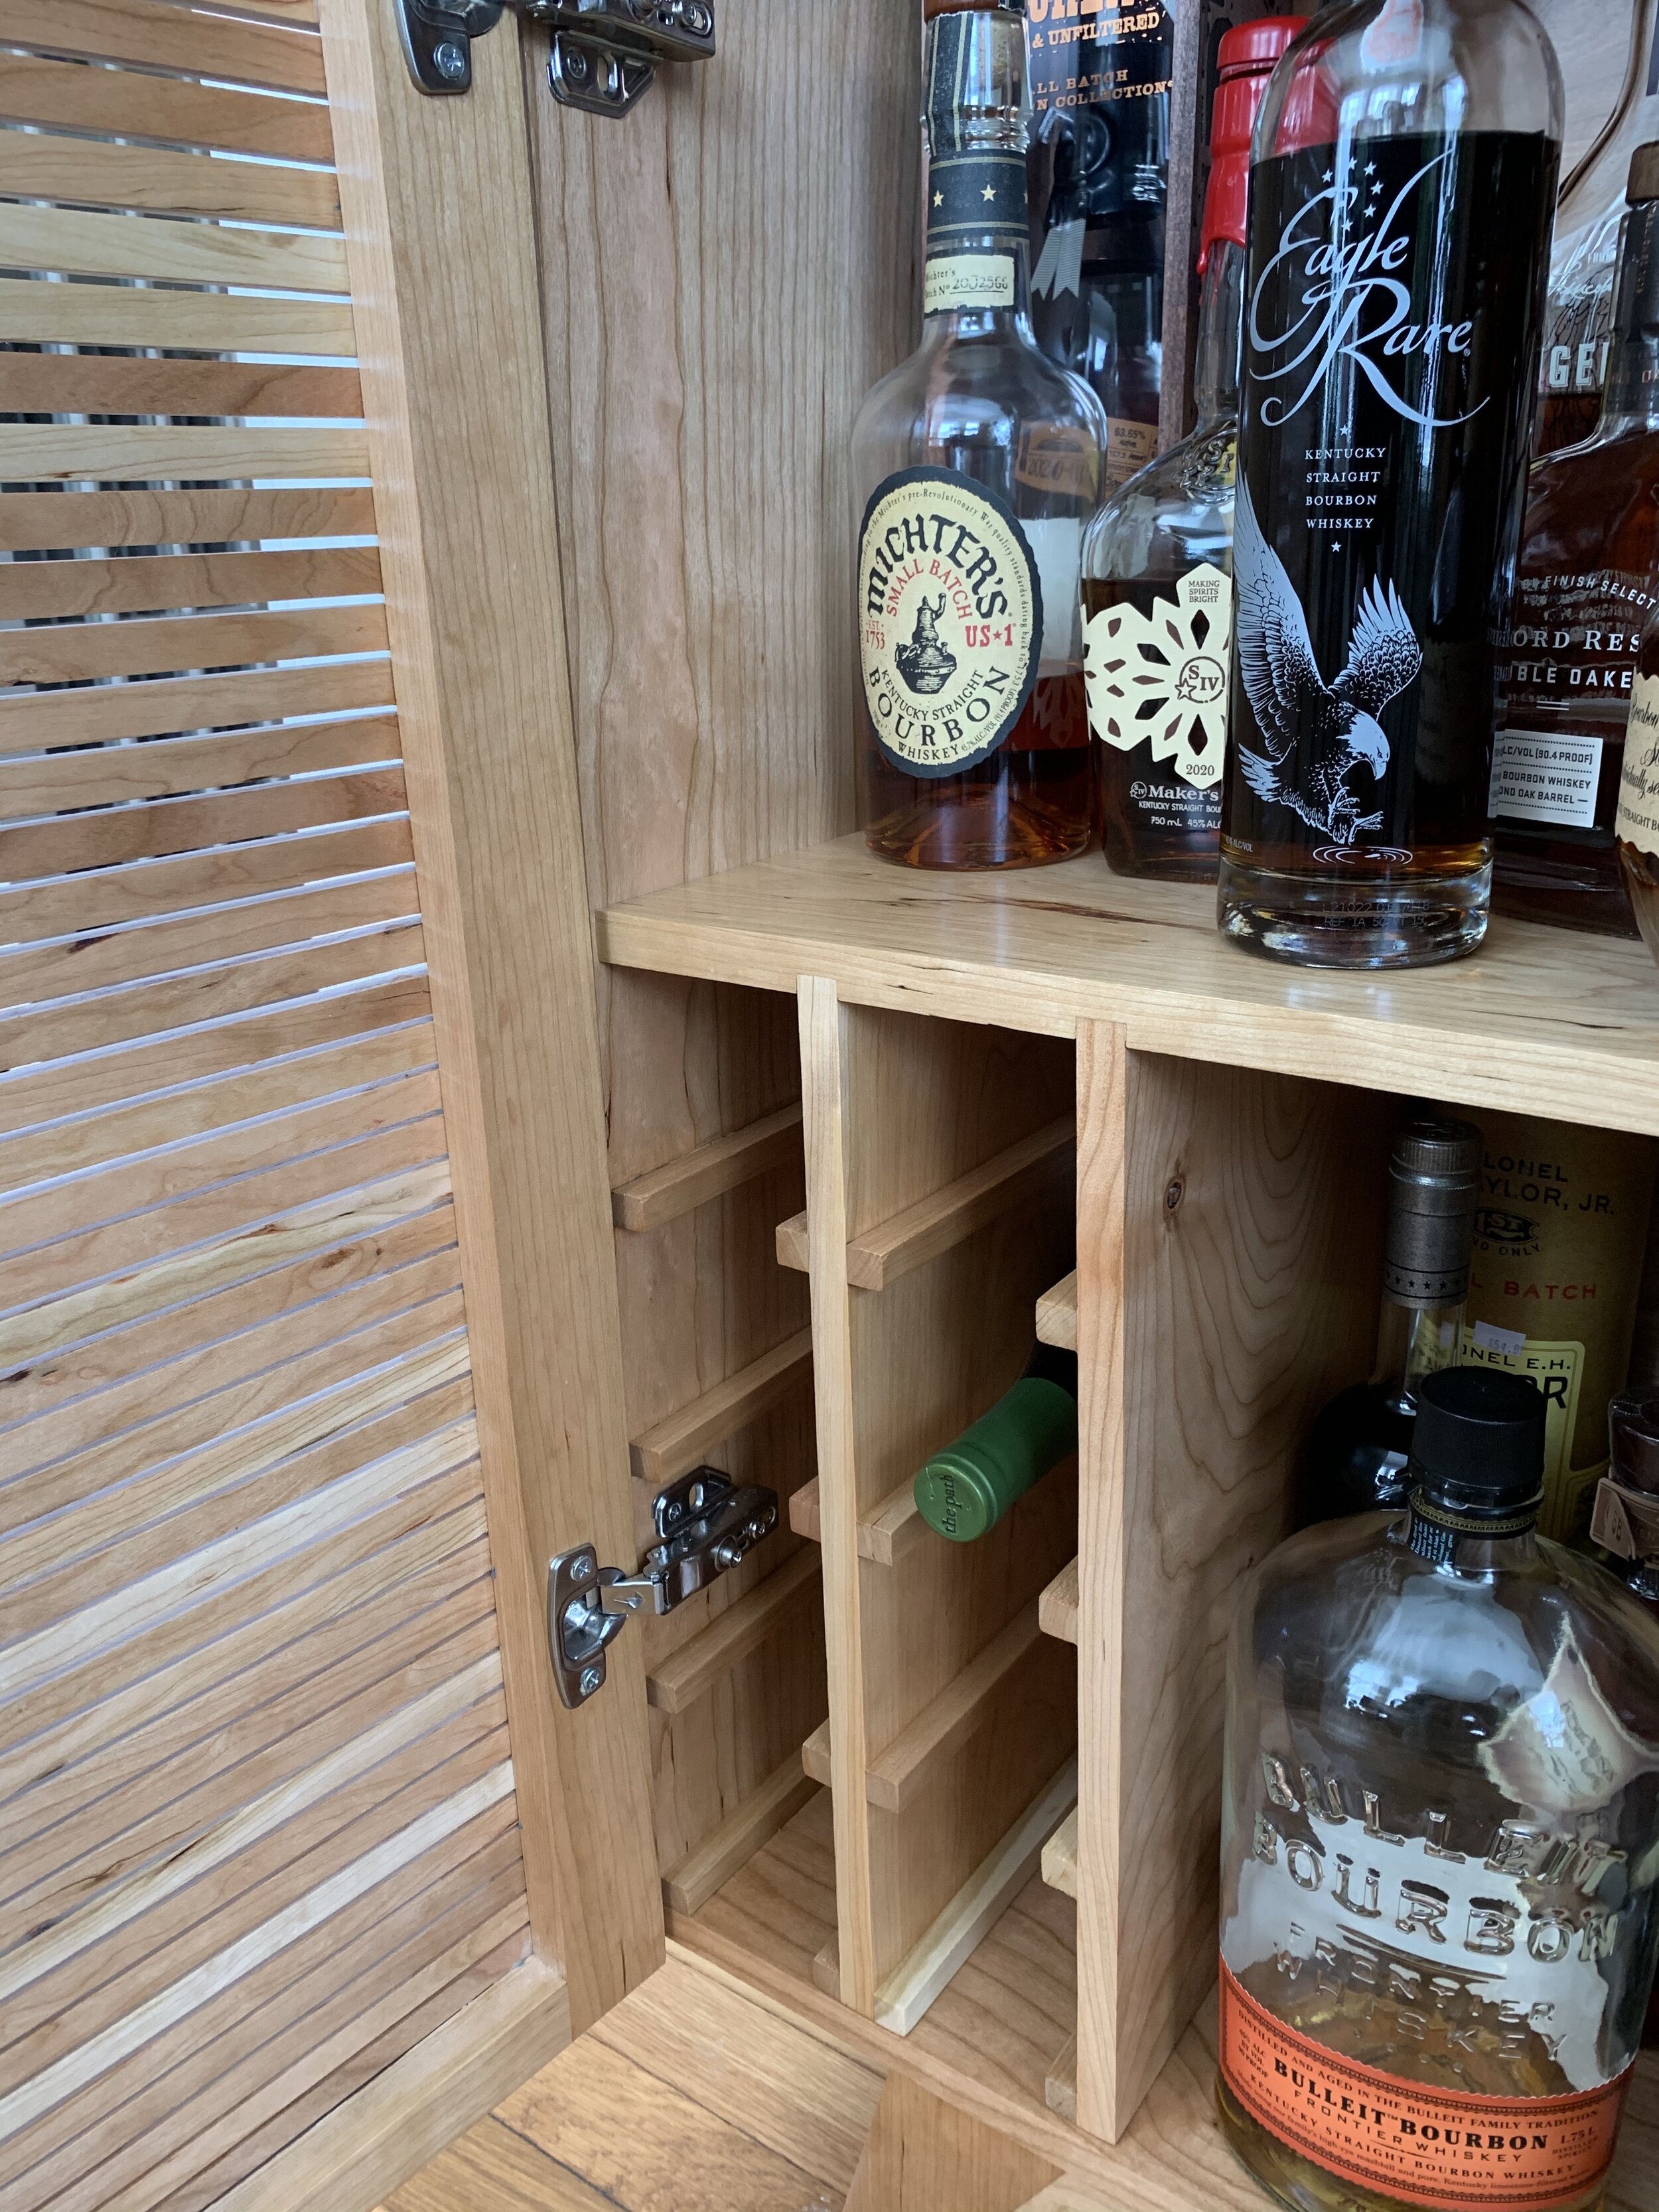
Before I created the dado grooves in the shelf for the dividers, and created and cut the dividers to size, I setup a few whiskey bottles and glasses in the structure to get an idea for the layout I wanted. I made sure that my tallest bottles would have enough height on the top shelf and bottom shelf (I also took this into account when I decided on the dimensions for the cabinet).
Wine Bottle Rack
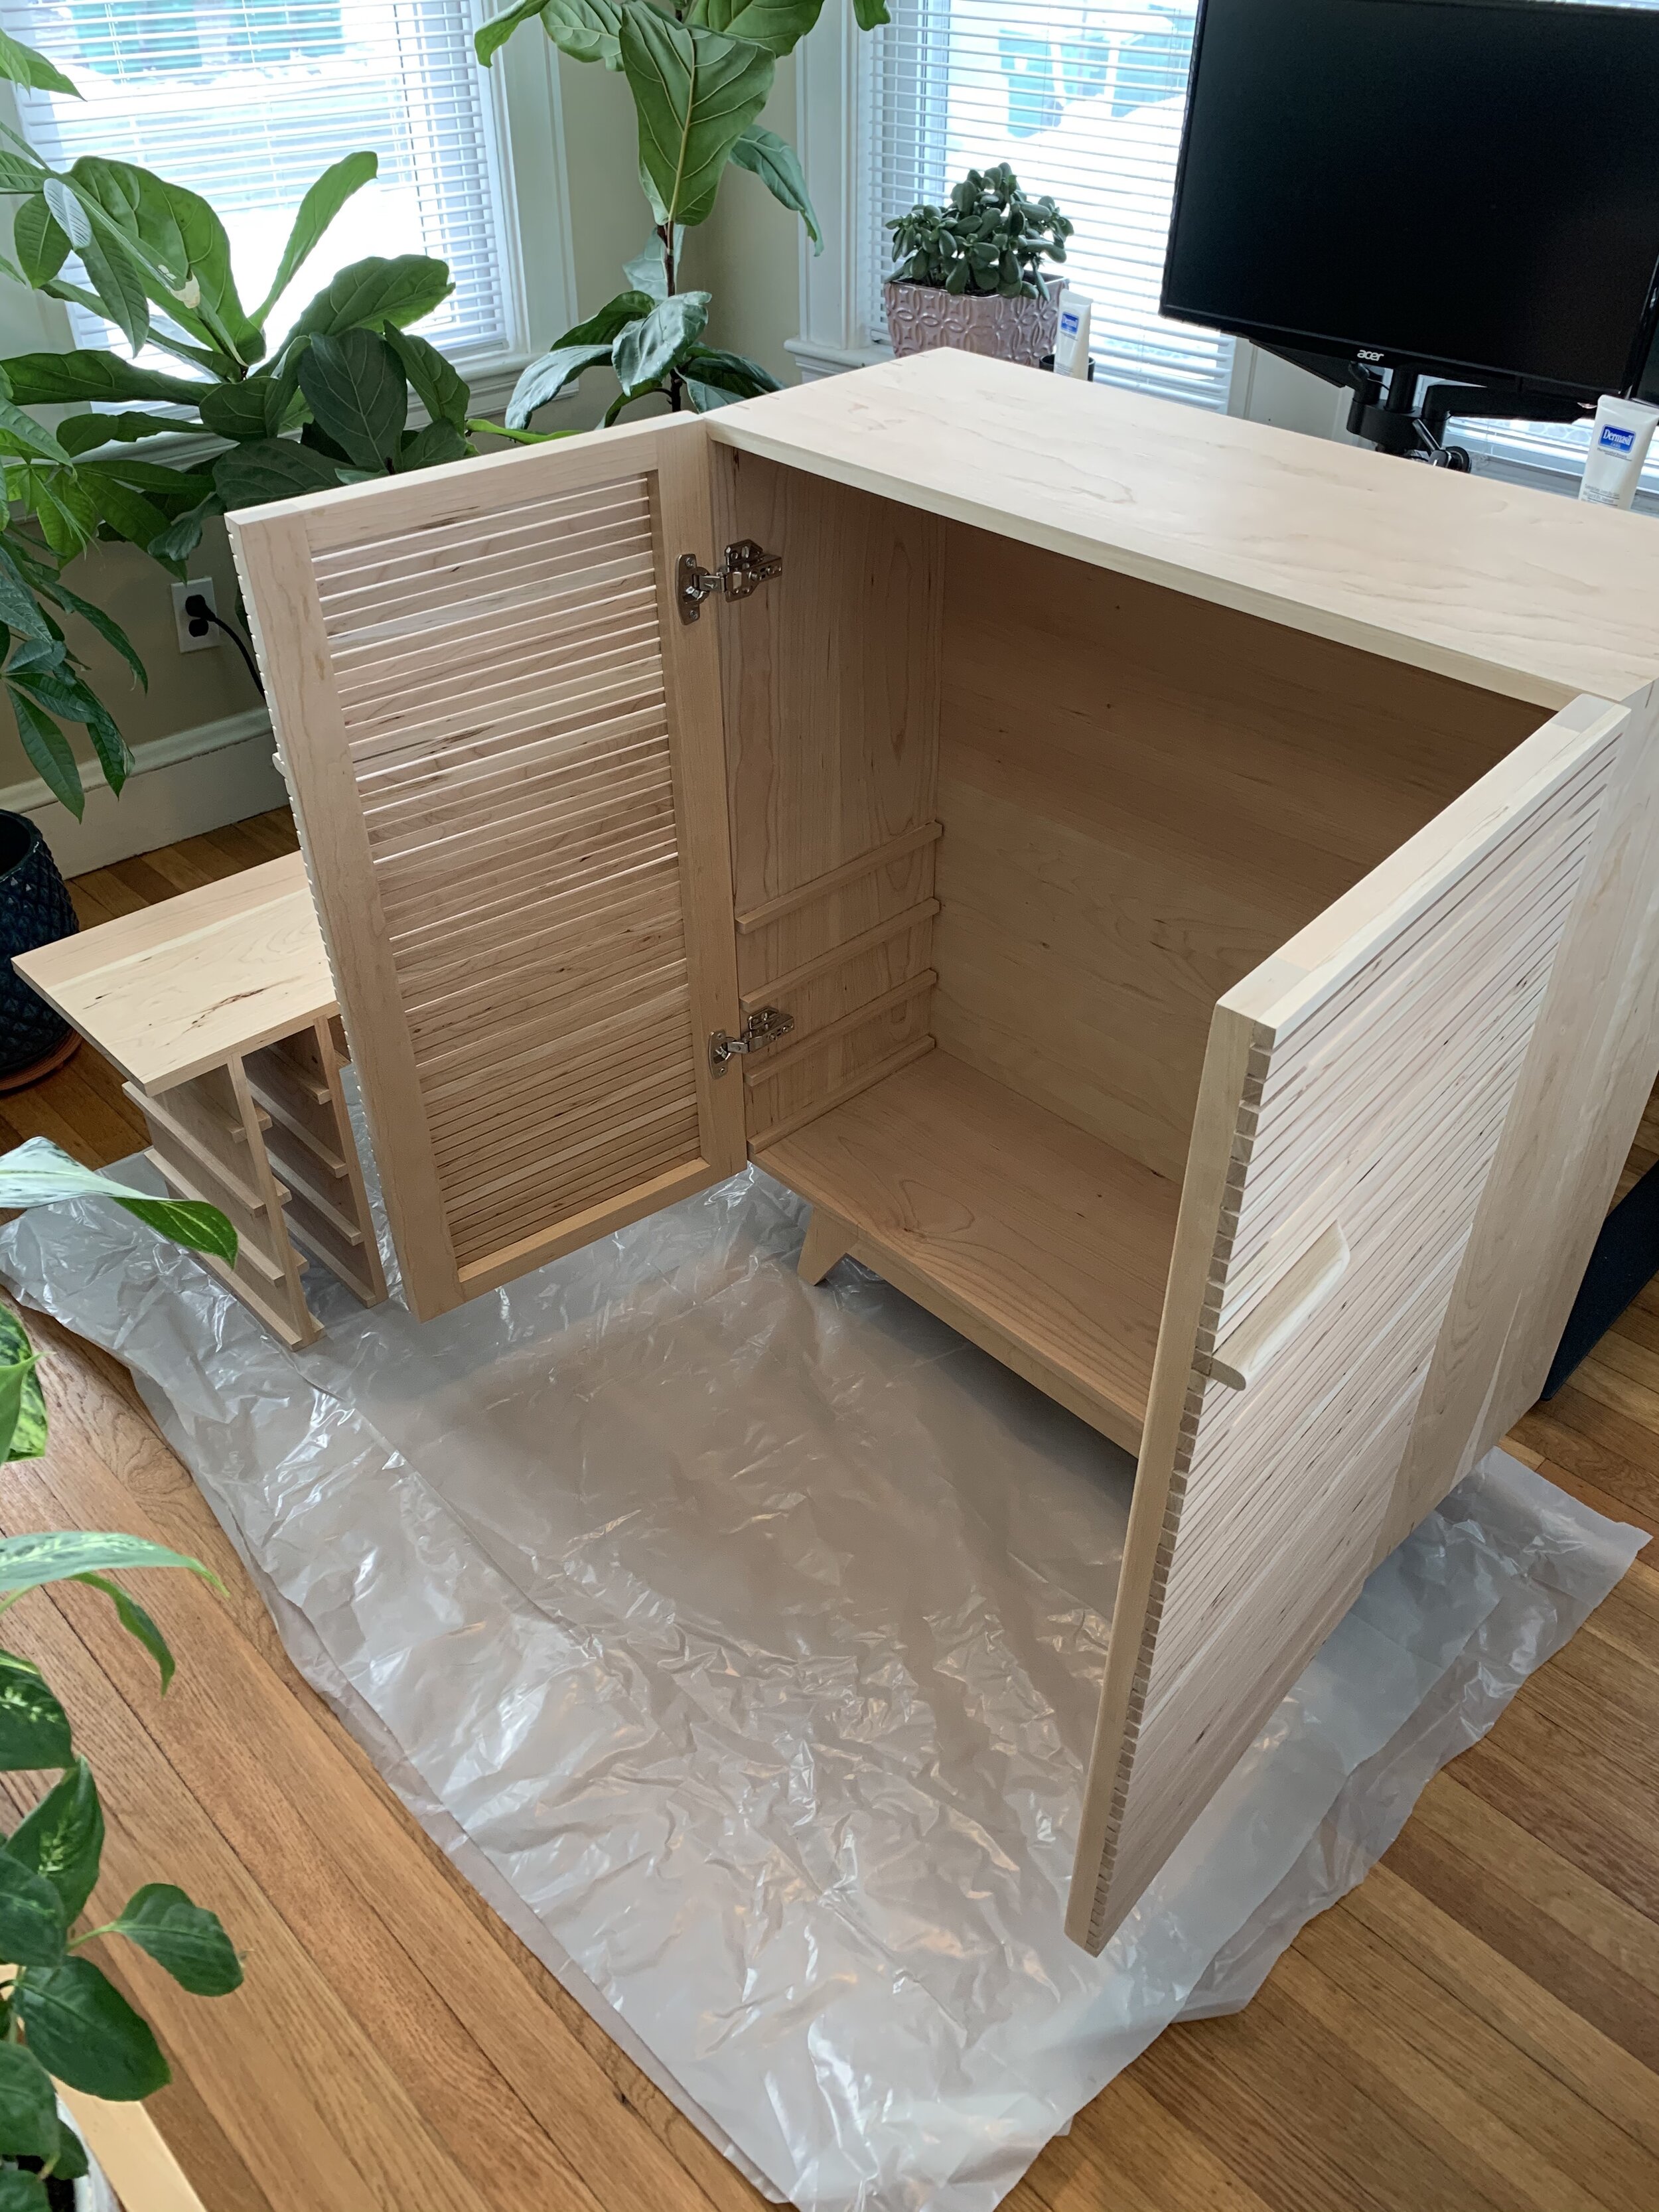
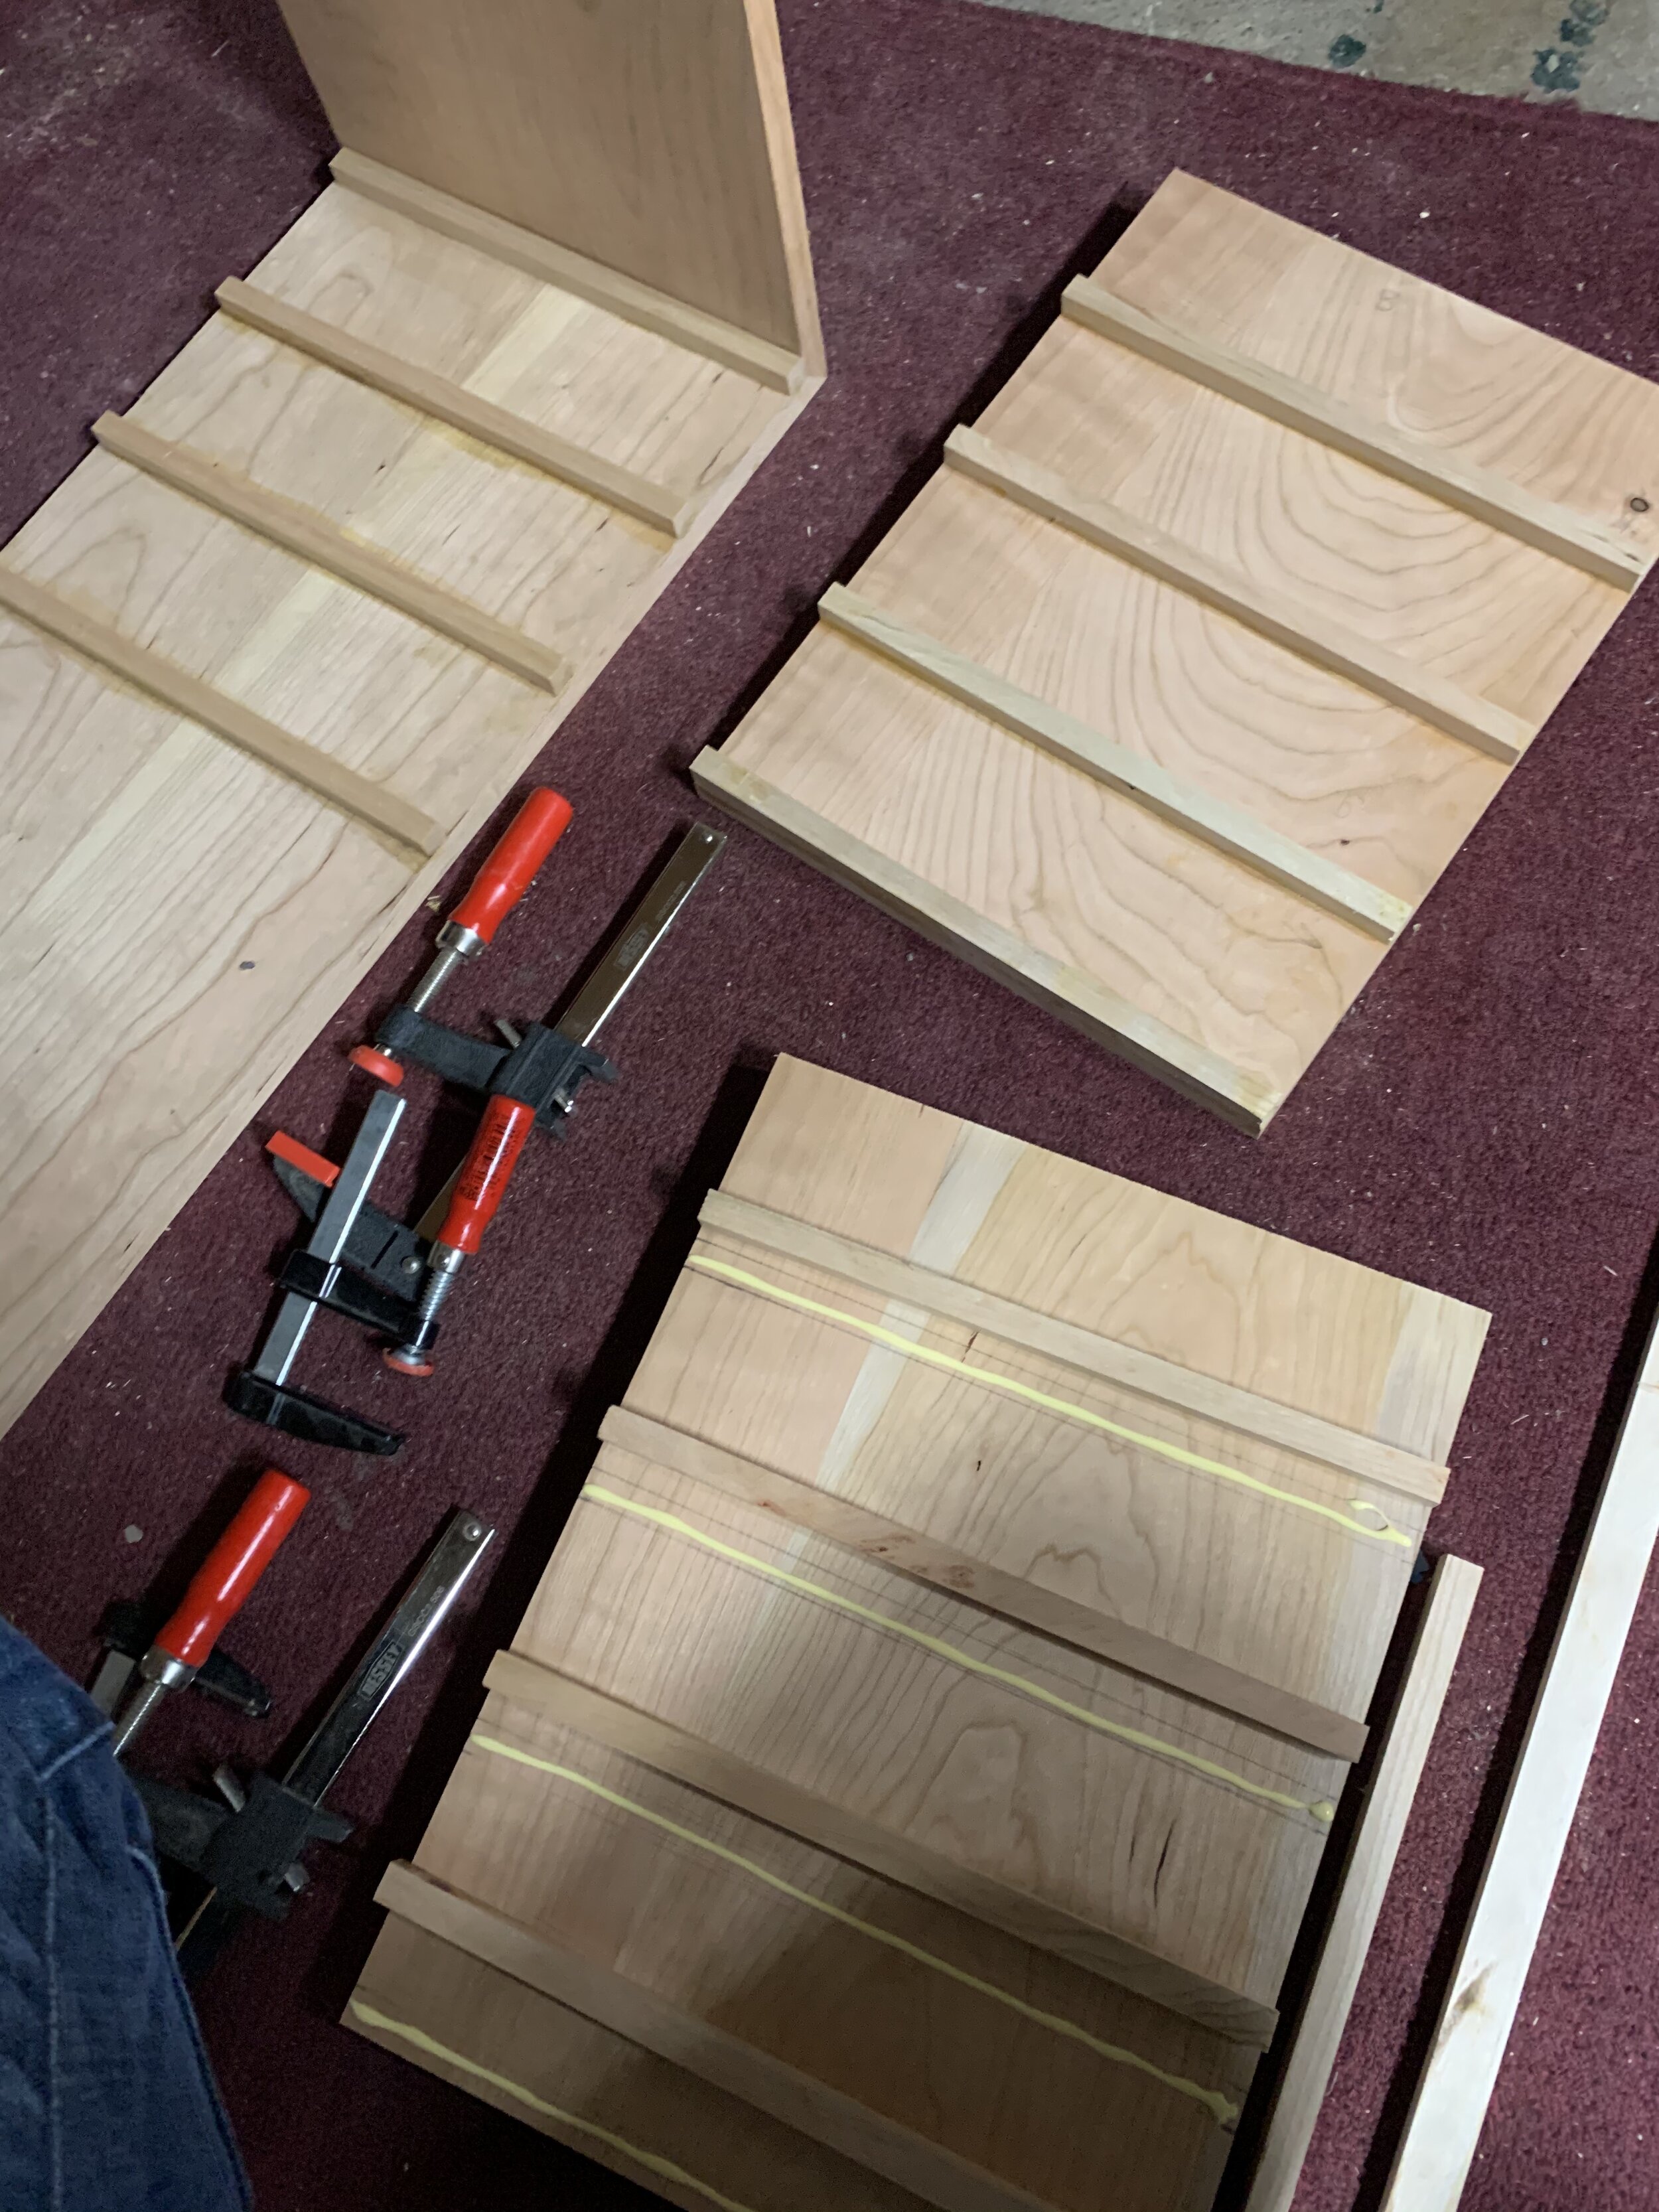
For the wine bottle rack in the inside of the cabinet, I equally spaced 8 wine bottle racks from the bottom of the cabinet to the top shelf. I brought a few wine bottles downstairs and measured the distance I needed to shelve the wine, including typical wine bottle dimensions, accounting for the wood strips which would serve as shelves in between rack slots. I glued the shelf wood strips to the inside of the dividers and sanded before final assembly. When I was ready for glue up of the dividers in the middle shelf dados, I cut some scrap wood spacers that I kept between each divider so that the glue and pieces set in place squarely and didn’t move out of alignment, causing fitment issues afterwards.
Cabinet Back
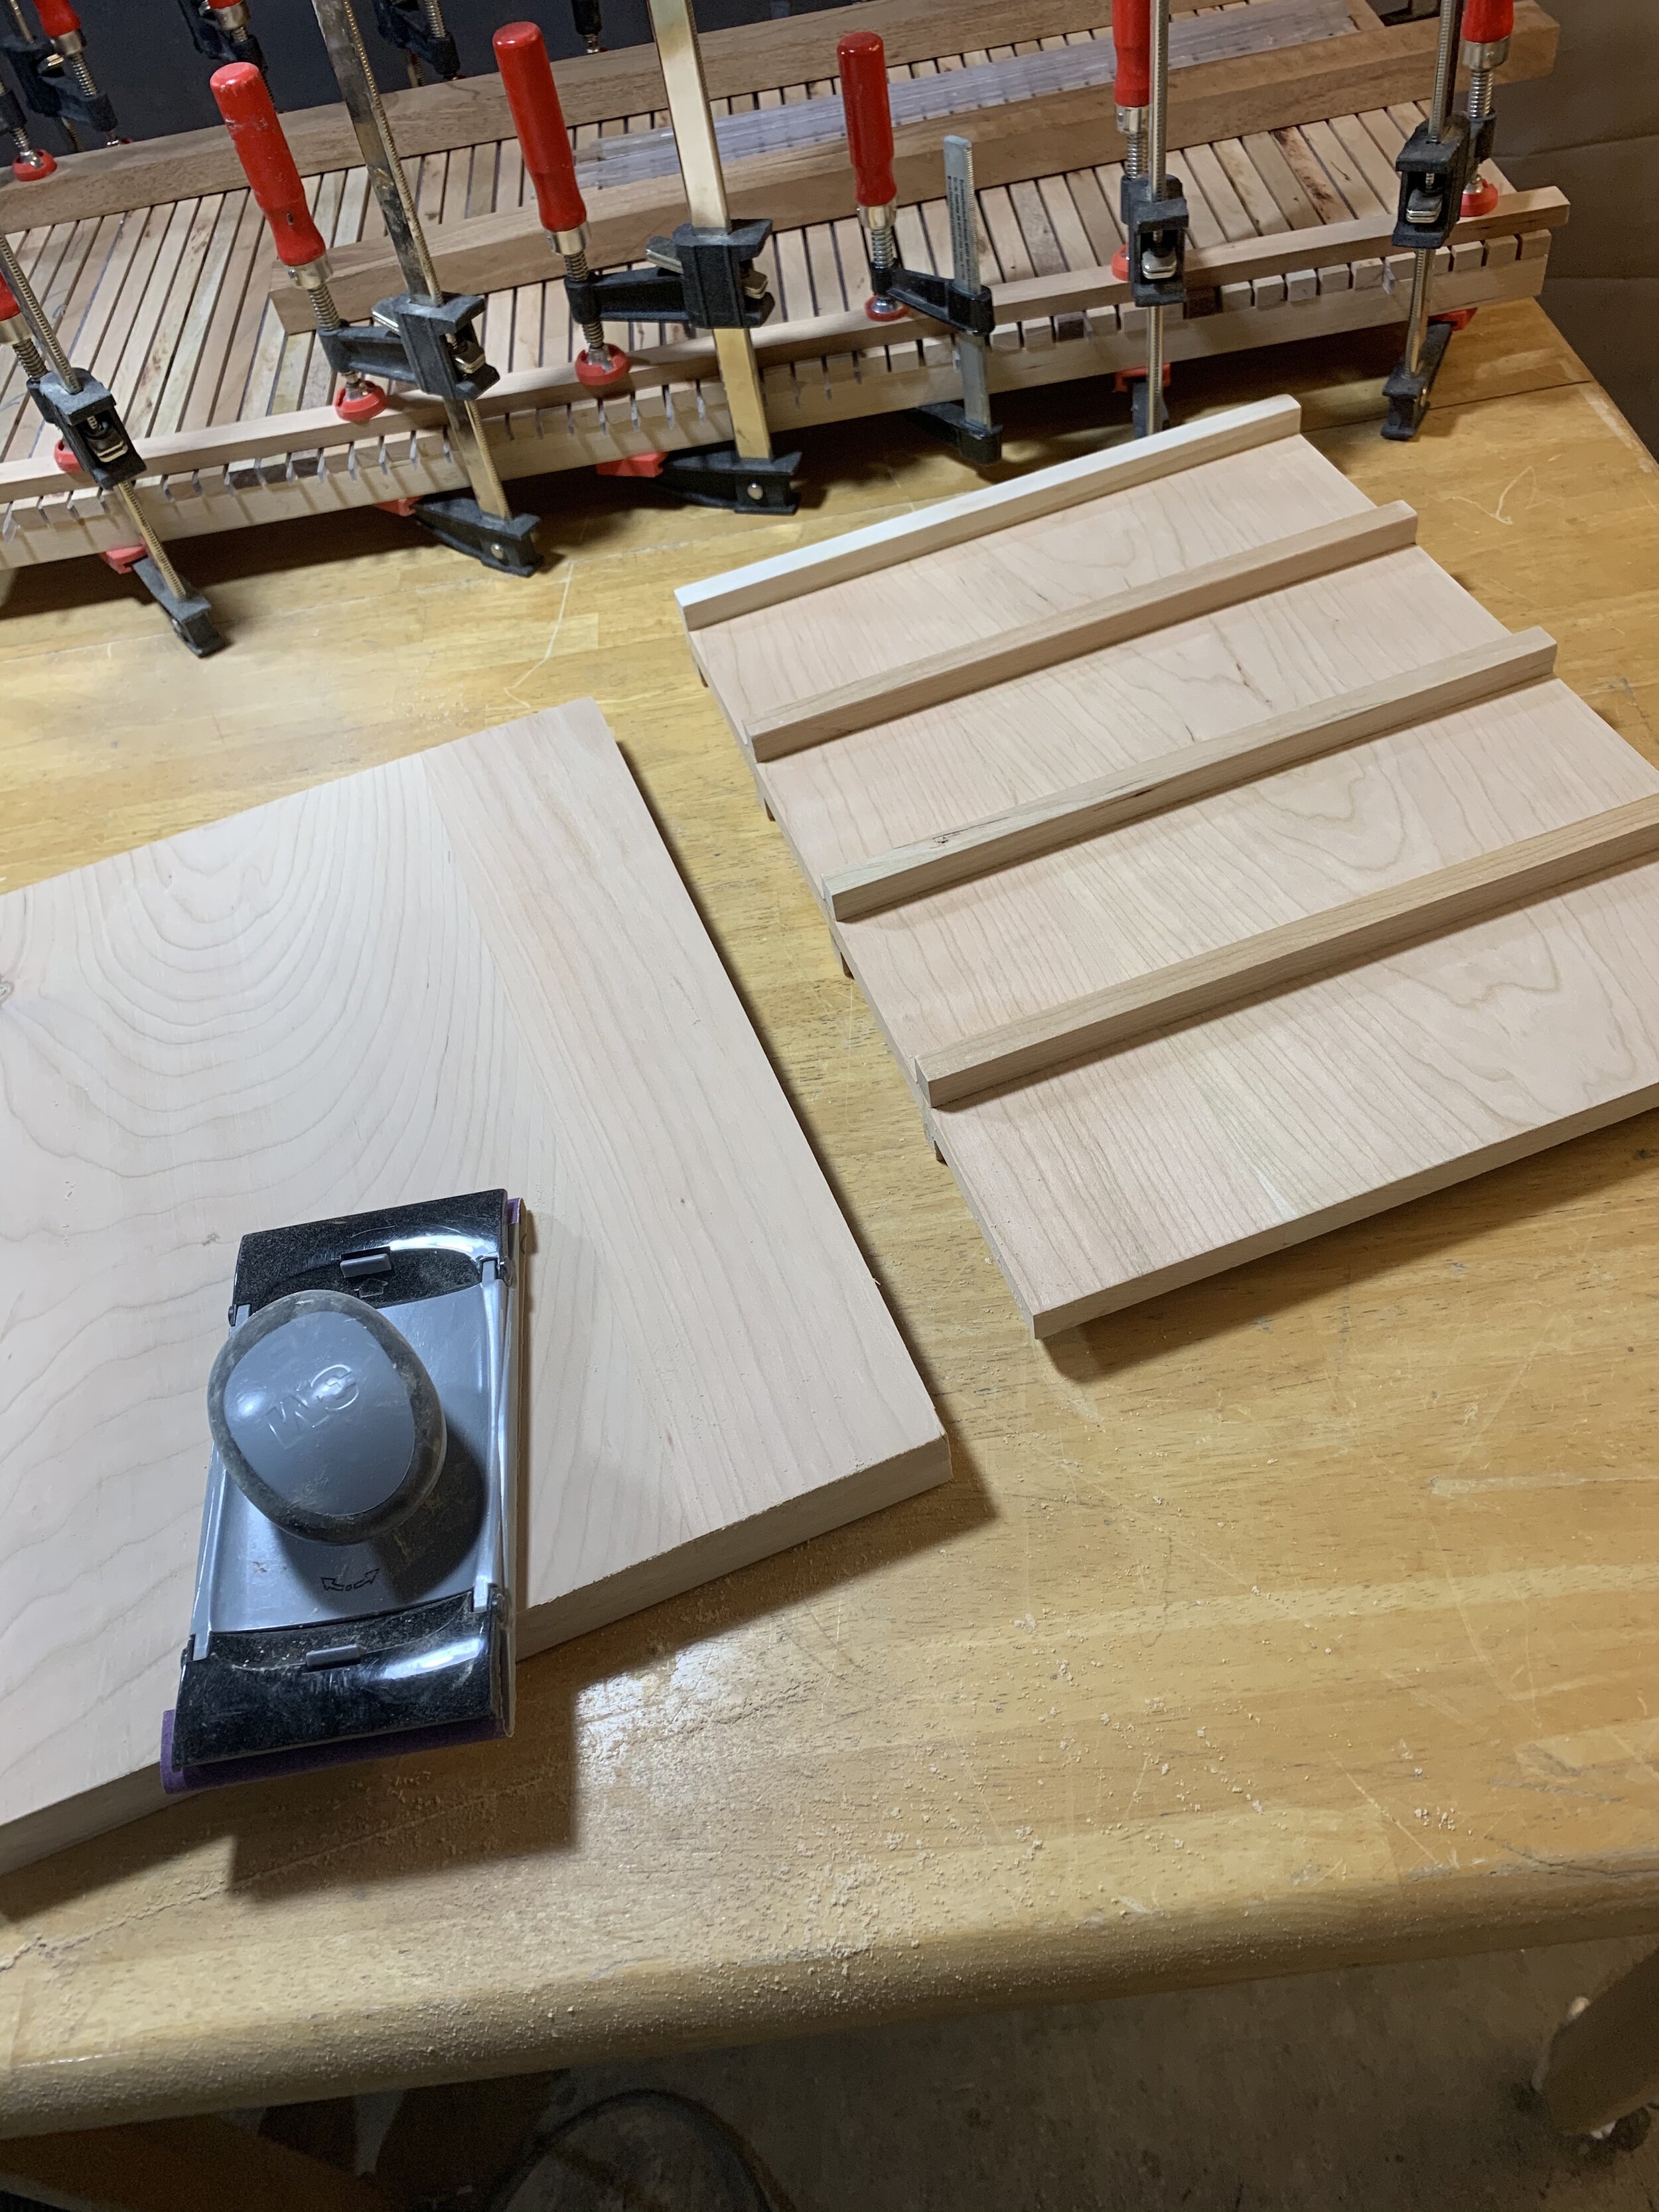
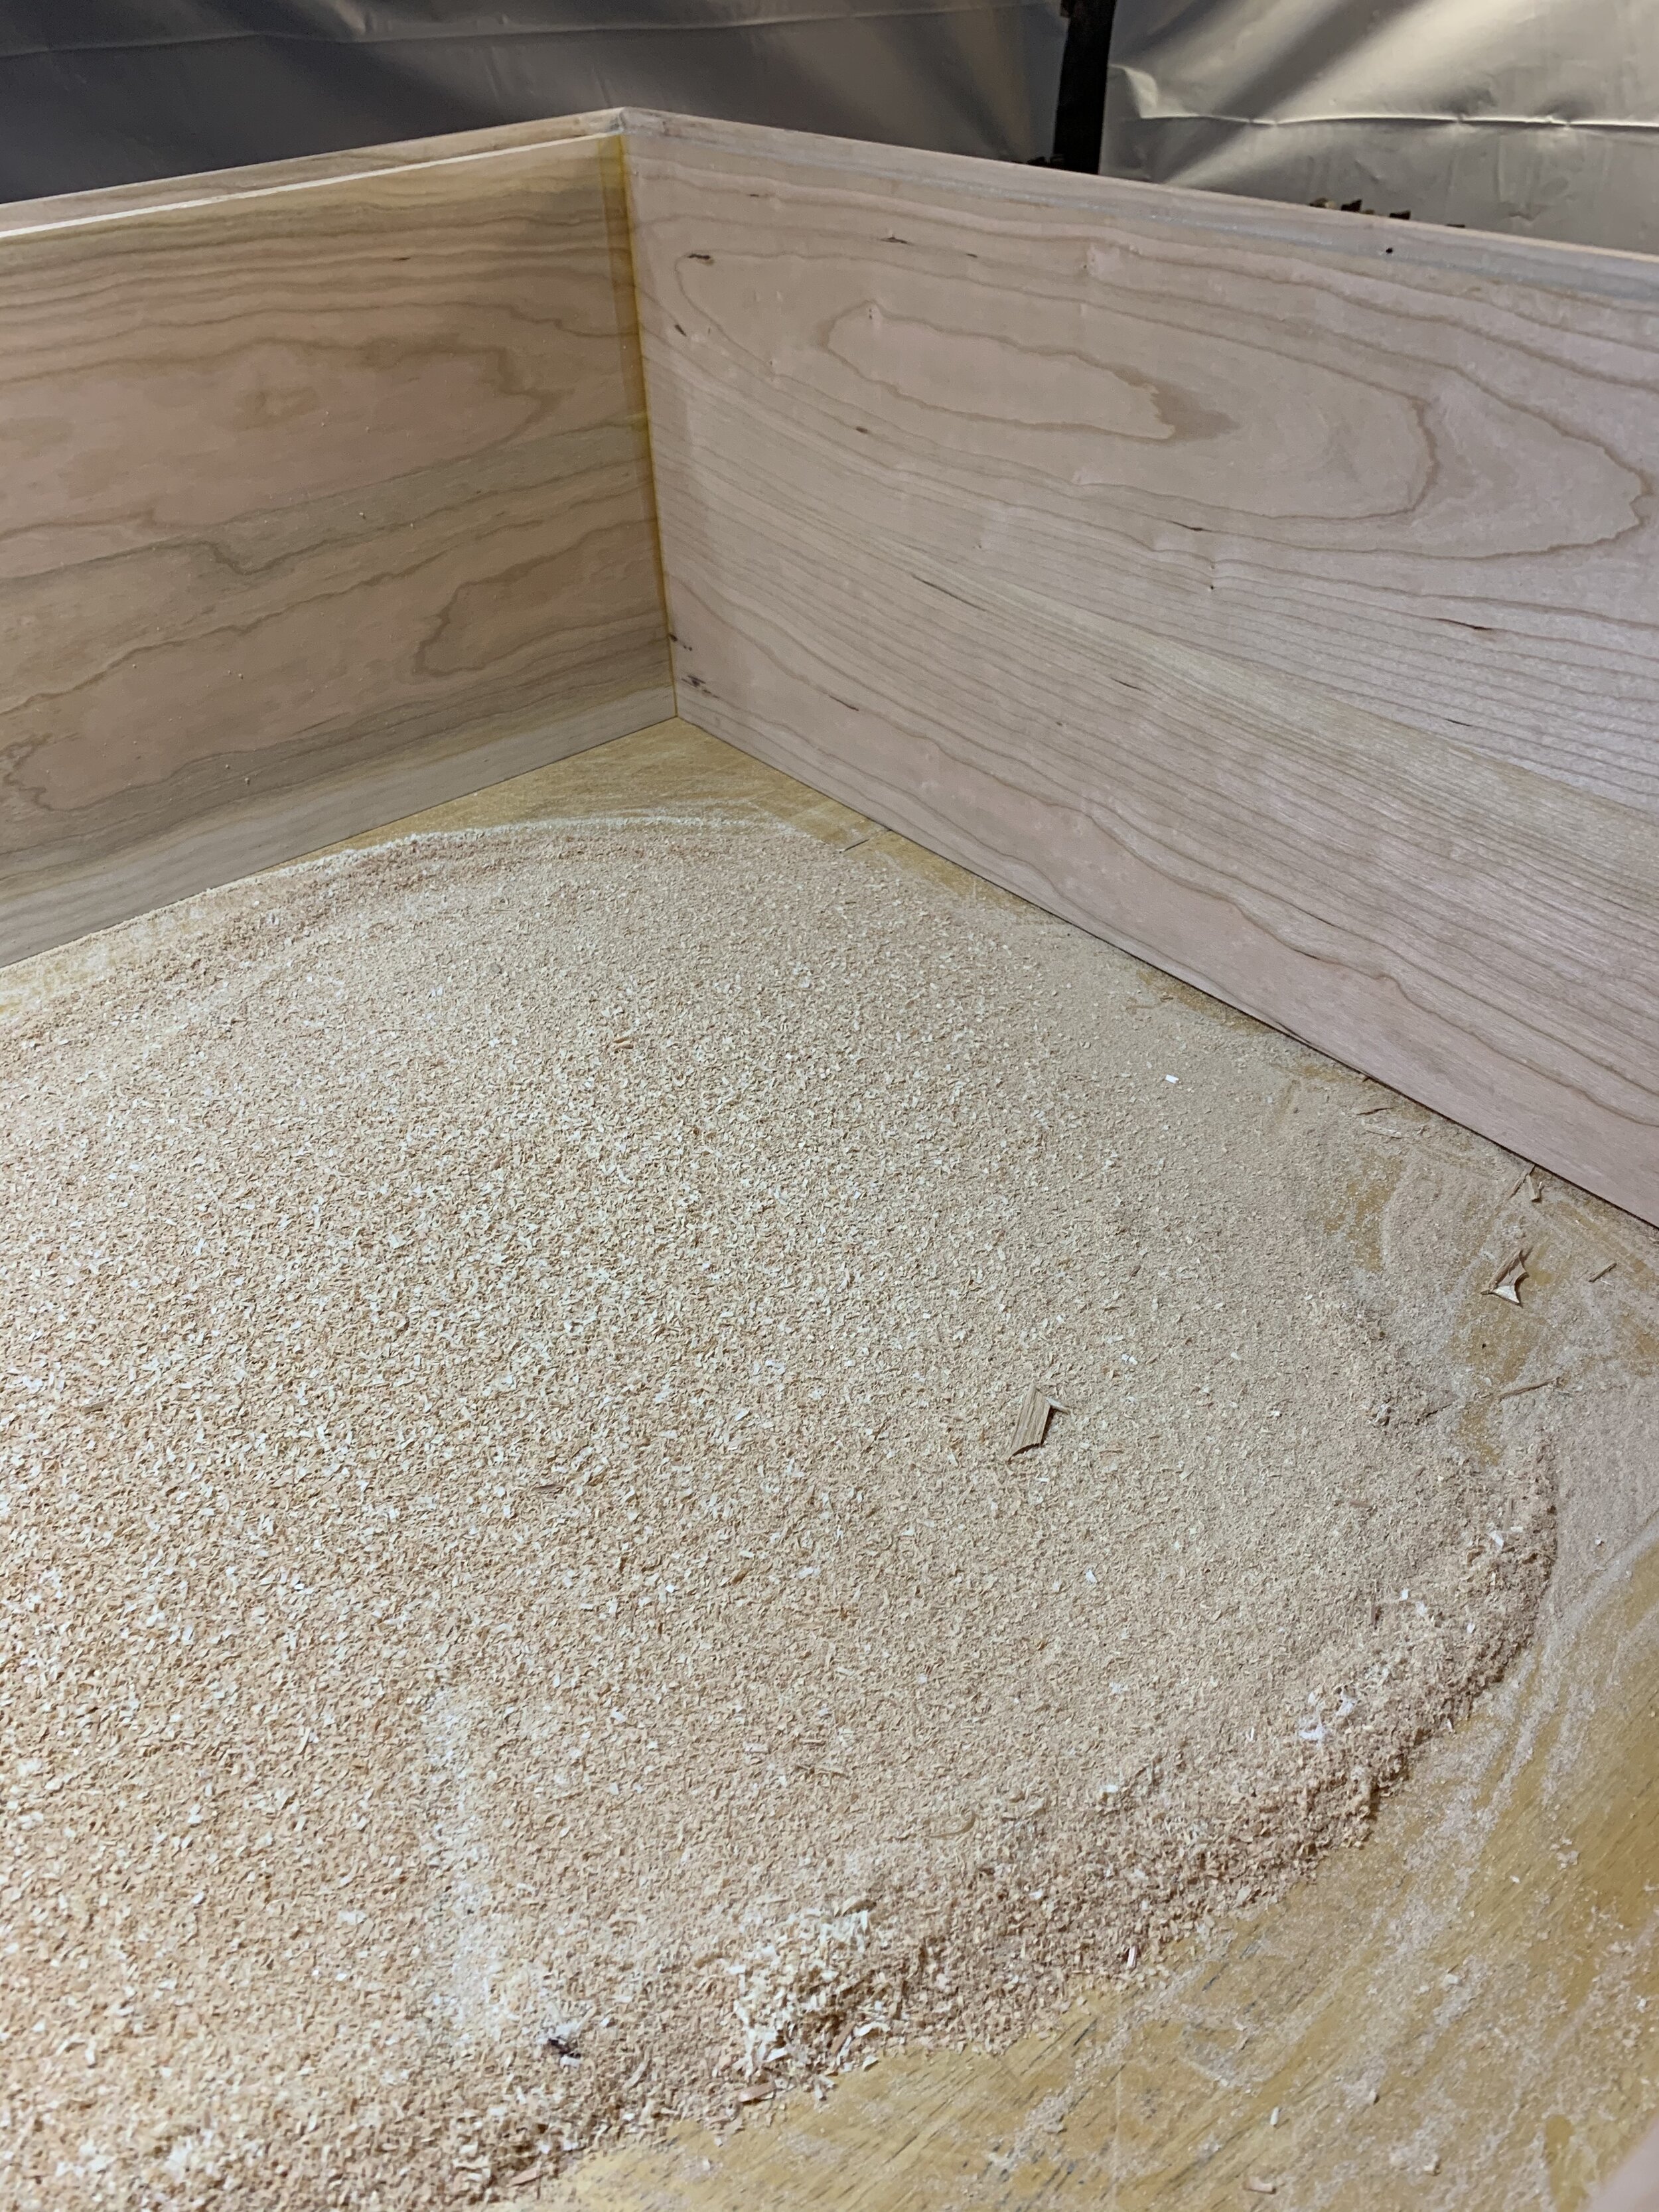
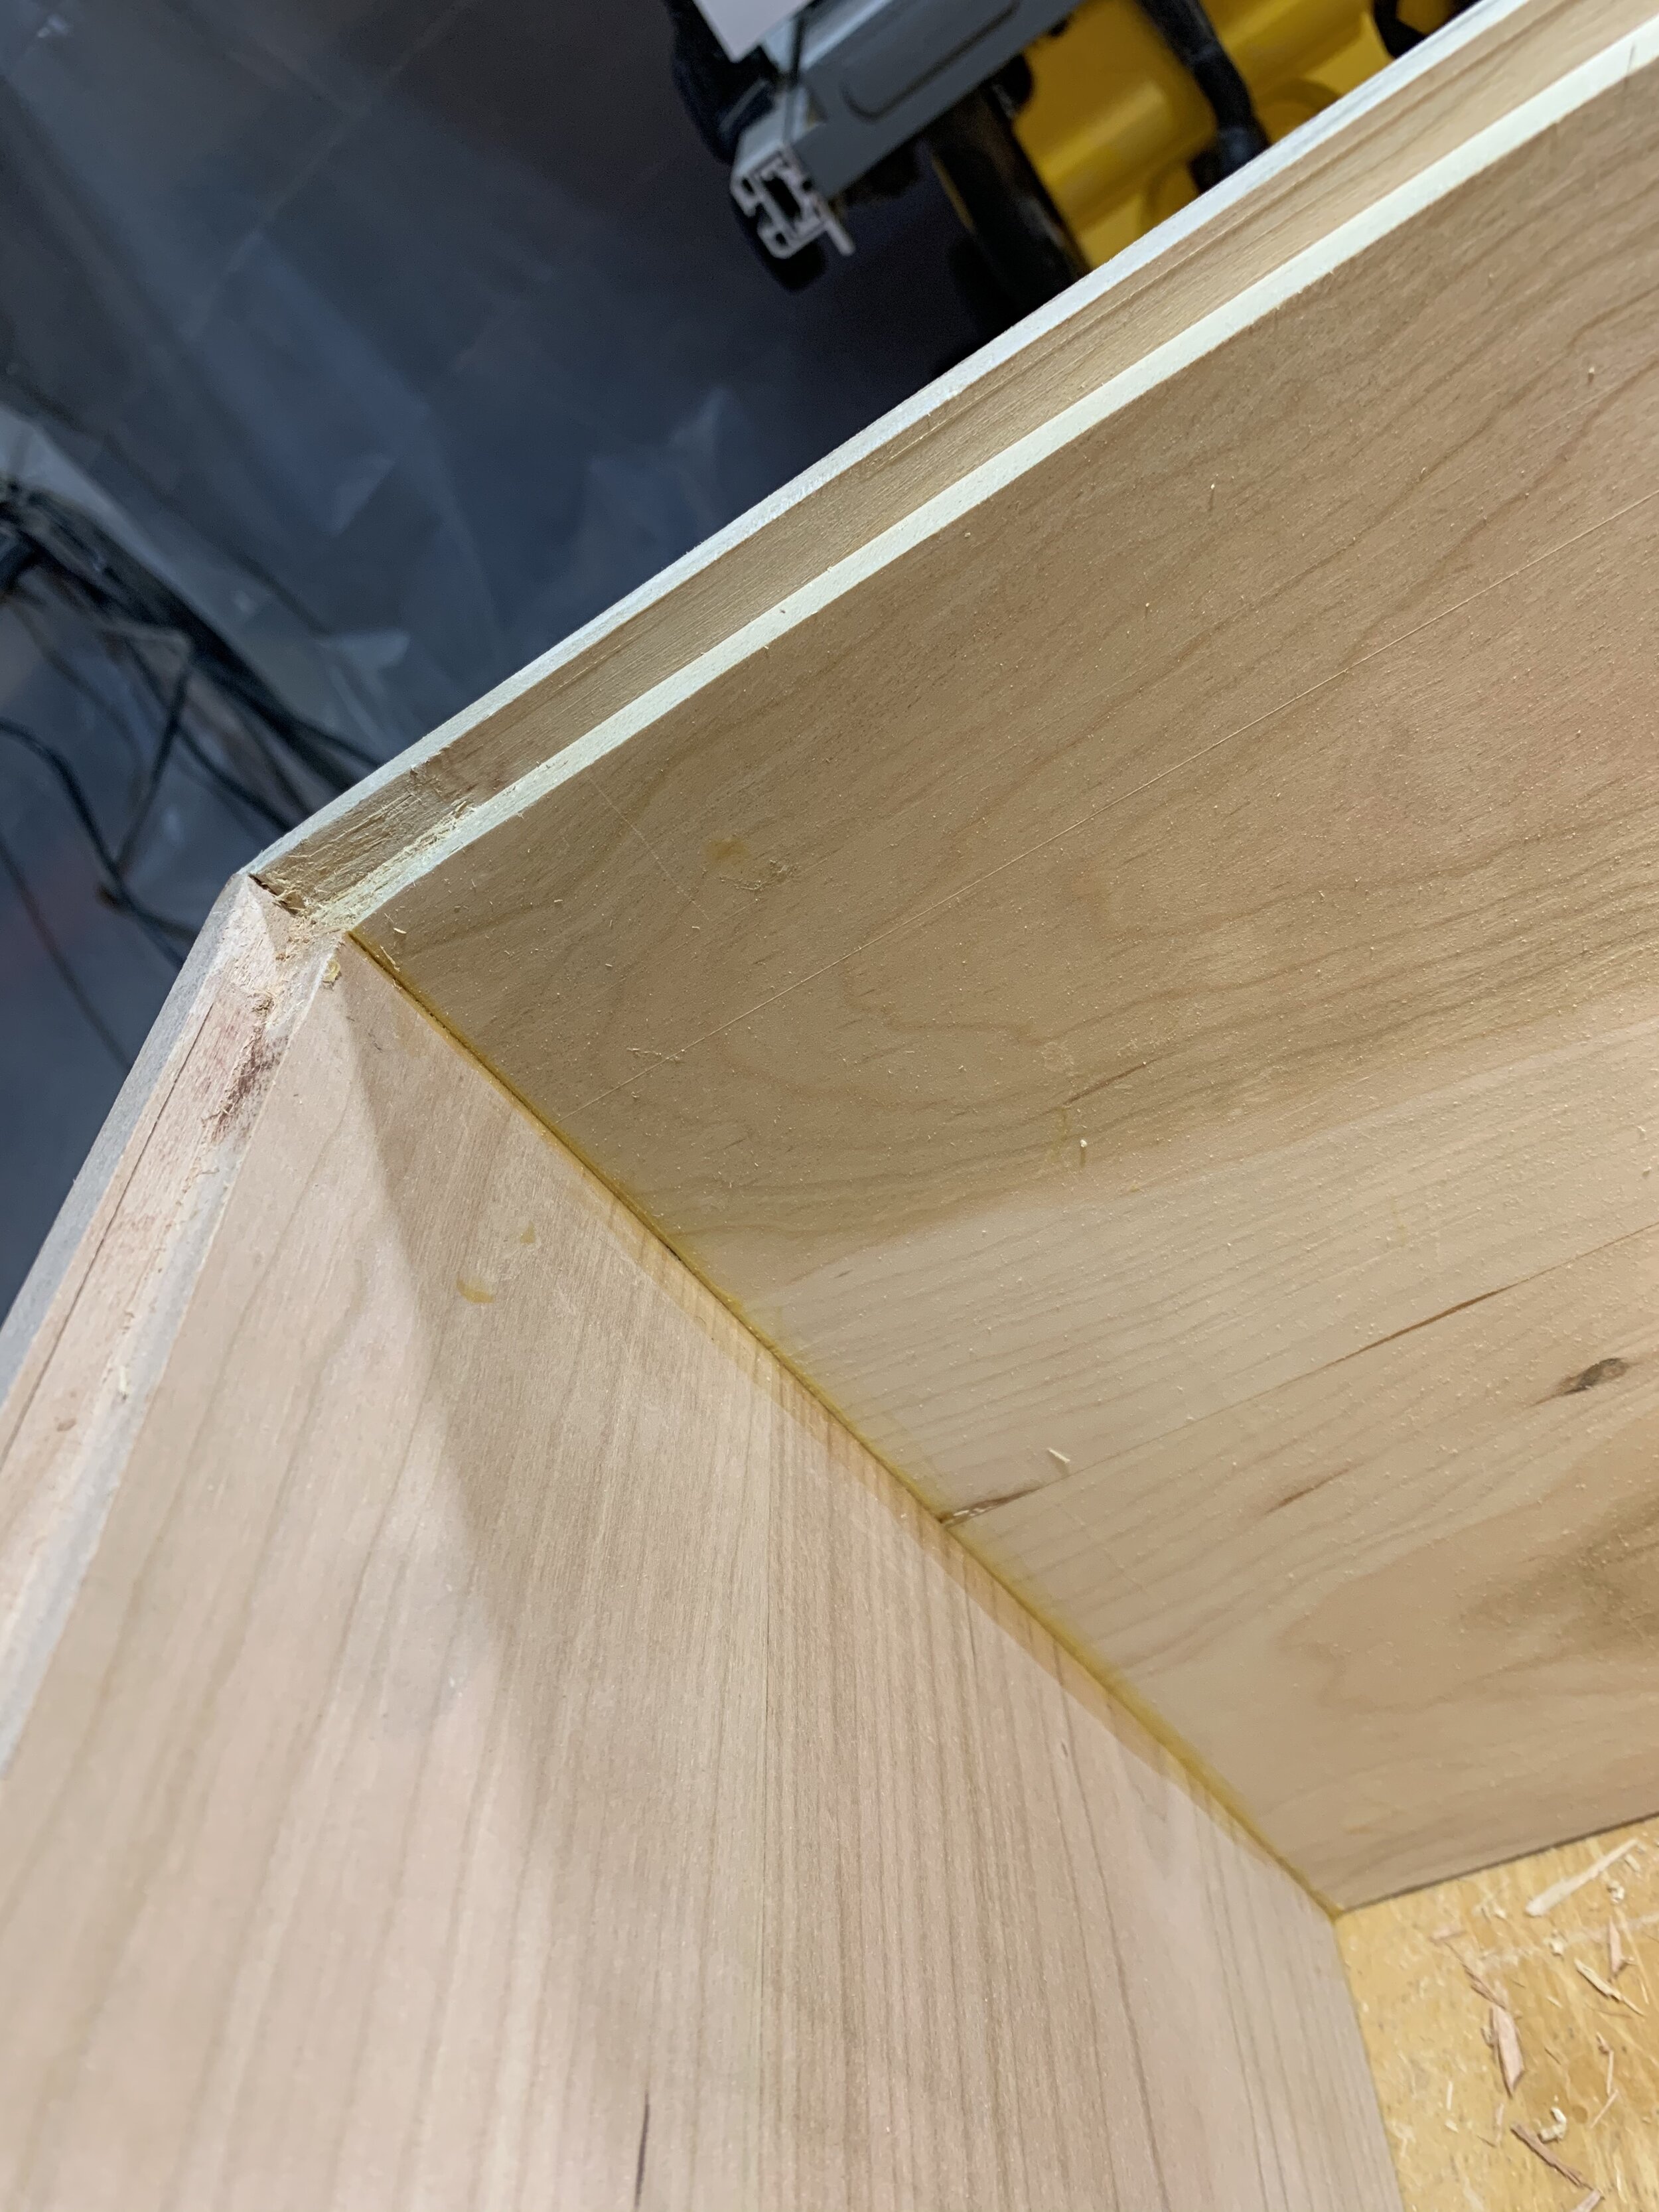
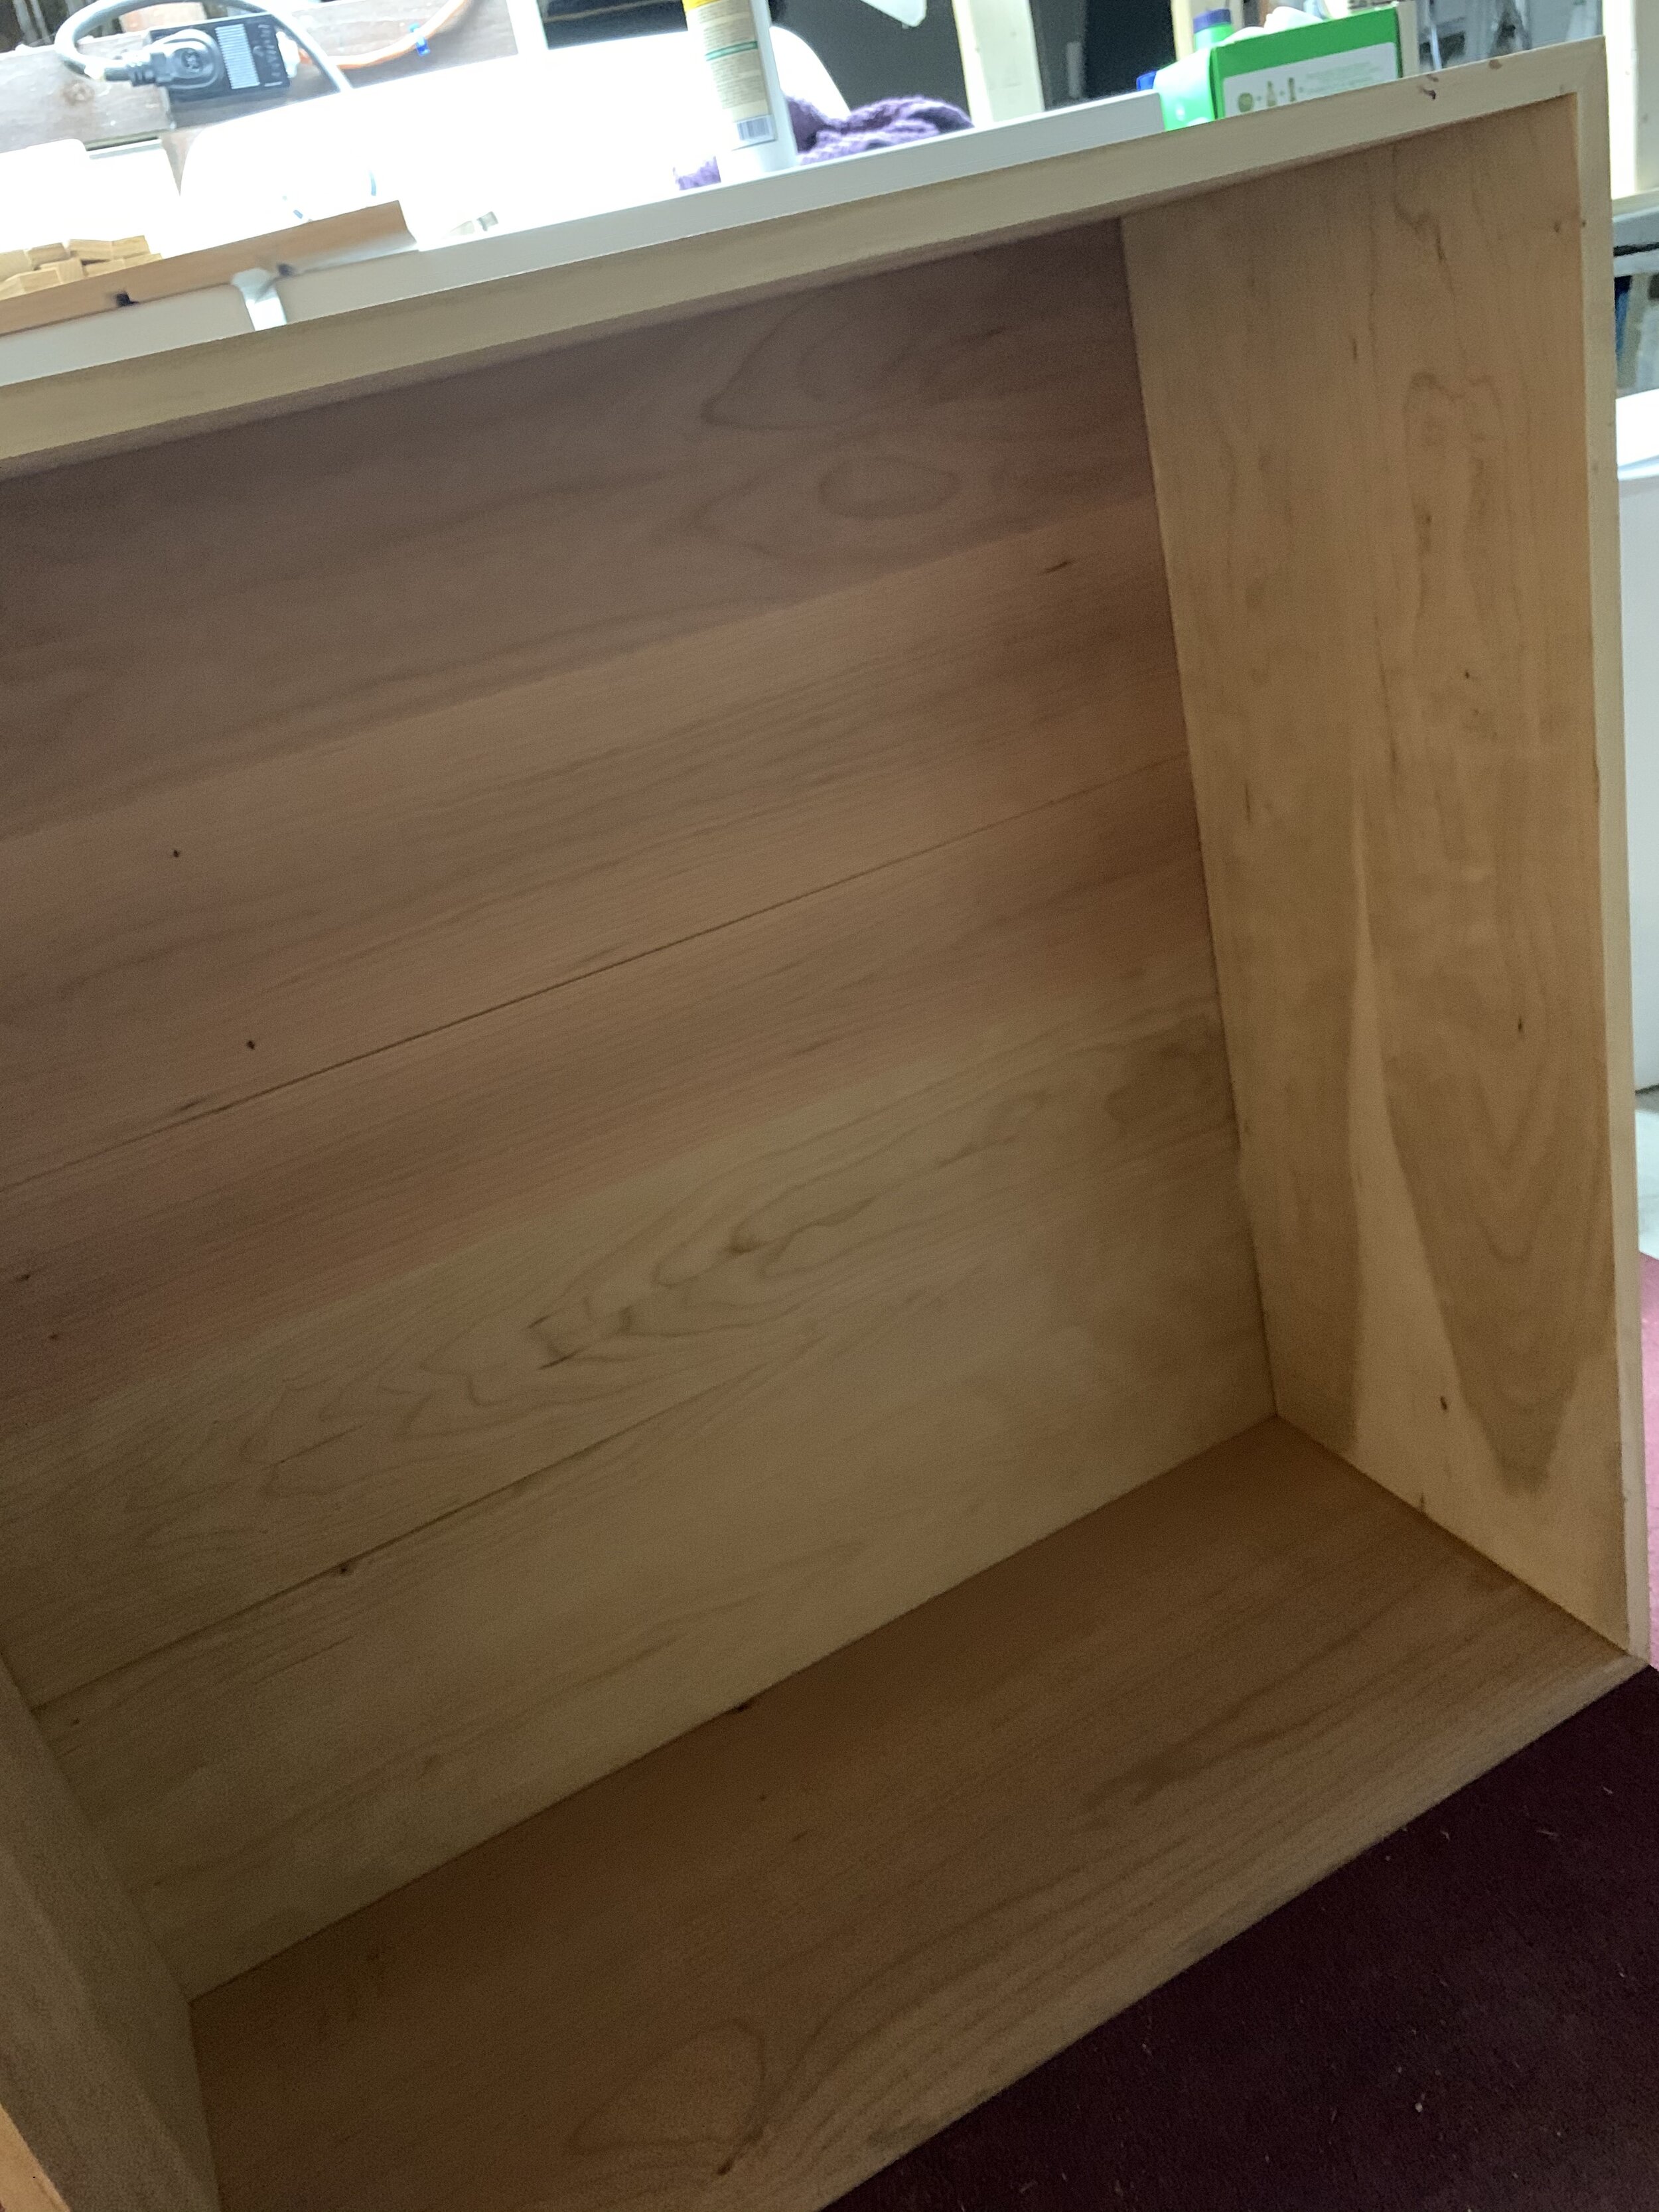
To build the back of the cabinet, I created several panels by laminating ~1/8” thin cherry boards together. I then rabbeted a groove in the back of the cabinet using my router and a straight bit with a ball-bearing attached as an edge guide. You need to be careful at the mitered corners because the router bit will want to get pulled in to the corner. To avoid this, I chiseled out the corners. After the back was rabbeted, I laid the three result panels in the back, arranged them in a way that fit snugly, and then glued them together once again before finally glueing them into the back of the cabinet.
Cabinet Doors
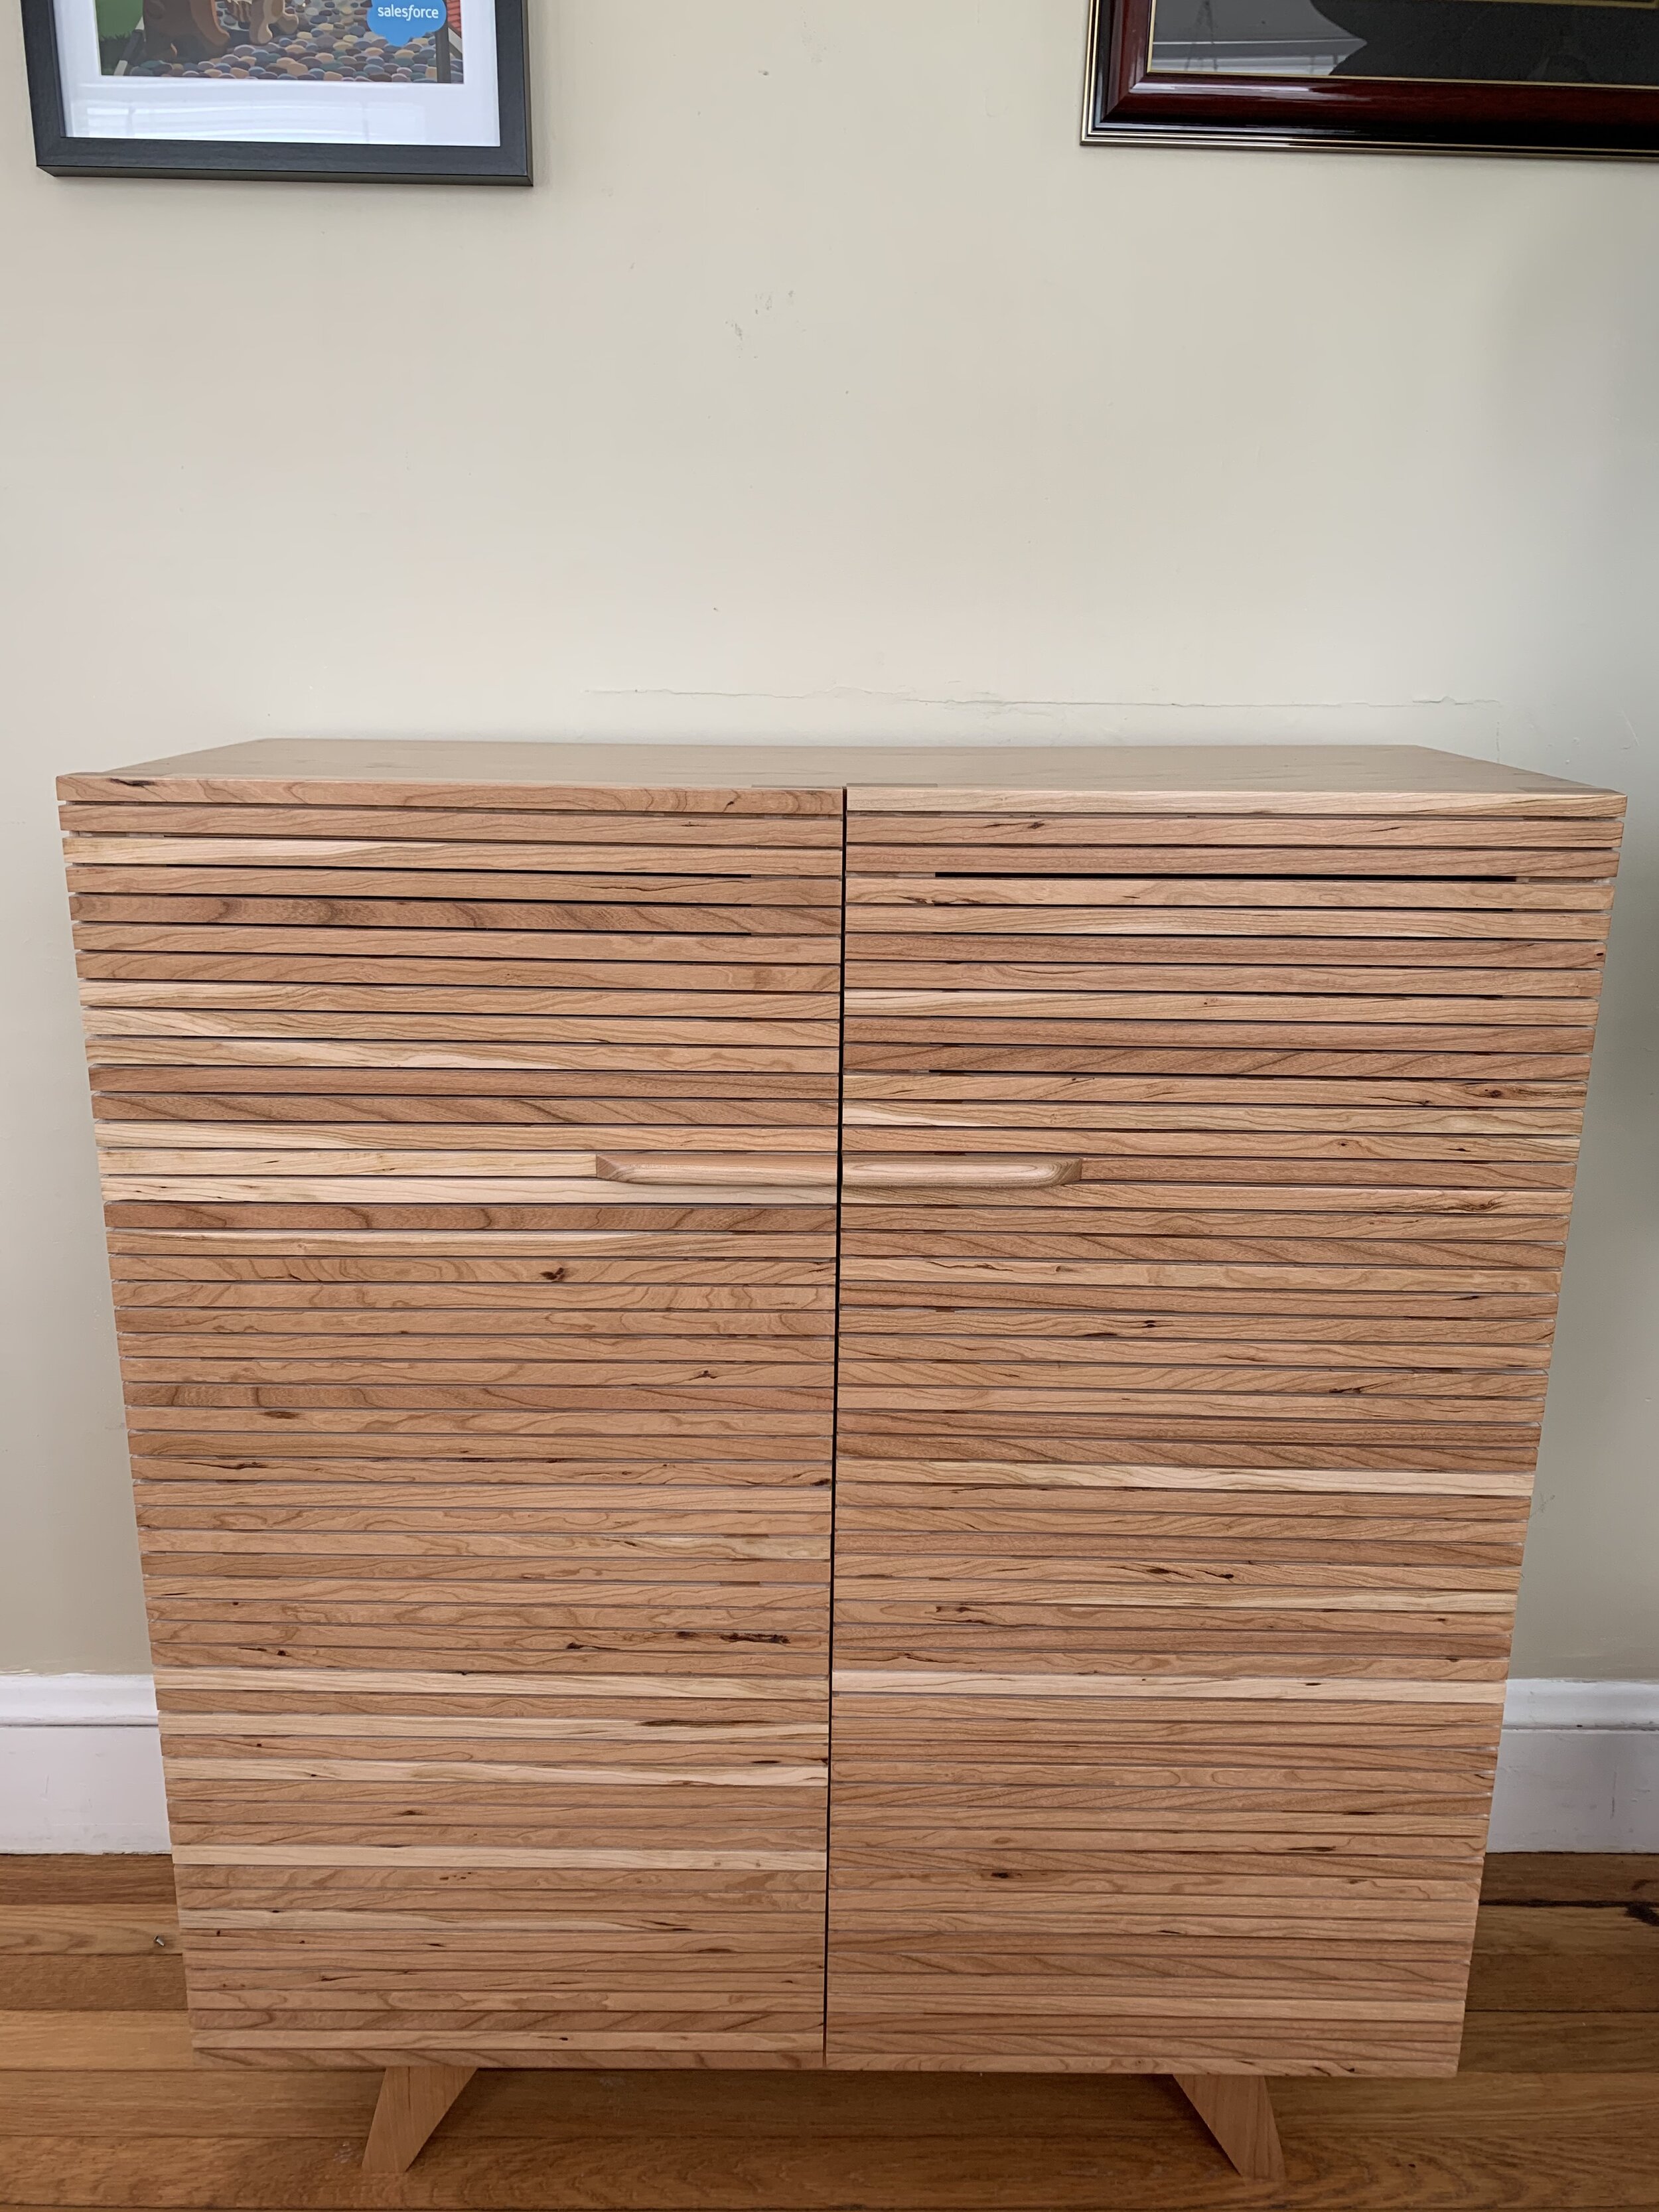
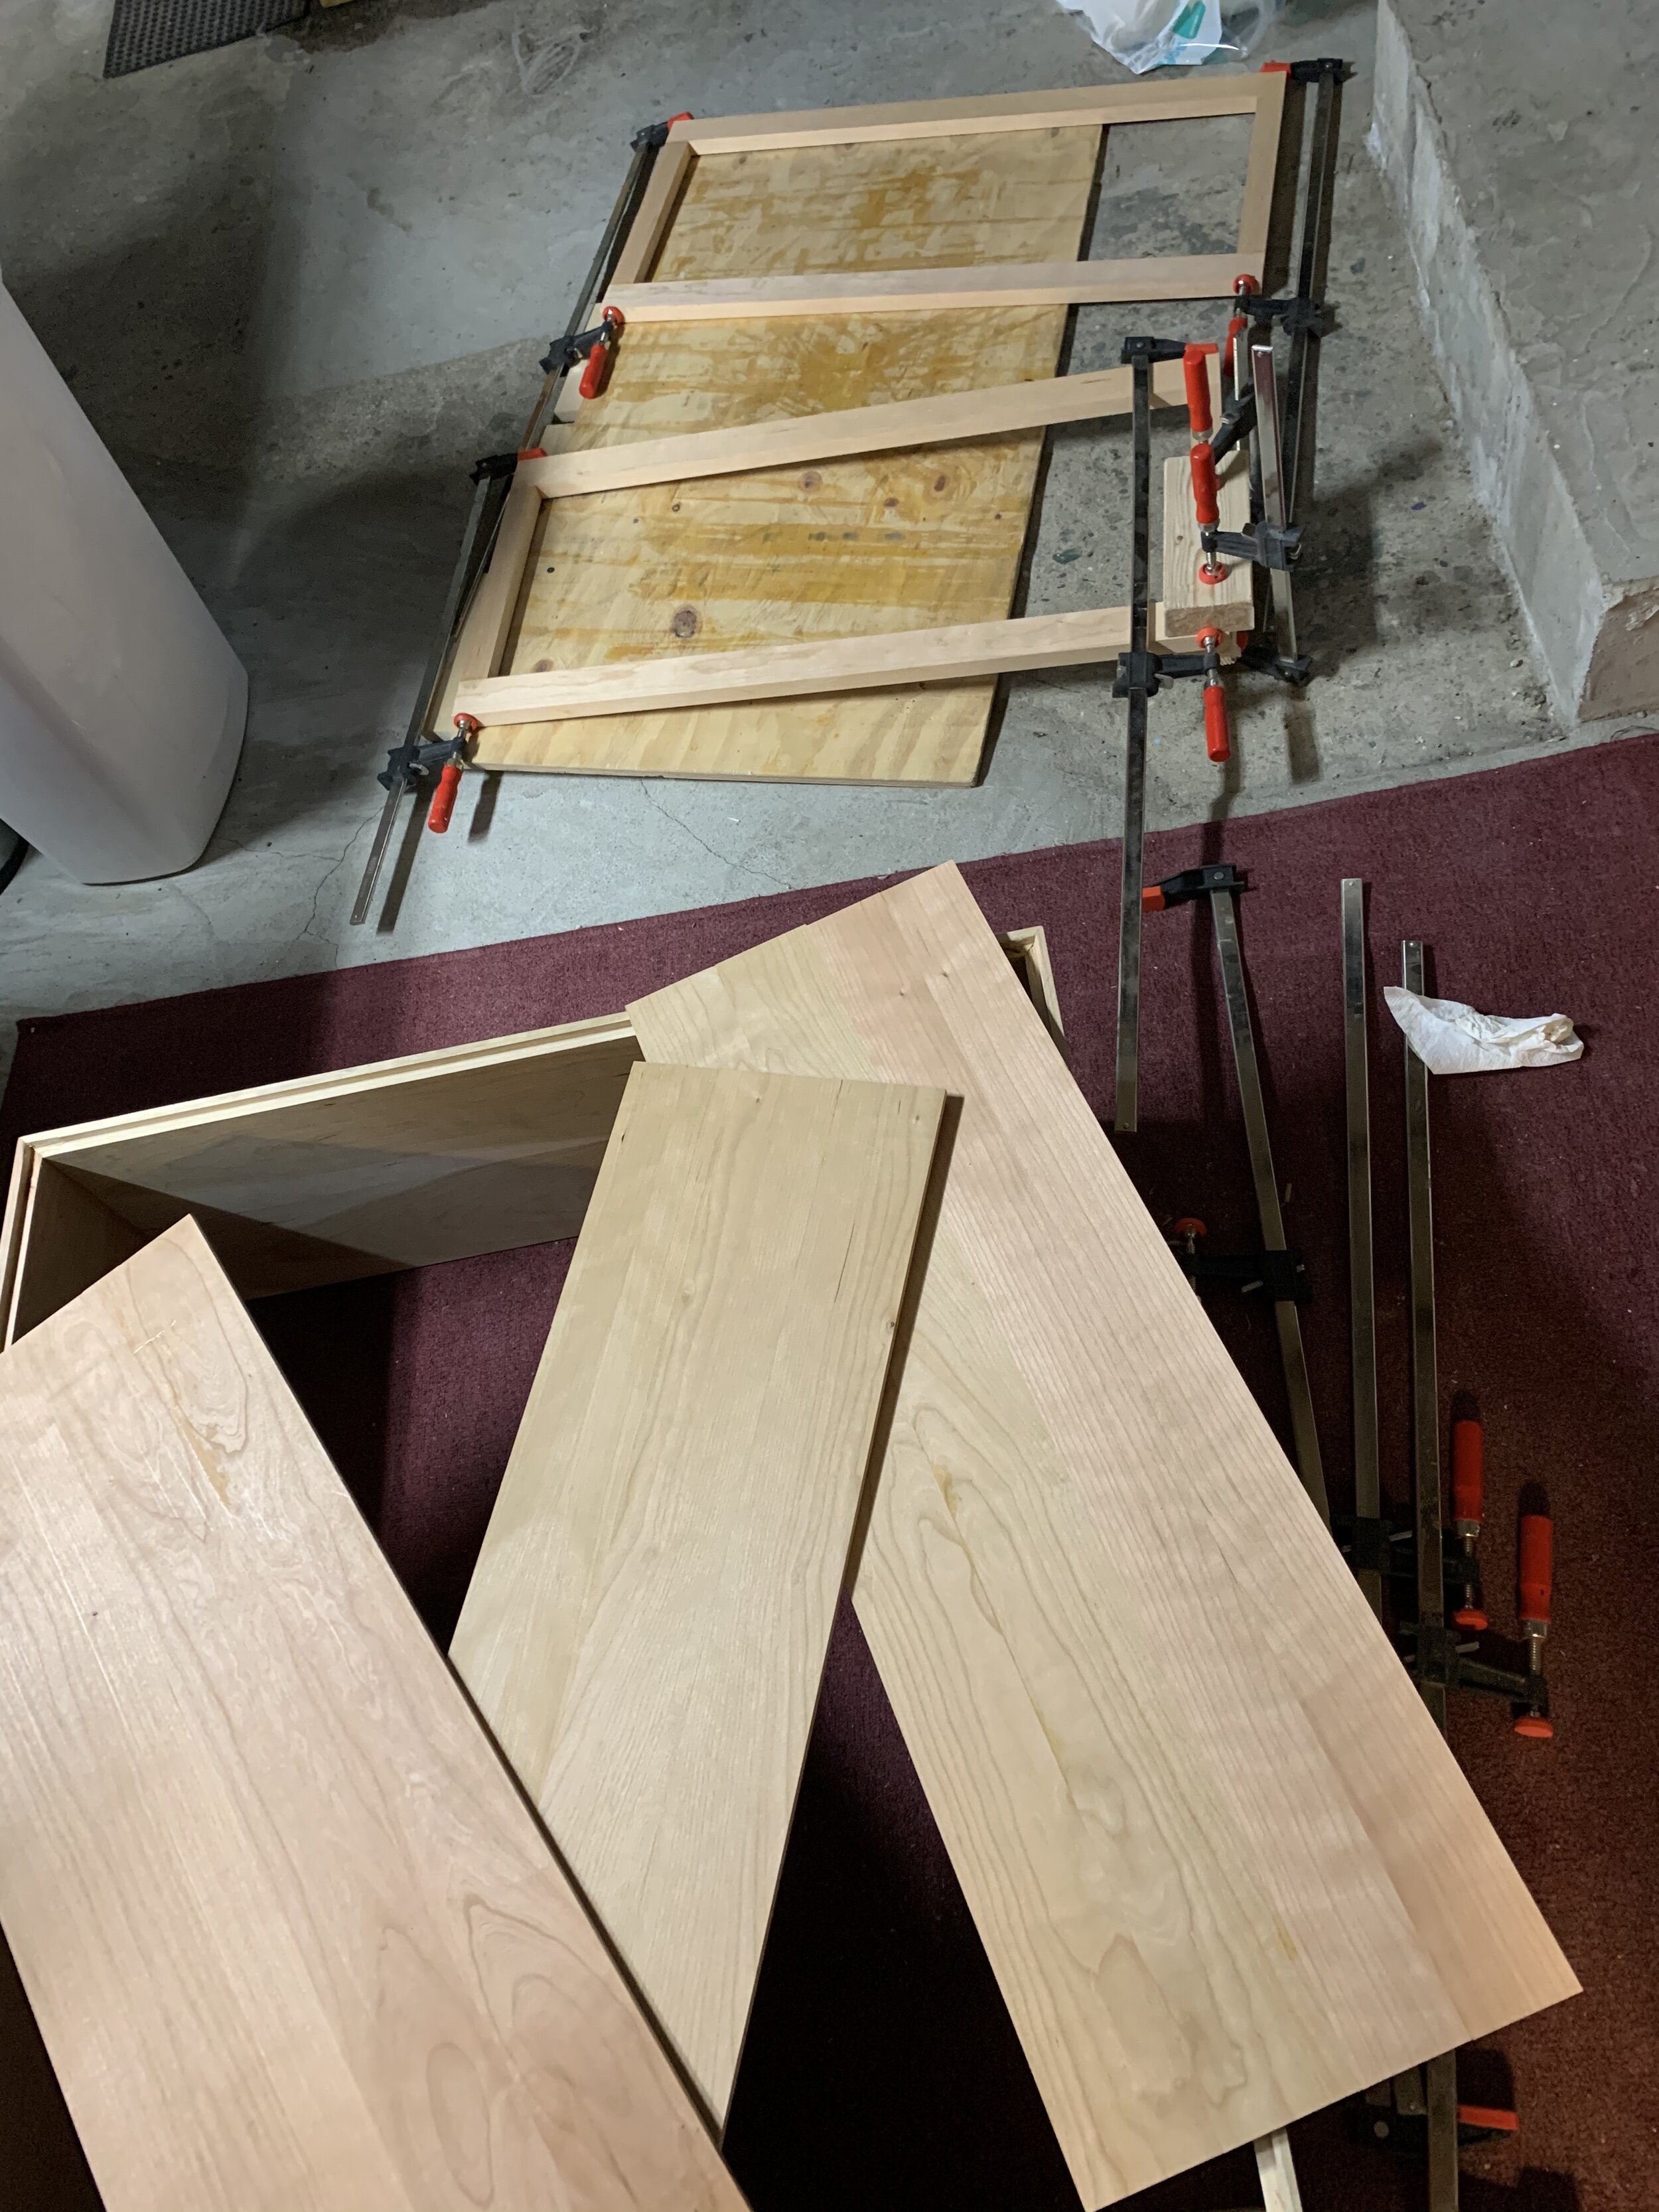
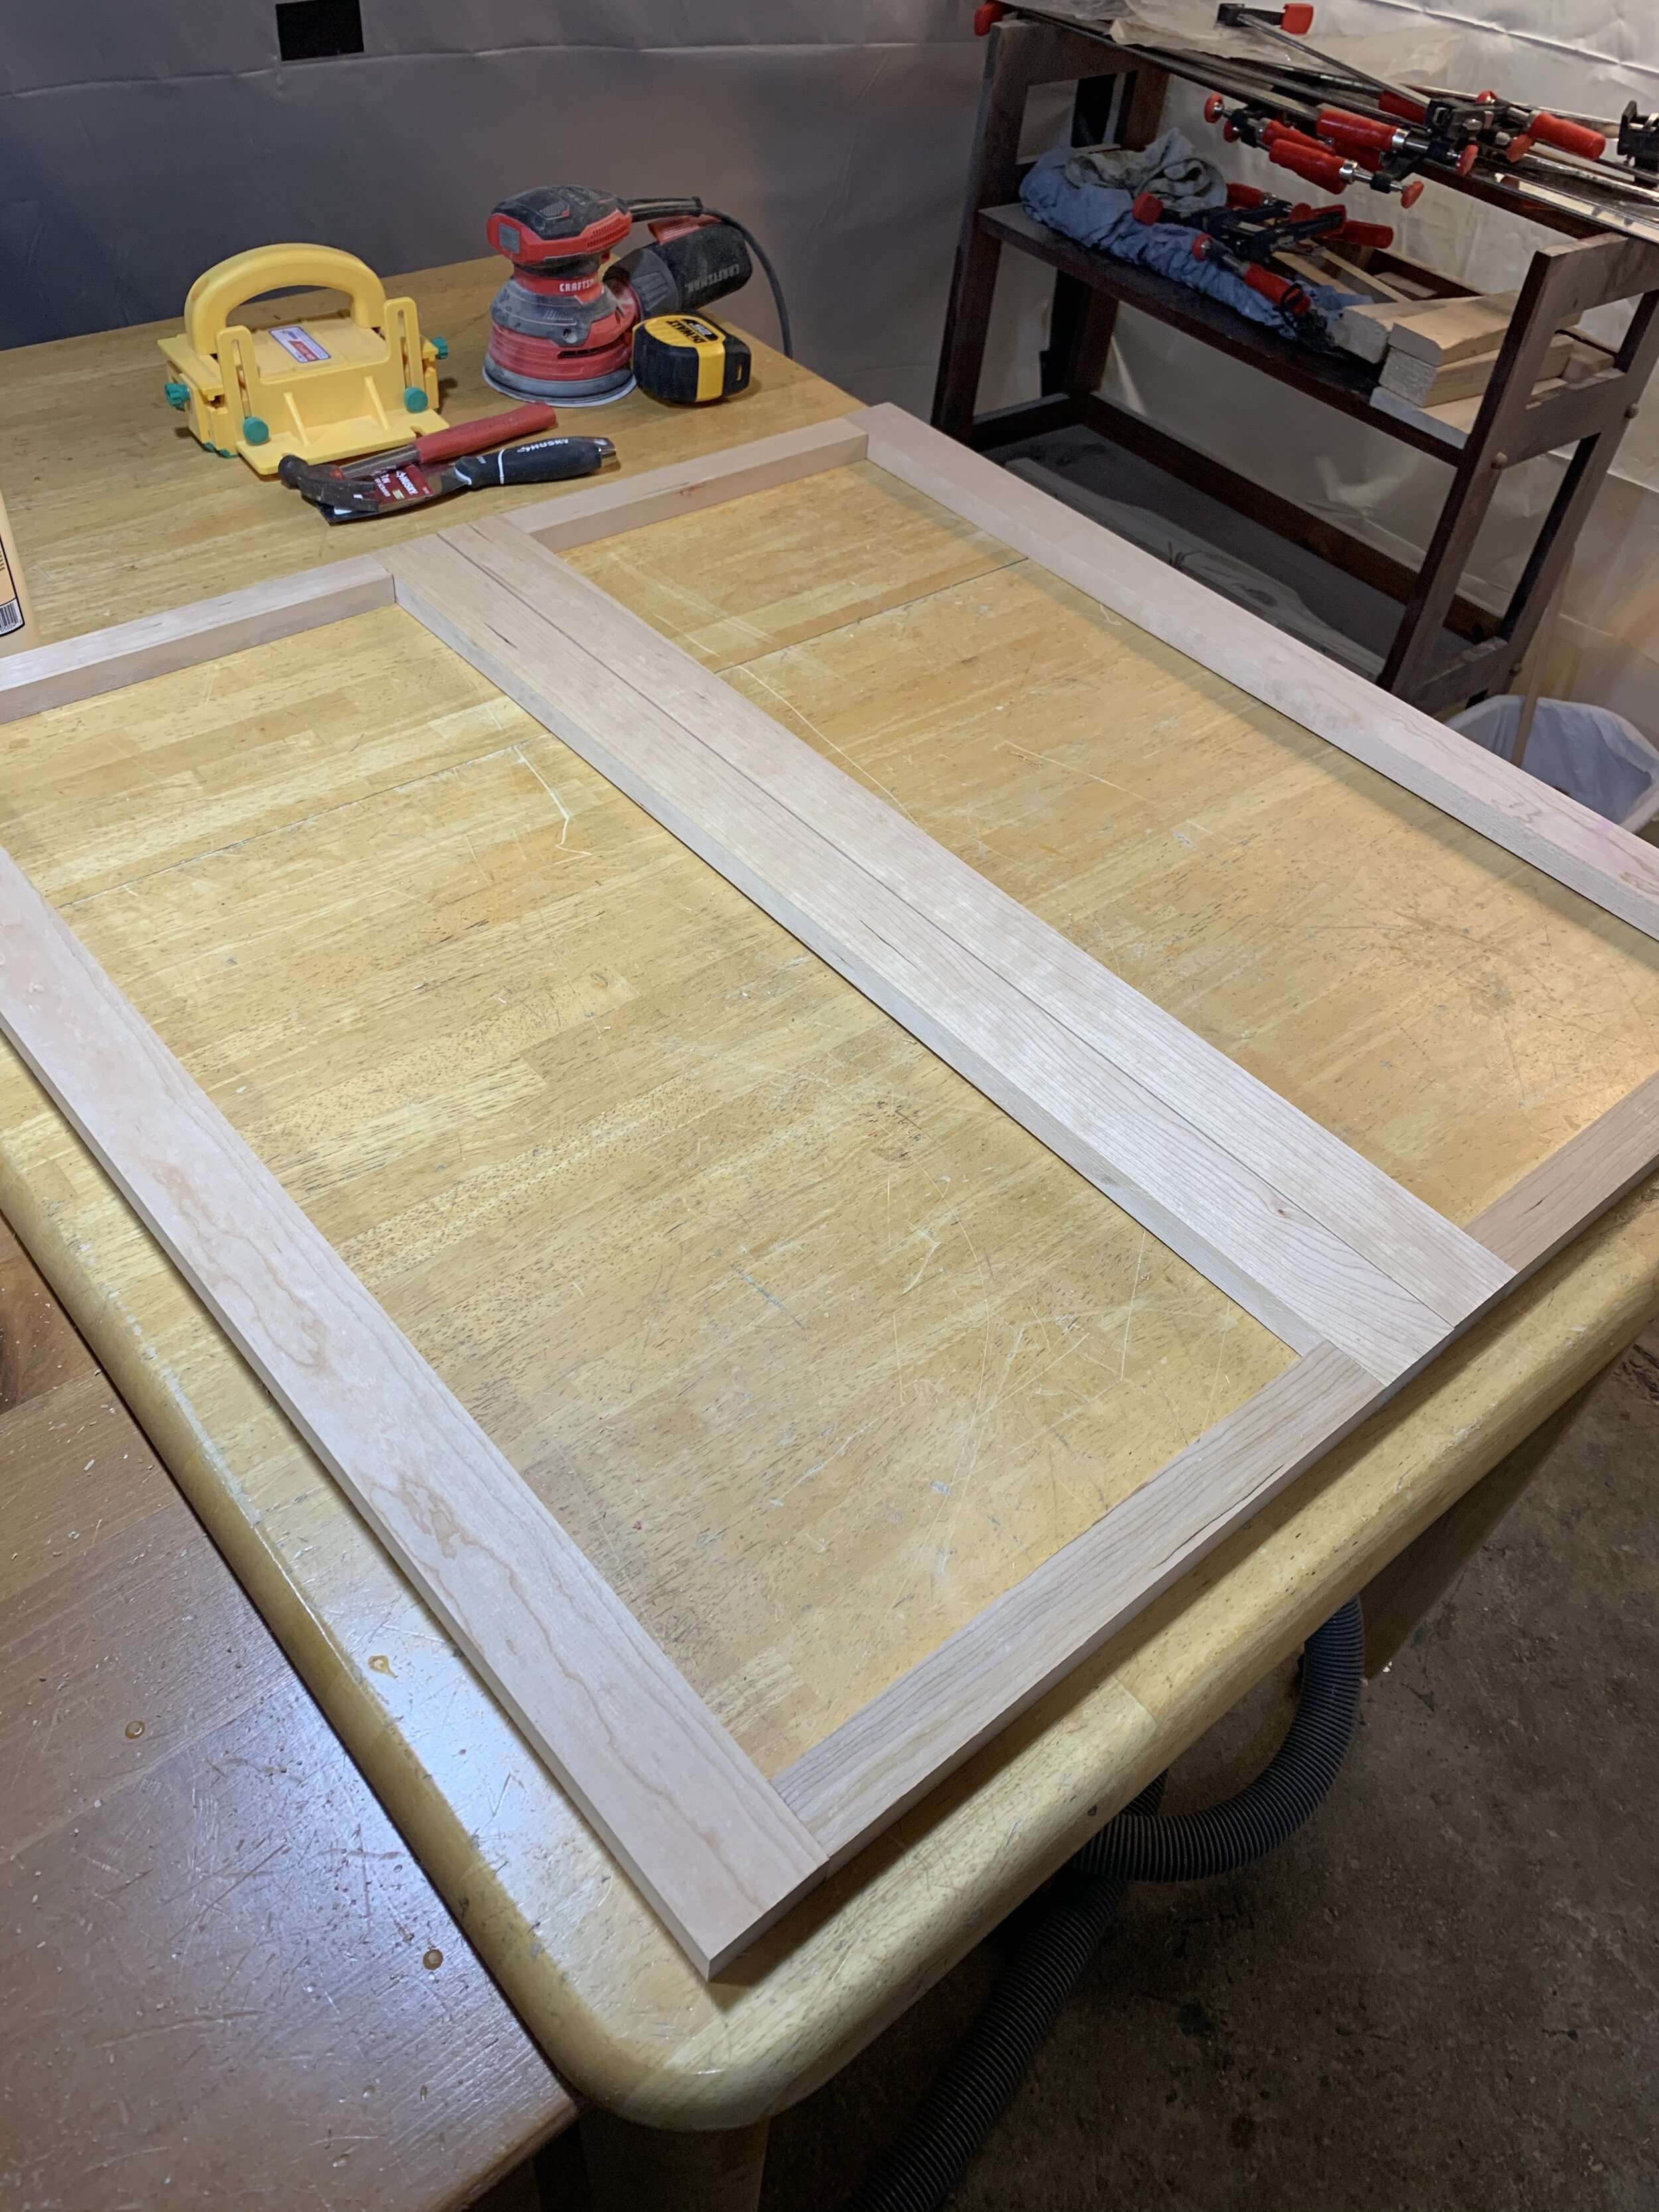
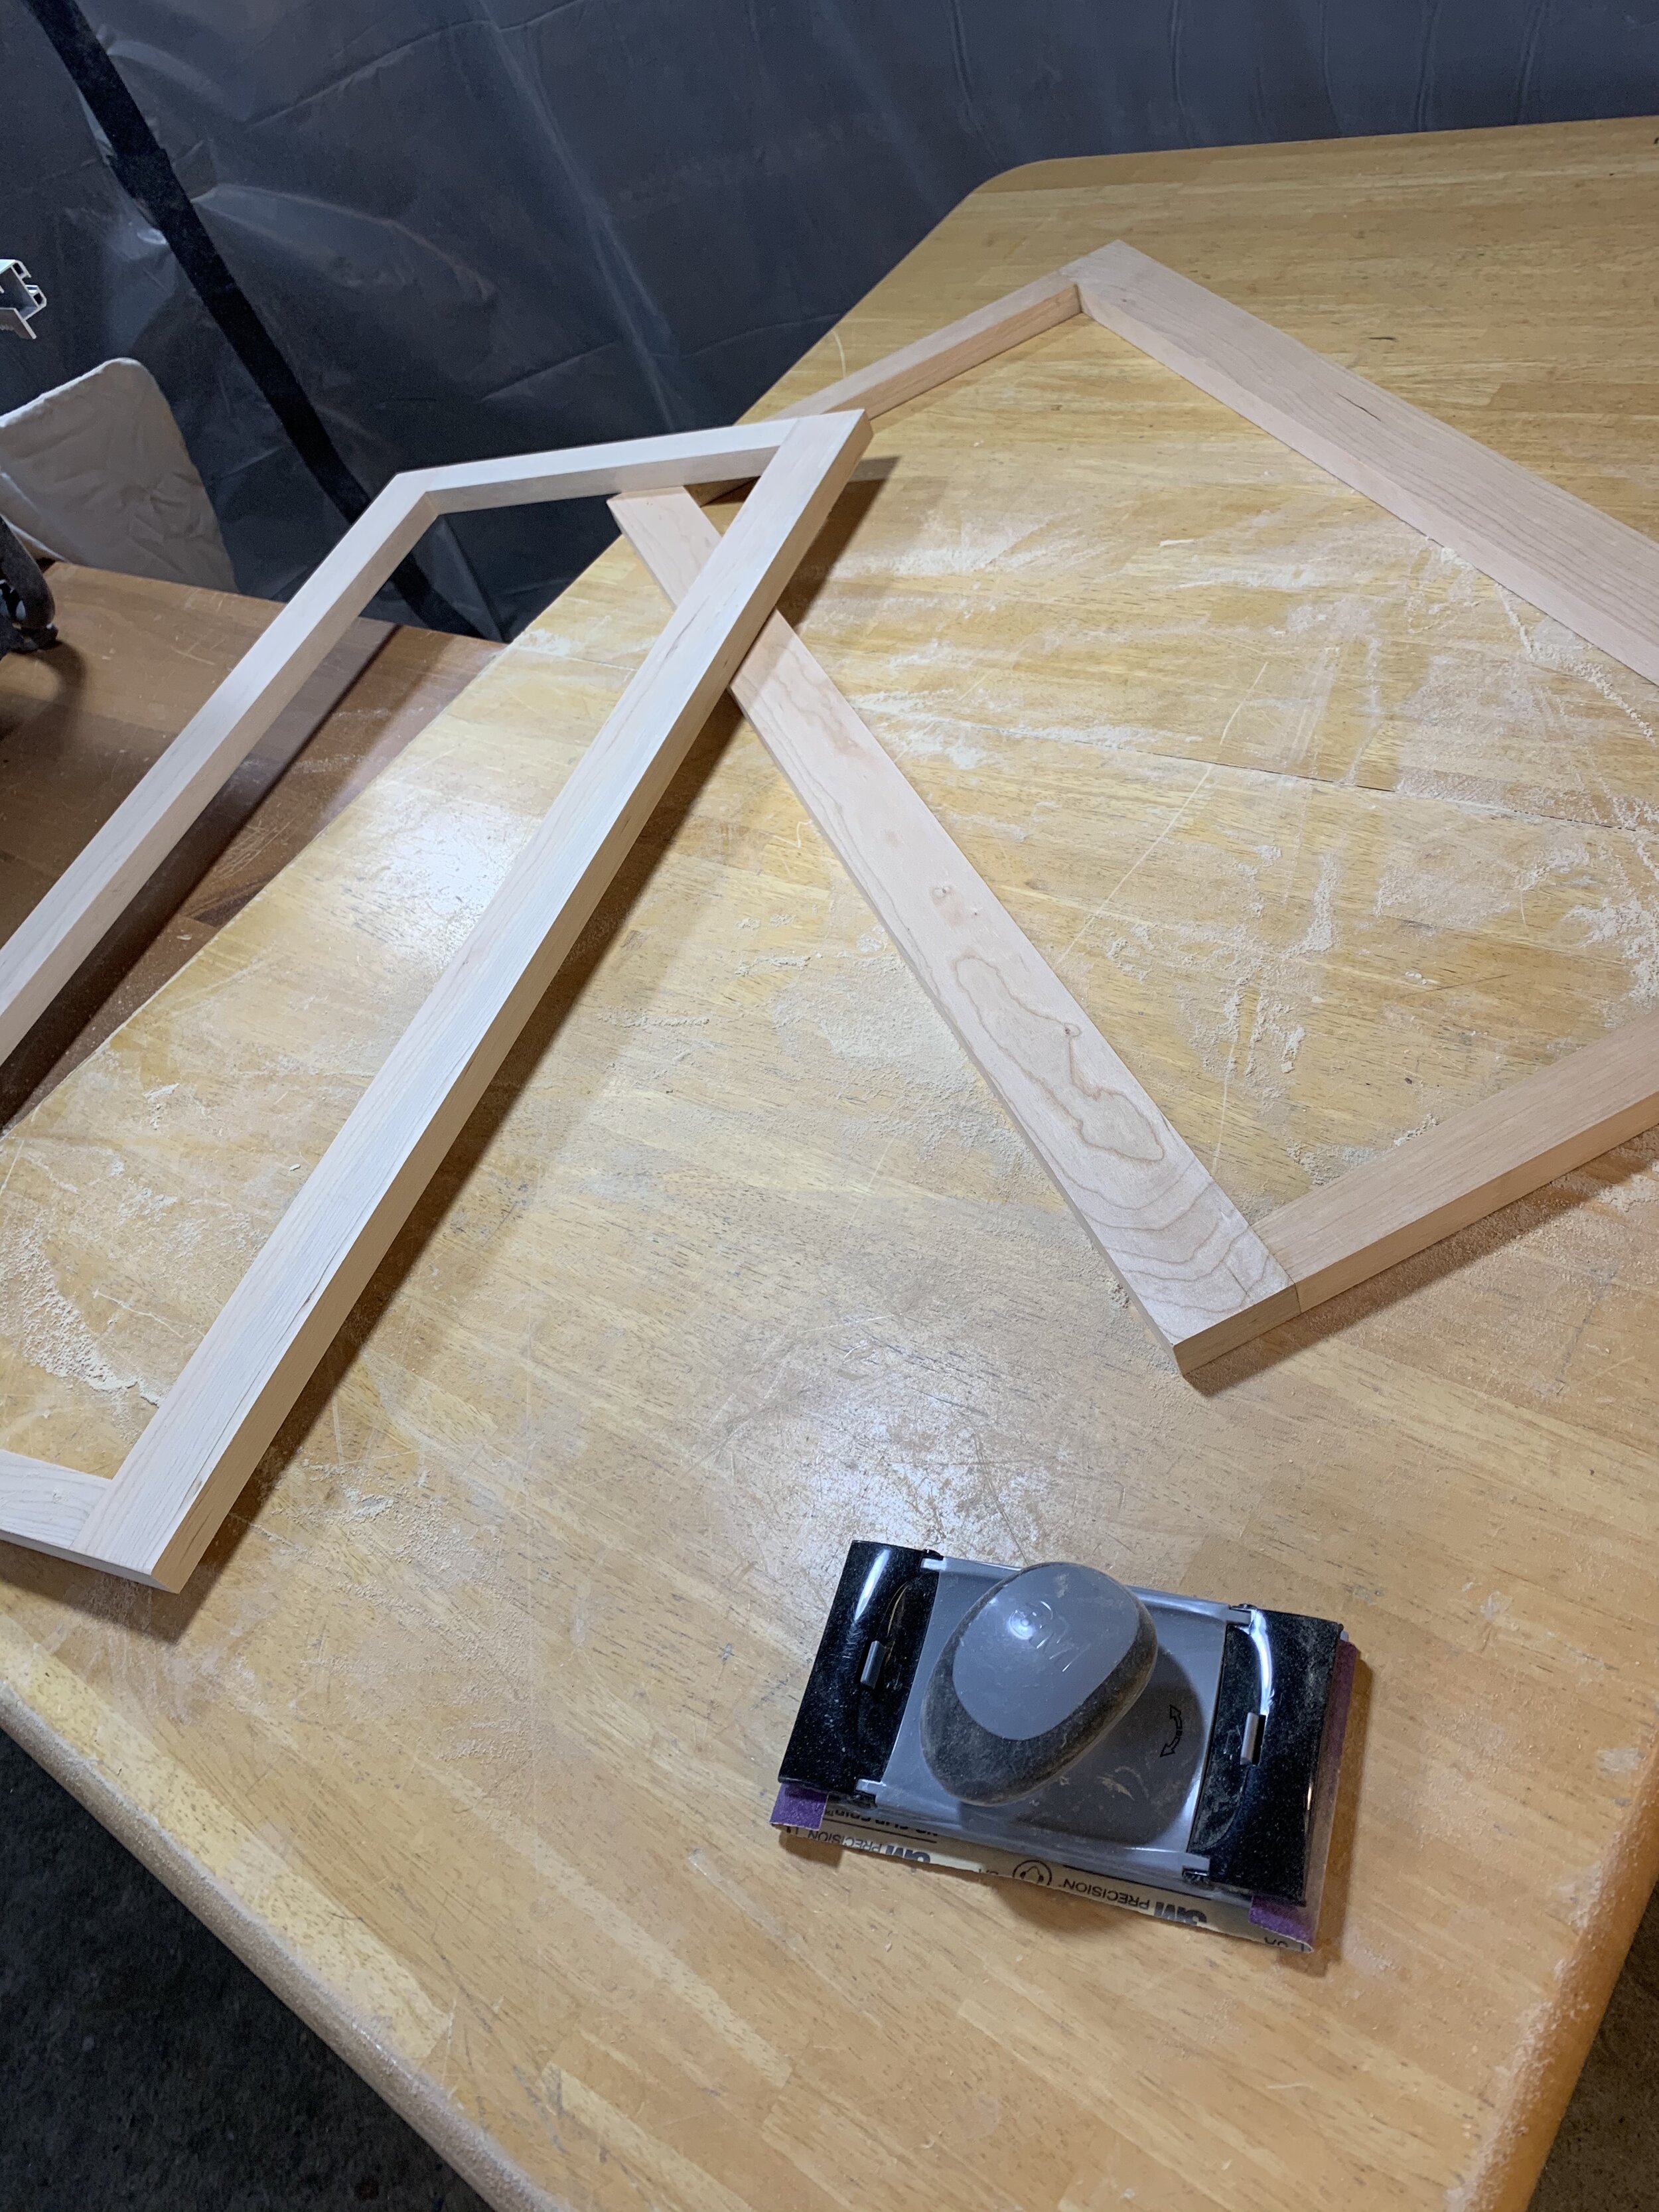
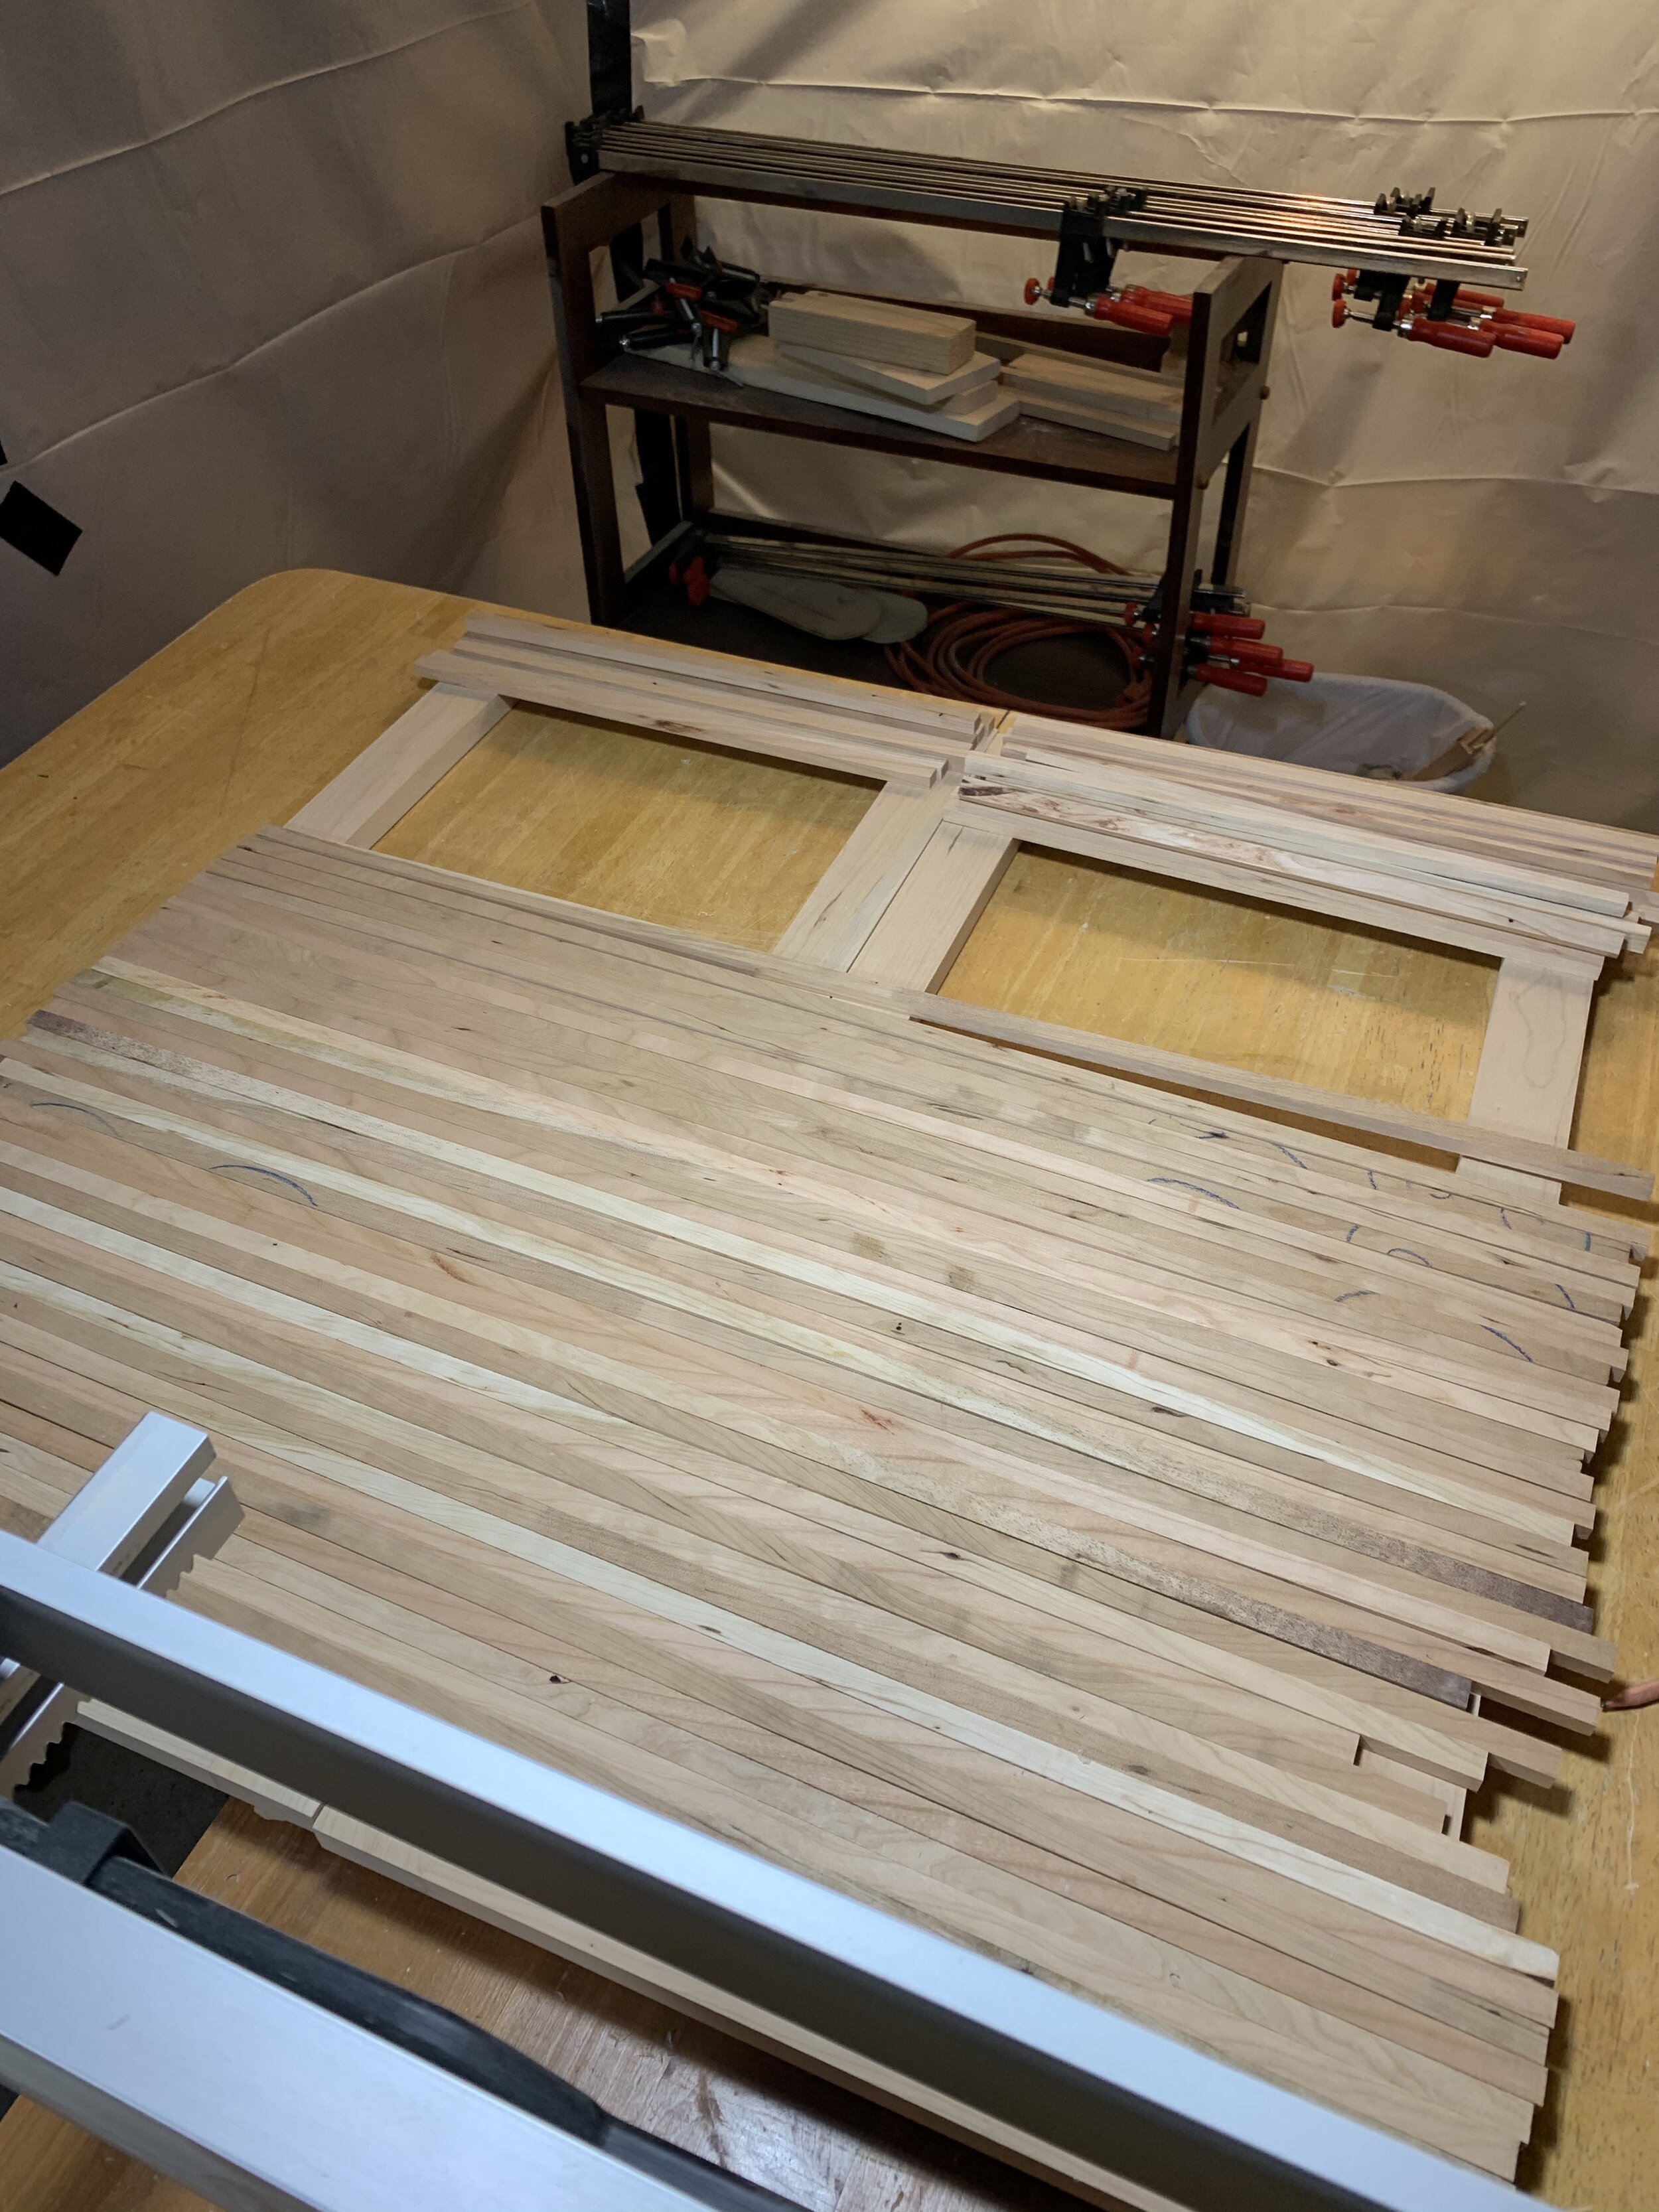
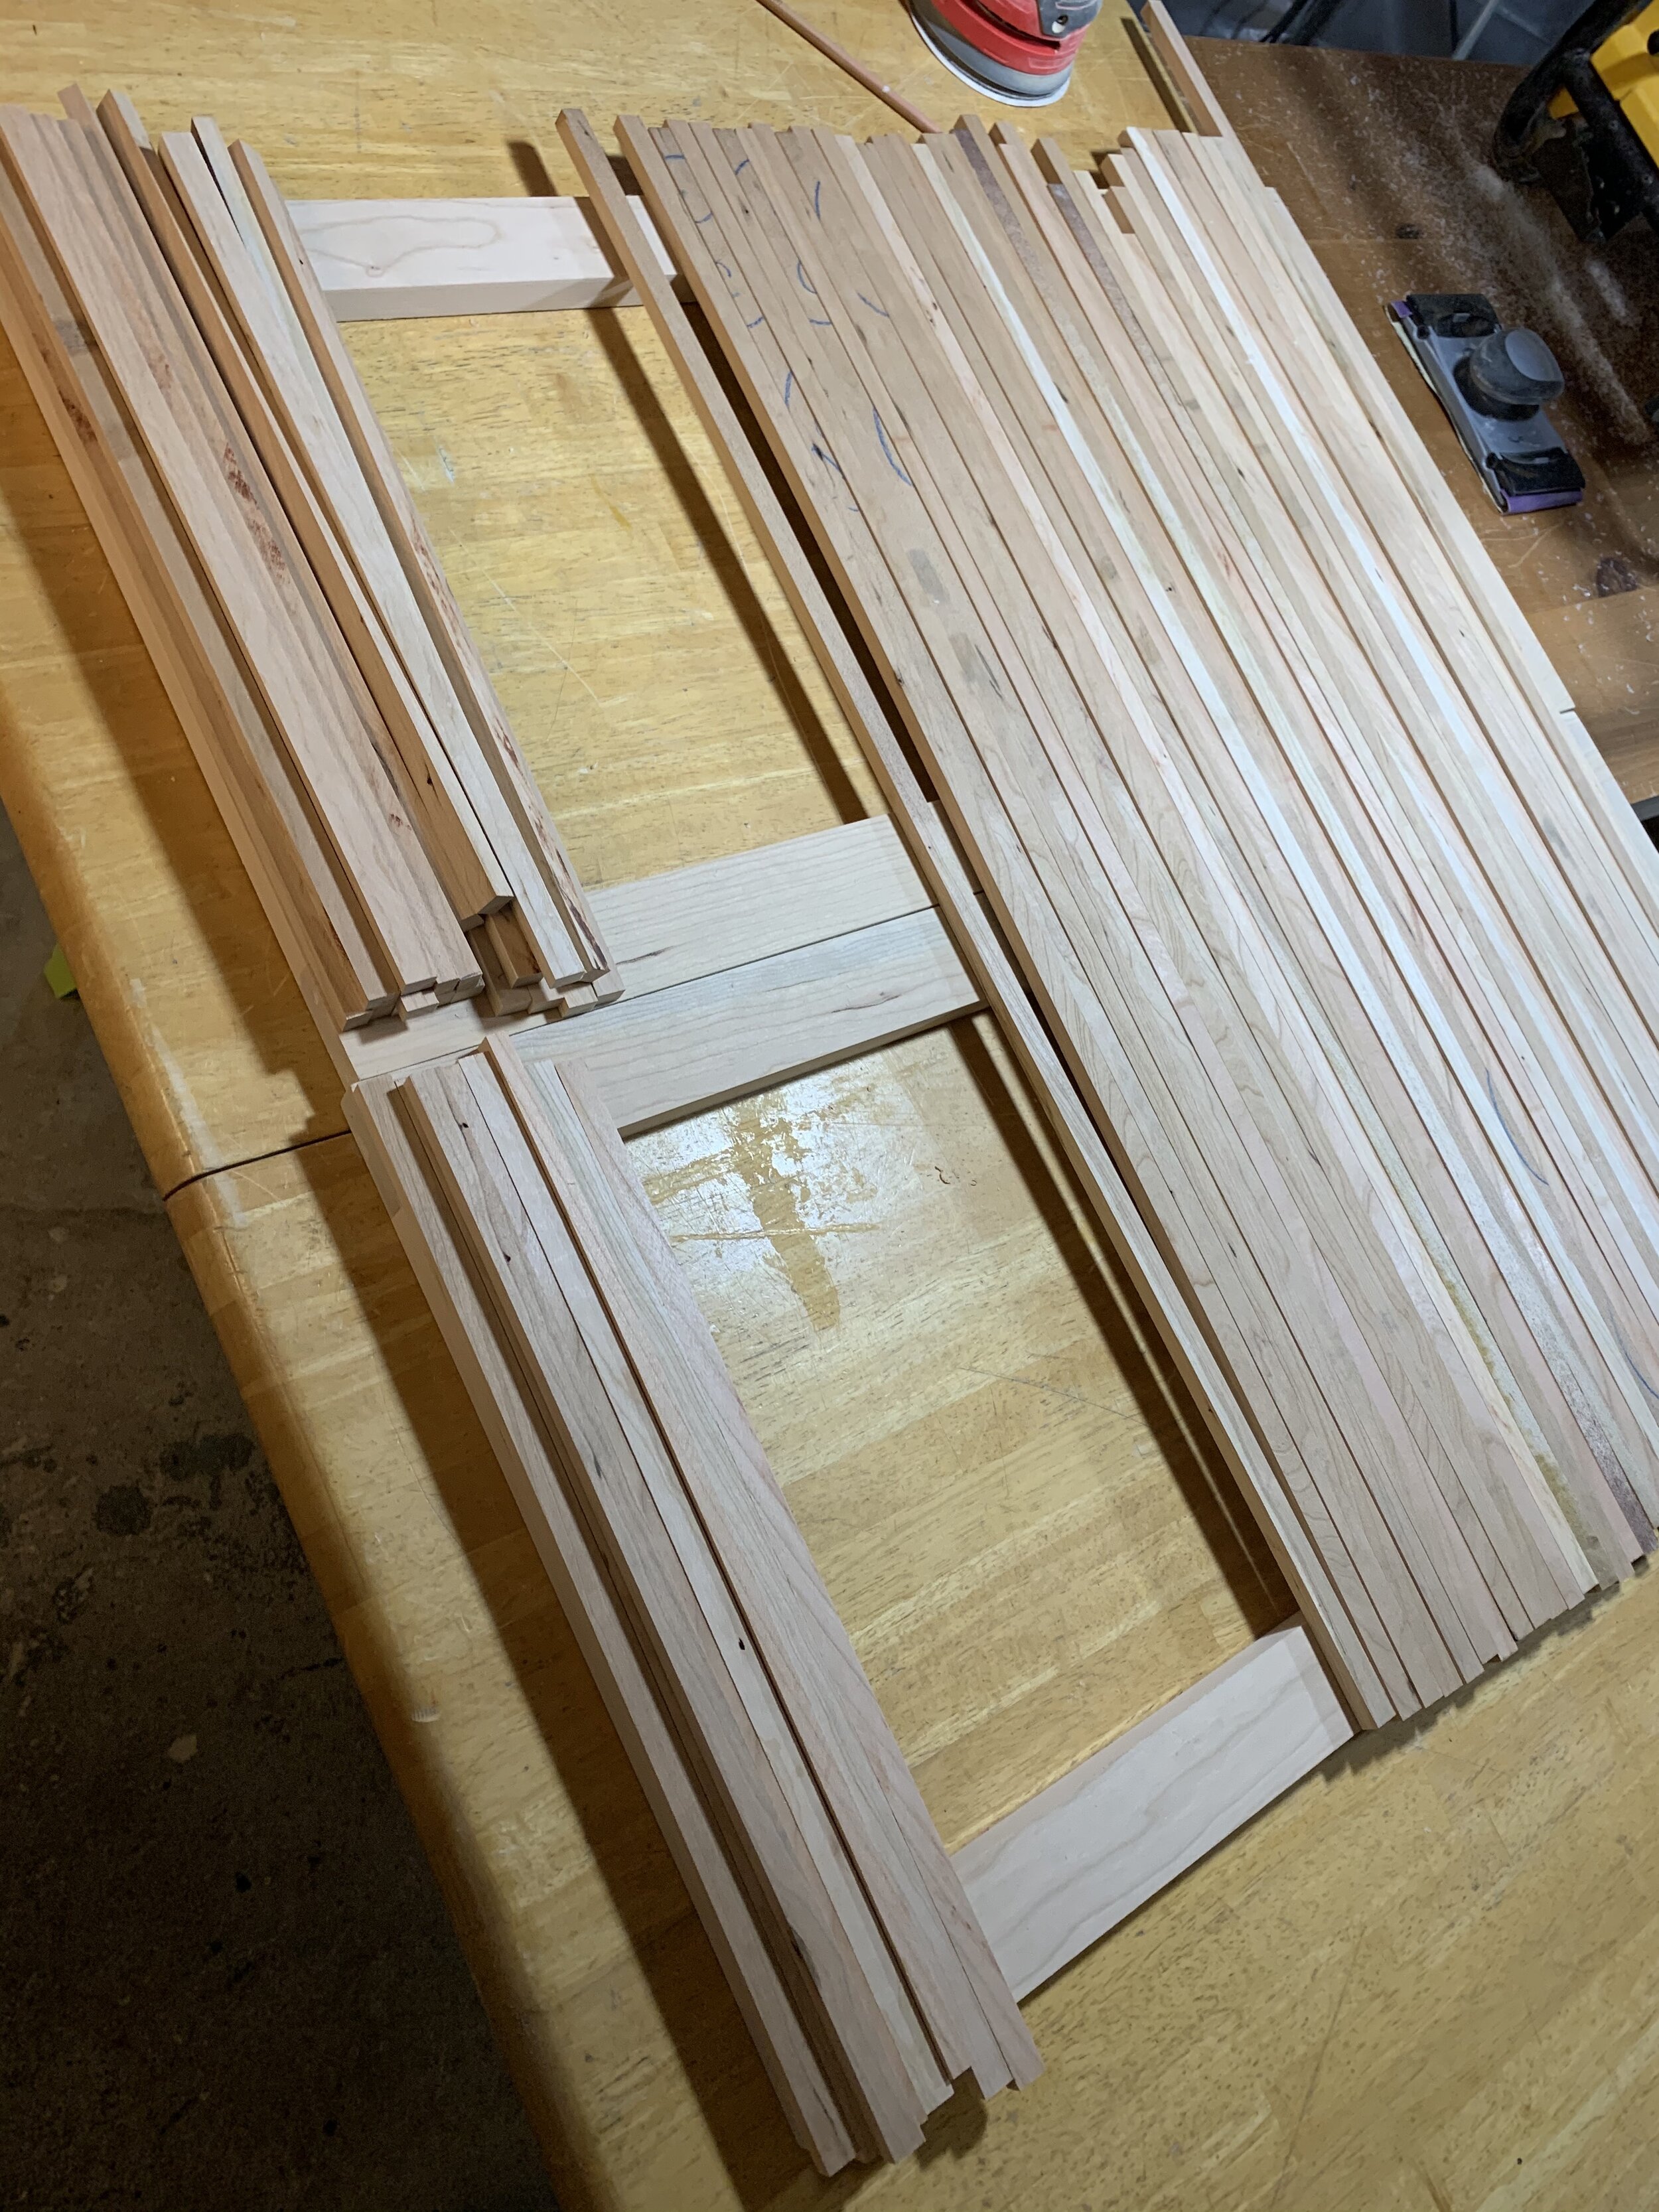
For the cabinet doors, I first measured the outer dimensions of the cabinet. I then added about 1/4” to the dimensions to ensure the doors at least met all edges of the cabinet front, and there was enough door “face” to cover, especially after adjustment of the door hinges. I cut my stock and assembled the door frames. For this, I did a butt joint, because after the wood slats would be attached on the front of the doors they would make up for the weaker-style end-grain butt joint. In addition, it didn’t have to be a fancy mitered joint because you wouldn’t see the joinery on the back side of the door. The only area you’d see the butt joint was the top of the door, but I kinda liked the look.
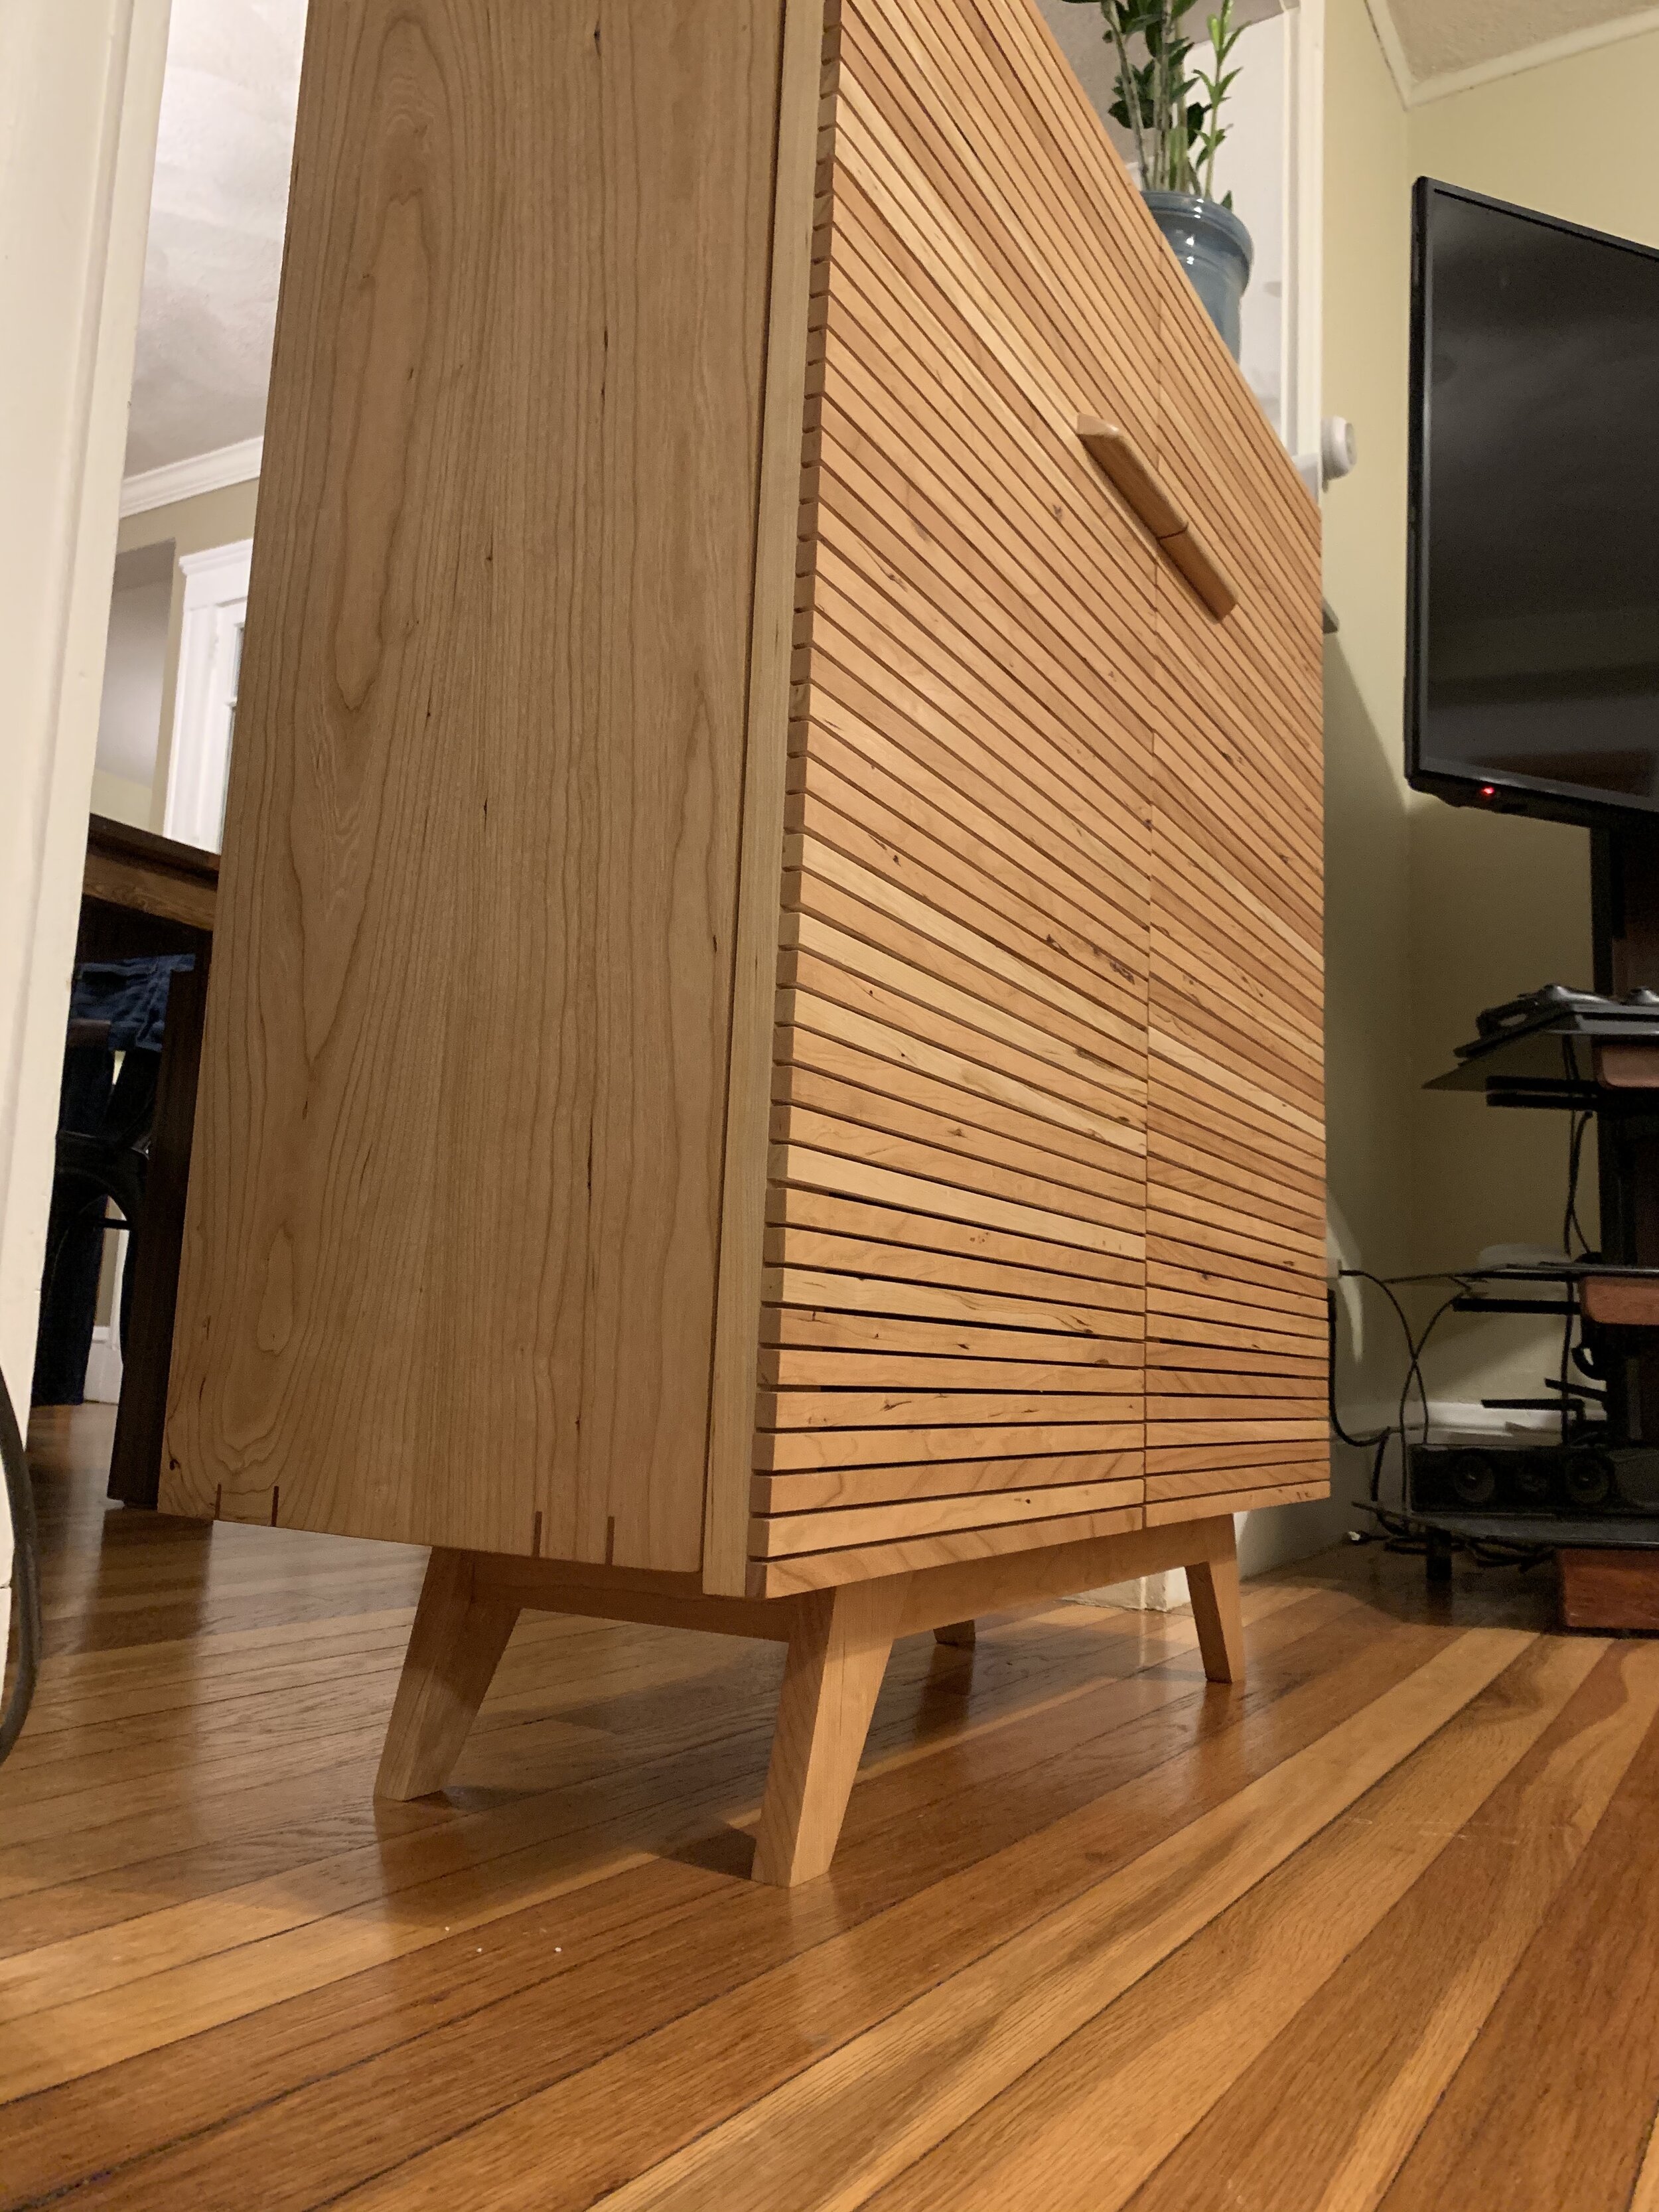
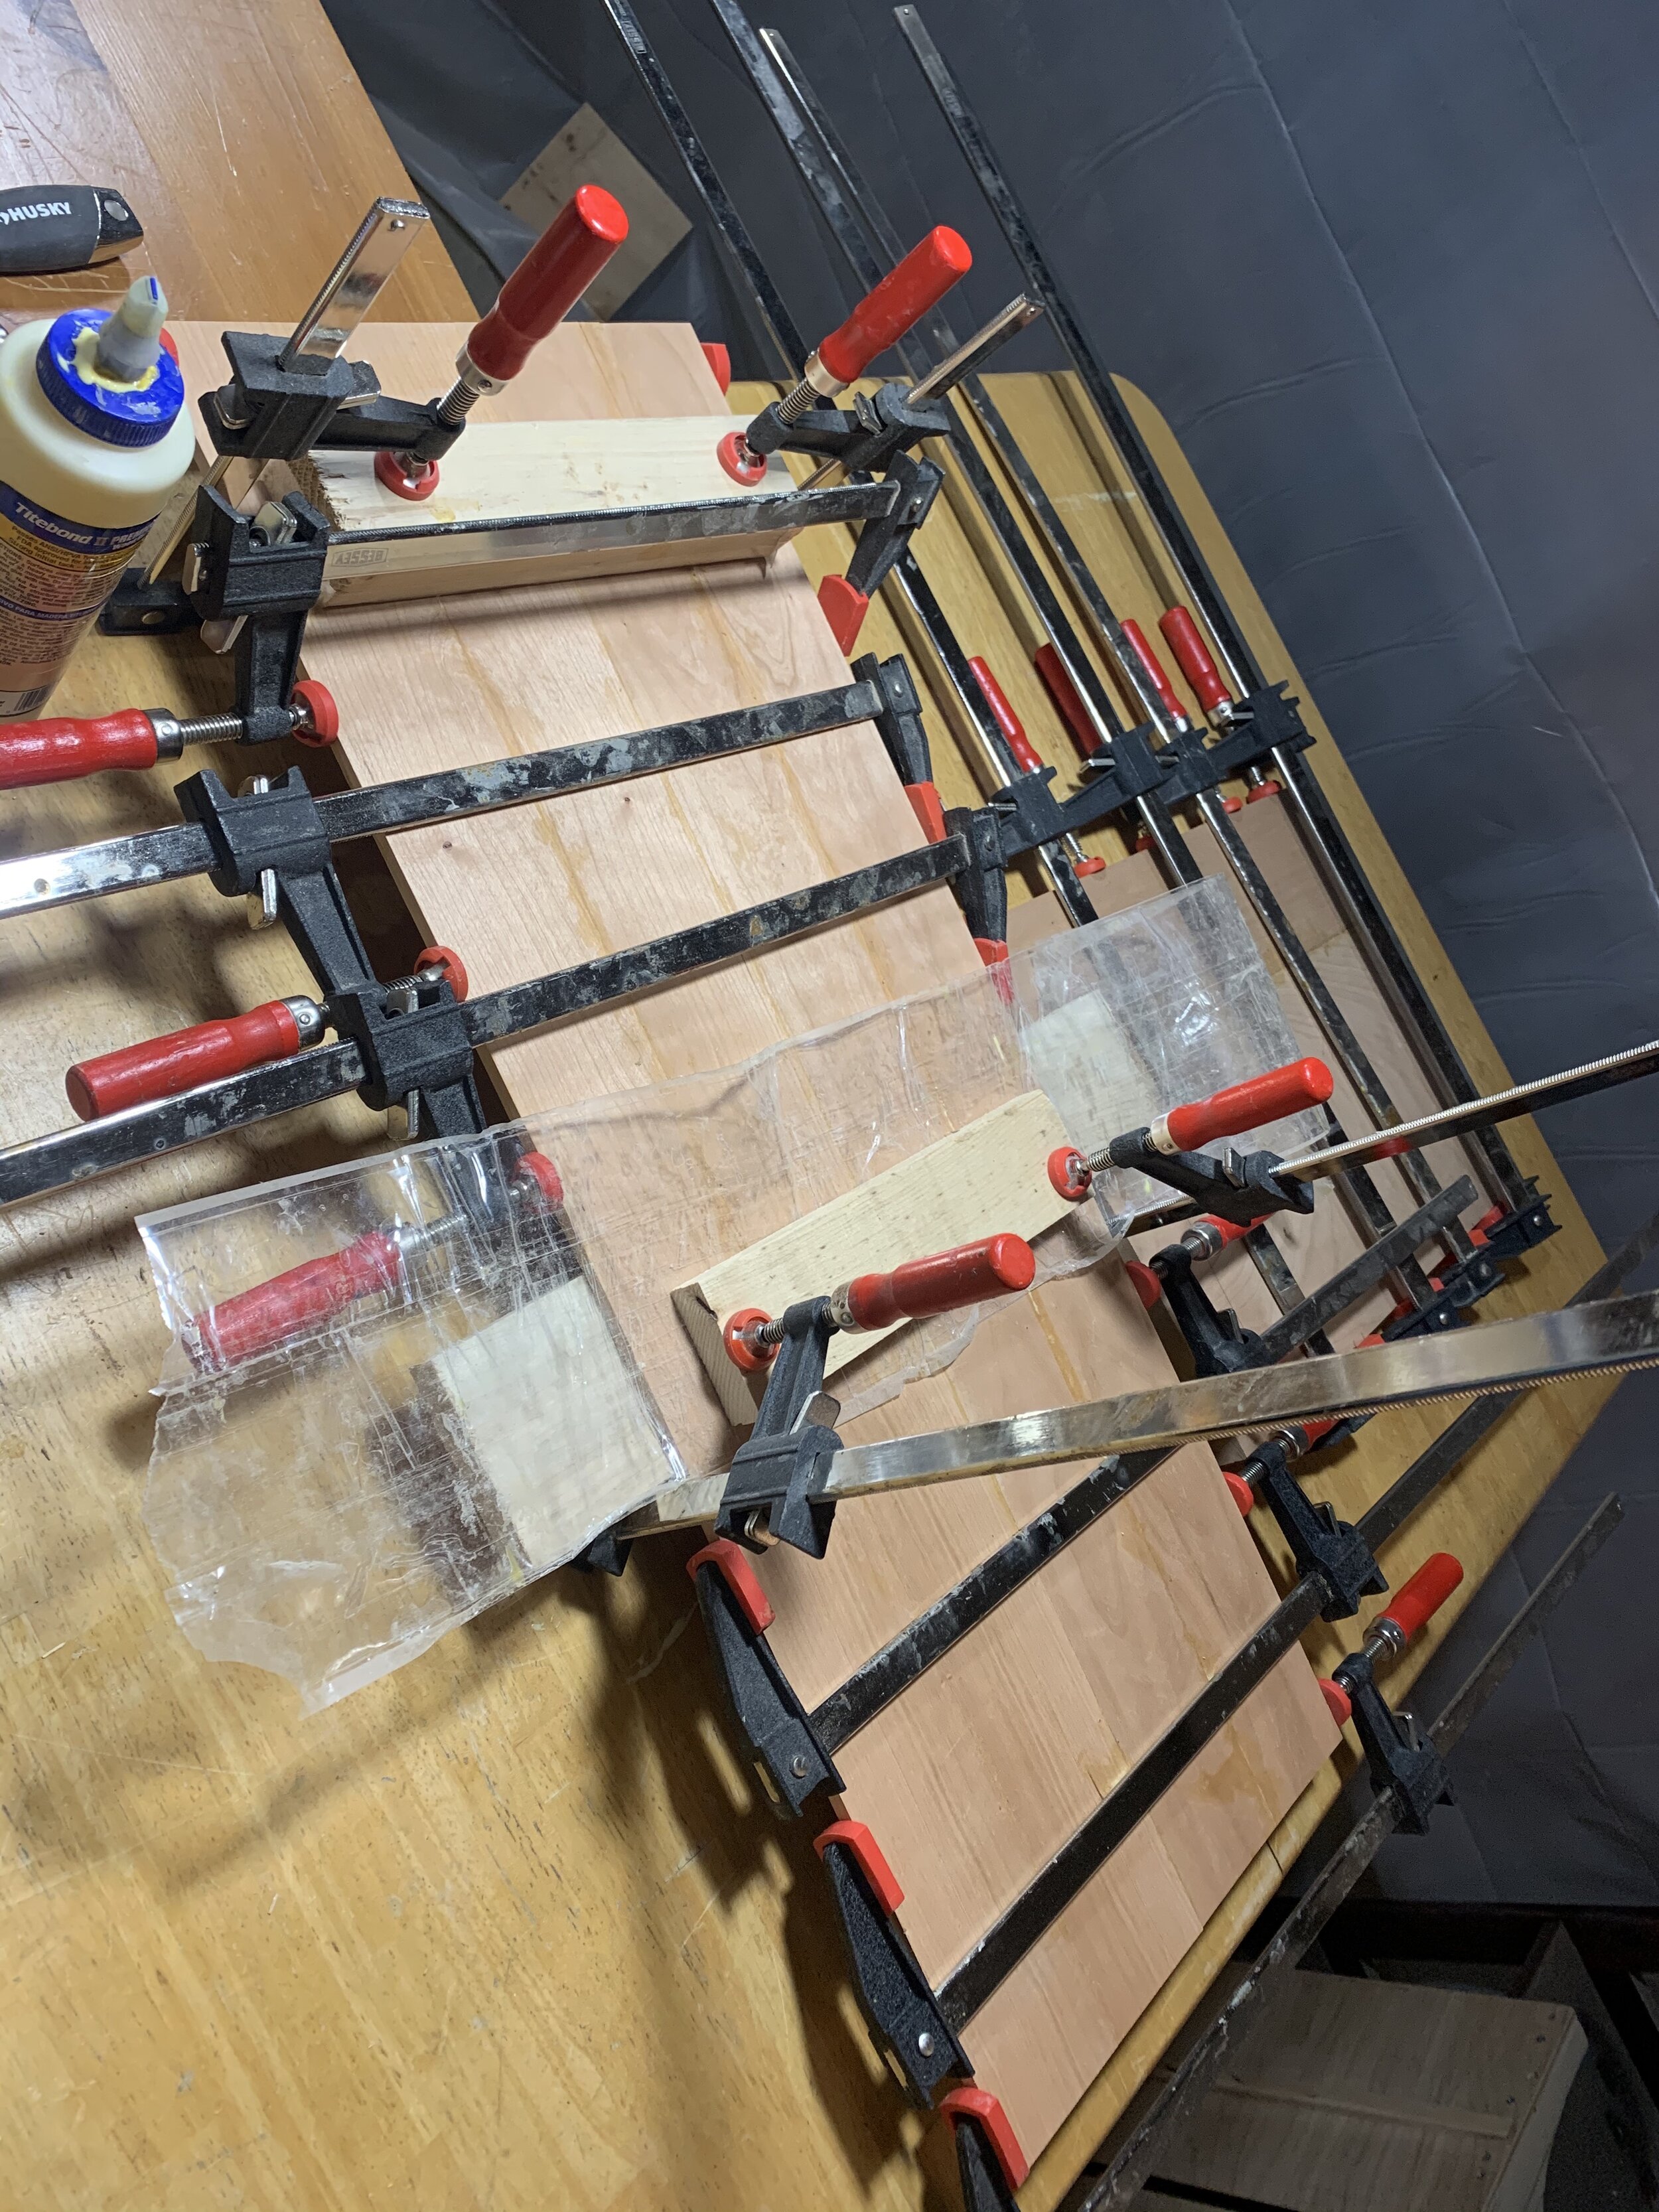
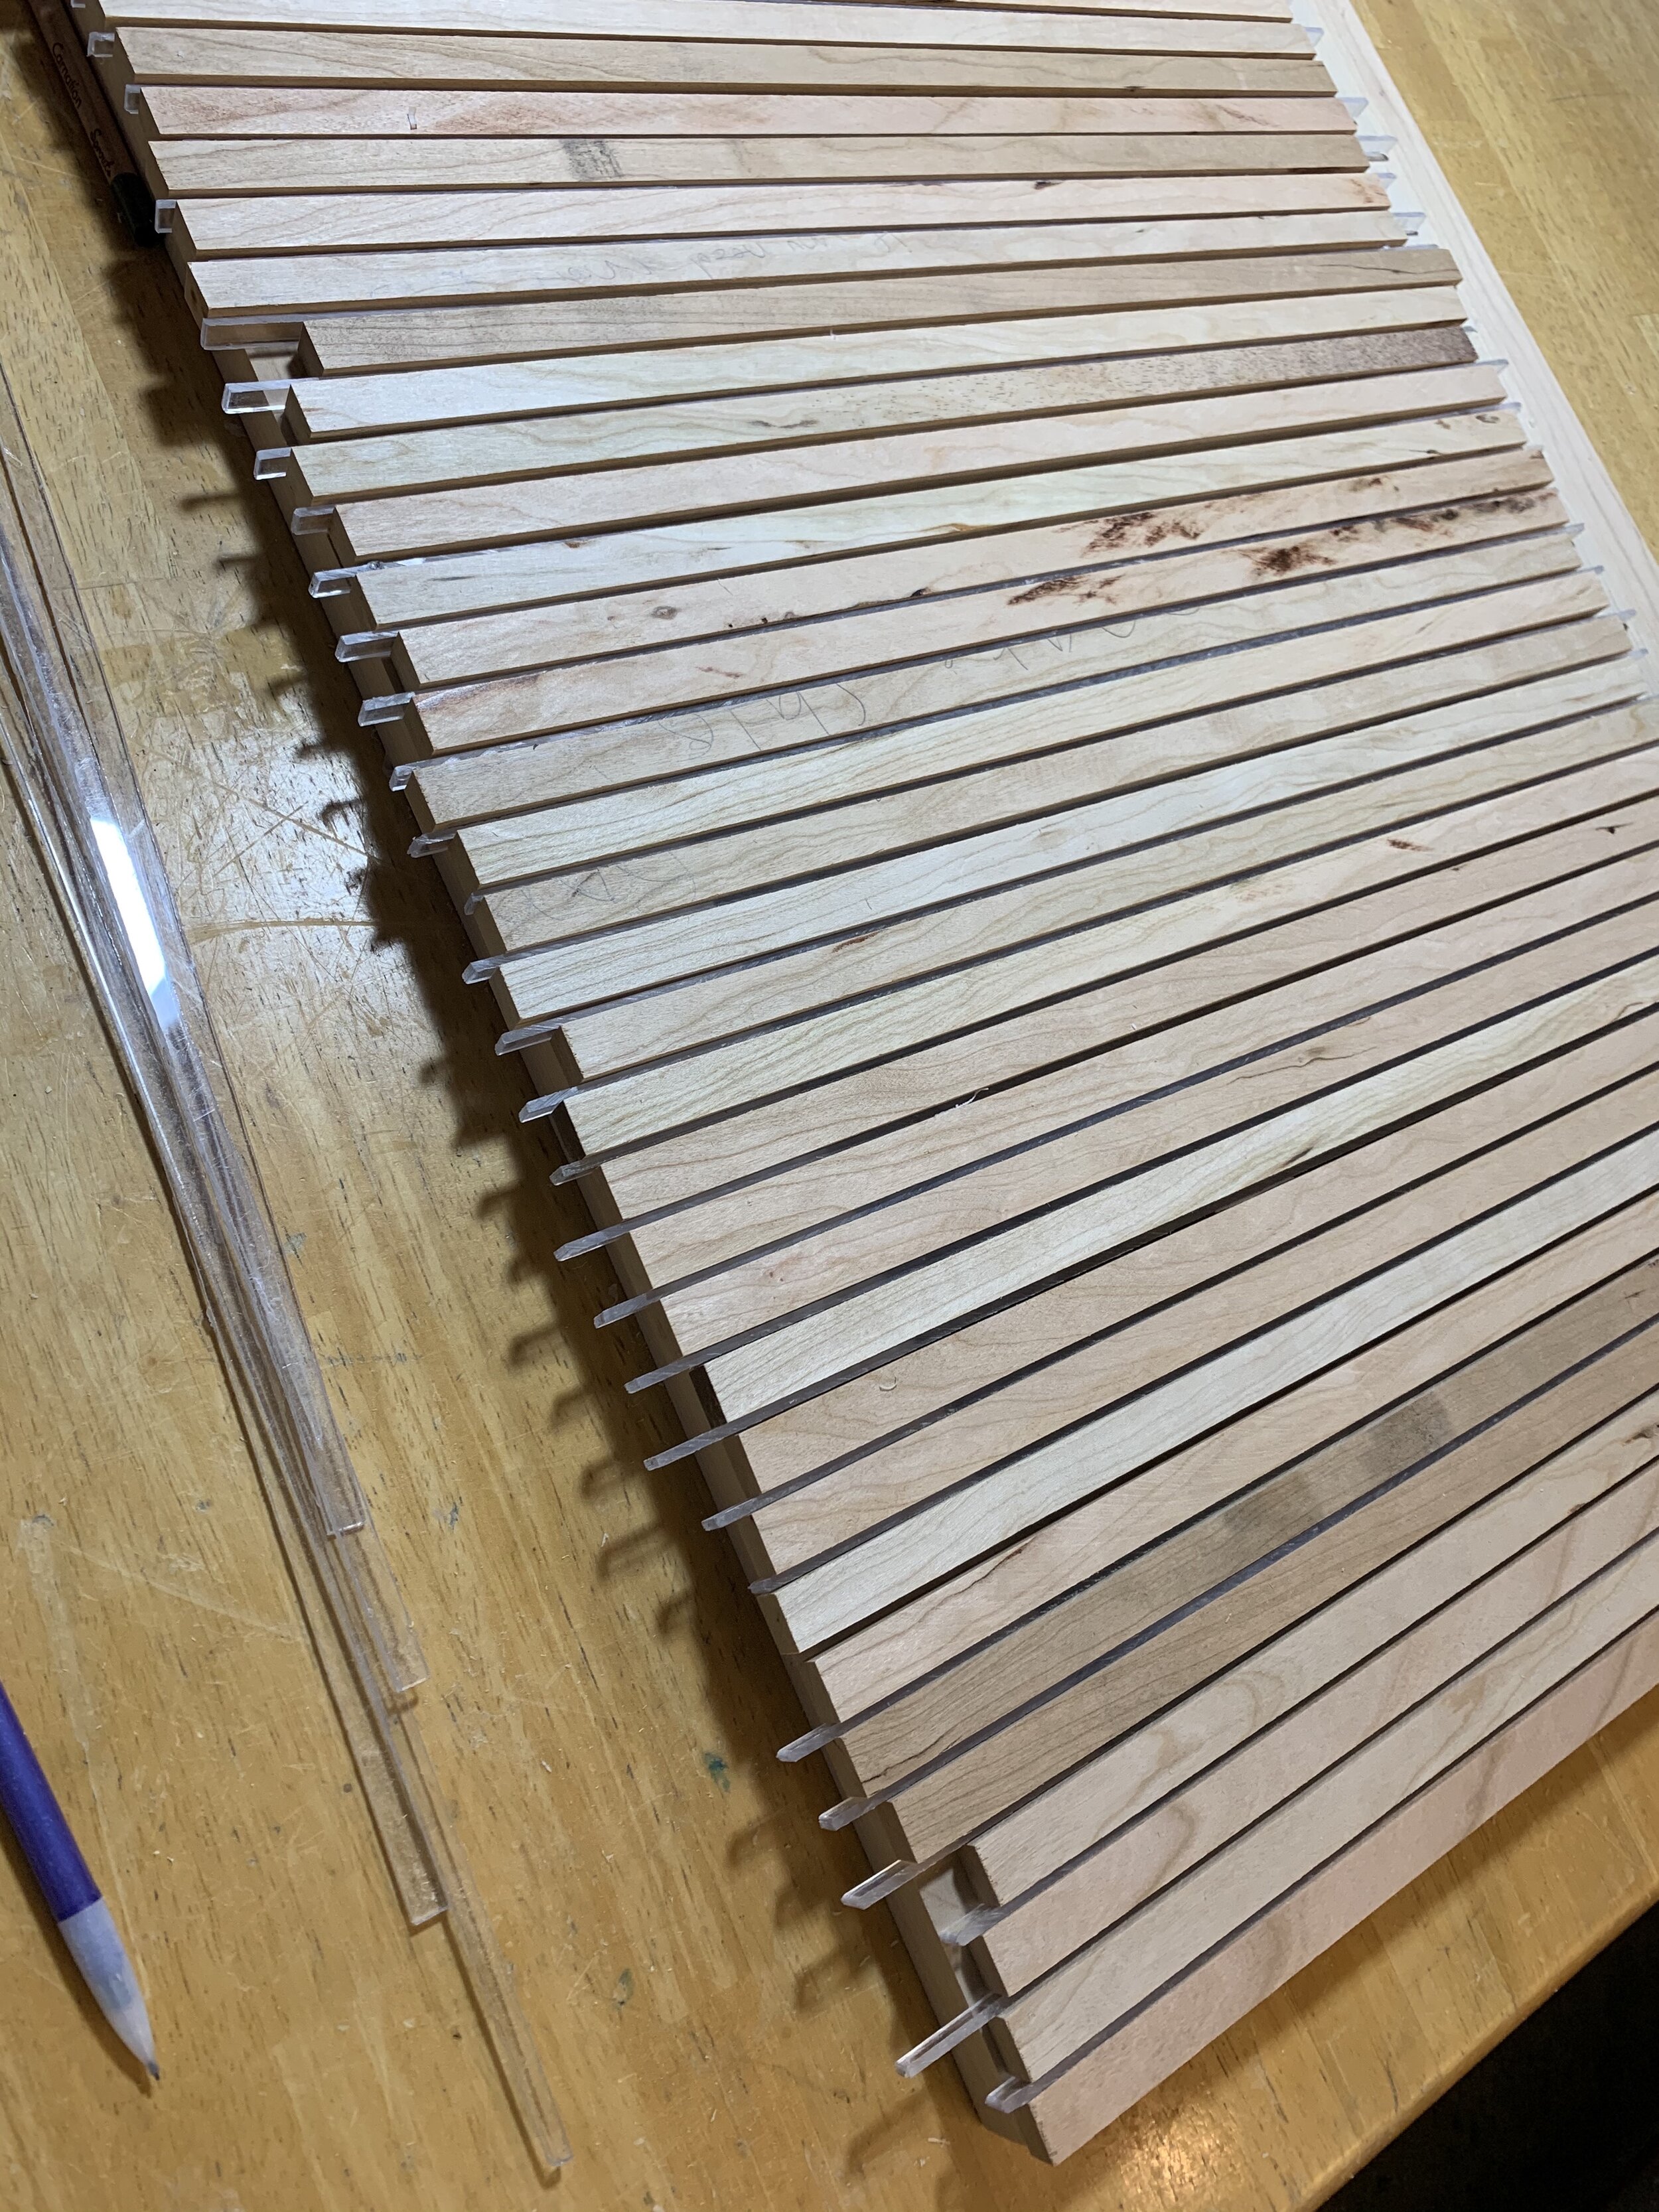
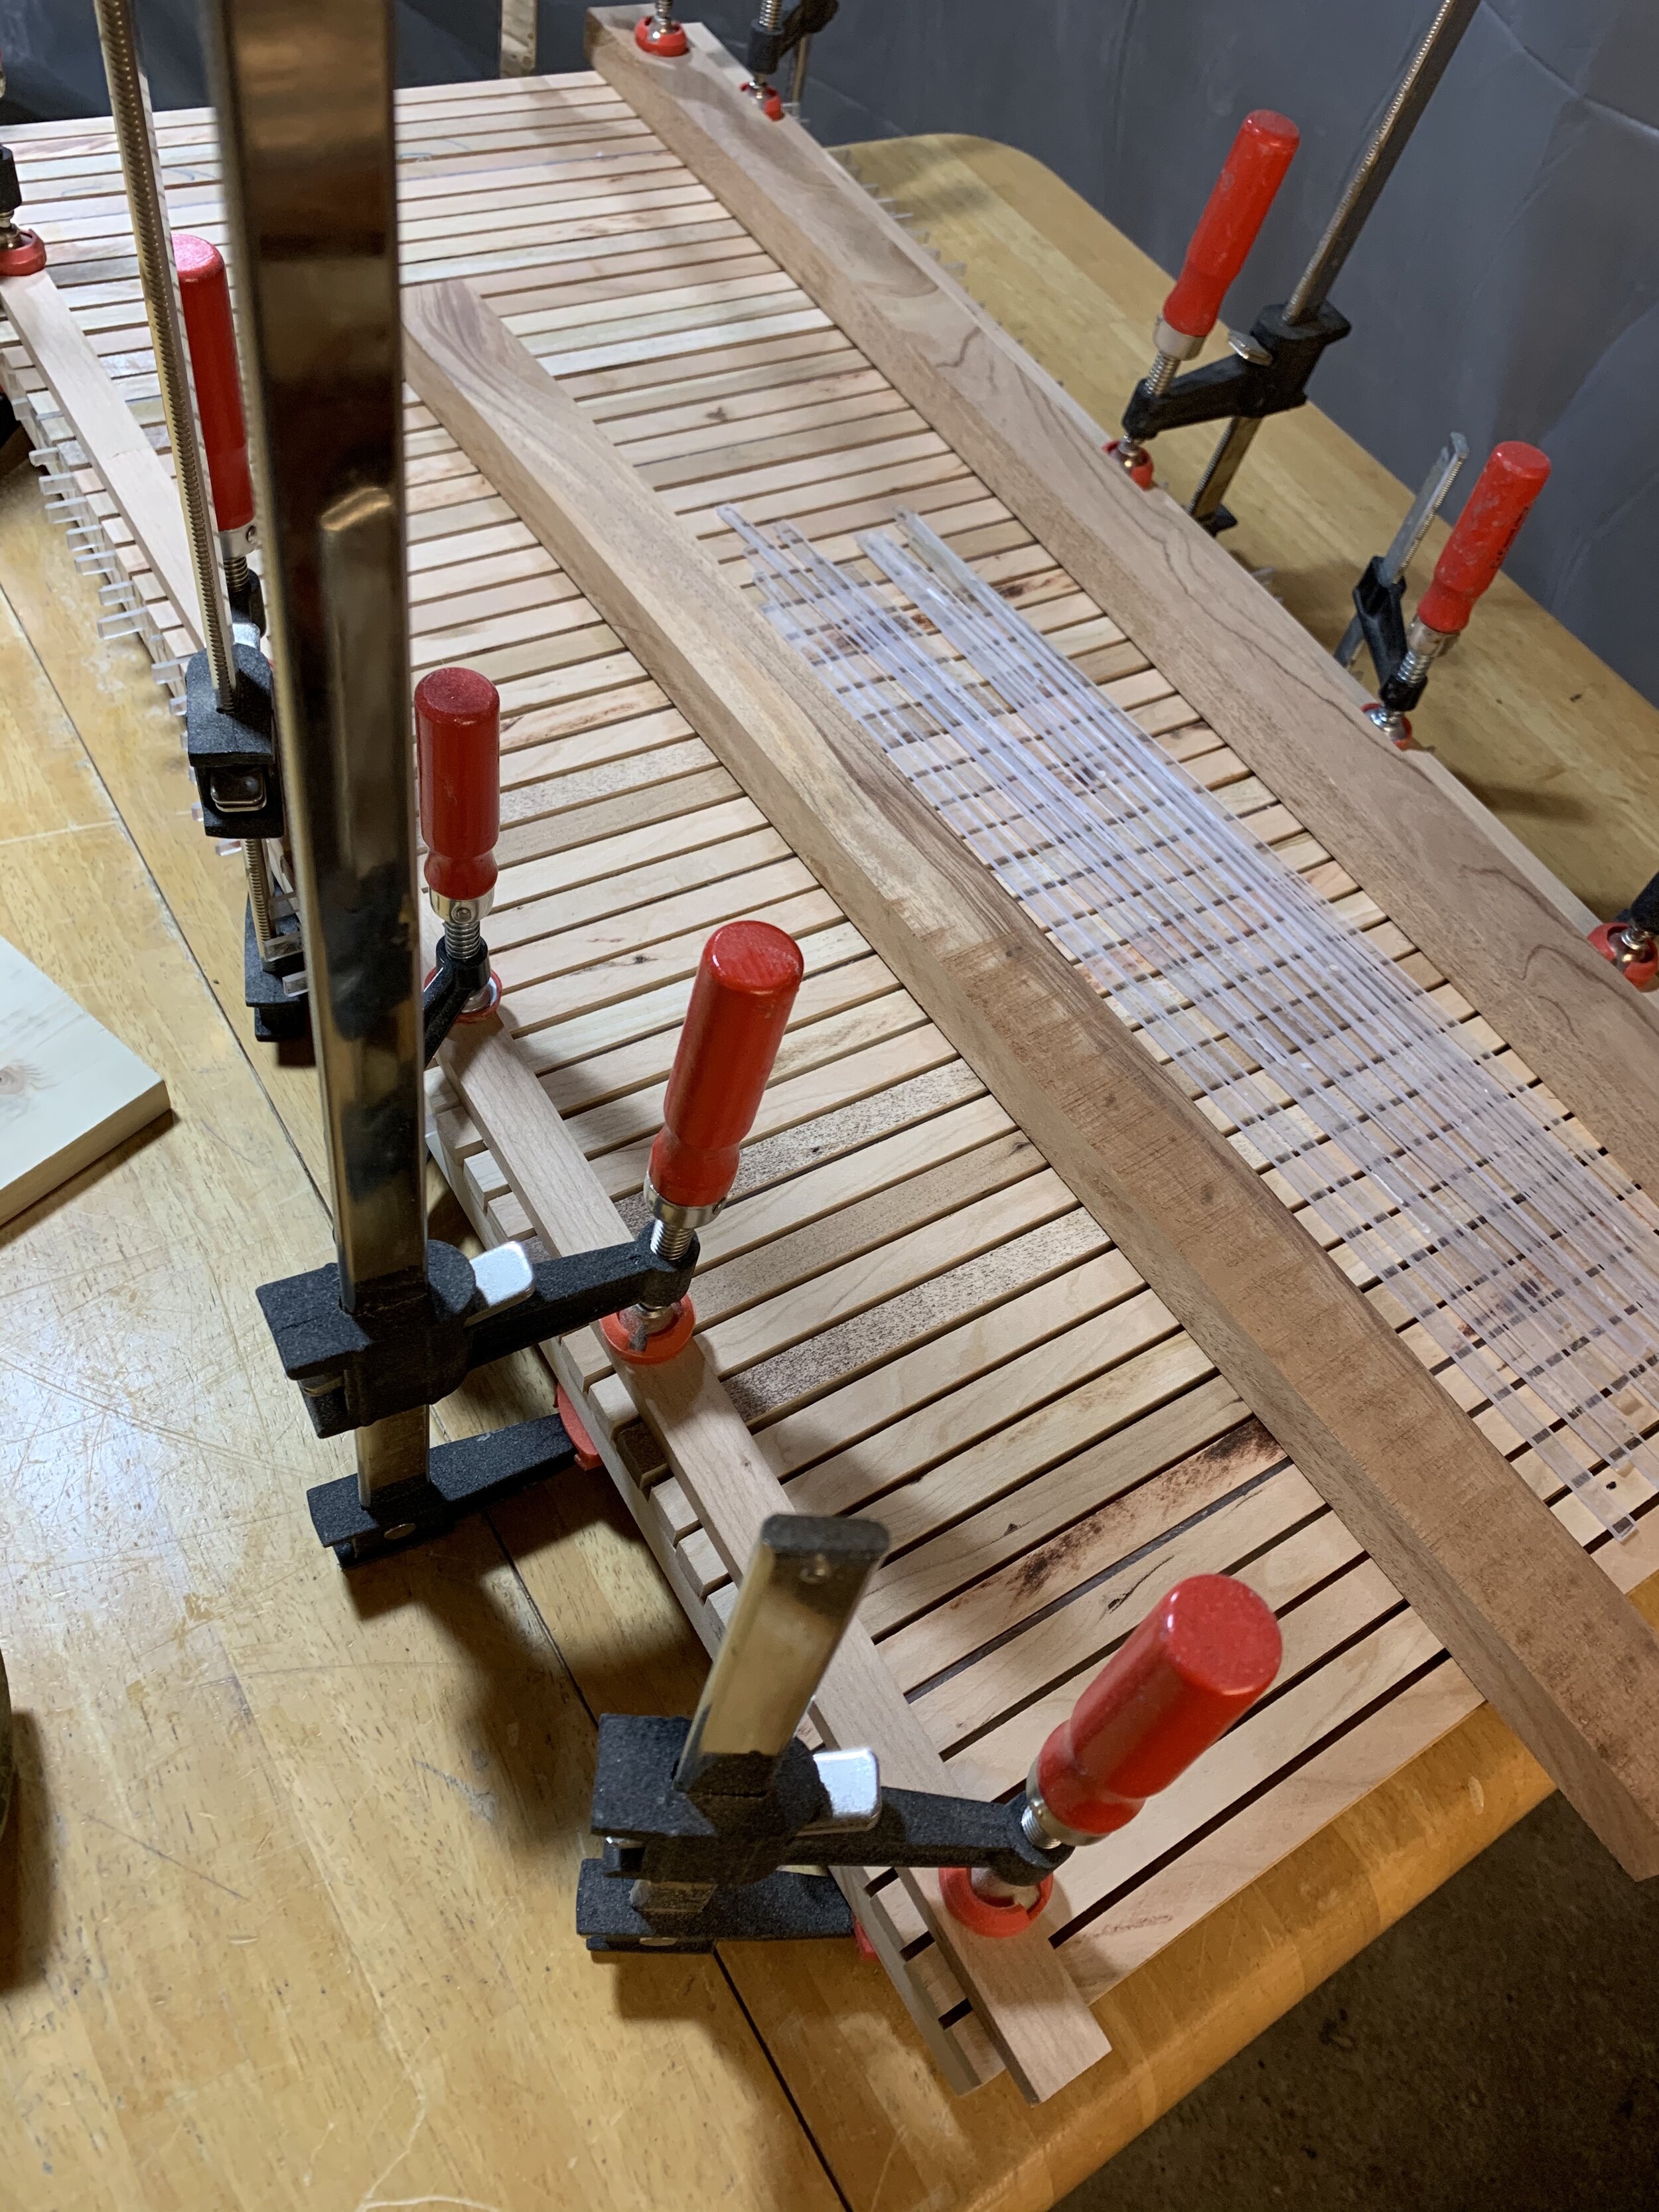
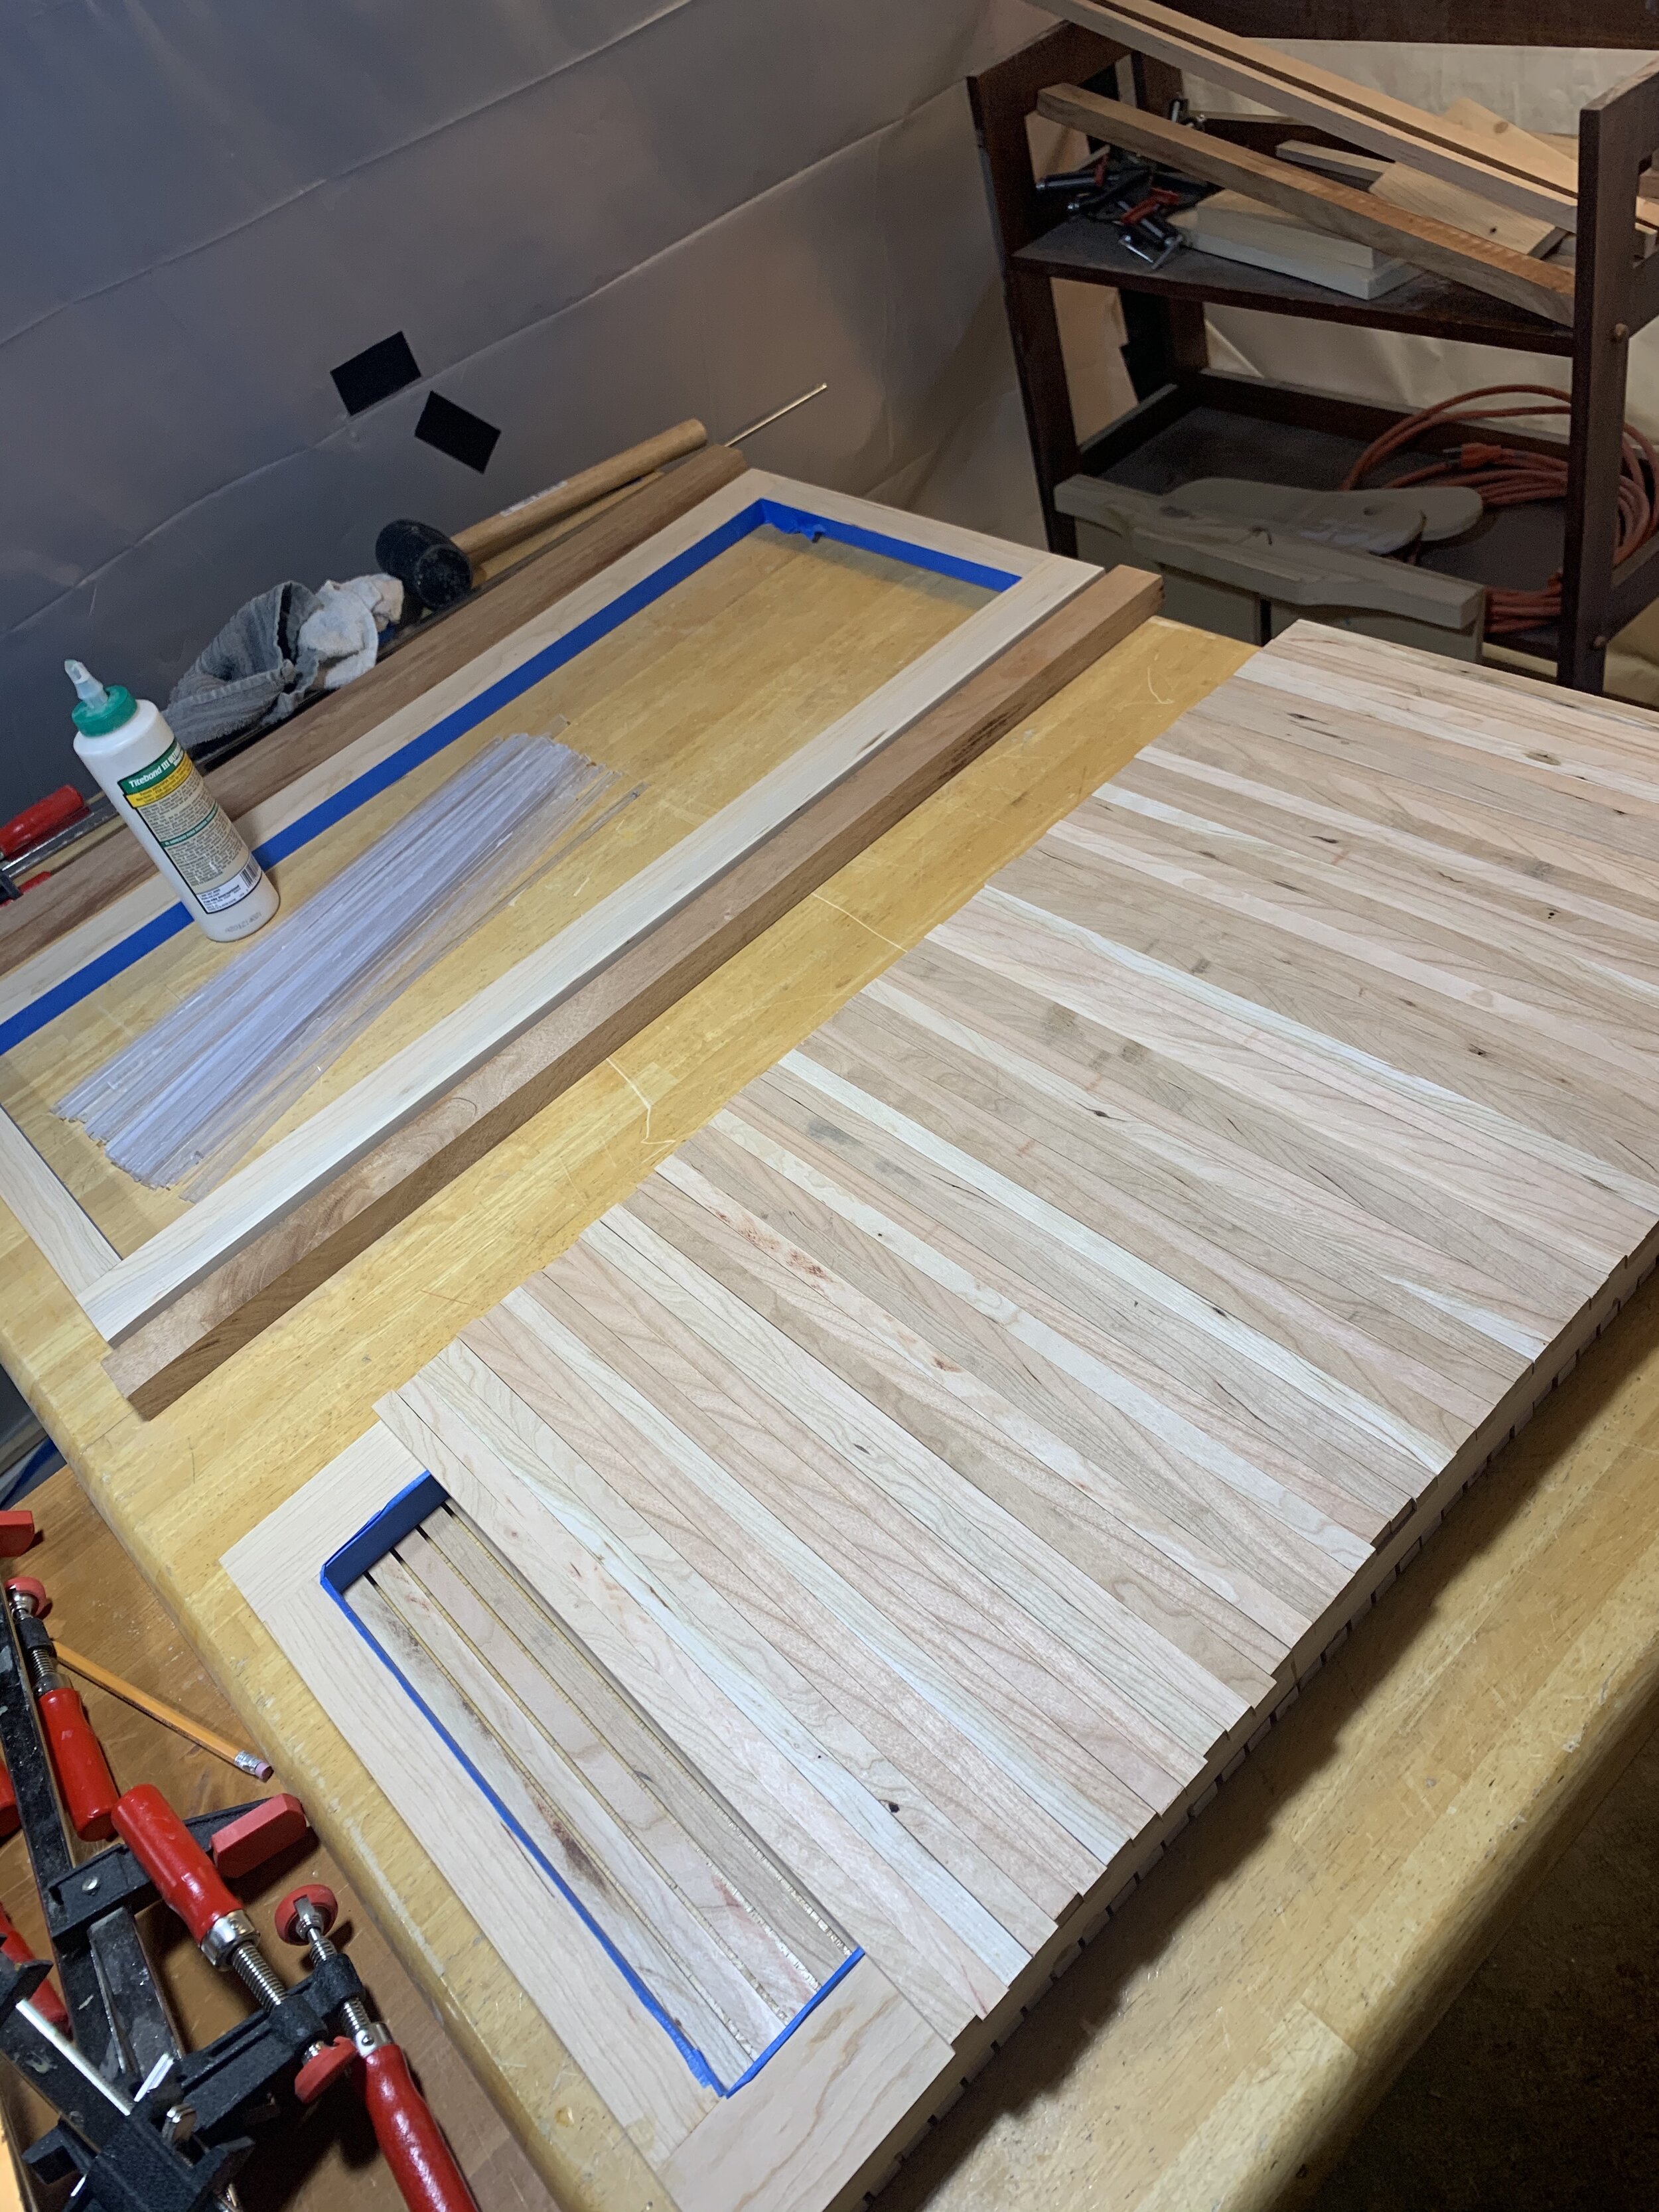
After assembling the gutter frame of the doors, I sanded and started on the slats. For the slats, I used a sheet of plexiglass, cut into slightly less than 1/8” strips to lay in between all the 3/8” cherry slats I would create, which would ensure even spacing during glue up to the door frame. I taped off the inside of the door frame. I measured 2” deep into all the slats, and laid glue just along the 2” that would rest against the door frame. I then laid all the slats down, spaced evenly with the spacers, and laid some pieces of scrap wood overtop to clamp down to ensure all the wood slats could be glued down at the same time with equal pressure.
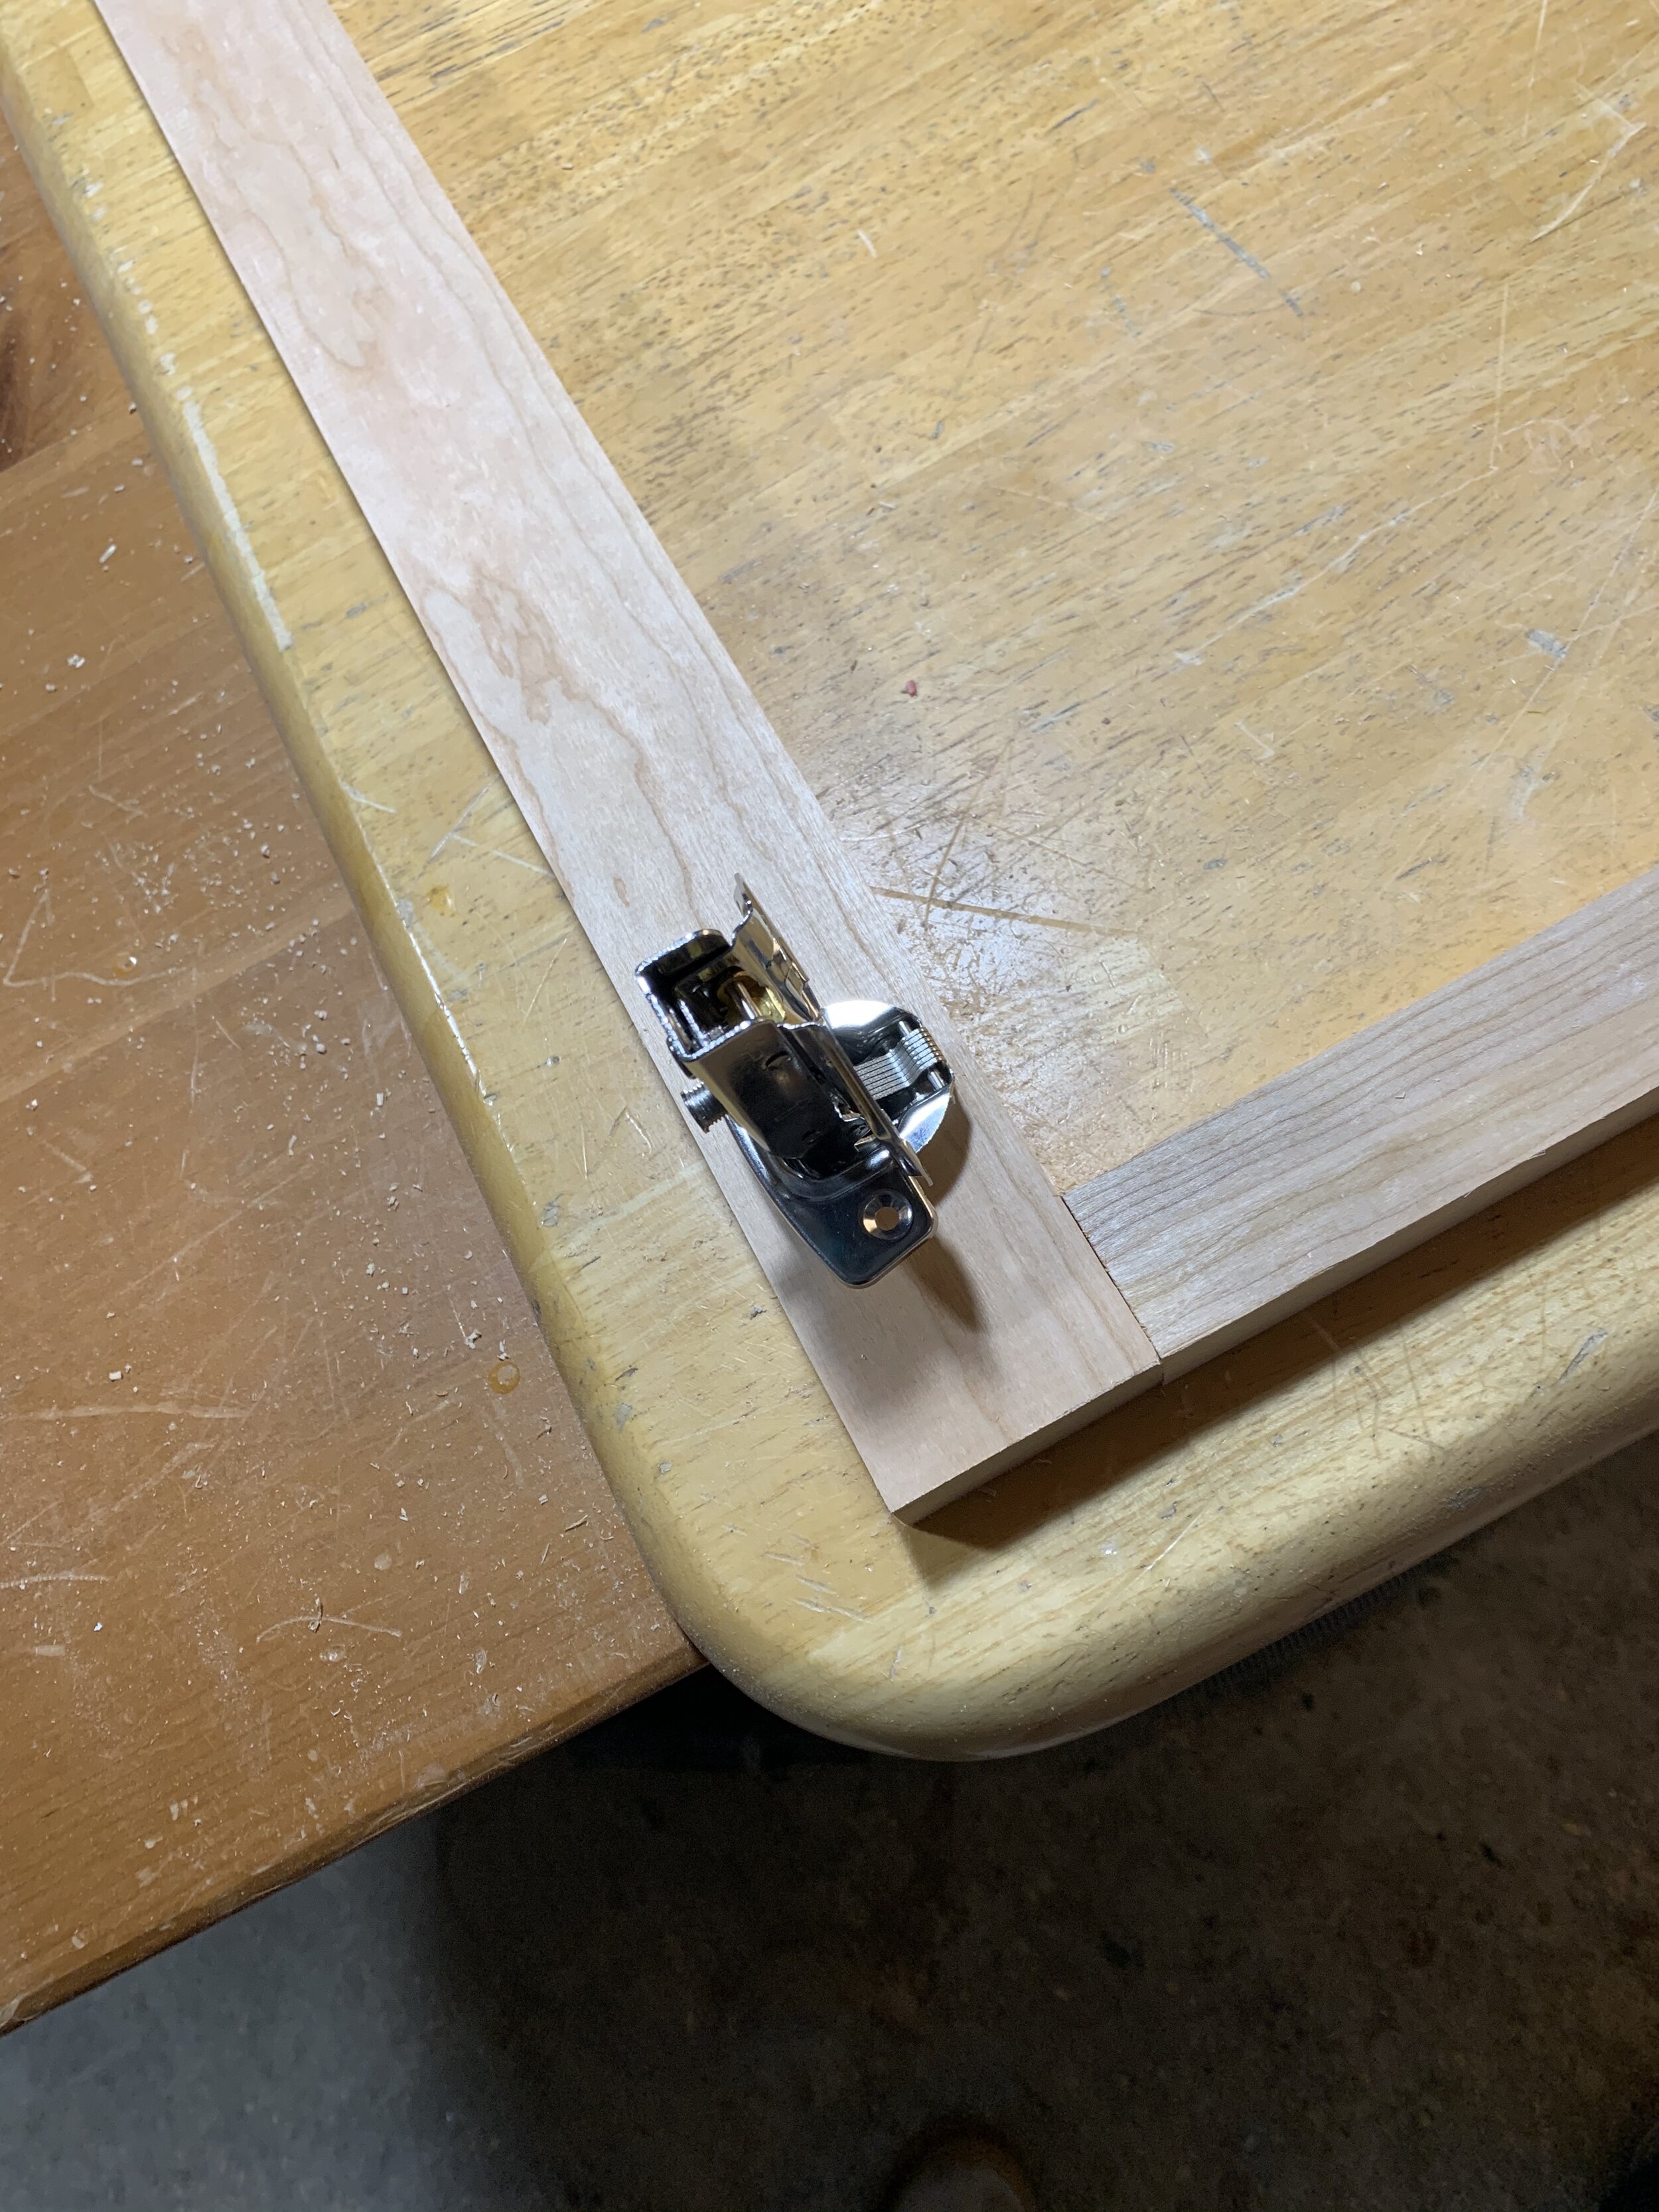
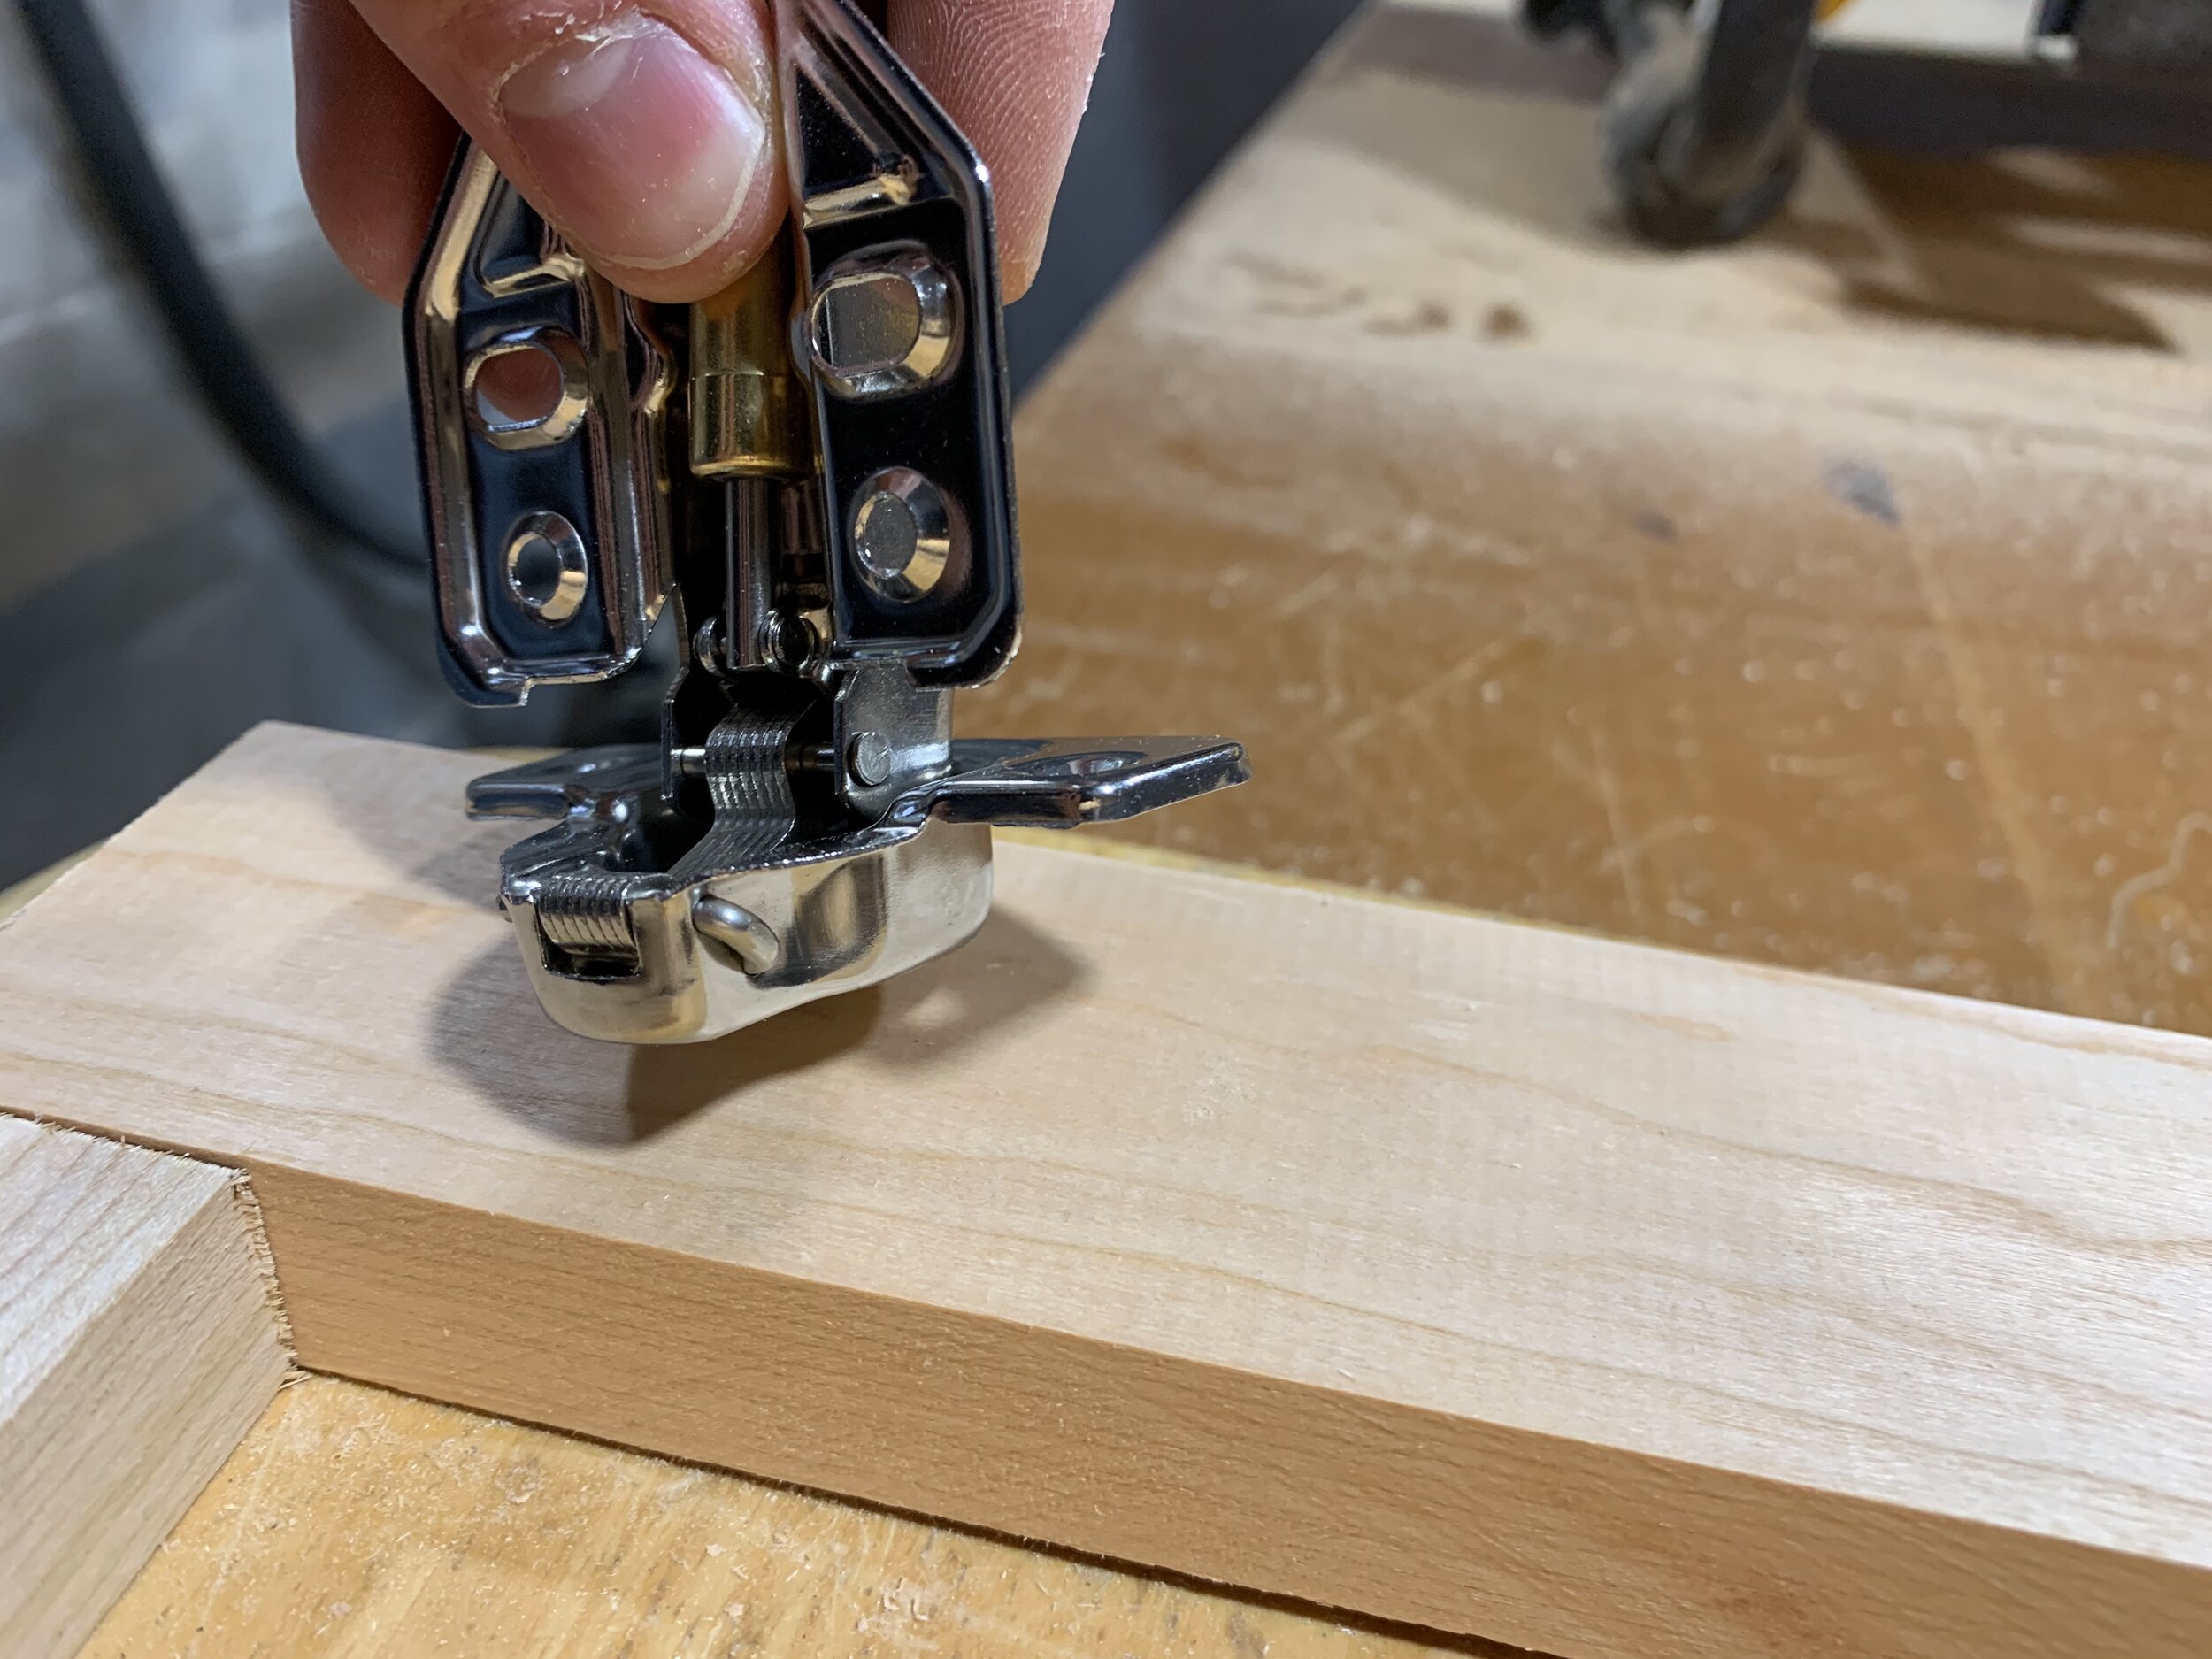
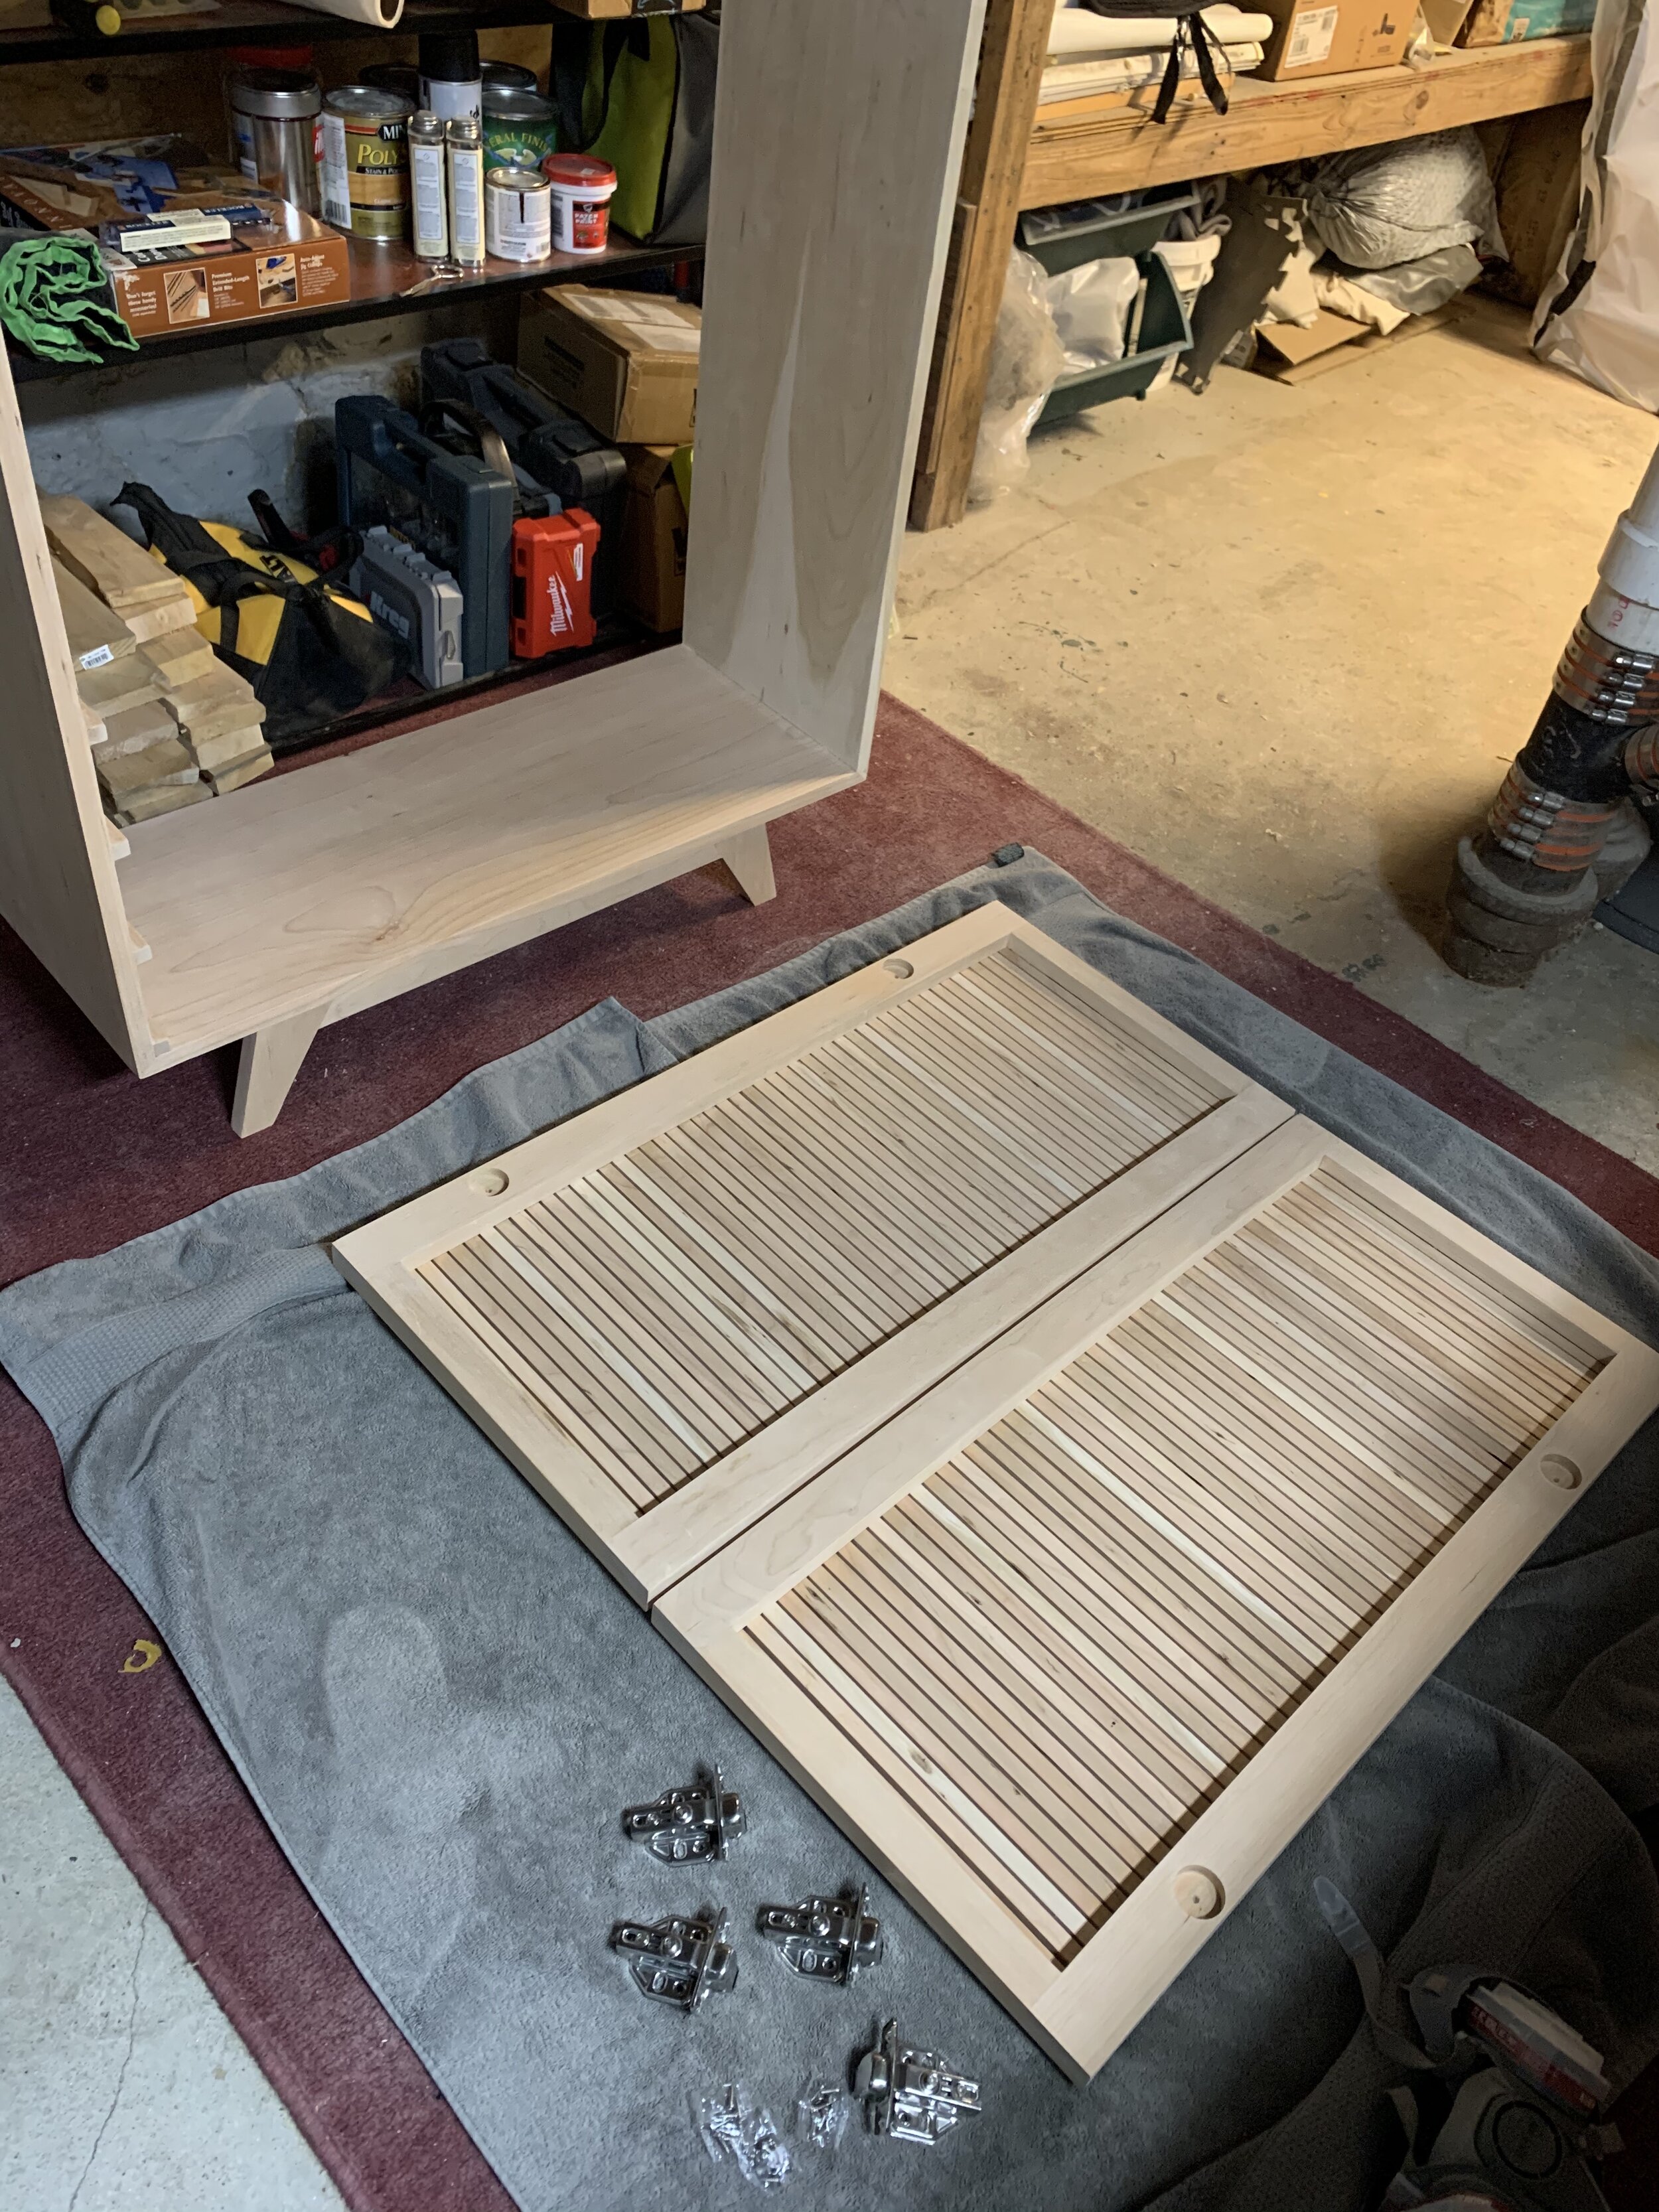
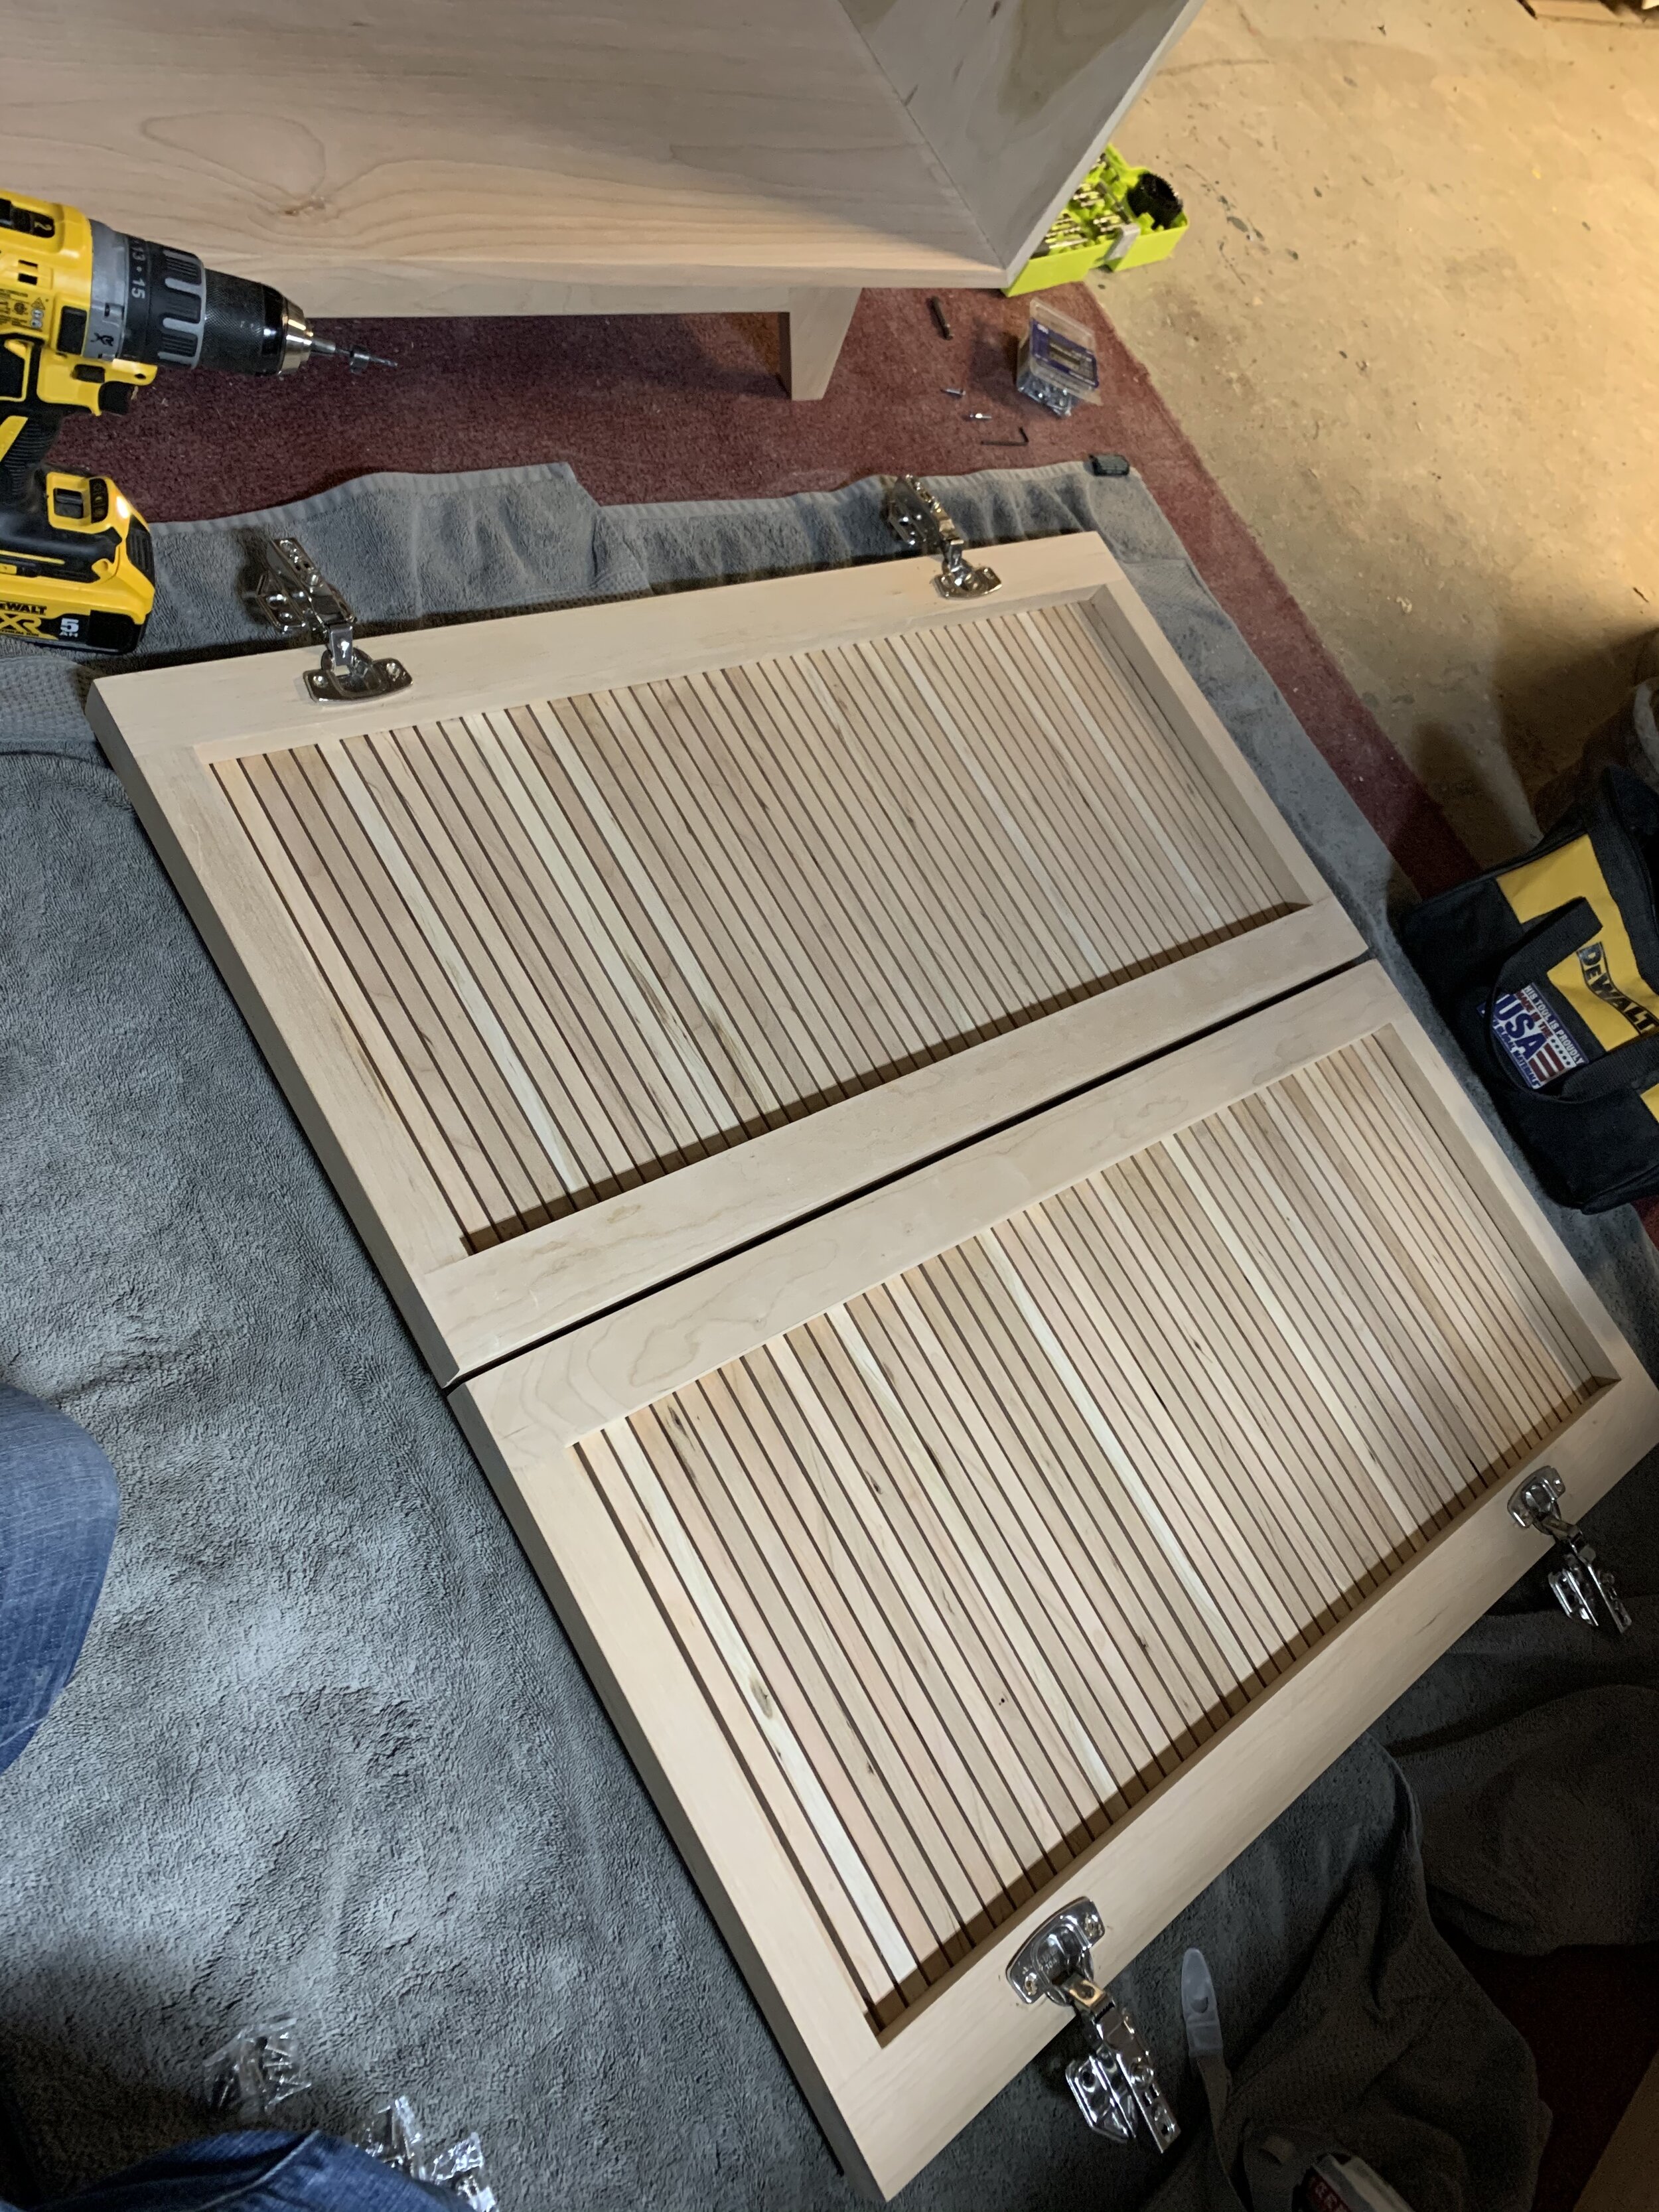
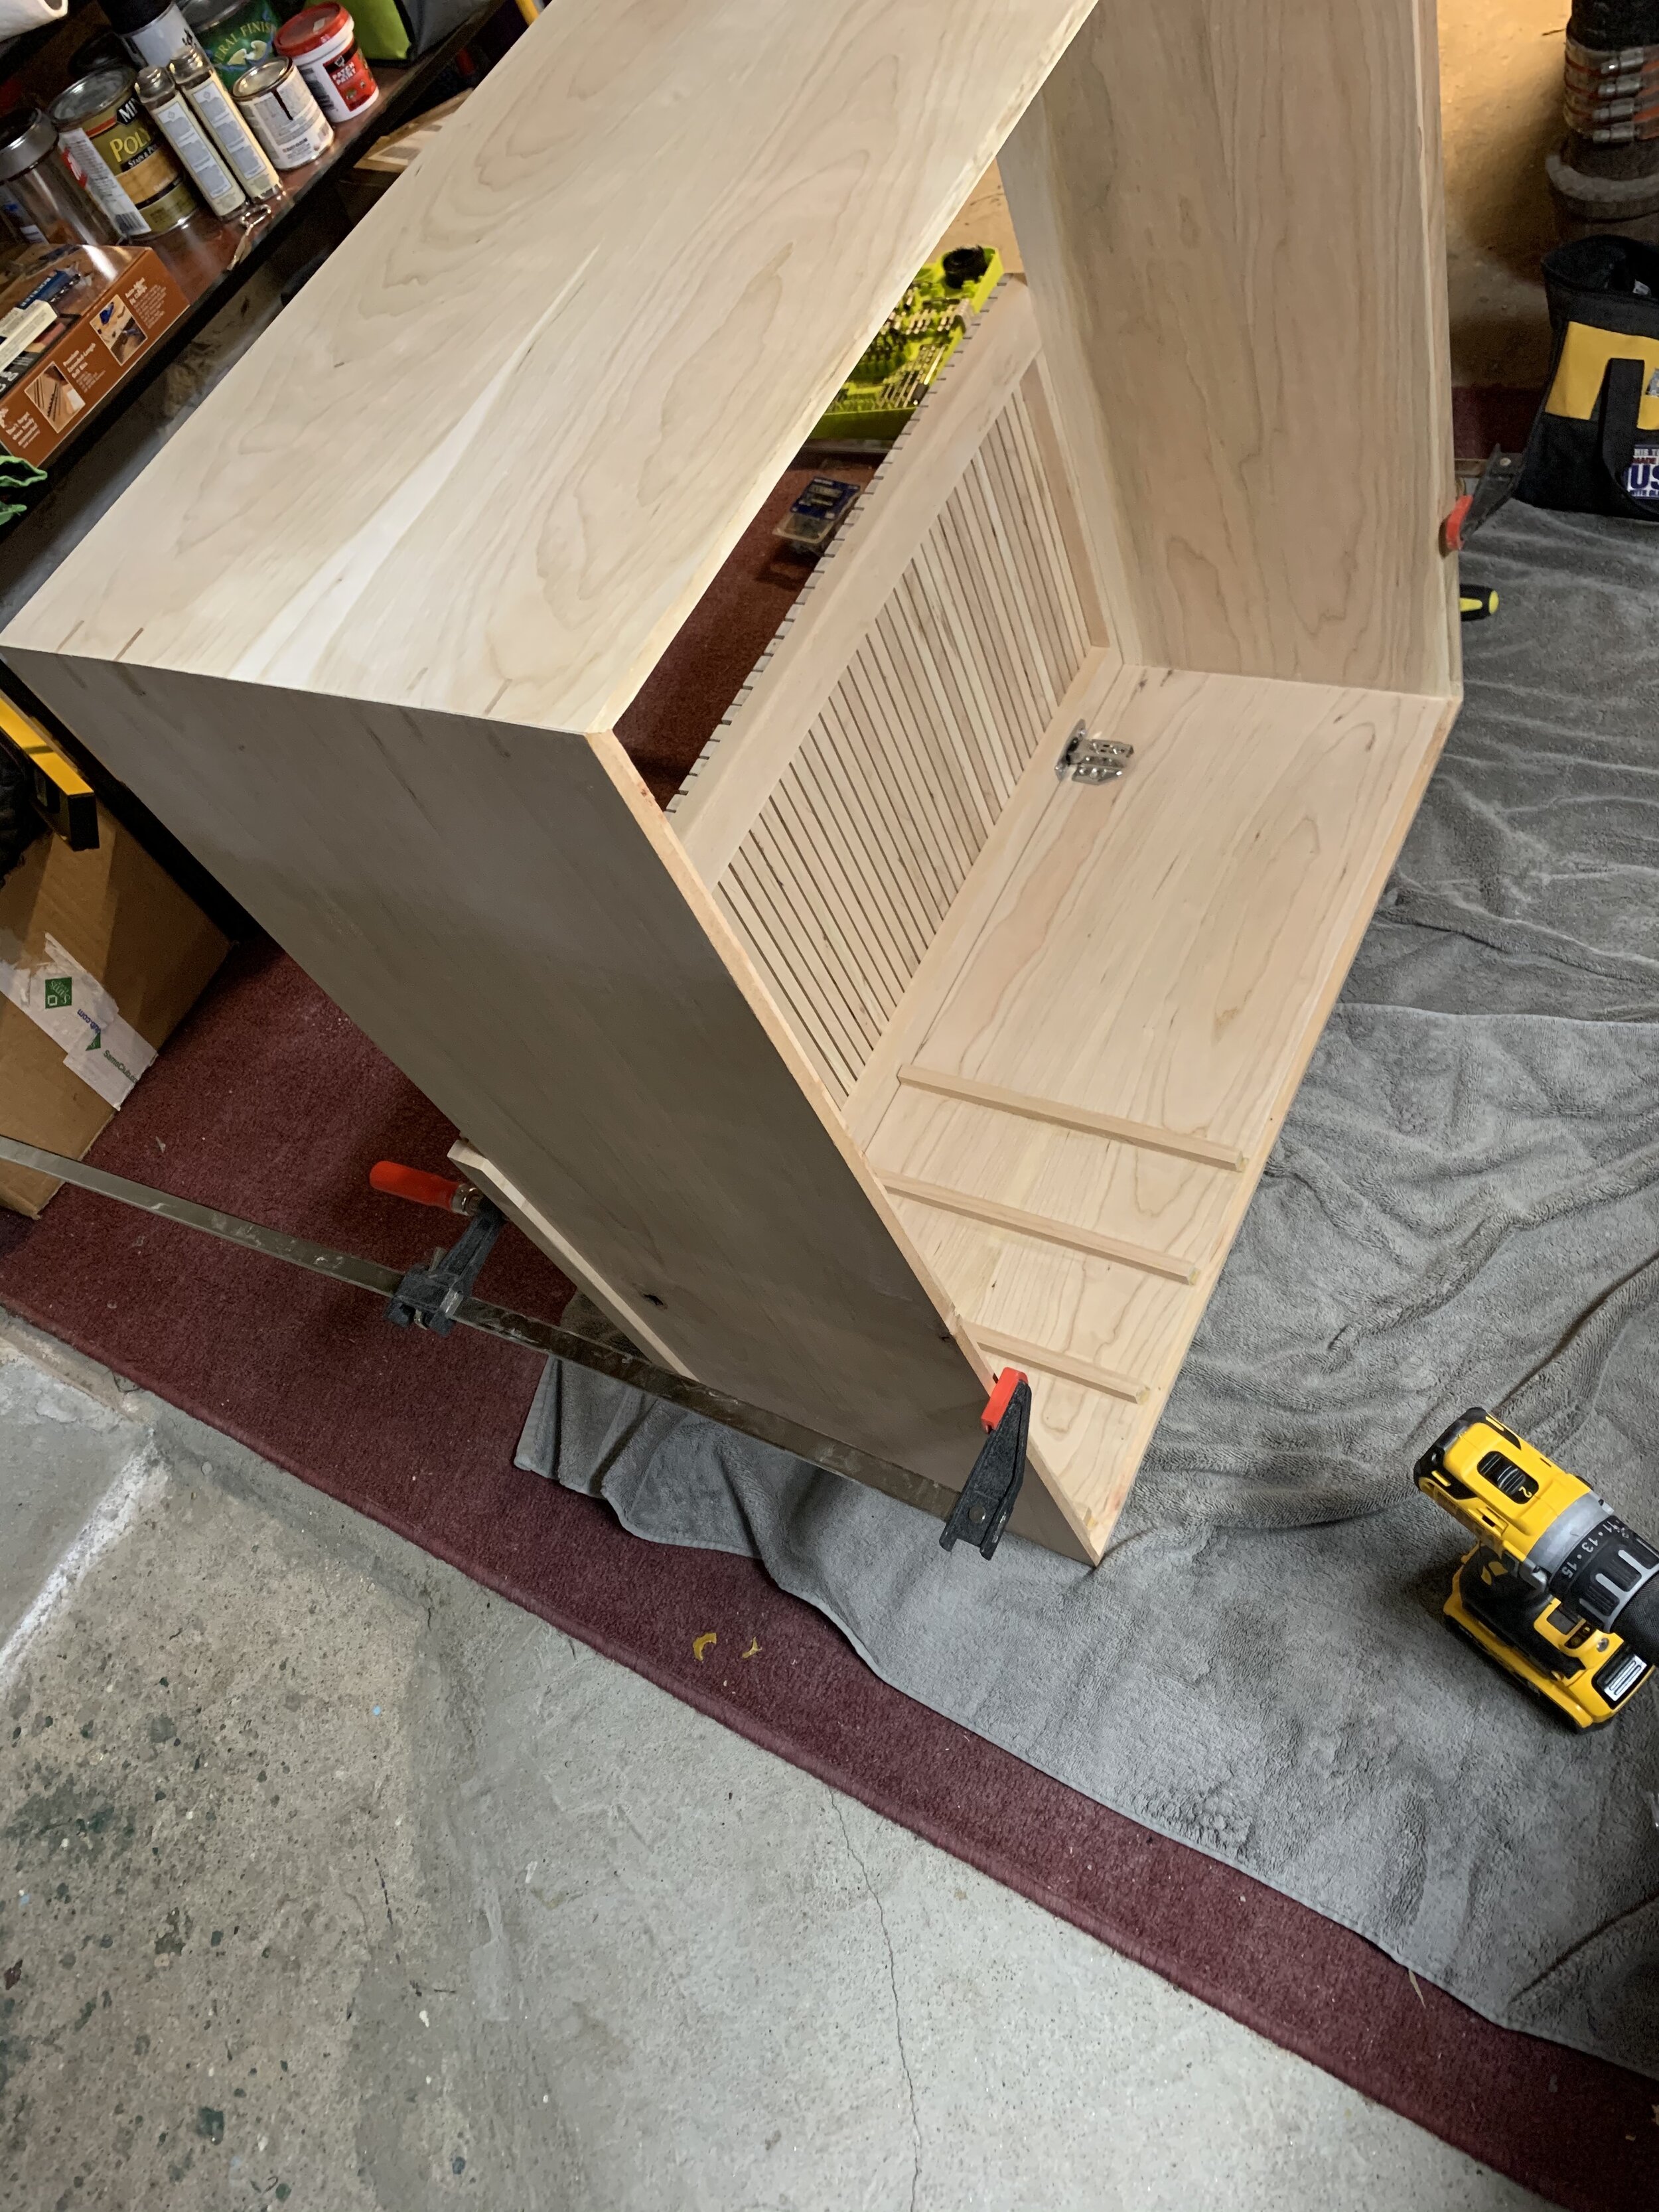
After the slats were glued and finished drying, I worked away the bits of glue marks from in between the slats, used my hand plane to square up the edges with the face frame, and sanded the mill marks away on the slats. Using the hand plane, I put blocks of scrap throw-away wood on the outside of the stock to avoid tear-out due to planing against the grain - look this up if you’re interested! To install the cabinet hinges, I laid the cabinet doors face down, made some measurements on the inside of the cabinet and the doors, and used a Forstner drill bit to drill clean “wells” for the cabinet hinges to be recessed into.
Angled Leg Base
For the base of the cabinet, I first decided on dimensions that looked good, and also seemed sturdy enough to hold the entire load of the cabinet. For placement of the base, I would install it a bit closer to the front of the cabinet to displace the weight of the doors when open, though this wouldn’t matter much once it had contents. I chose to do angled legs, at a ~30 degree pitch. Normally when you angle legs with a high amount of load, the grain should be angled to go parallel with the direction of the load/angle of the leg for maximum strength. Otherwise, the ankle of the leg is weak - stress is either across the grain or directly down the grain. As you may notice in my build, the legs are not first turned into a parallelogram (which they should be to ensure proper grain direction) however I have not had problems. With a higher amount of weight, you may have problems.
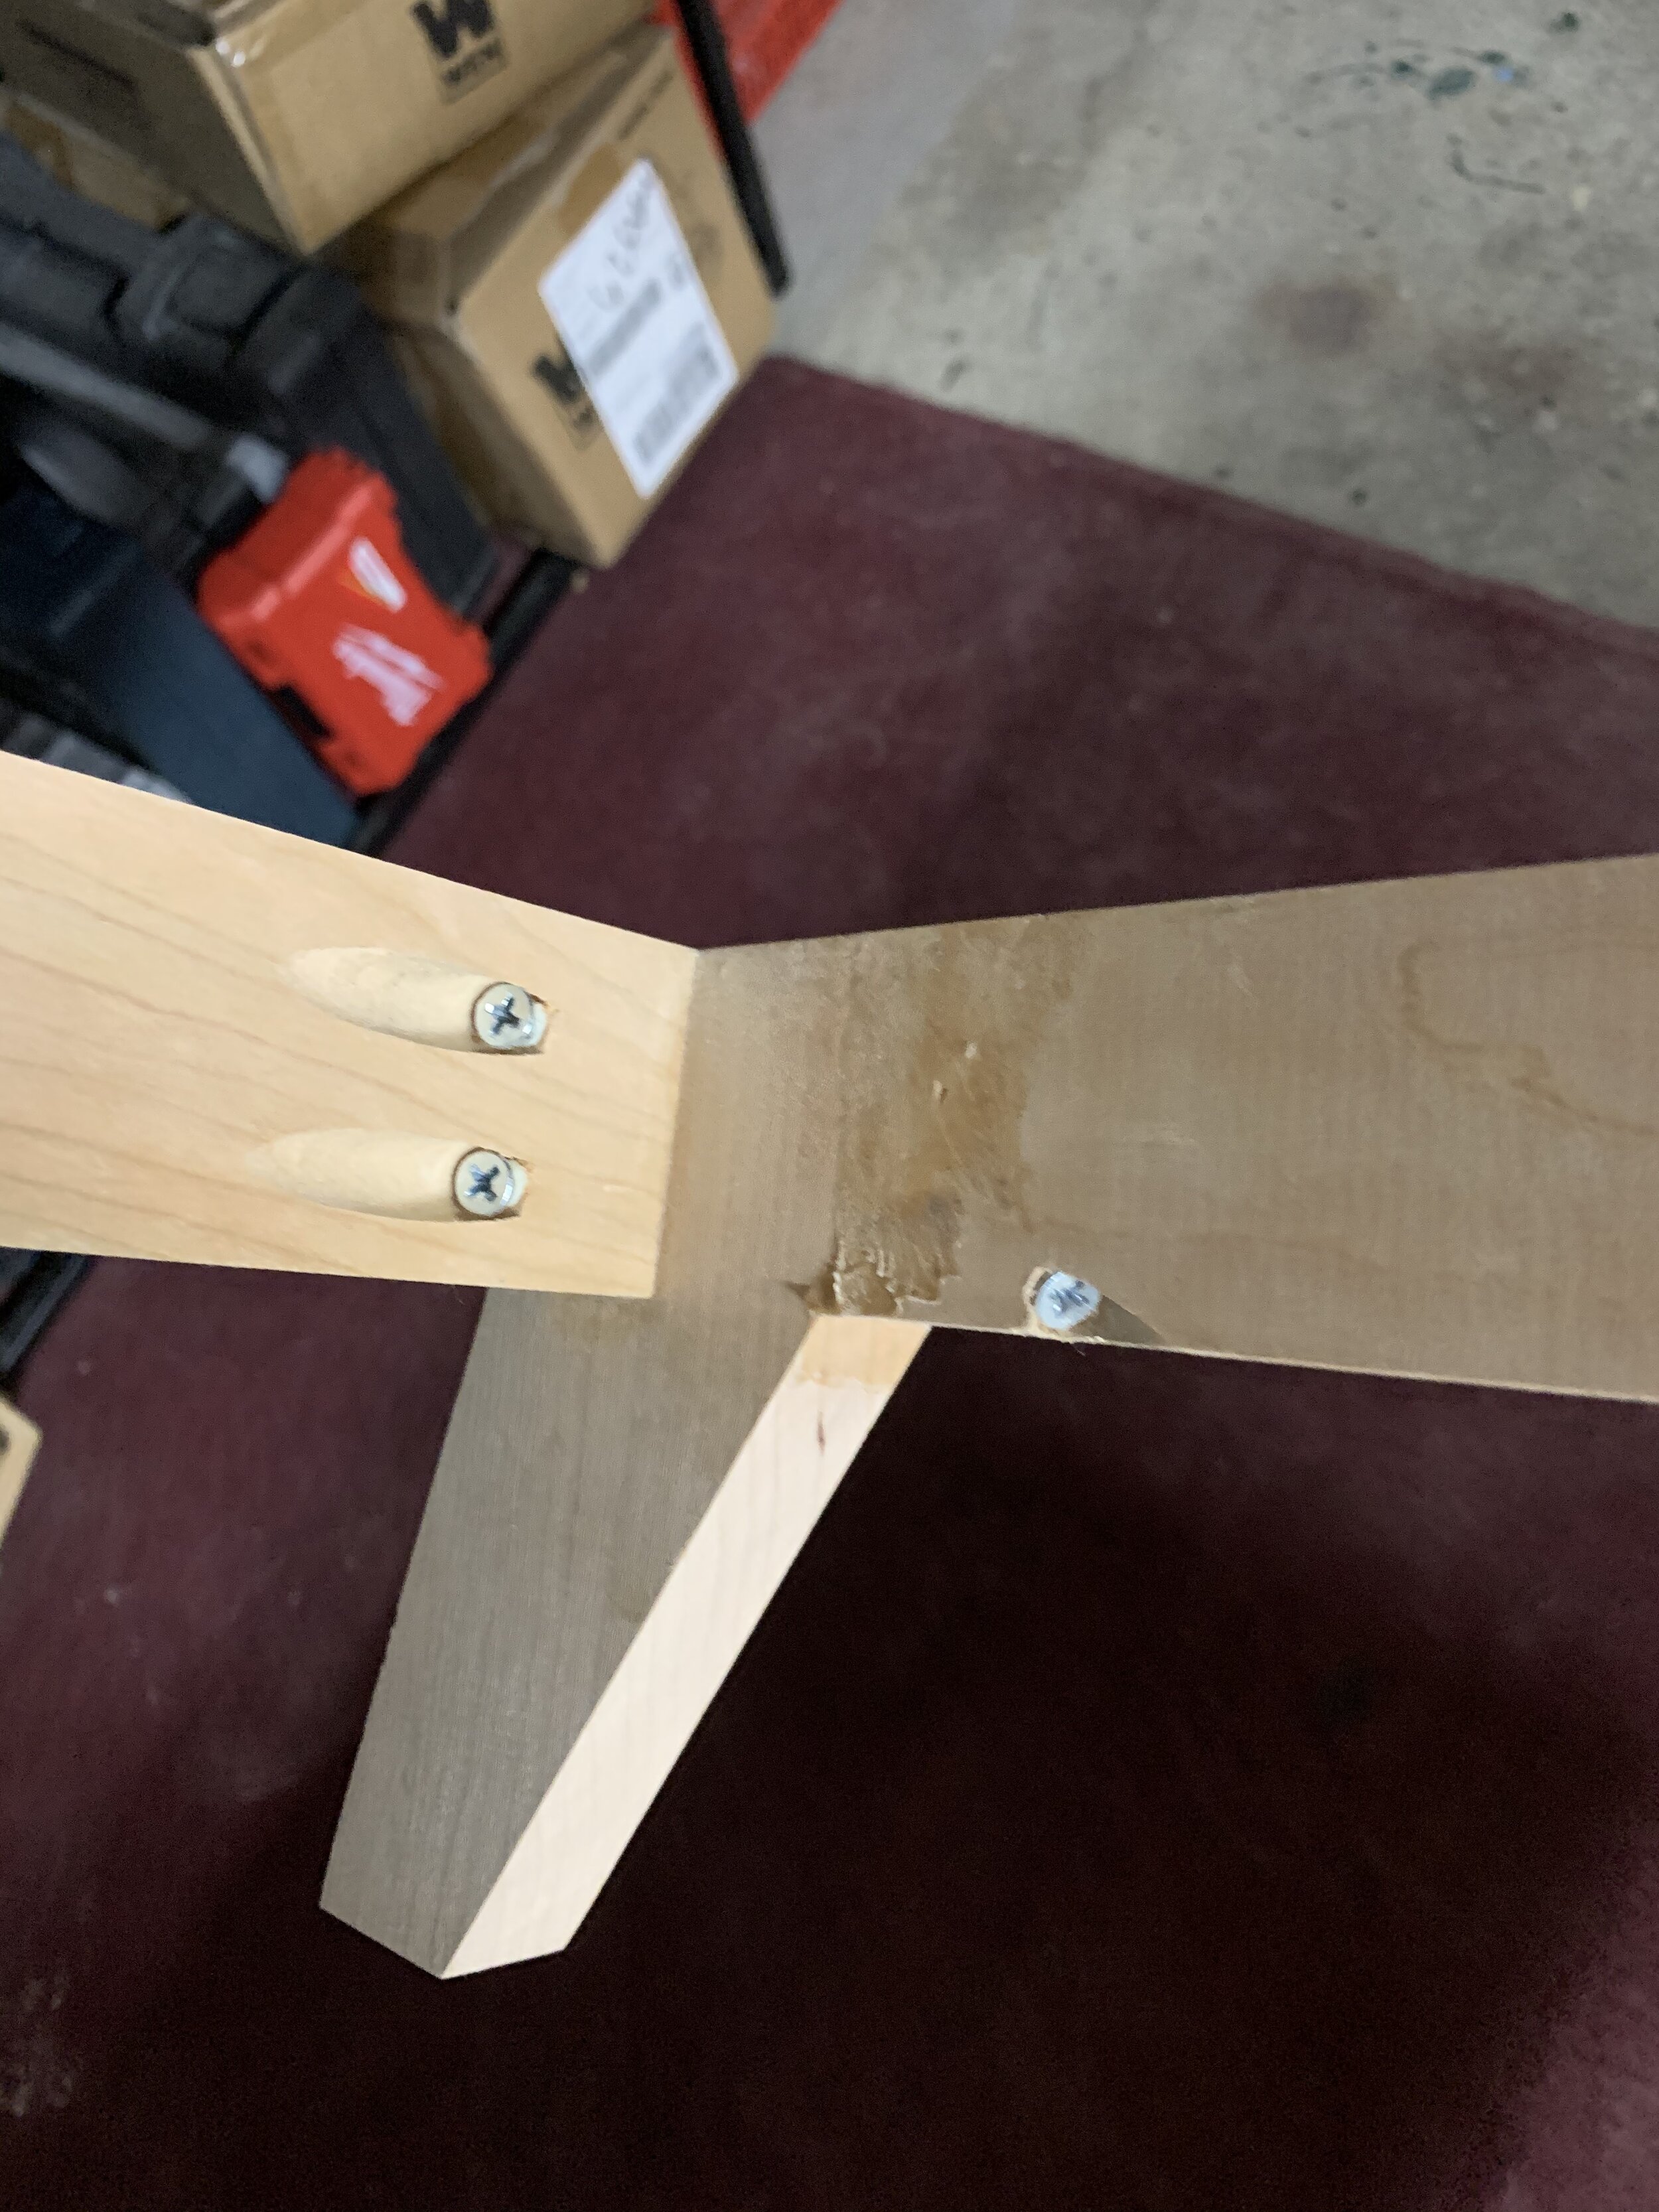
The hardest part of the base was the glue up. I used pocket hole screws to reinforce and add extra strength to the base, however I didn’t do this until after I had glued up the base - glueing tightly with clamps would yield a better glue seam than screws would allow when installed via pocket hole. So, after the glue up was done drying, I installed the screws as extra load bearing support. To glue the base pieces together, I cut wood blocks at 60 degrees to lay against the 30 degree legs, and result in a 90/90 clamp-able surface. If I were to do this again, I would have used the super-glue method: placing a drop of super glue on either side of the glue joint, then holding for 15 seconds to set and keep a clamp-tight connection between pieces, so that I didn’t need to mess around with custom clamping layouts. Last, I did not glue the base to the cabinet - just screwed it in, ensuring the base was tight against the base of the cabinet. If it wasn’t, the weight of the cabinet would be sitting on the thread of the screws - the screws actually preventing the base from keeping tight with the frame of the cabinet. Finally, I was ready to finish the cabinet.
