Project Story
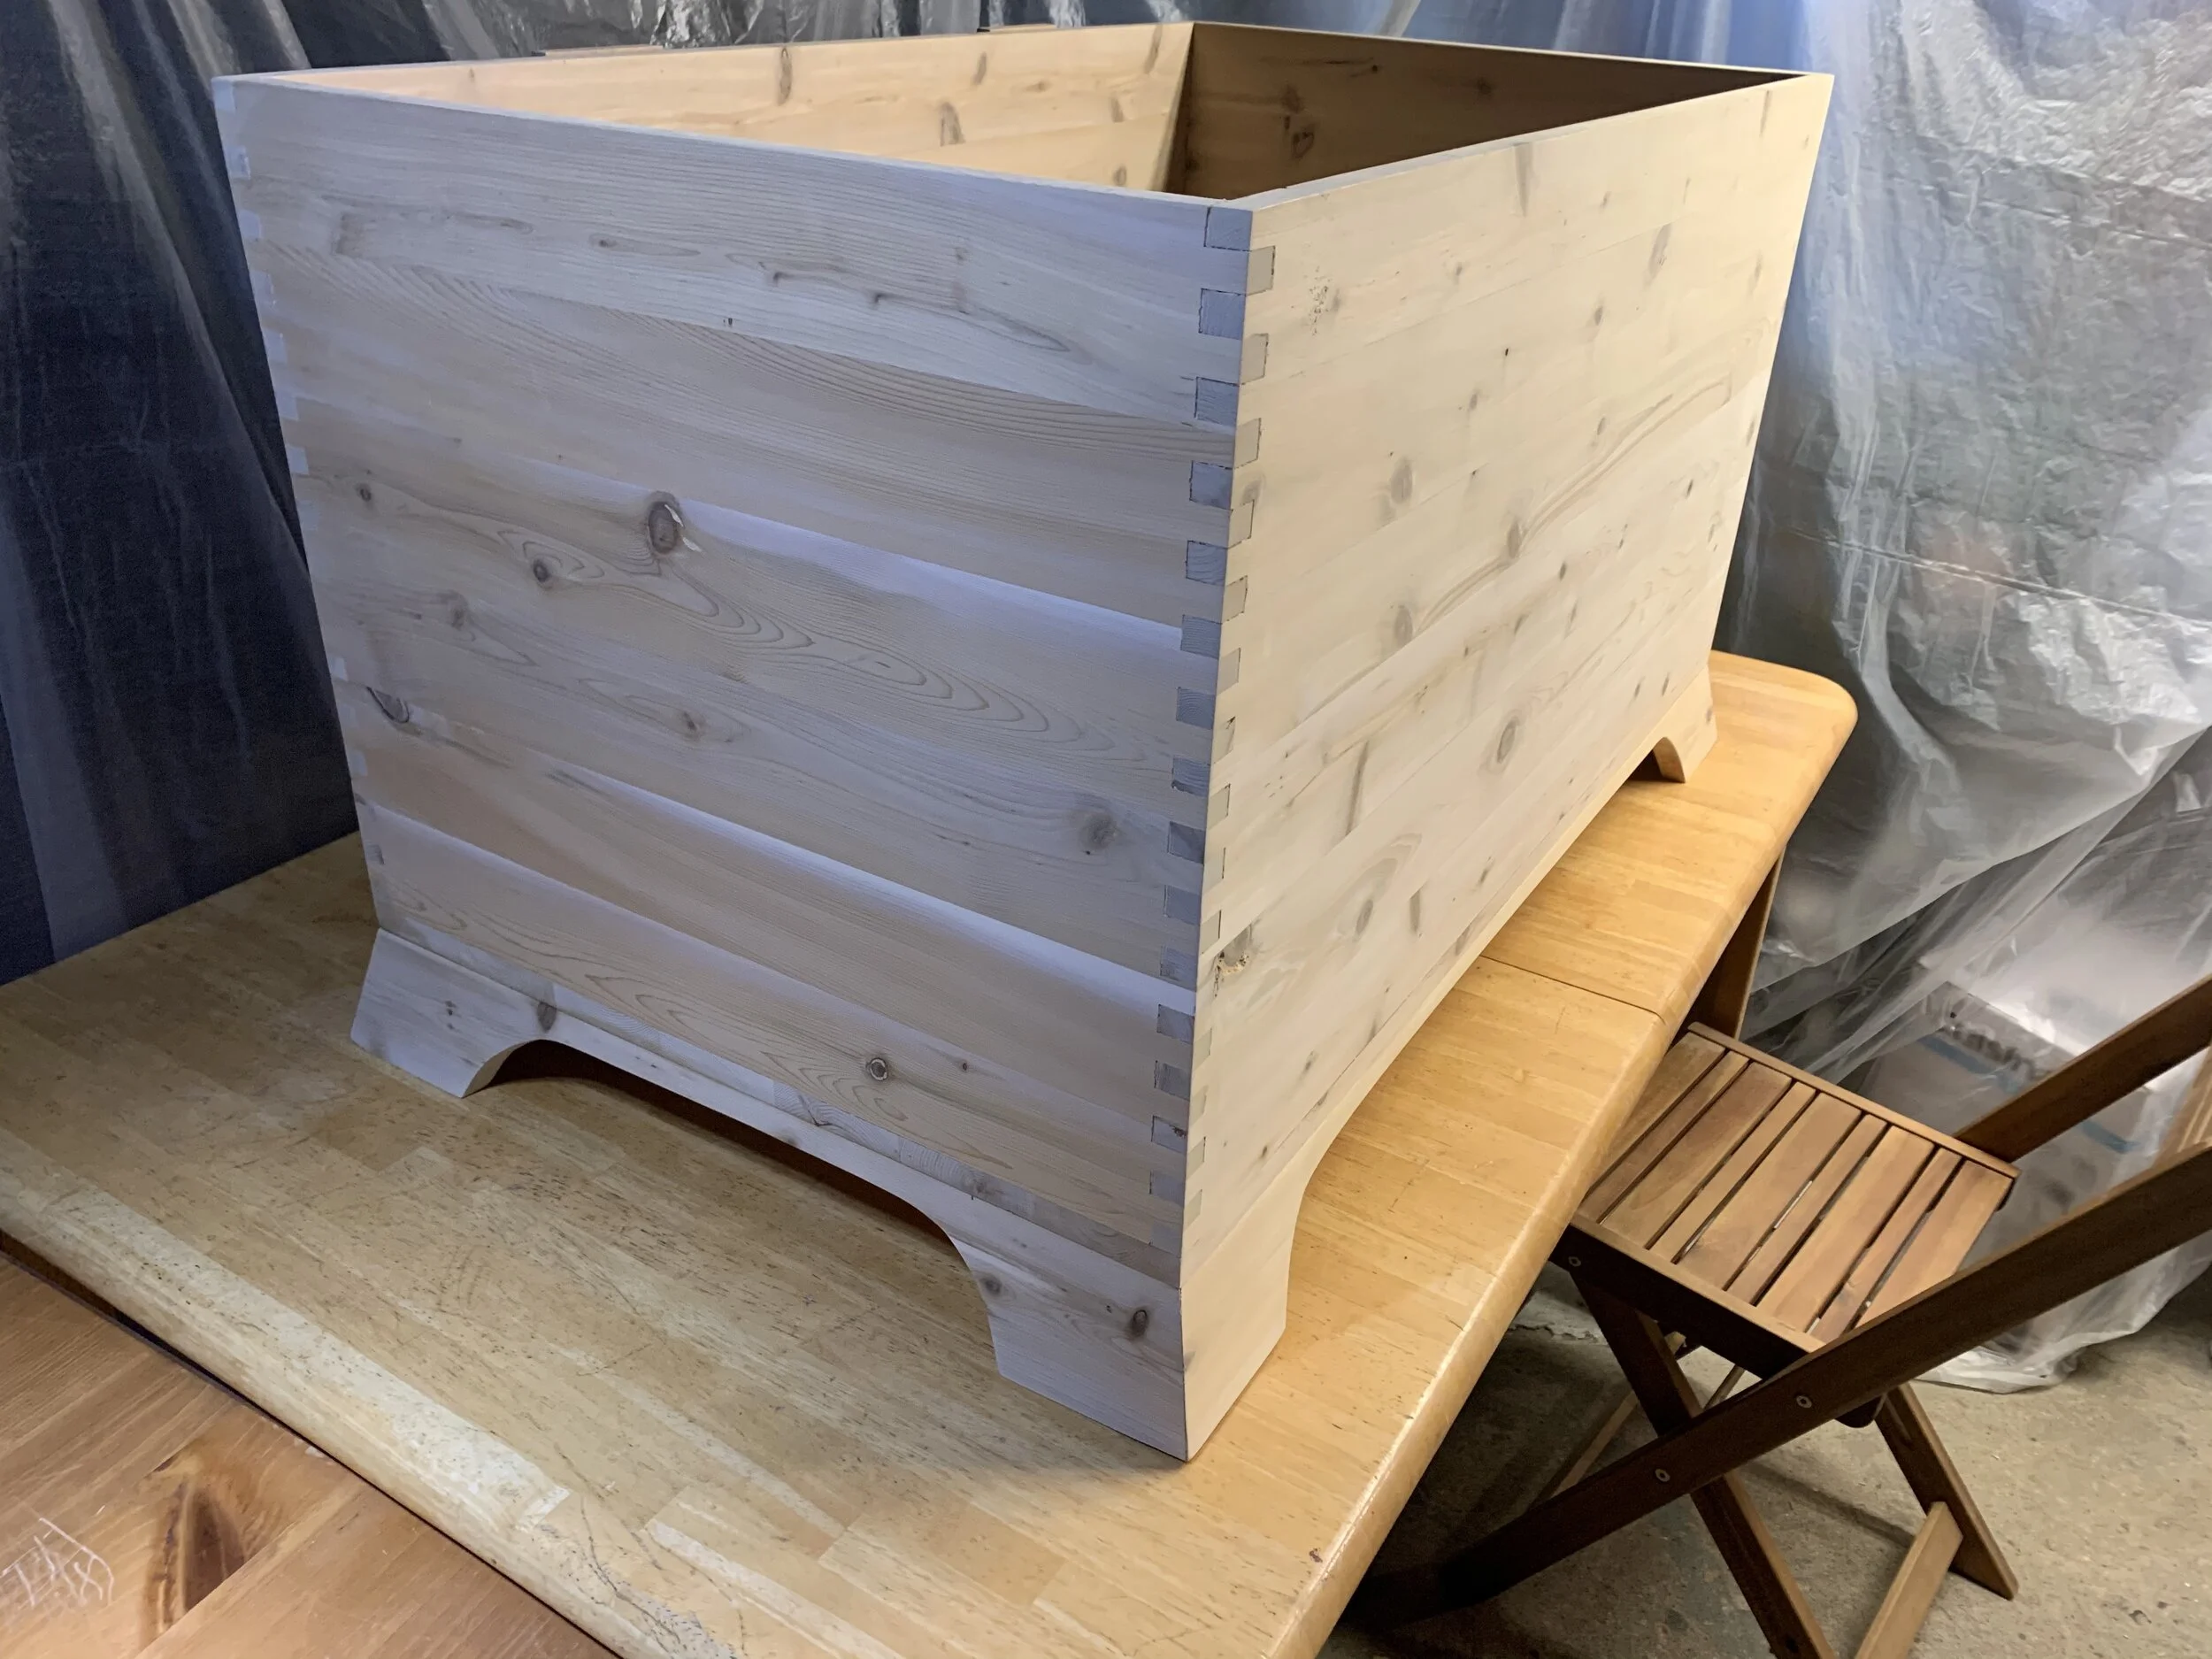
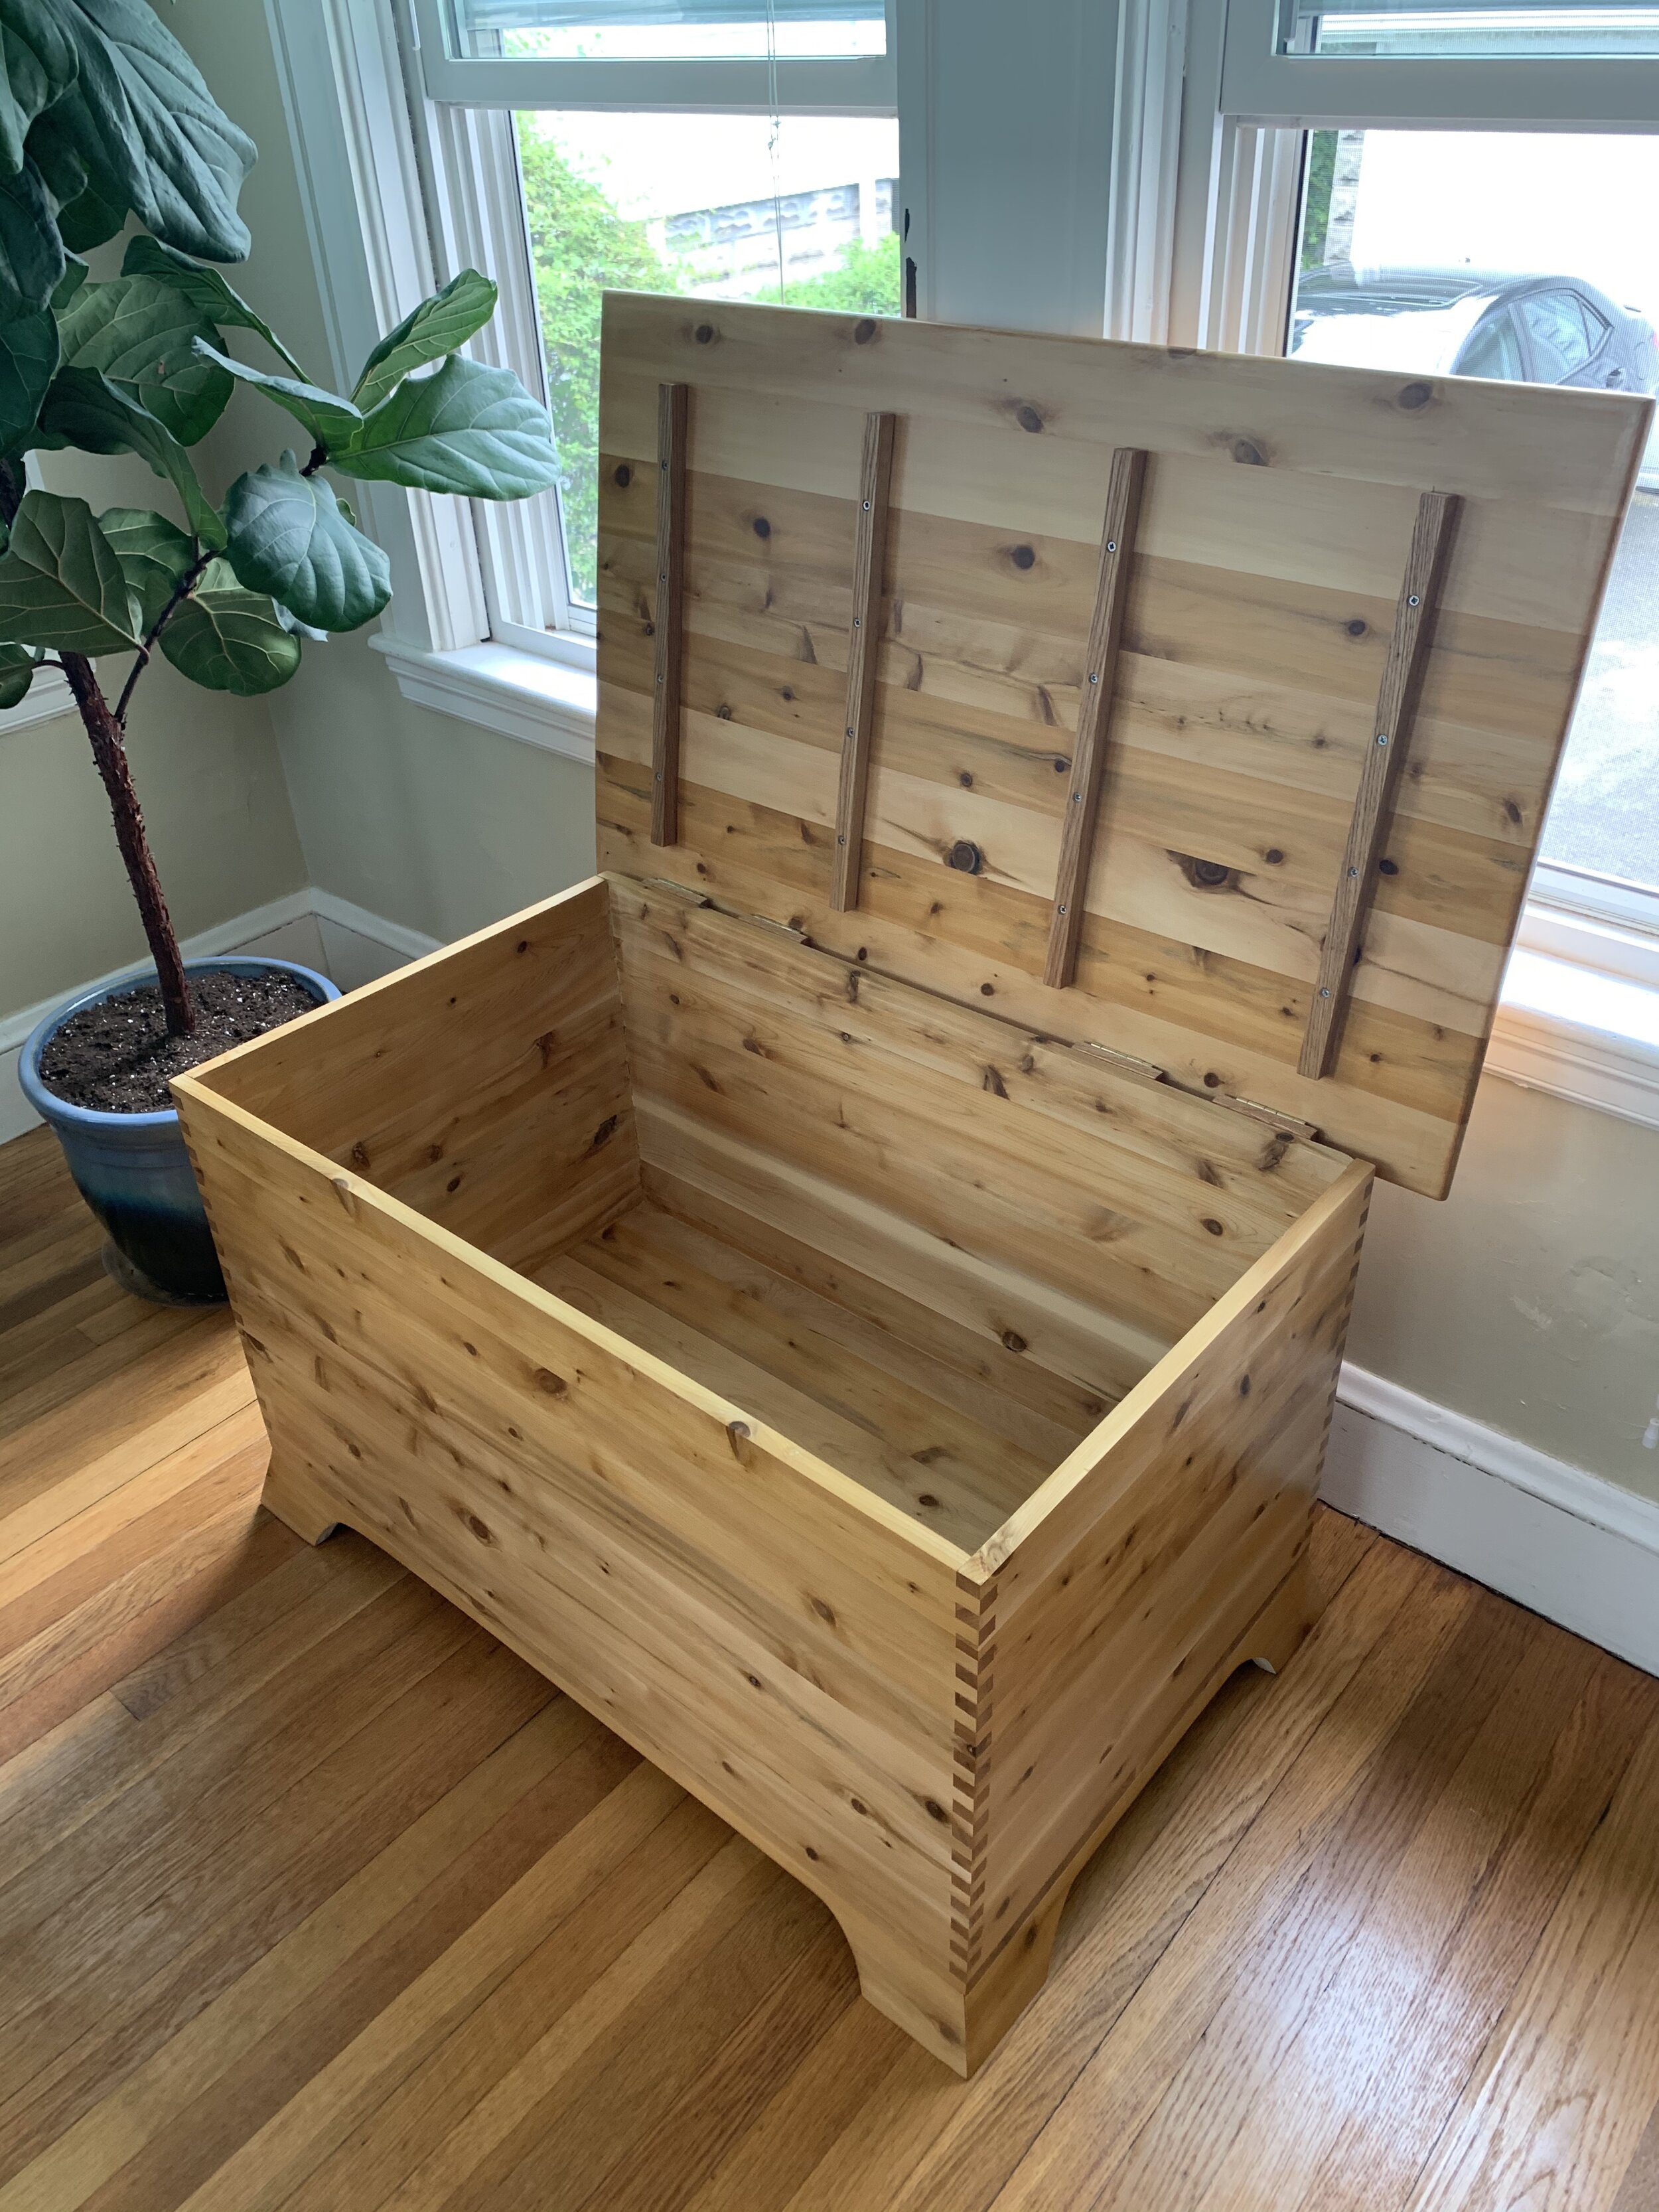
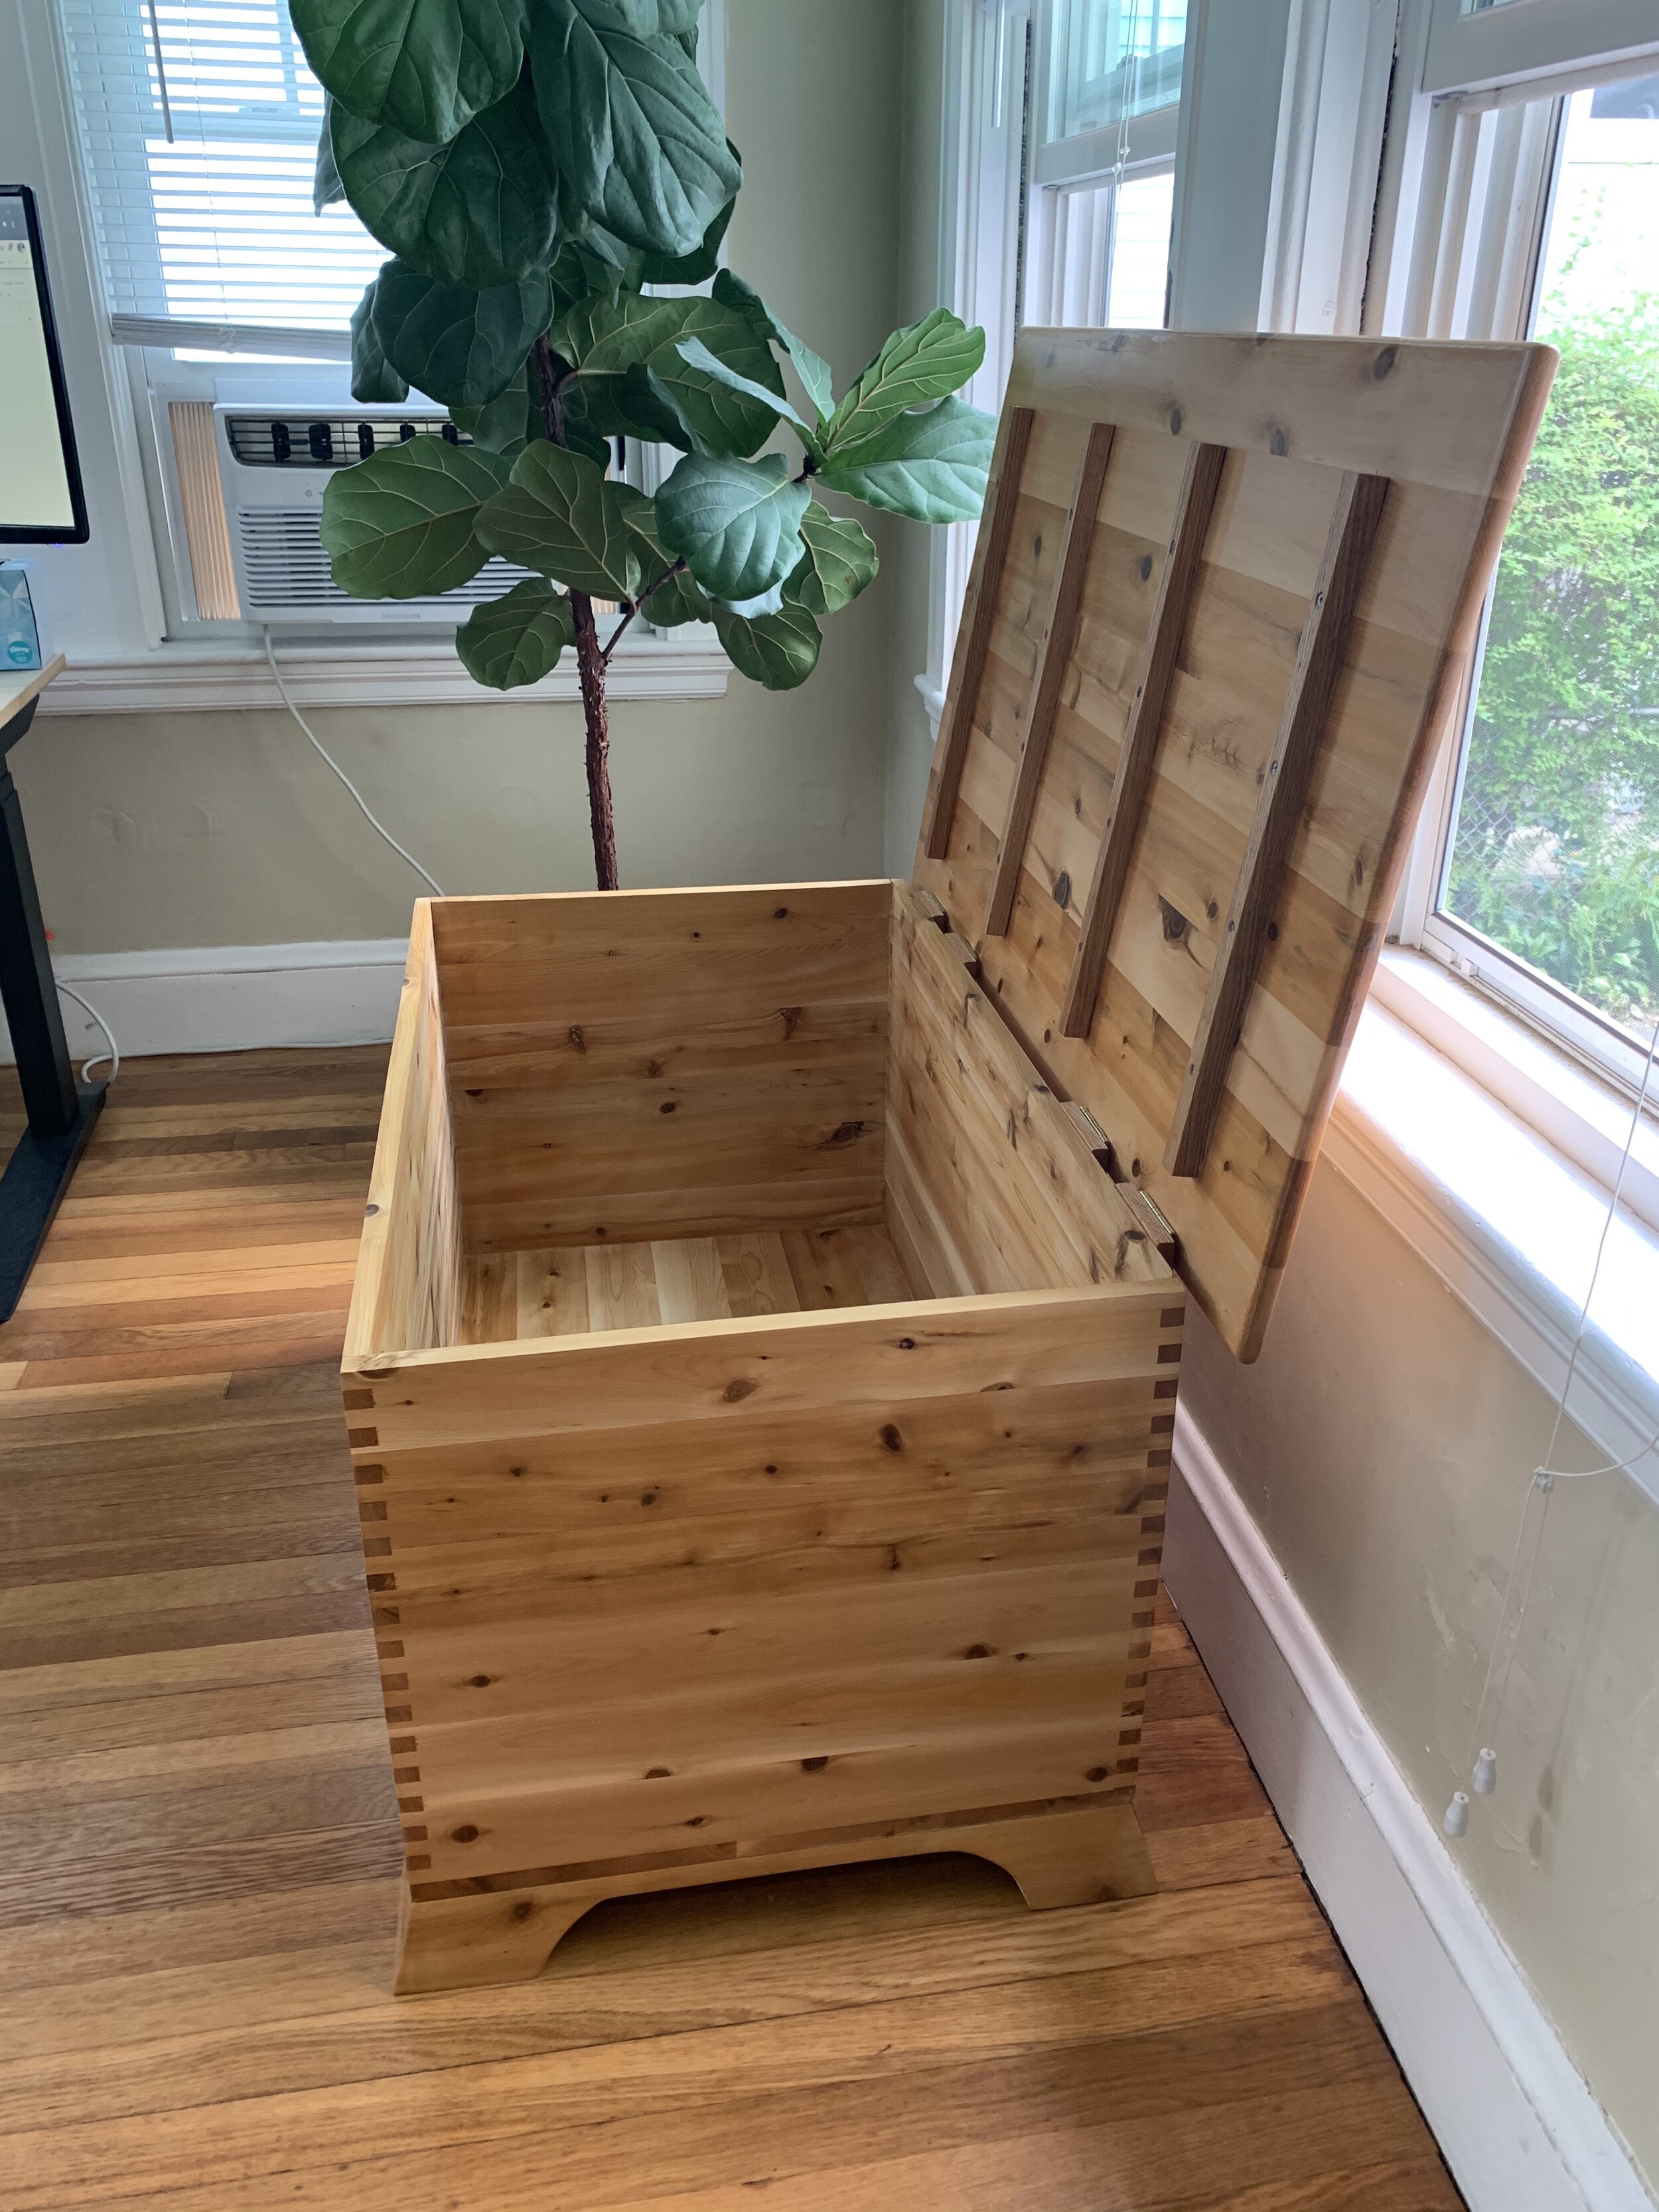
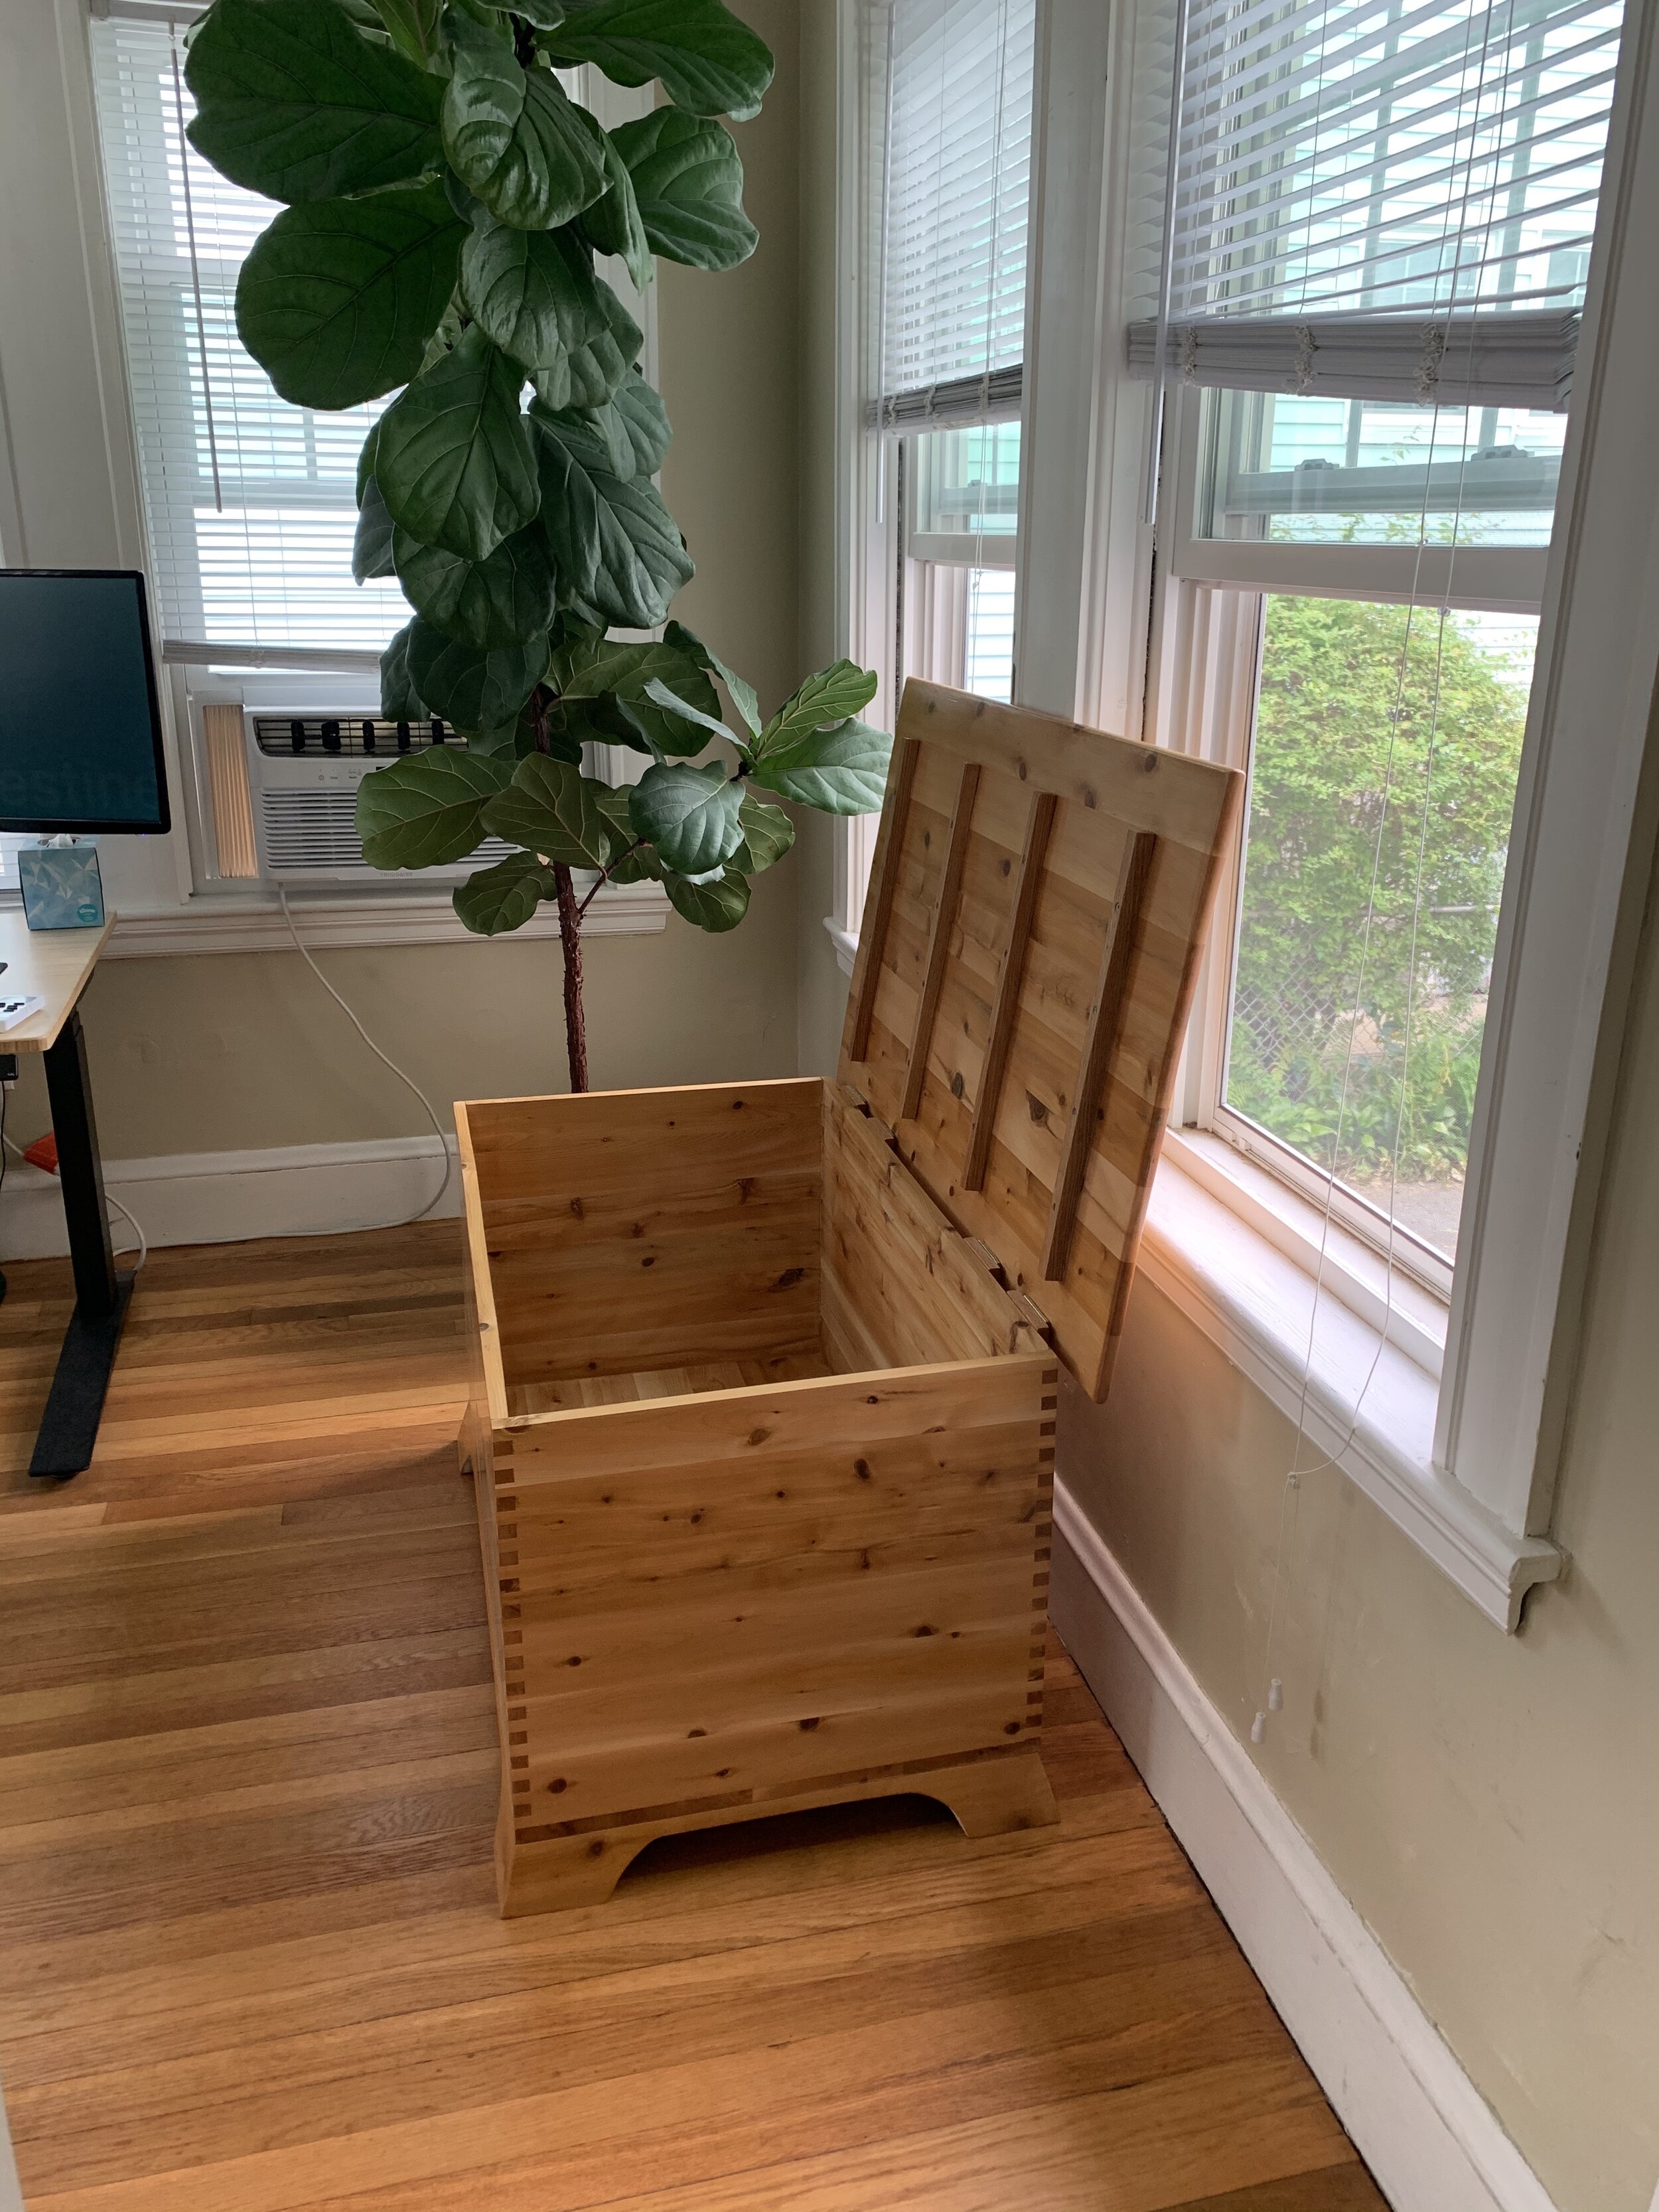
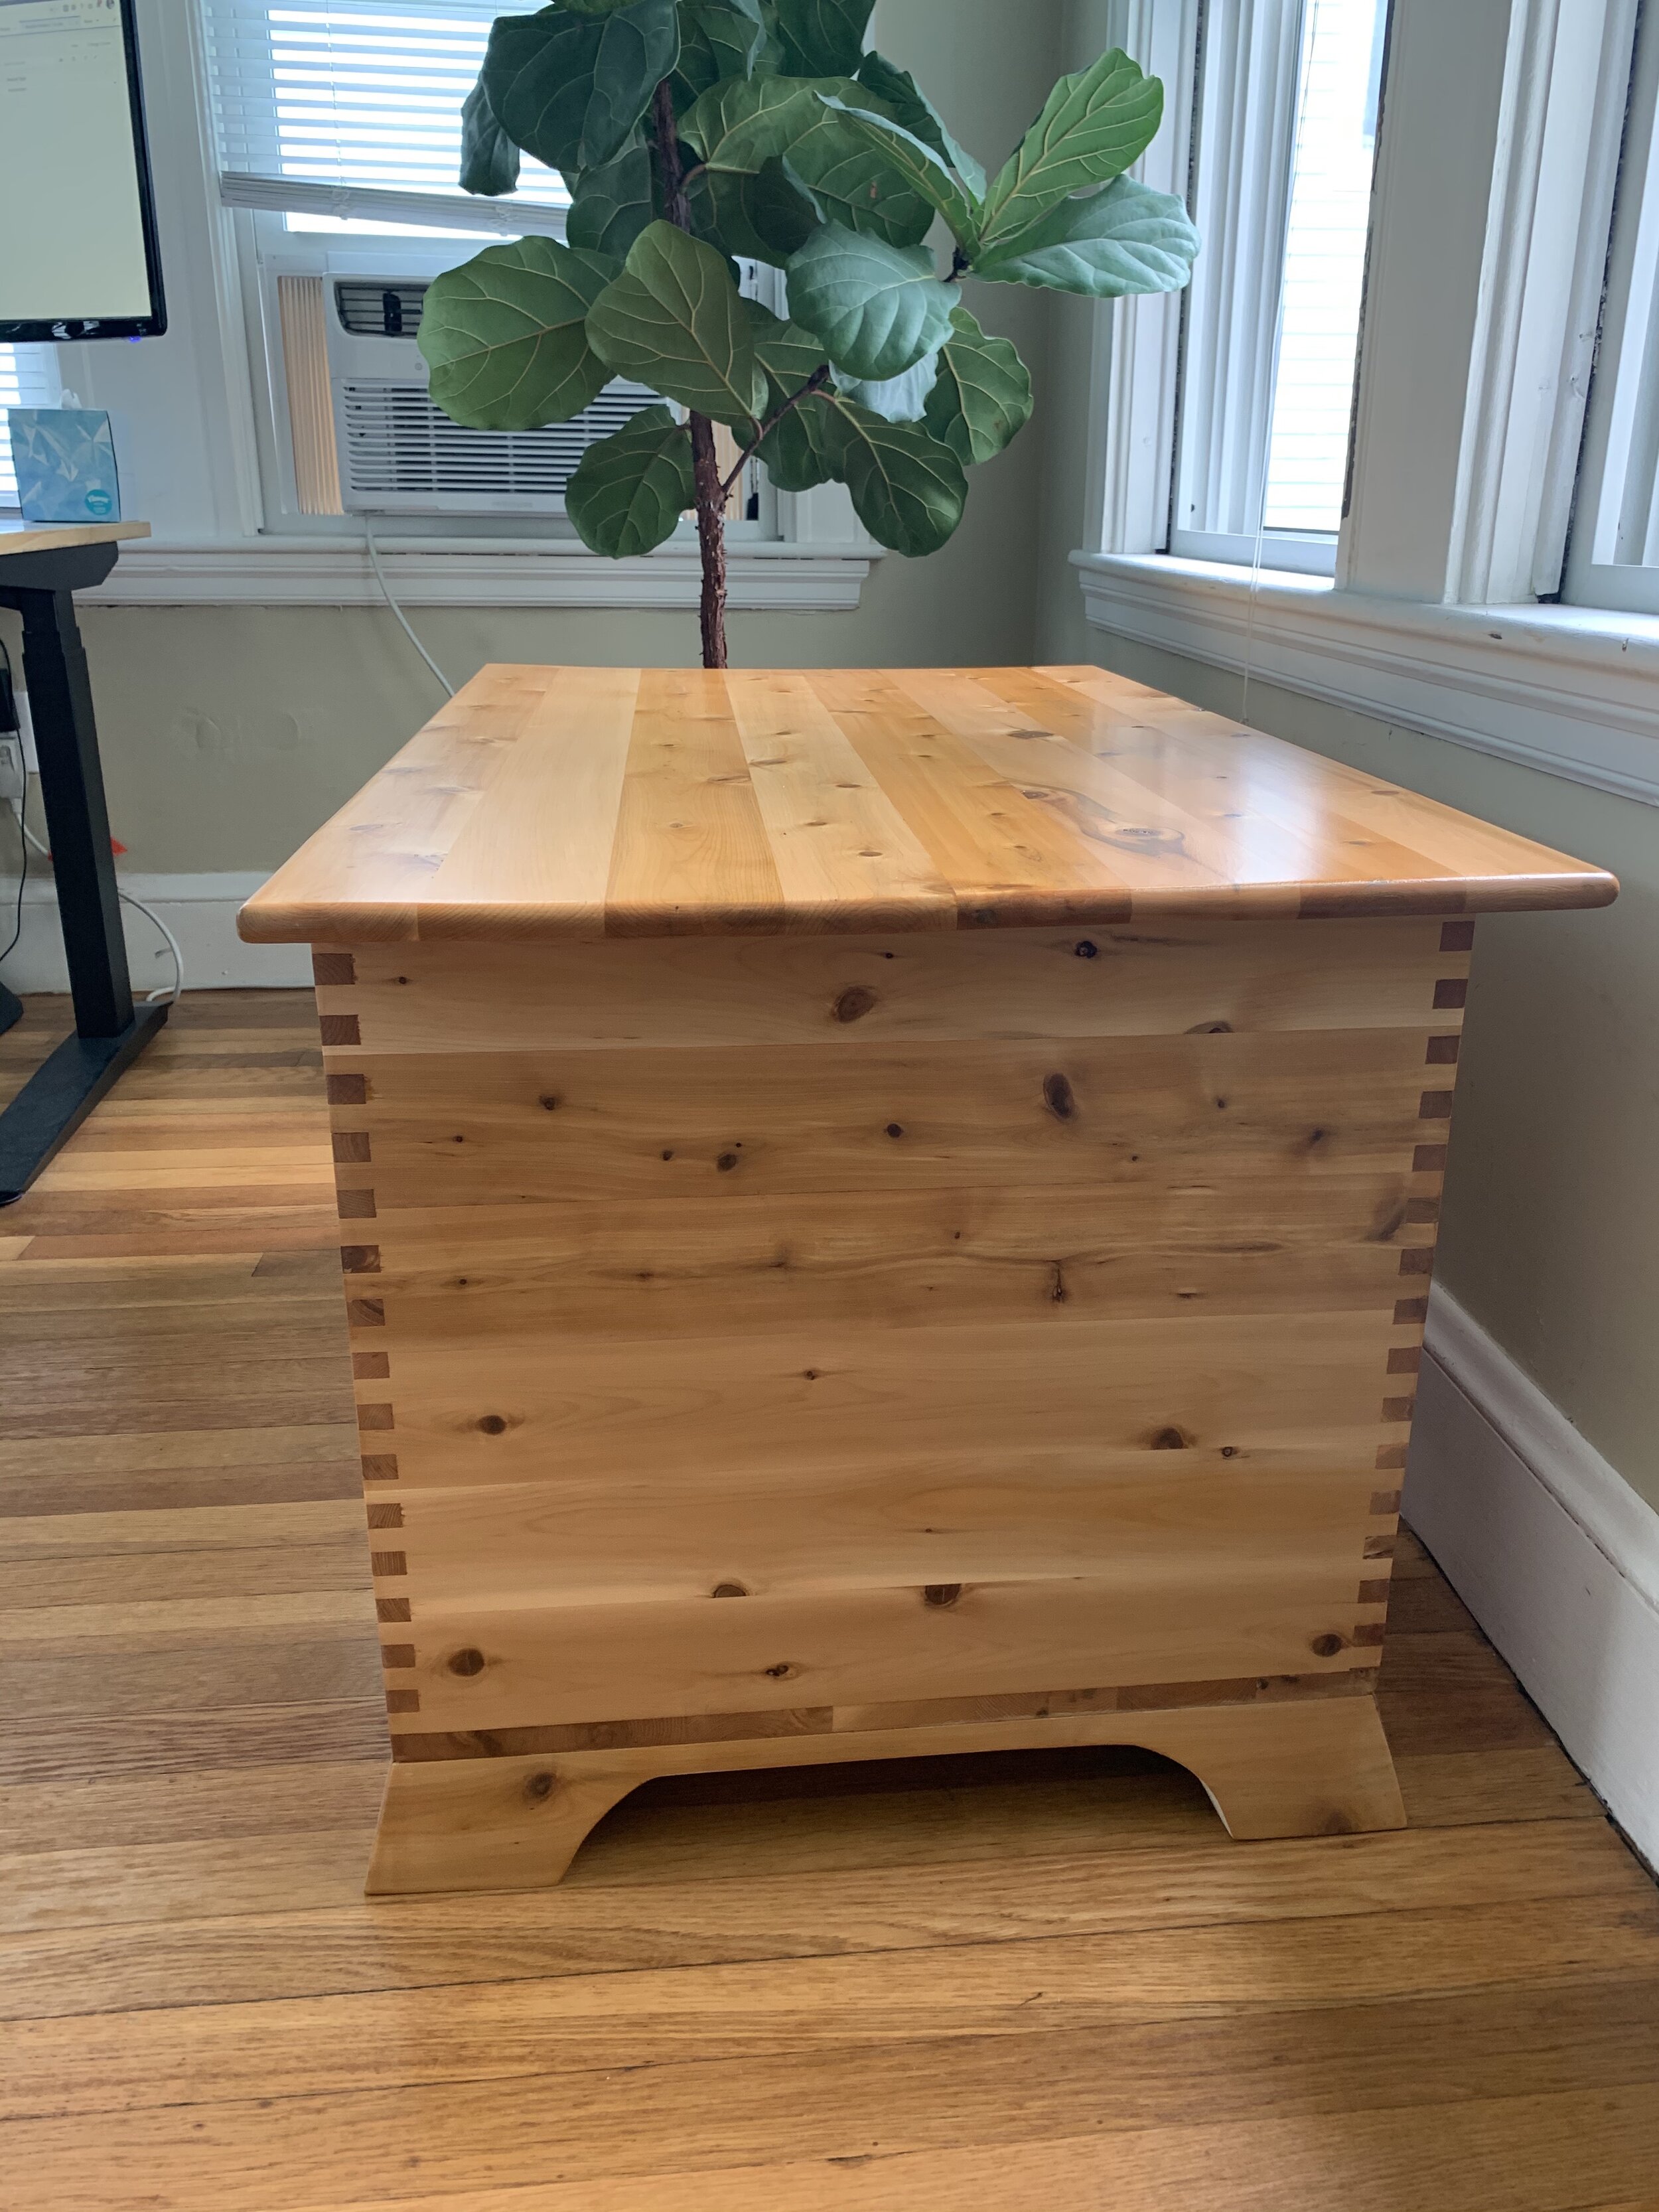
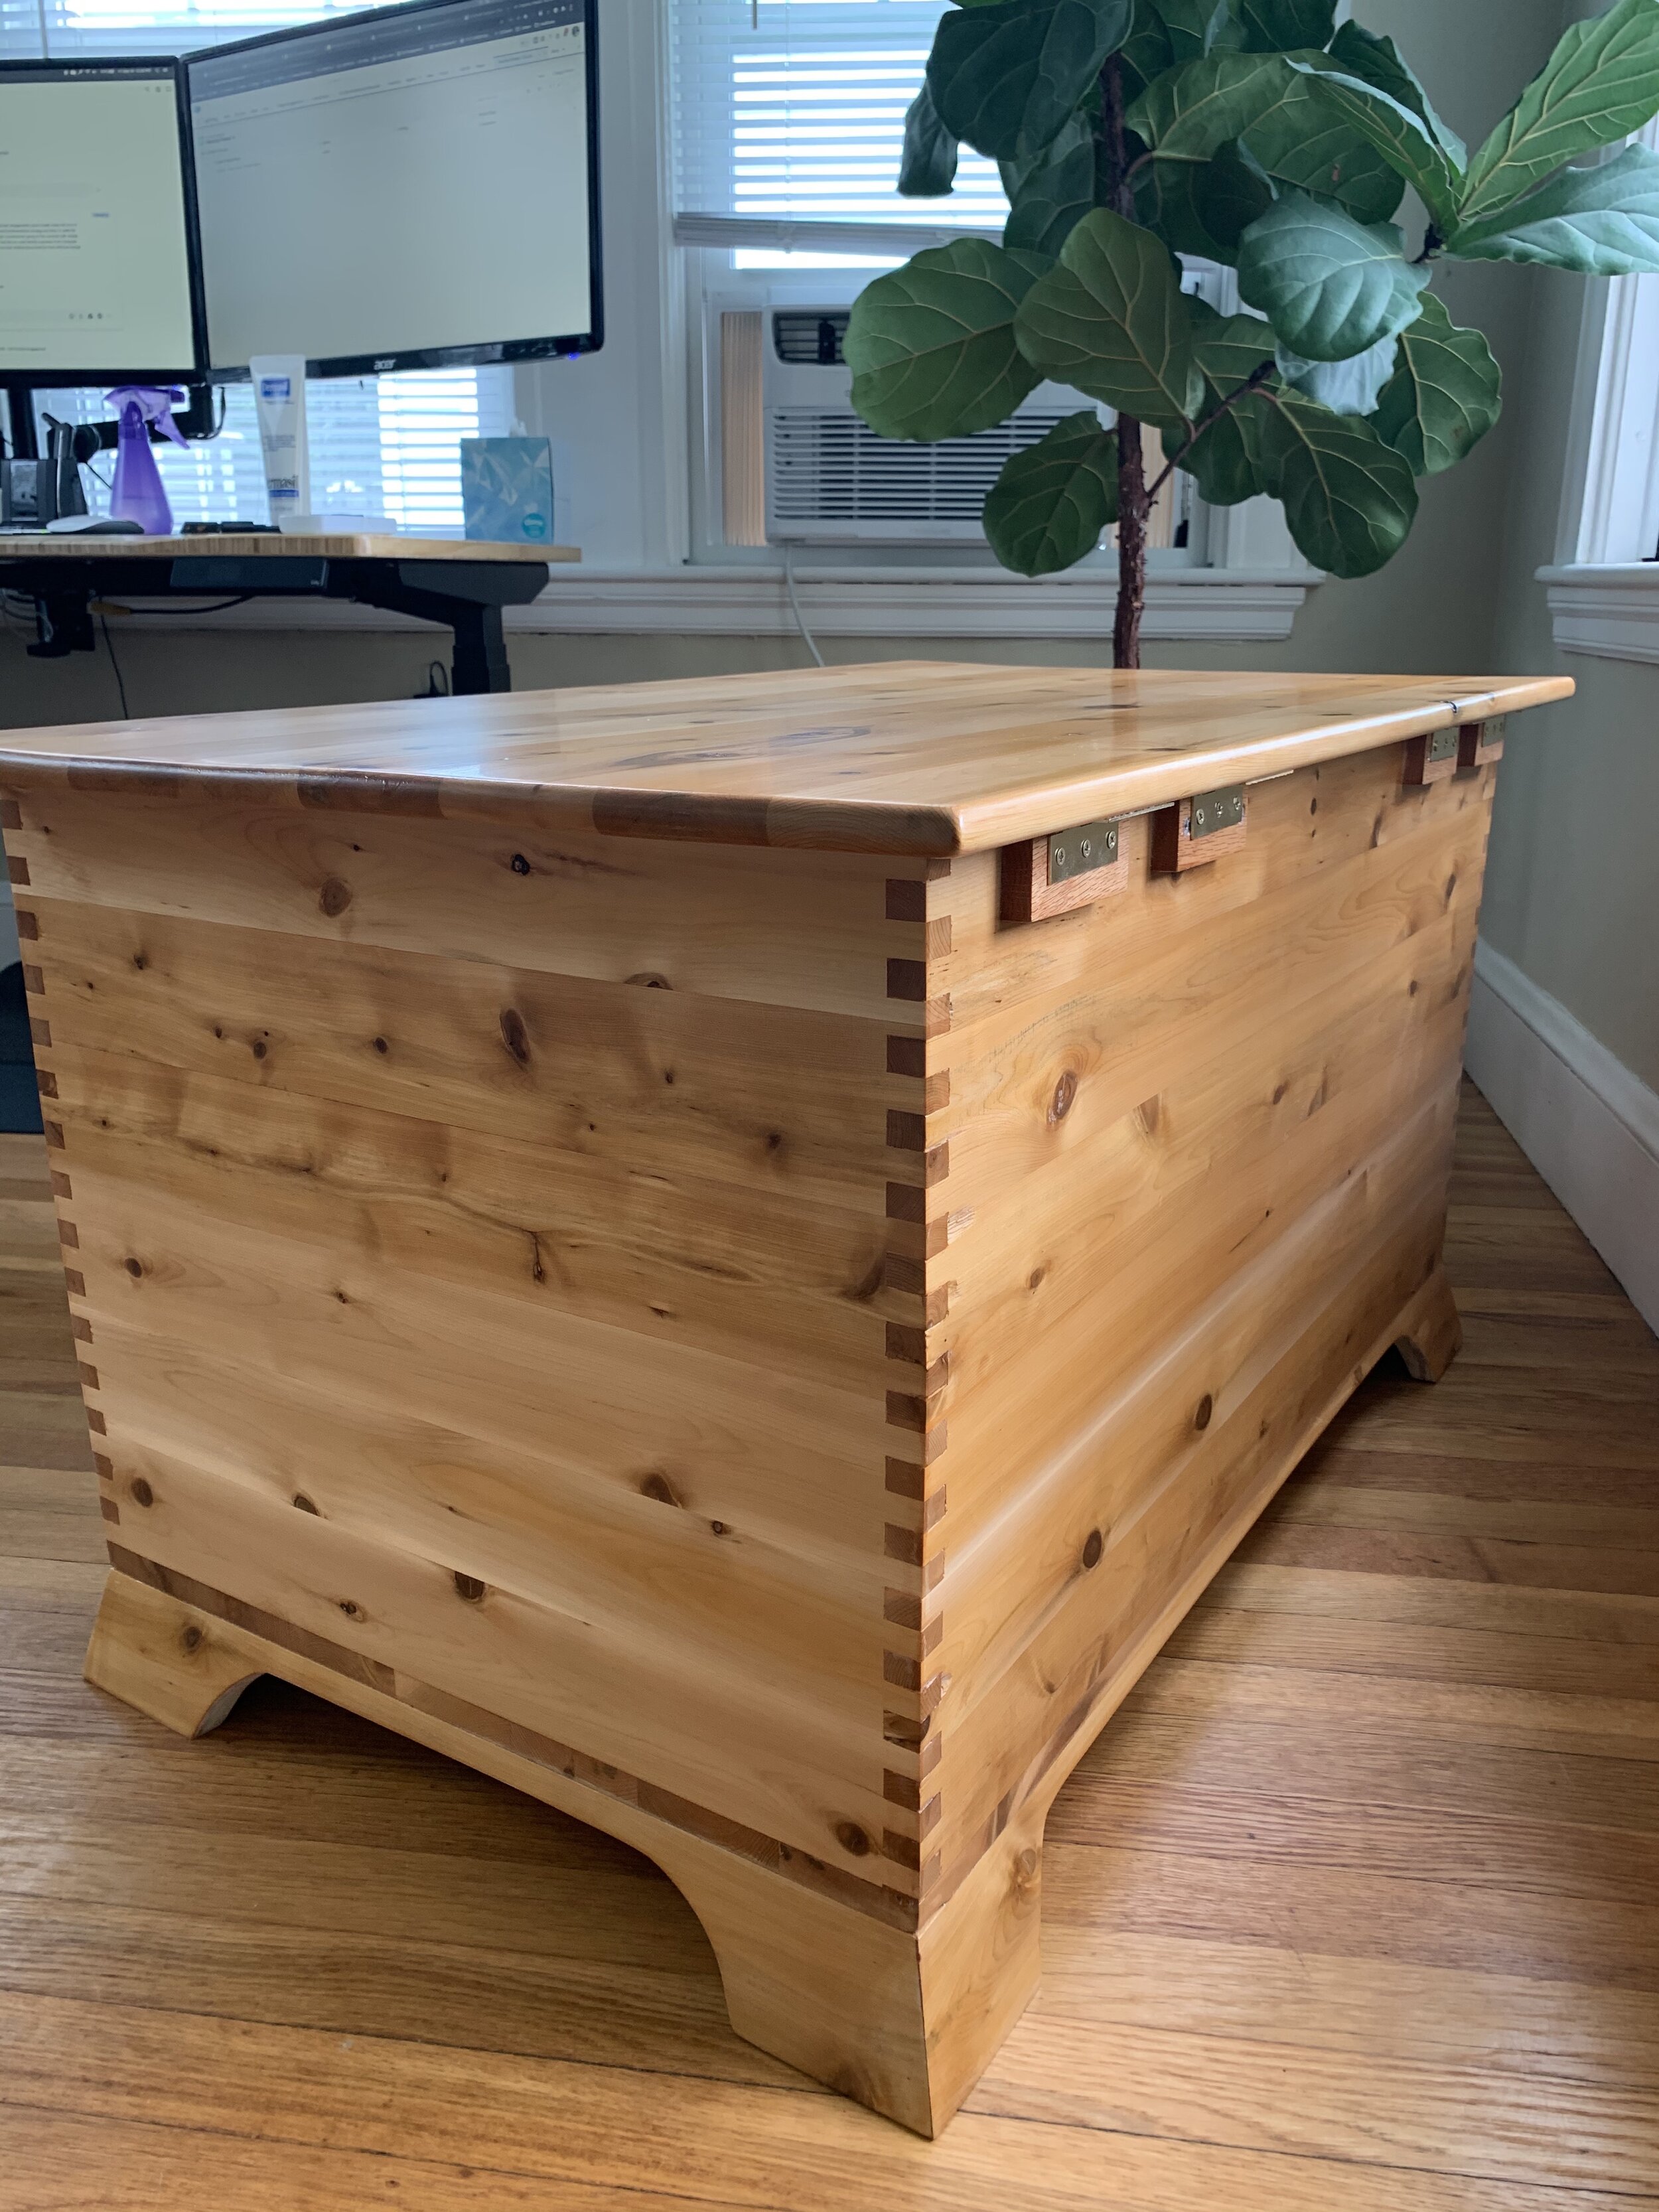
This cedar chest was my second project, following the farmhouse-style dining table I built. Building this chest was very satisfying and validating in my newfound hobby of woodworking, and I learned a ton building this project: splayed legs, compound angles, box-cut style joinery, finishing techniques, and more.
I built this cedar chest not just because it looks super cool and challenging, but for my sweater collection which was quickly growing and didn’t have enough space. In addition, I was starting to see dust mite bites in my nicer knits. Cedar has properties that respond well to moisture and deter pests such as these dust mites. I also always love the warming cedar scent that my sweaters give off in the winter months from storage in the chest.
Build
Jigs and Equipment
To start this project, I purchased cedar boards from Home Depot - purchasing way more cedar than planned. Then, I built a few jigs and purchased some equipment I knew I’d need for this project:
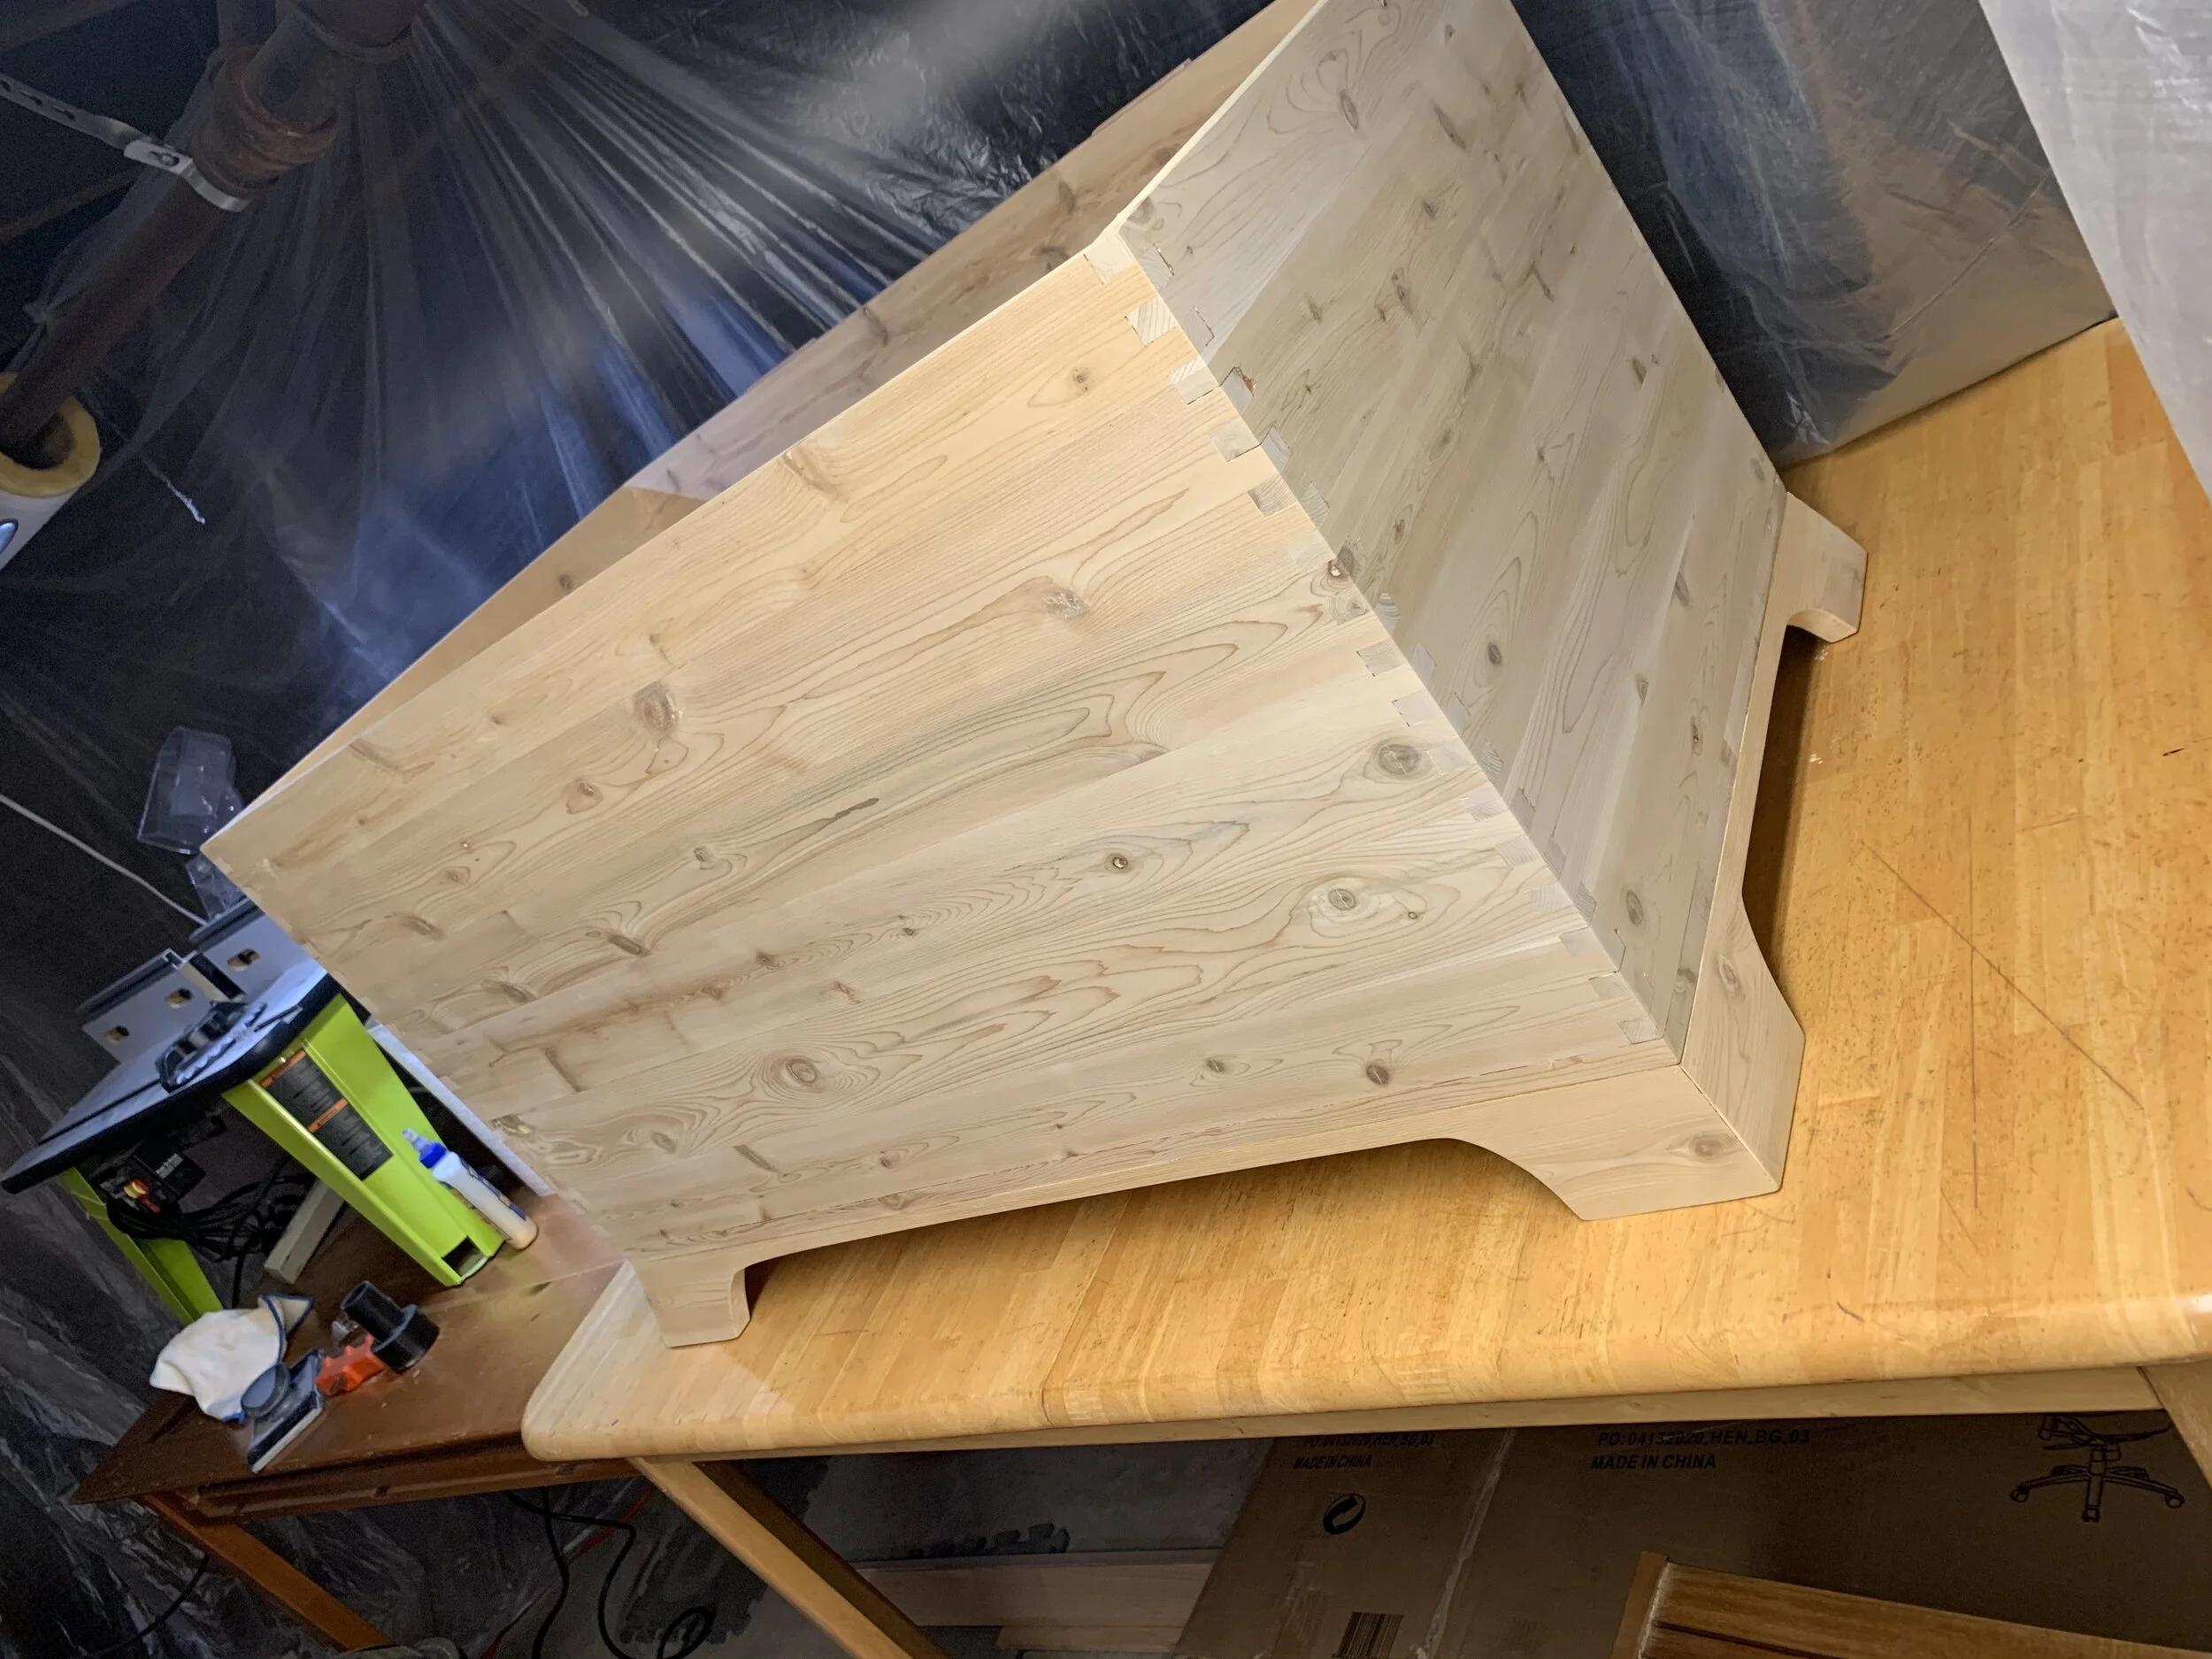
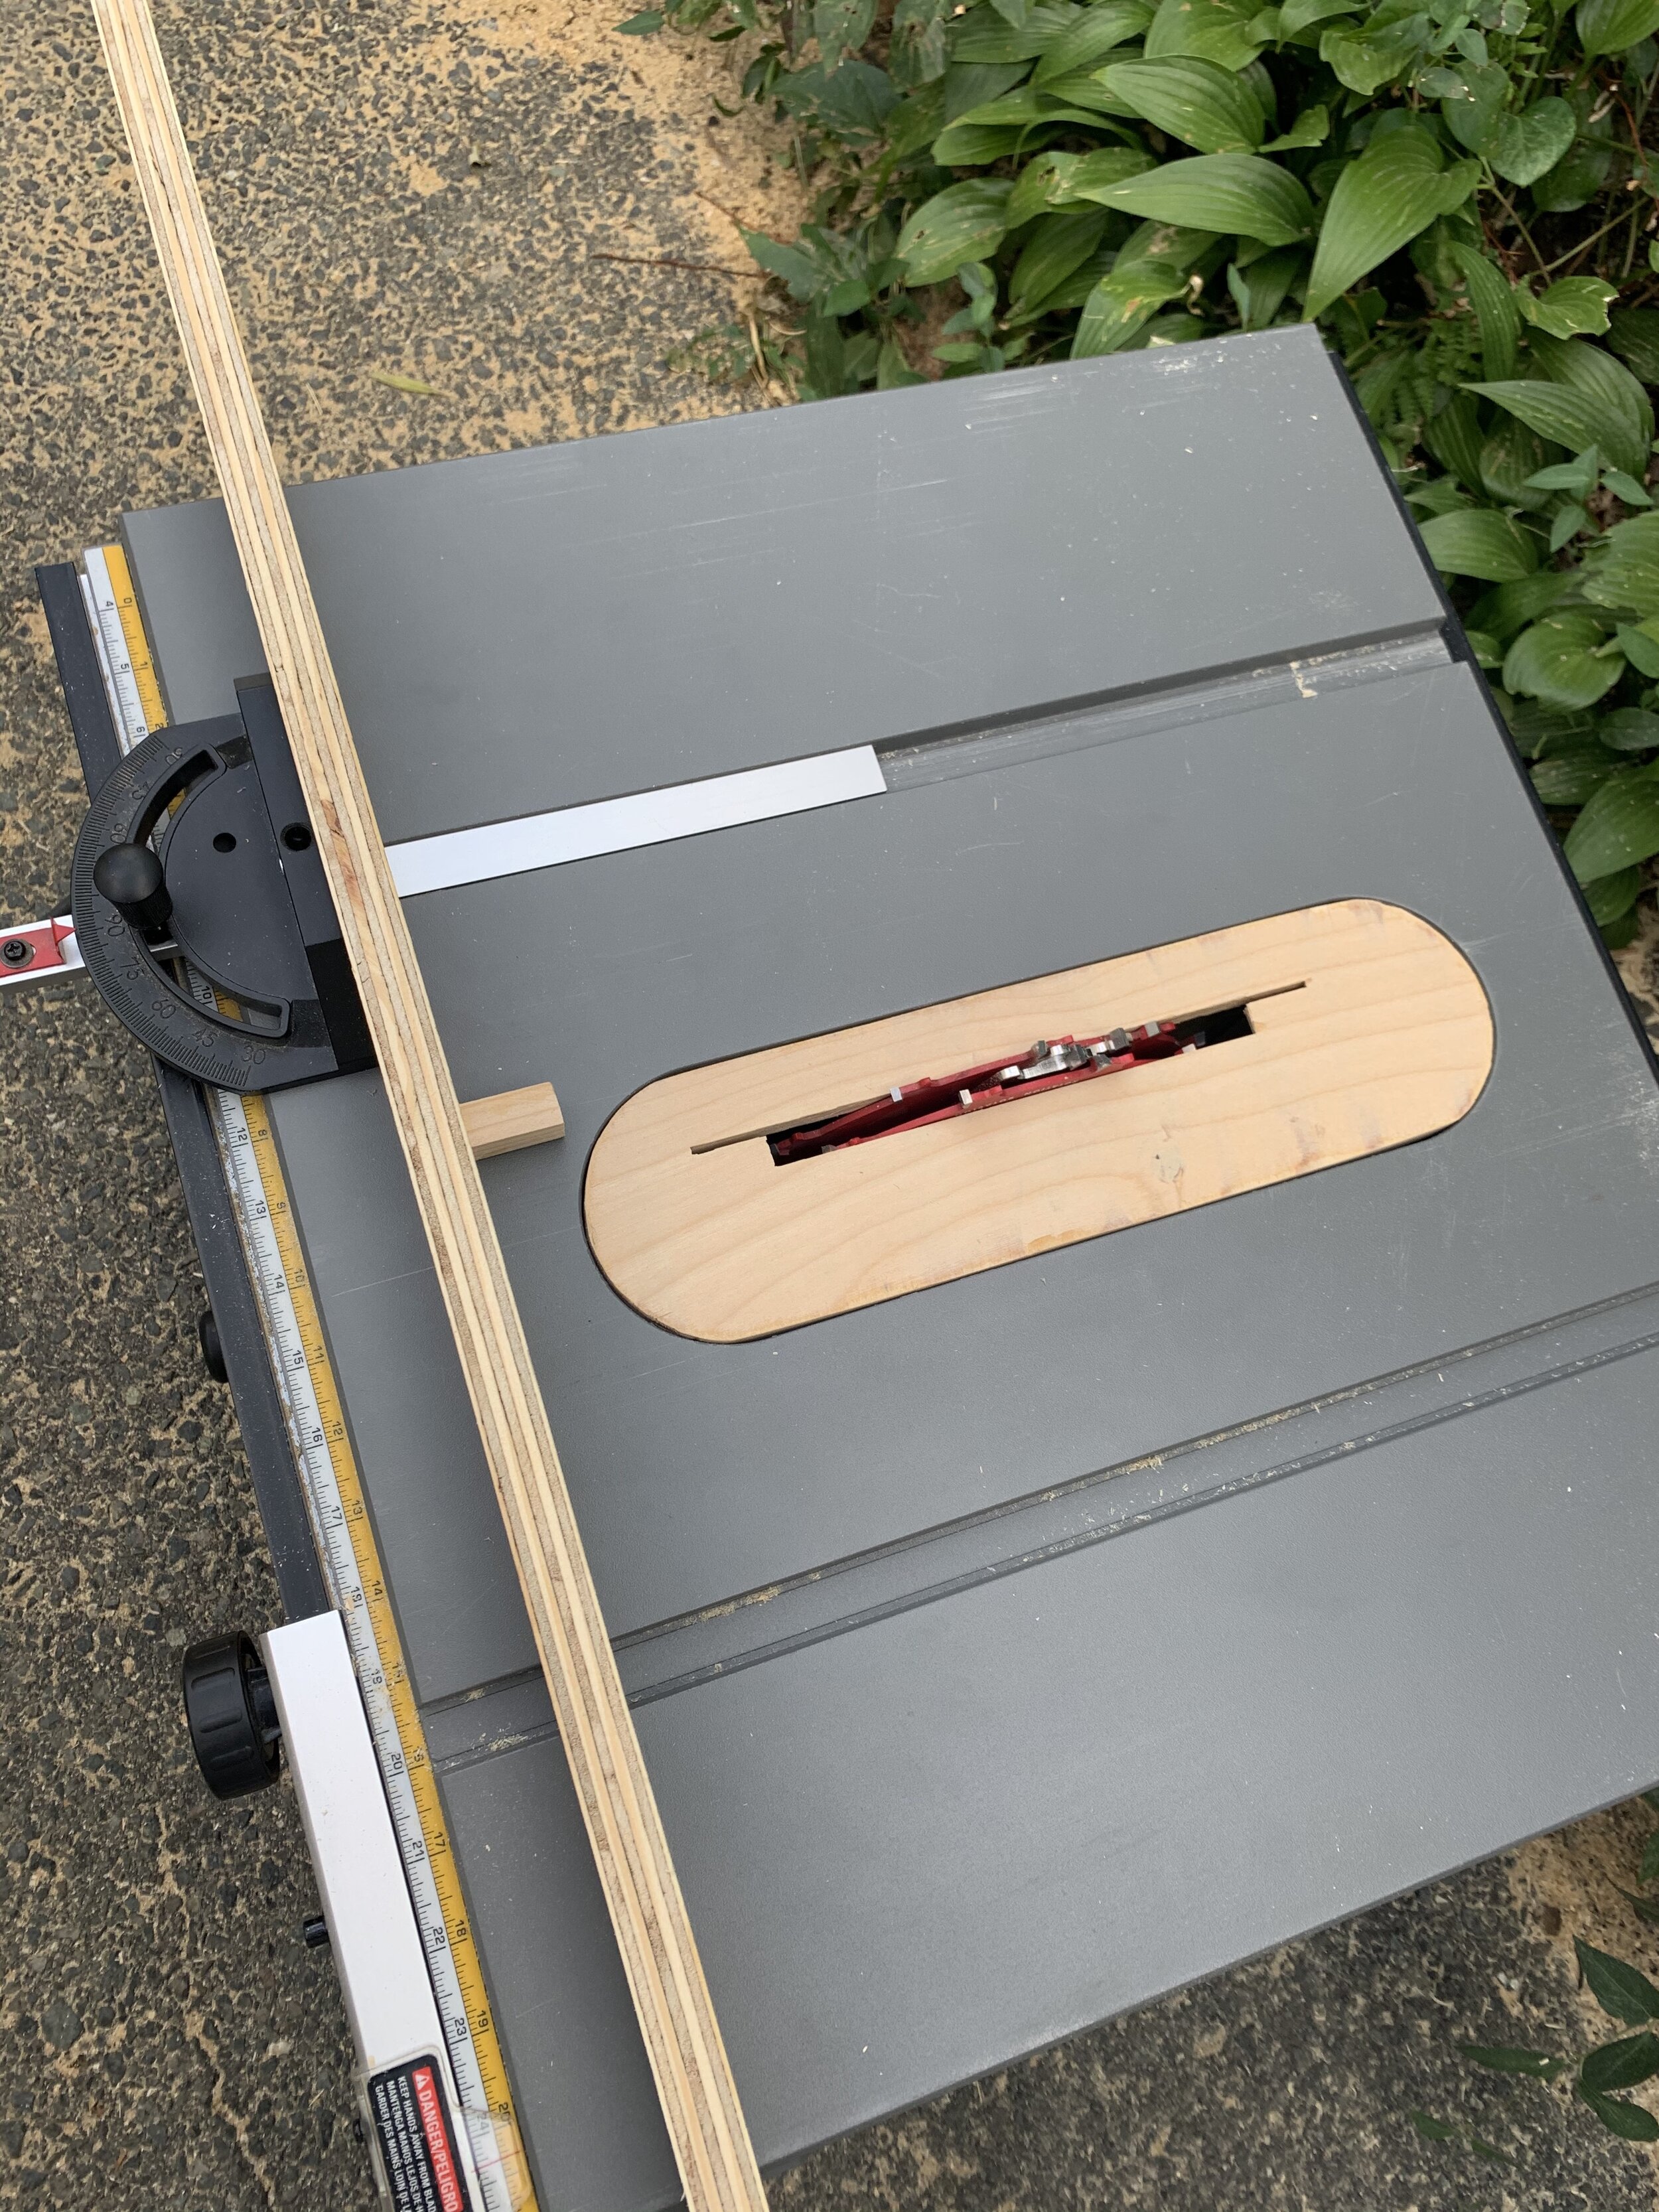
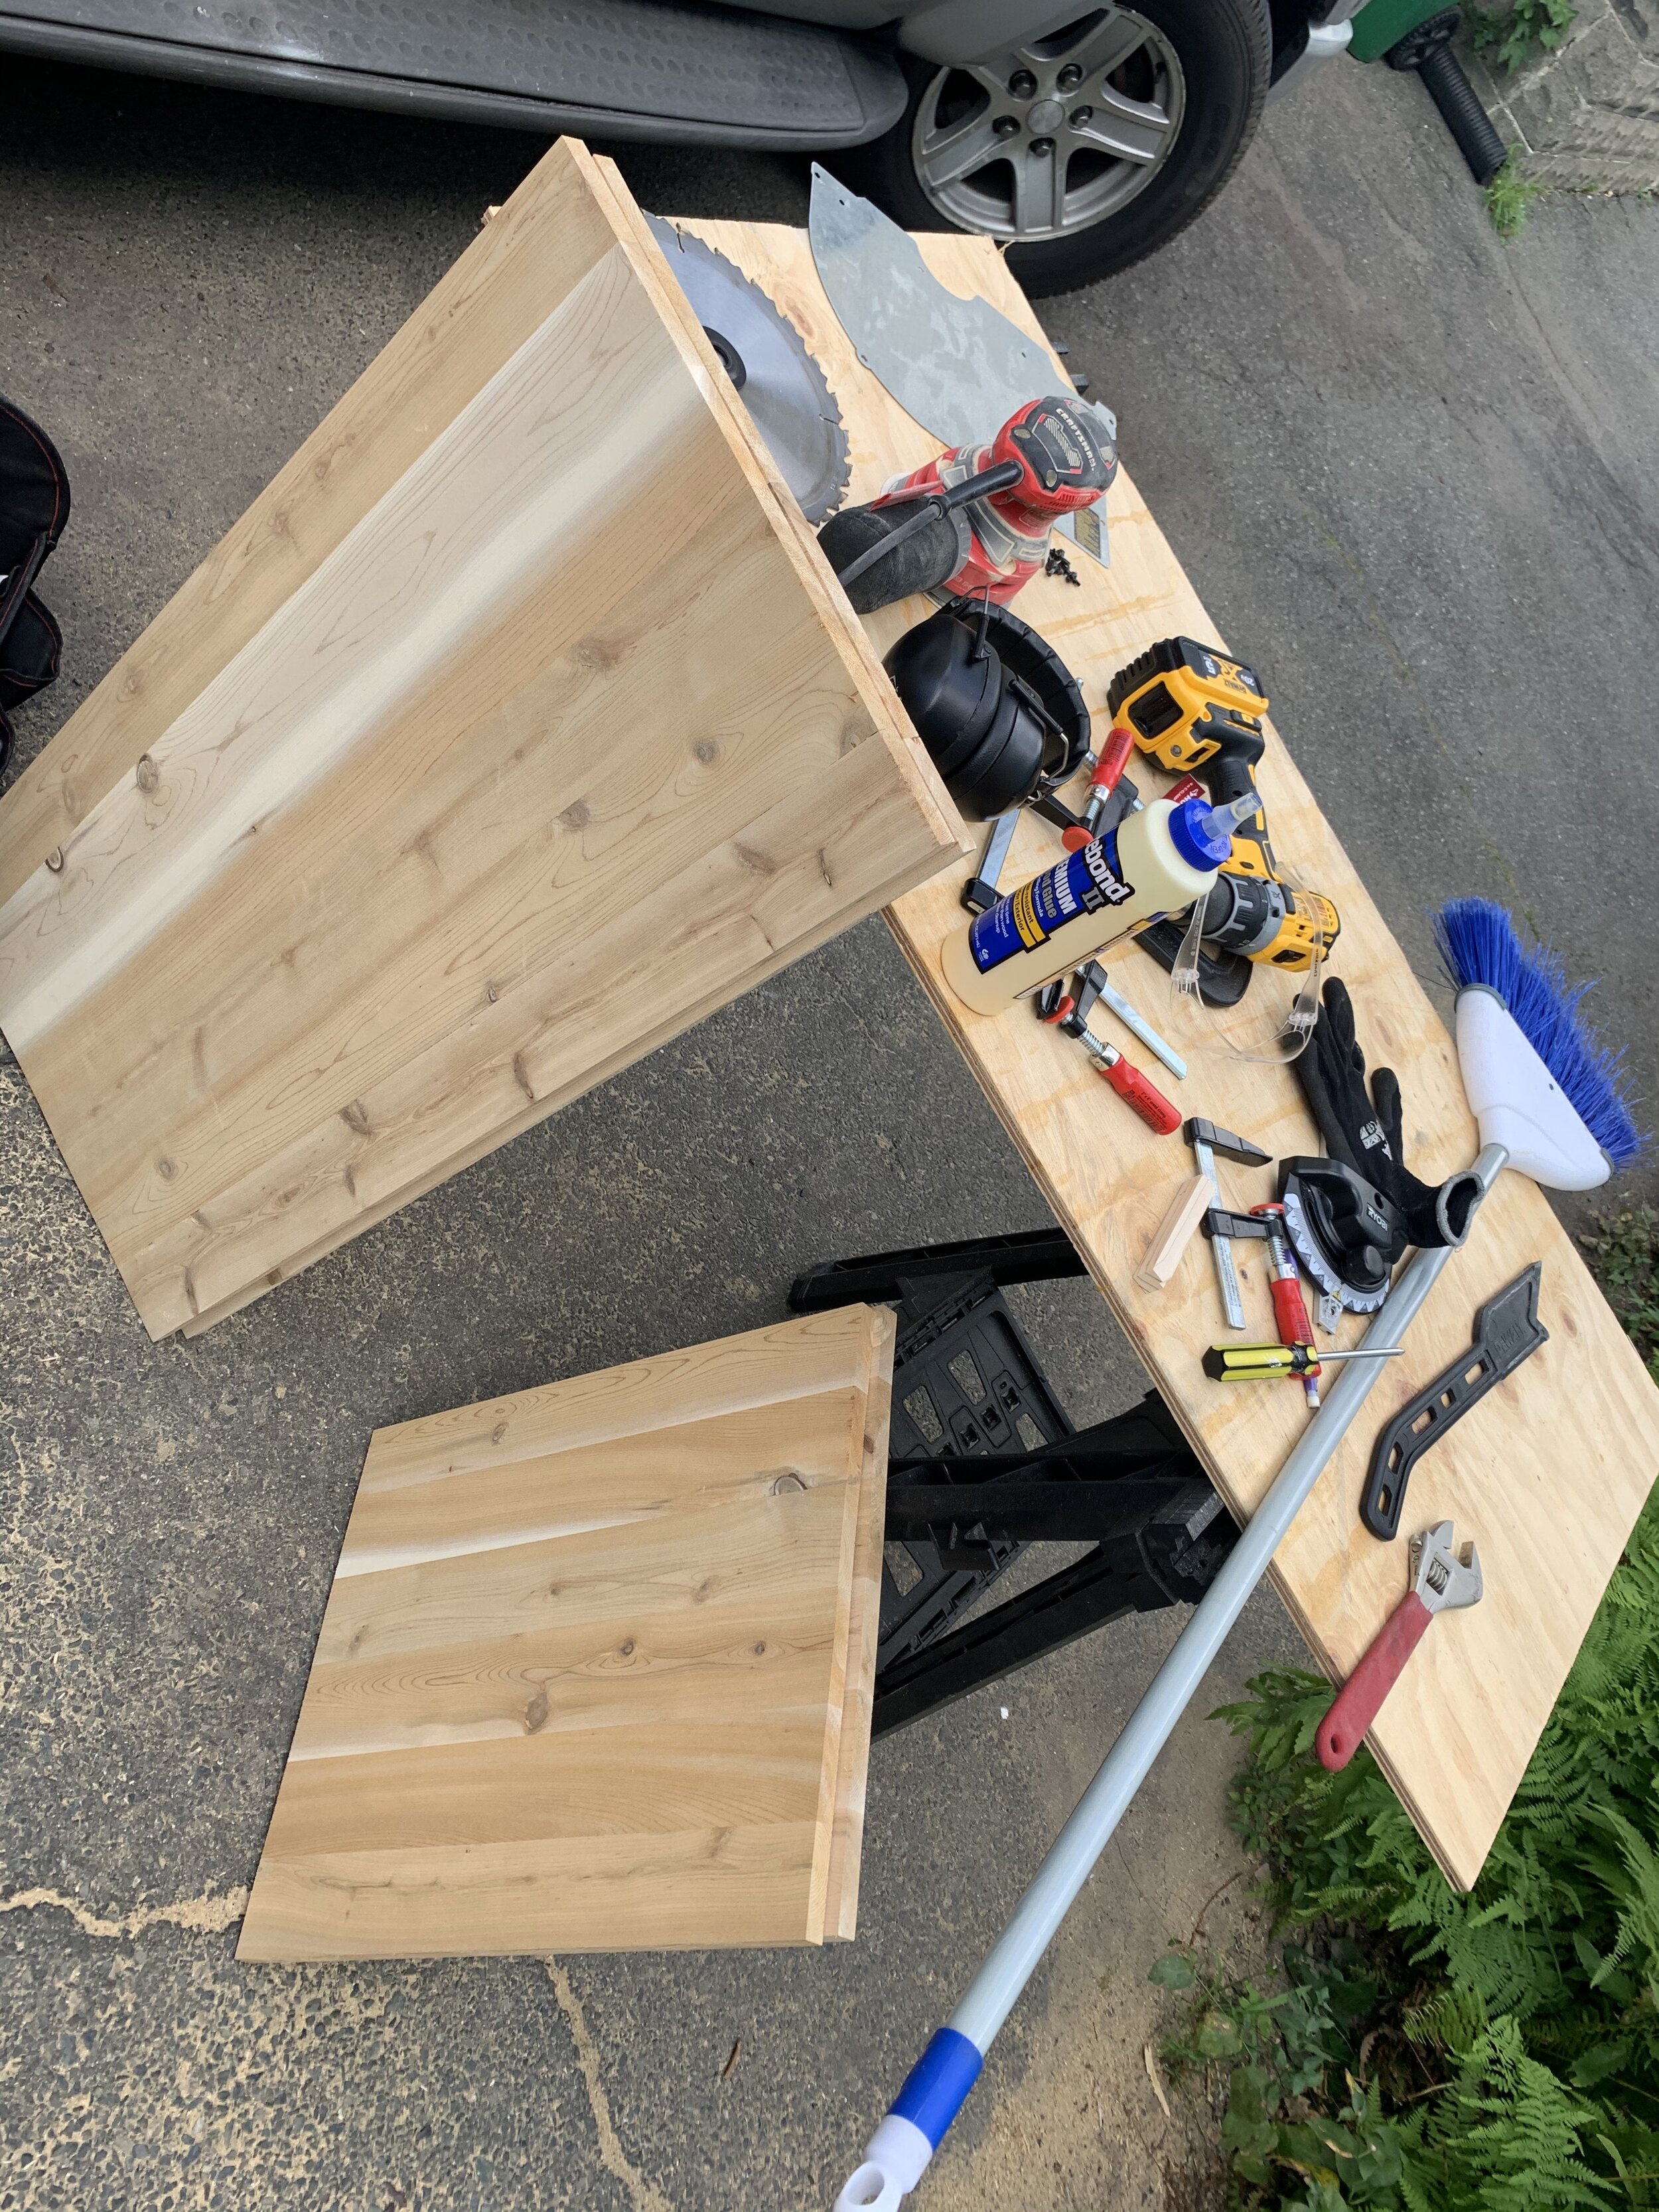
Custom throat plate for the table saw that allowed clearance for the dado blade used to cut dado grooves in the stock for the box-style joinery (picture 1). I did this with a jig saw and an orbital sander, tracing lines of the original throat plate.
Plywood board jig with 3/4”x1/2” reference stock, screwed to the table-saw included miter-gauge with a 3/4” piece of stock to use as reference for cutting 3/4” dado slots with my dado blade for the box-style joinery (picture 1).
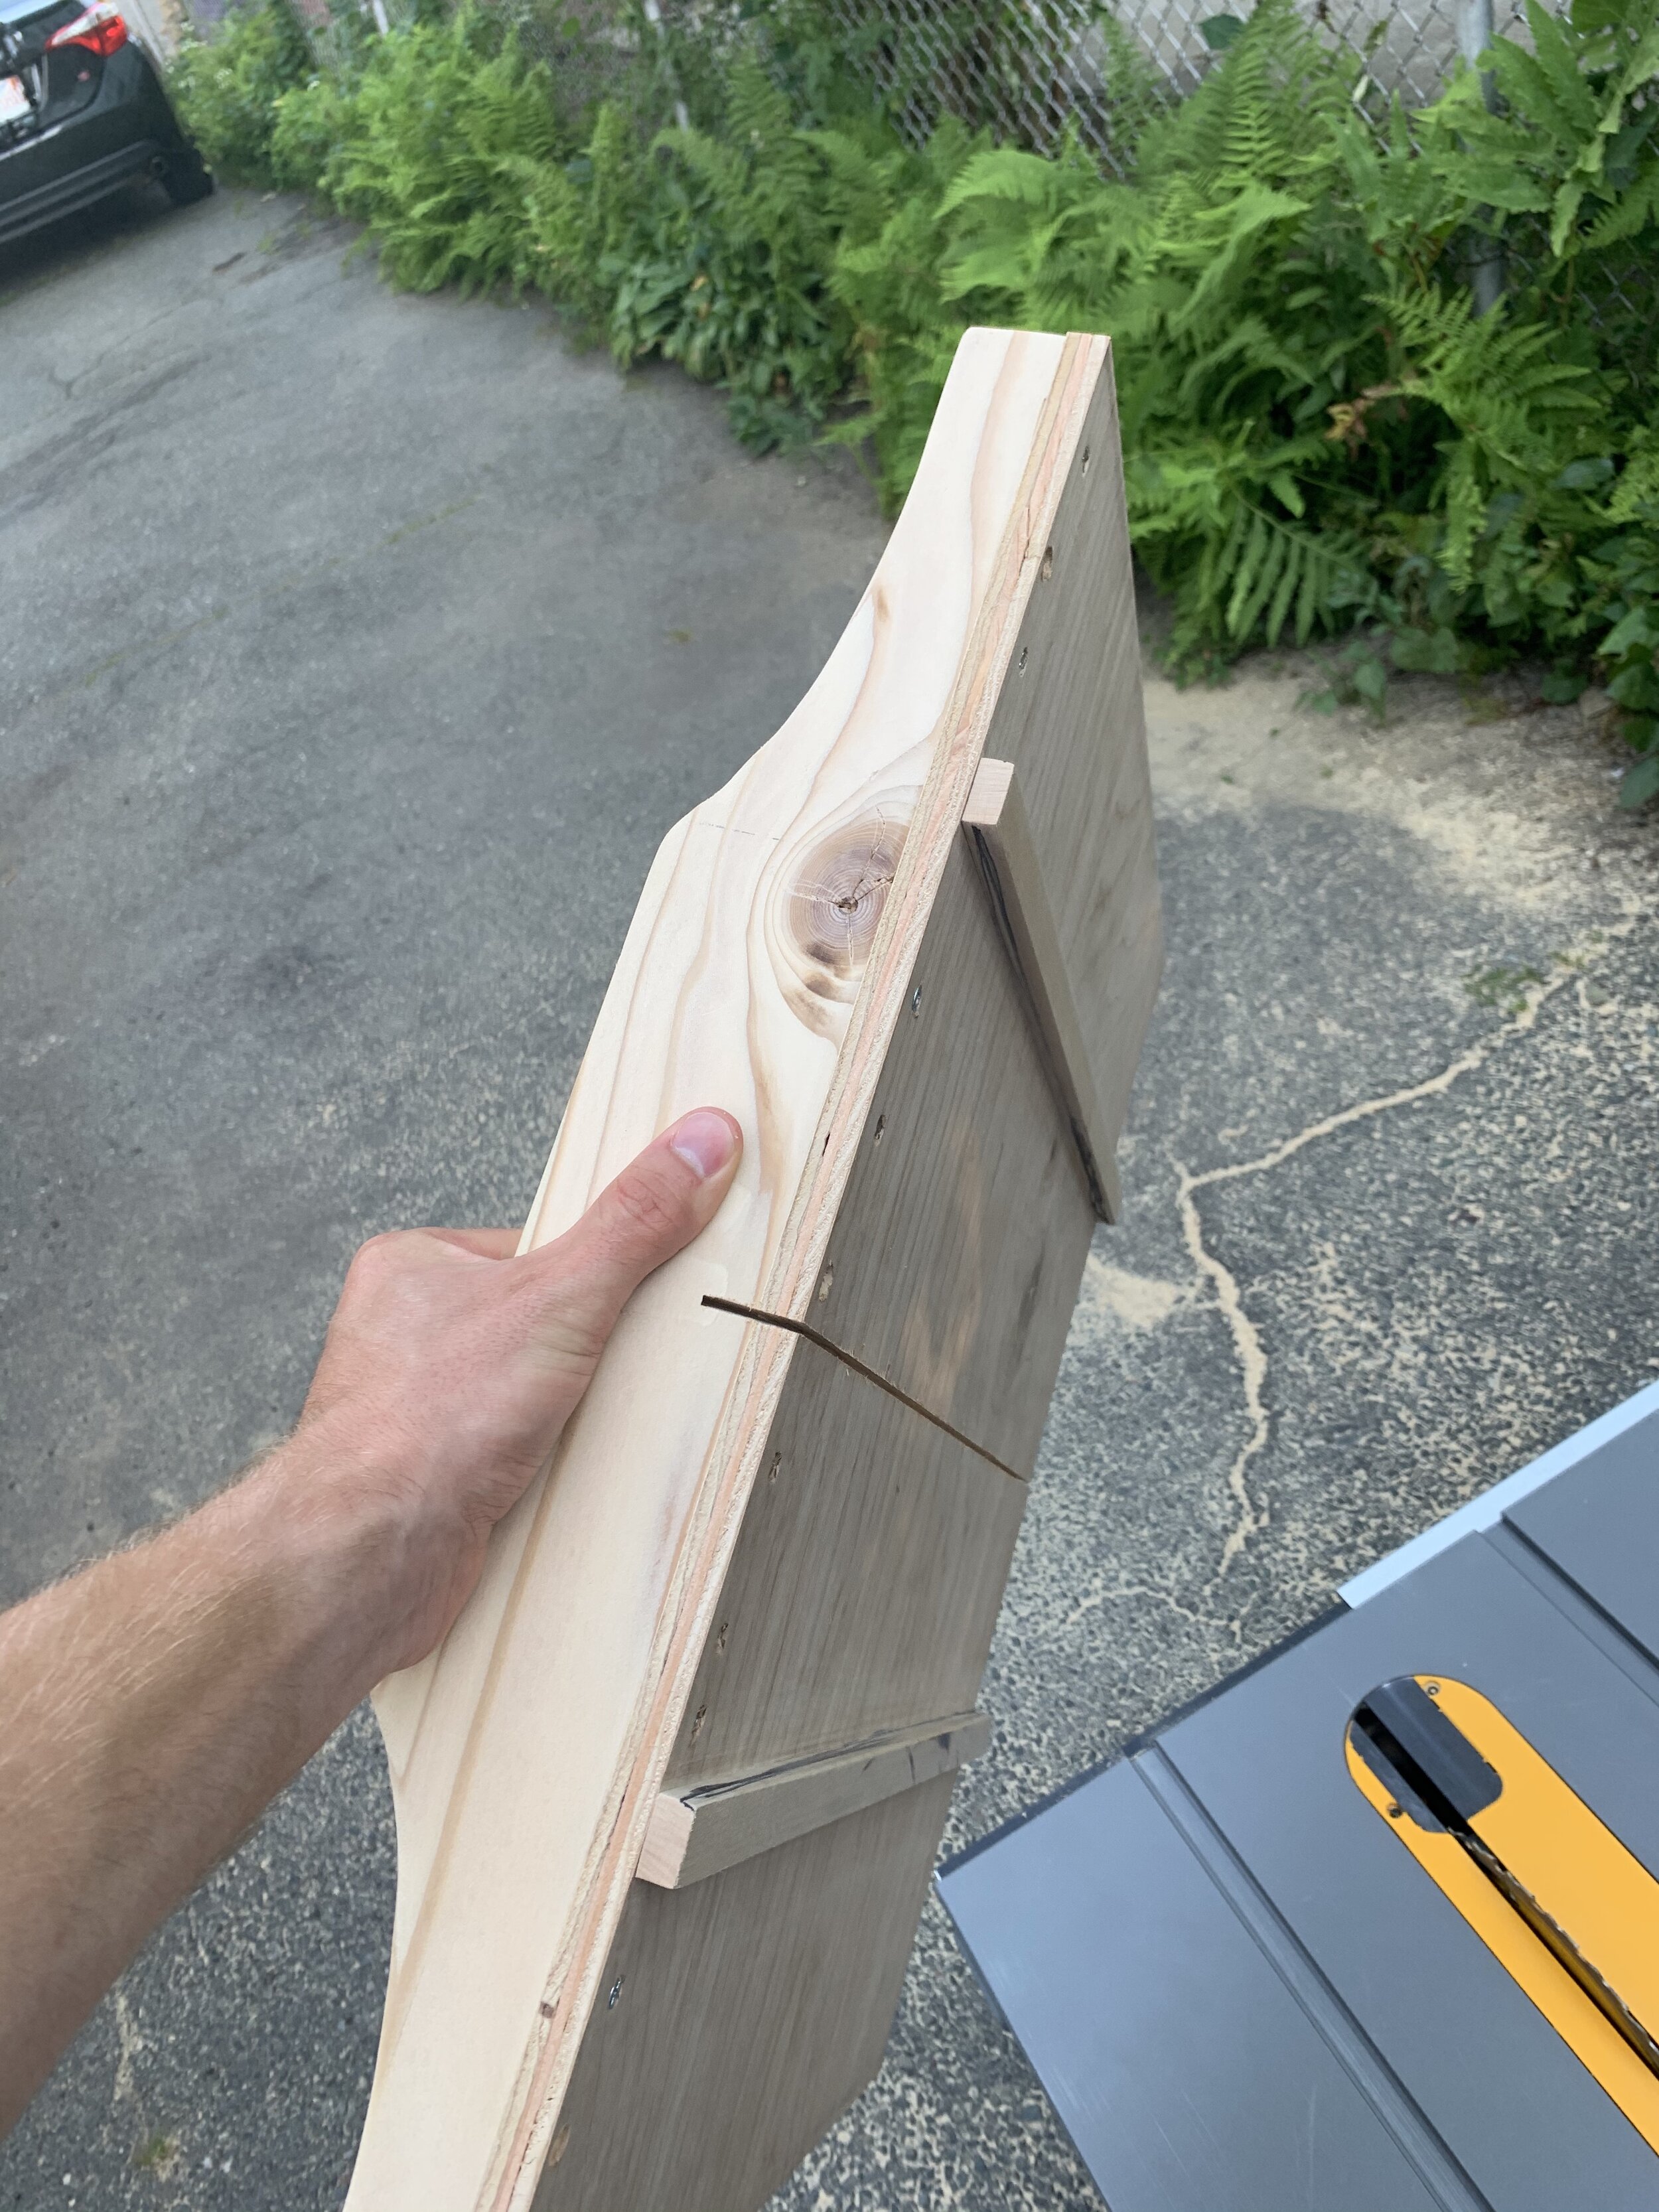
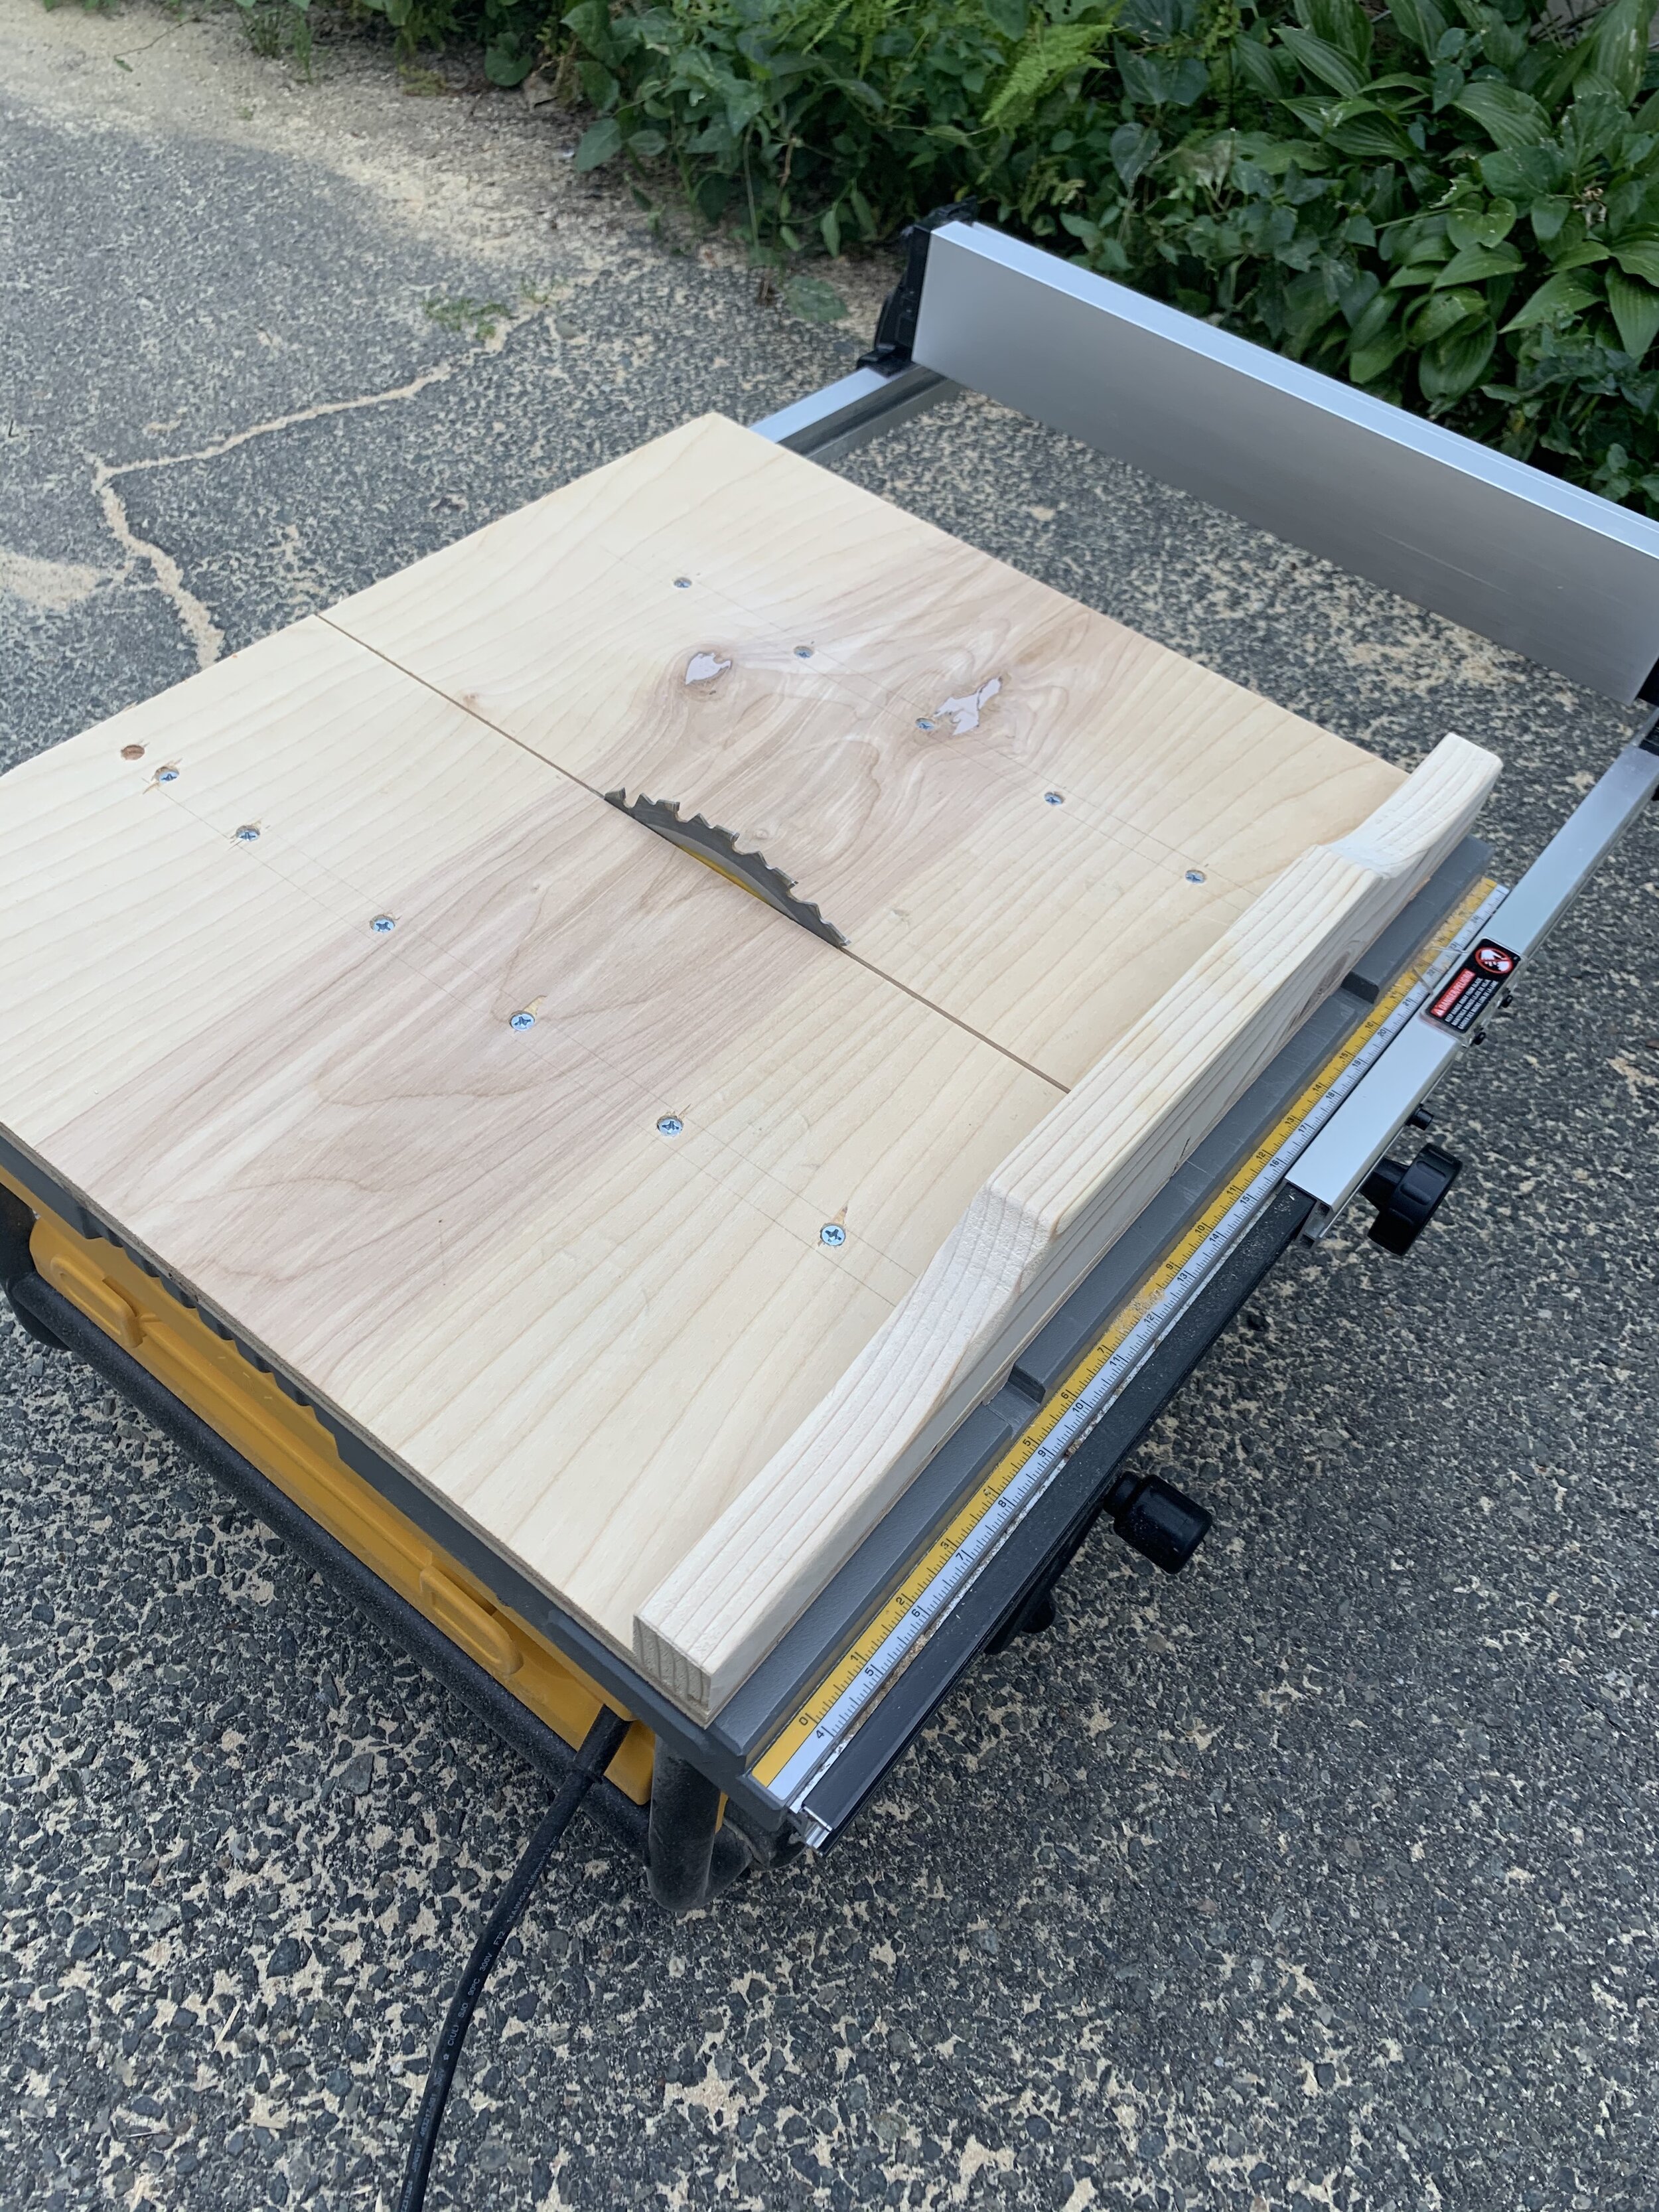
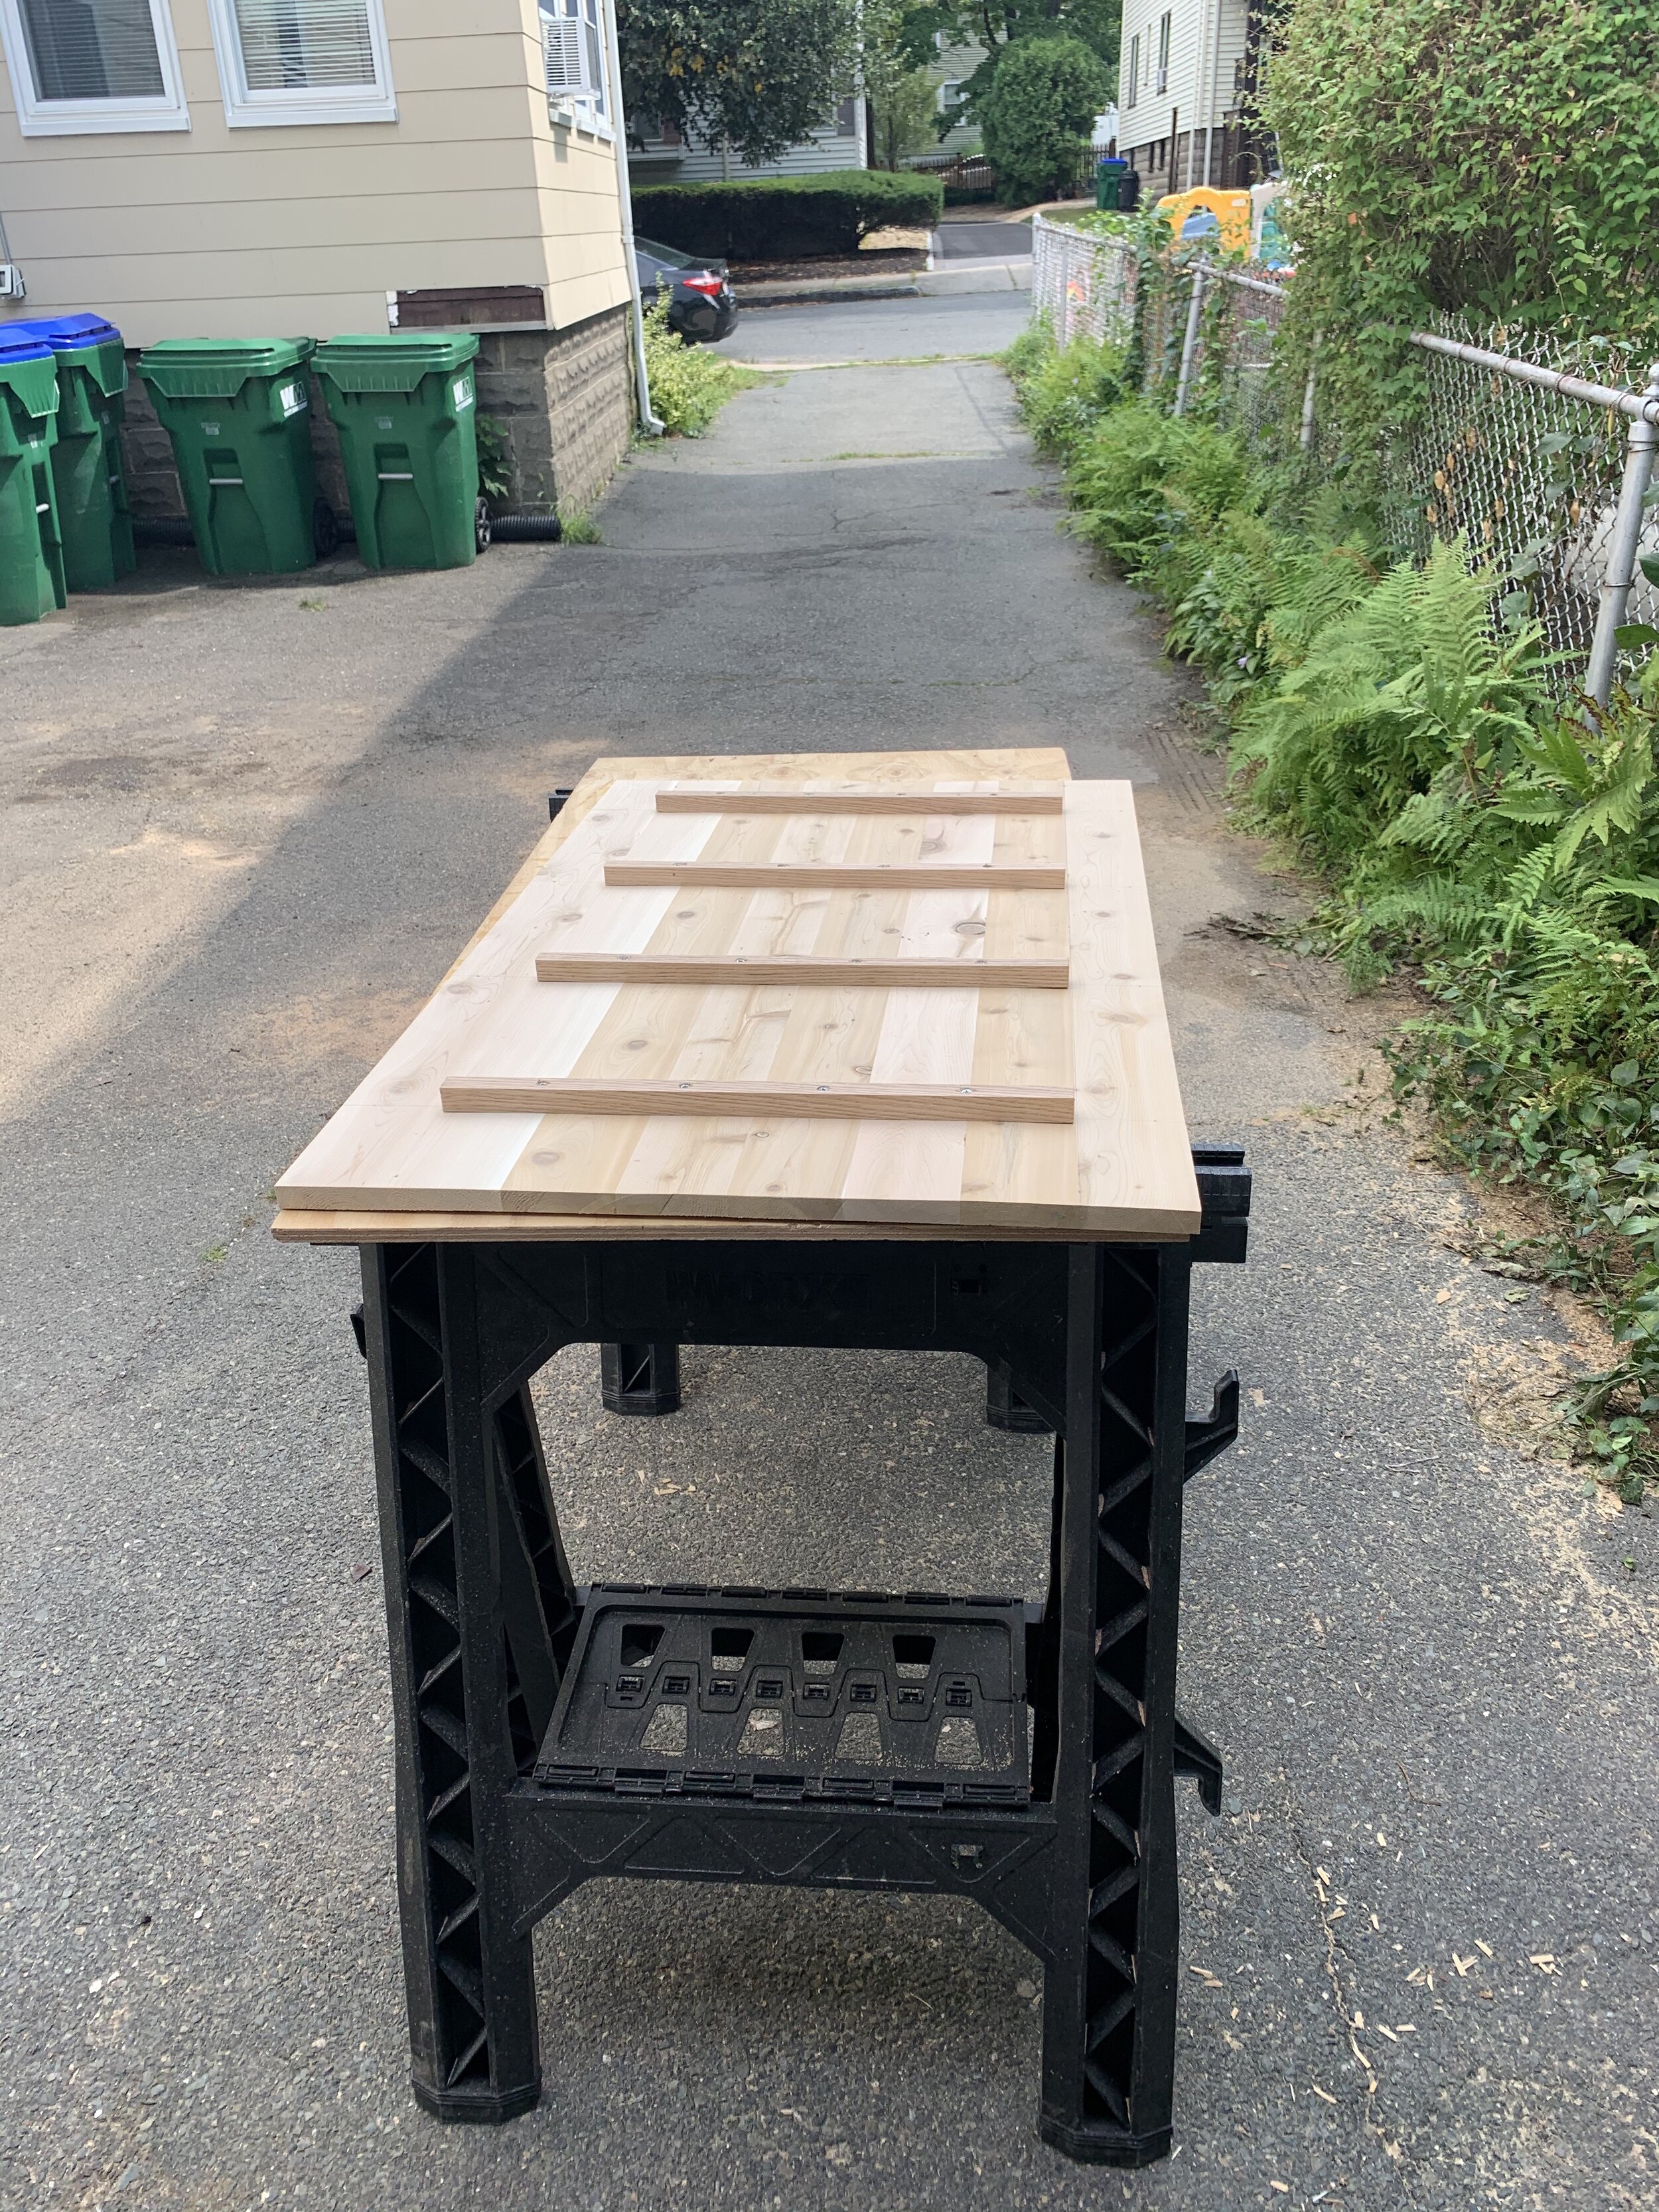
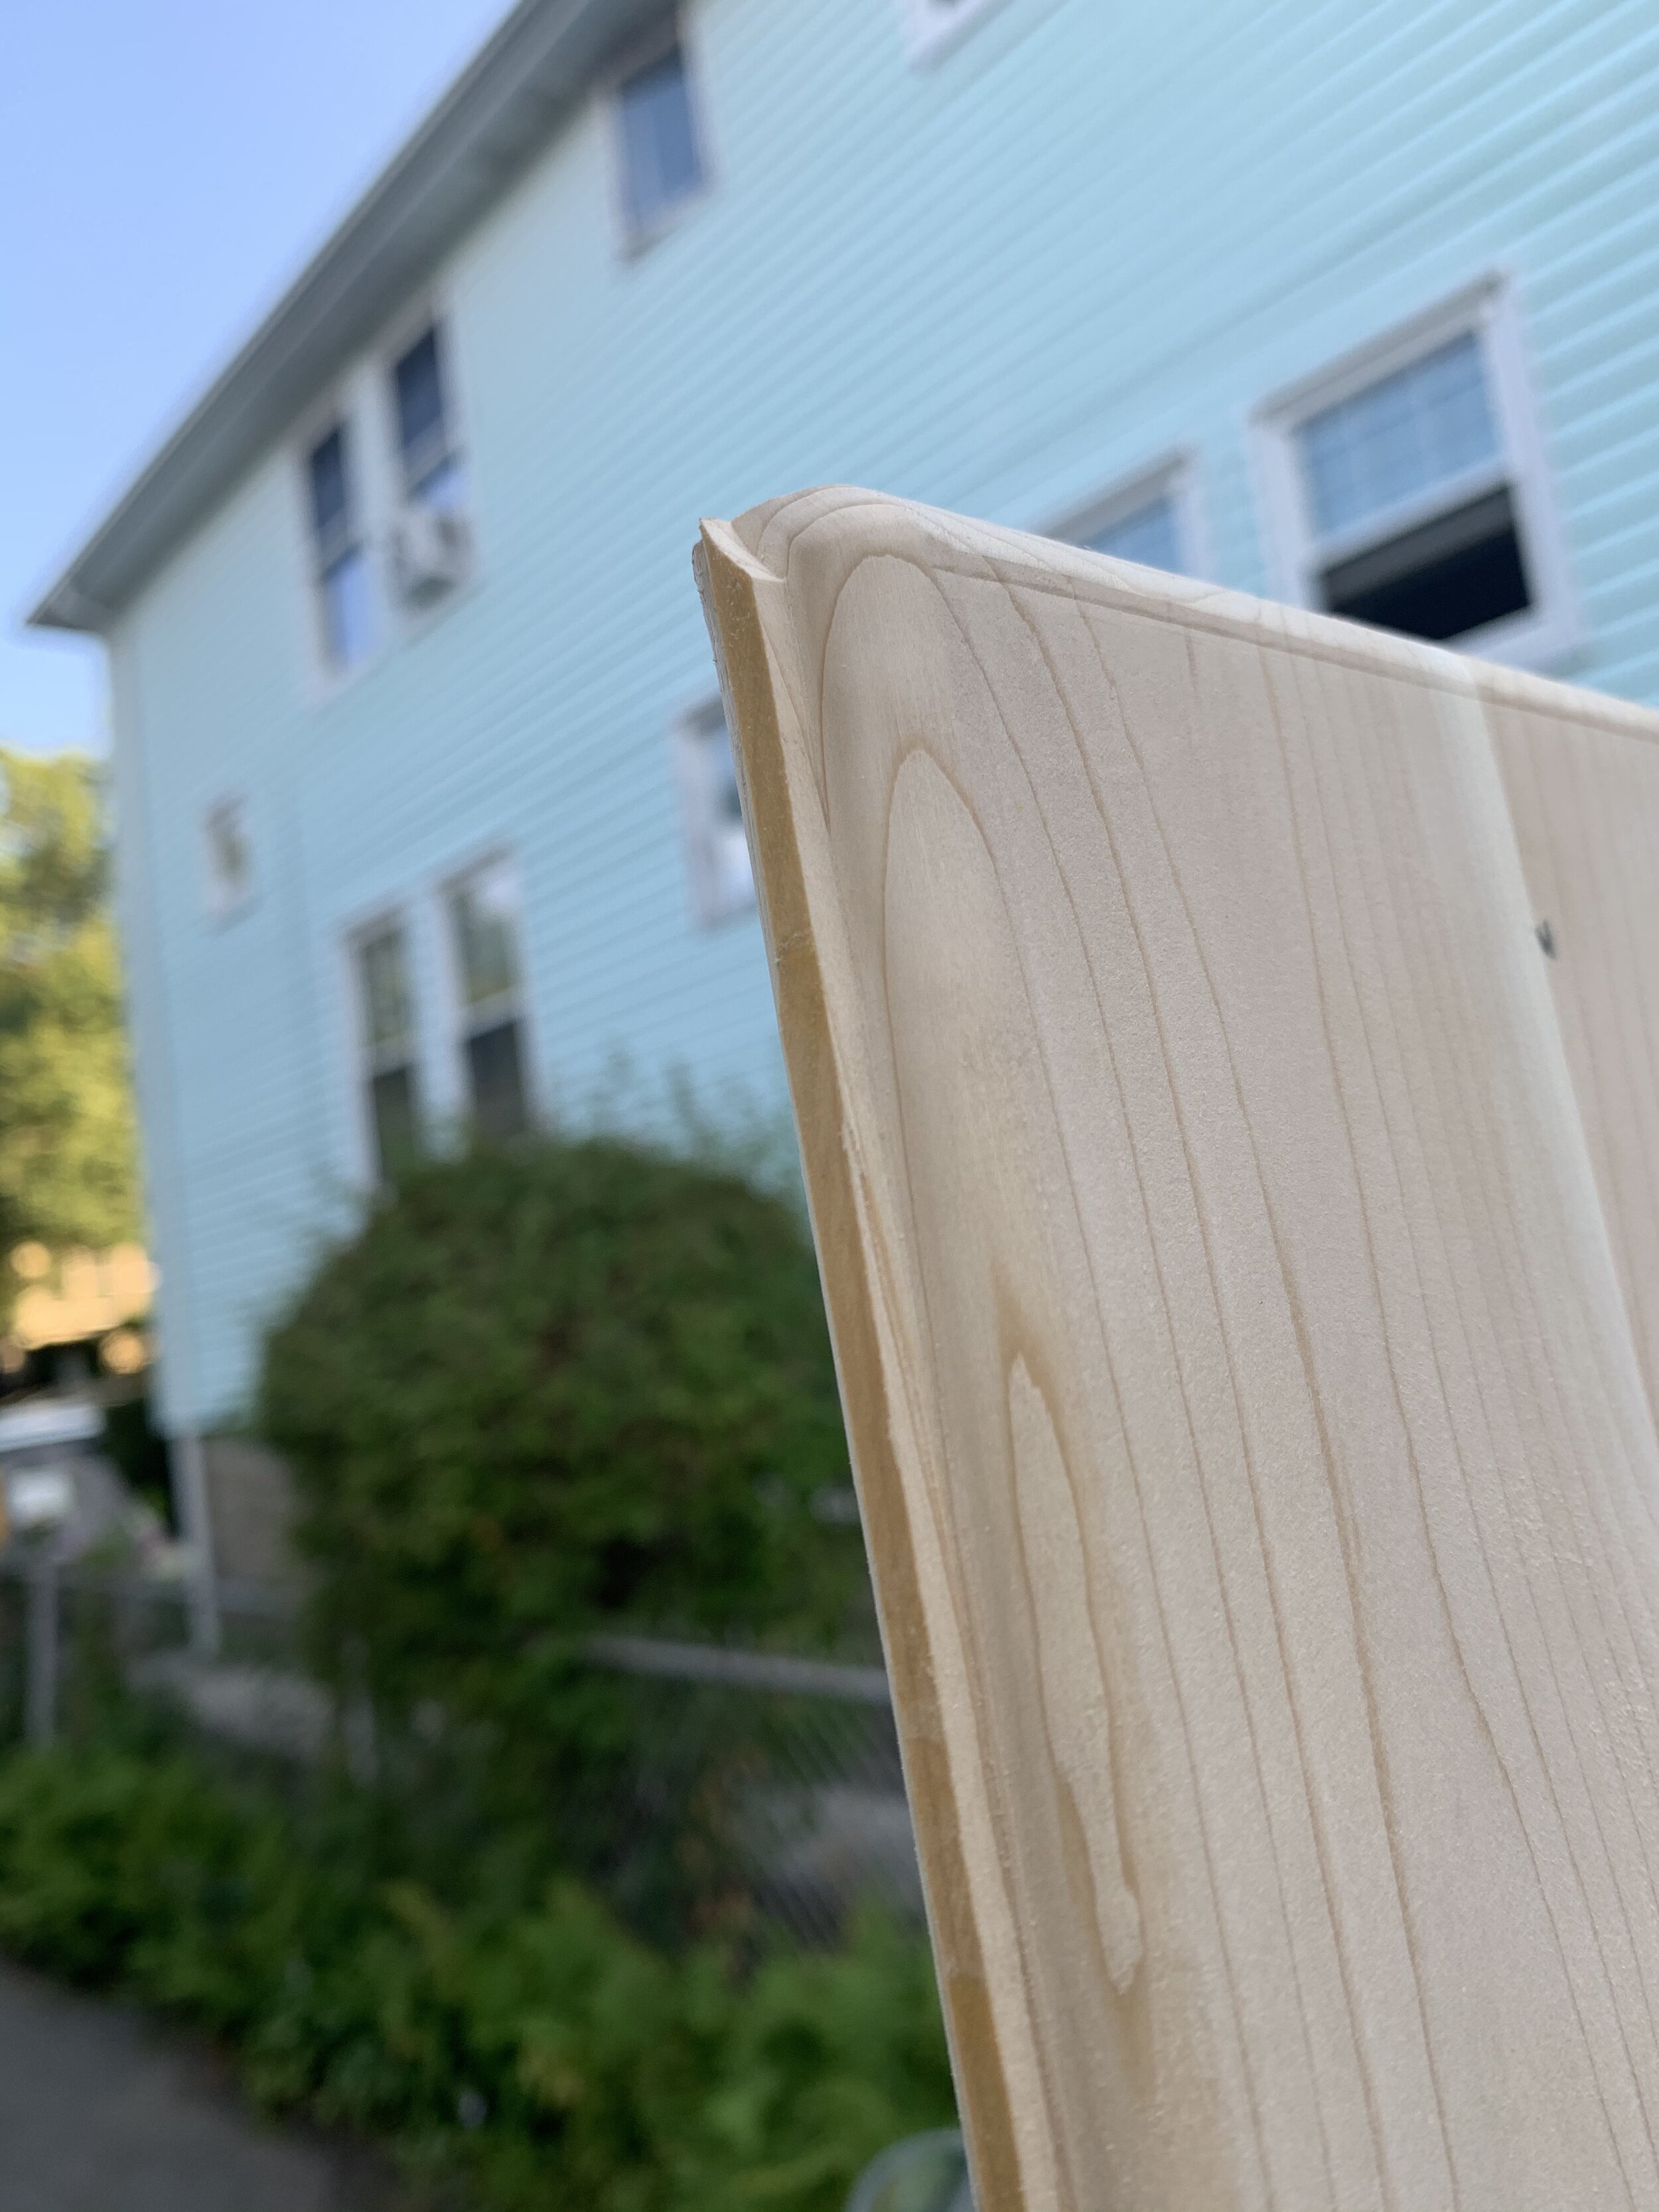
Cross-cut sled (picture 2 and 3) which would allow for cutting the uneven result panels after gluing individual pieces of cedar stock together.
Dado-blade set (picture 1) for creating the dados, and extra long bar clamps for the glue-up of panels.
Making the Panels and Lid
I glued together individual cedar boards, using cut 2x4s with plastic tape on each side, clamped perpendicular to the glue-up to keep the panels flat and prevent them from bowing and twisting with clamping pressure. After they were done glueing, I used my orbital sander to sand them flat (at this time I did not have the Dewalt DW-735X planer that I have now which makes this task much easier).
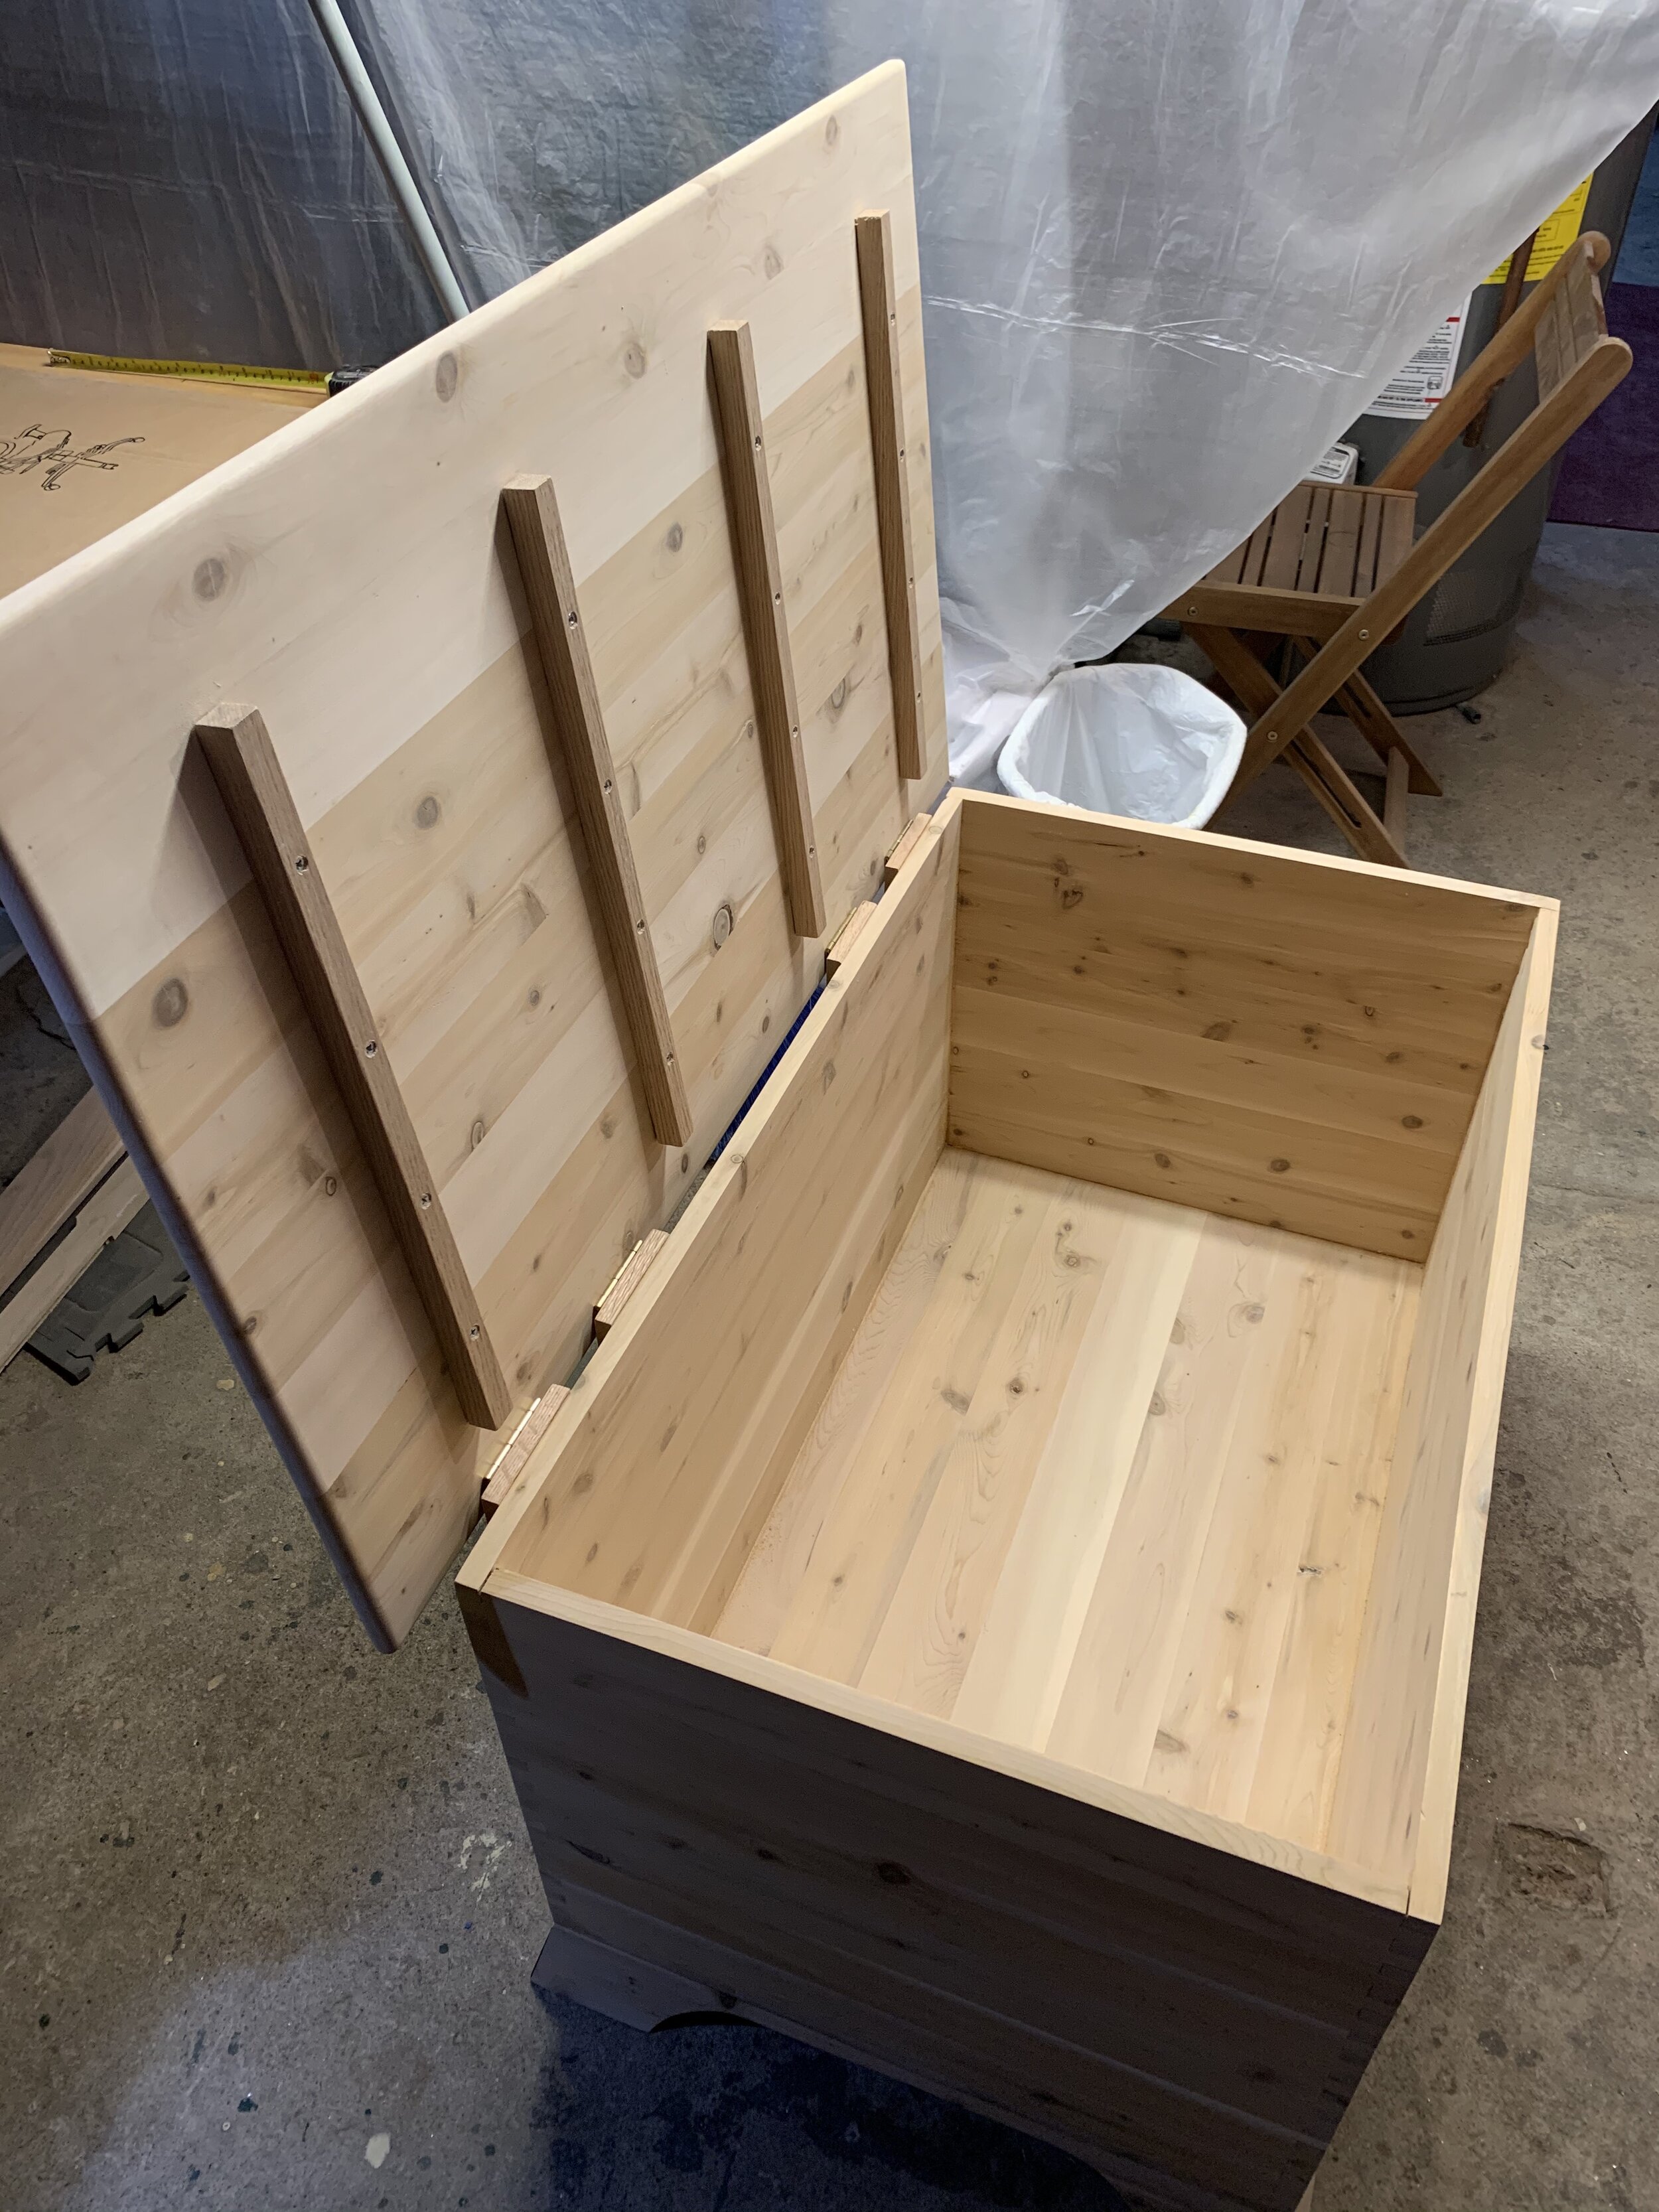
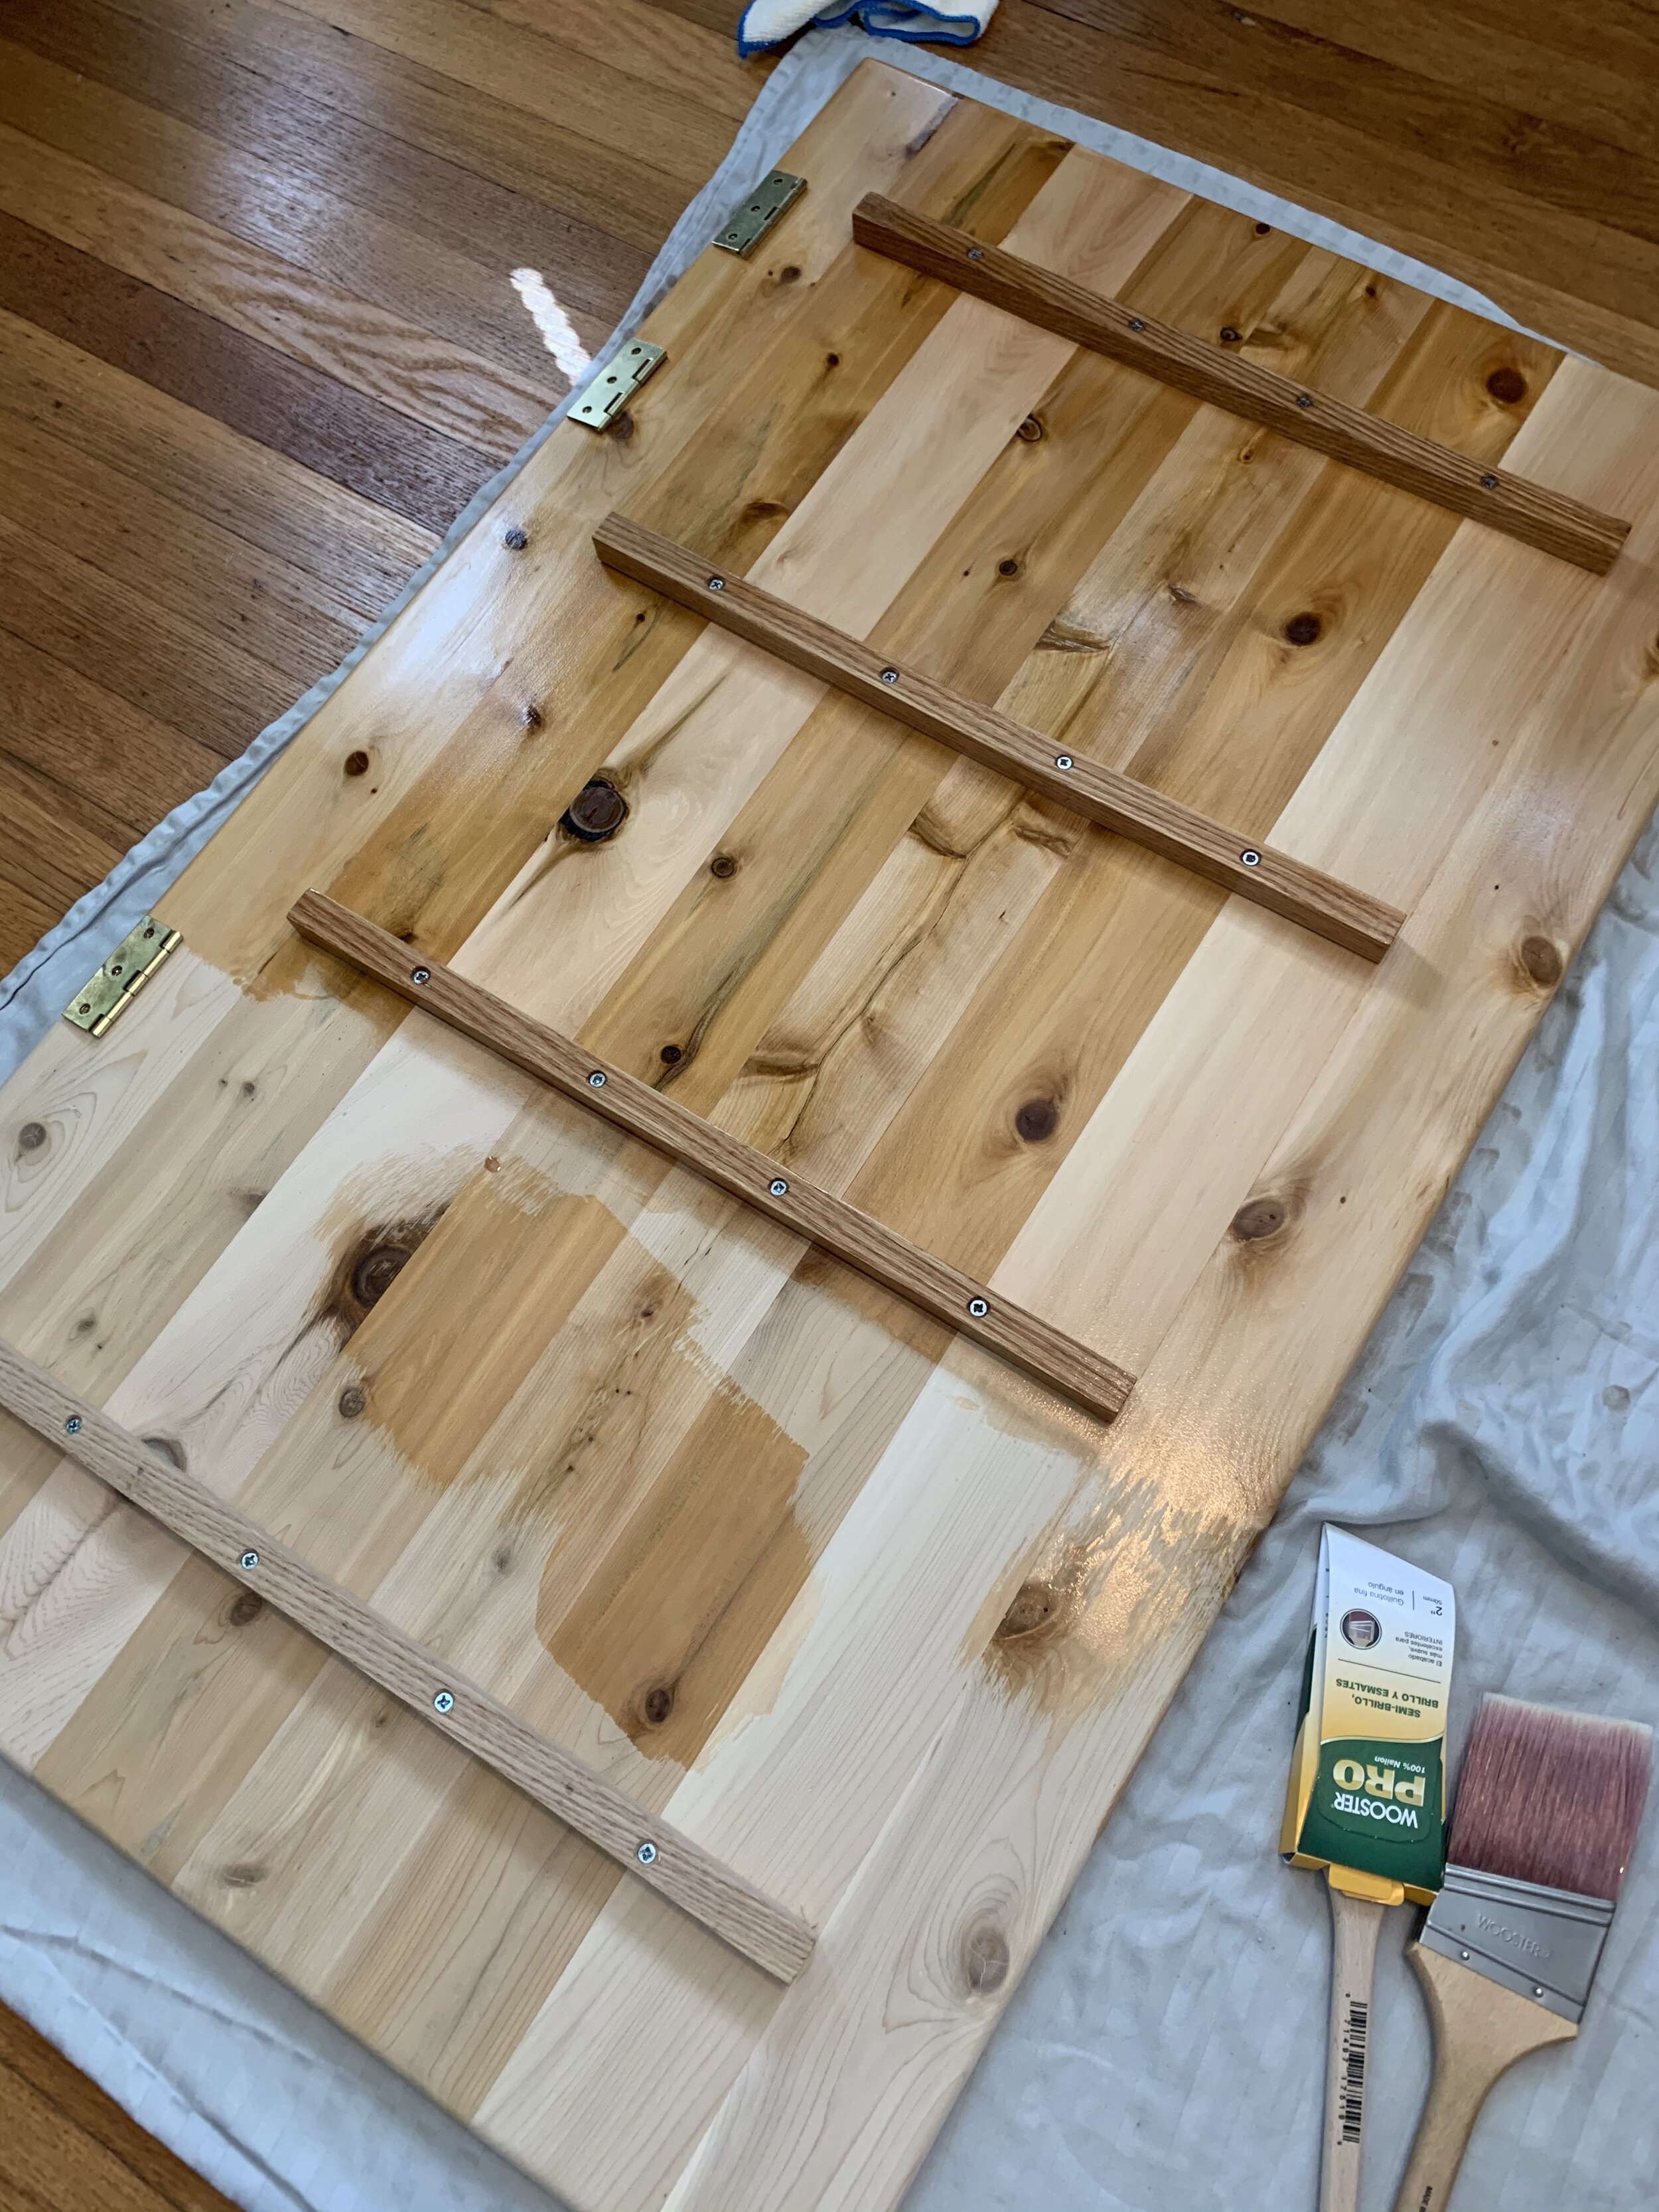
For the lid, I followed the same approach as the sides, but used a round-over router bit to round the edges of the lid. I then used the orbital sander to finish it, and hand-sanded the rest. On the inner side of the lid, I cut and attached 1/2” oak braces to prevent warping of the lid panel (unlike the side panels which are joined by box-joinery and relatively stable from warping, the lid of the chest was not secure with any joinery to any adjacent side - which makes it particularly vulnerable to warping or cupping as the wood - and entire lid panel - moves with age.)
Making the Legs
Making the legs for this box was quite complex relative to typical furniture legs. To make the legs, I first cut 4-5” cedar boards. Then, I turned the stock into a parallelogram, sending them through the table saw with the blade at a ~15 degree angle. This would mean that, when mounted to the bottom of the chest perpendicularly, the legs would splay outwards. I then cut the miters for joining the leg sides together. Typically miters are cut at 45 degrees, but in this case, because the legs are splayed outwards at 15 degrees, you need to create a compound angle so that the end of the miter “meets” when it is attached to another leg that splays outwards (look it up). For this I set my miter saw at 45 degree position, but then tilted the blade 15 degrees as well, and made my cut. This gave me the compound angle that I needed.
Last, I used a jig saw to cut out the center of the legs. First I traced with pencil the area I would want to cut out. After making my rough cut with the jig saw, I used my orbital sander and a hand sander to smooth out the leg base.
Assembling the Chest Structure
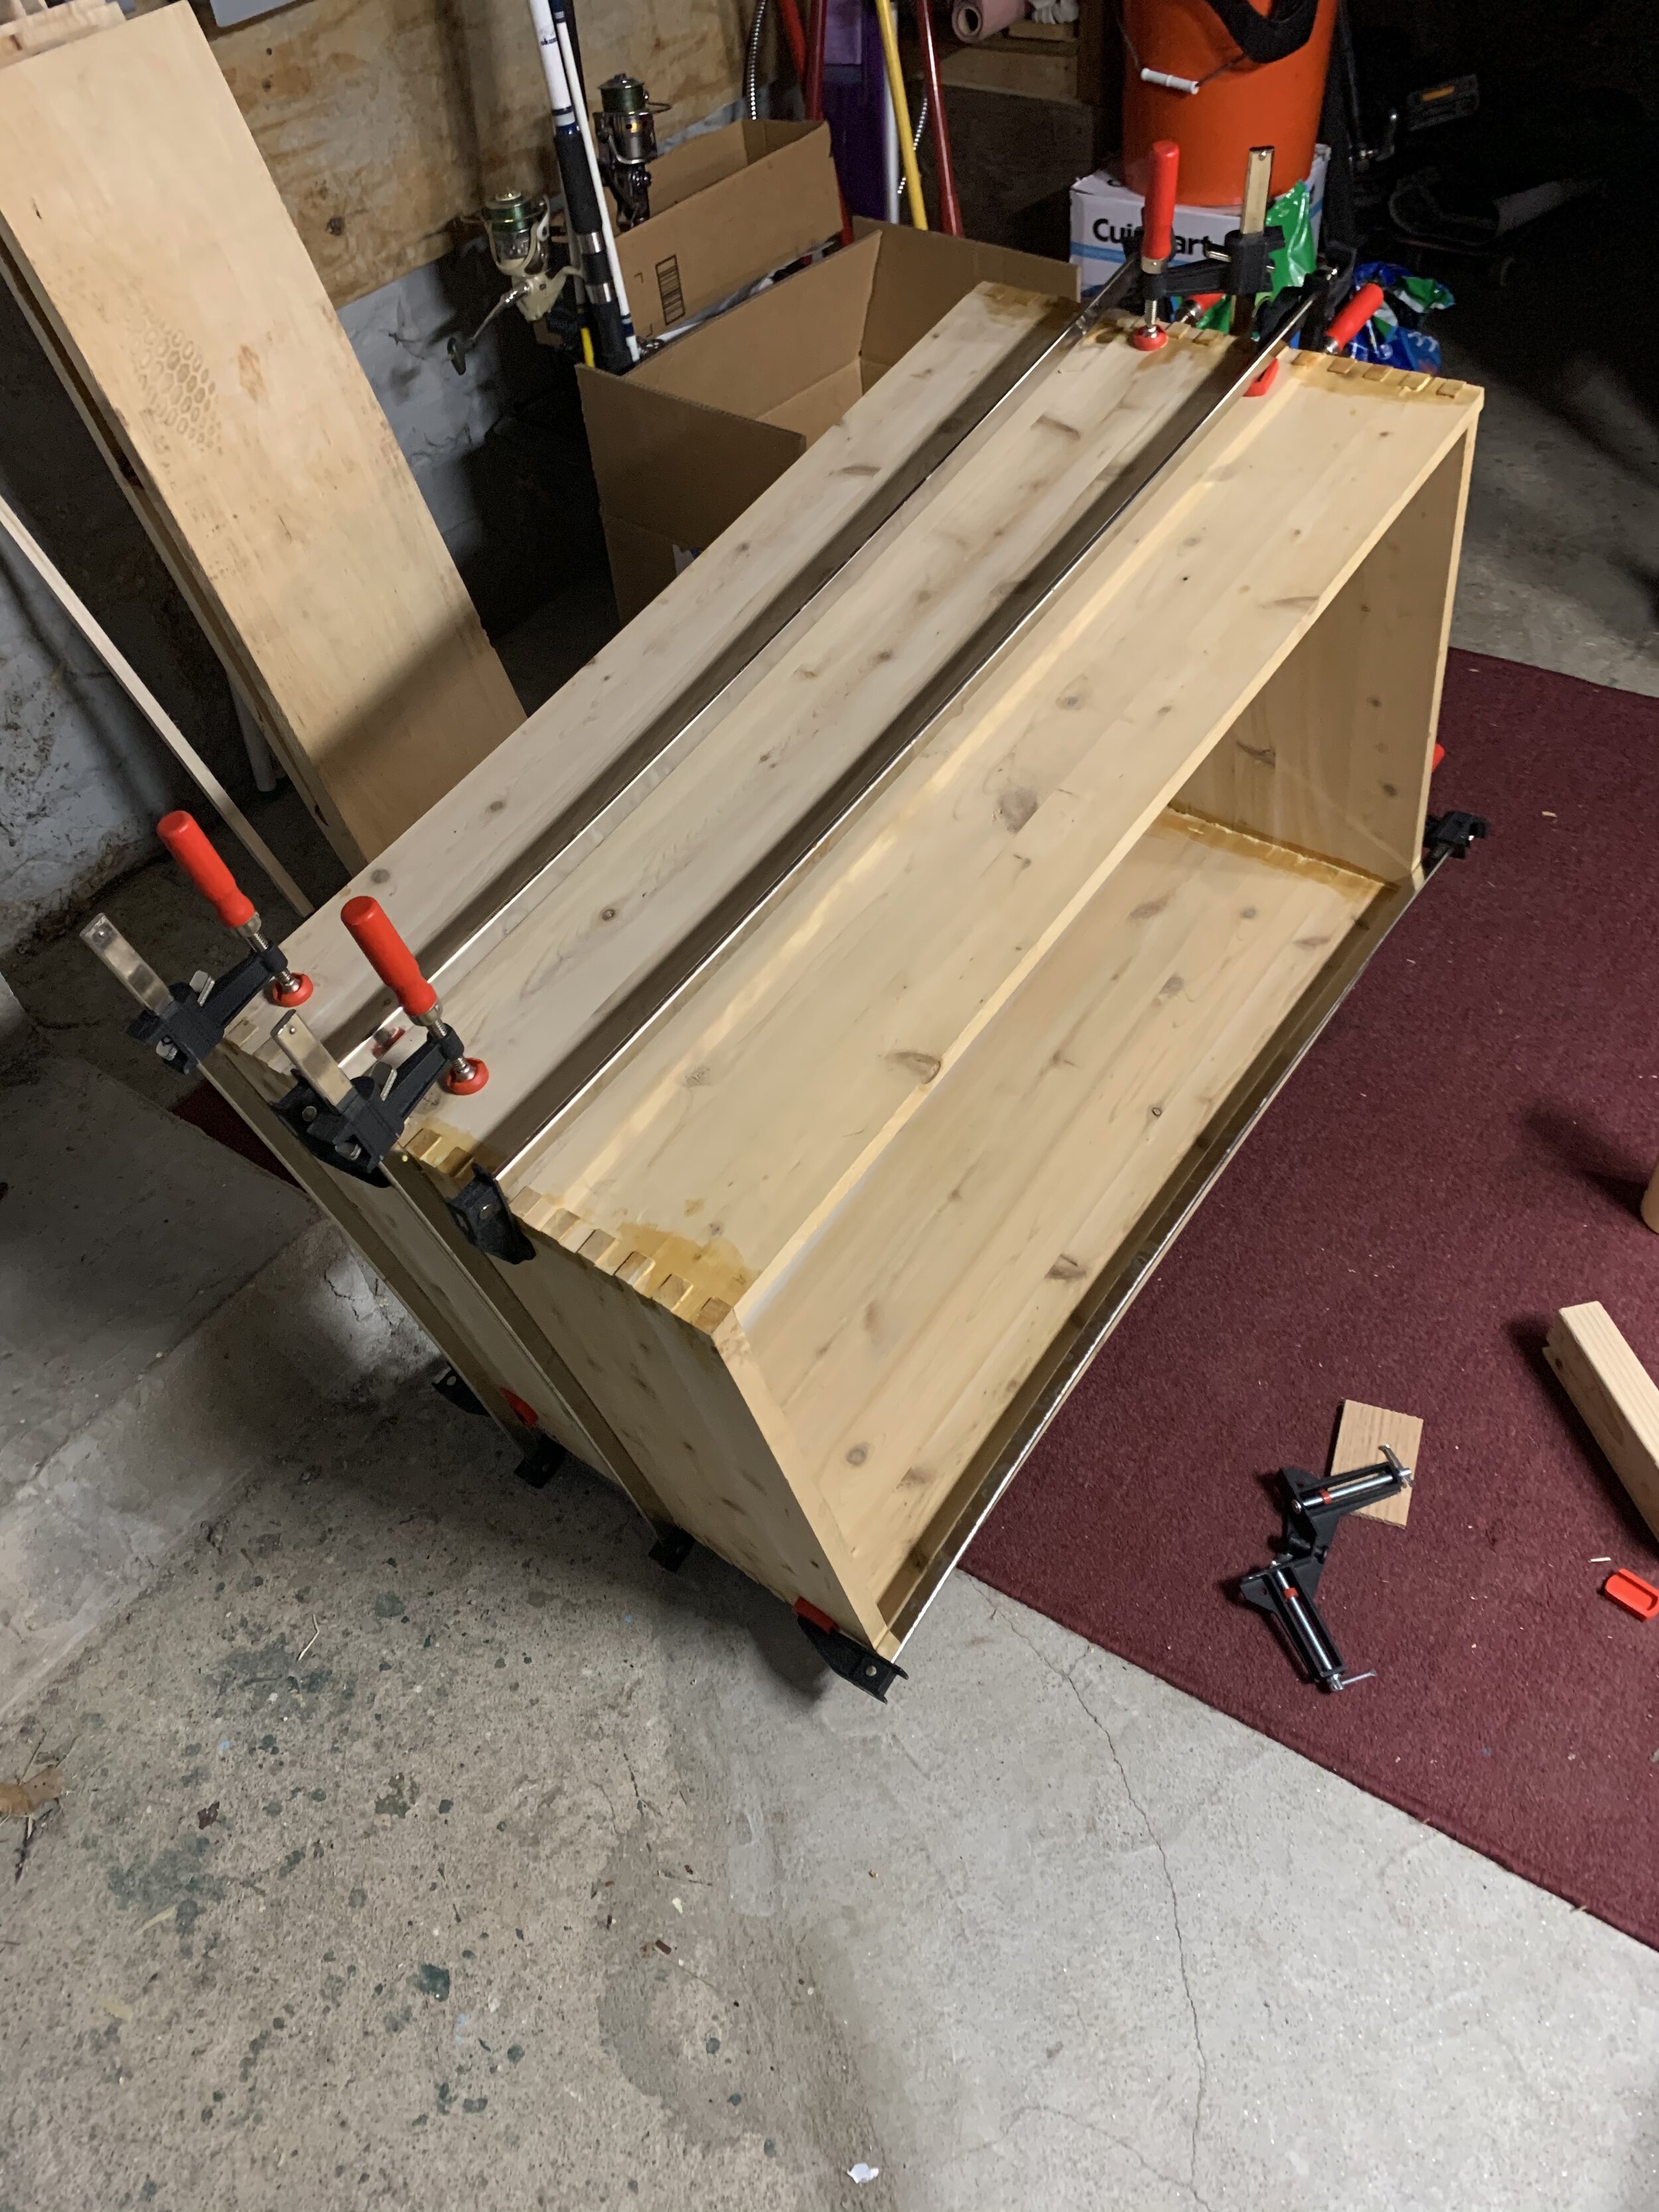
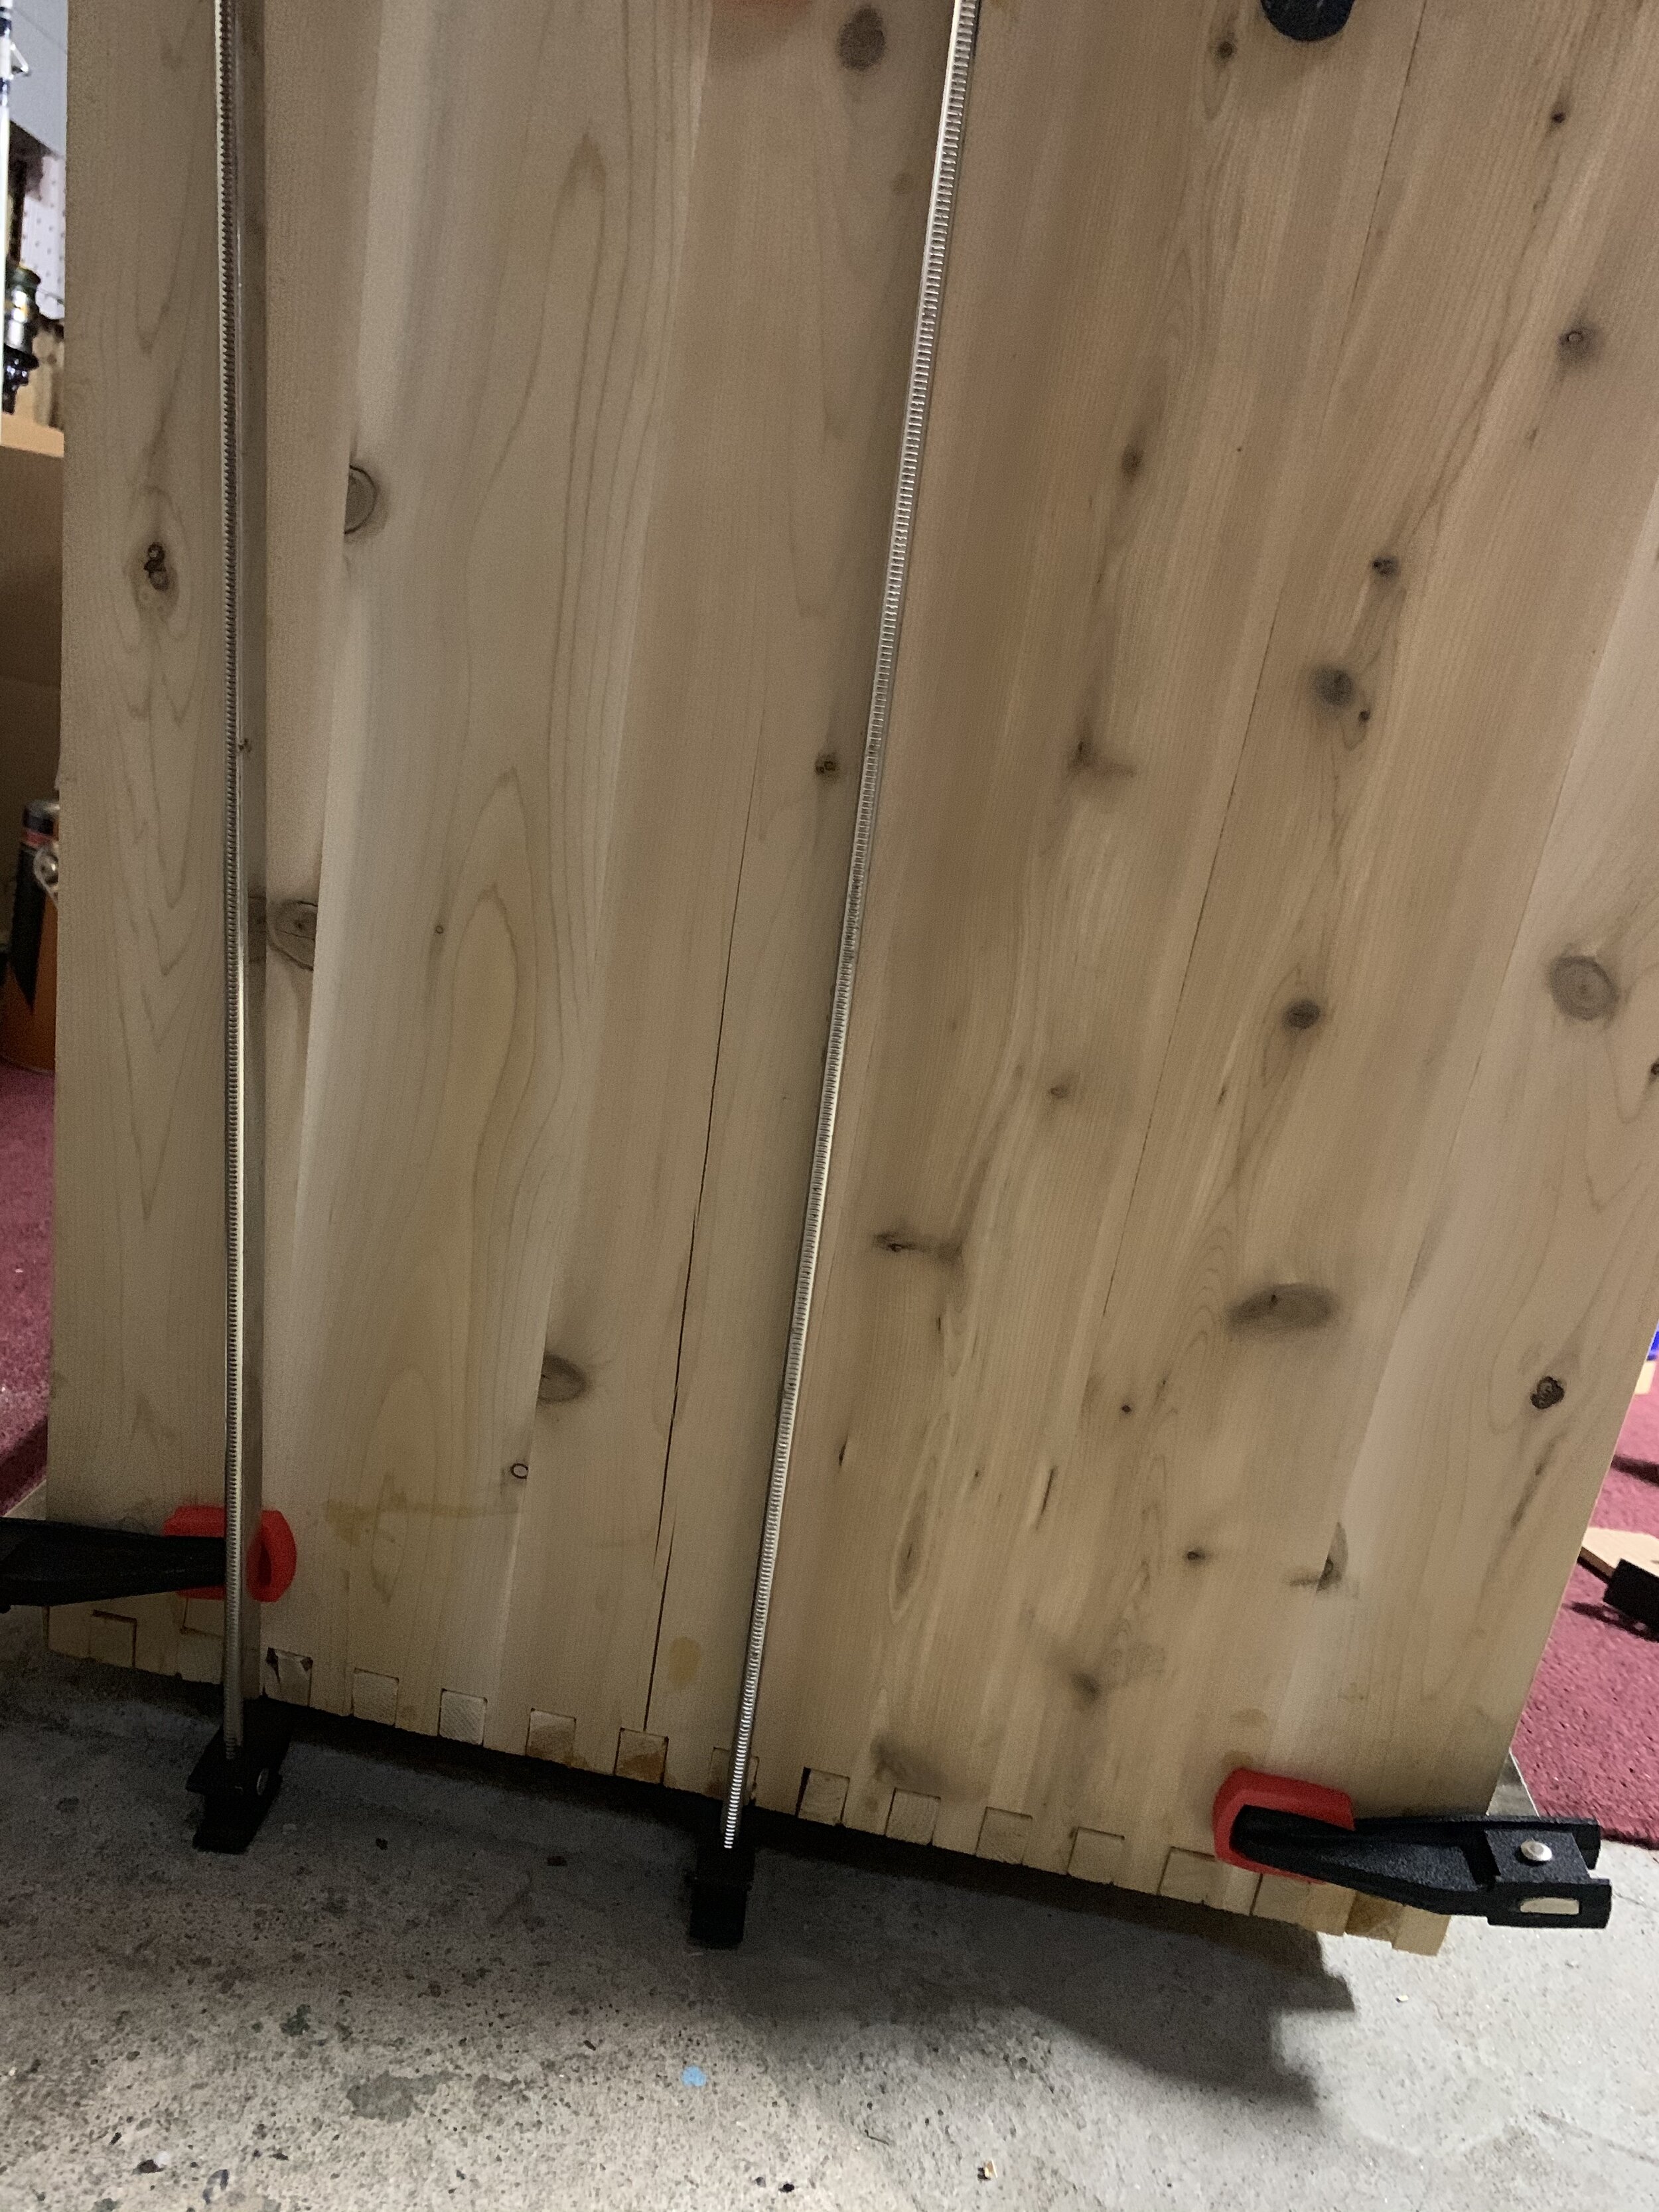
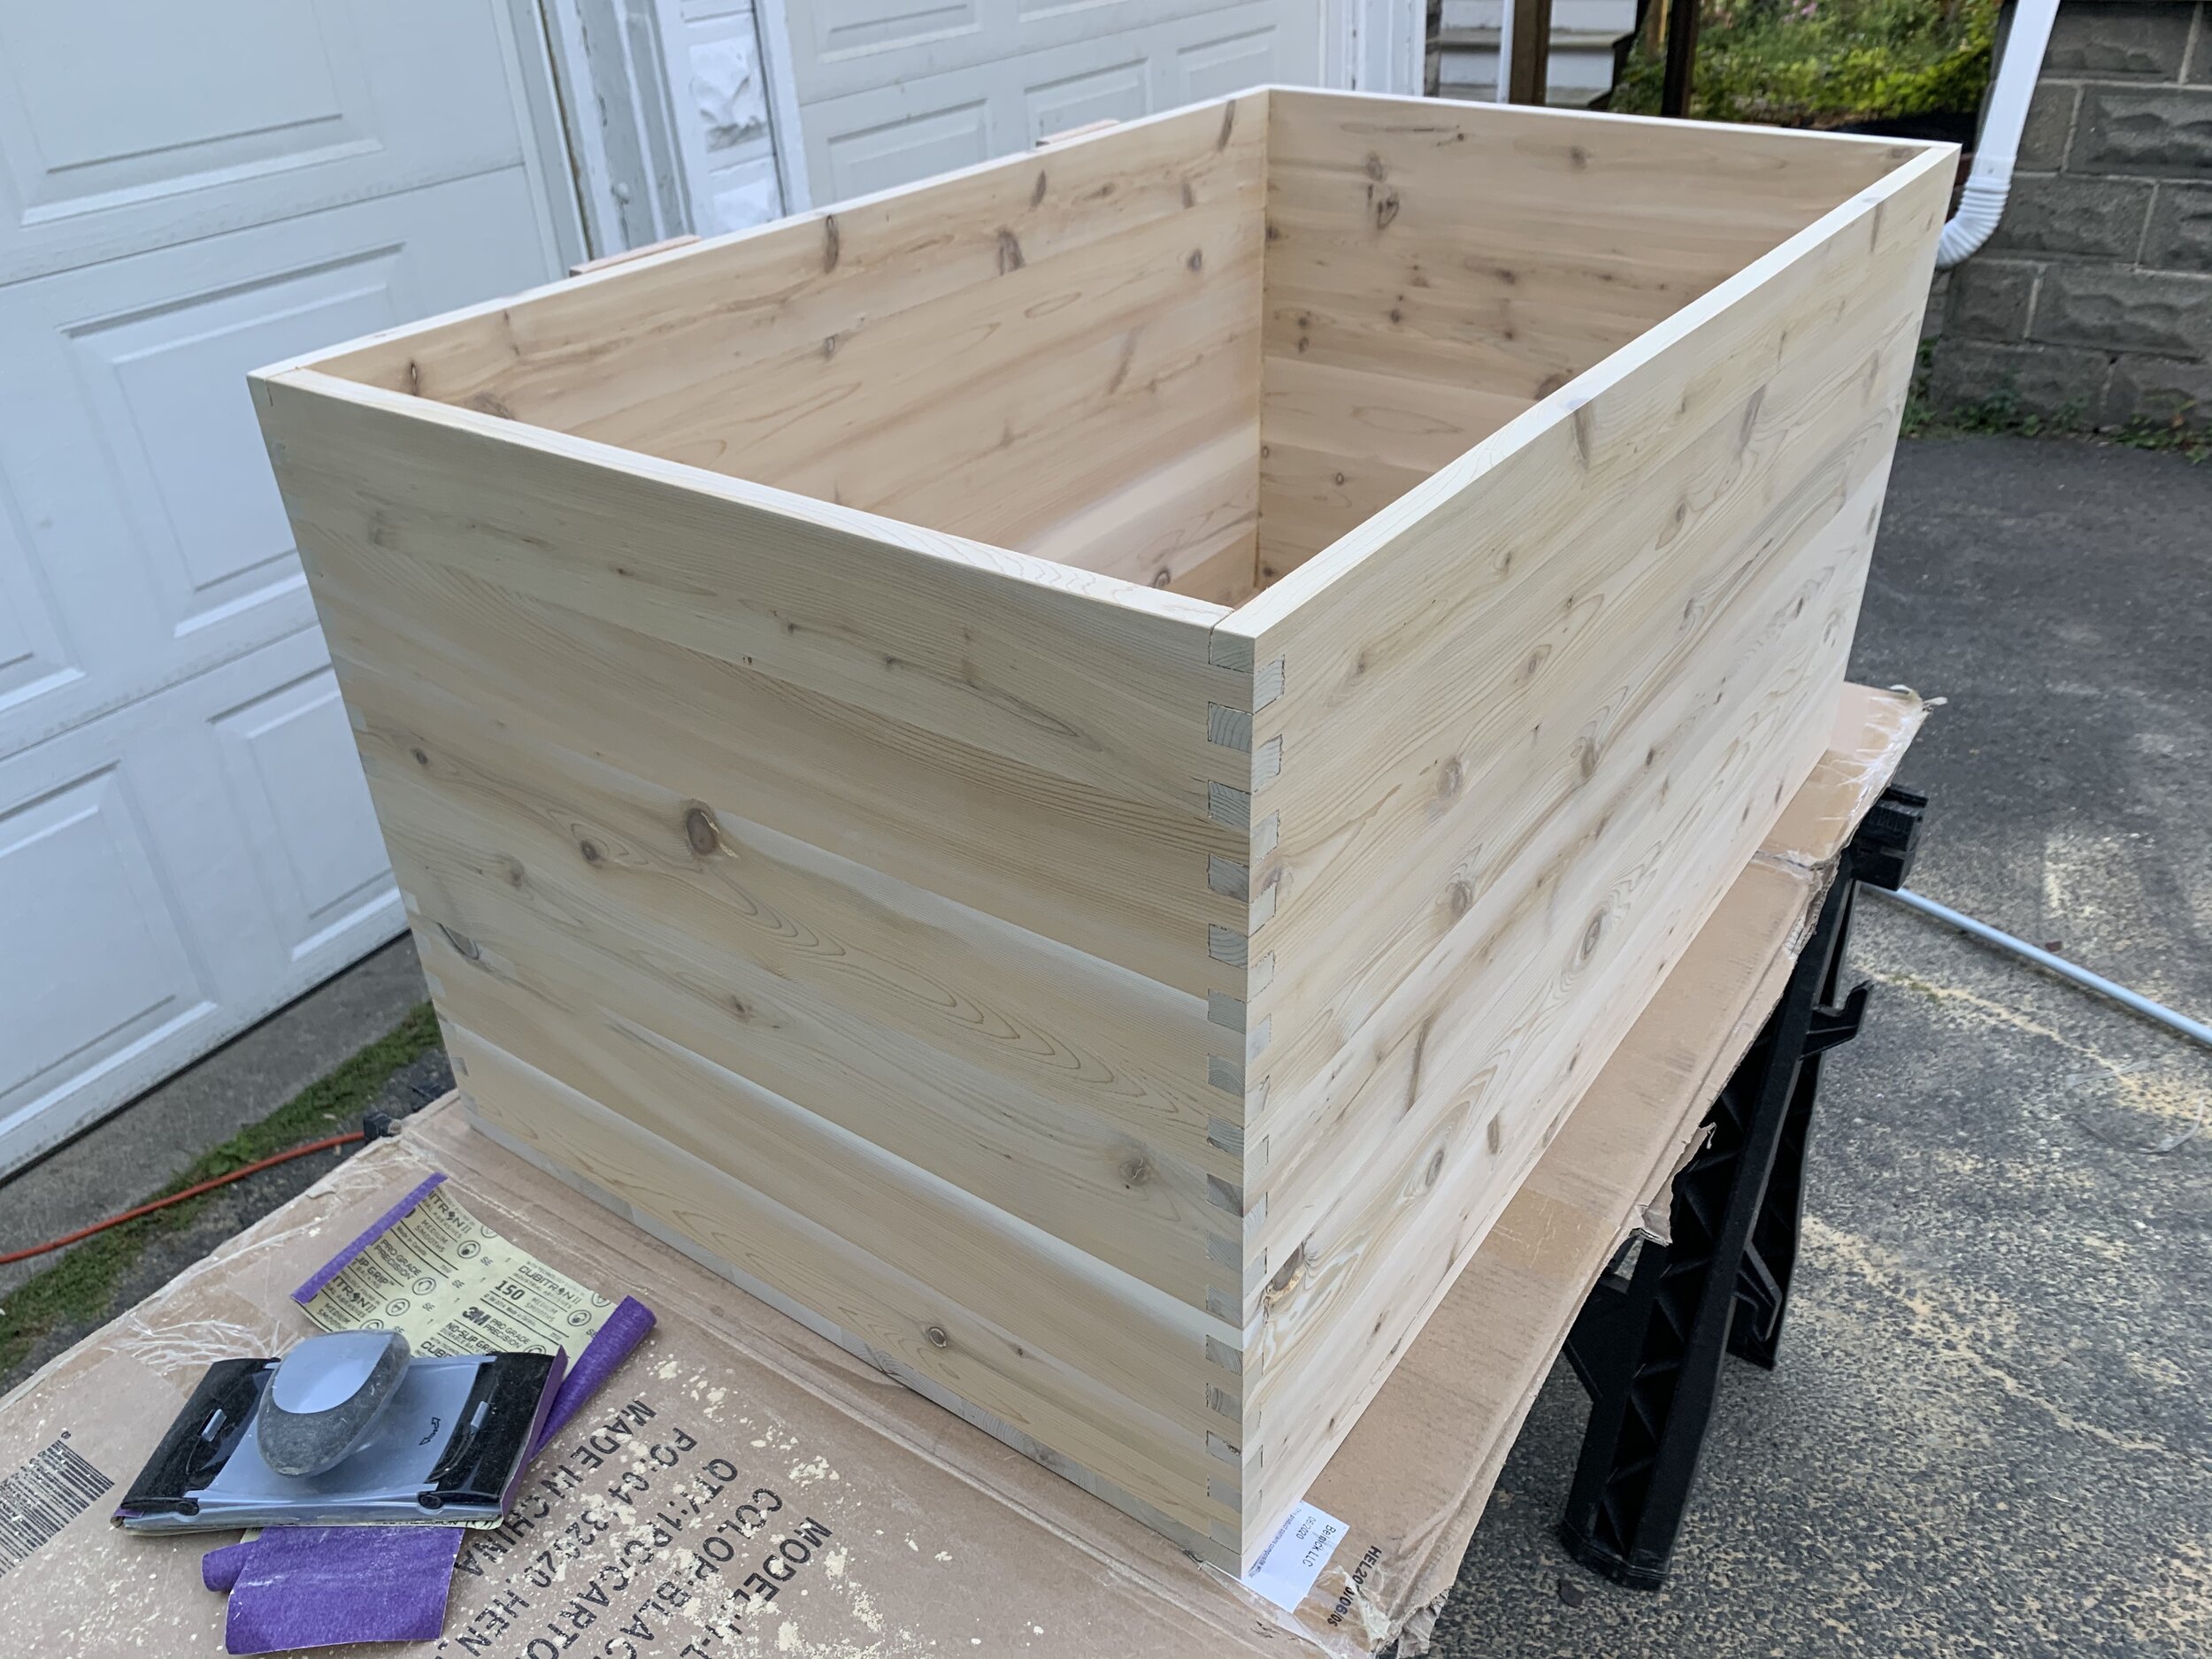
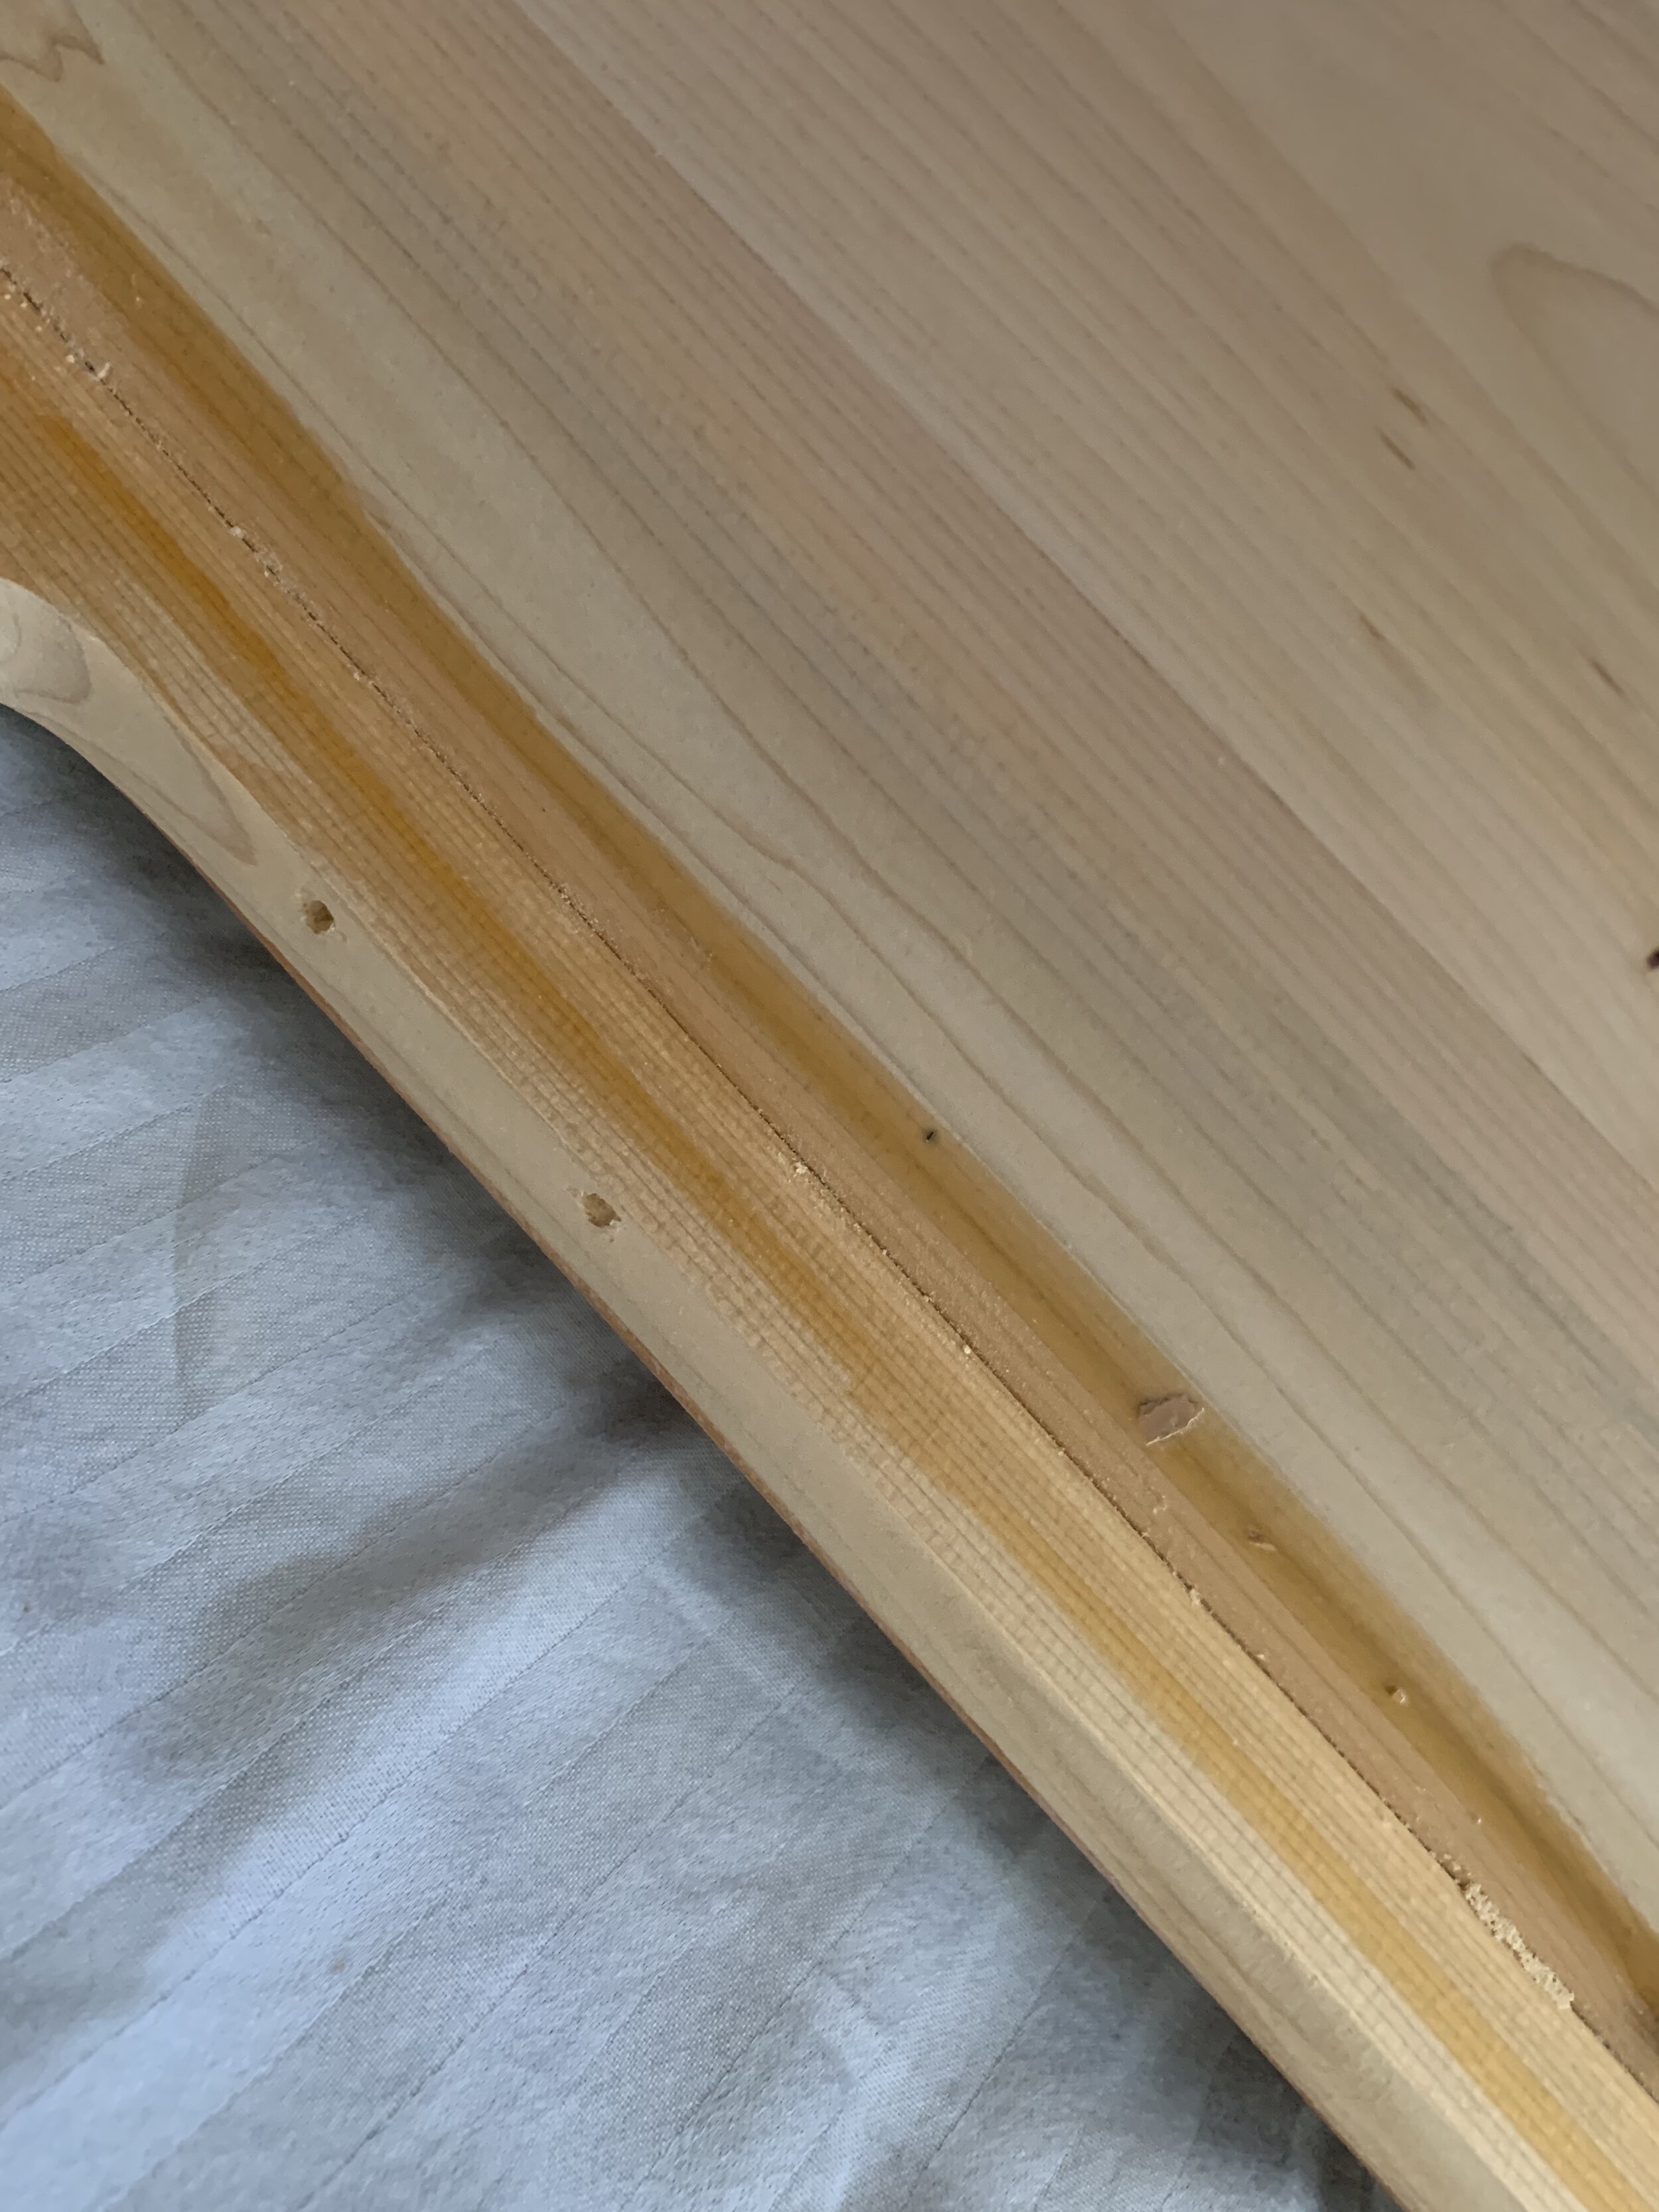
After cutting all my box joints, assembling the chest was actually quite difficult as I recall. After all, with even ~1/64” of error per each dado slot, after 30+ dados, that is 1/2” worth of error by the time you go to align the last box joint. Fortunately I was able to muster it together, with lots of clamps, some force (which caused a split in the side panel that I fixed with thin wood glue and clamping later to re-seal).
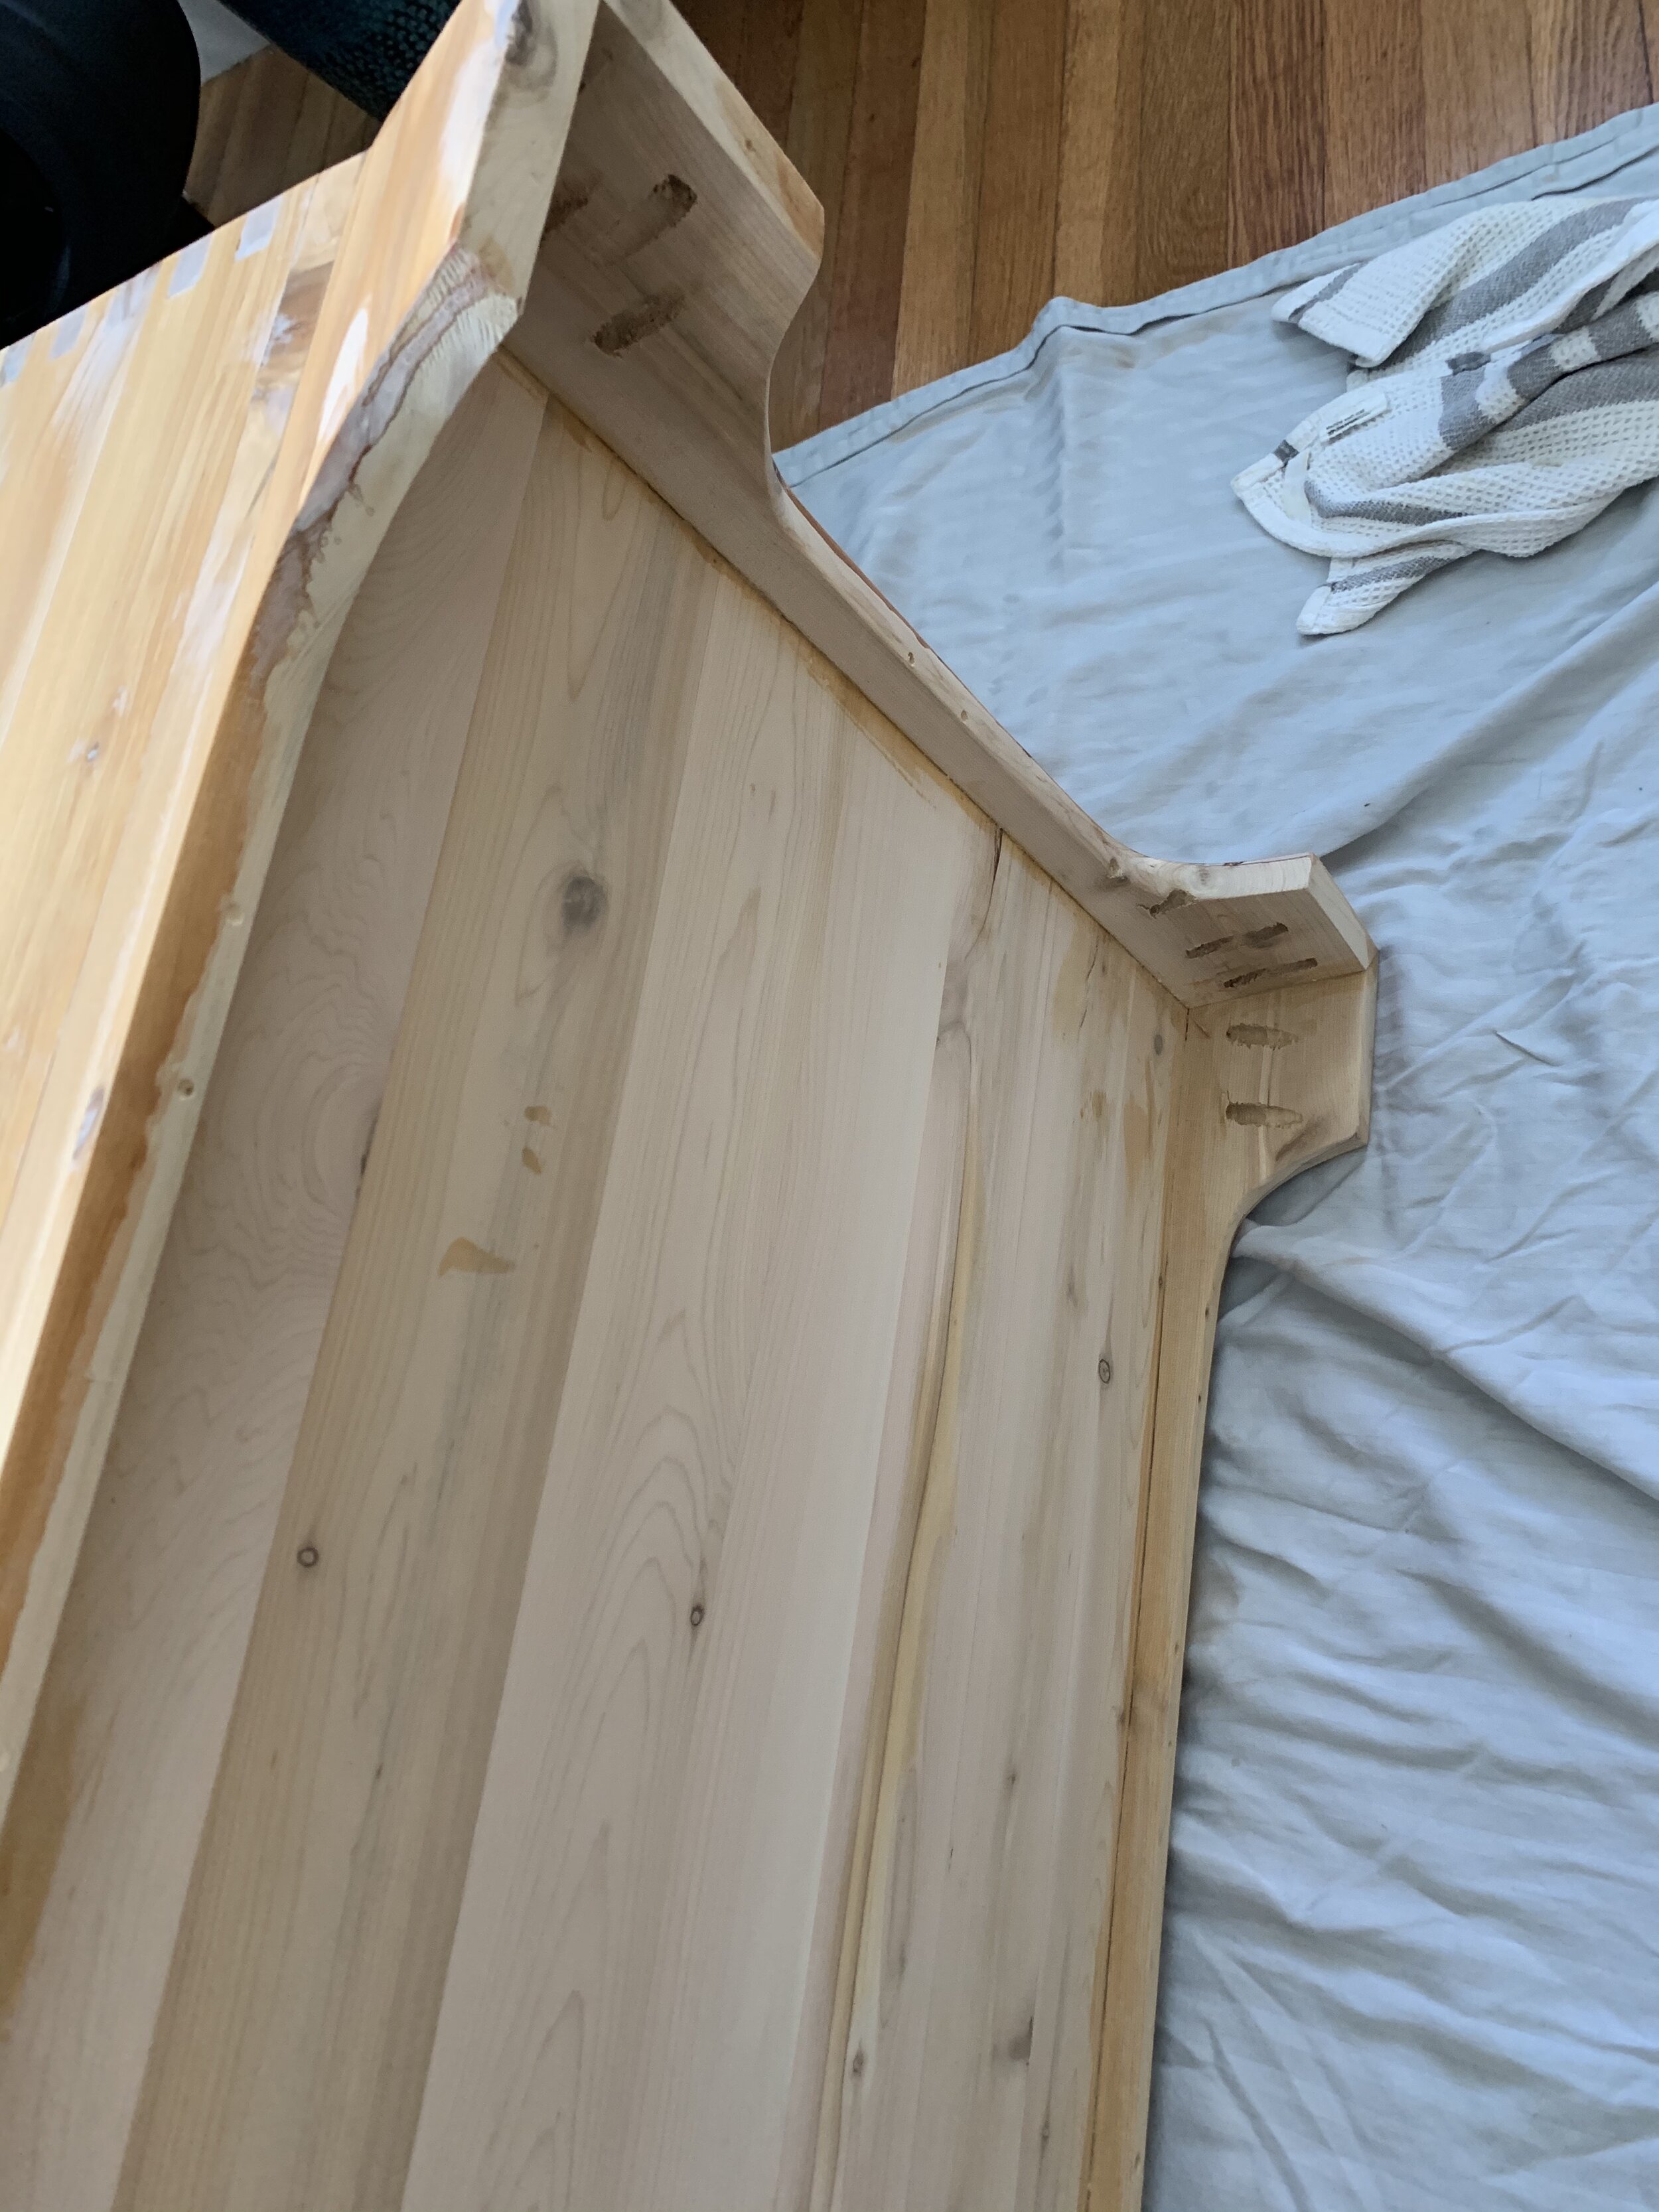
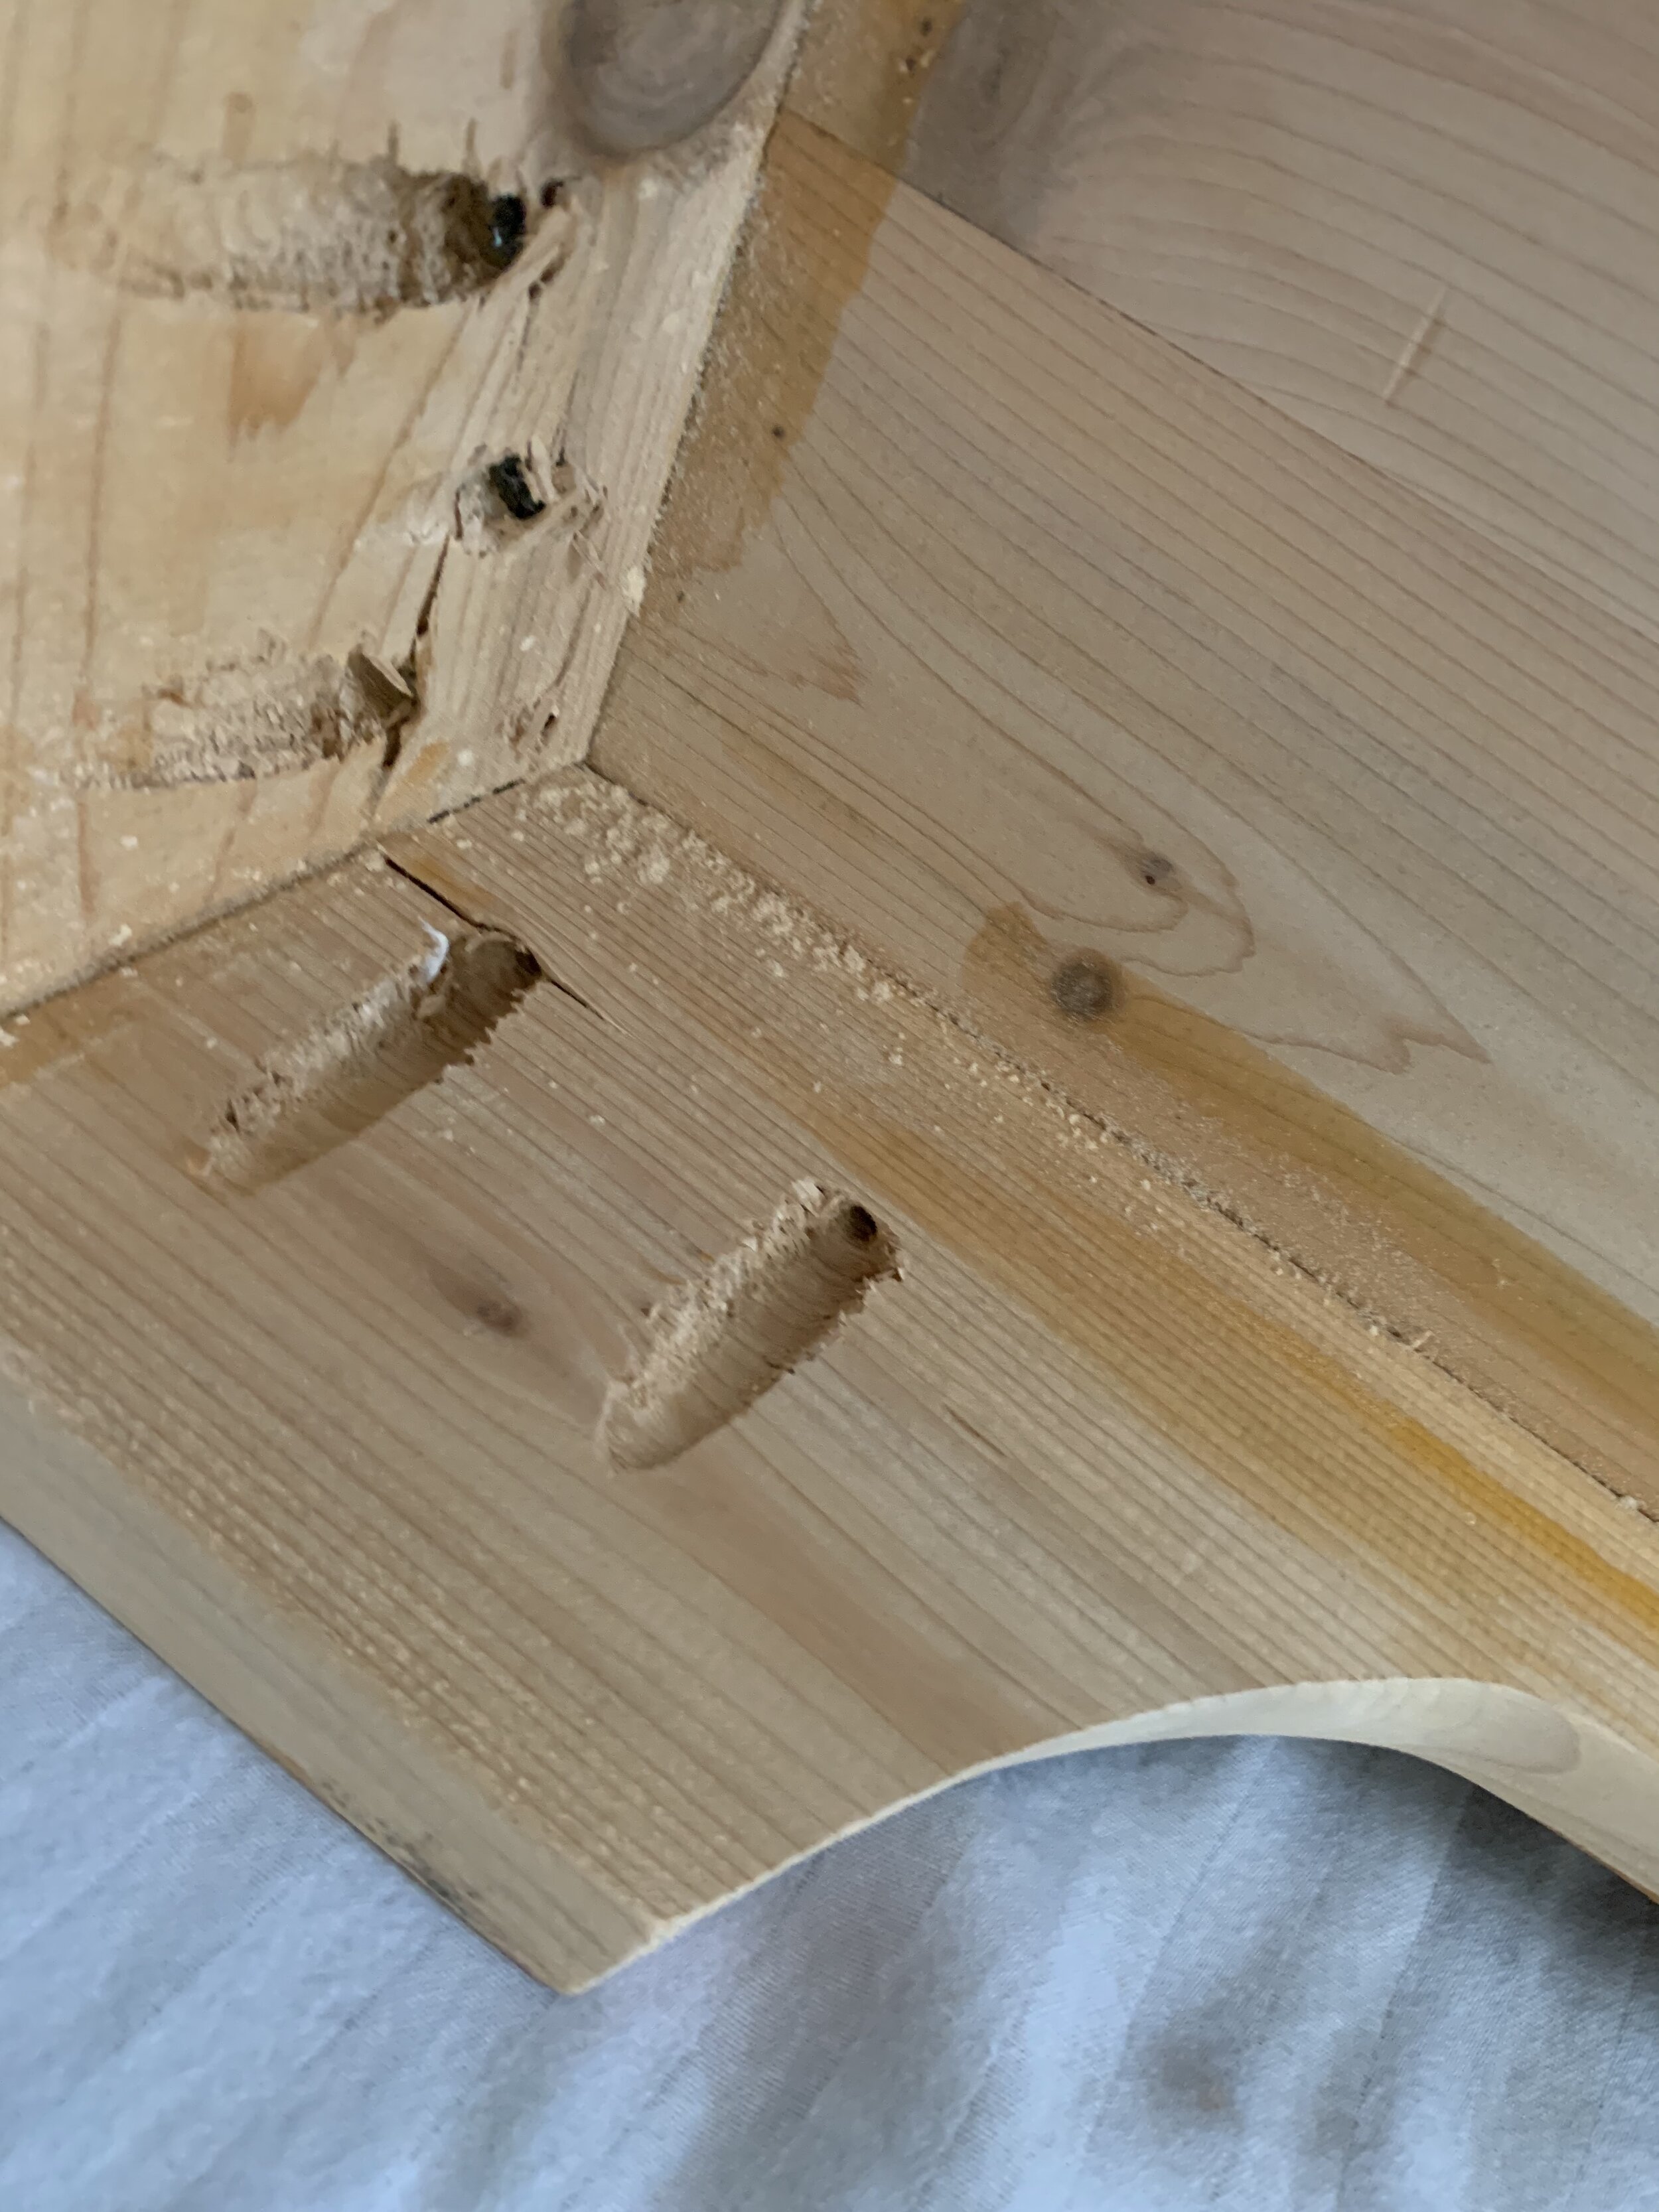
To attach the legs, I first made some pocket-hole screw holes which I would use for attaching the legs. I then laid some glue down on the bottom of the chest and top of the legs, and used screws to attach the legs. If I were to do this again now, I would’ve done a far simpler method: use Titebond III for main means of attachment, but instead of messing around with clamps or pocket-hole screws to hold the legs to the base of the chest, put a few drops of Titebond super-glue on the wood and hold for ~15 seconds. This would form an instant bond and hold the legs tight without the need for a complex setup of clamps or pocket-hole screws, which I needed to remove later when I used the jig saw to cut the center of the leg stock out.
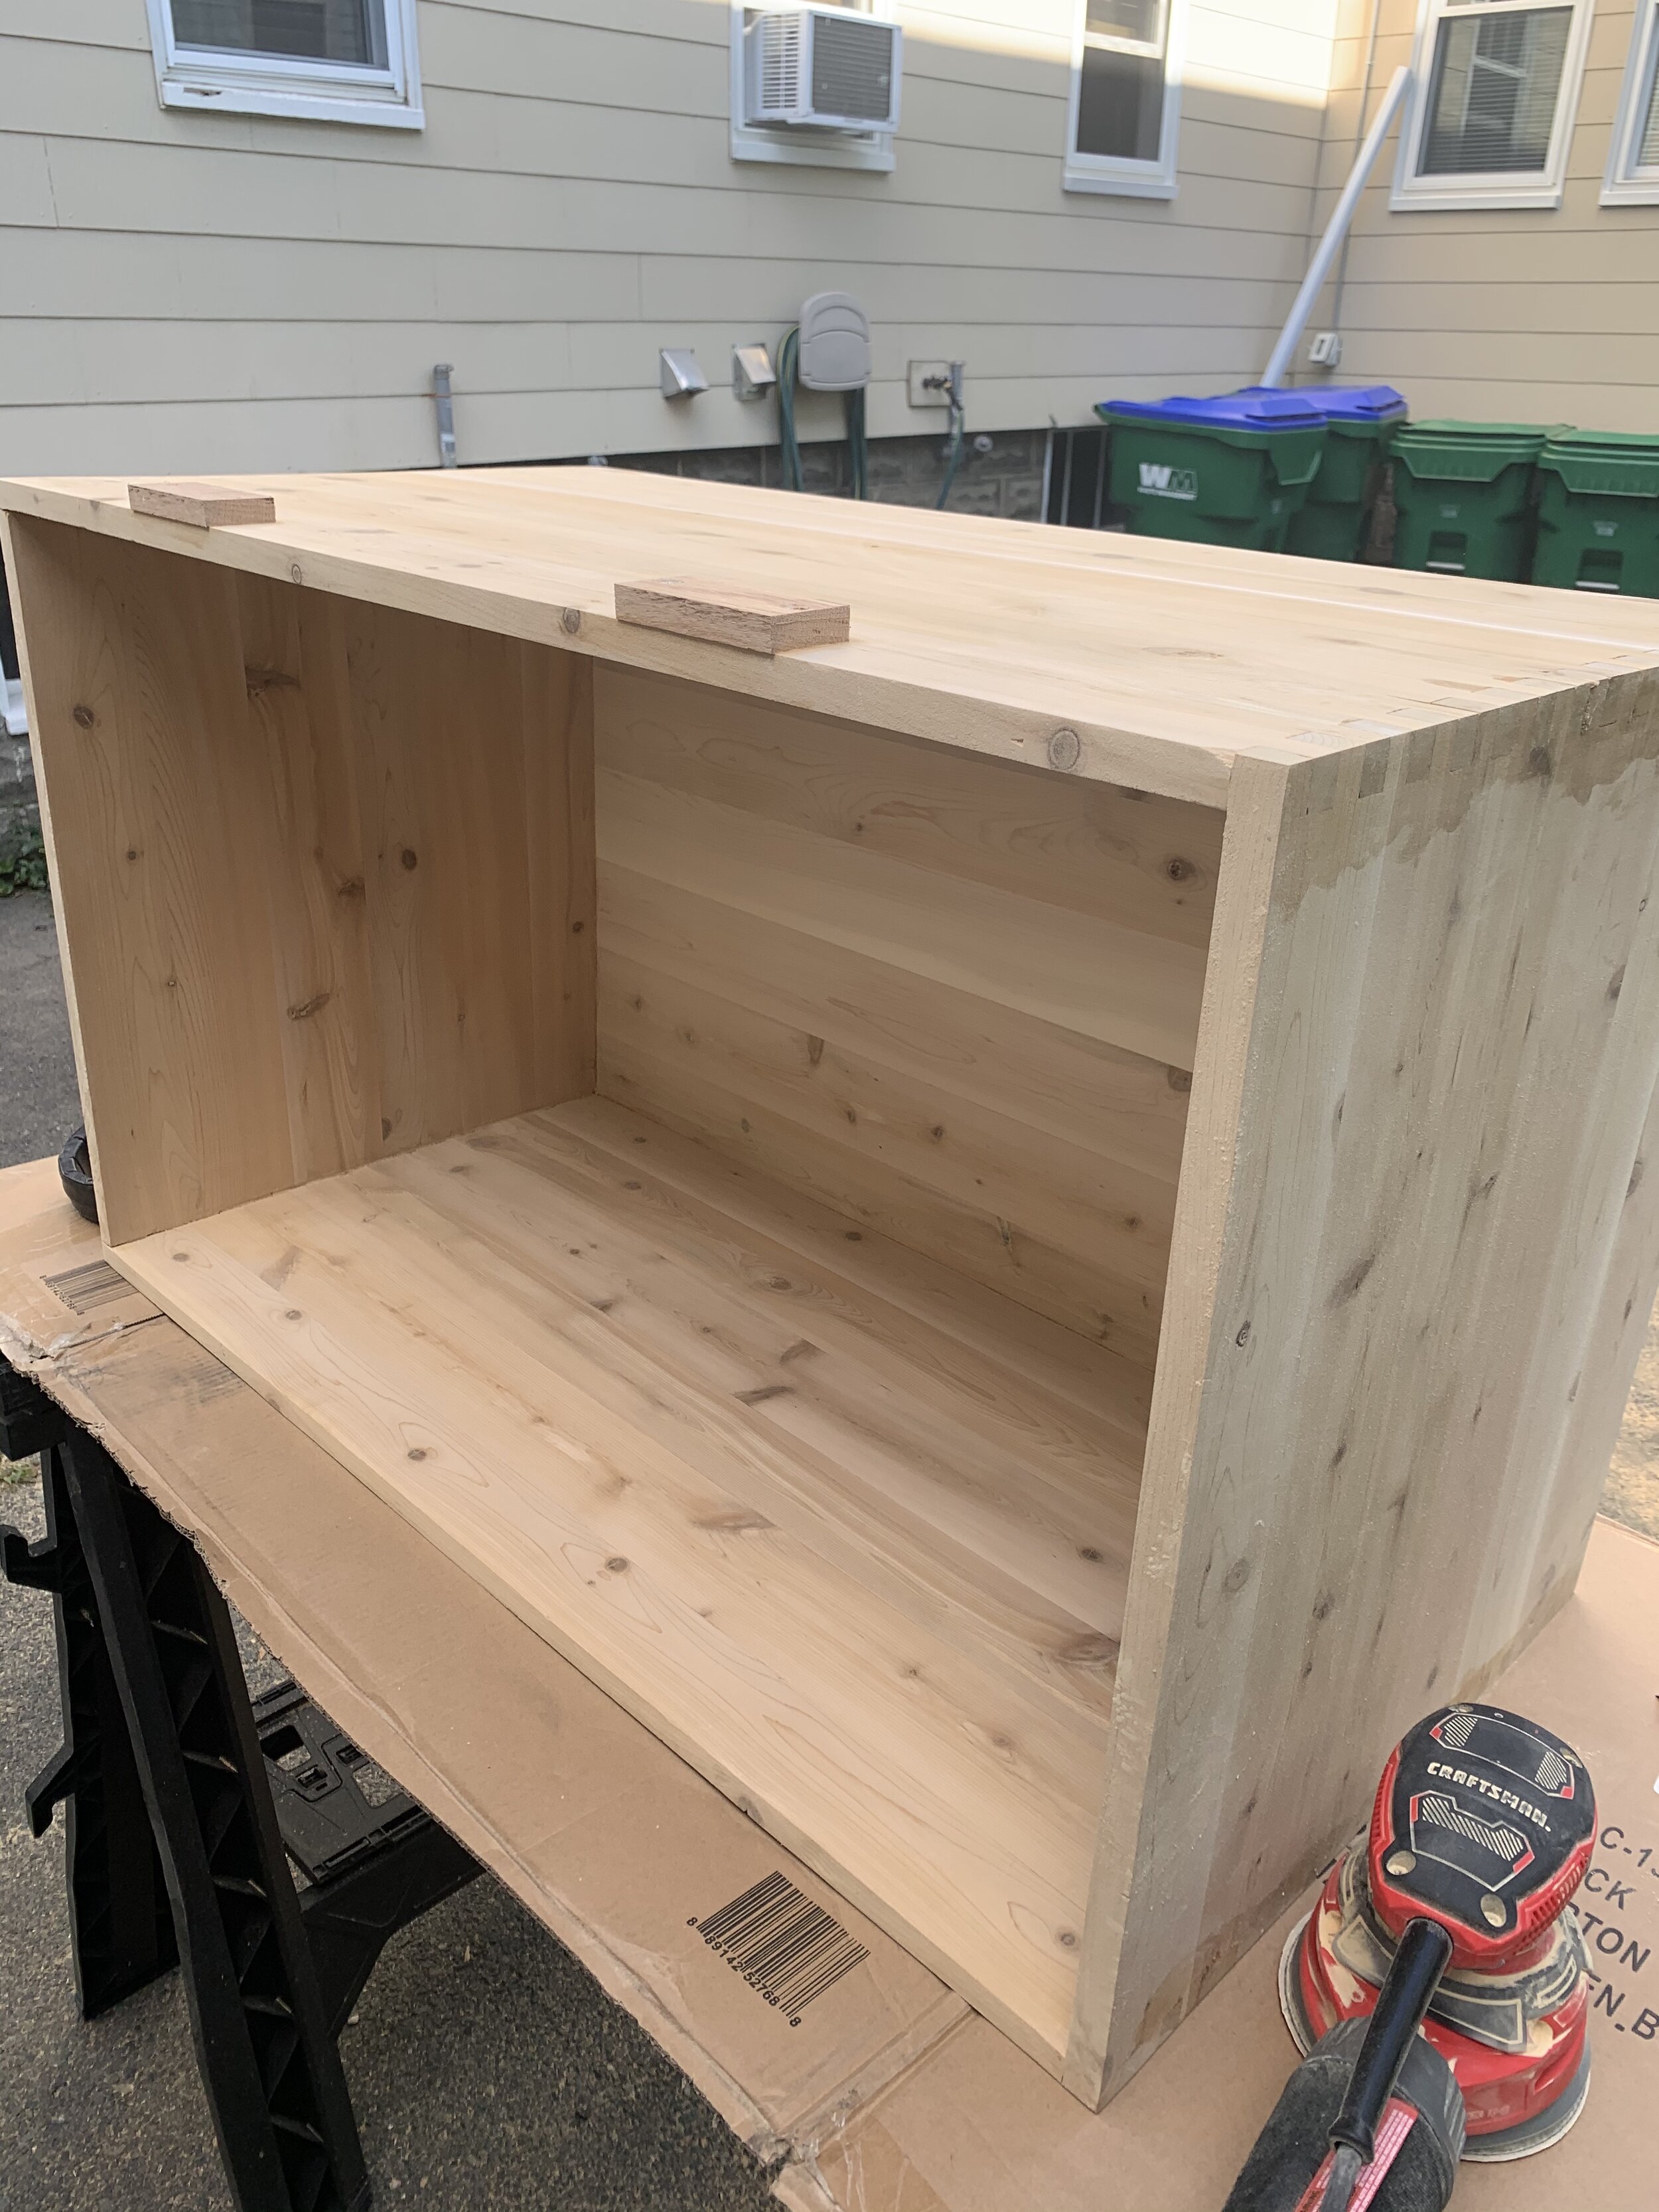
To attach the lid of the chest, I glued some oak blocks to the back of the chest - ensuring they were just 1/16-1/8” set overtop of the side of the chest - which would ensure that when I closed the chest lid, if anything, the lid would lay flat or completely shut on top of the chest. I then taped some hinges to the lid and to the blocks on the back of the chest, drilled some pilot holes, and screwed in.
Finishing the Chest
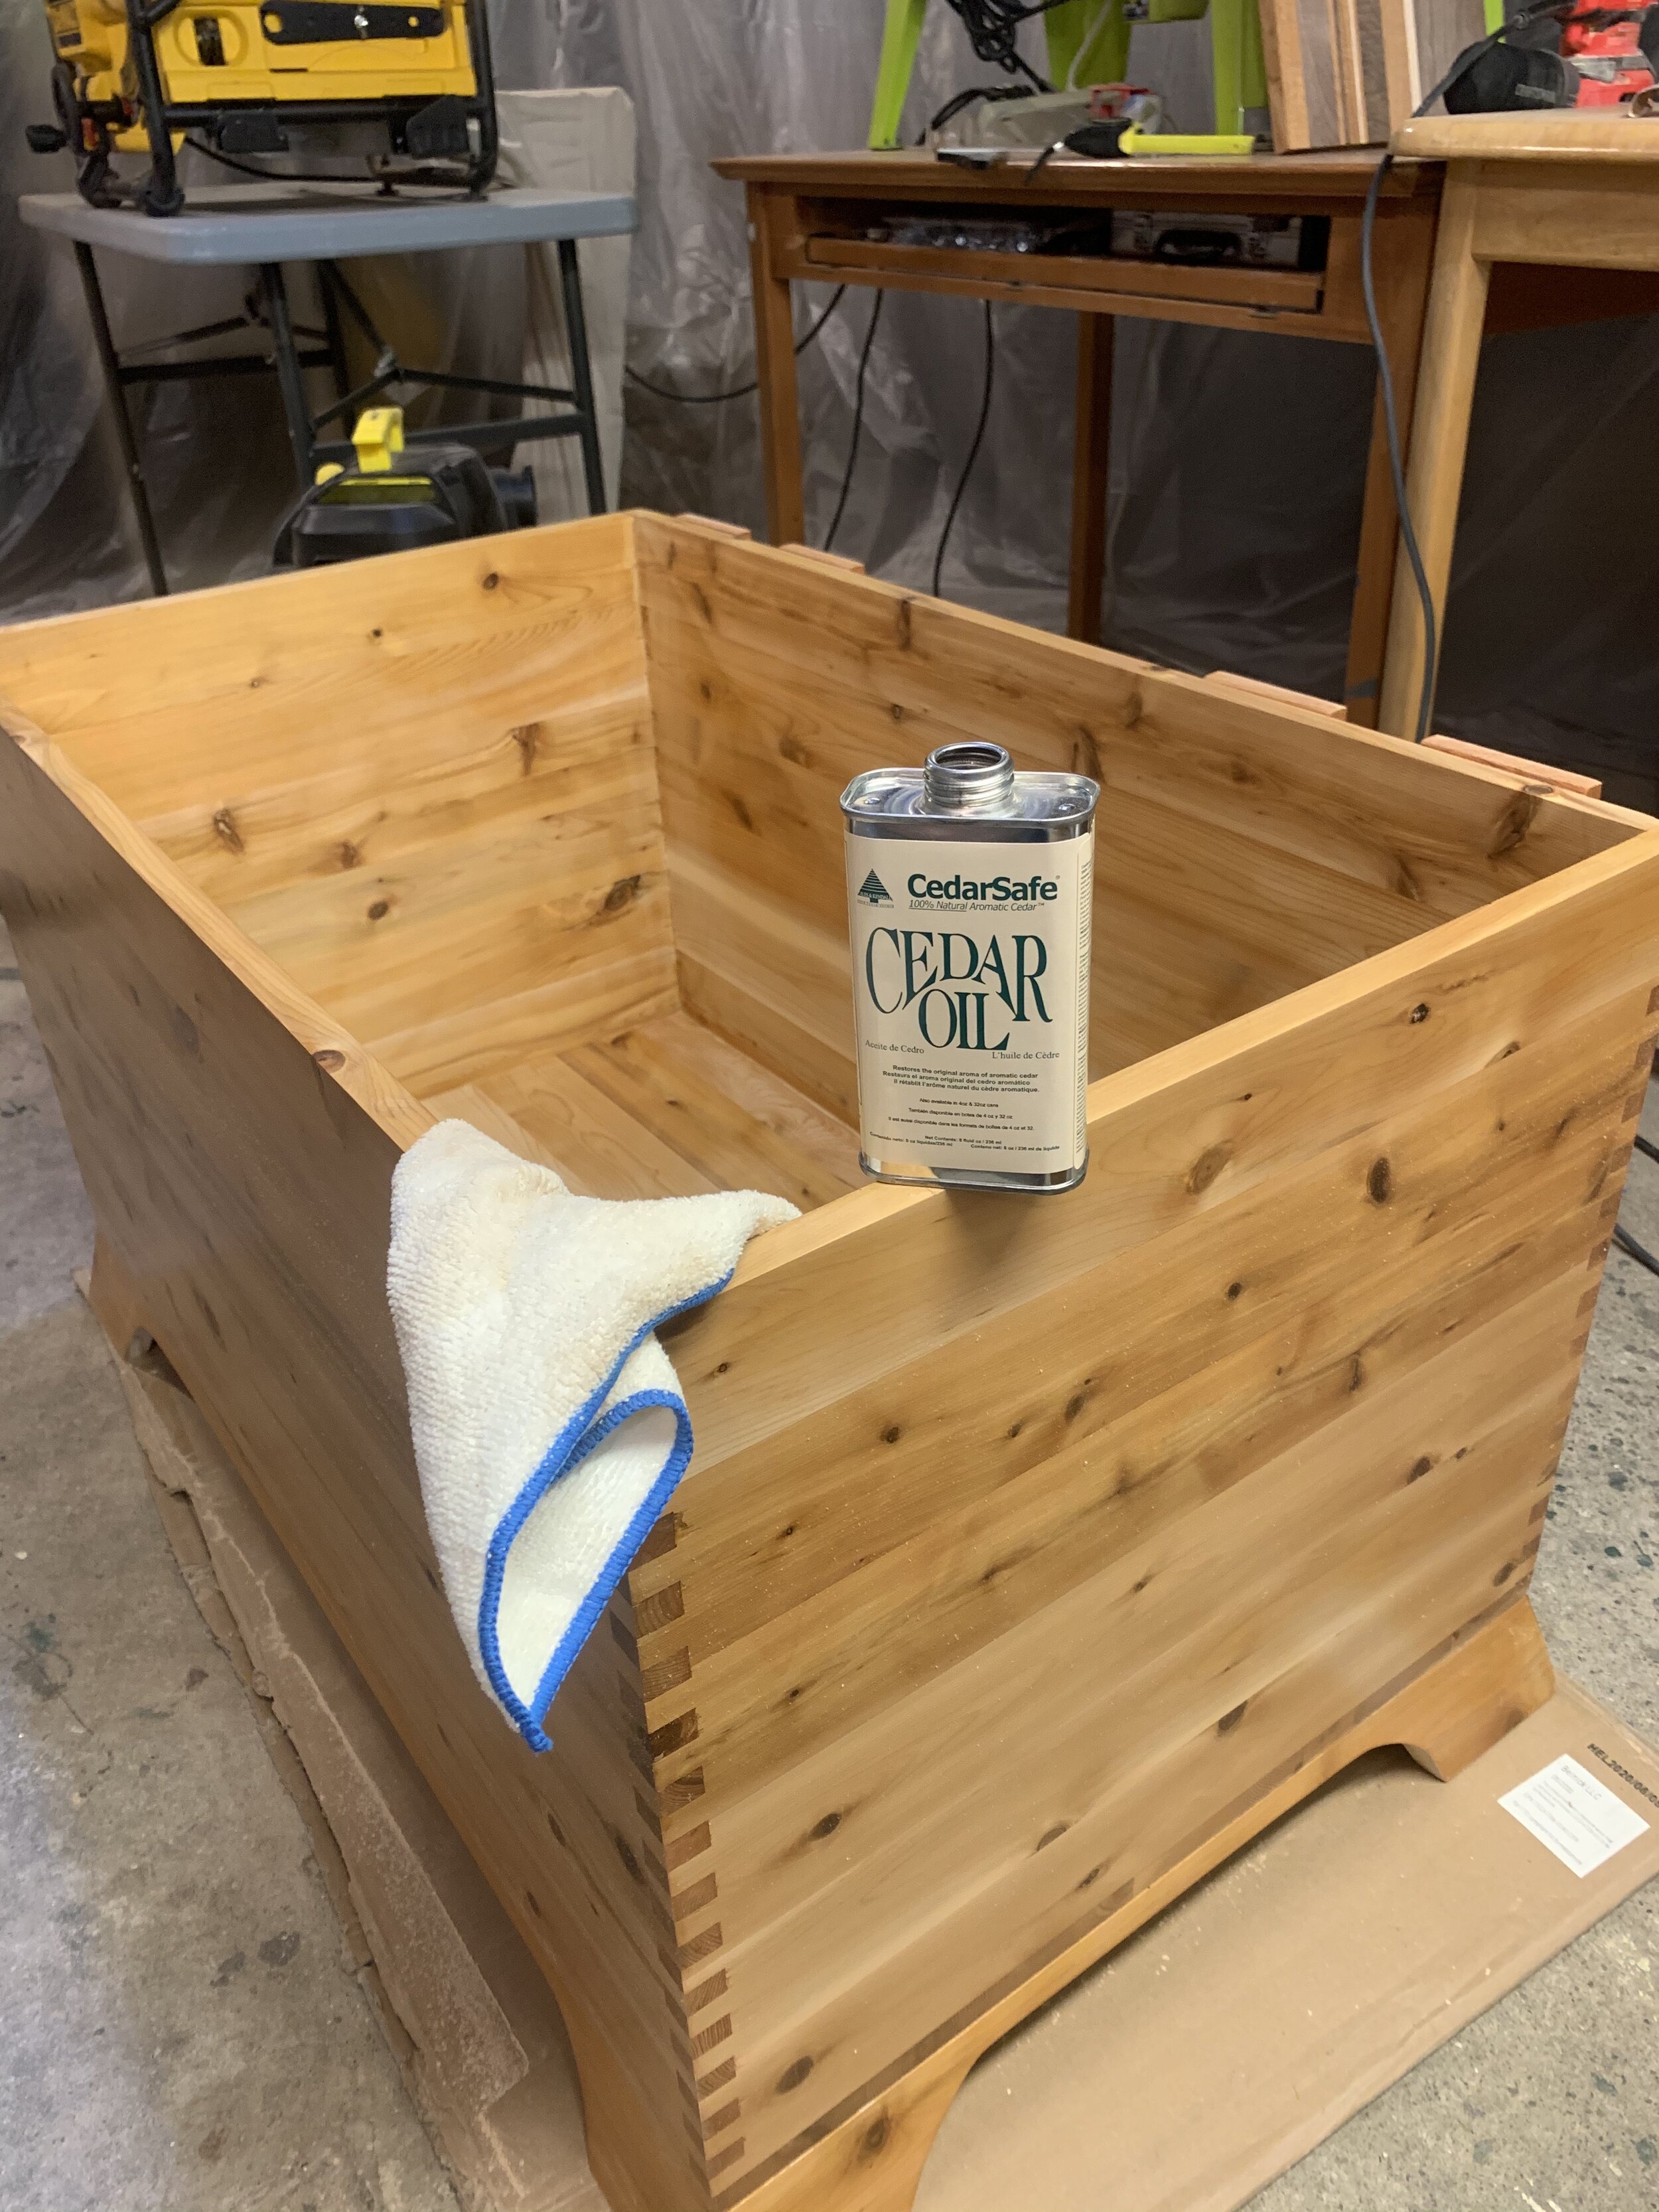
I finished the chest by sanding with an orbital sander inside and out, and then hand sanding to avoid swirl marks left by the orbital sander. I then finished the inside fo the chest with natural cedar oil, and the outside with a few coats of satin polyurethane. I couldn’t be happier with how this project turned out and am very proud of it! It has held up extremely well since I built it one year ago.
