
Build
Making the Top
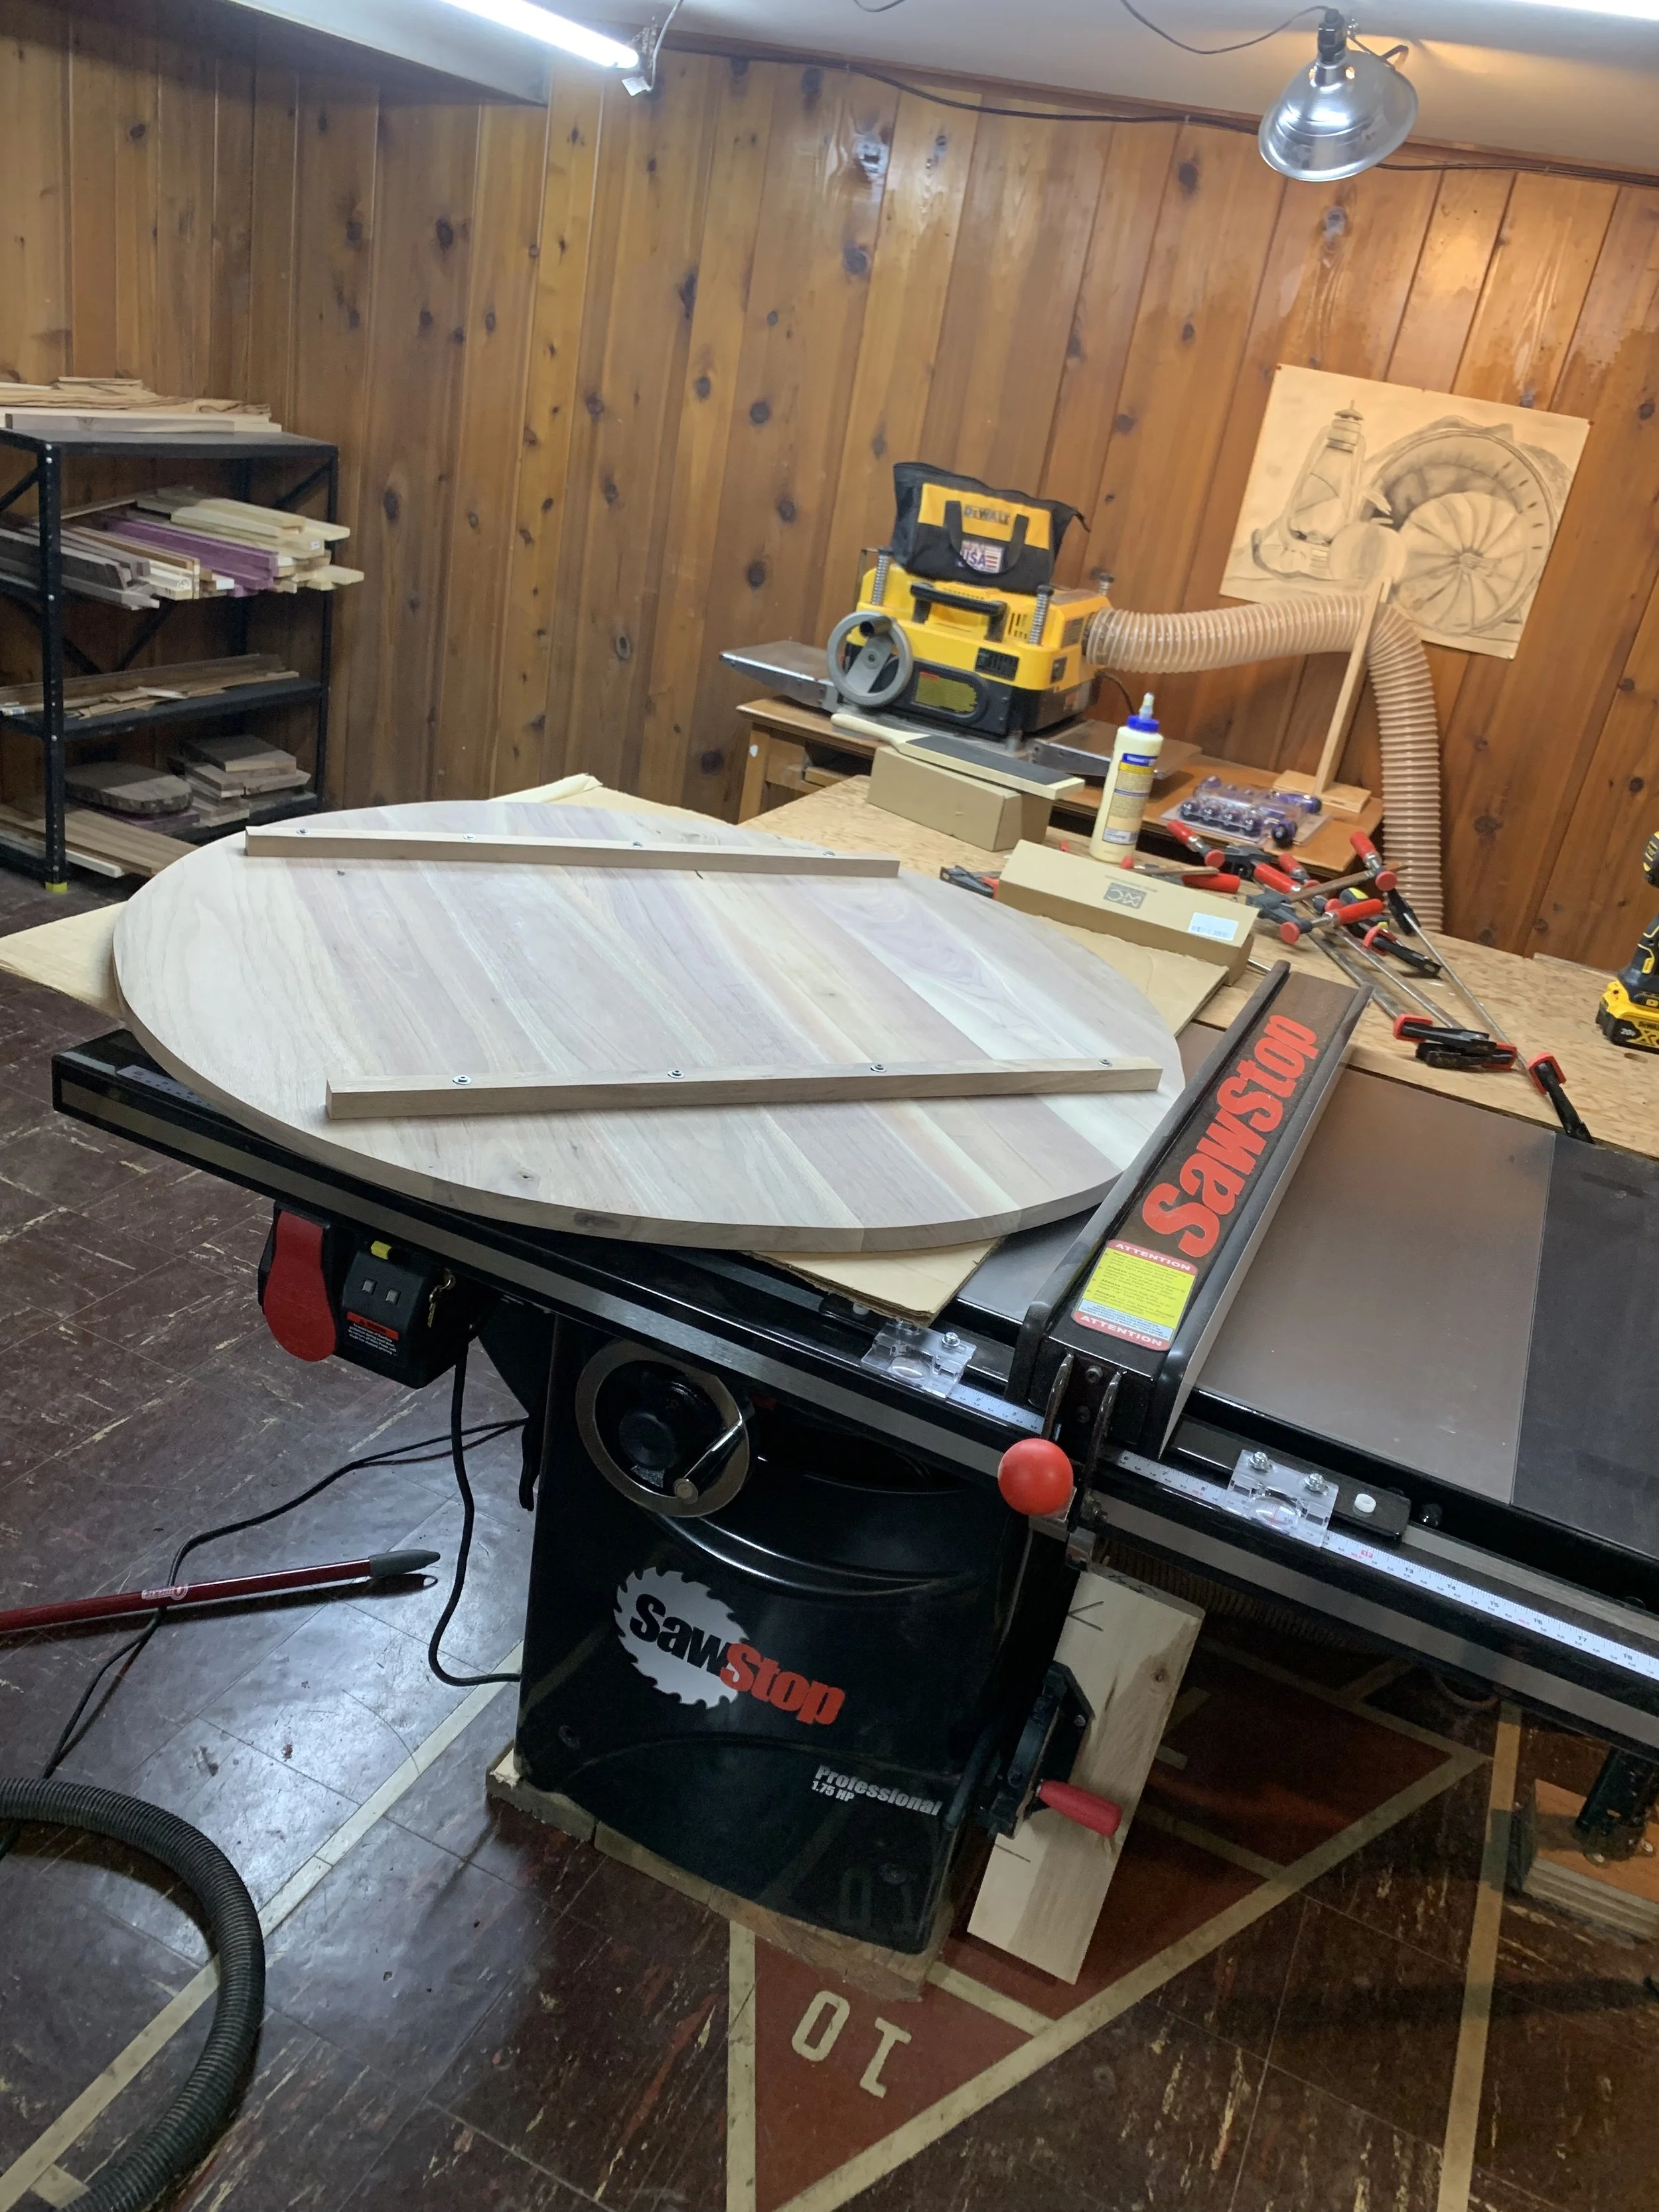
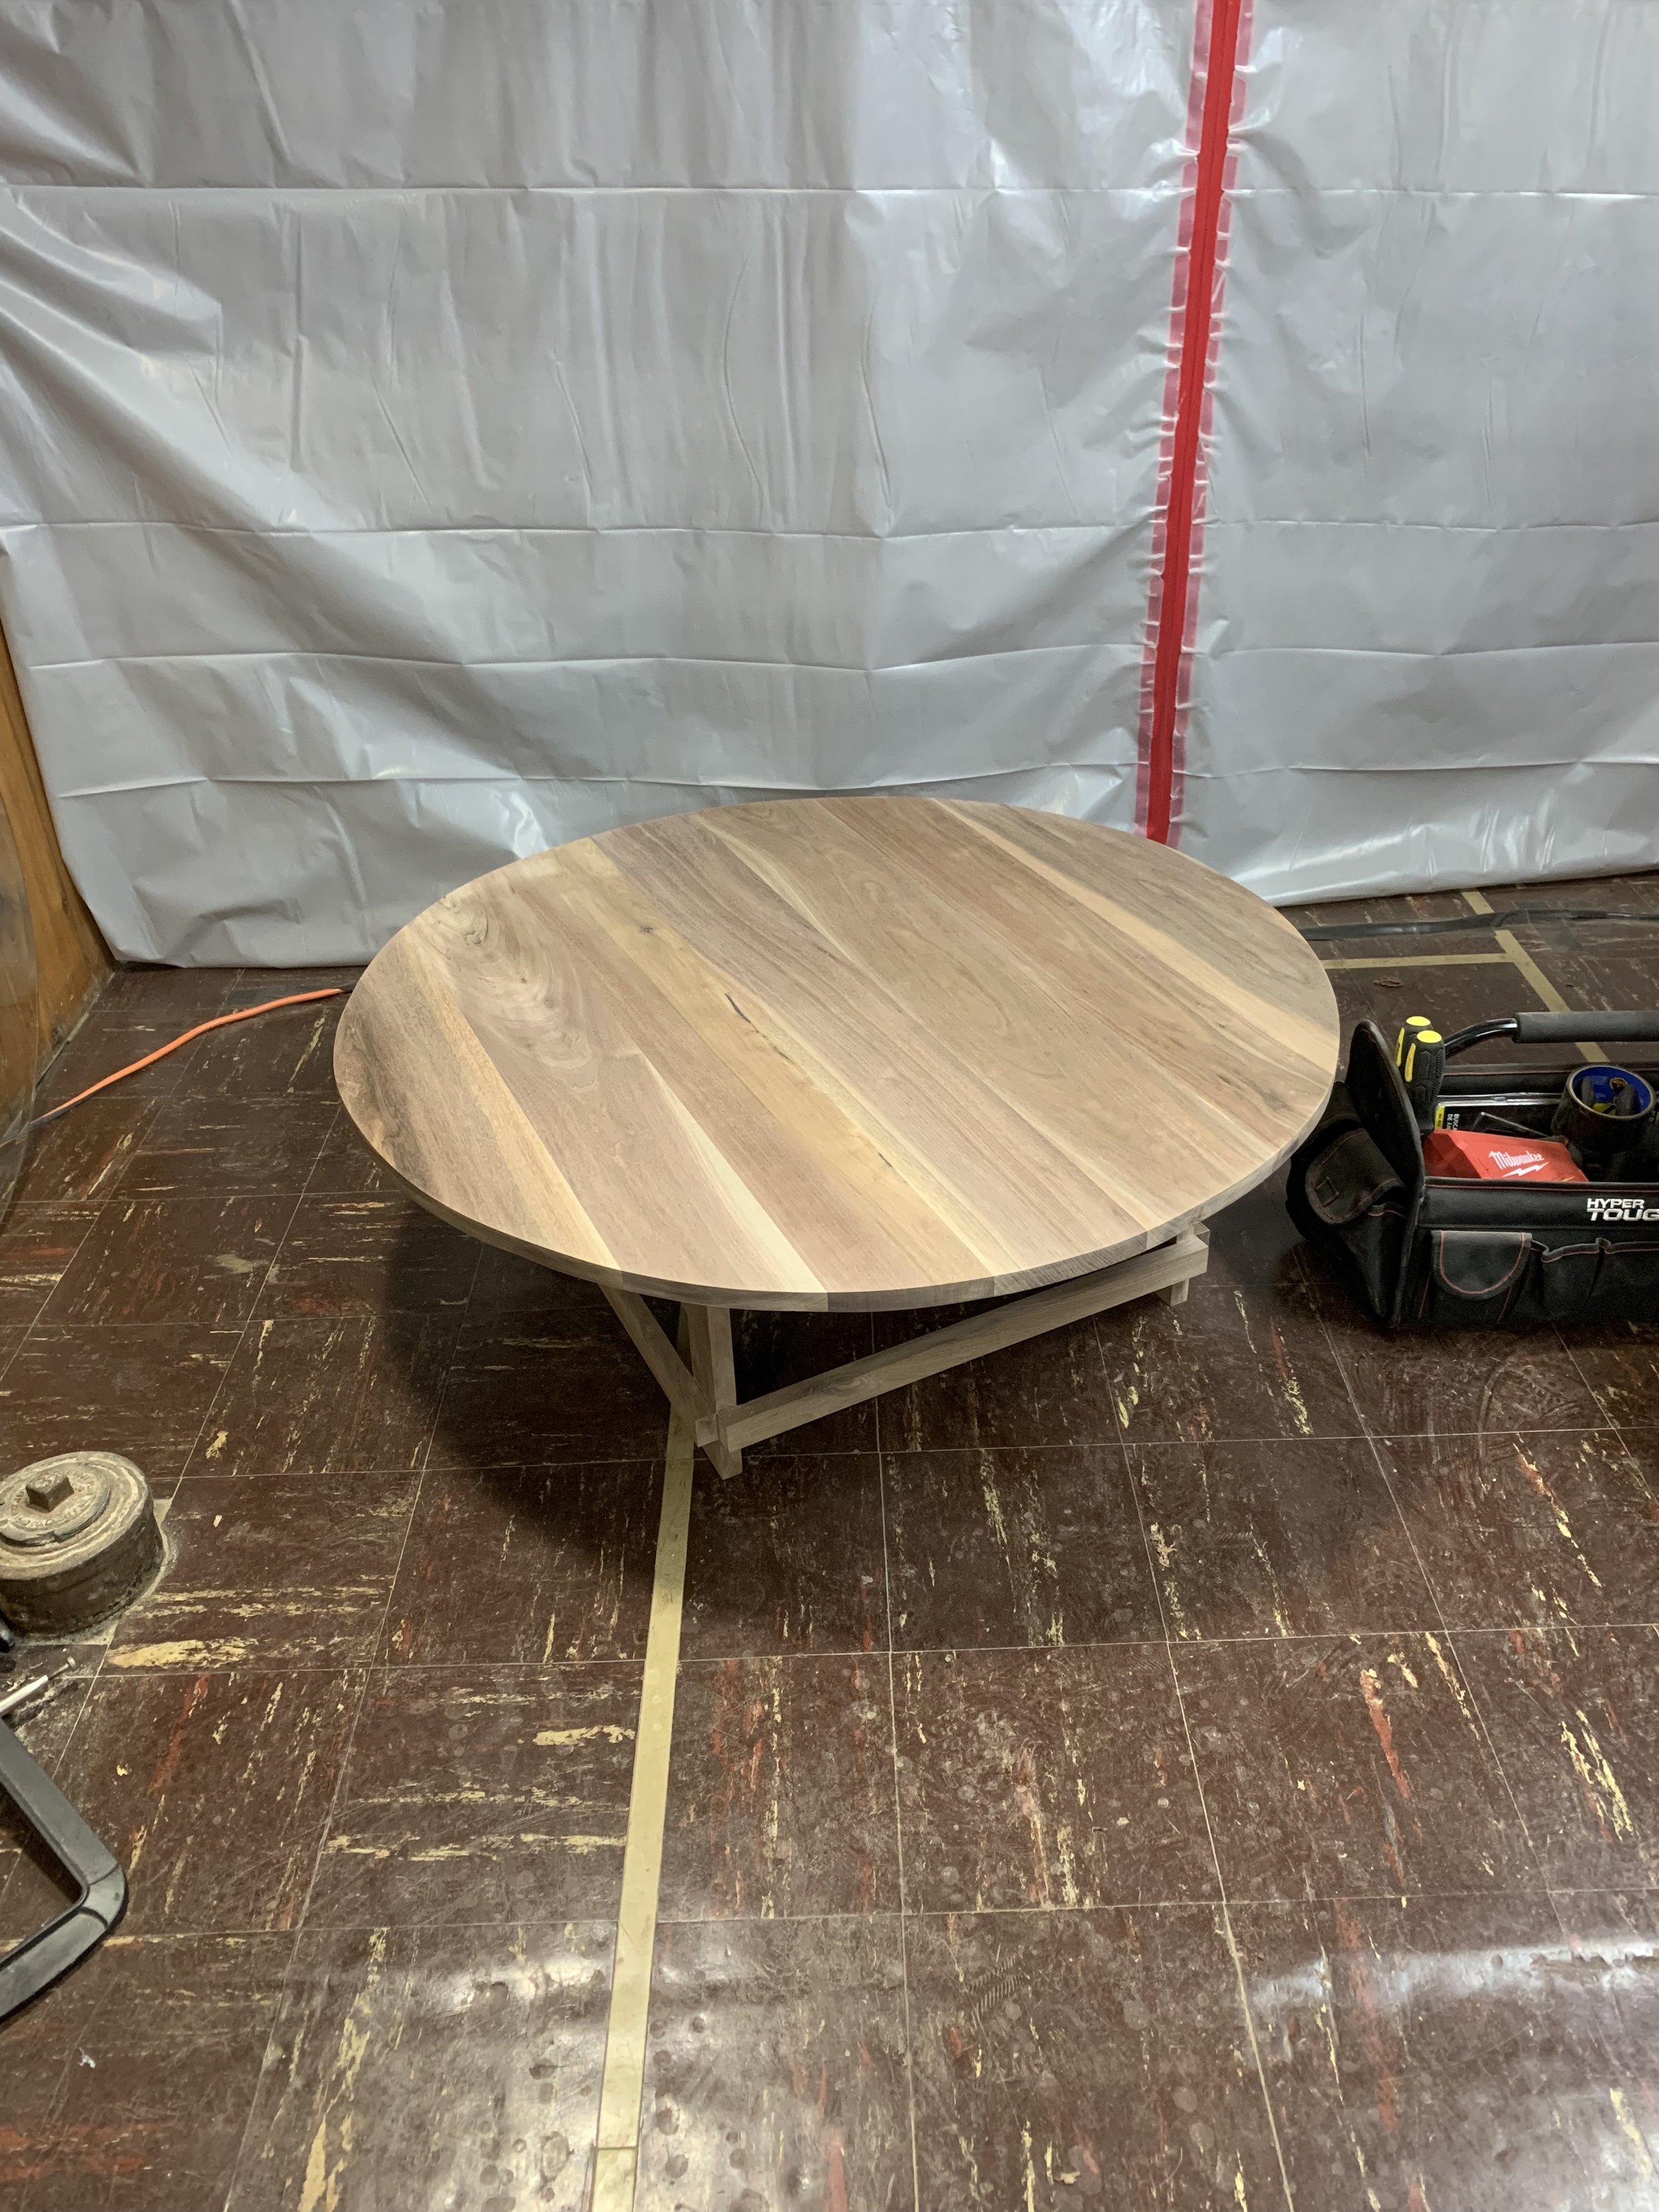
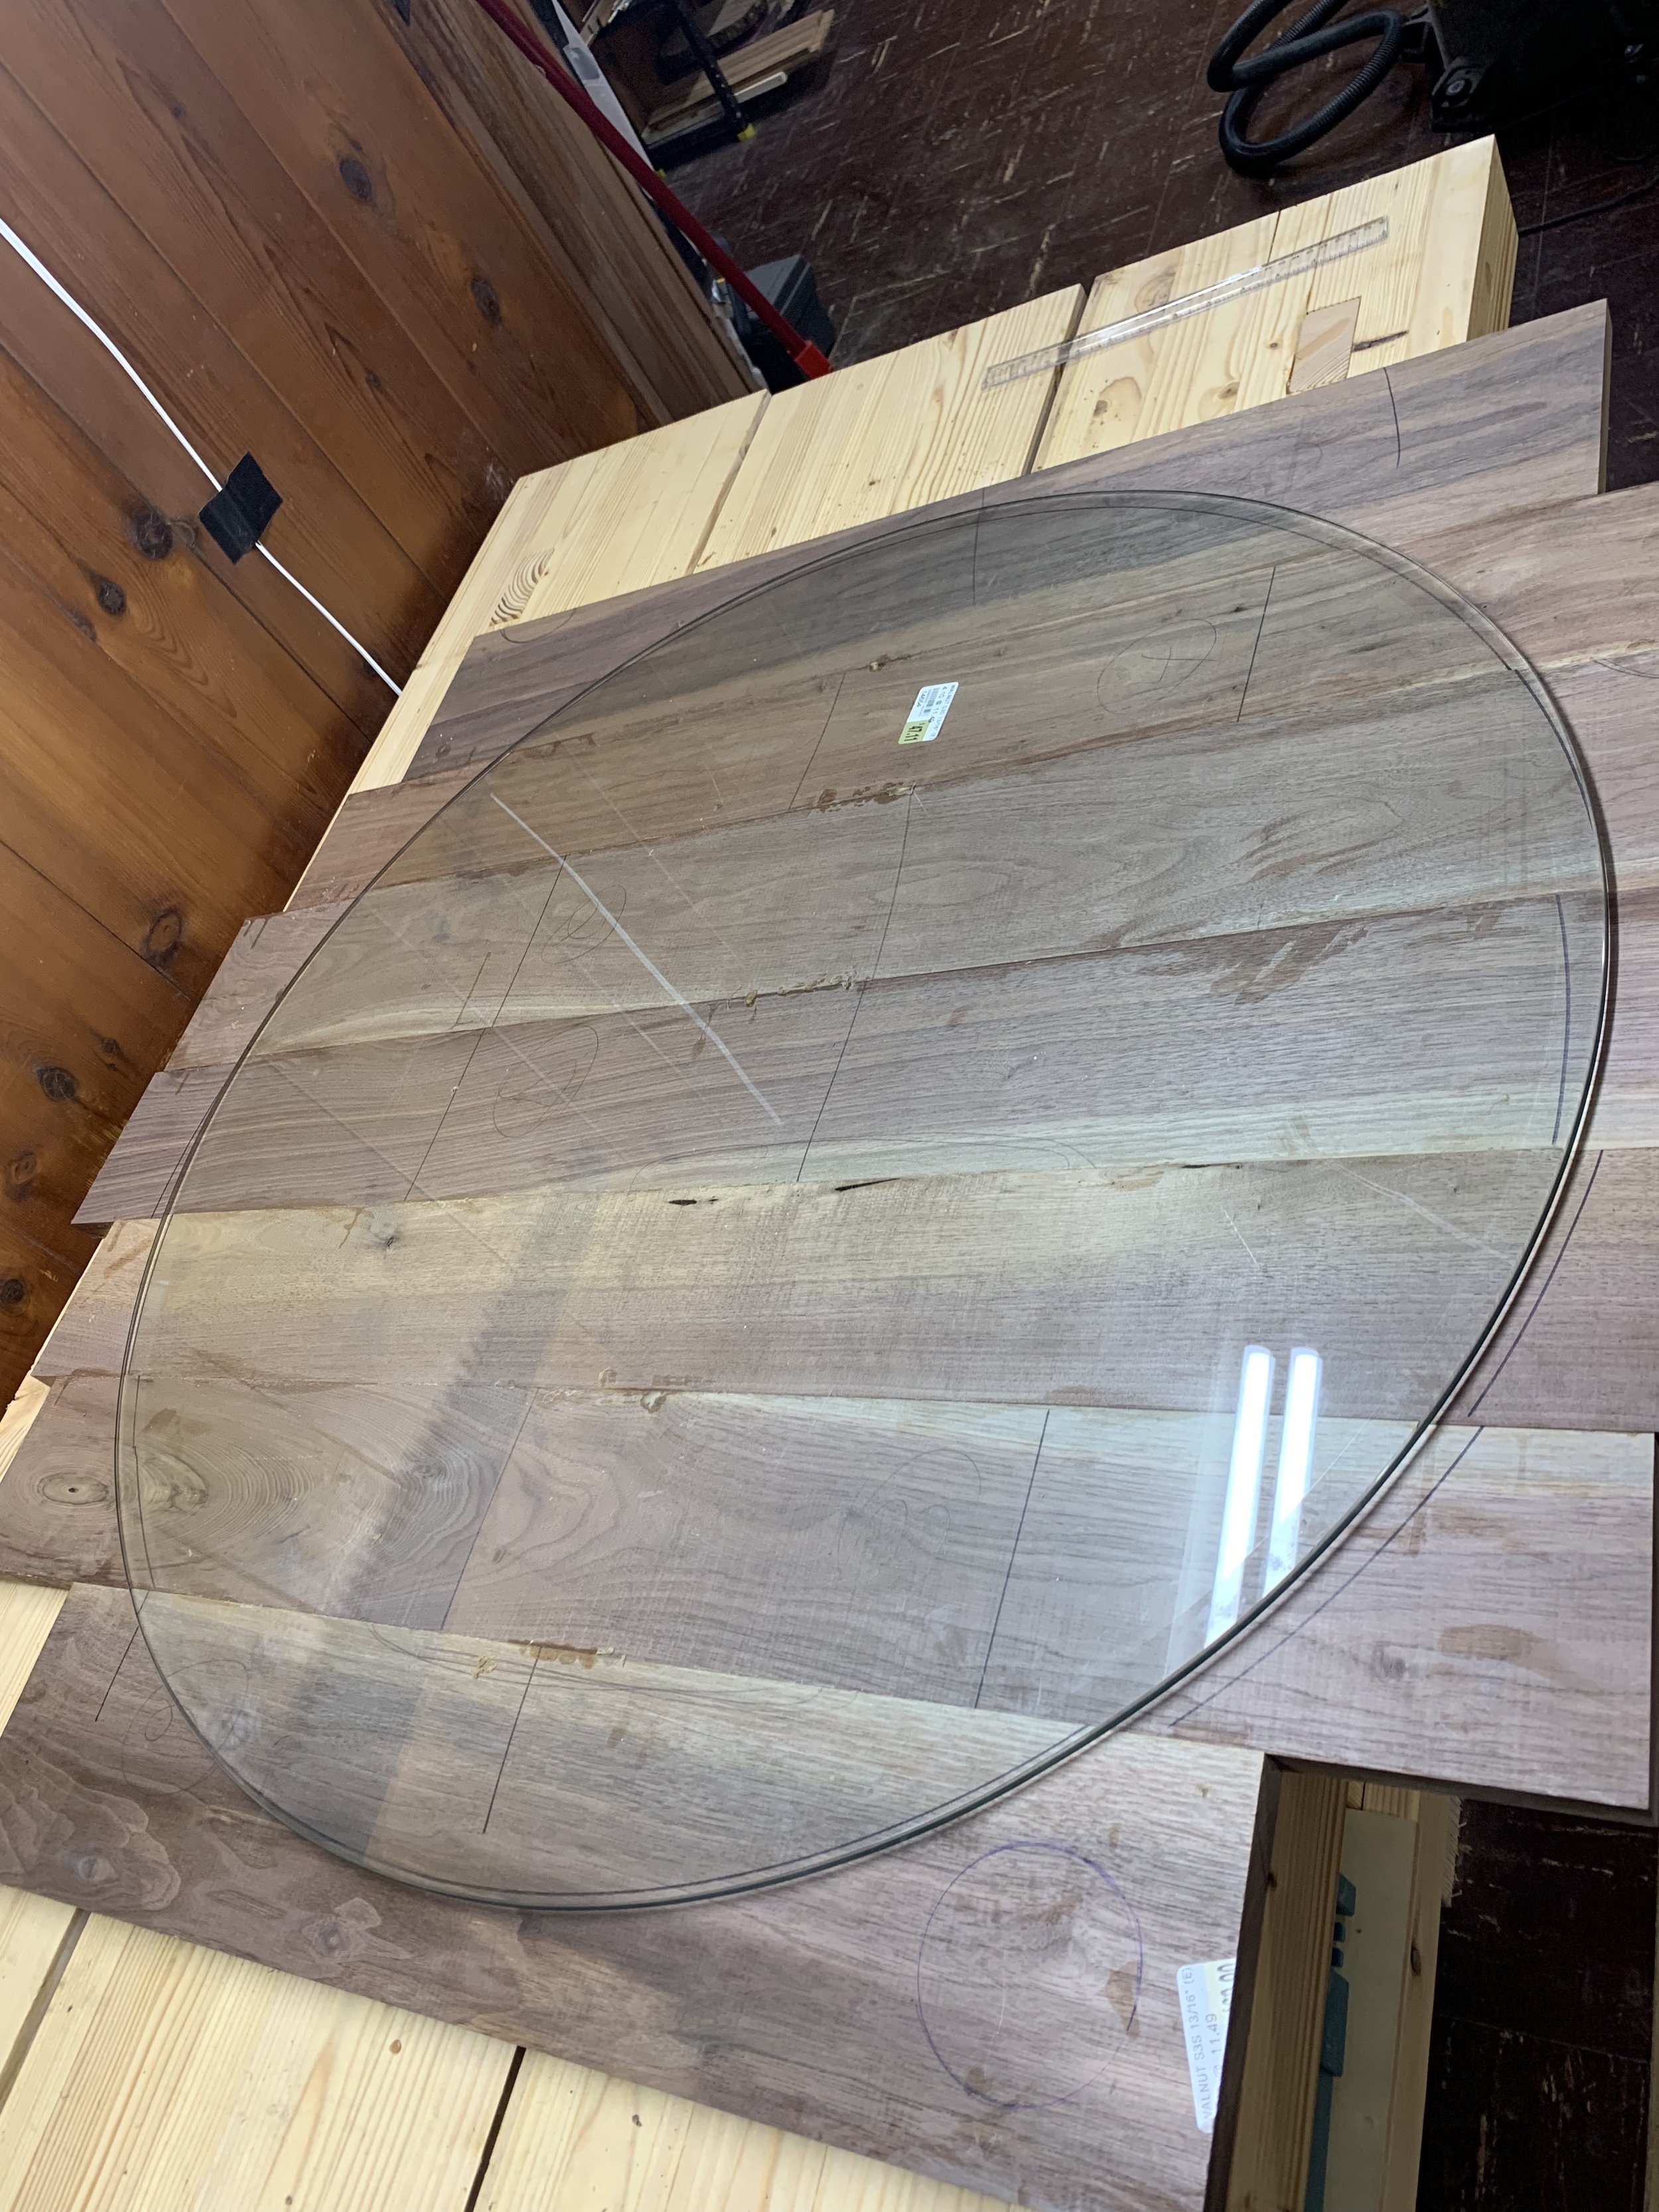
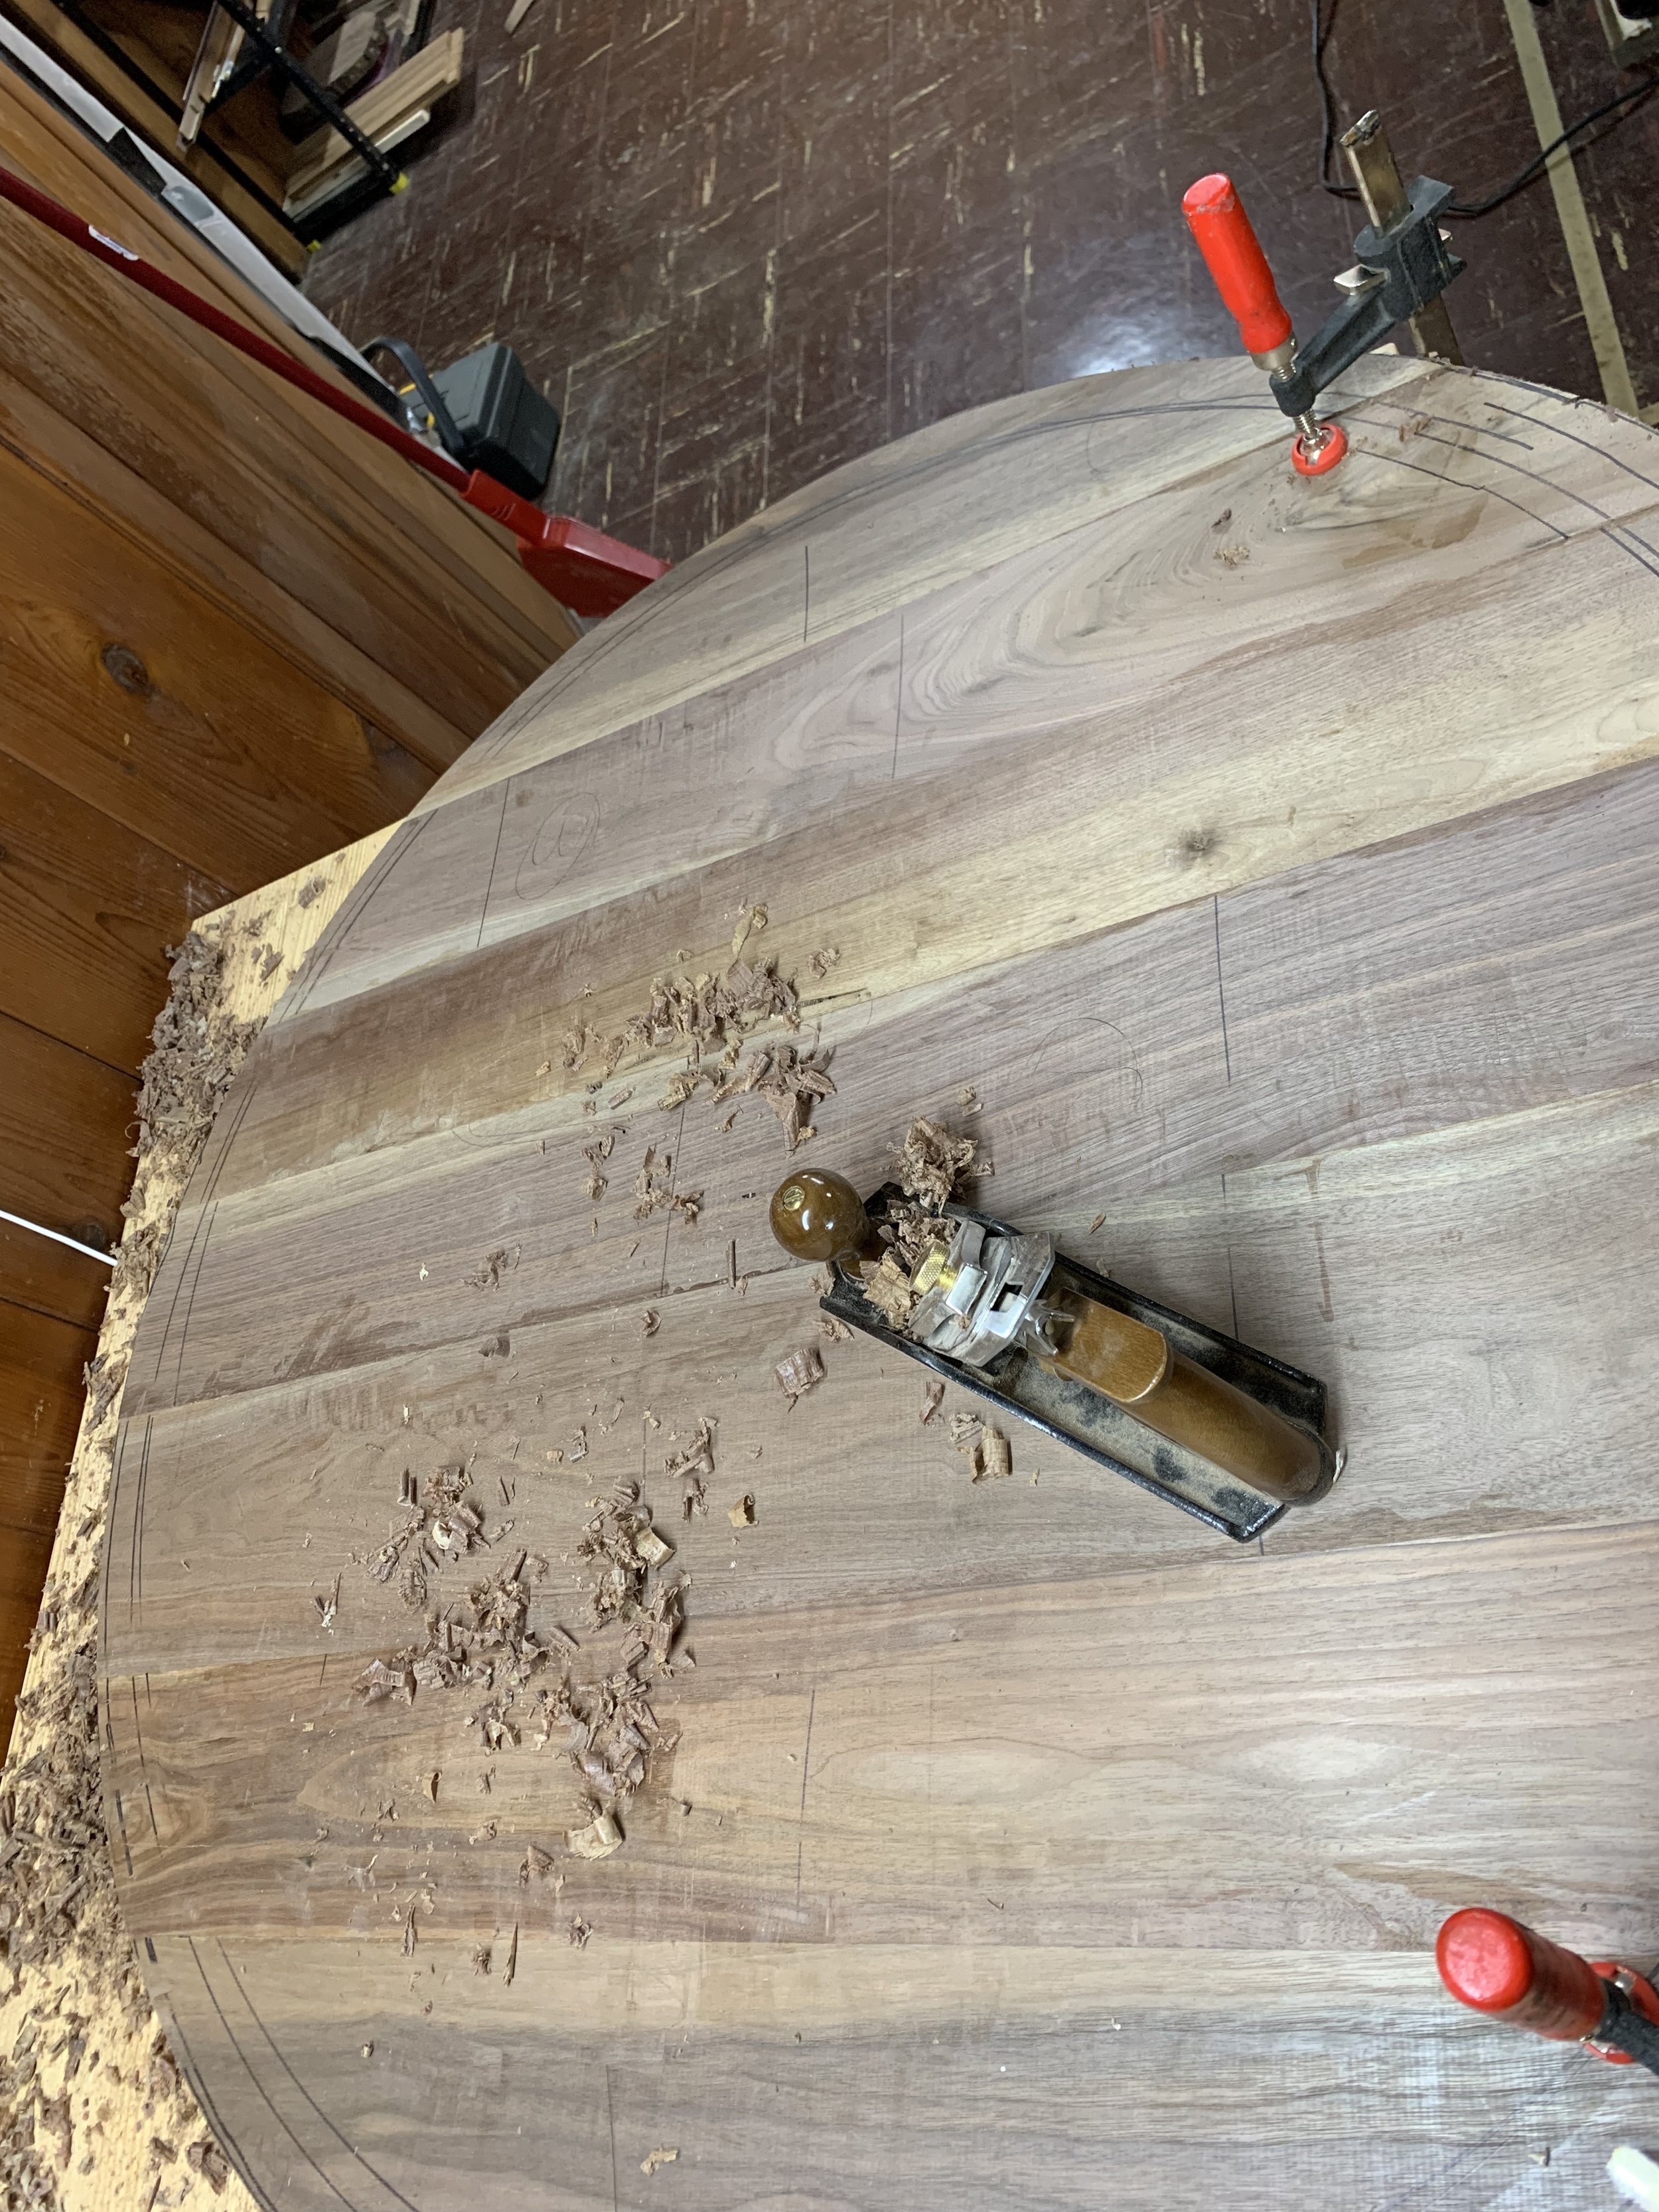
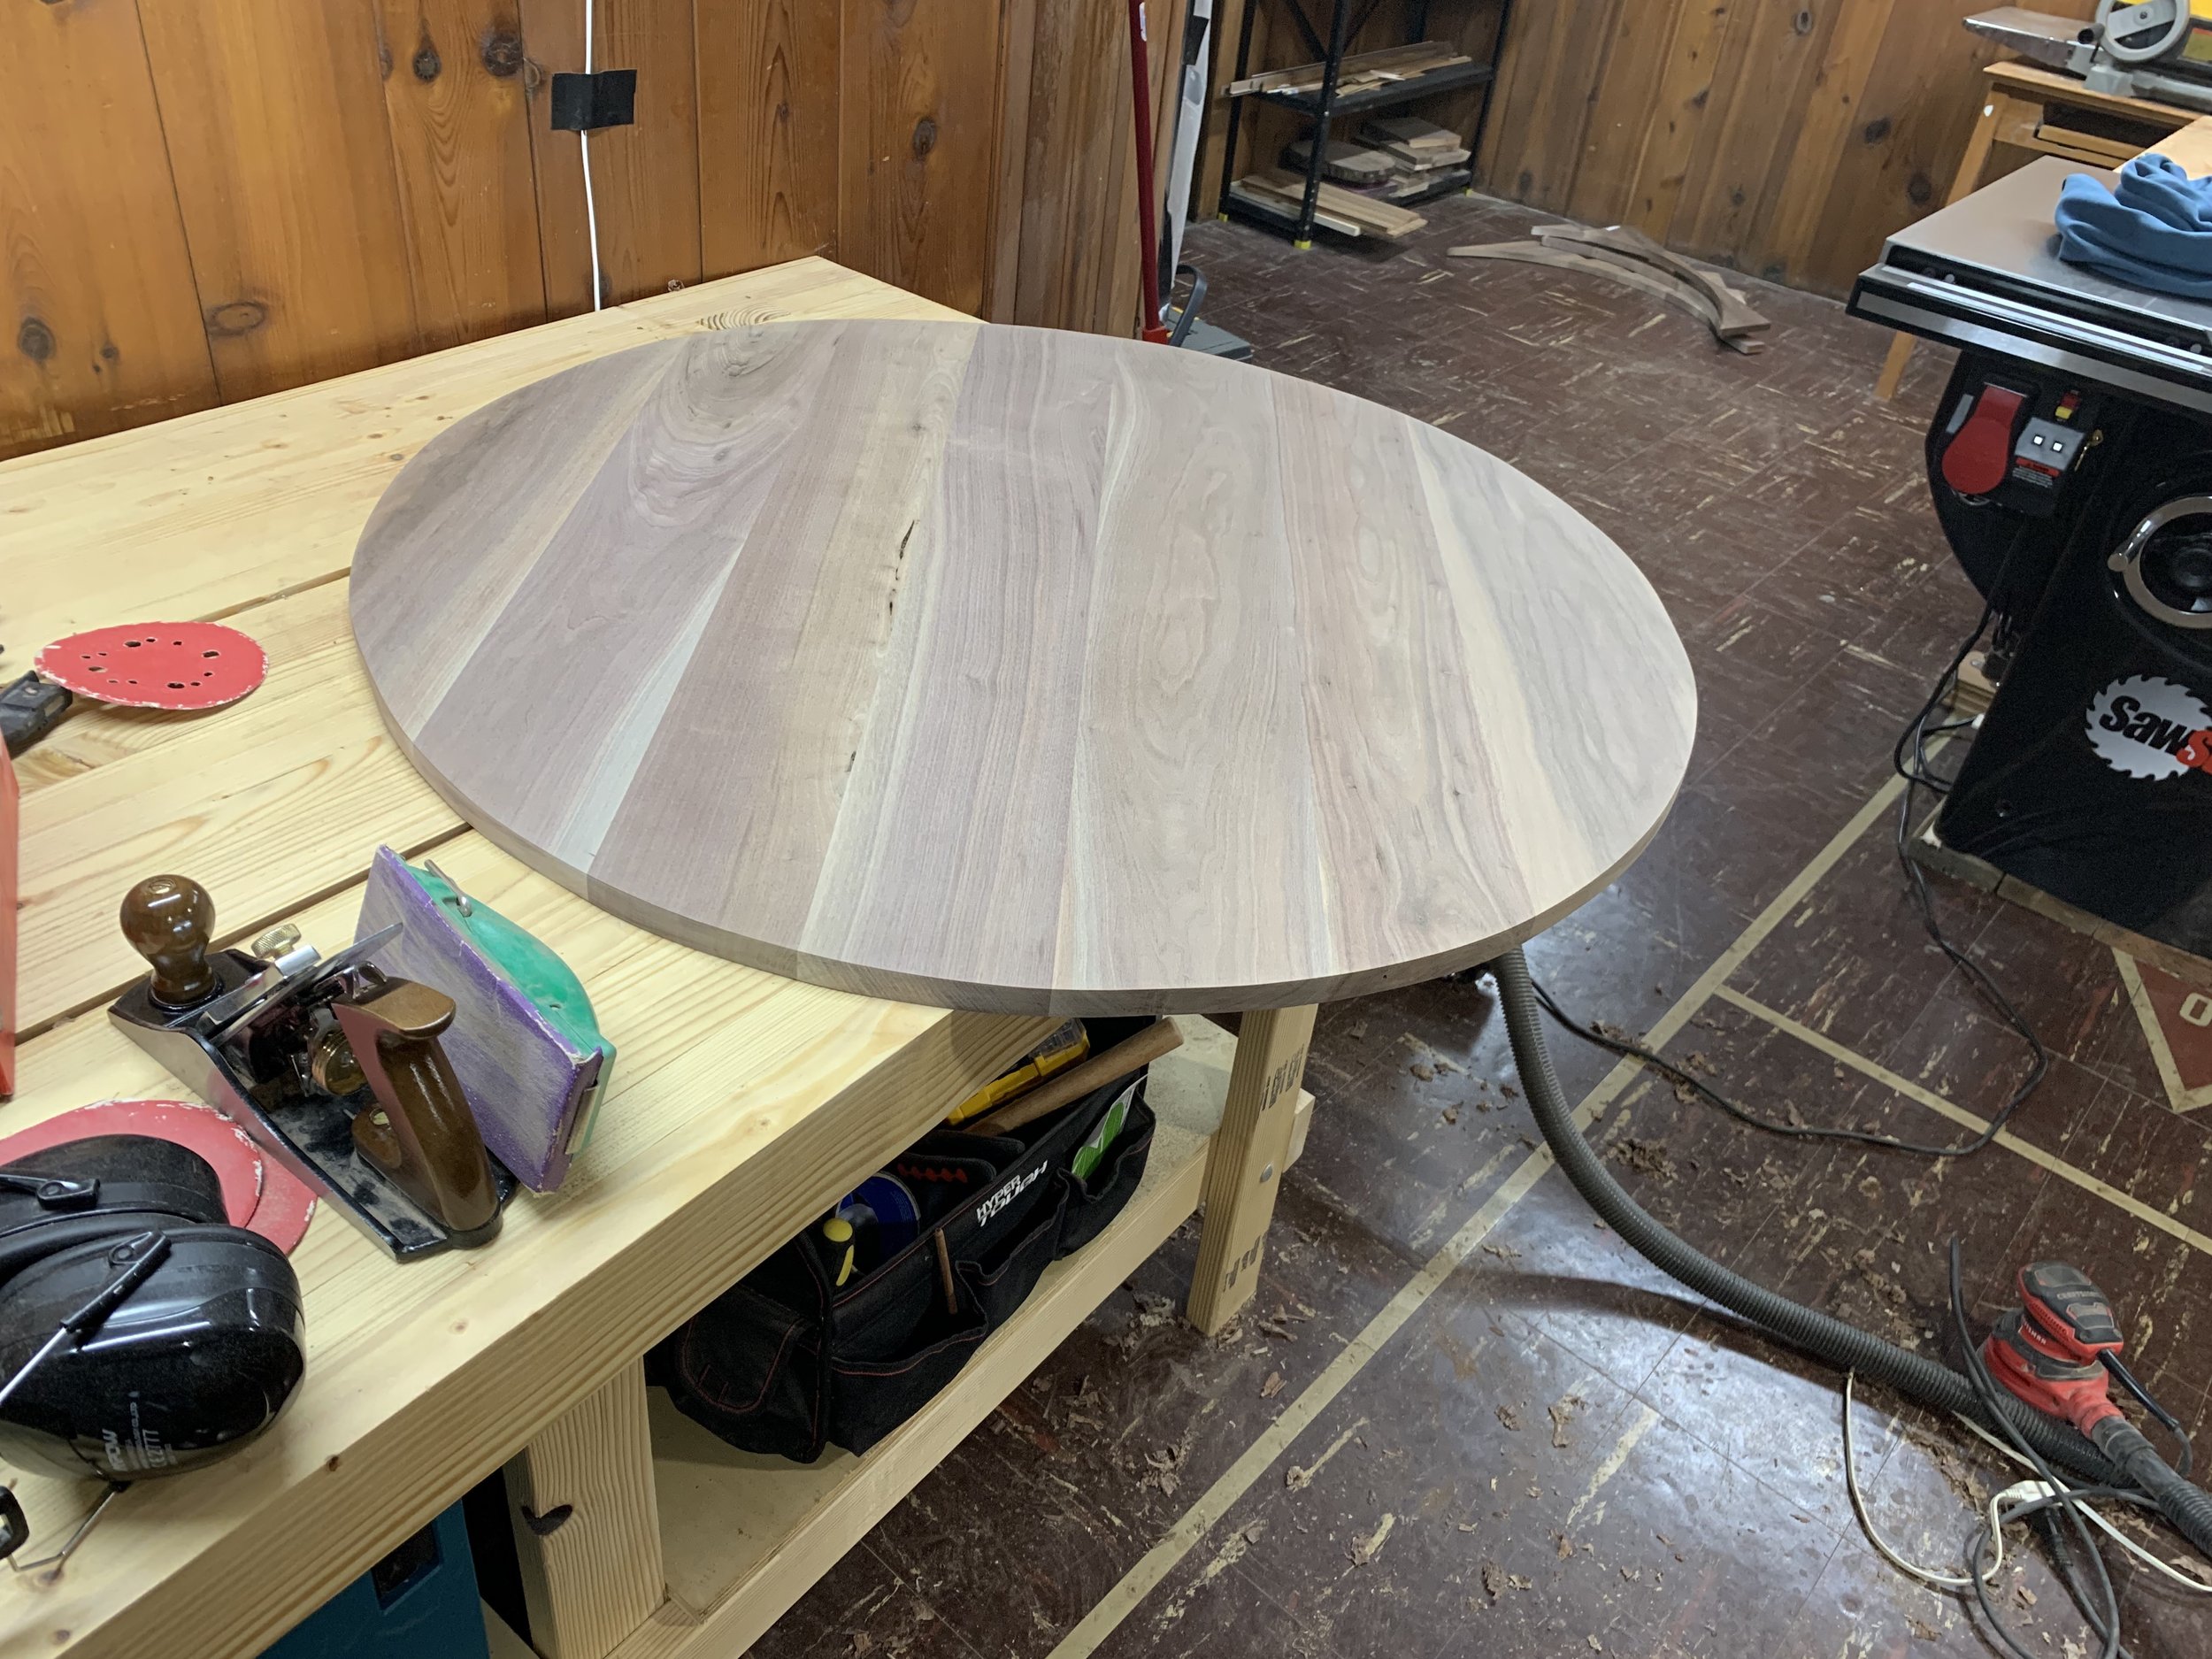
I first decided on dimensions; I modeled the size after a similar round coffee table whose size I liked: a 39” diameter. I then laminated several walnut boards together, maximizing the stock I had, and using dowel joinery to help with the glue up. After I glued the boards together, I traced the circumference of a reference circular glass table top to get my final dimension. Last, I used my jig saw to cut to final size and softened the result outside edge using my orbital sander - but chose to leave the edges sharp and not rounded. To flatten the top I practiced my hand tool skills and used a cheap hand plane to make both sides of the top even.
Creating the Base
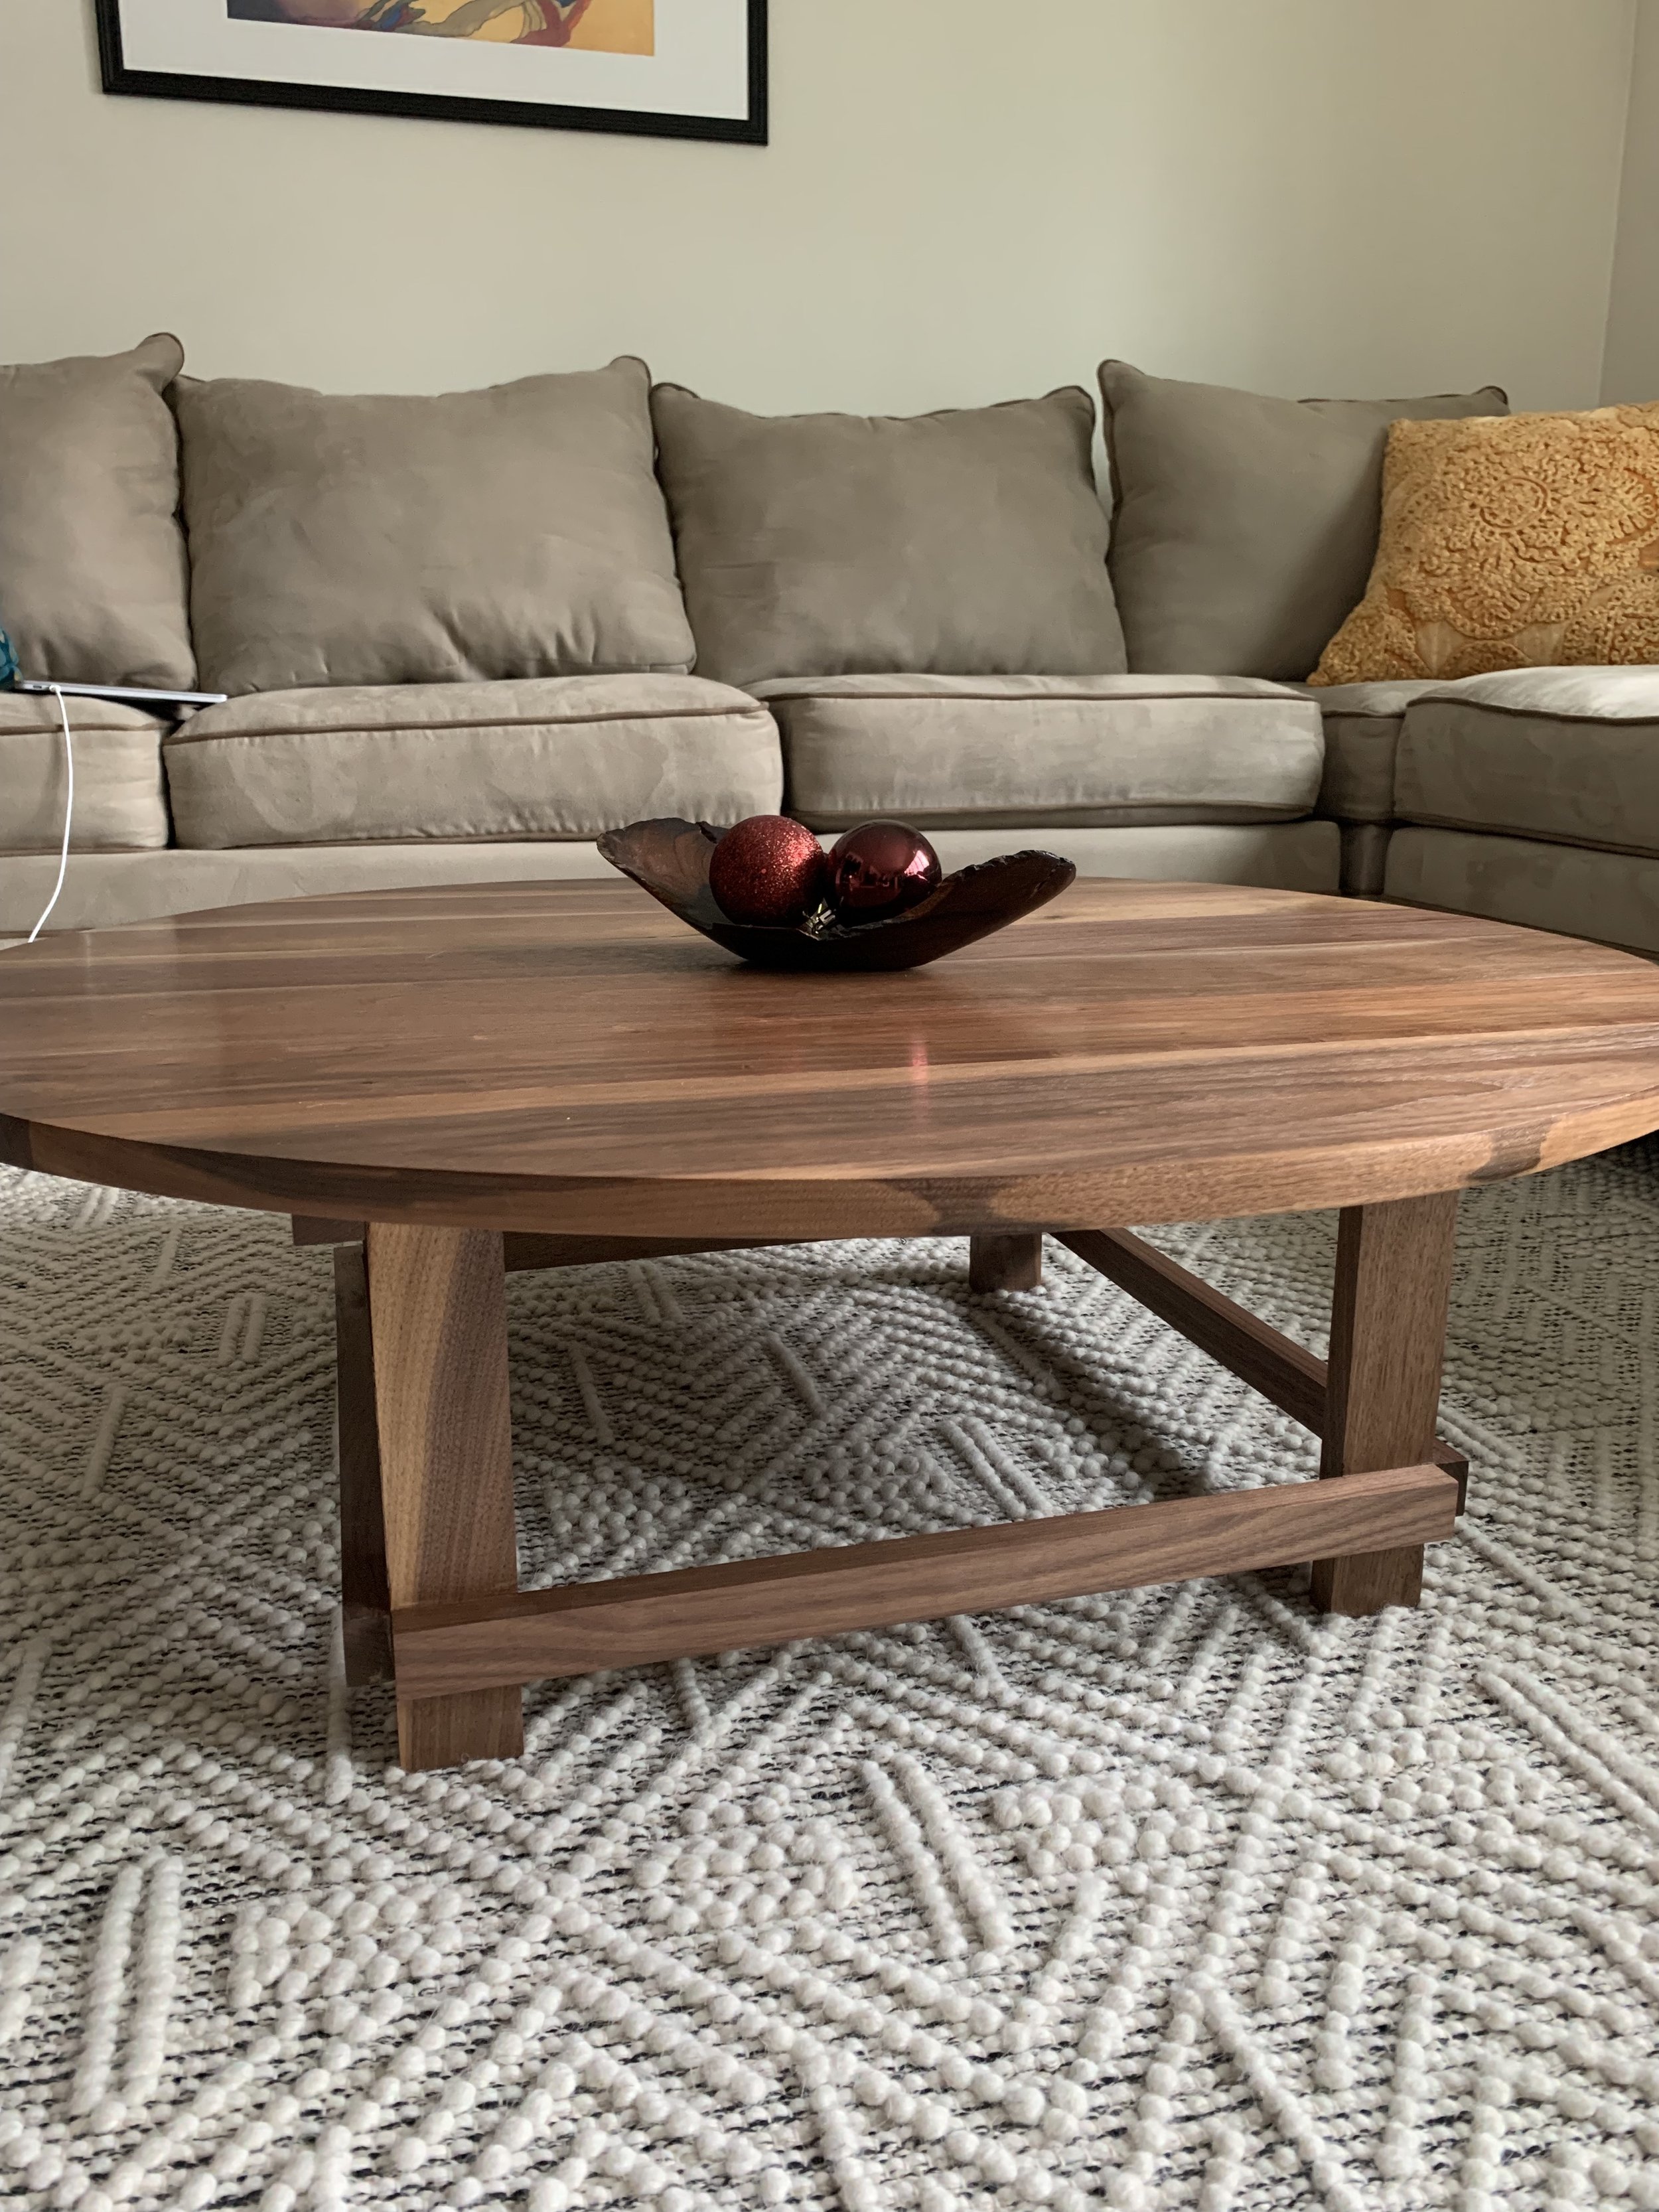
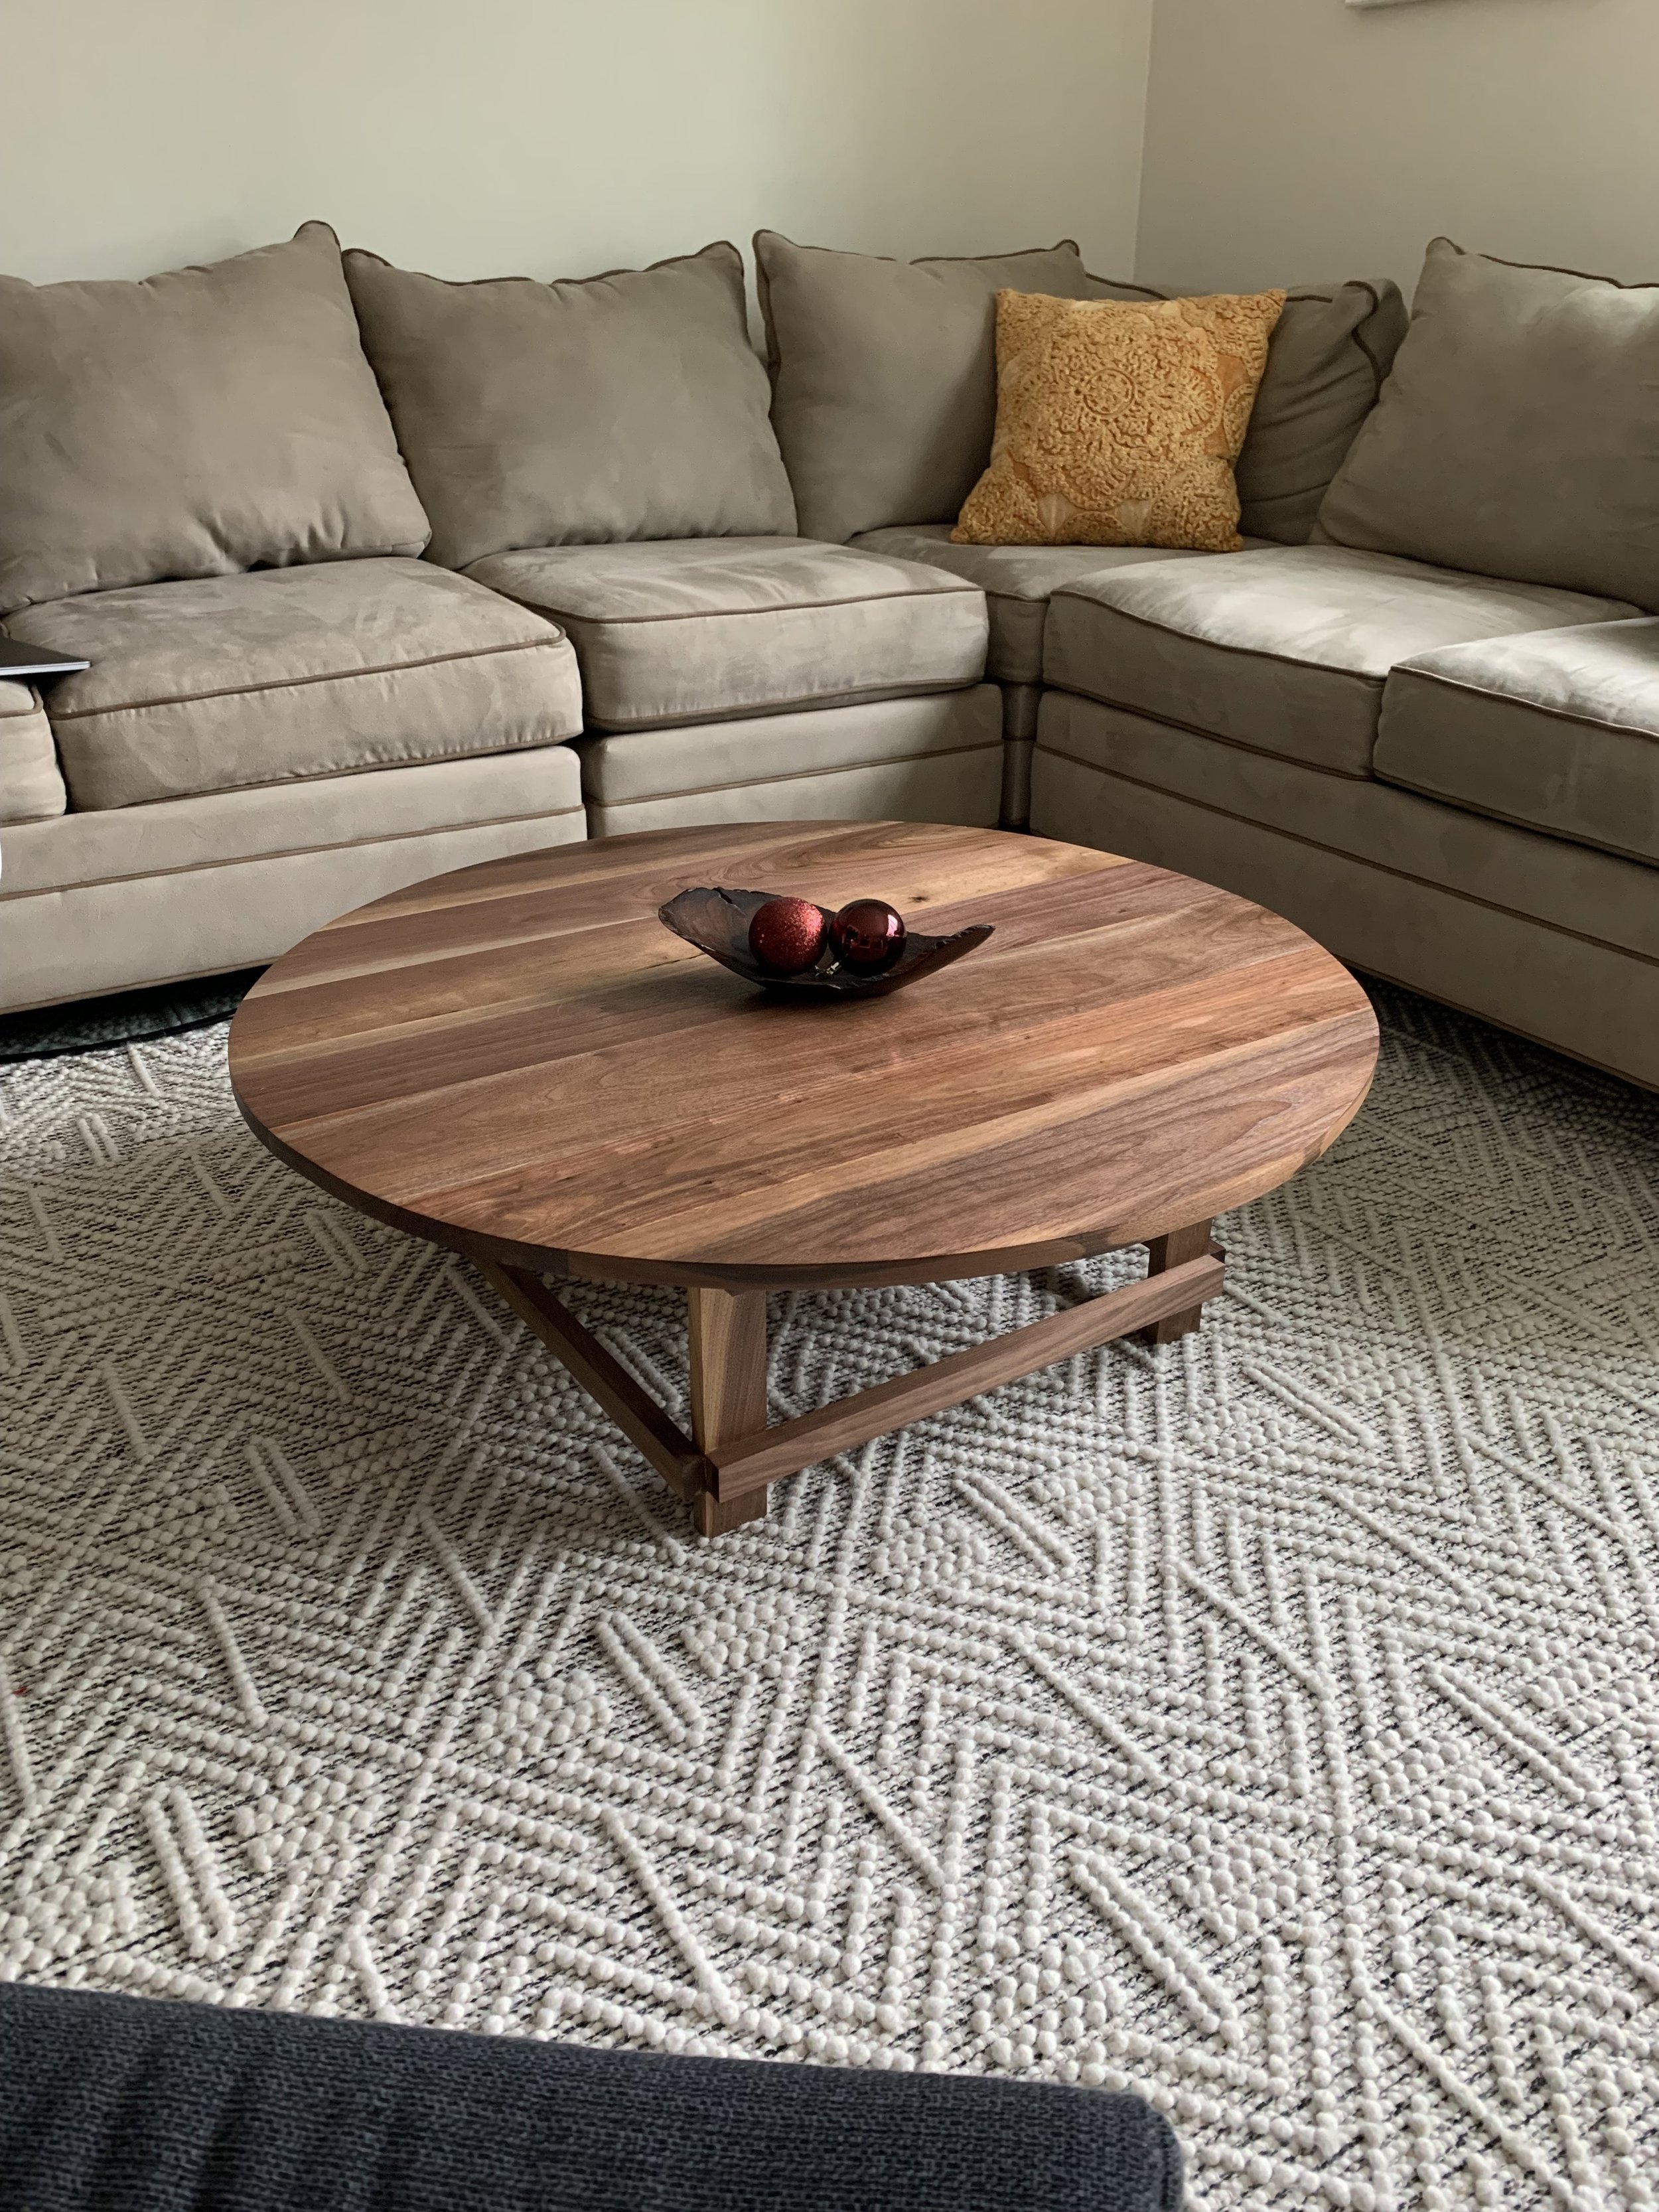
I knew I wanted a simple, modern, and square design for the coffee table base. Outside of that, I really just came up with the design as I went, with a few rules being:
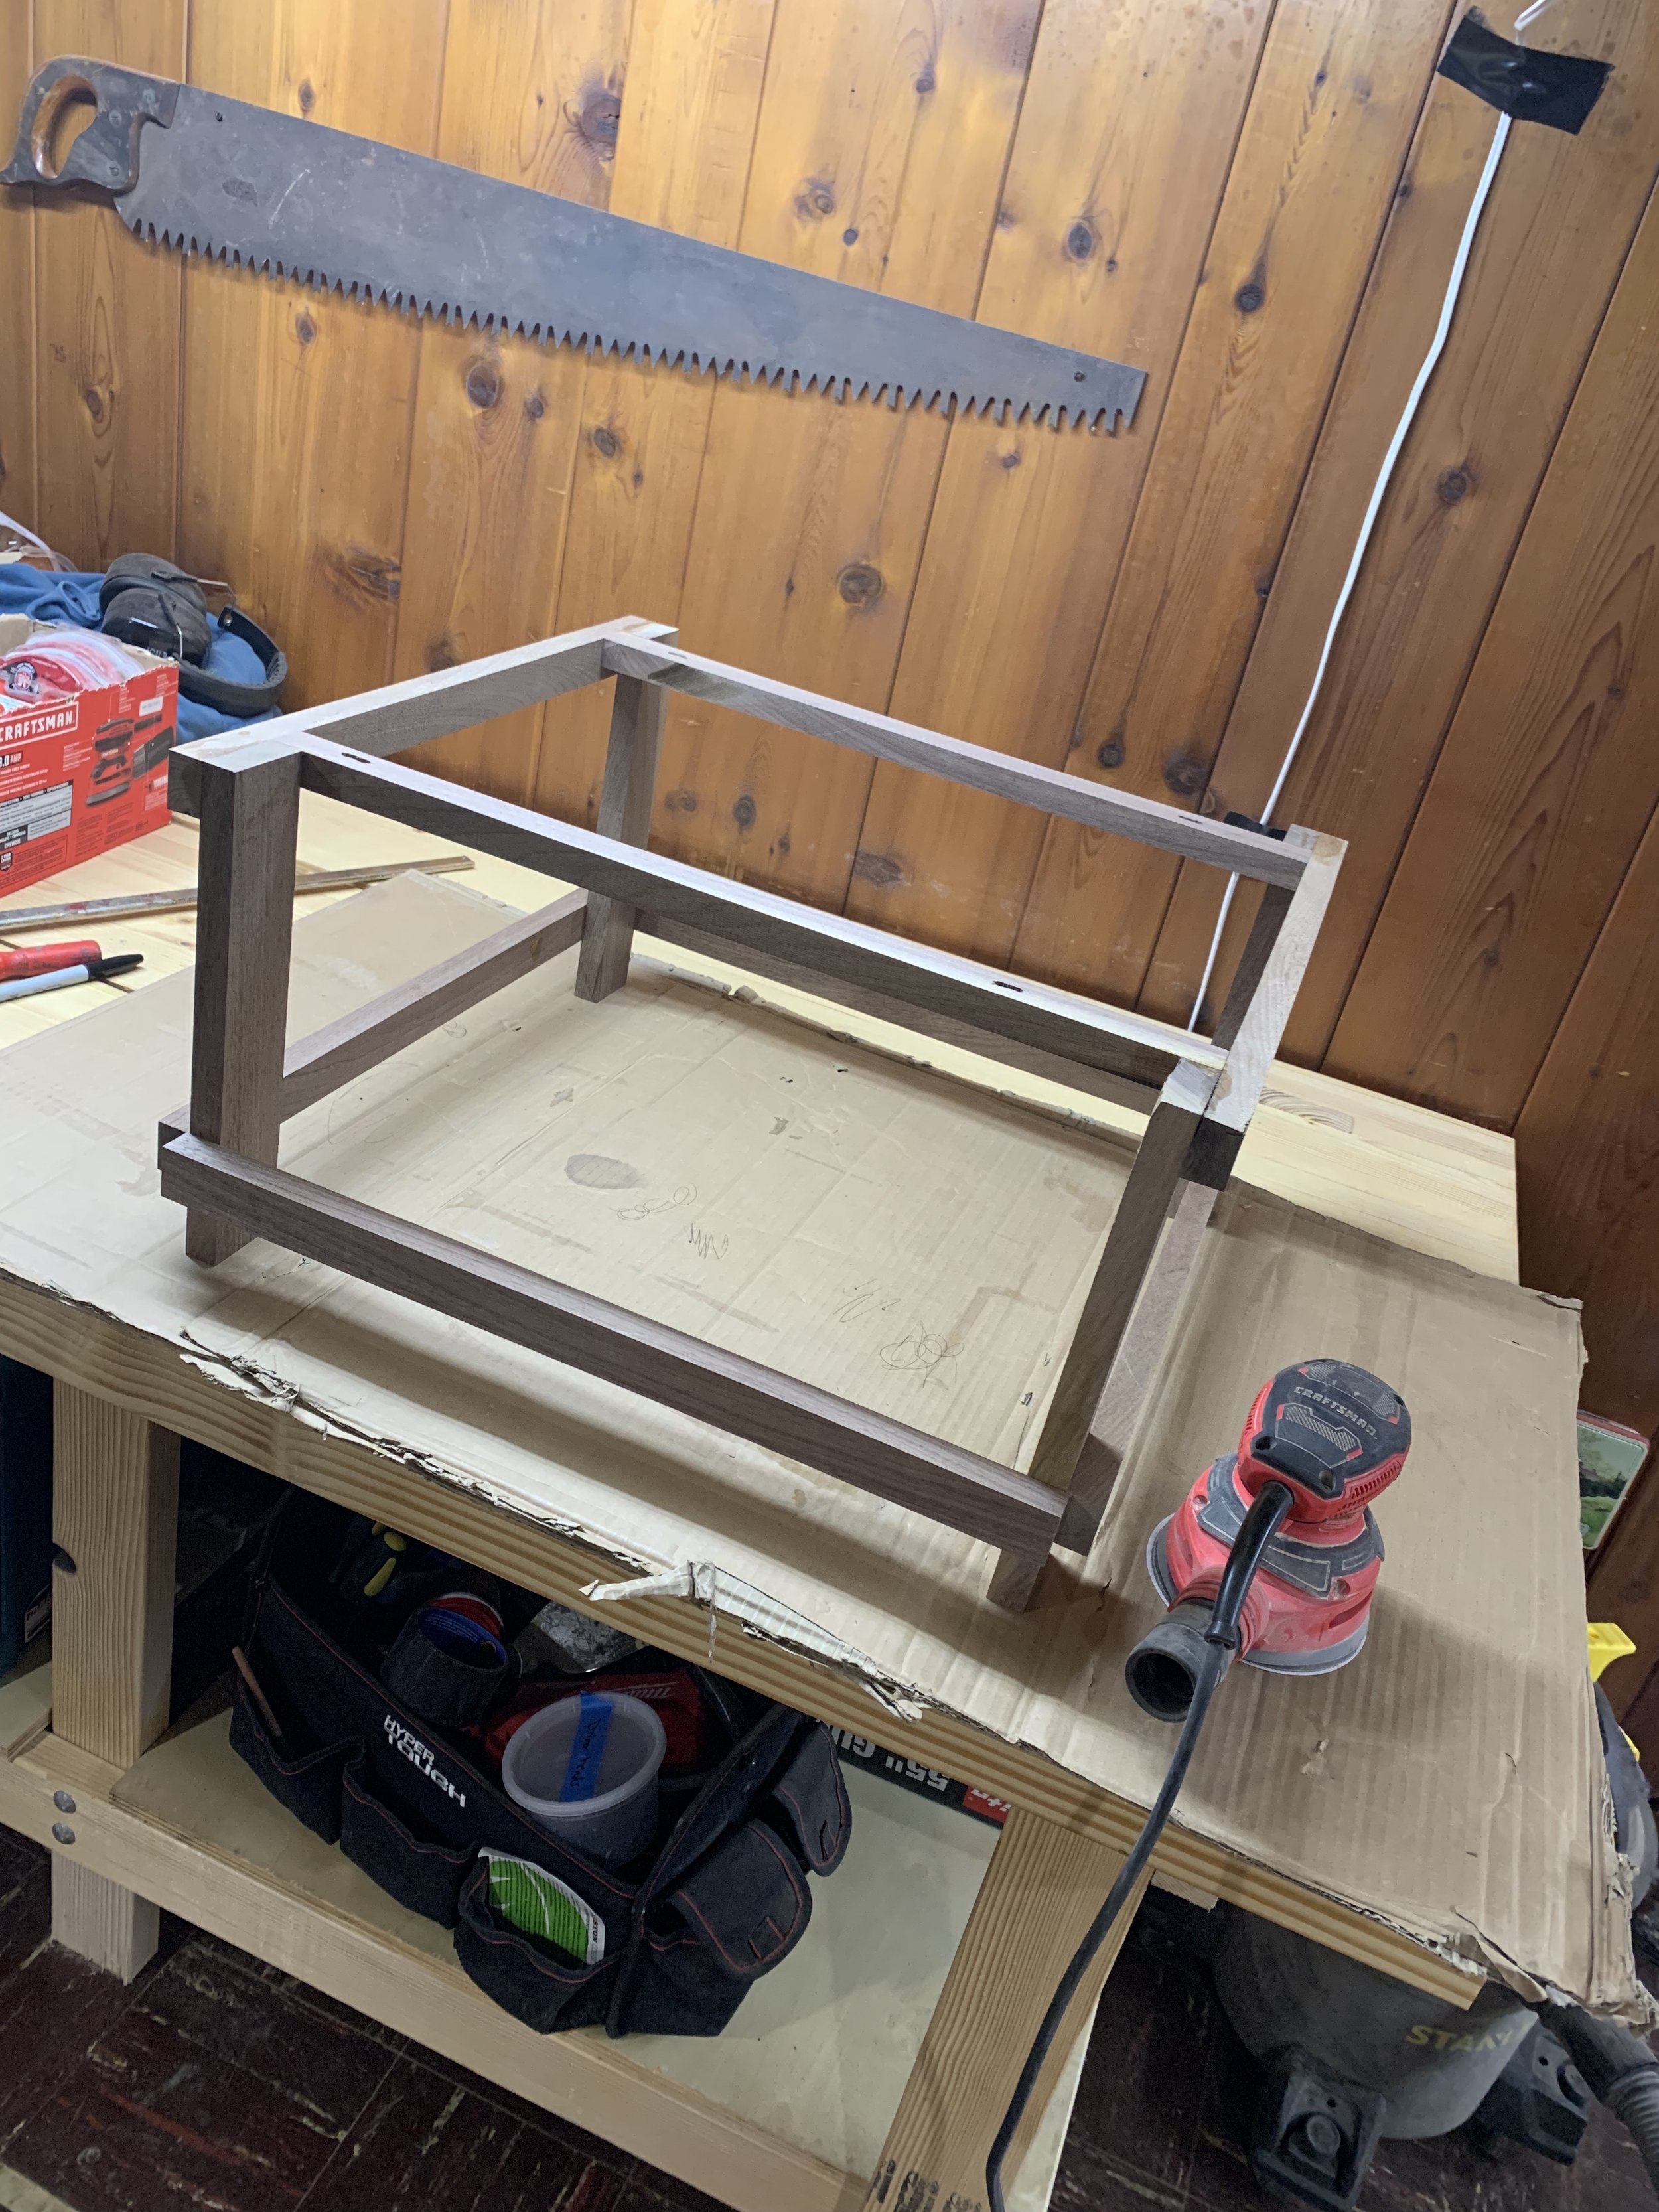
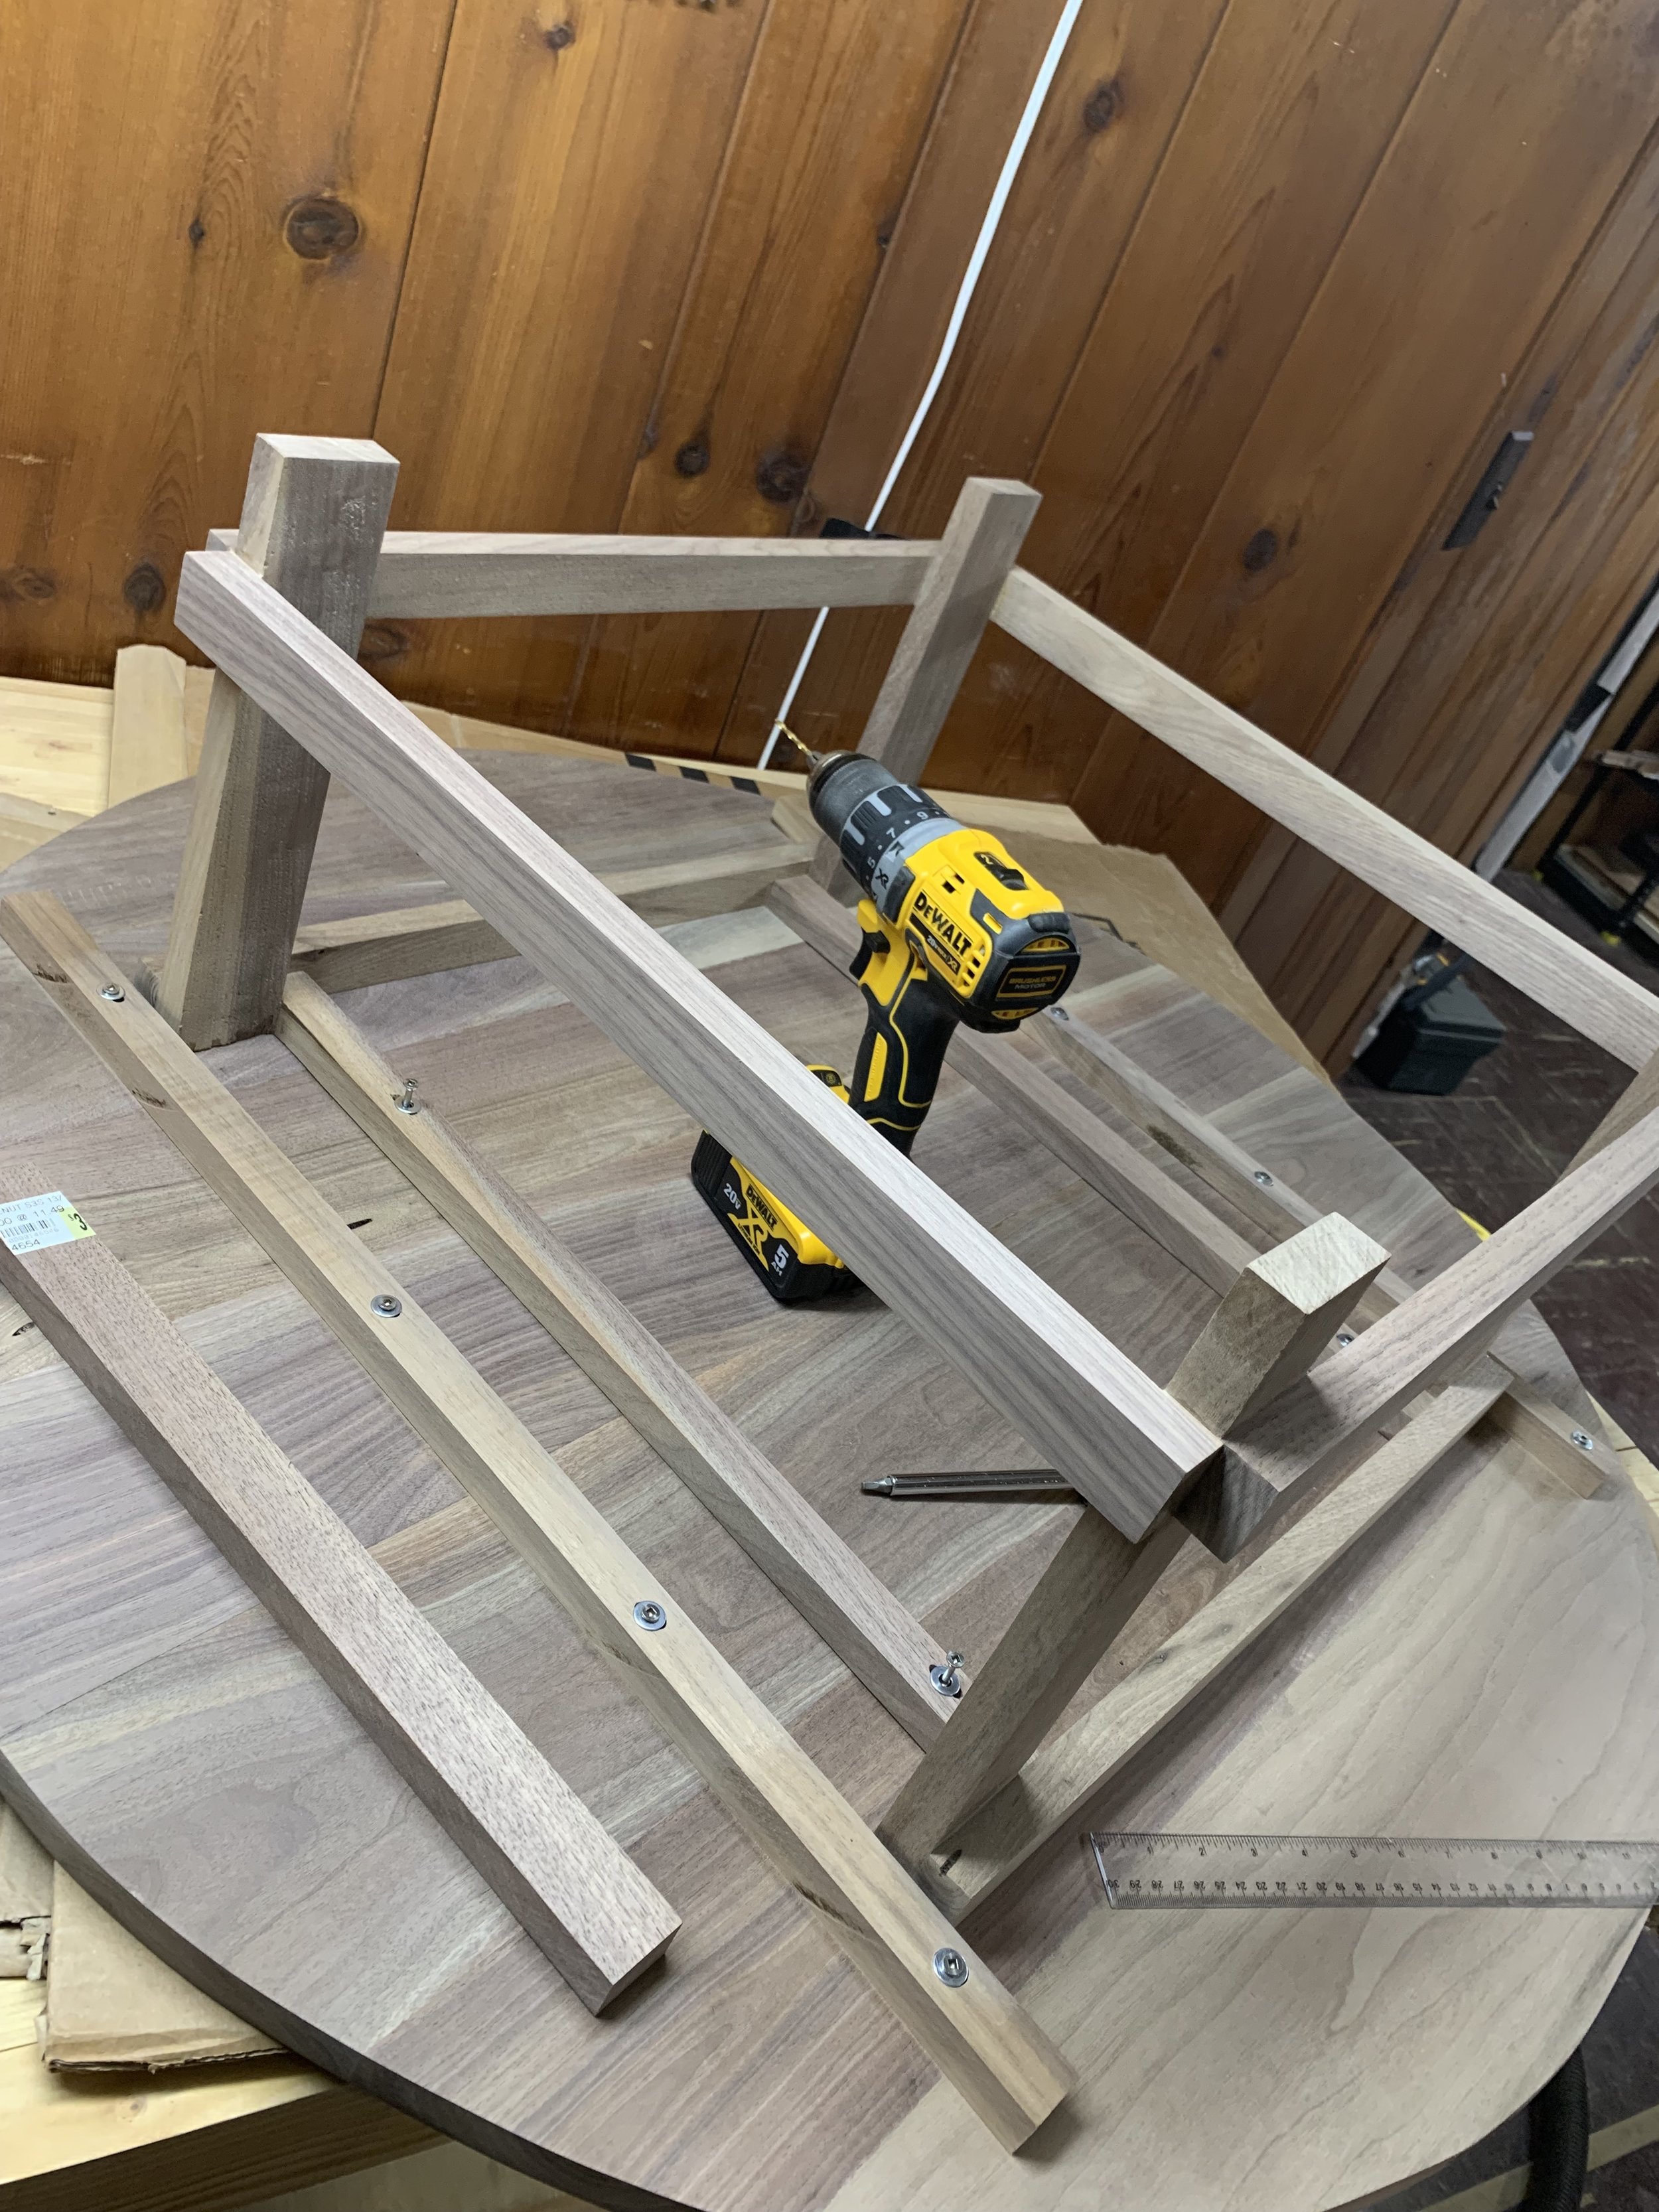
I wanted aprons connecting all 4 legs together to maximize sturdiness, and wanted aprons on both the top and bottom of each leg
The aprons would be attached long grain to long grain for a strong joint
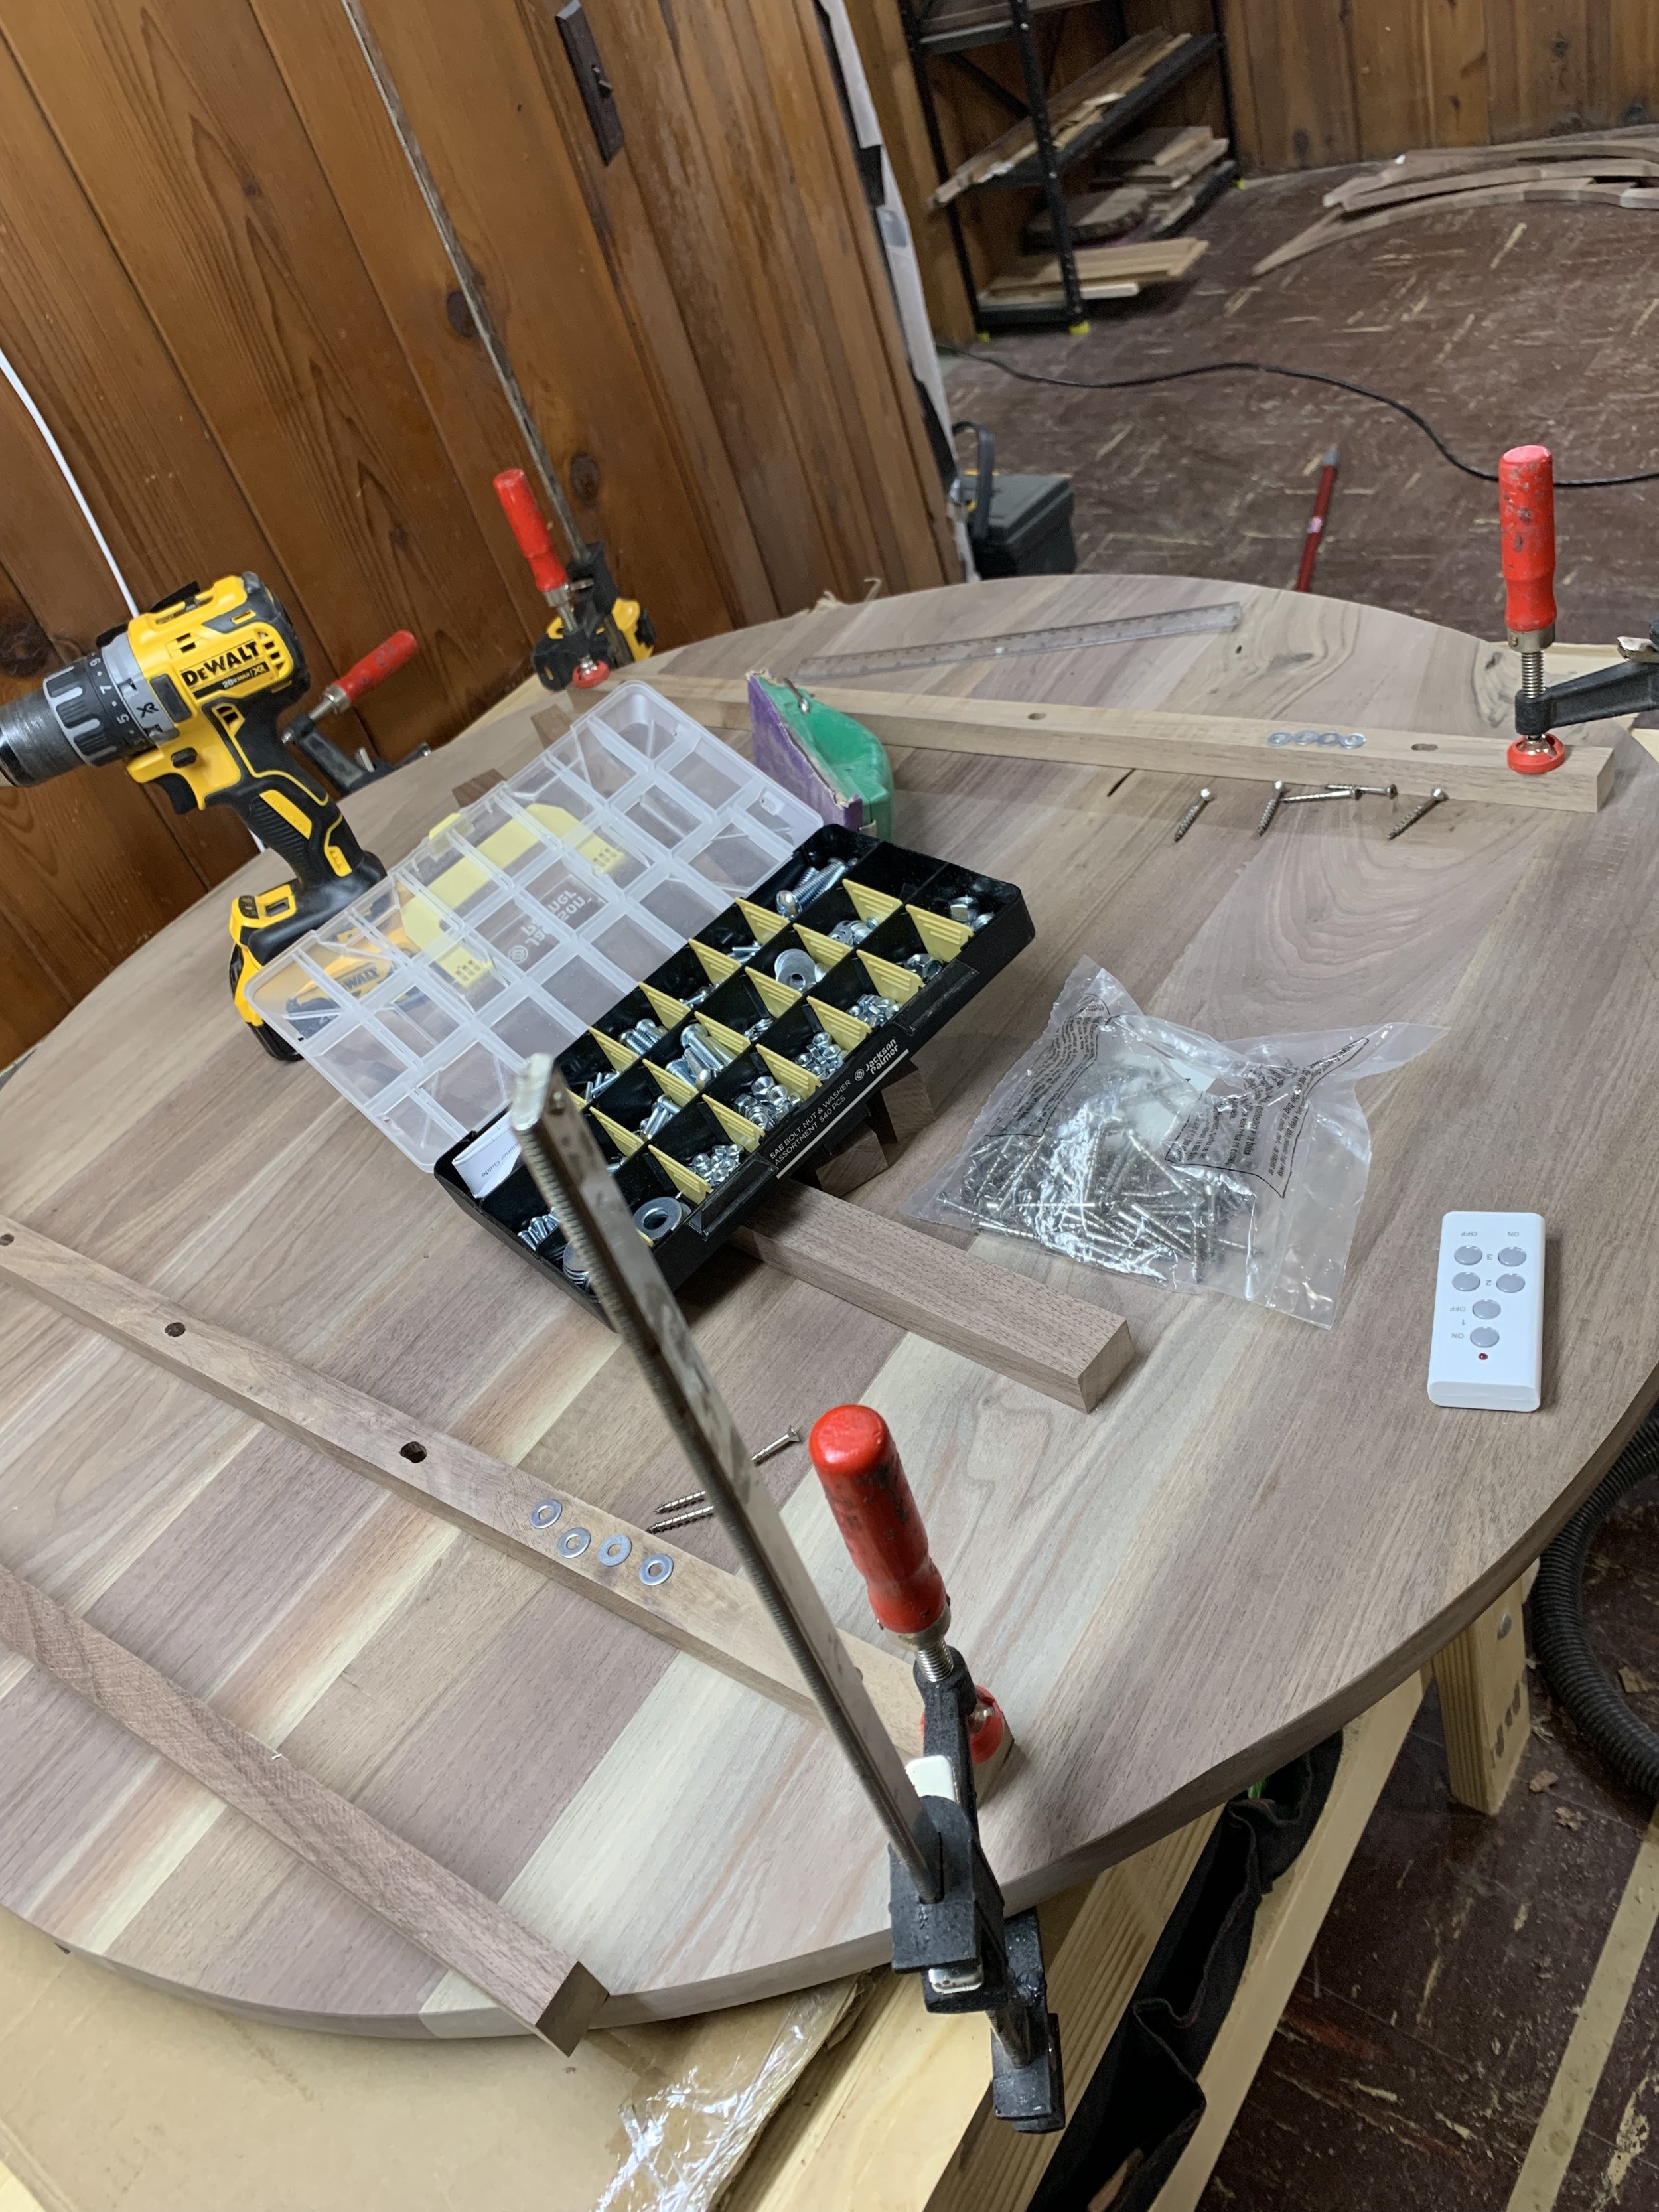
The base must be removable, and screw into the top, and allow the wood top to expand and contract across the grain seasonally
The legs shouldn’t be too close to the outside perimeter of the table where knees are bumping or toes are being stubbed, but should be far enough from the center so that the table is sturdy and does not topple if elbows or excessive force is applied to one side
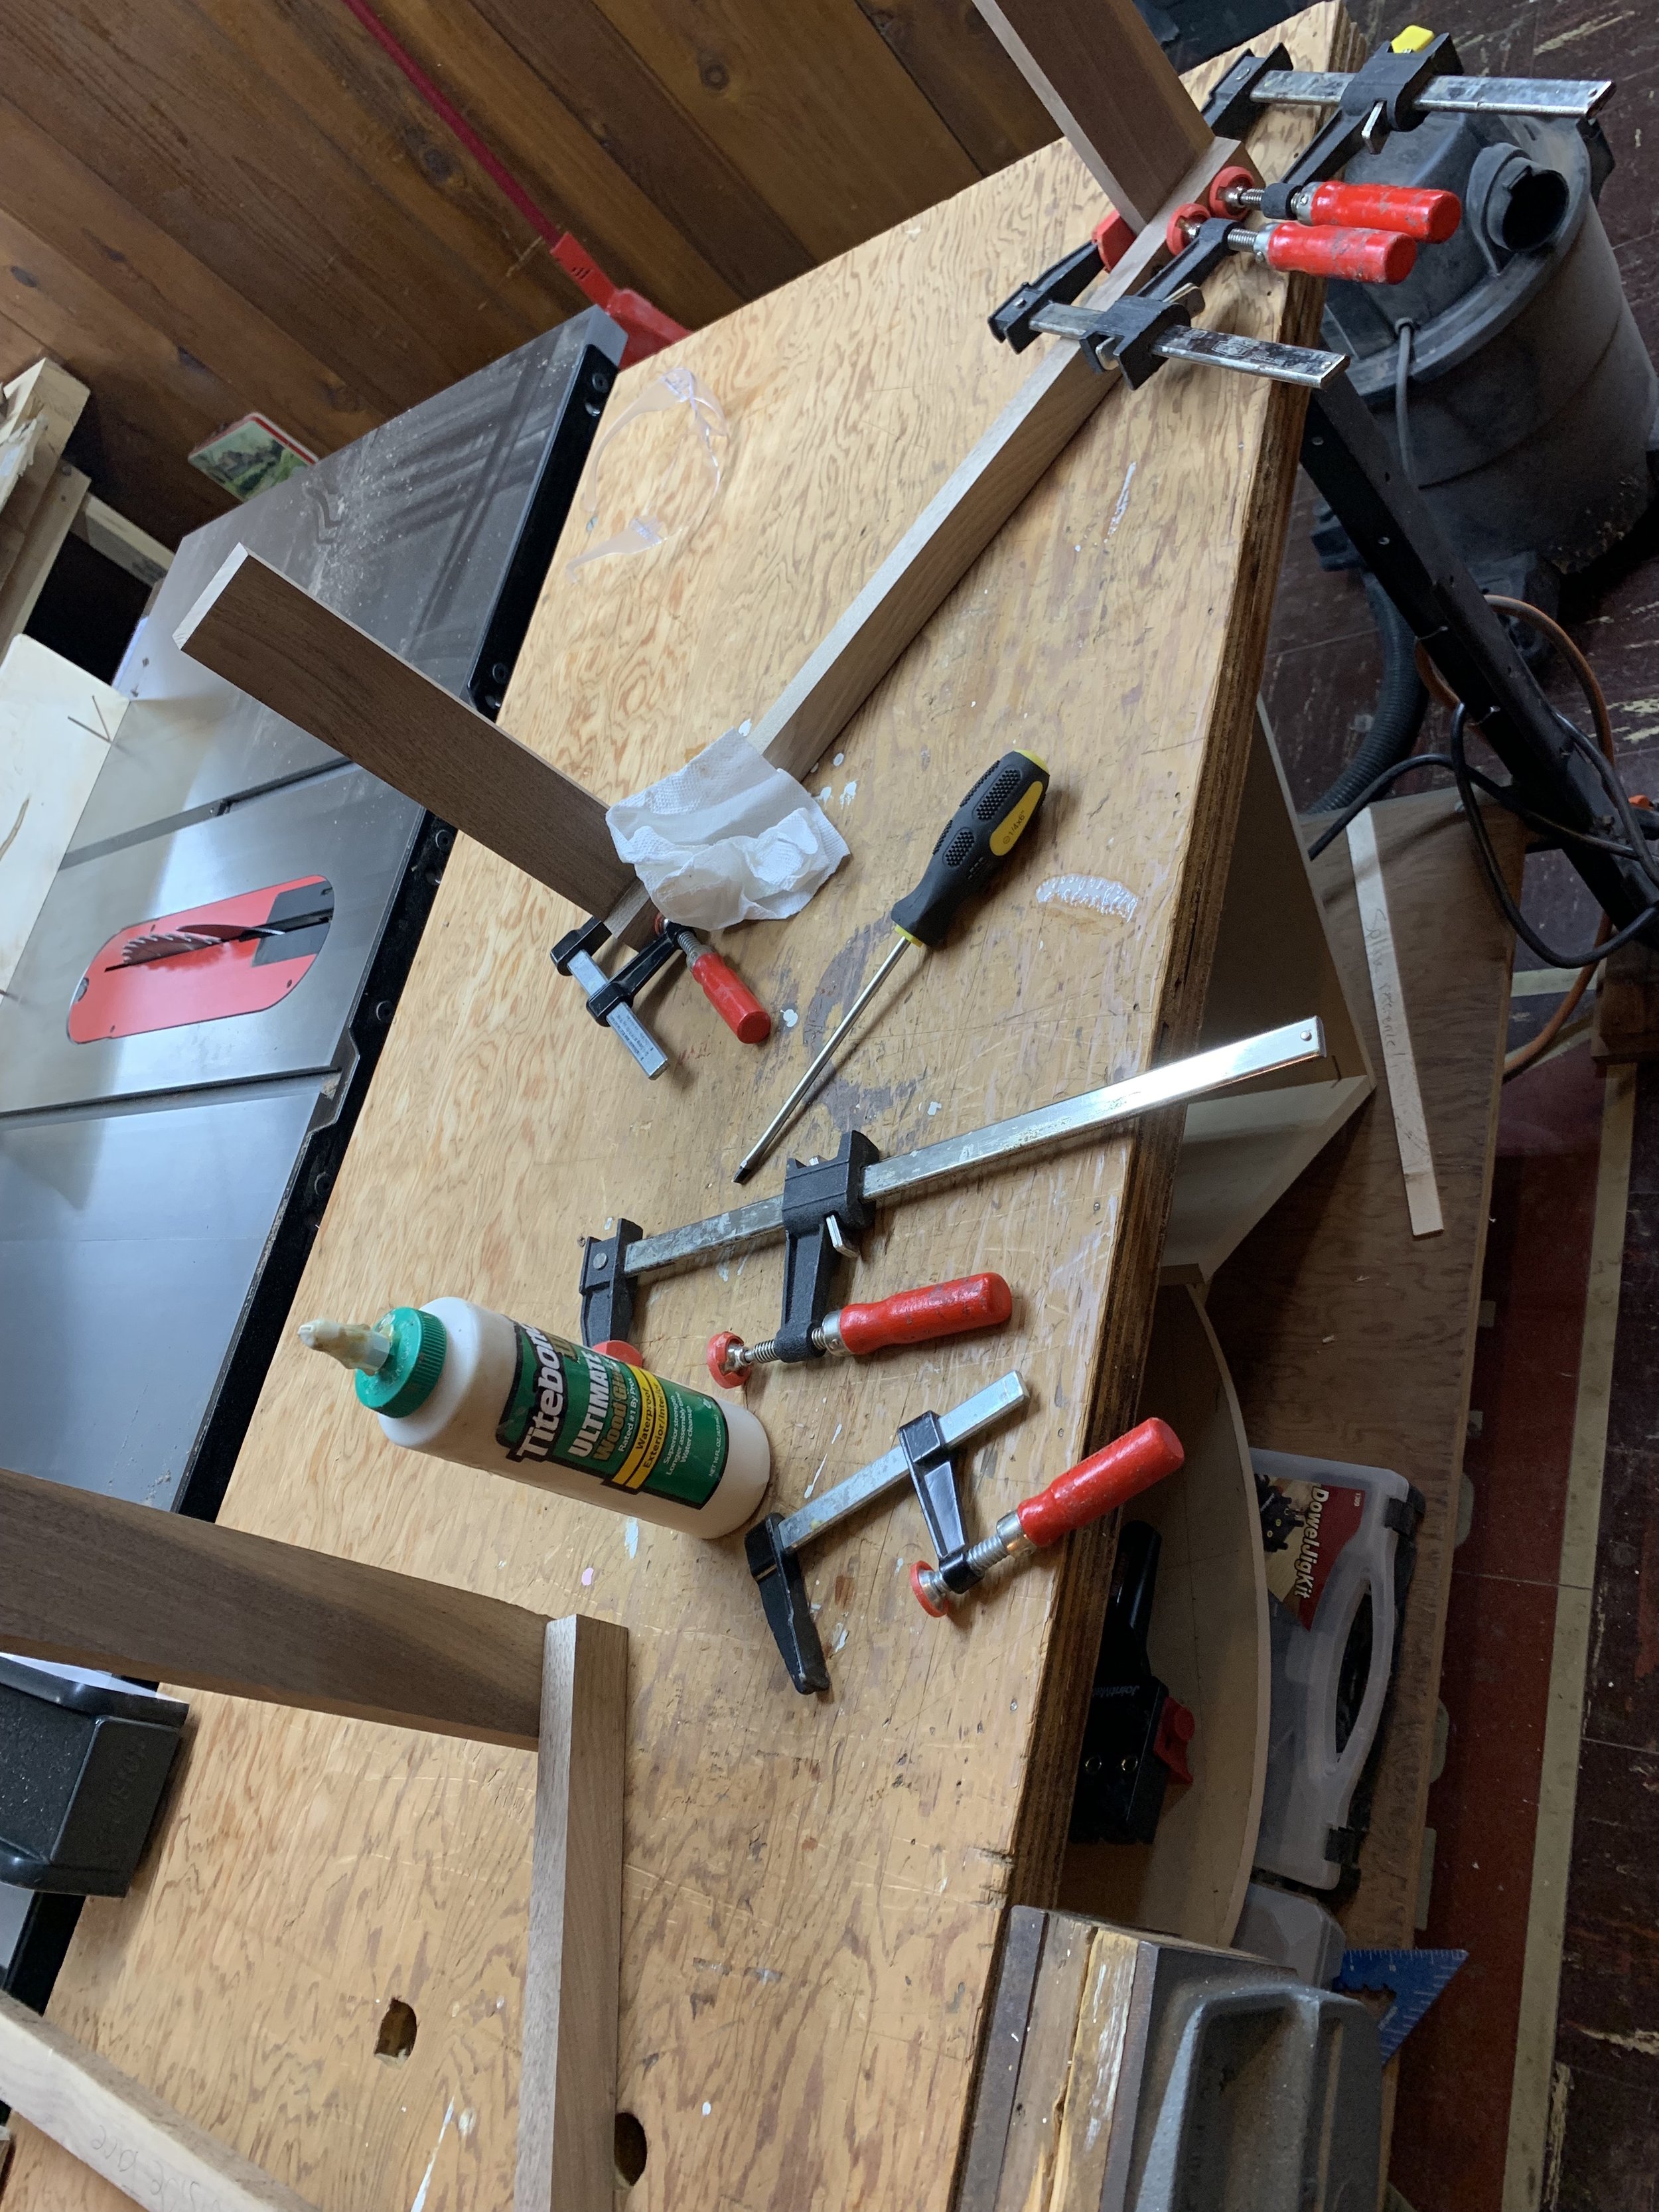
When creating the base, I flipped the coffee table onto its back side and frequently brought the stock over to perform dry assembly tests of what my design looked like until I came to a design I was happy with and was ready to glue together. I screwed some walnut braces to the underside of the top to keep the top from bowing or cupping over time. I attached the base in the same way - using screws with elongated holes to allow the top to expand and contract across the grain.
