Project Story
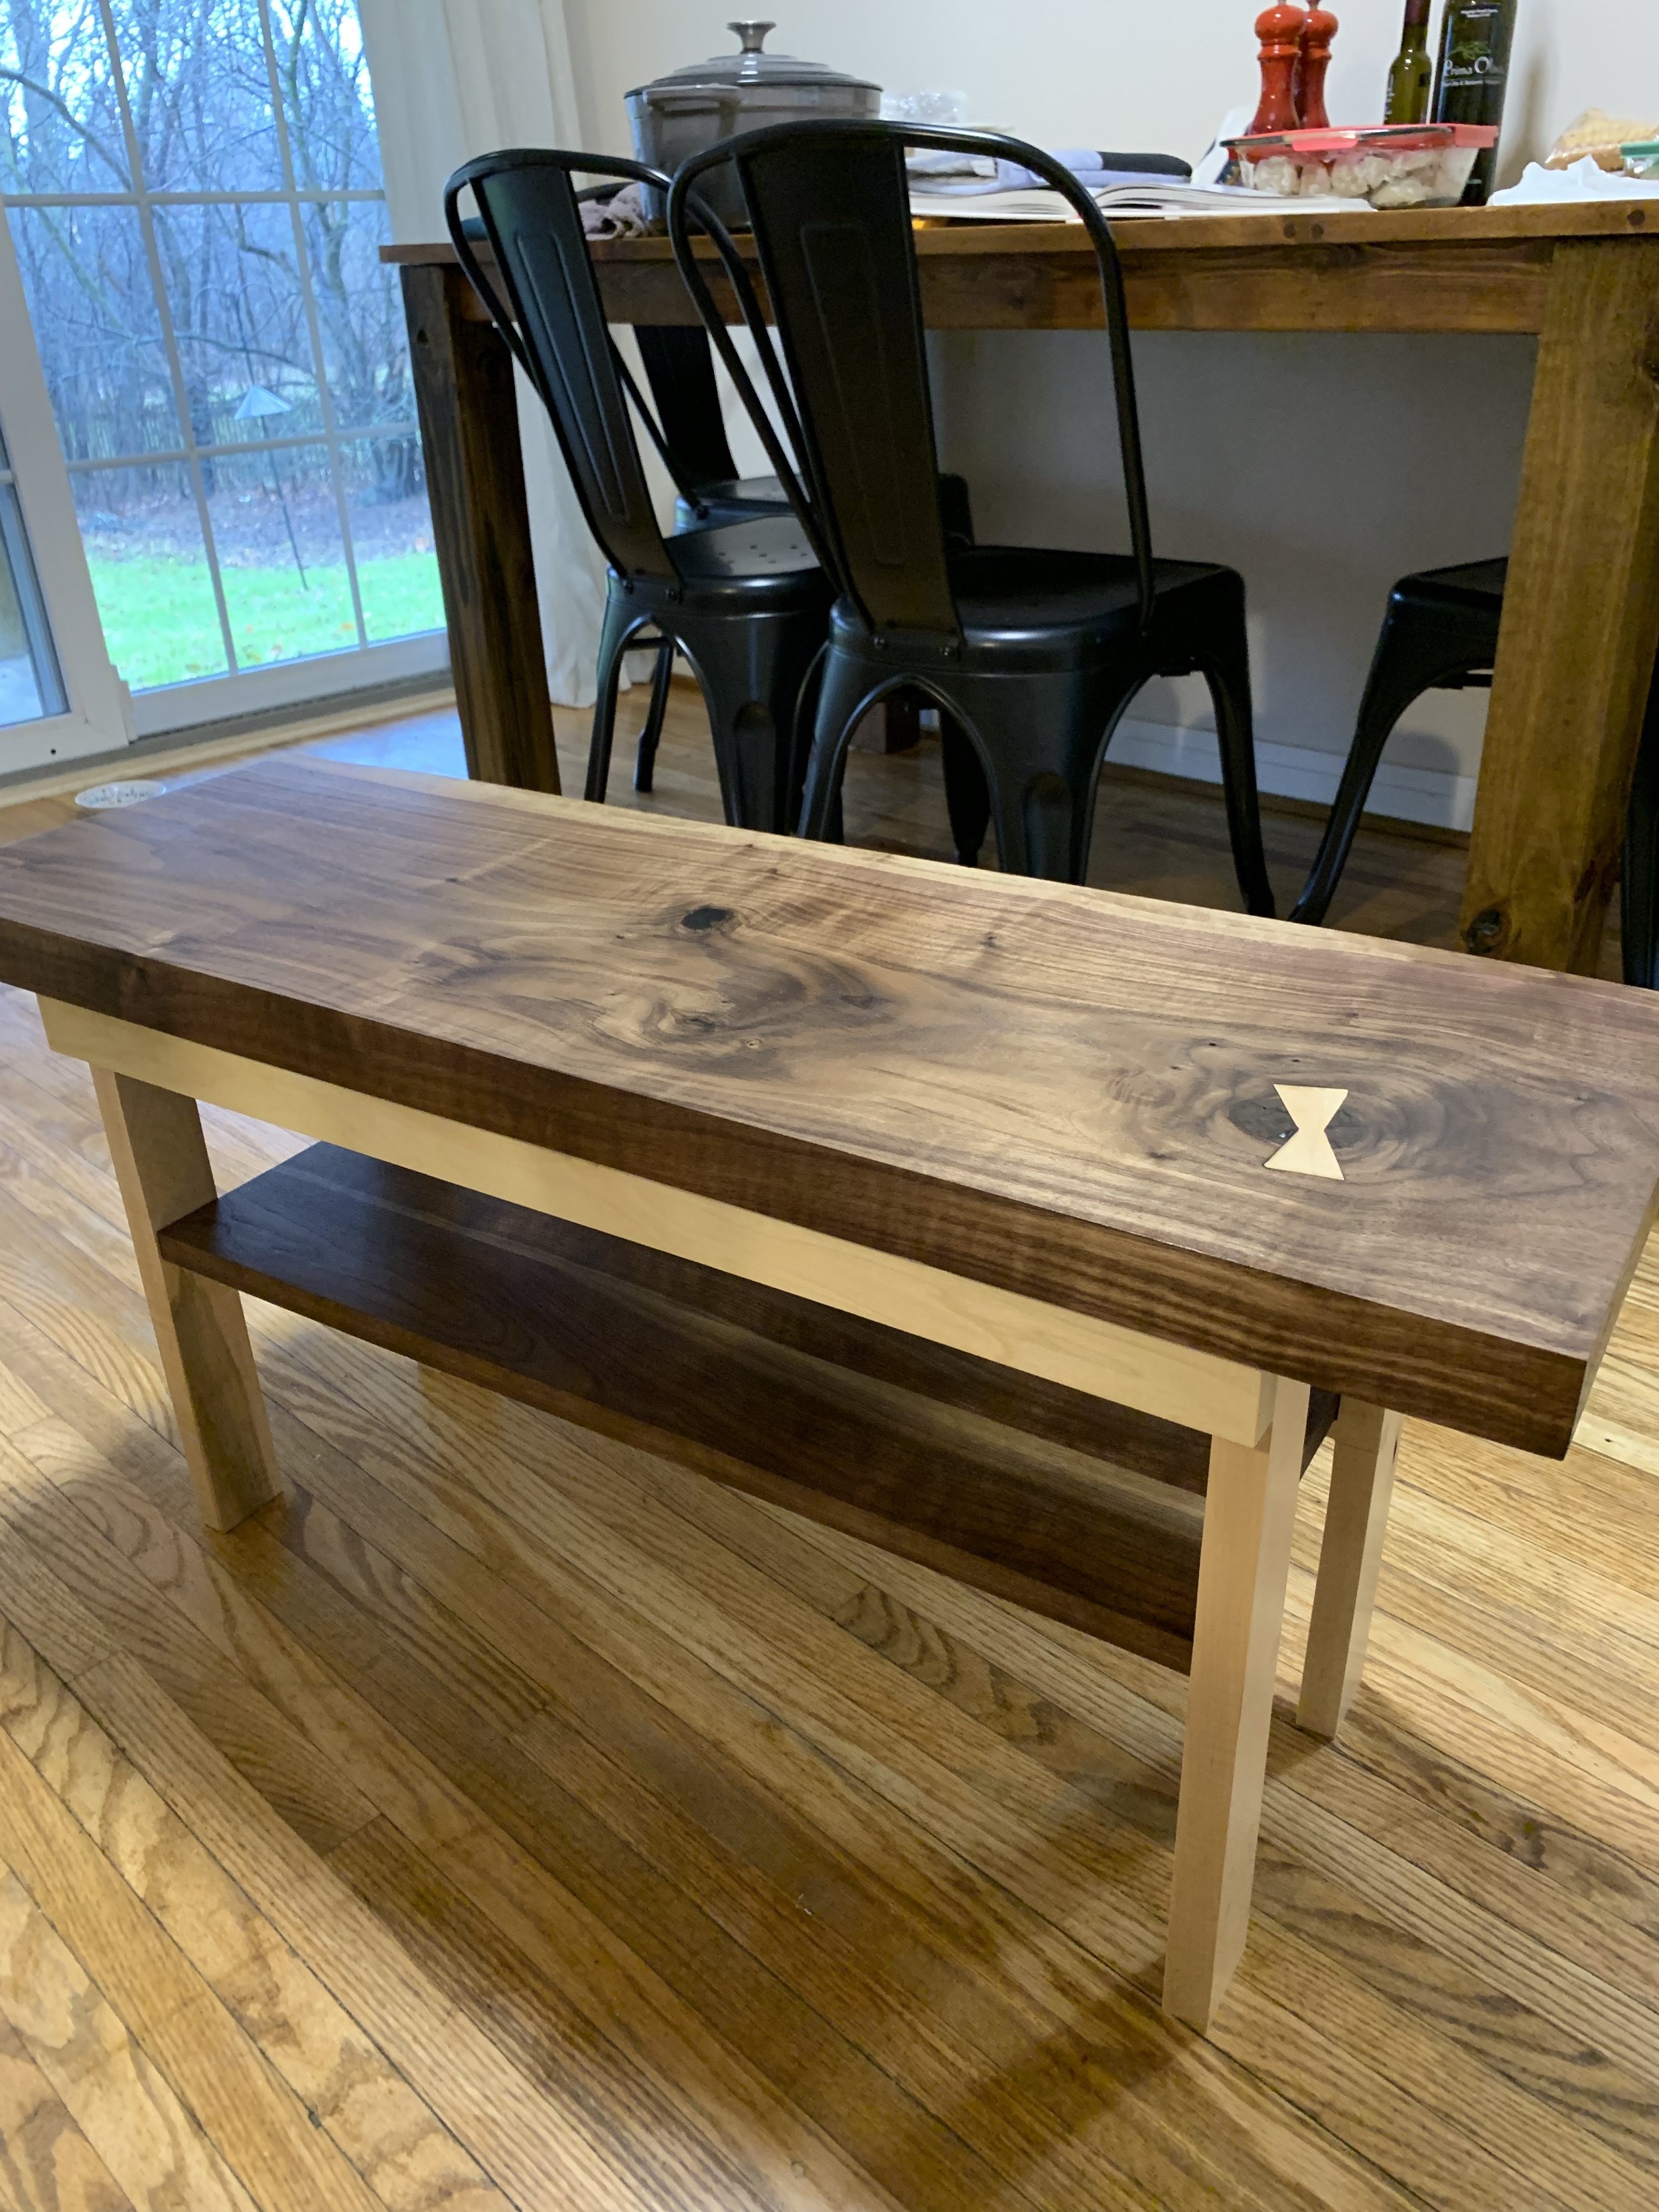
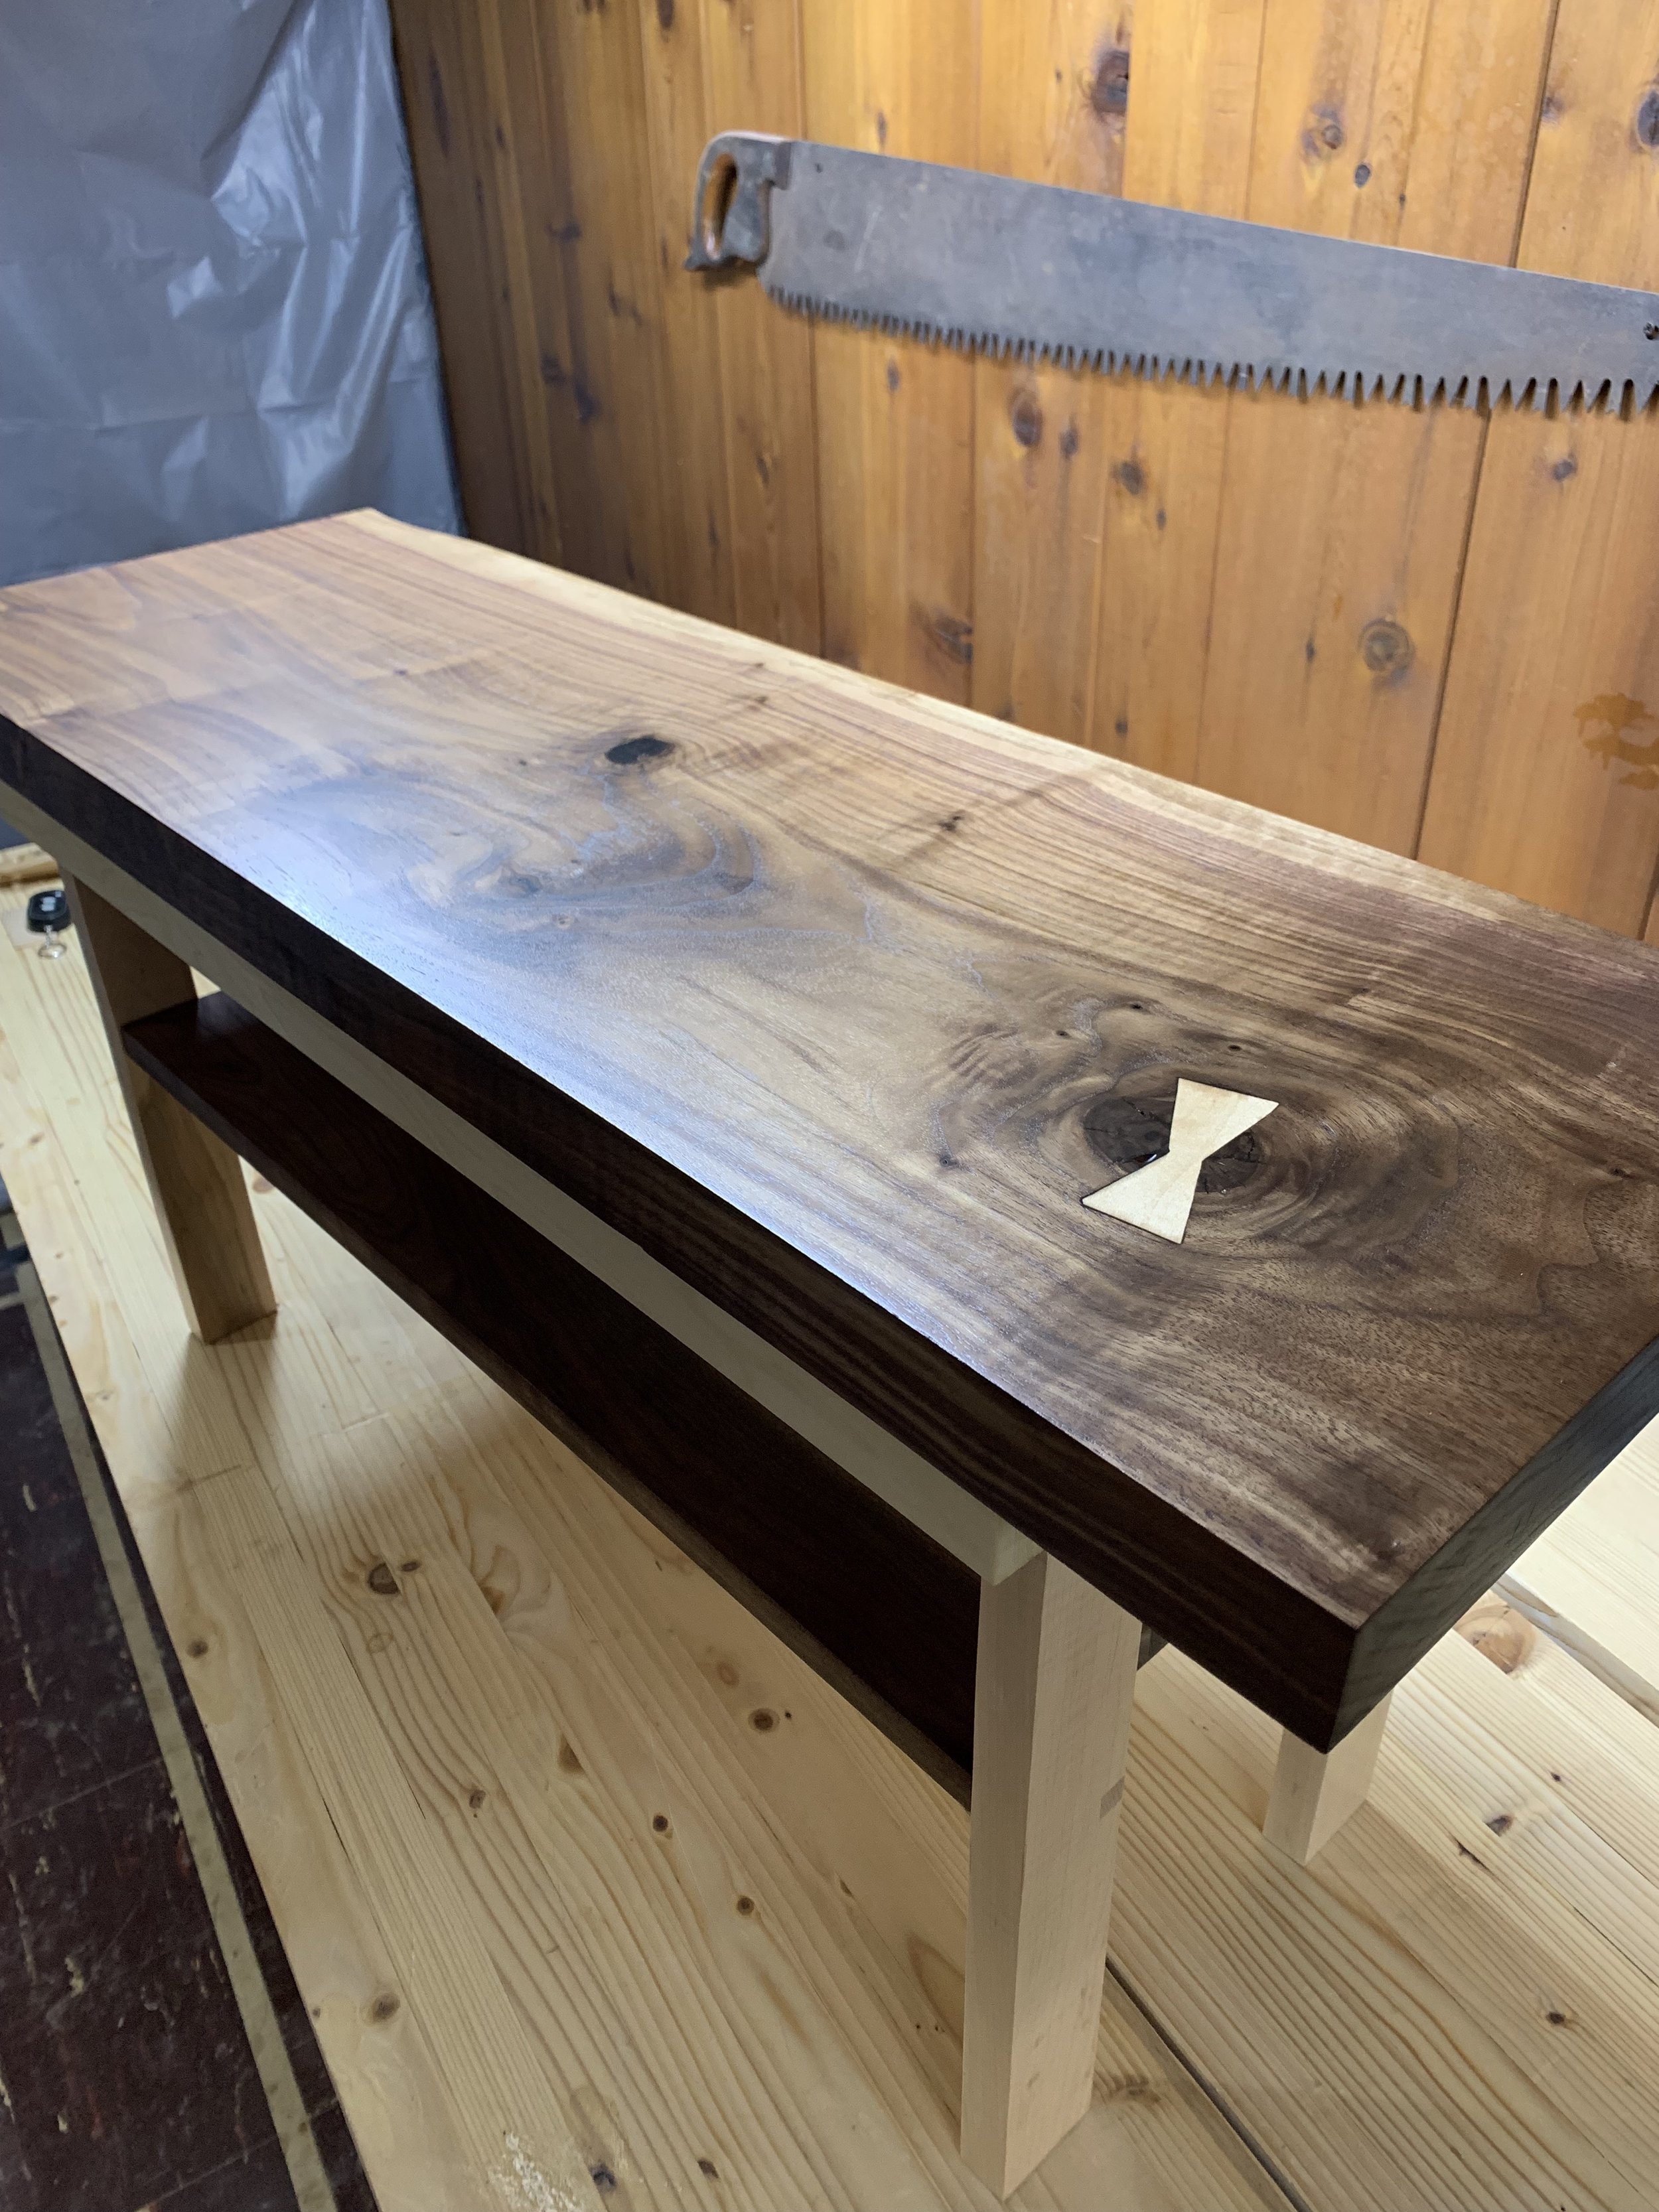
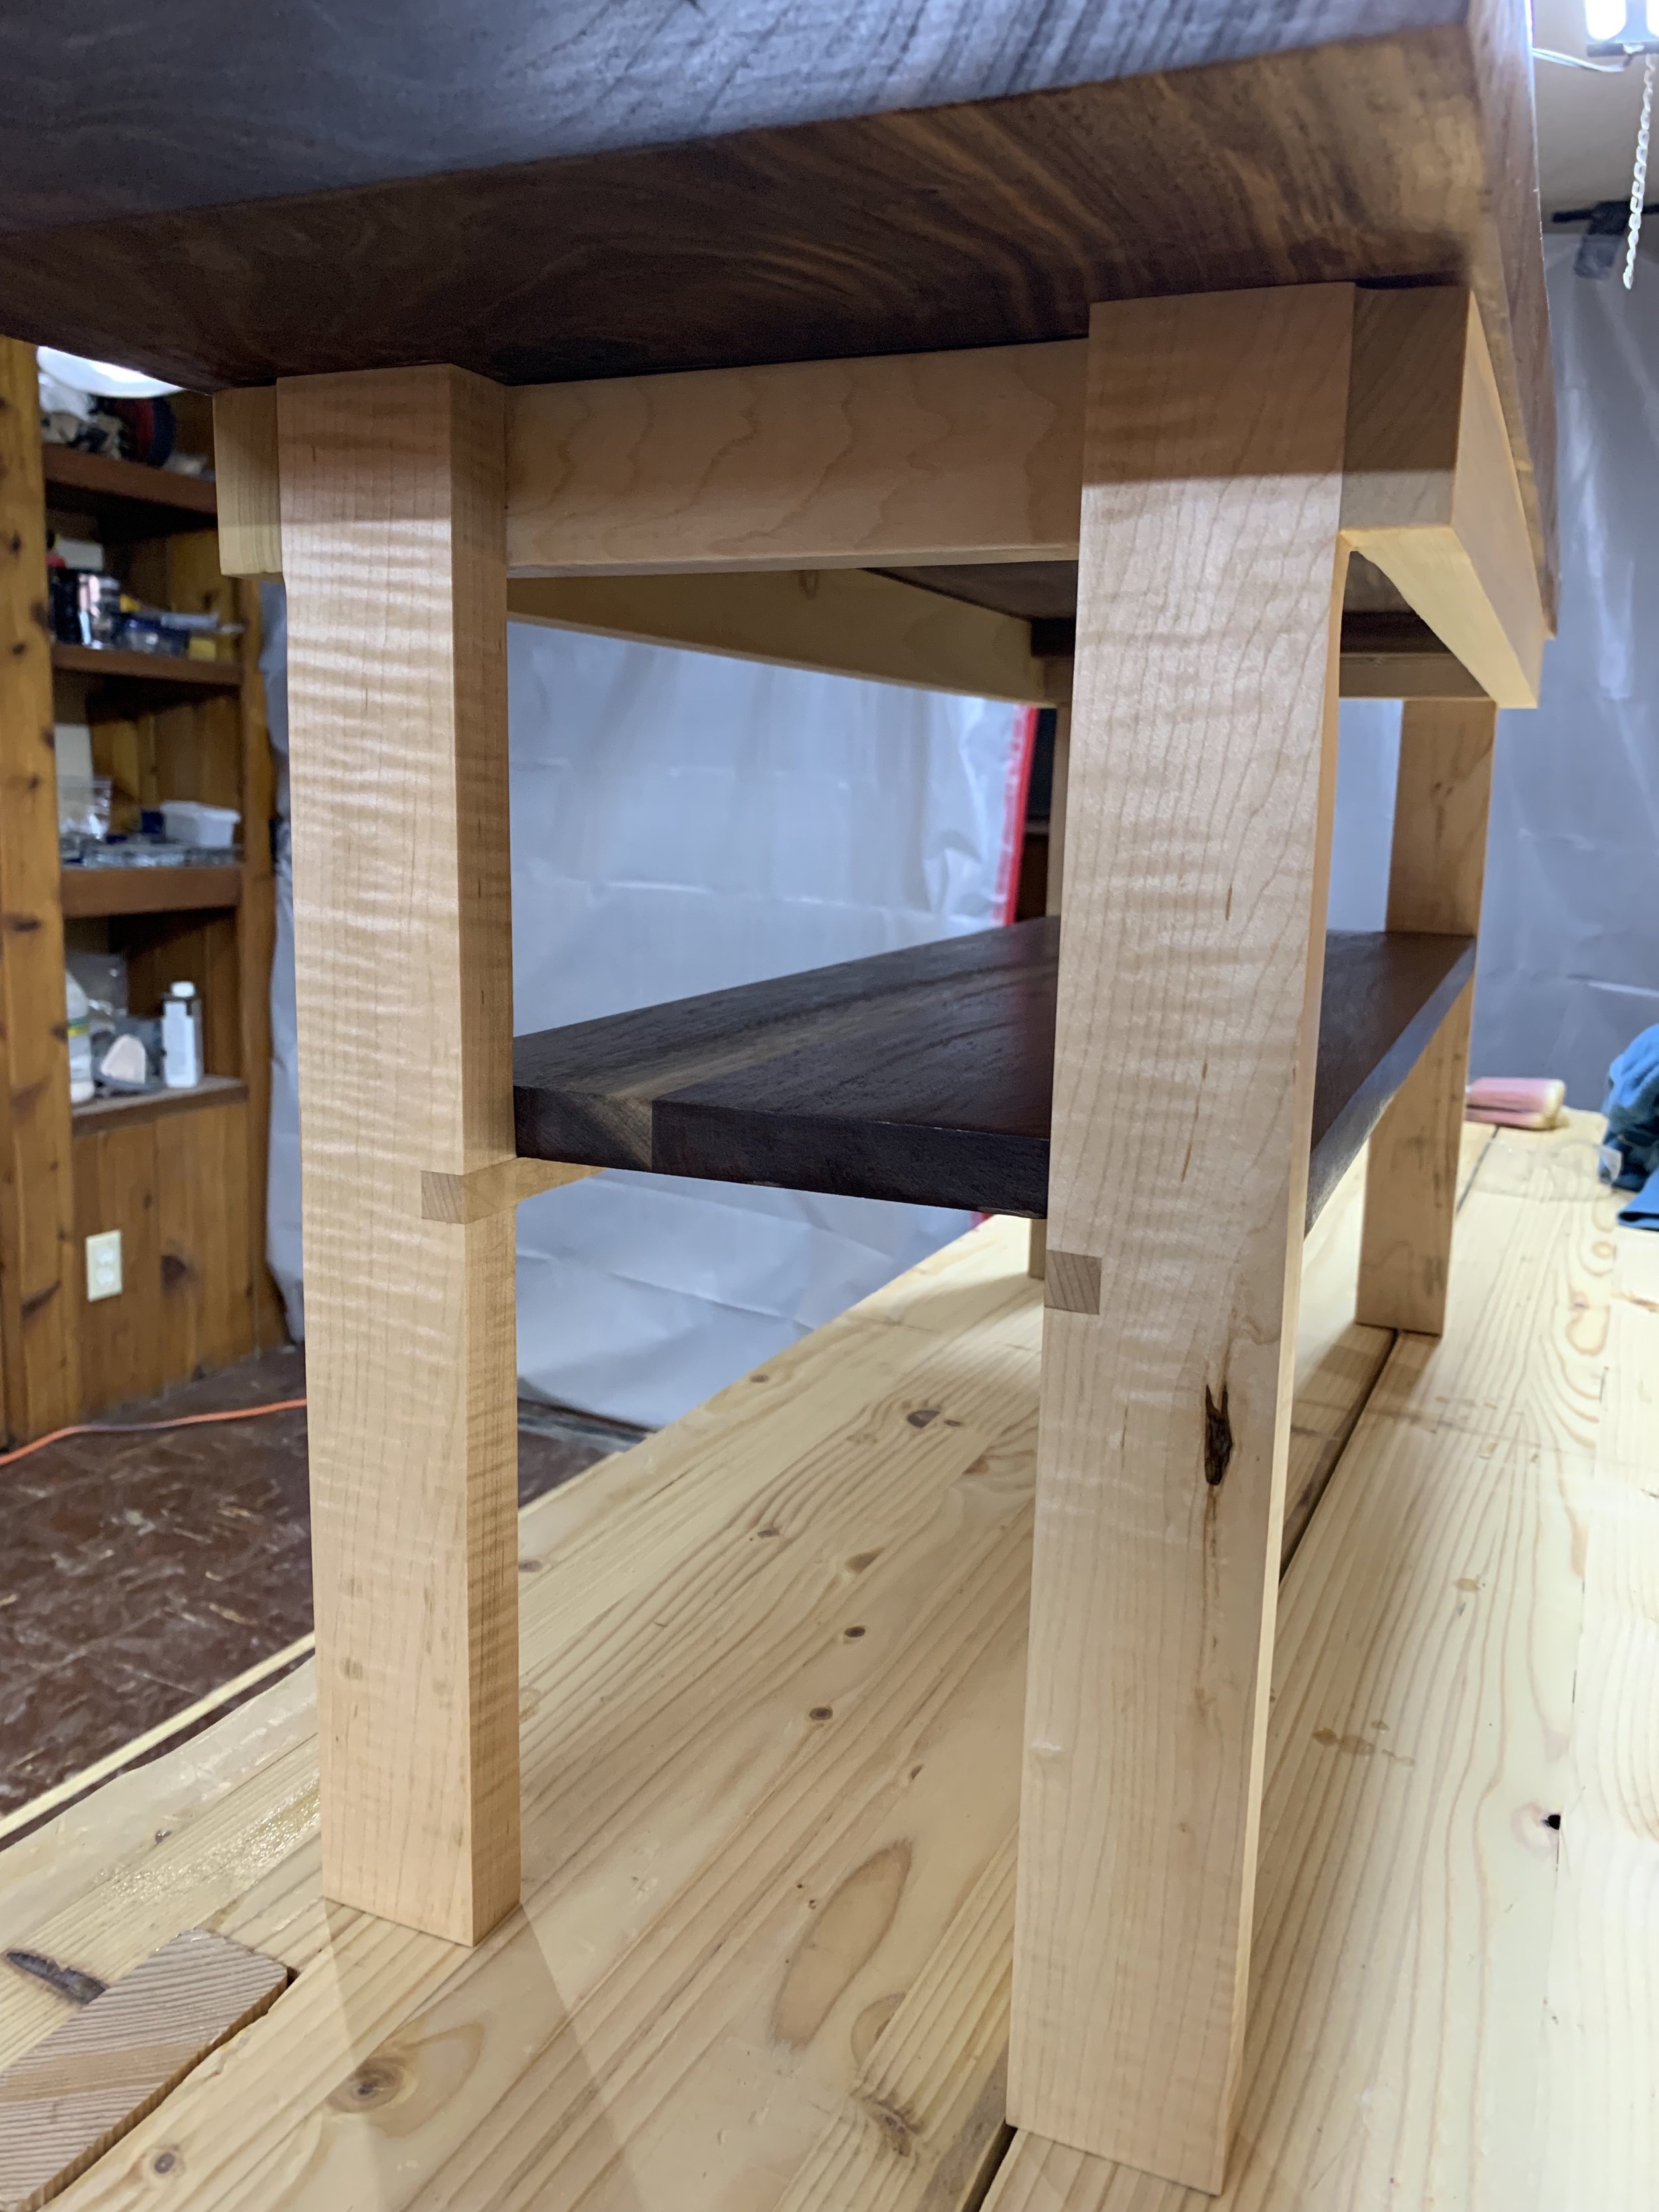
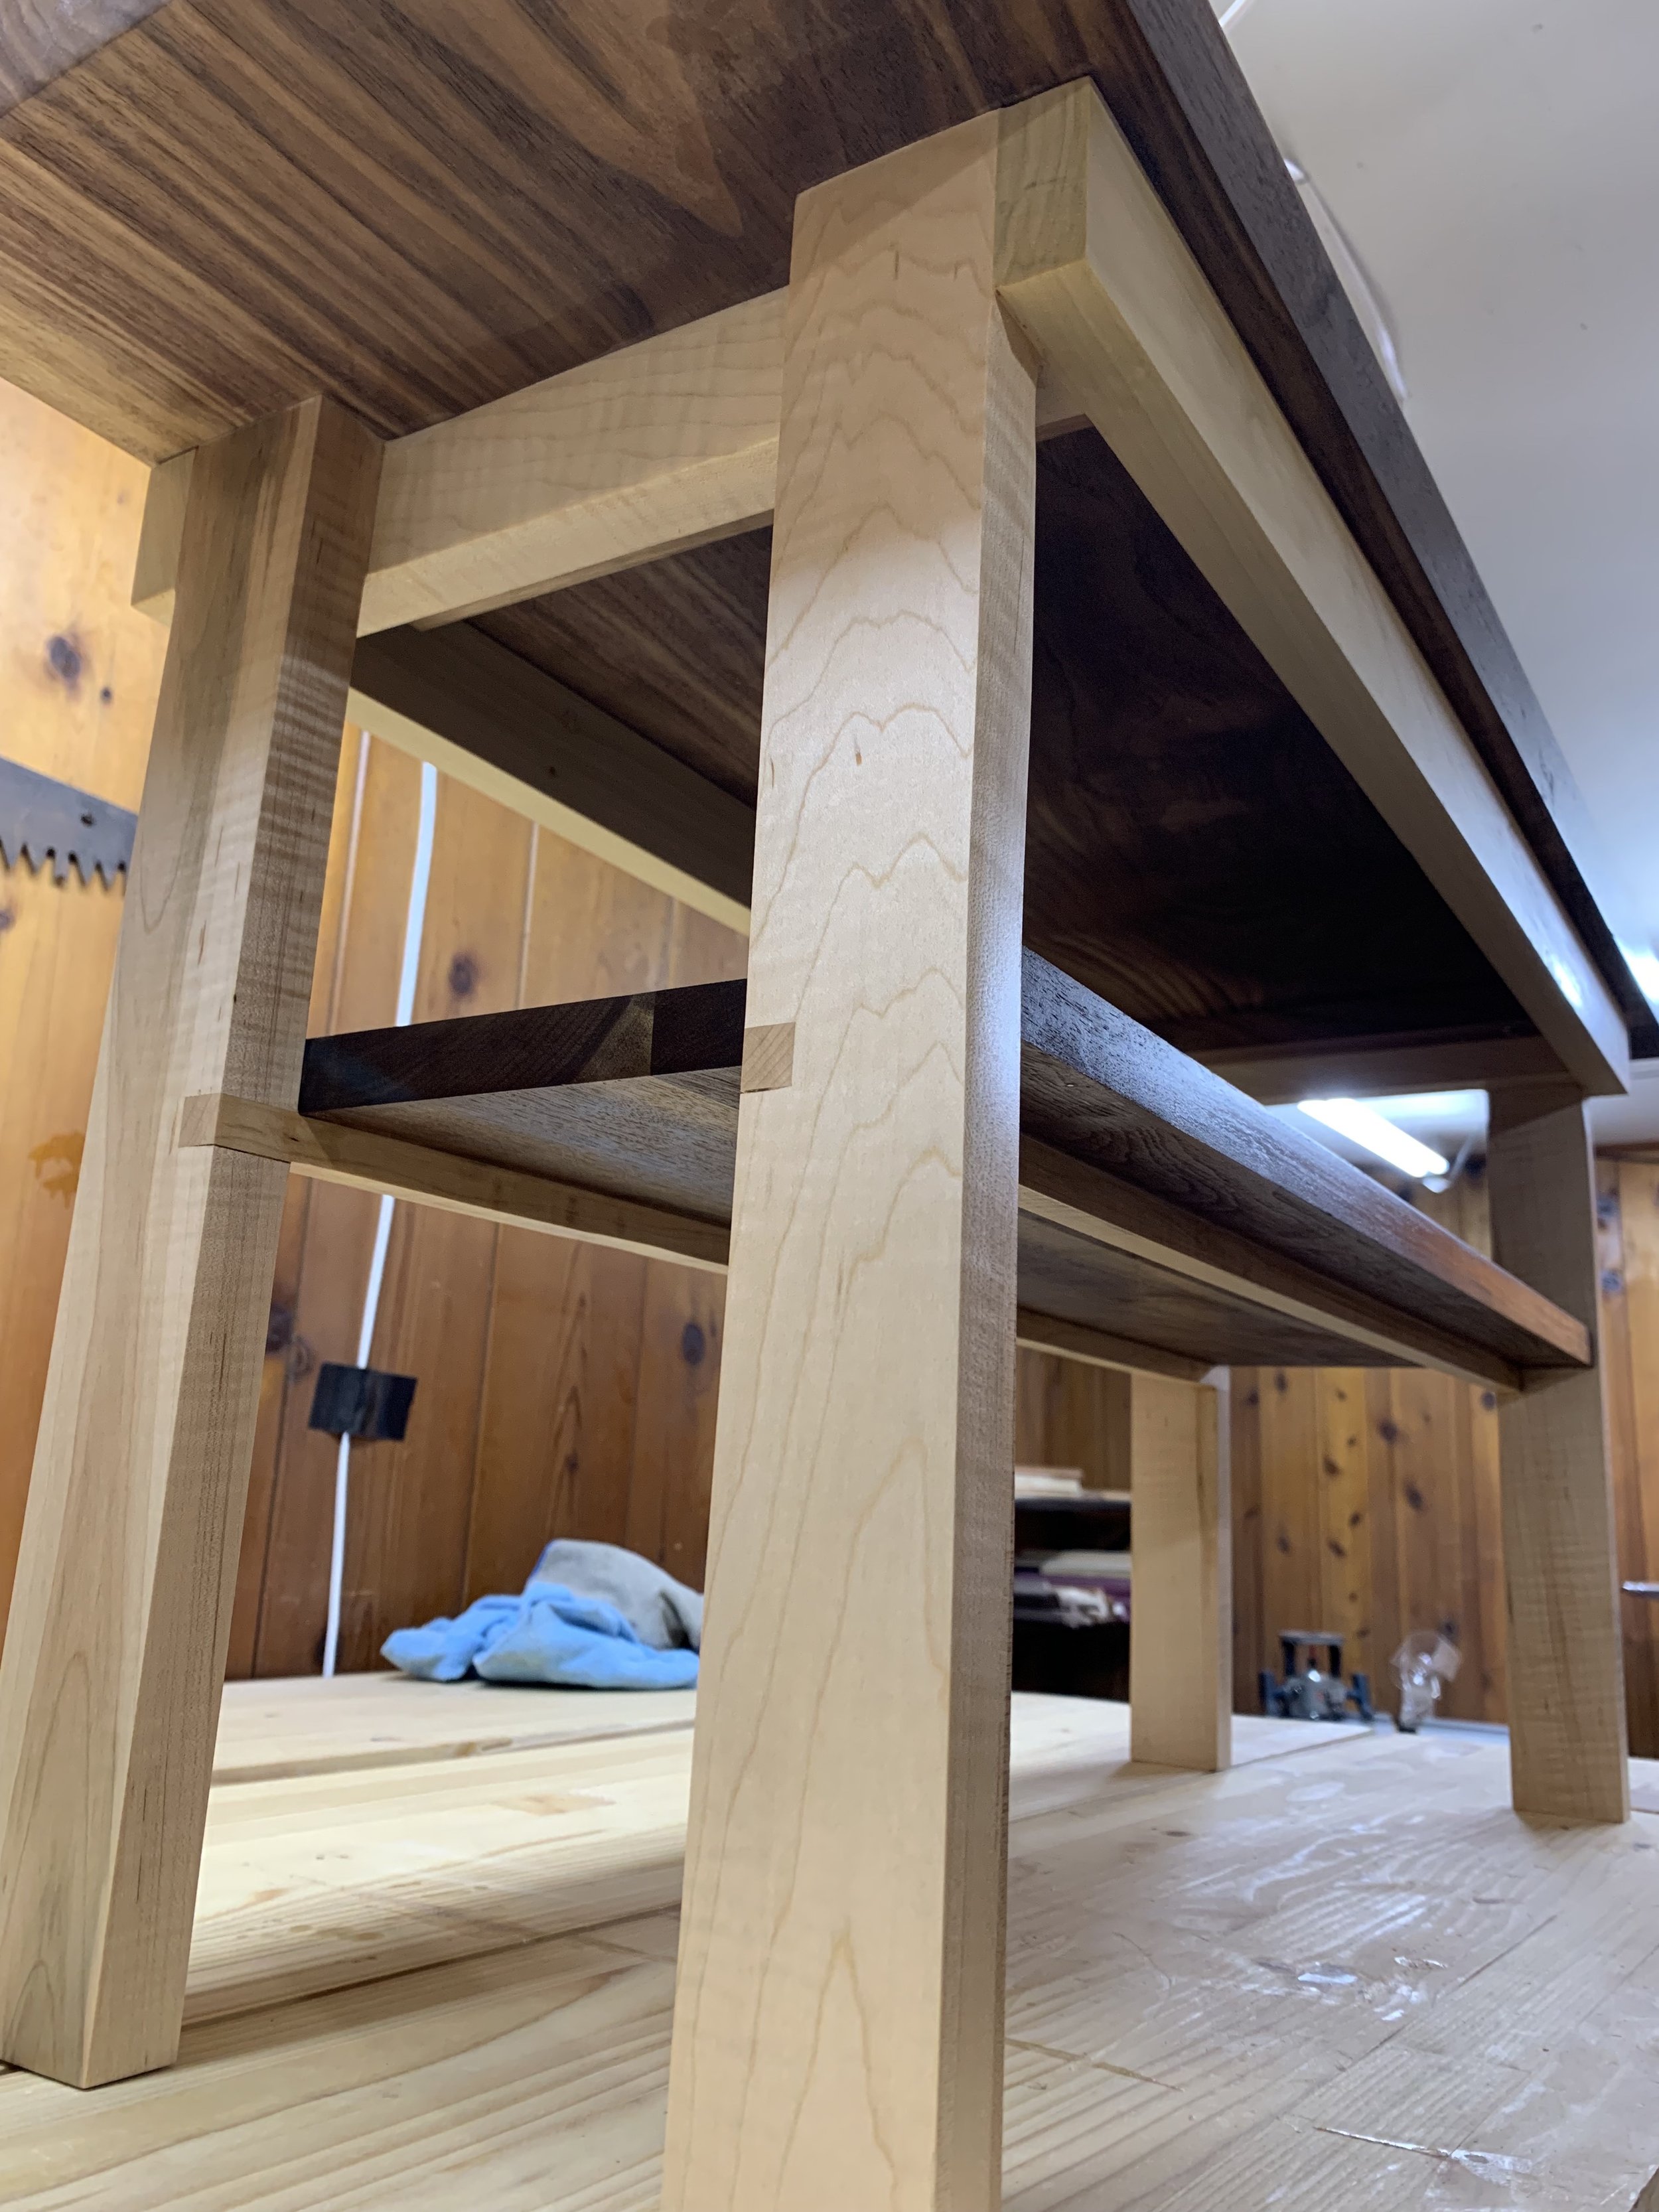
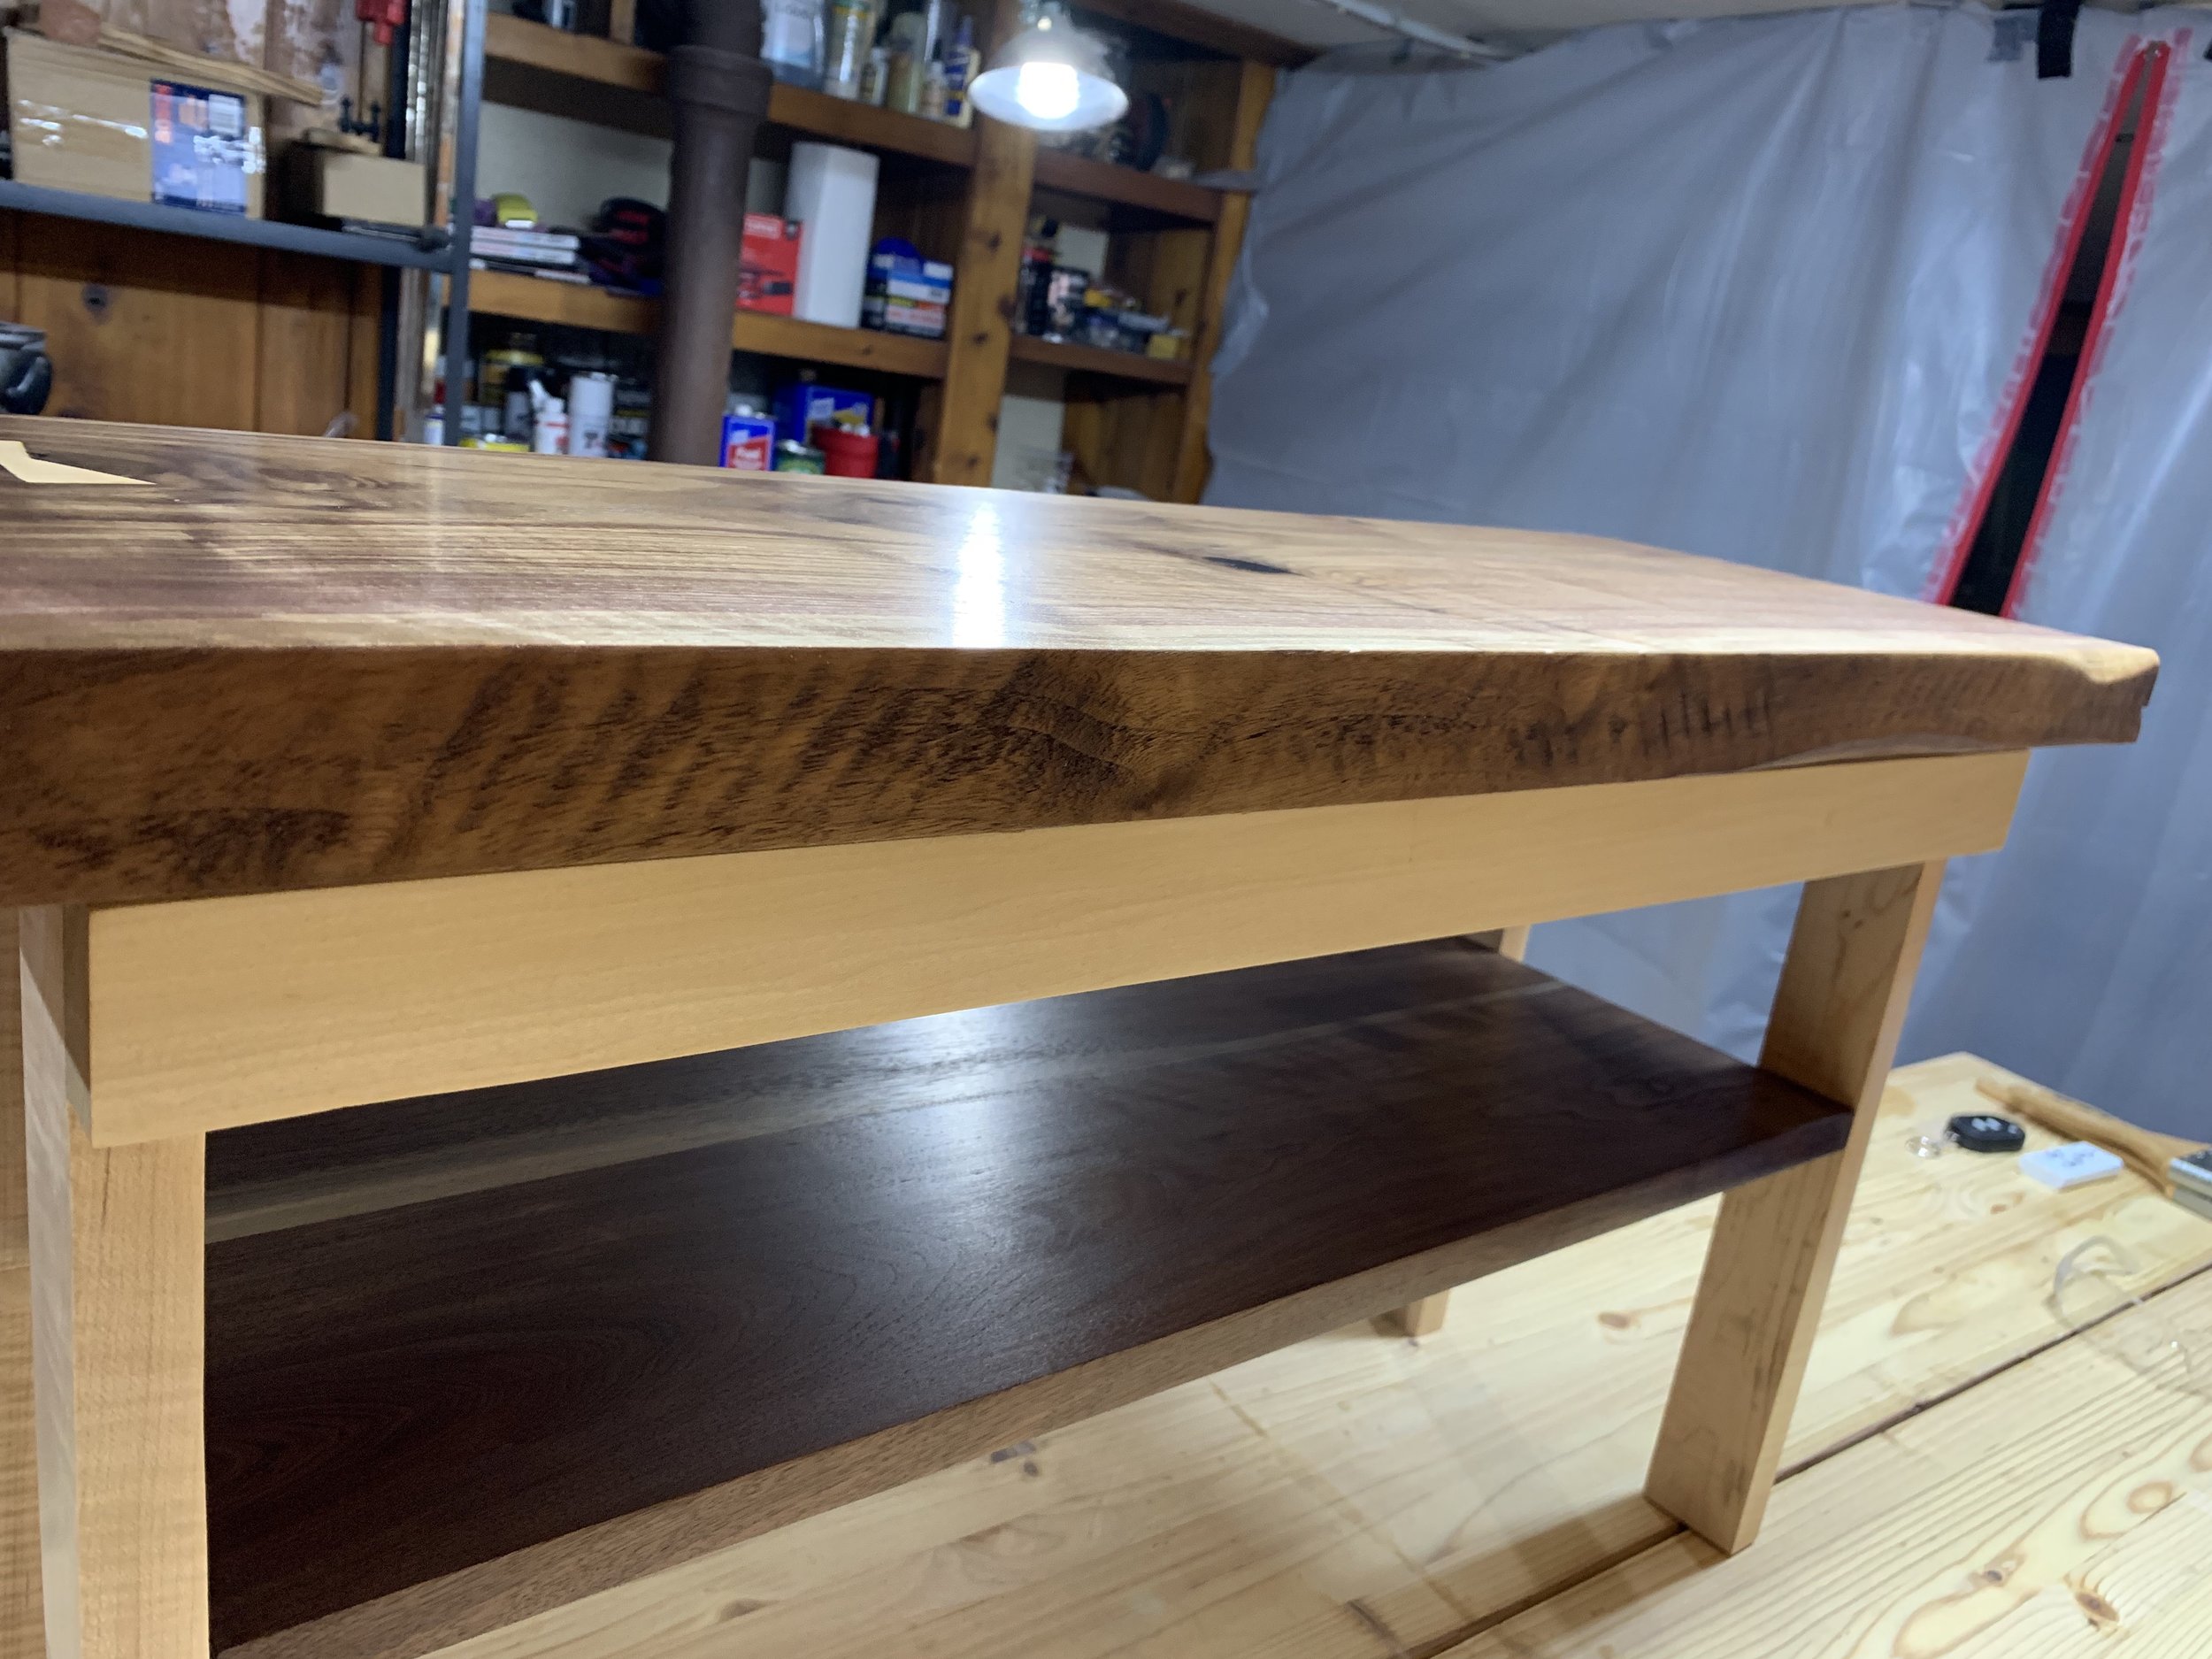
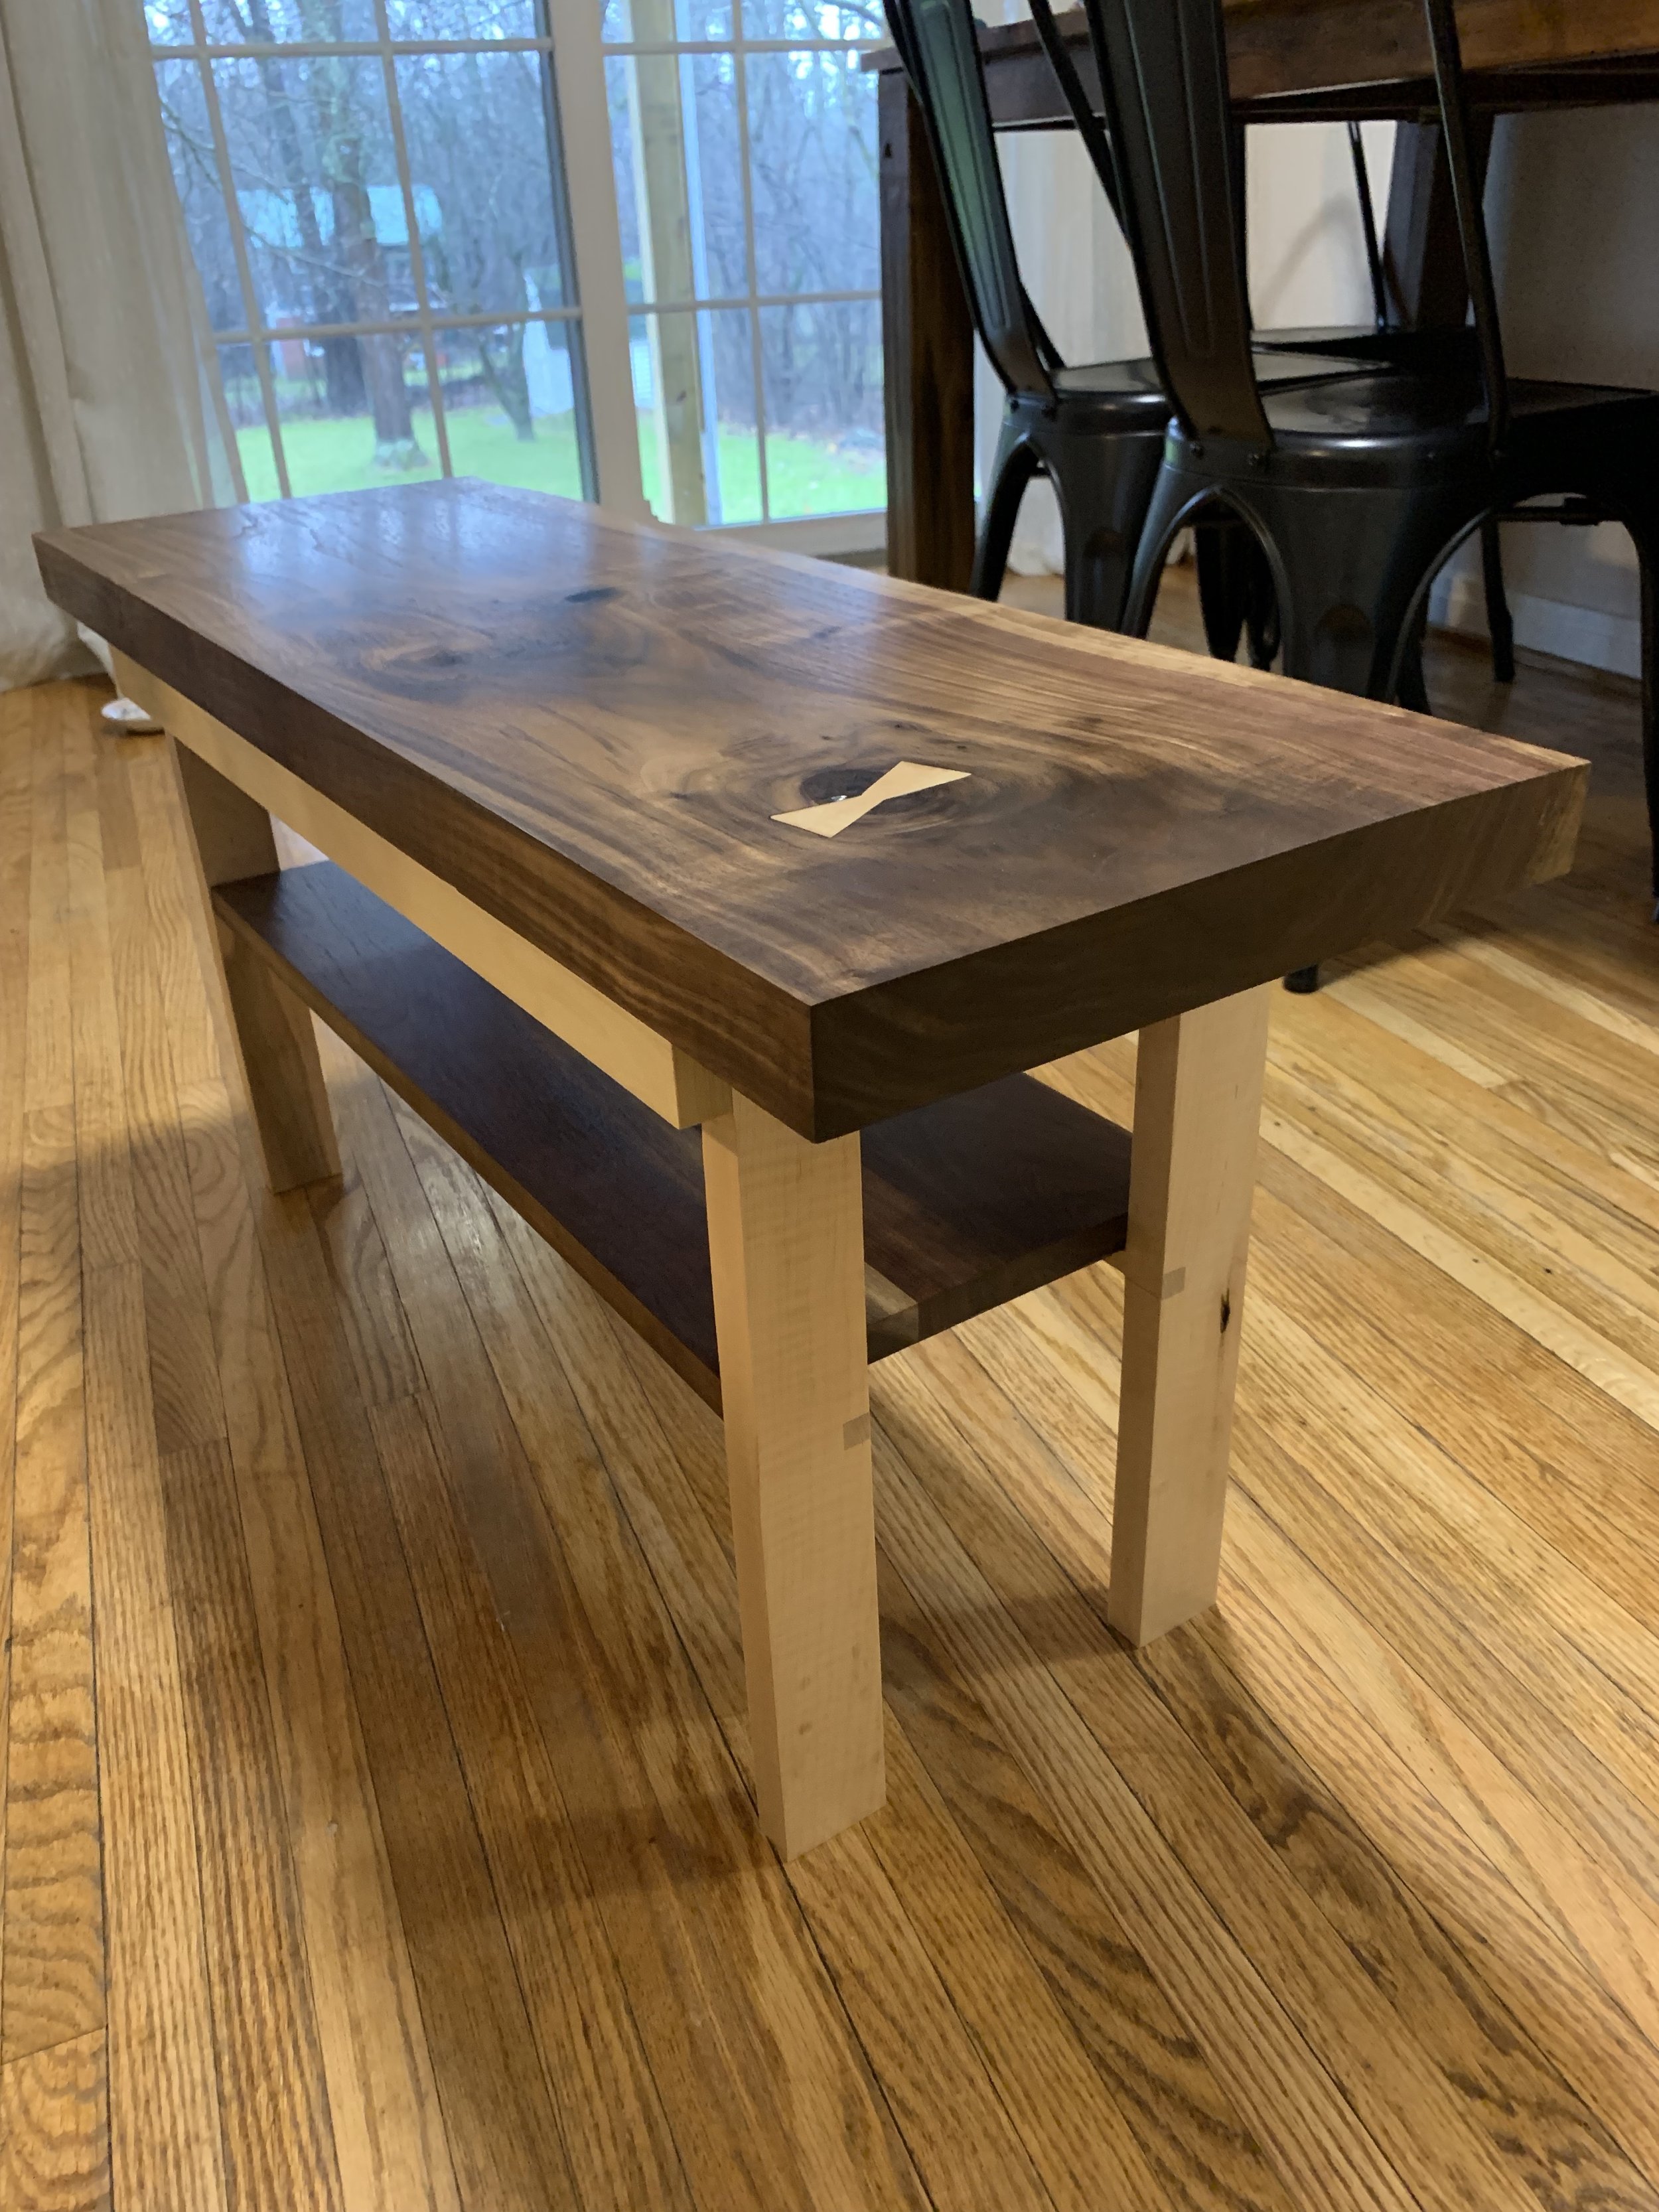
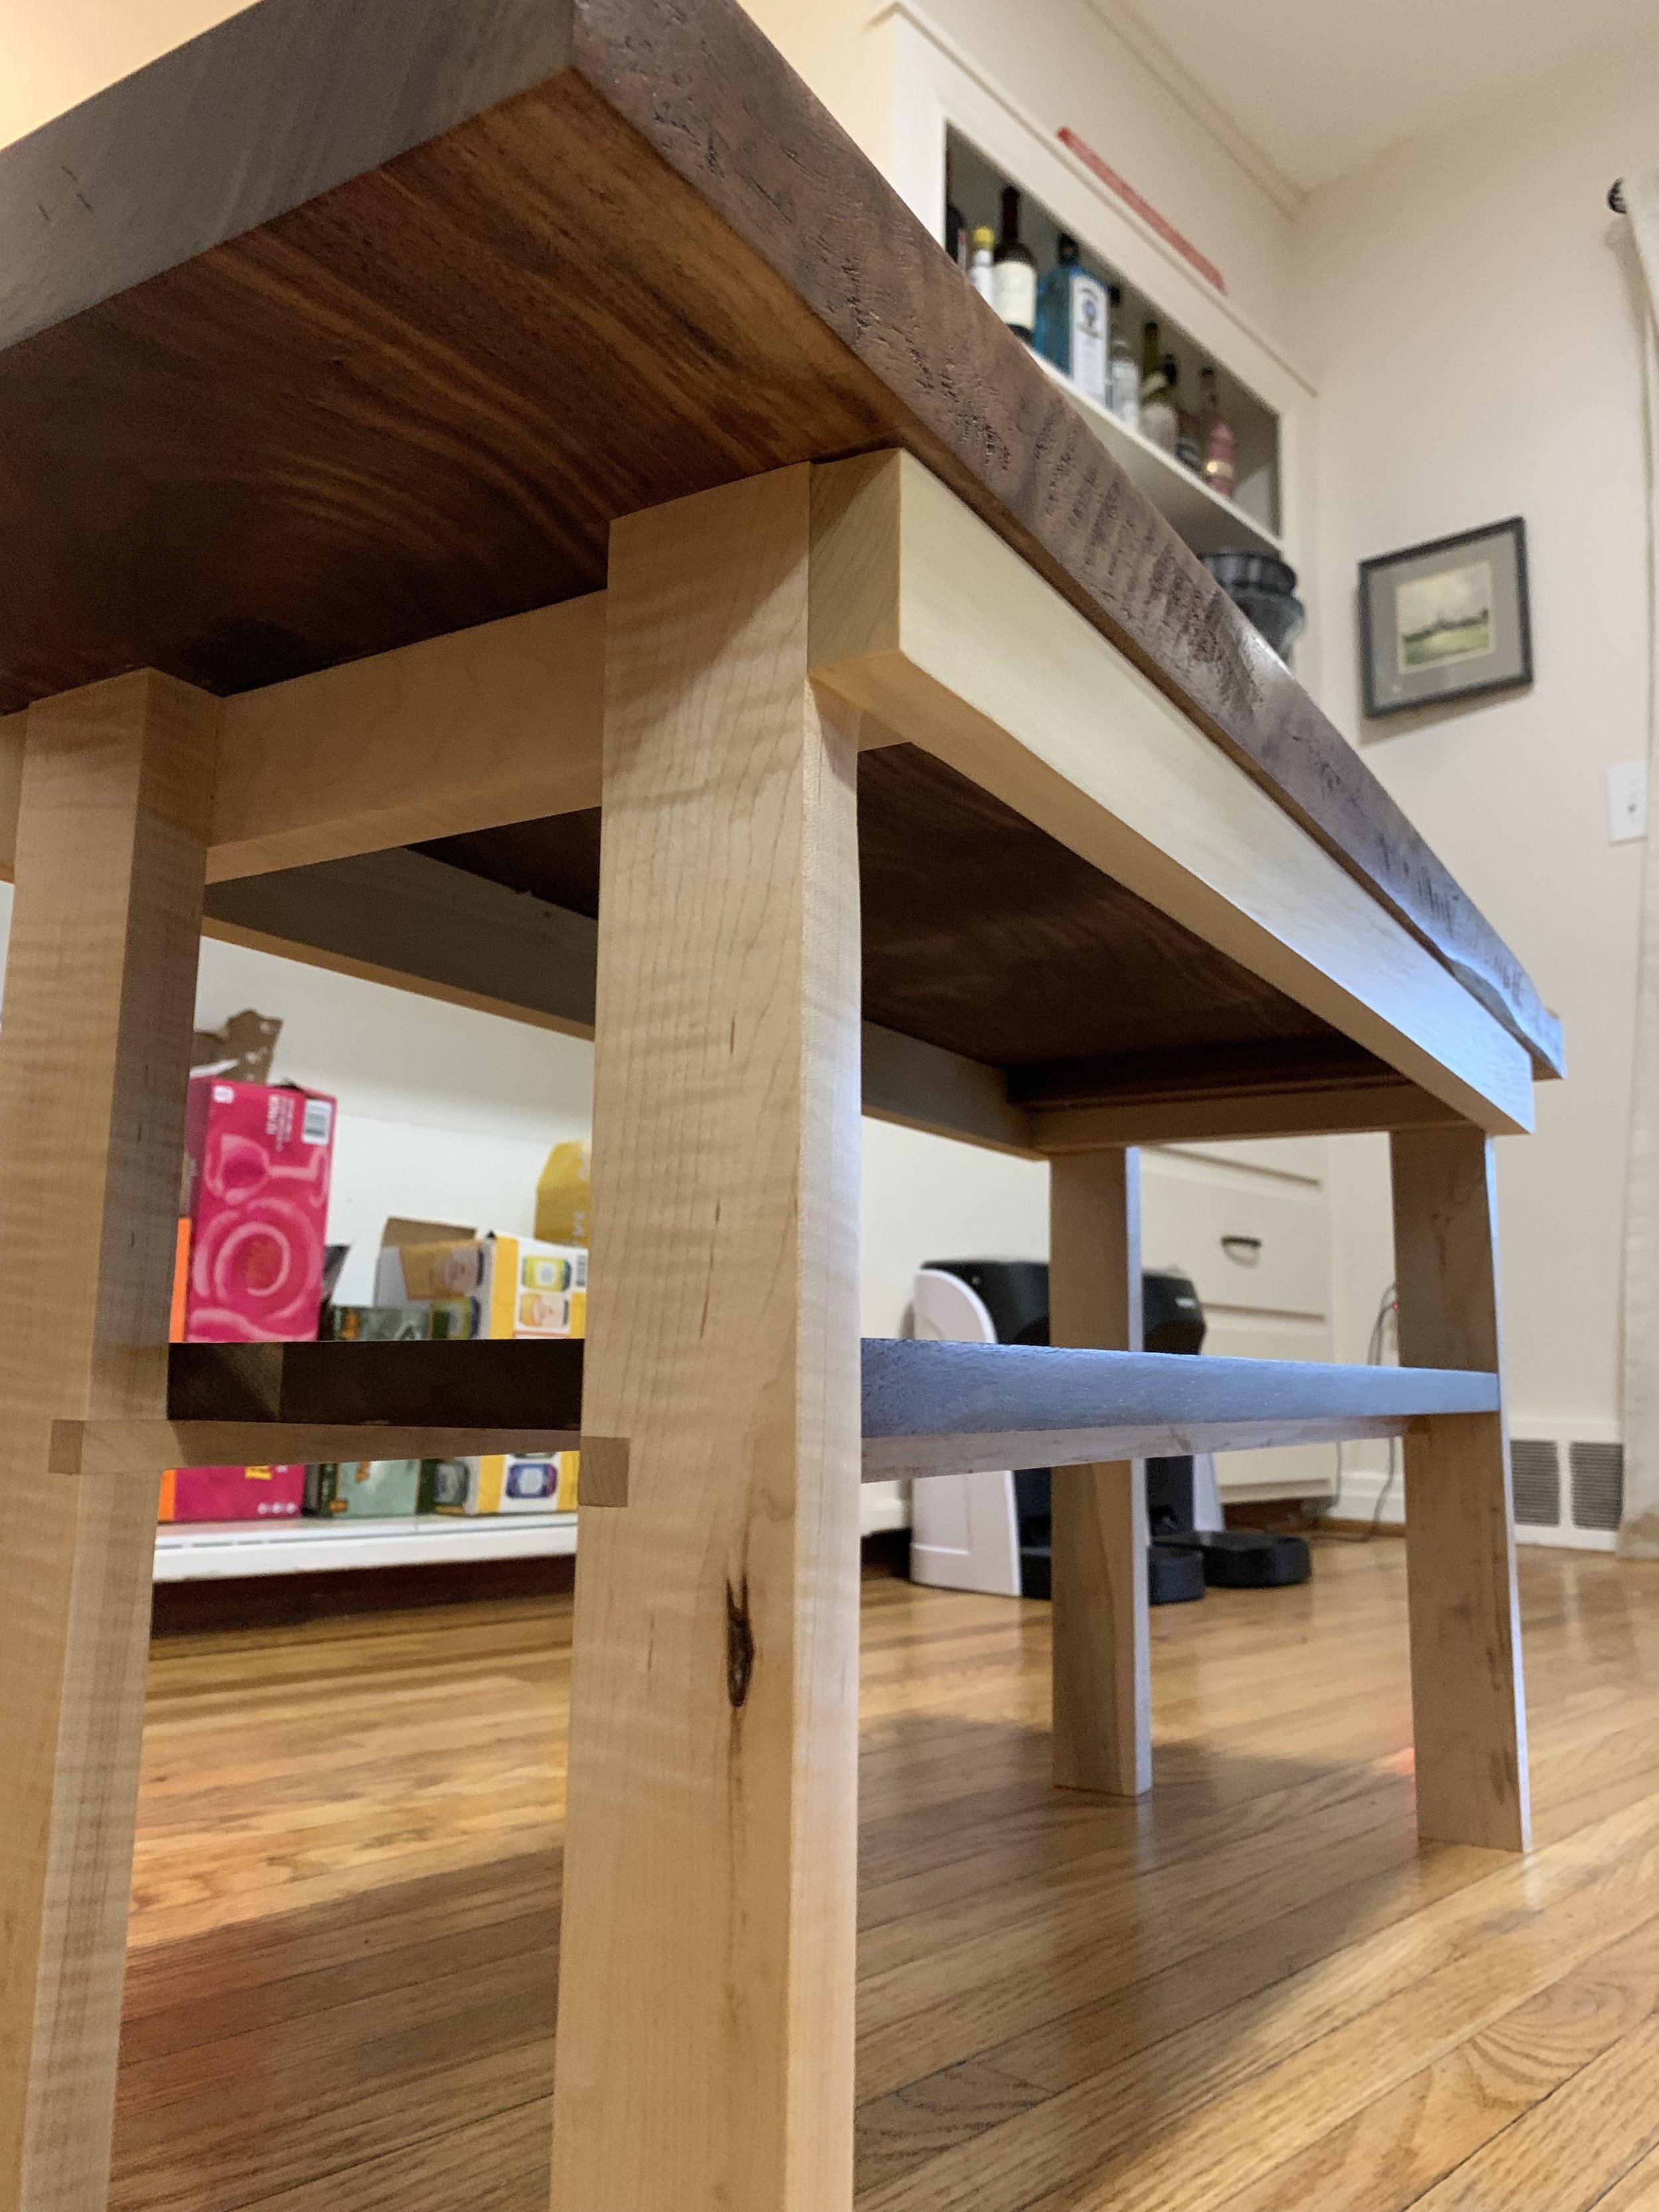
This bench was a Christmas gift to my sister Megan and her family. Megan favored walnut but Jake preferred maple, so I created a design that utilized both of these beautiful woods. The top of the bench is a 36” slab of 8/4 American Walnut with a maple bowtie inlay over a knot to match the maple base. Mid-way through the bench is a shoe rack out made of matching walnut and maple supports, dadoed into the legs.


Build
Creating the Top
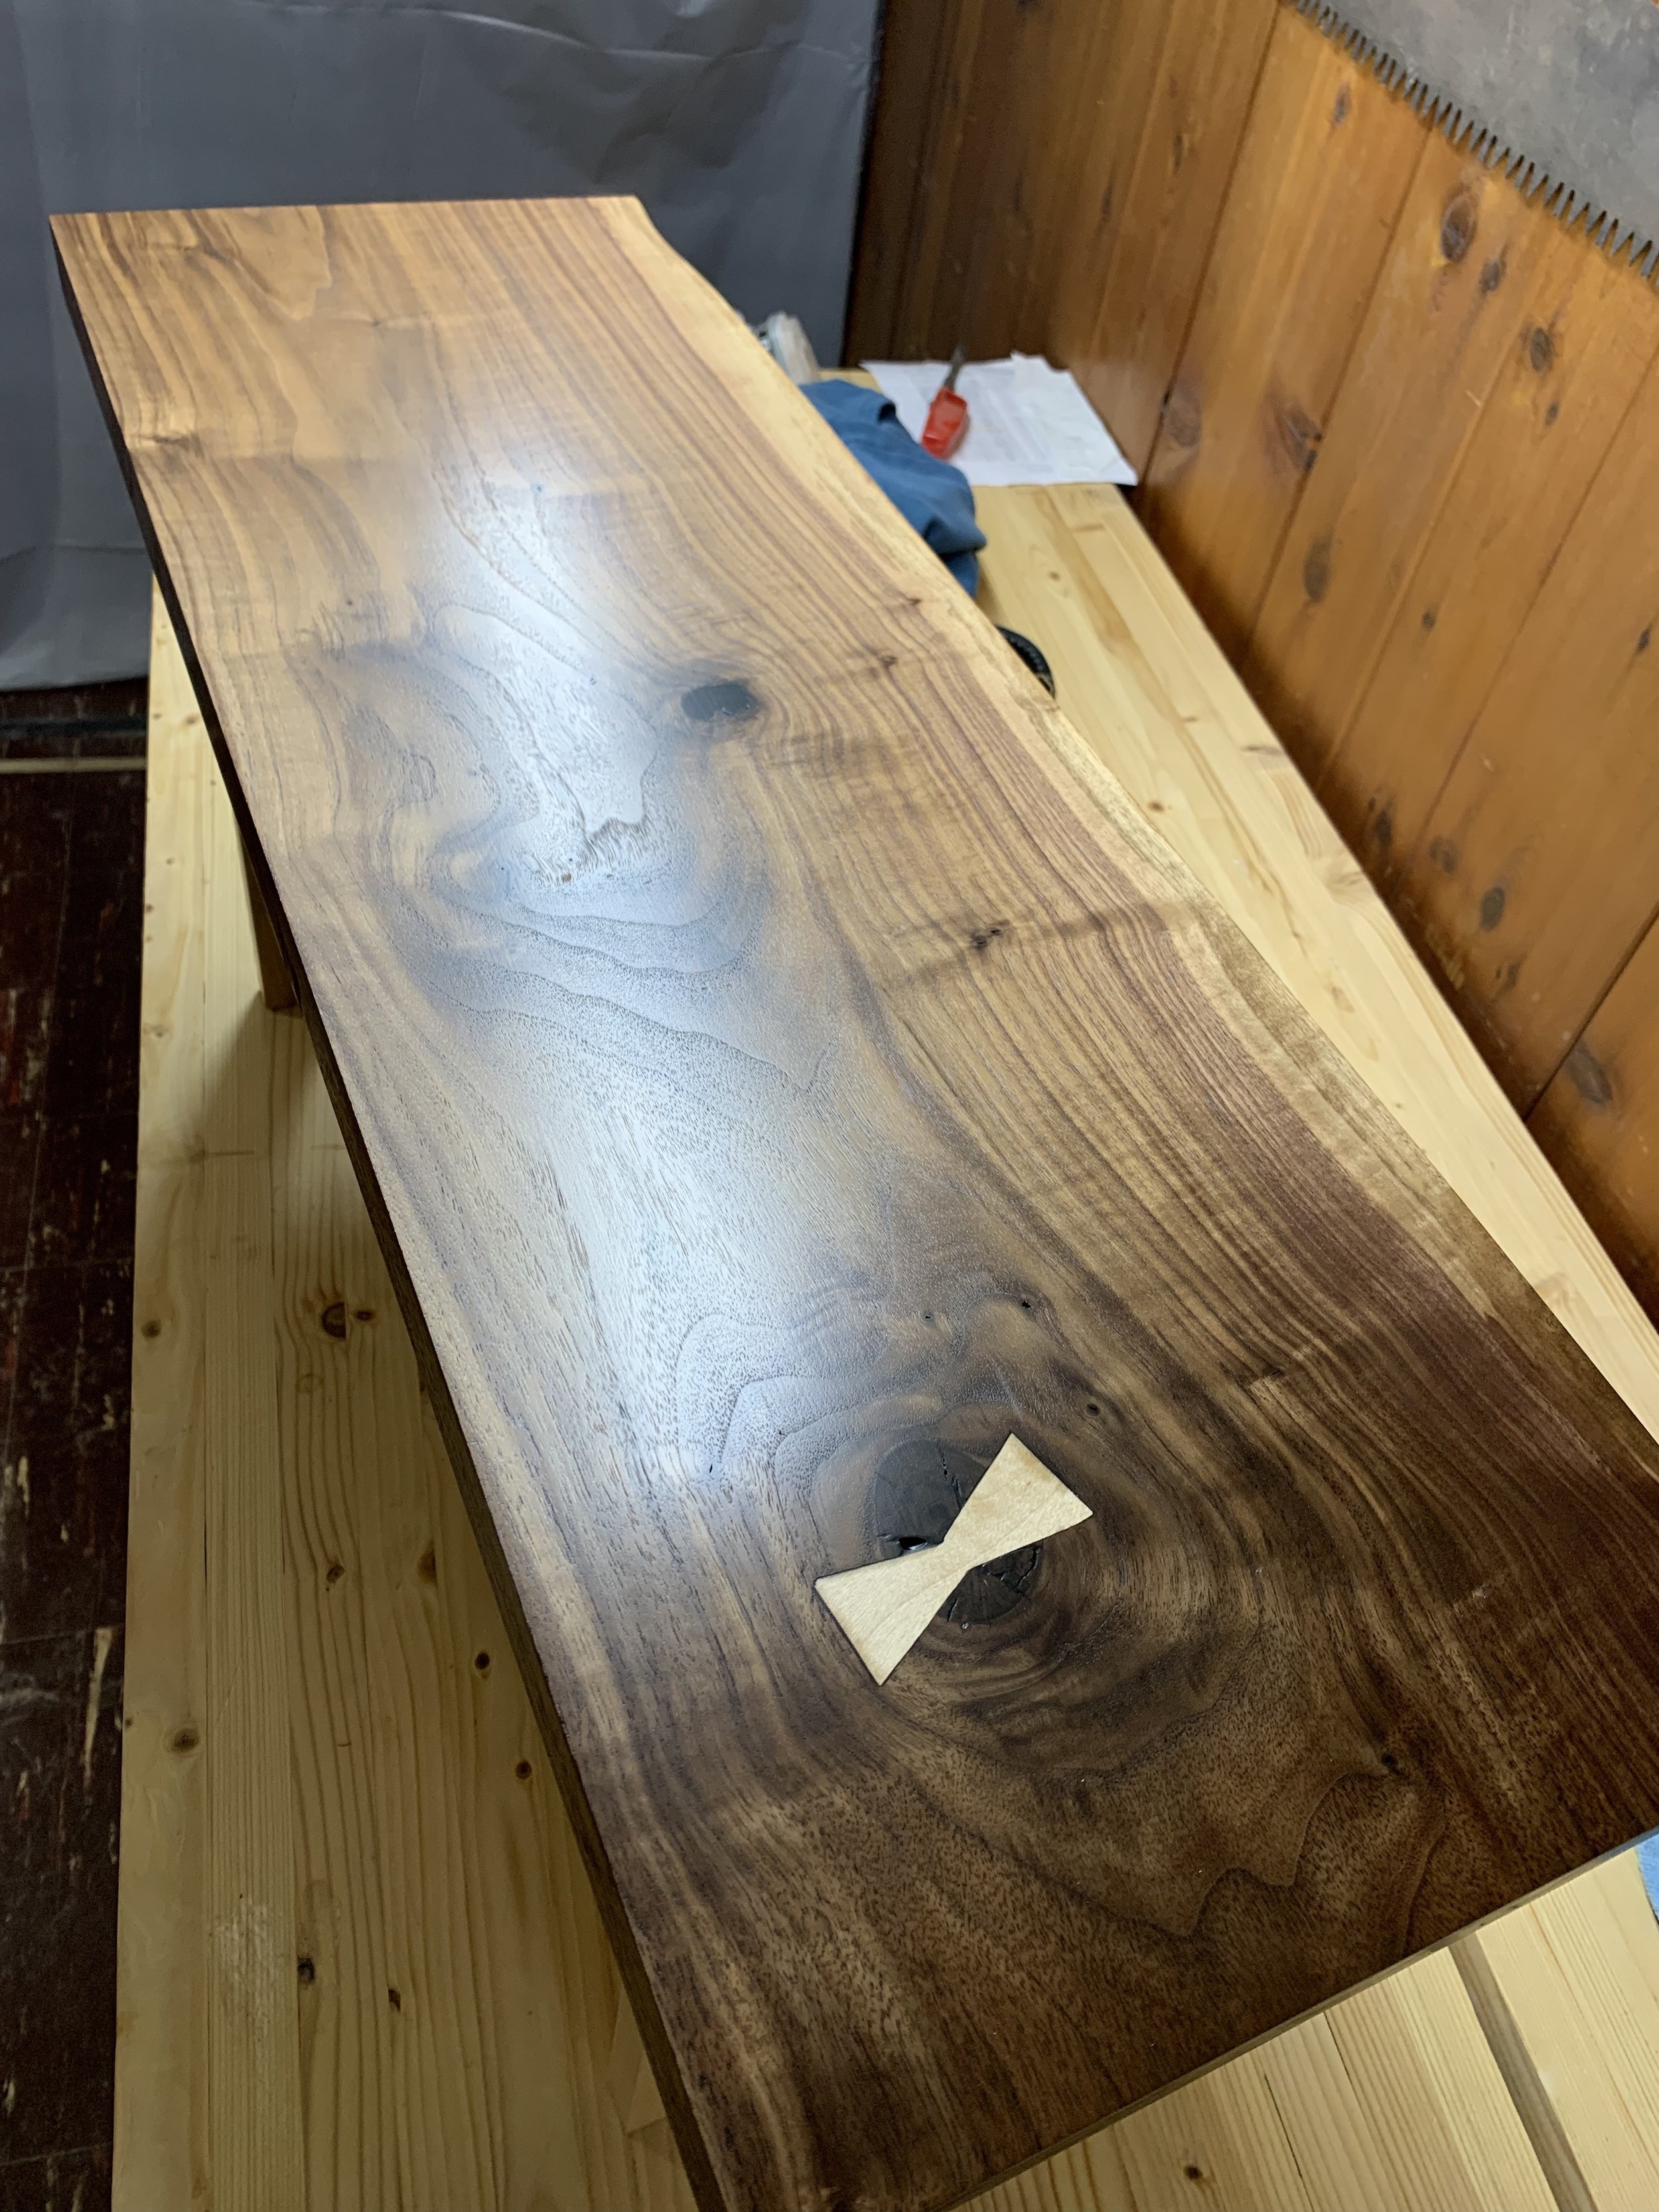
I face jointed (or made flat) the 8/4 walnut slab to be used as the bench top. I did this using my planer and a face jointing jig that I made out of MDF and carpet rubber grippers. I then filled in knot holes using deep pour epoxy and created a maple bowtie inlay to go over the largest knot in the wood. I created the bowtie inlay by hand drawing a bowtie, then used my jig saw to cut it out and a rasp to square it’s edges. I used my router with the plunge base attached and finally chisels to cut out the matching female mortise and glued it in place.
Building the Shoe Rack and Base
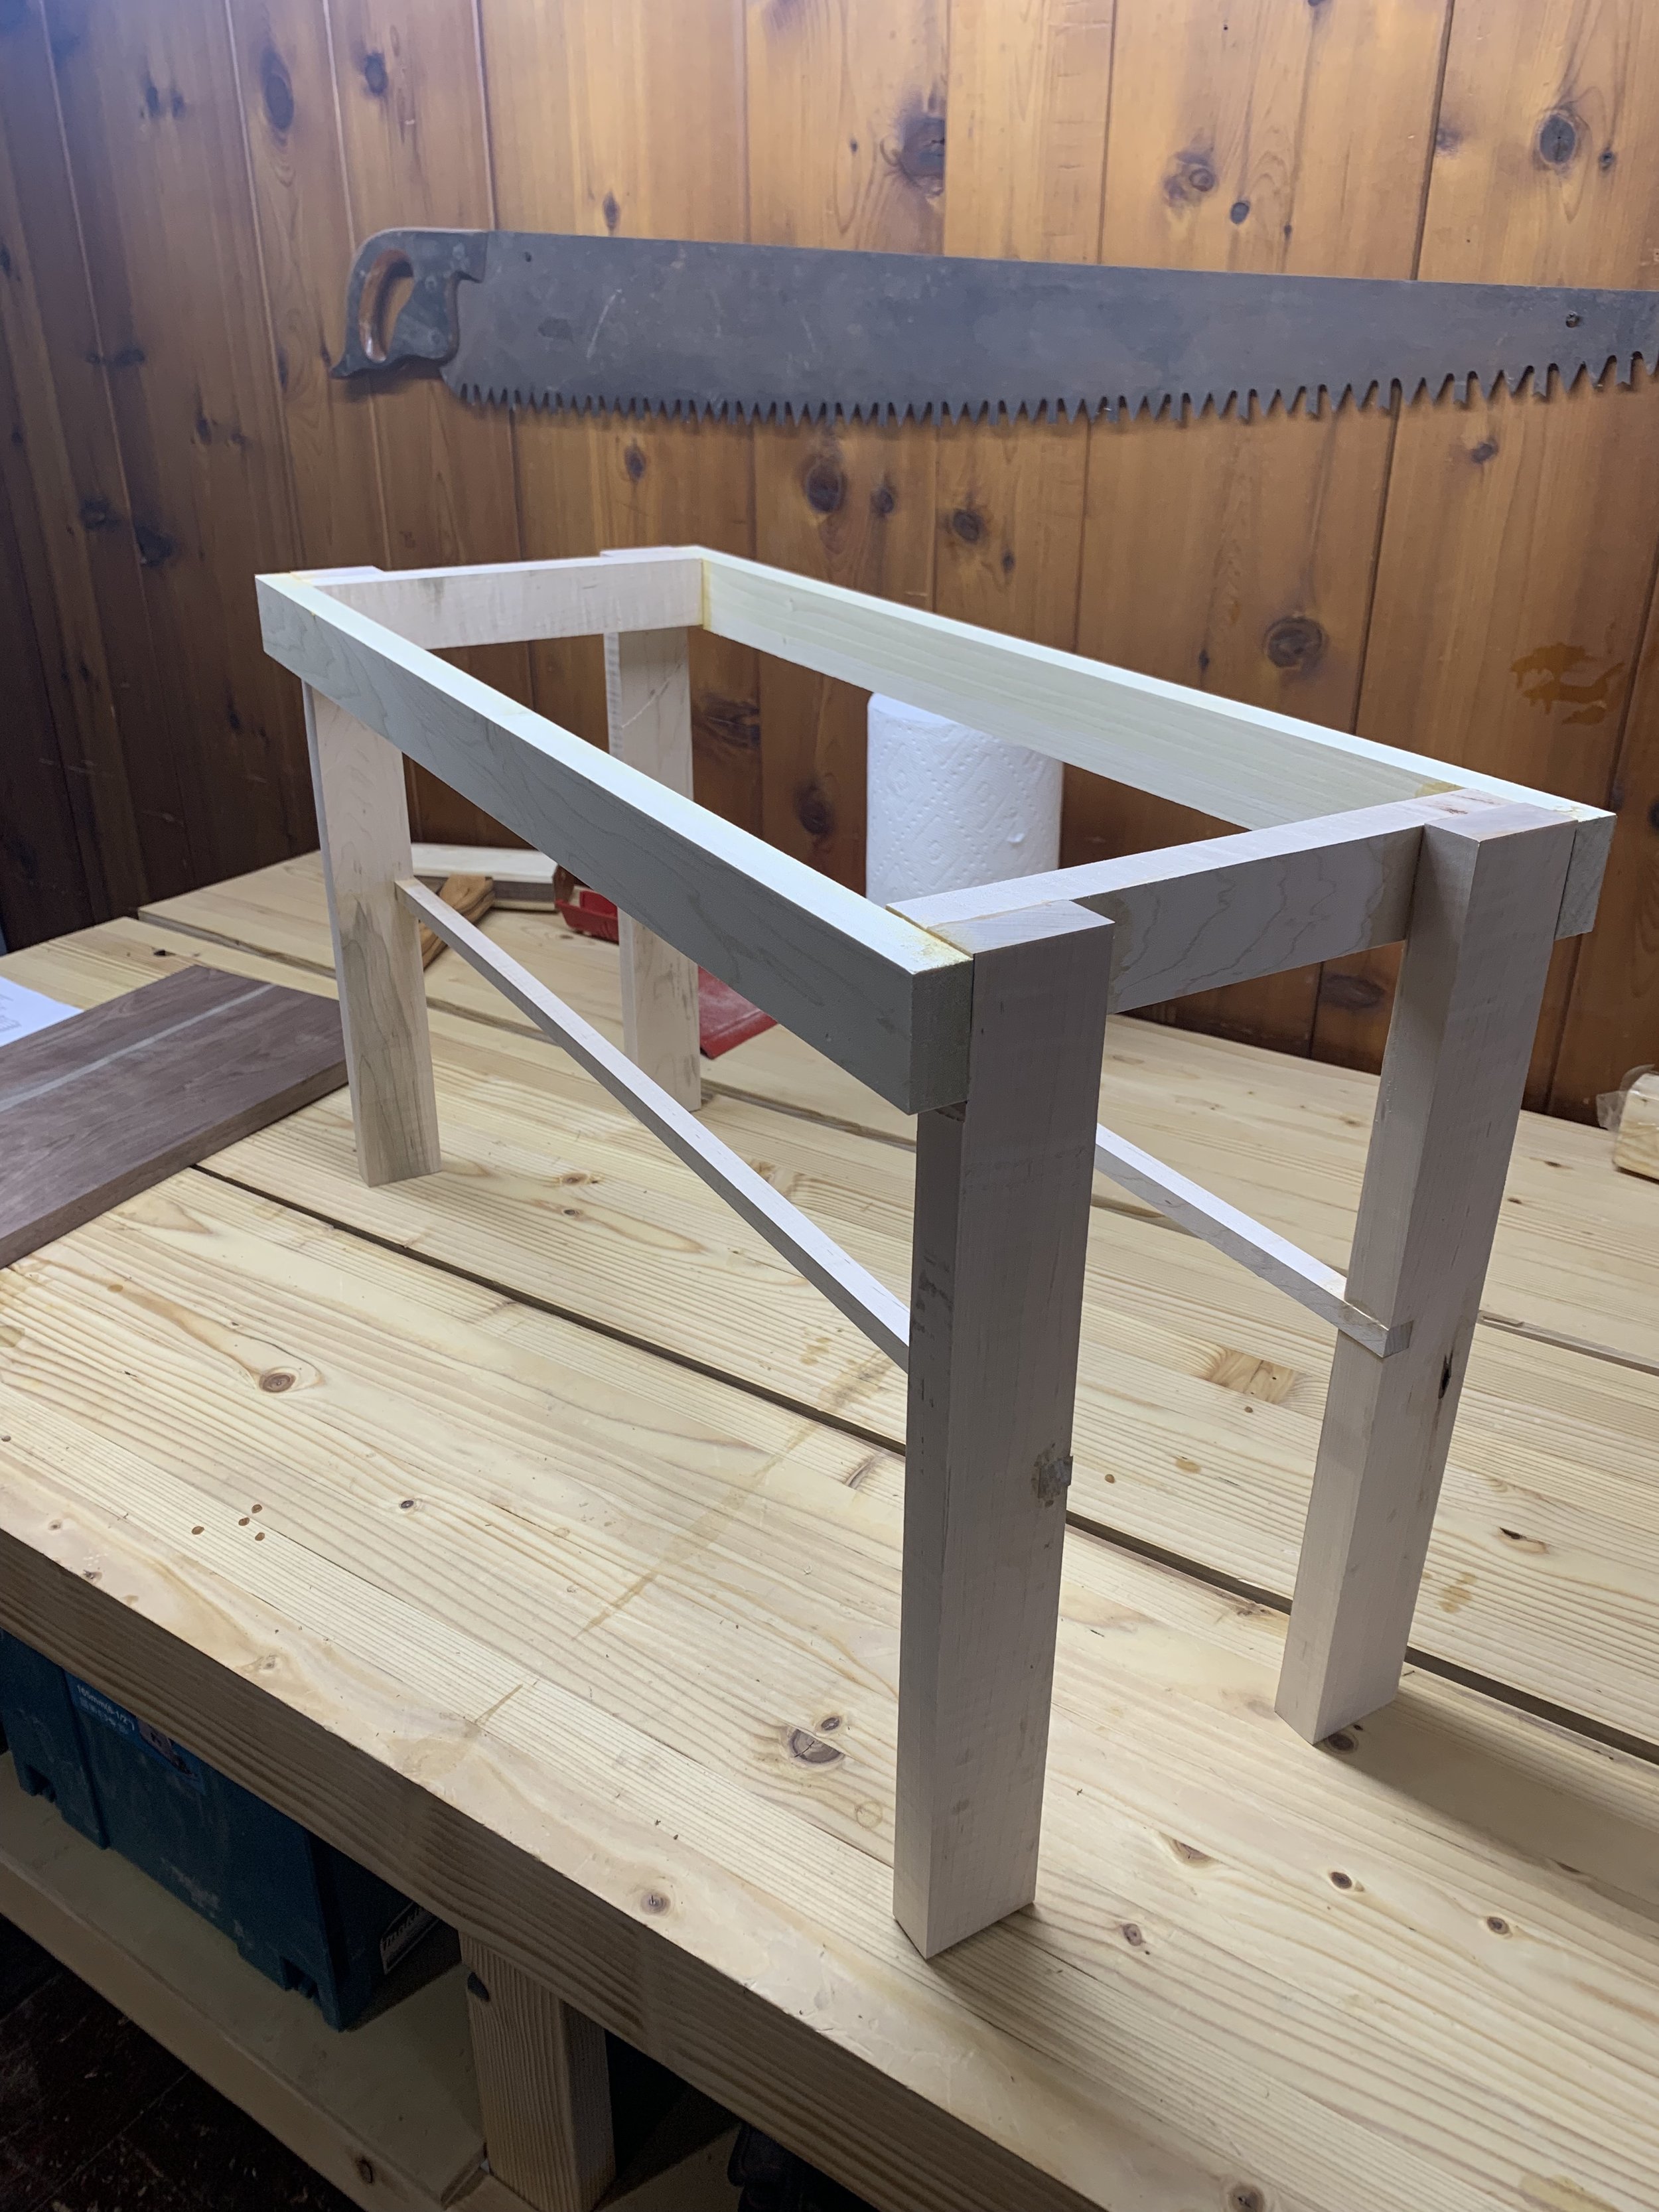
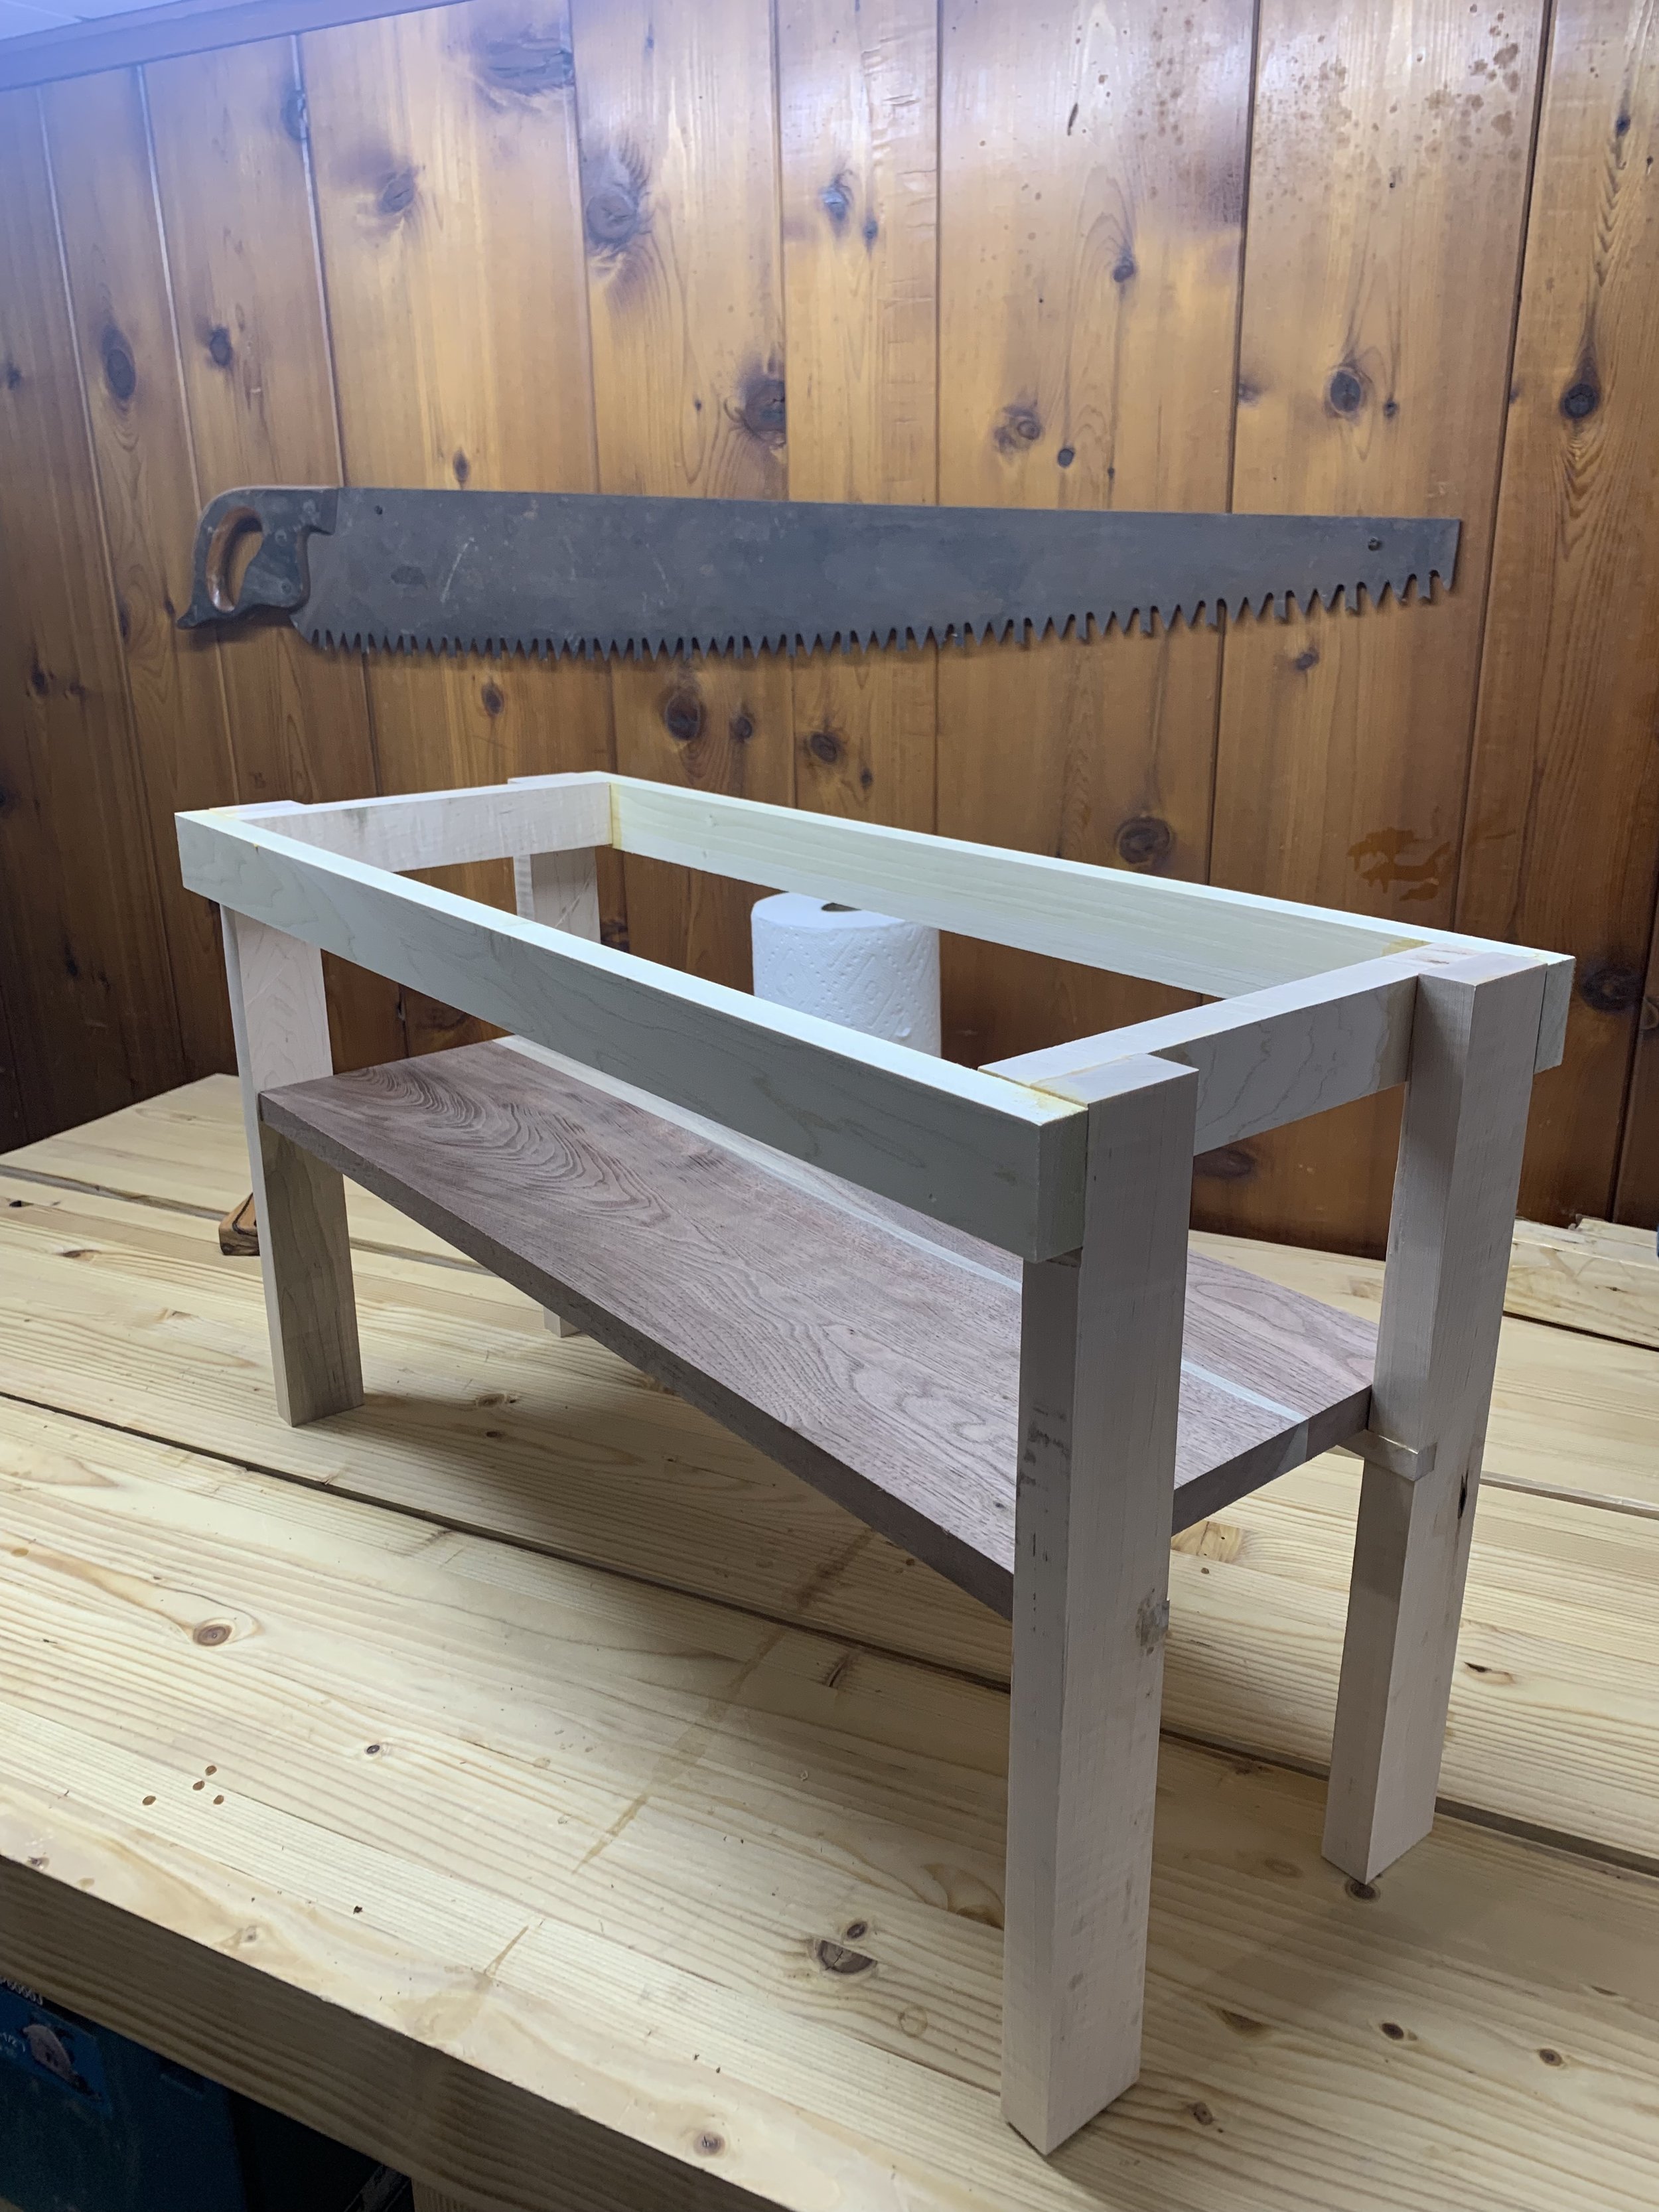
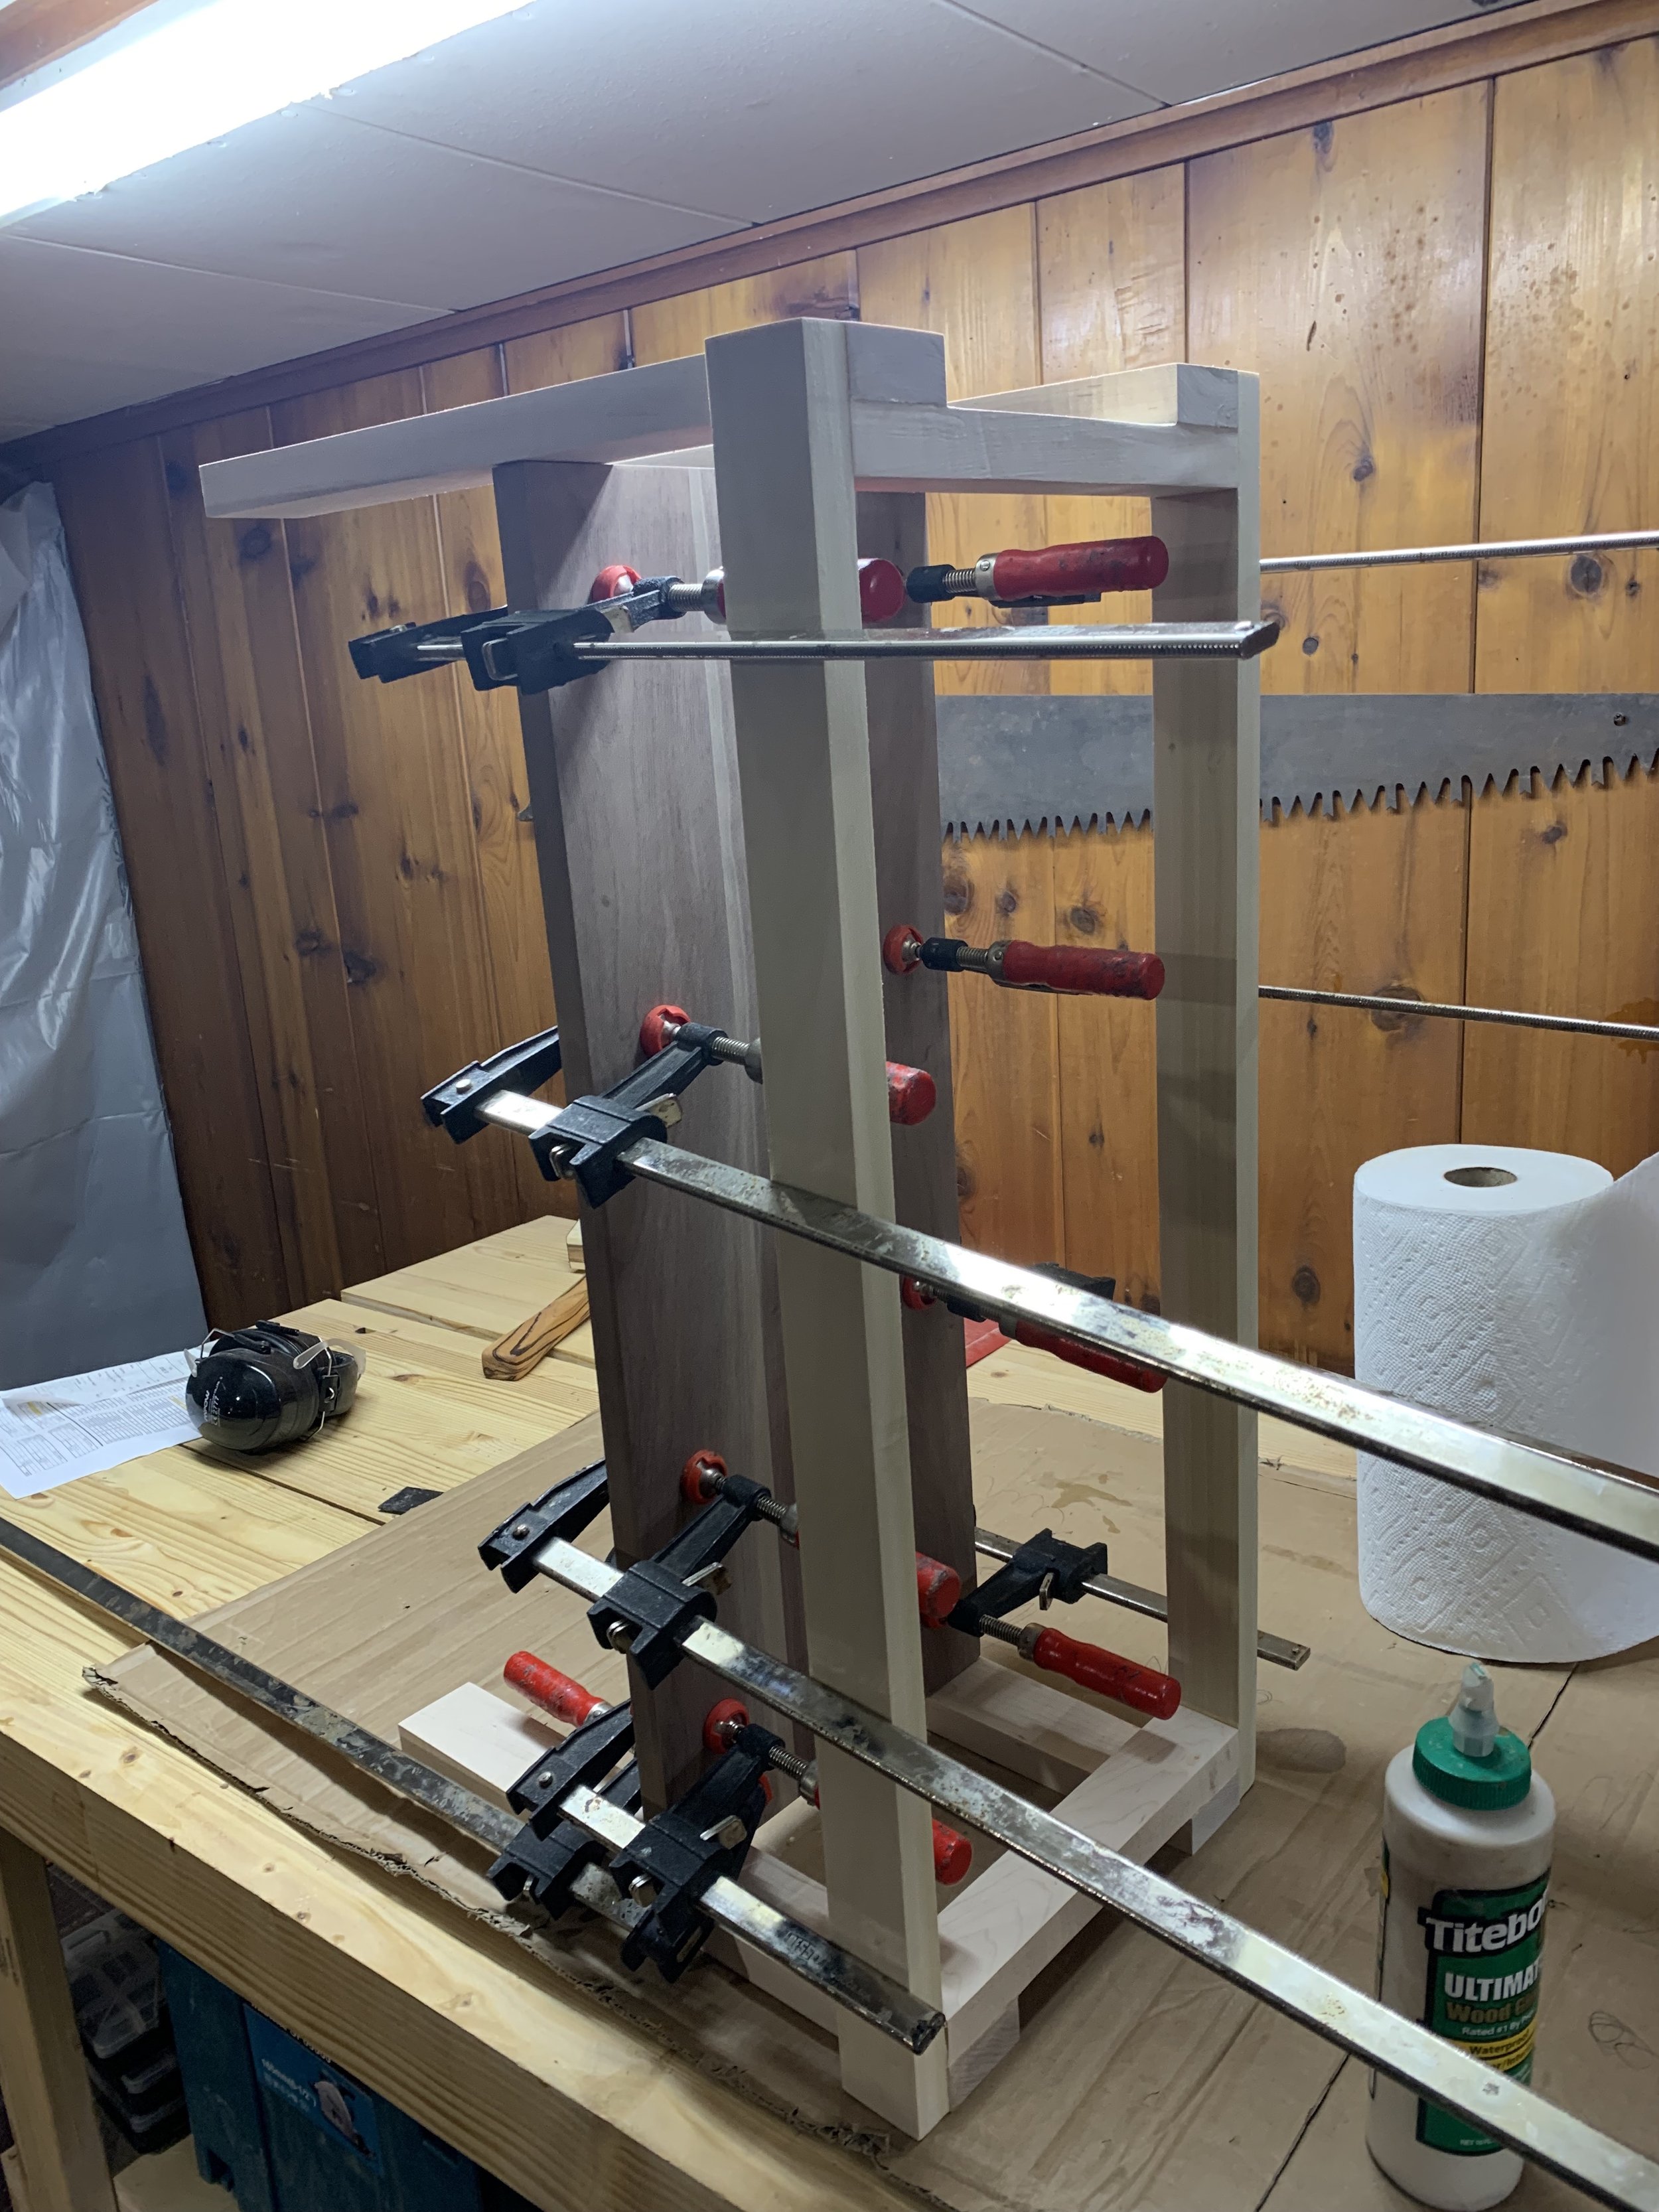
The base of this project is pretty simple to make - it’s a modern and square design, with aprons glued via long grain to the maple legs. I dadoed 1/2” grooves in the legs to fix maple supports for the shoe rack. I decided to dado these into the legs because I felt it was more aesthetically pleasing than if I hadn’t done this approach and had just glued the supports to the outside of the legs. Last, I laminated some walnut boards together for the shoe rack, cut them to fit, planed and attached them to the base.
Attaching the Base
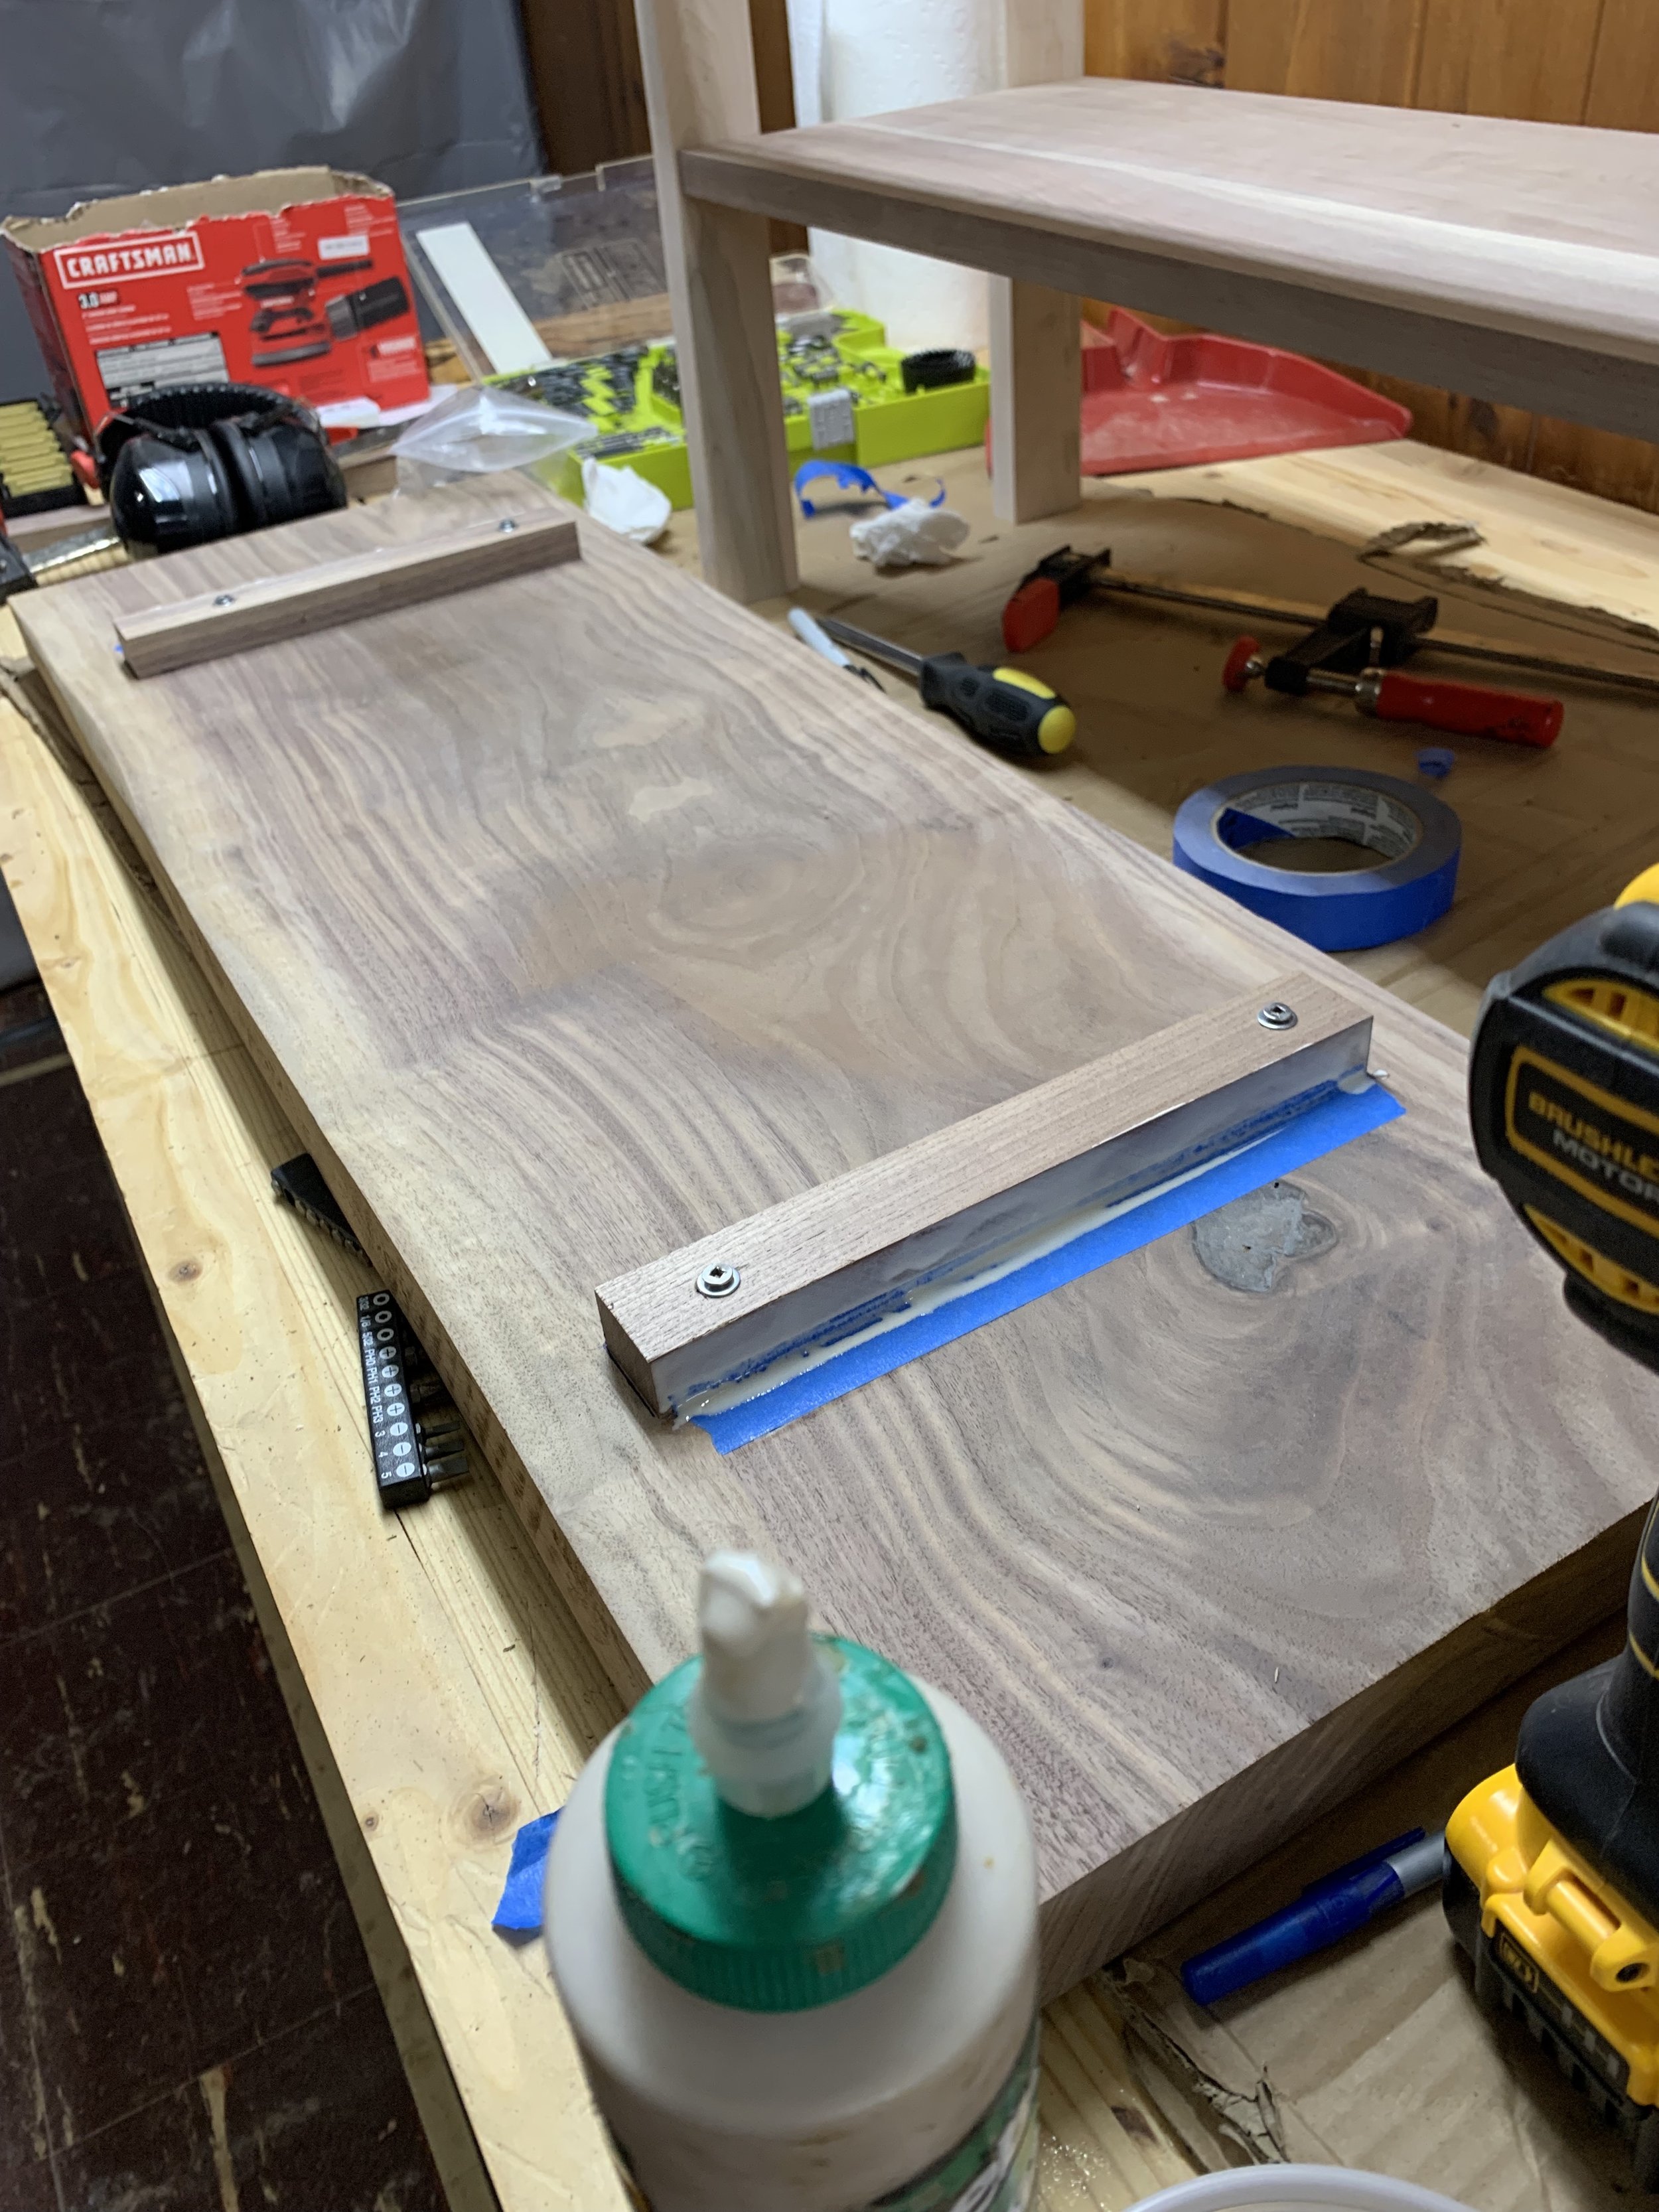
There are always surprises with projects! As I built this one entirely as I went, I hadn’t given much thought before I glued the walnut shoe rack to the maple supports that ran the length of the bench.
Once I flipped the base upside down and starting considering how to attach it to the bench top, I realized I did not have a screw driver which had enough clearance between the shoe rack and the top of the bench to fasten the base to the top. I have a 90 degree drill knuckle which allows fastening in tight corners, however I didn’t have the downward leverage needed to attach the base.
I decided I would screw the attaching braces to the bench top first, and then slide the base over top to glue the base to the braces. This was actually quite challenging because the braces had to fit snugly up against the existing base to yield a strong glue joint. It all worked out in the end!
