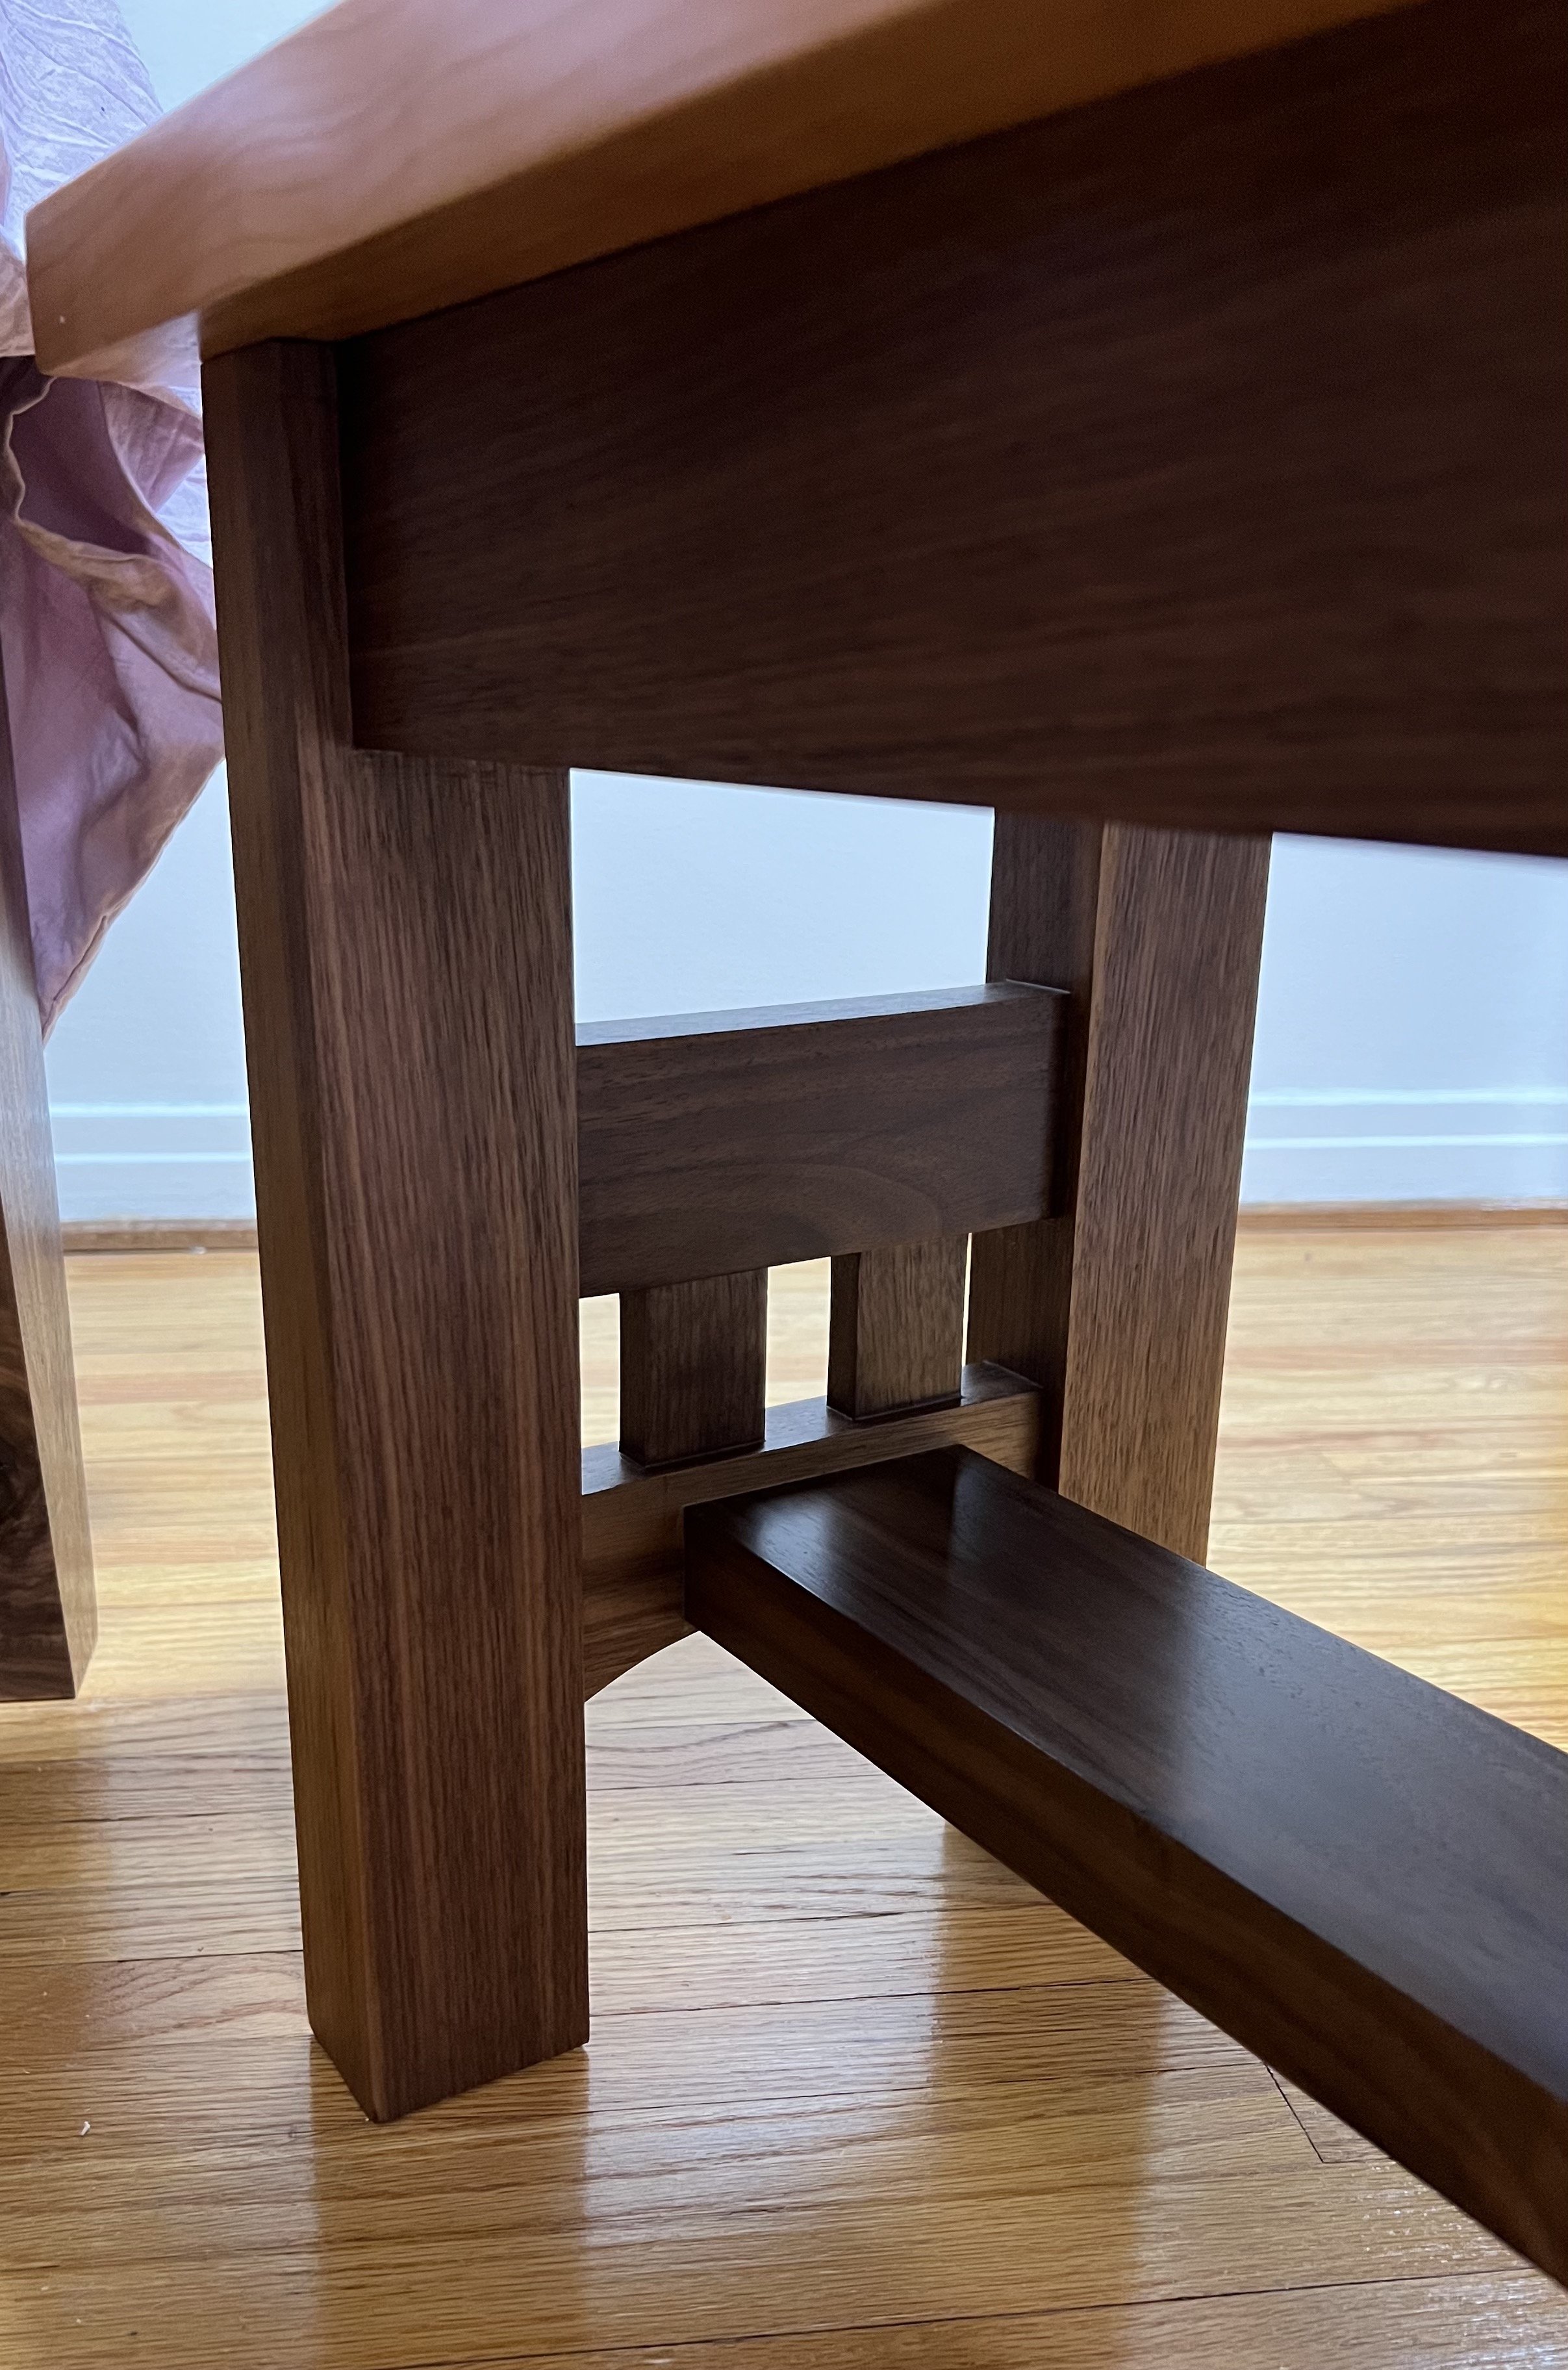
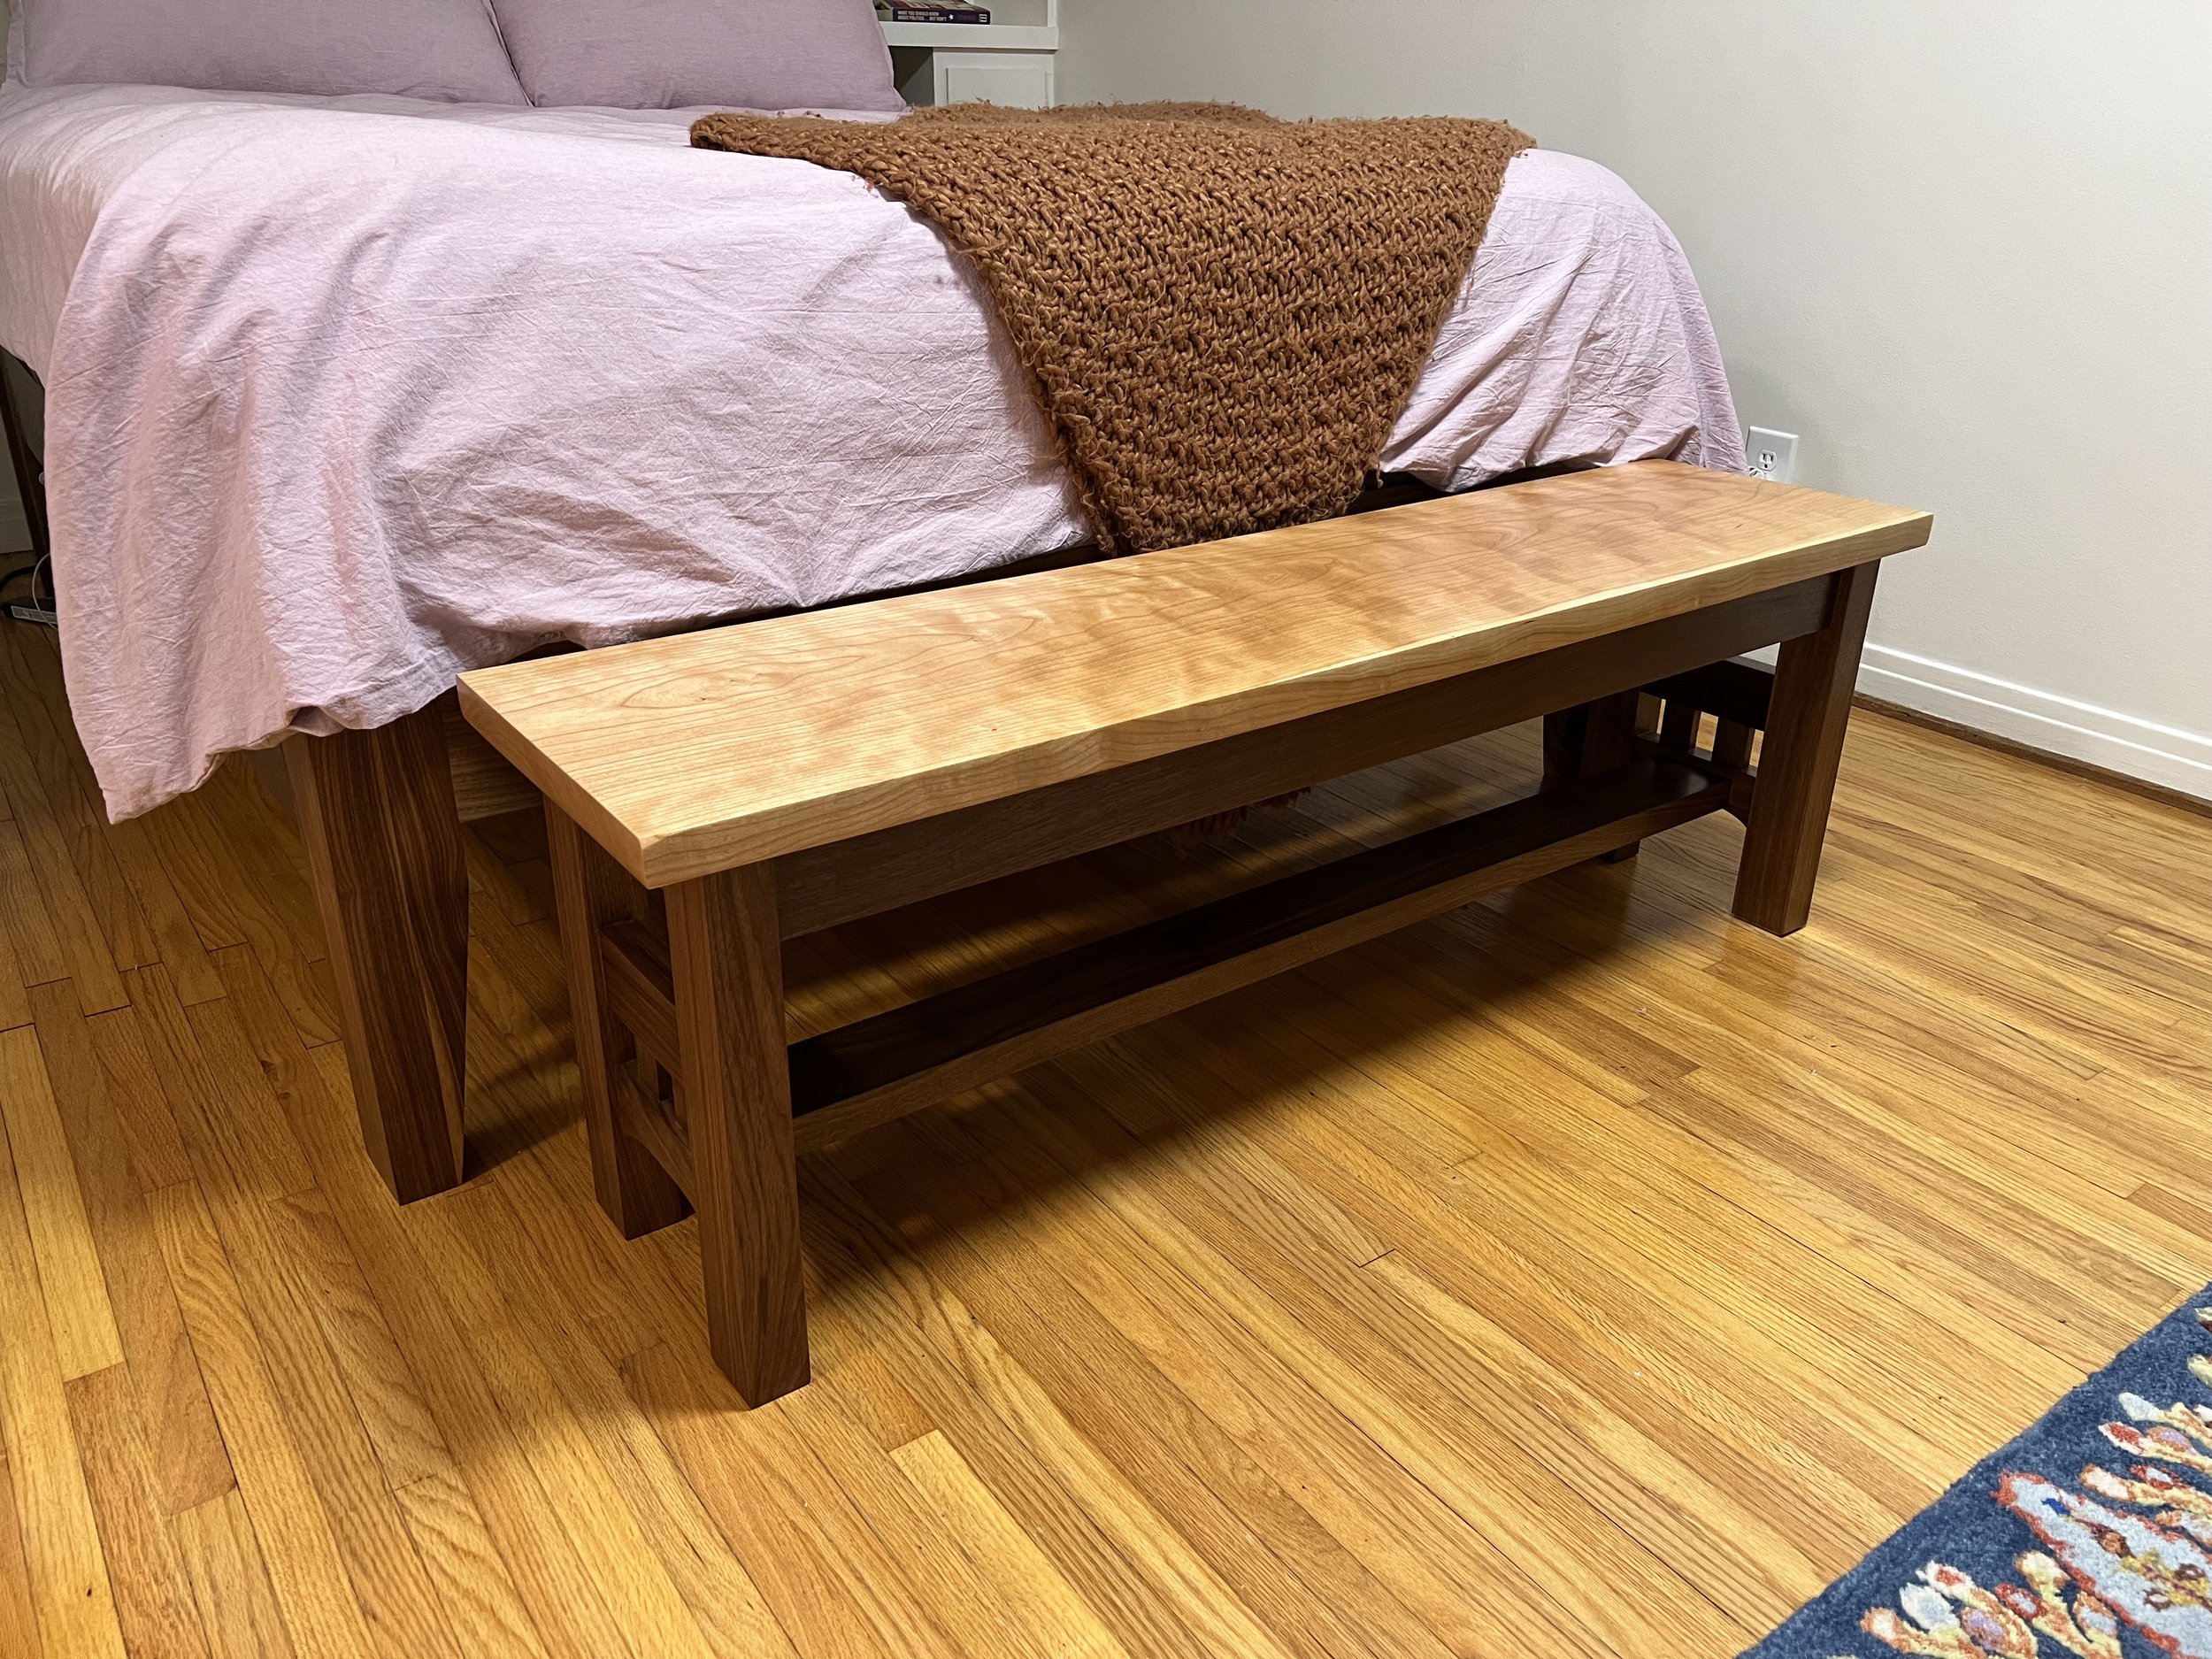
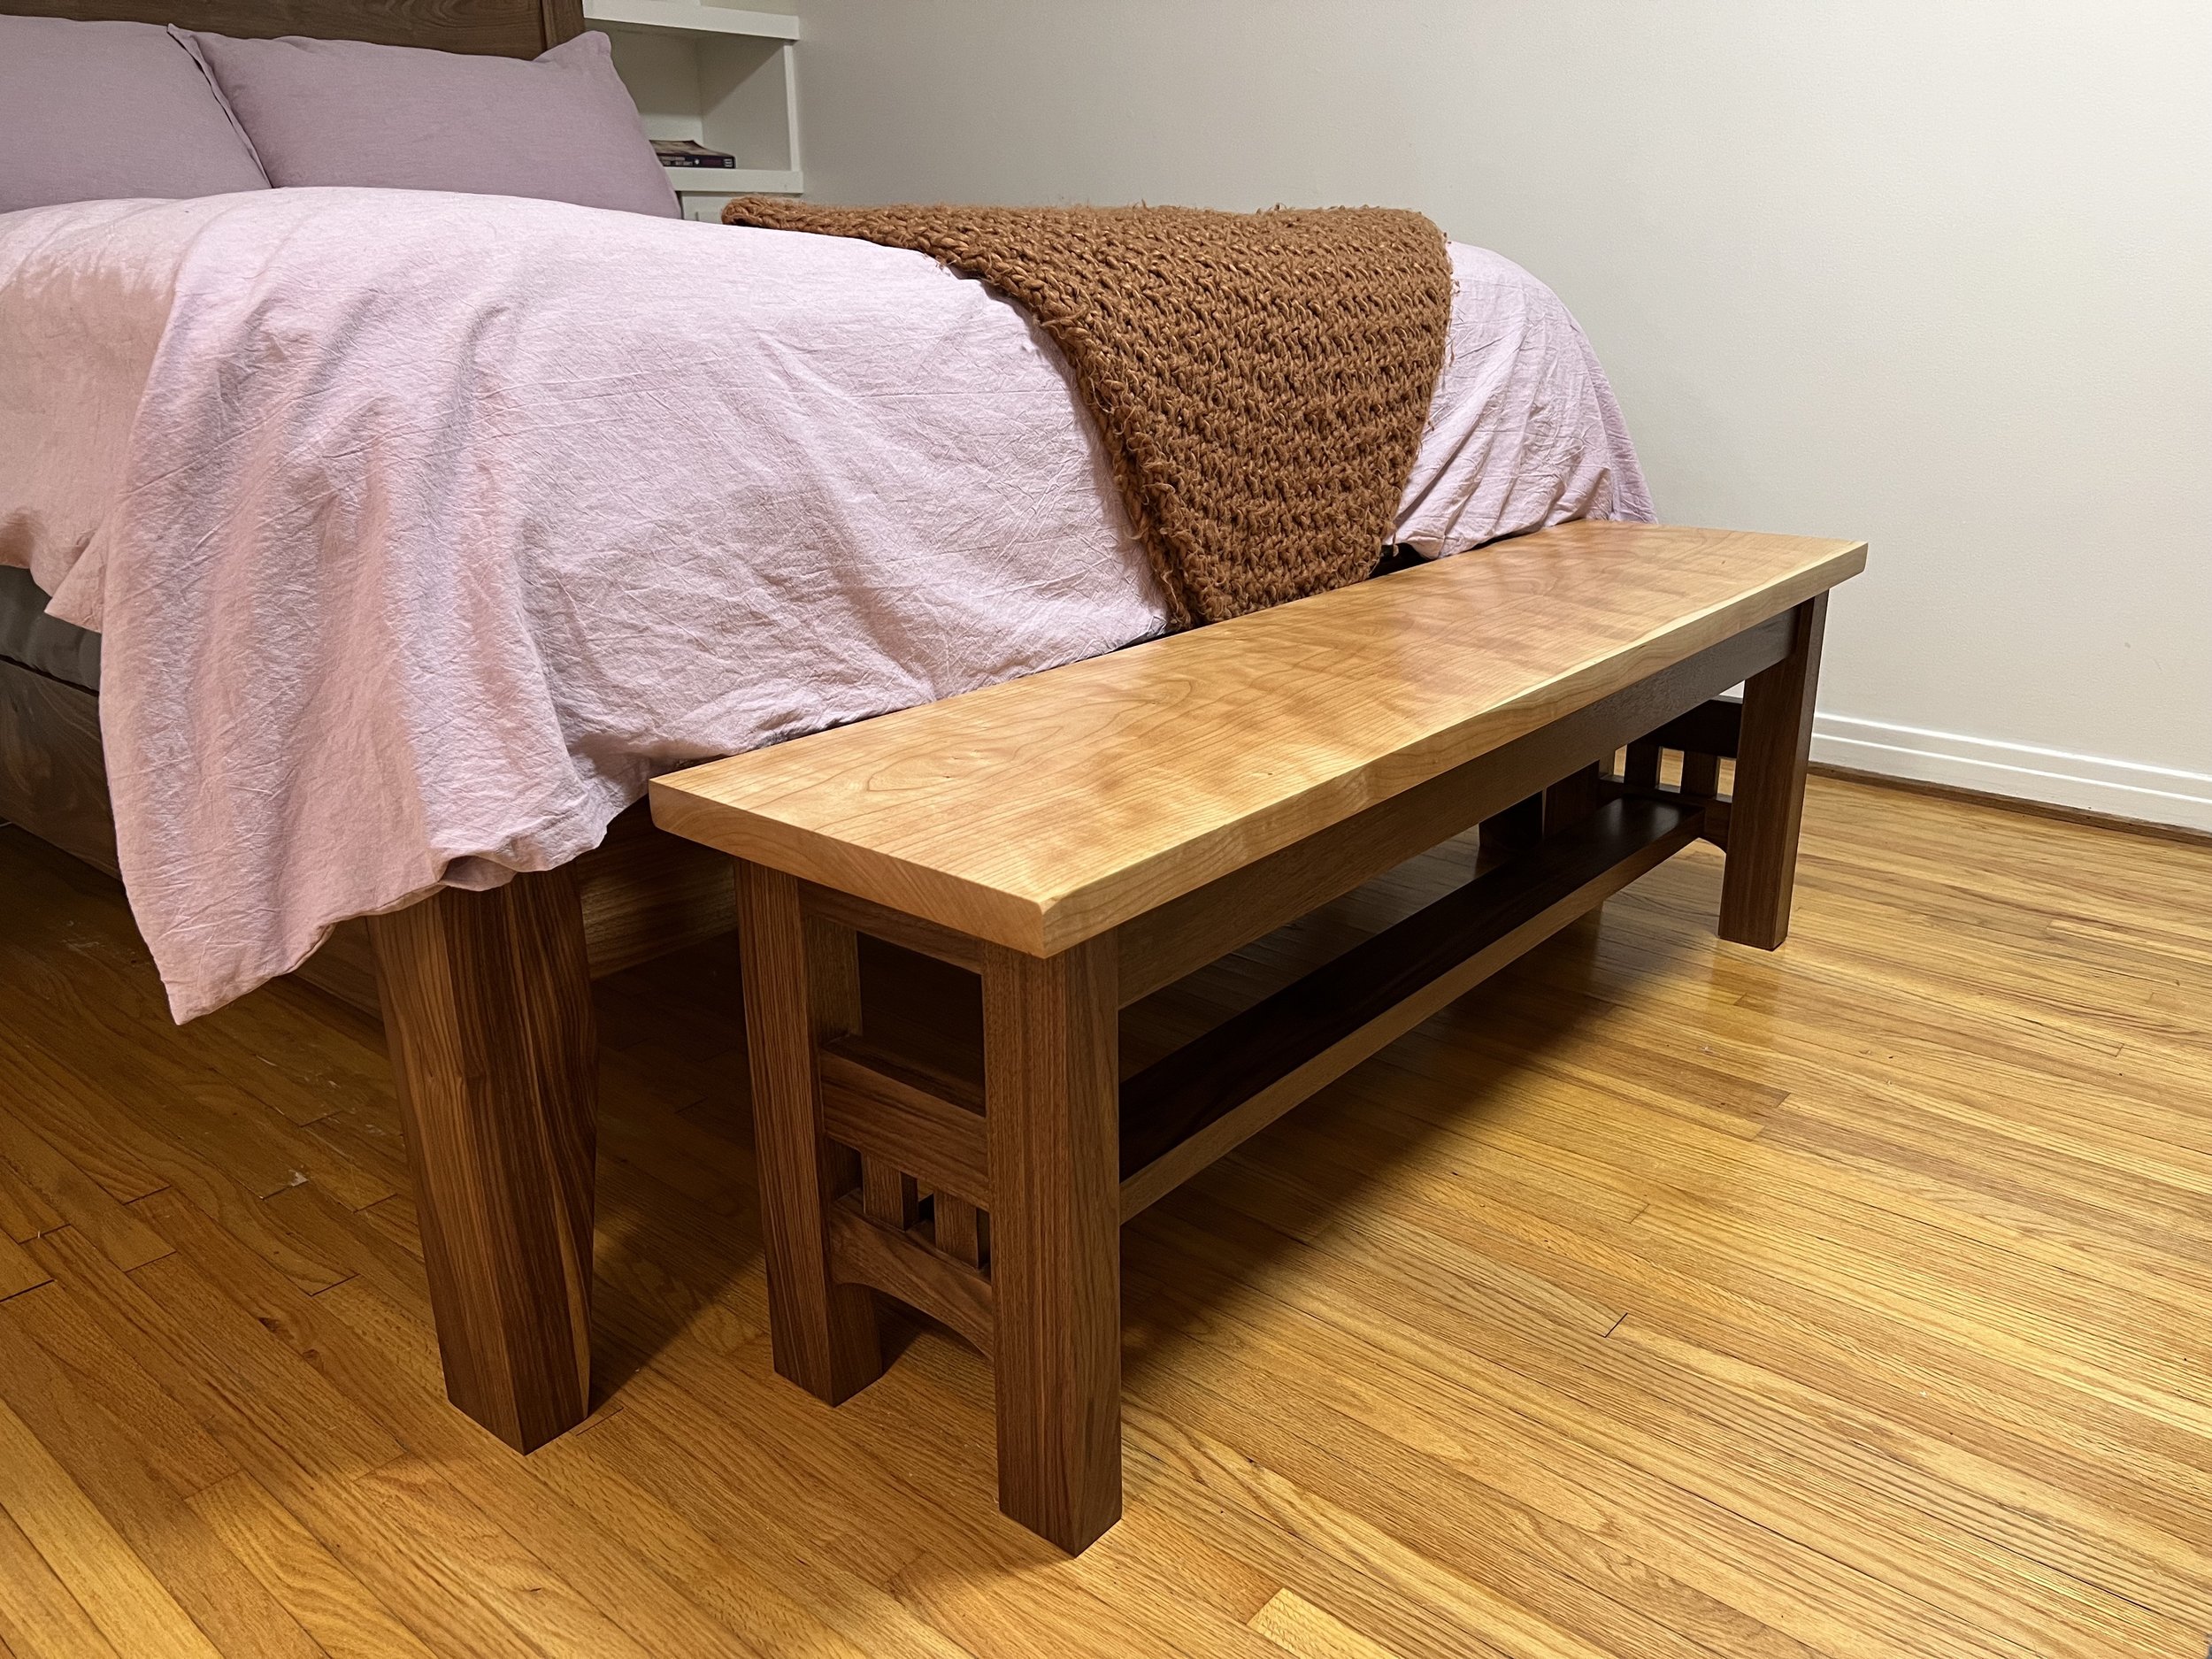
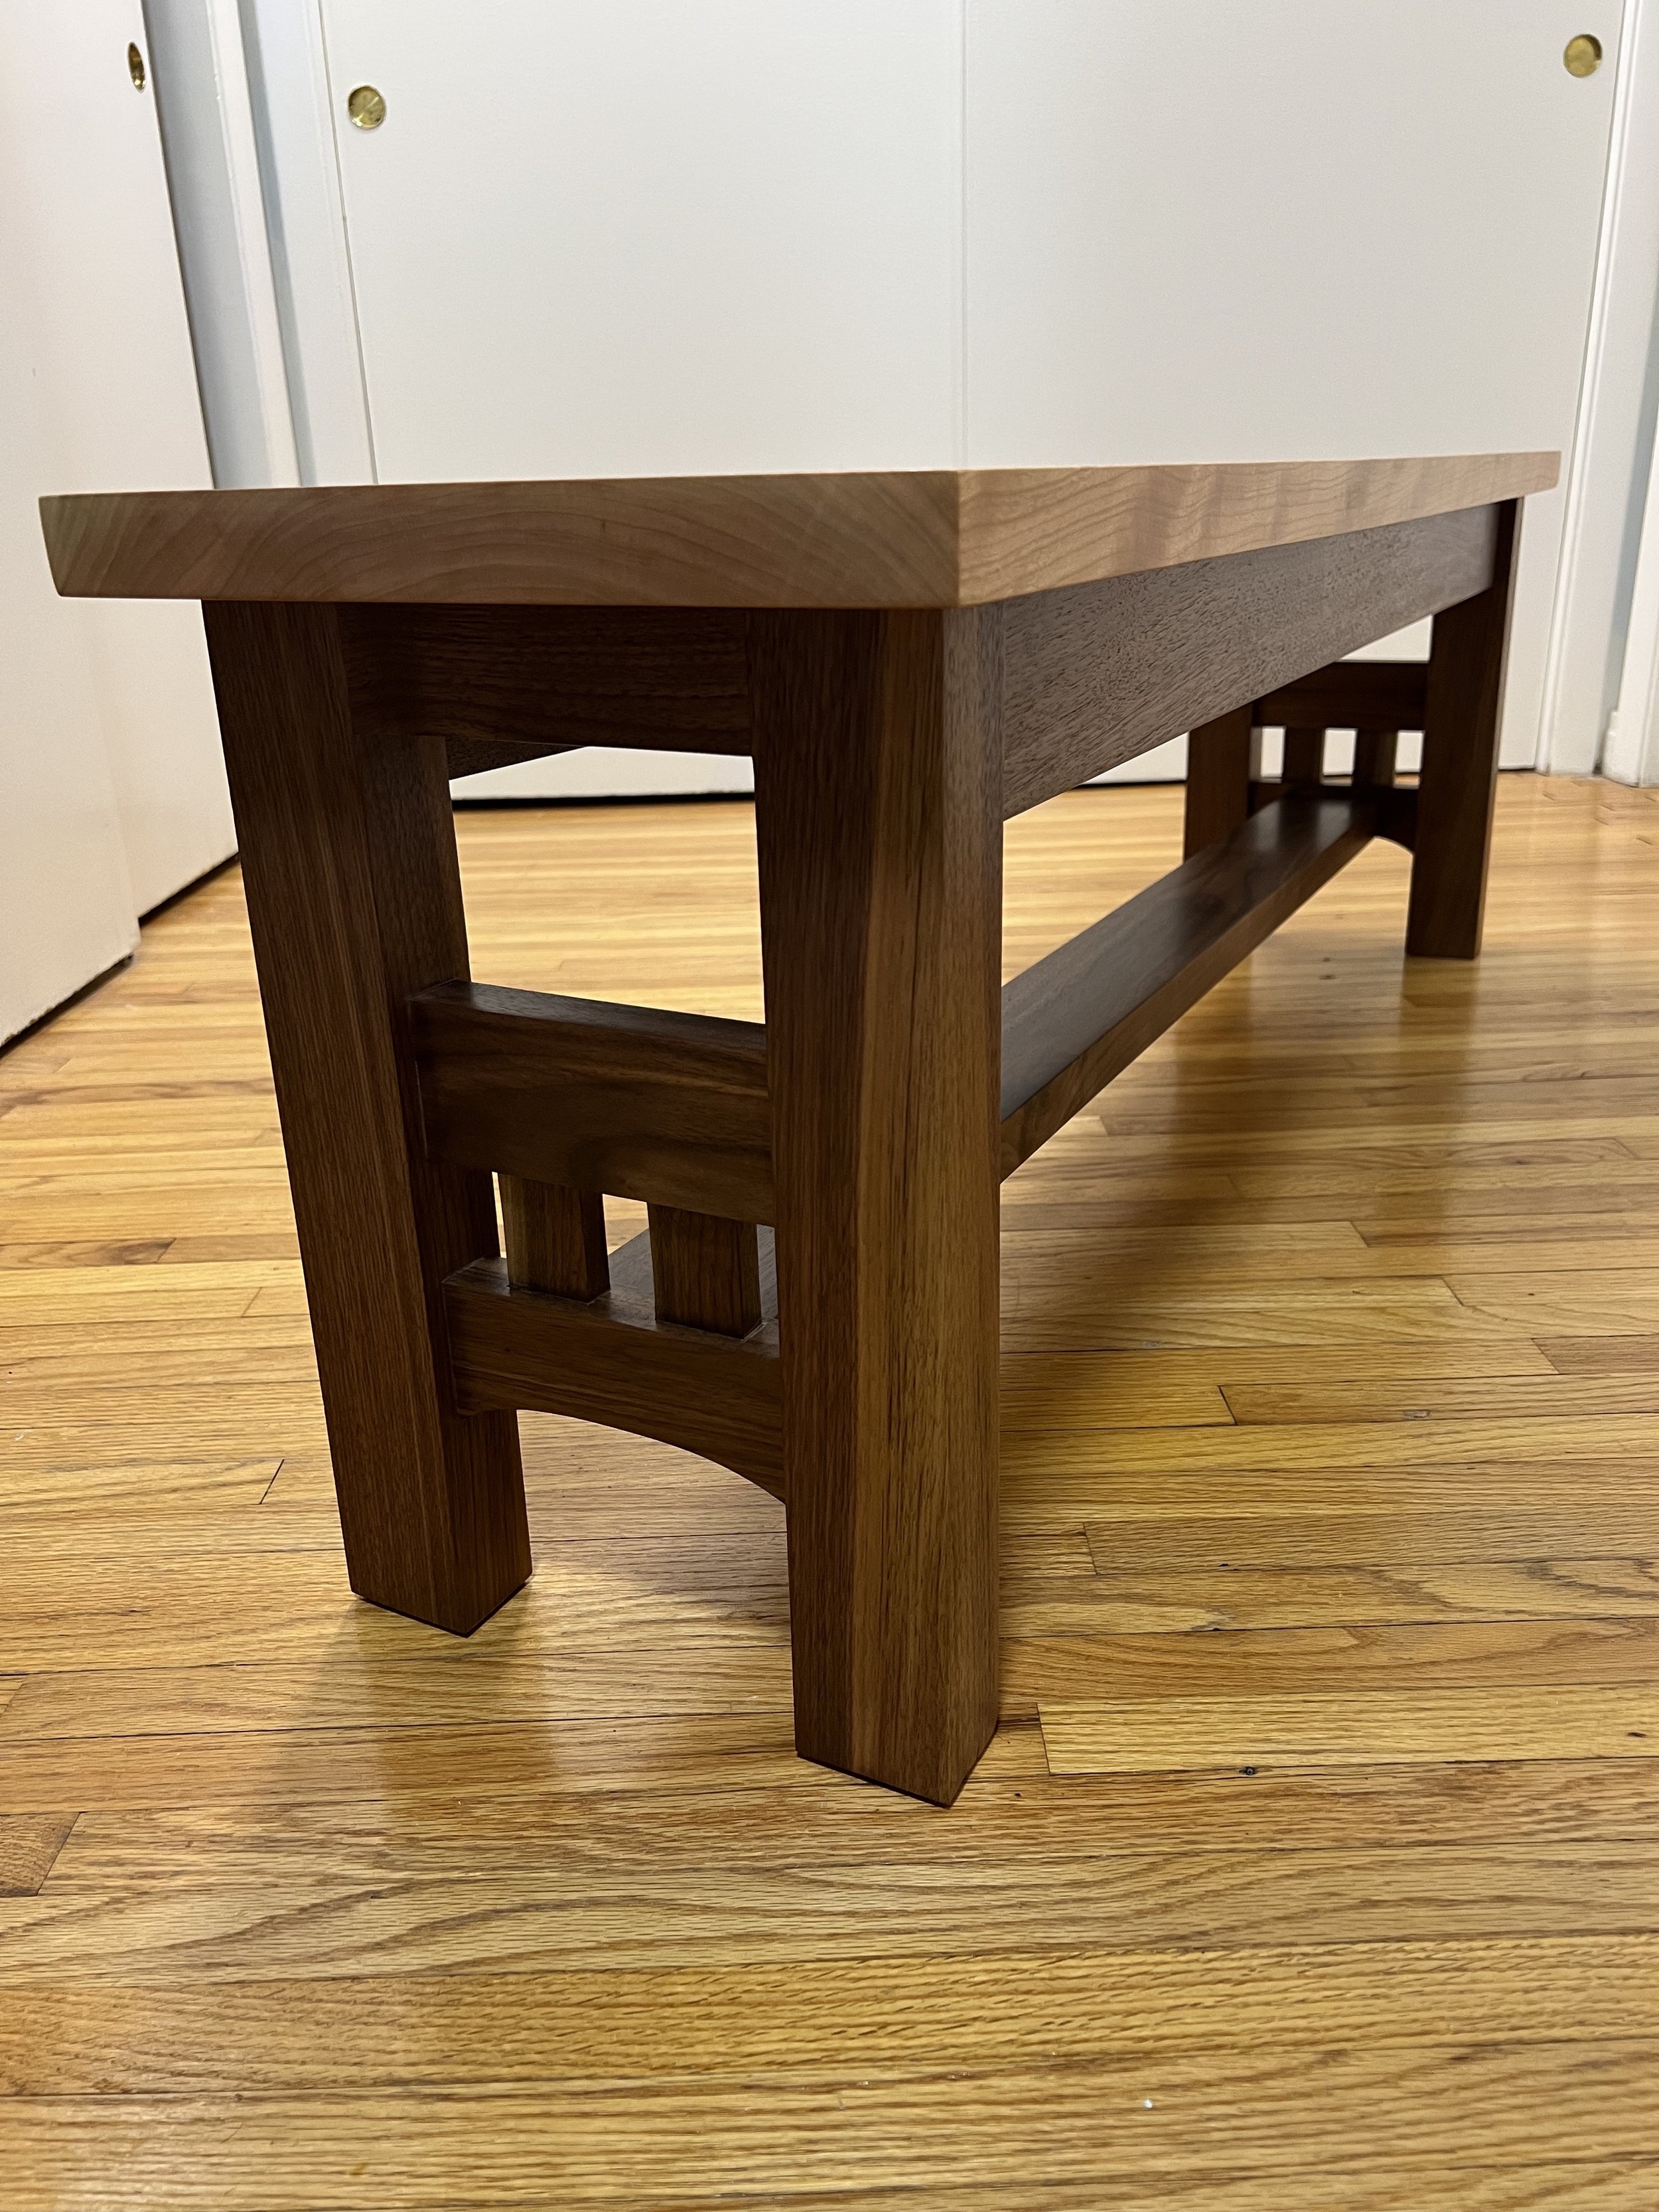
Cherry & Walnut Craftsman Bench

Design Inspiration
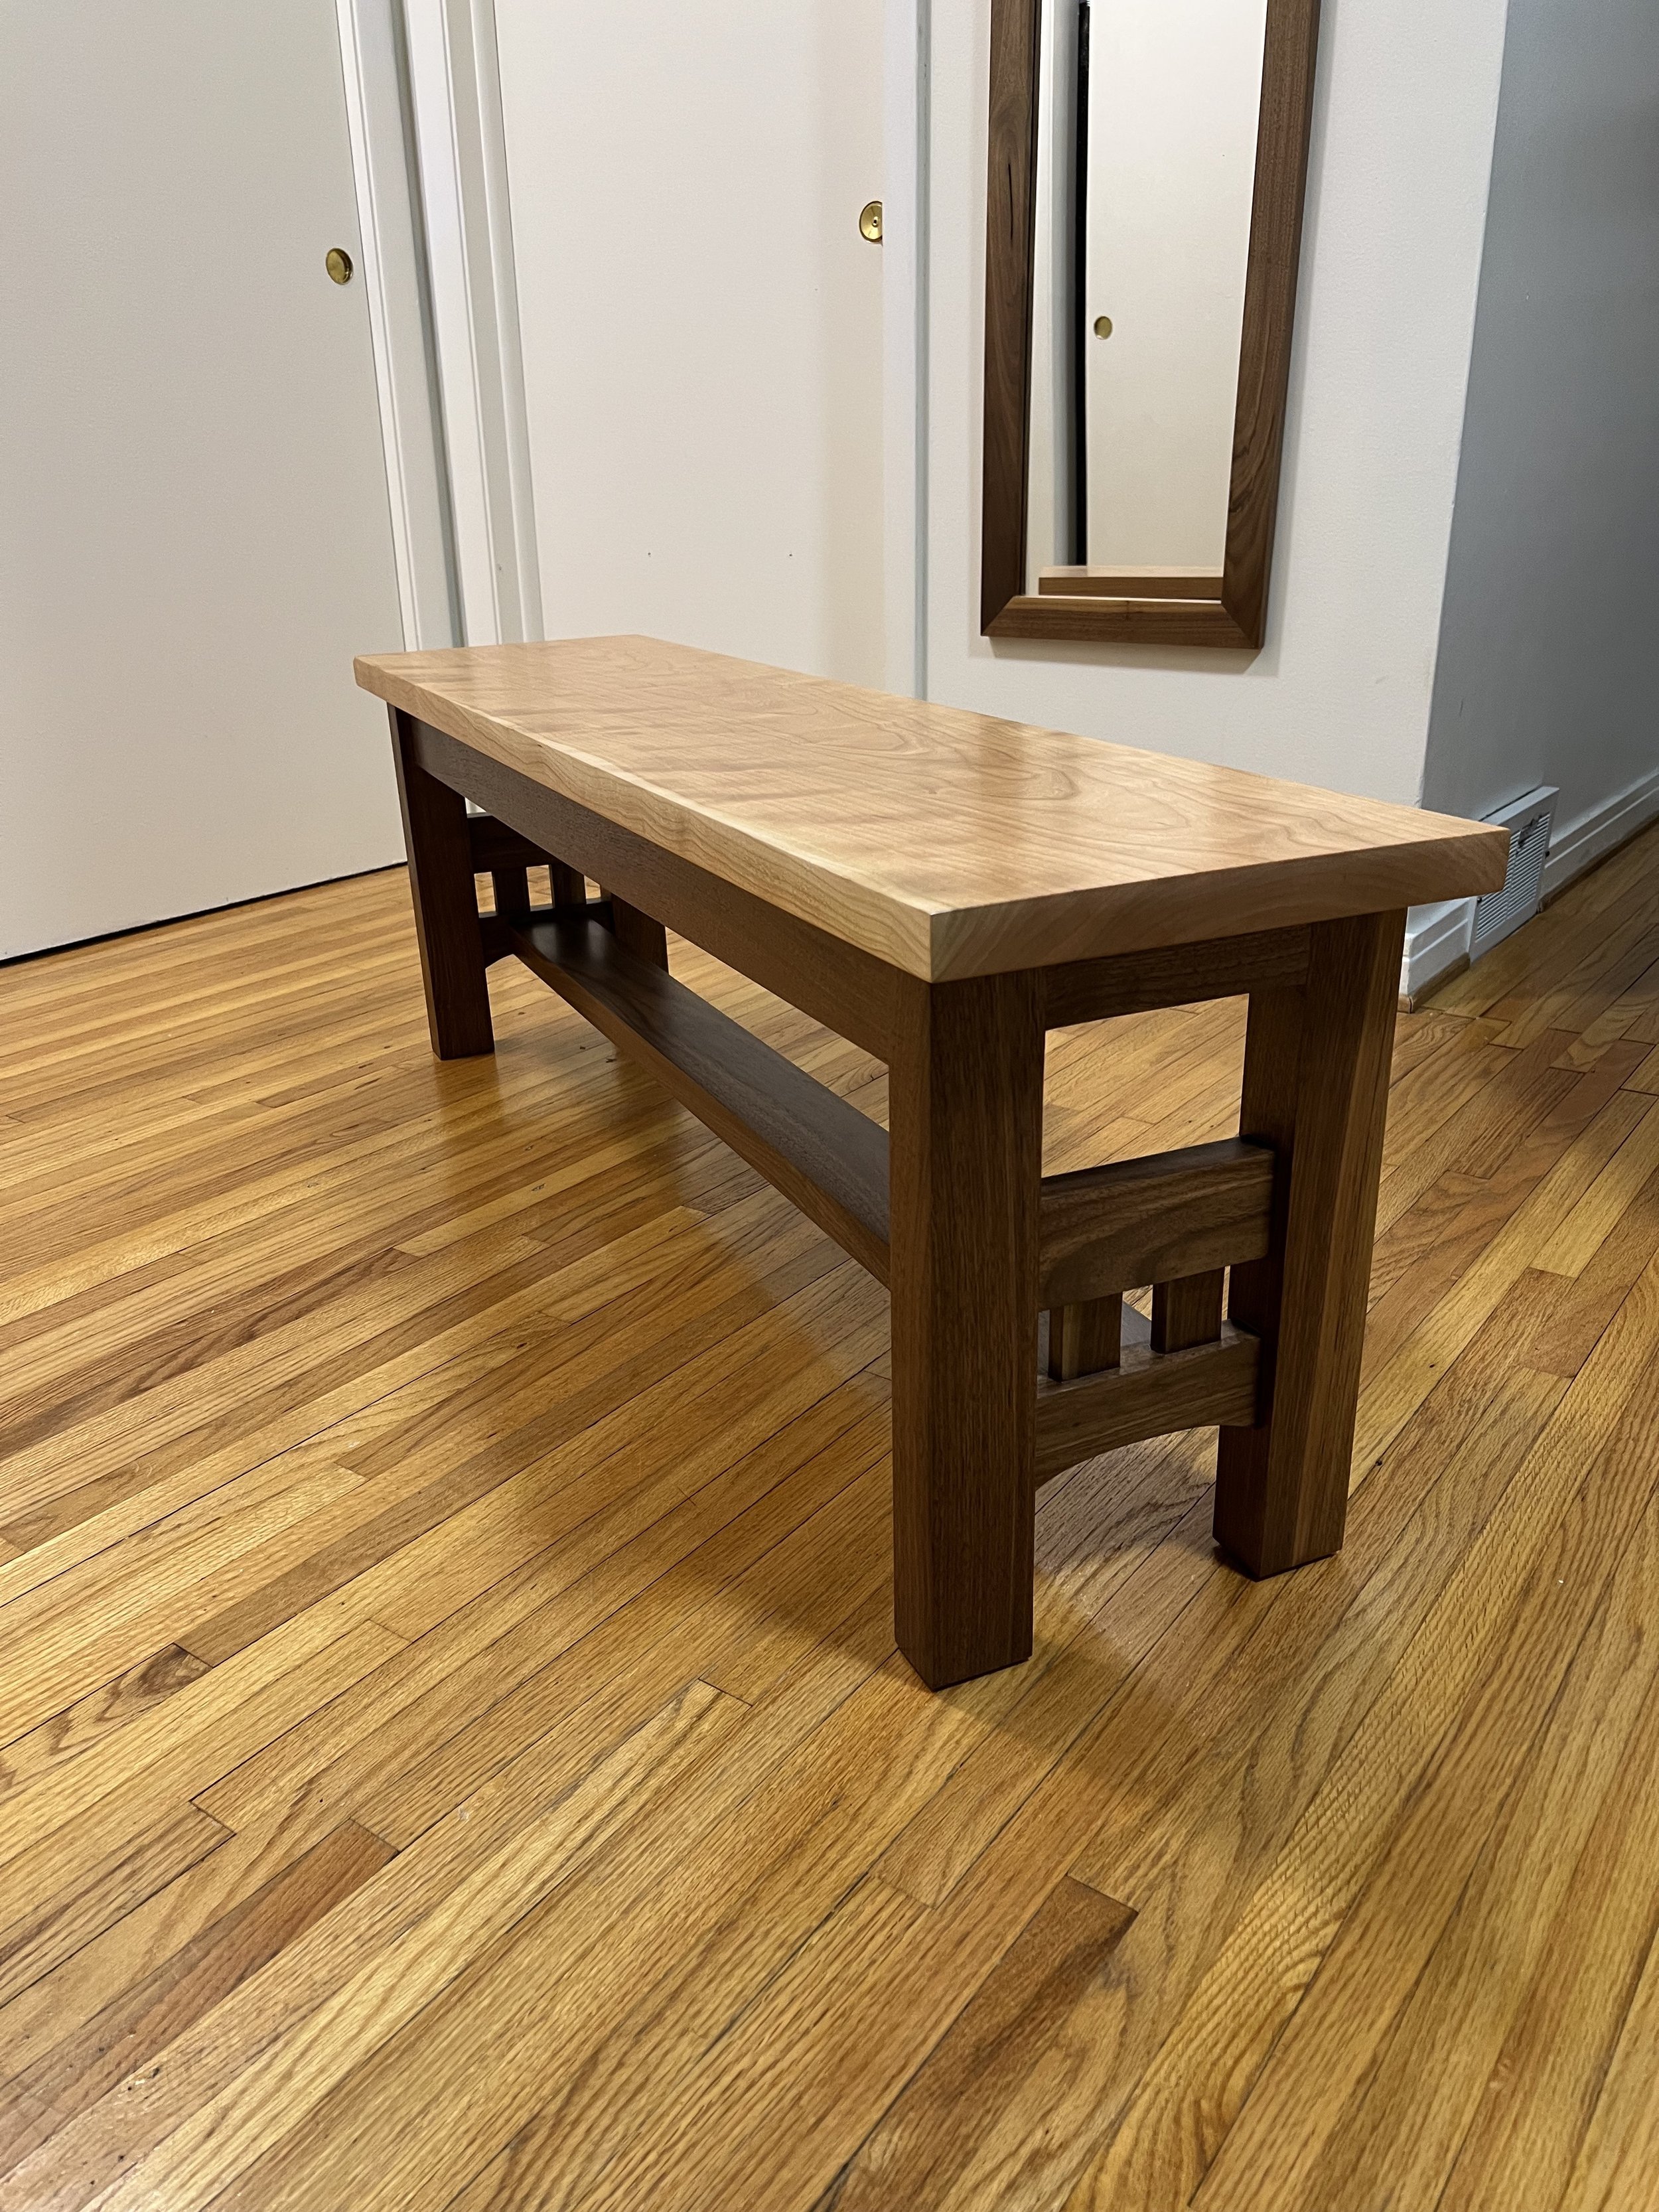
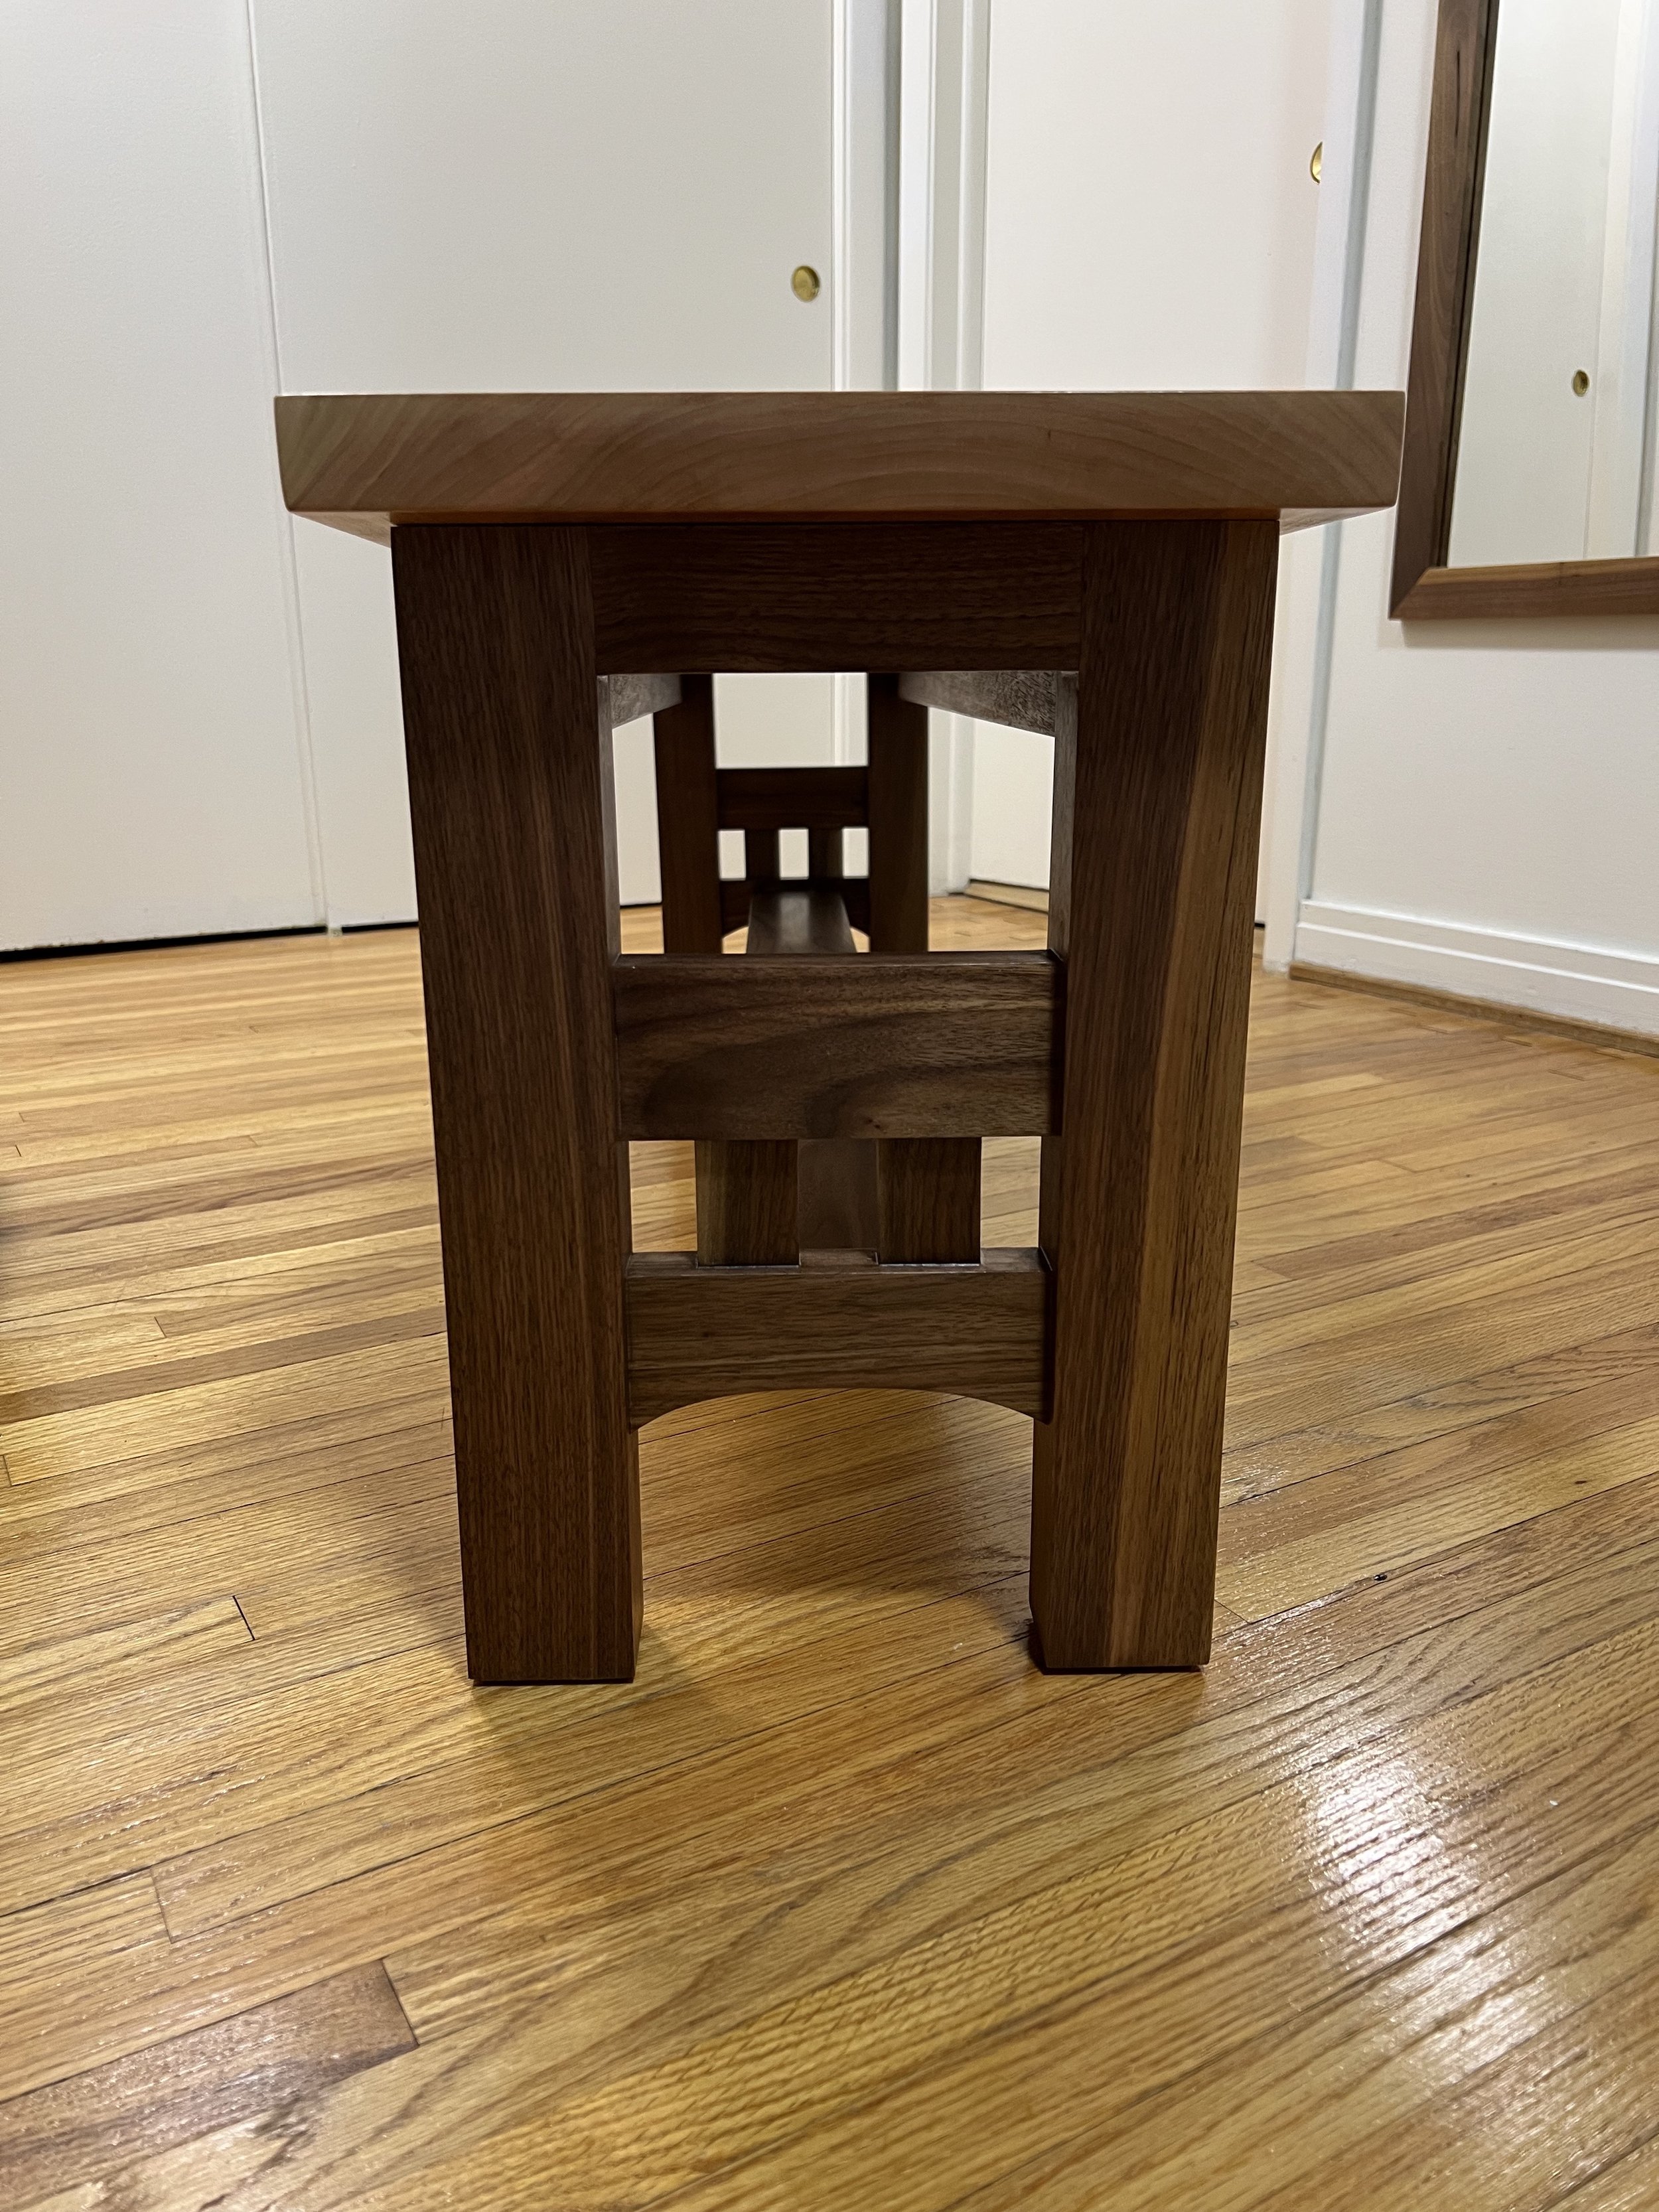
Sarah and I had been wanting a bench for the foot of our bed for a while, and I had been itching to begin a new project. The design of the Morris chair has always appealed to me; I love the slat dividers that make up the arms of the chair, the mortise and tenon style joinery, and the overall aesthetic. However, at the time of this project we didn’t really need another seat in the house. In addition, the design of the Morris chair didn’t totally appeal to Sarah. This project allowed me to combine what I loved about the Morris chair with a piece of furniture we had a use for.
Build & Legs
I didn’t follow a plan for this build and made the design up as I went, using inspiration from the Morris chair and other roycroft, shaker style furniture.
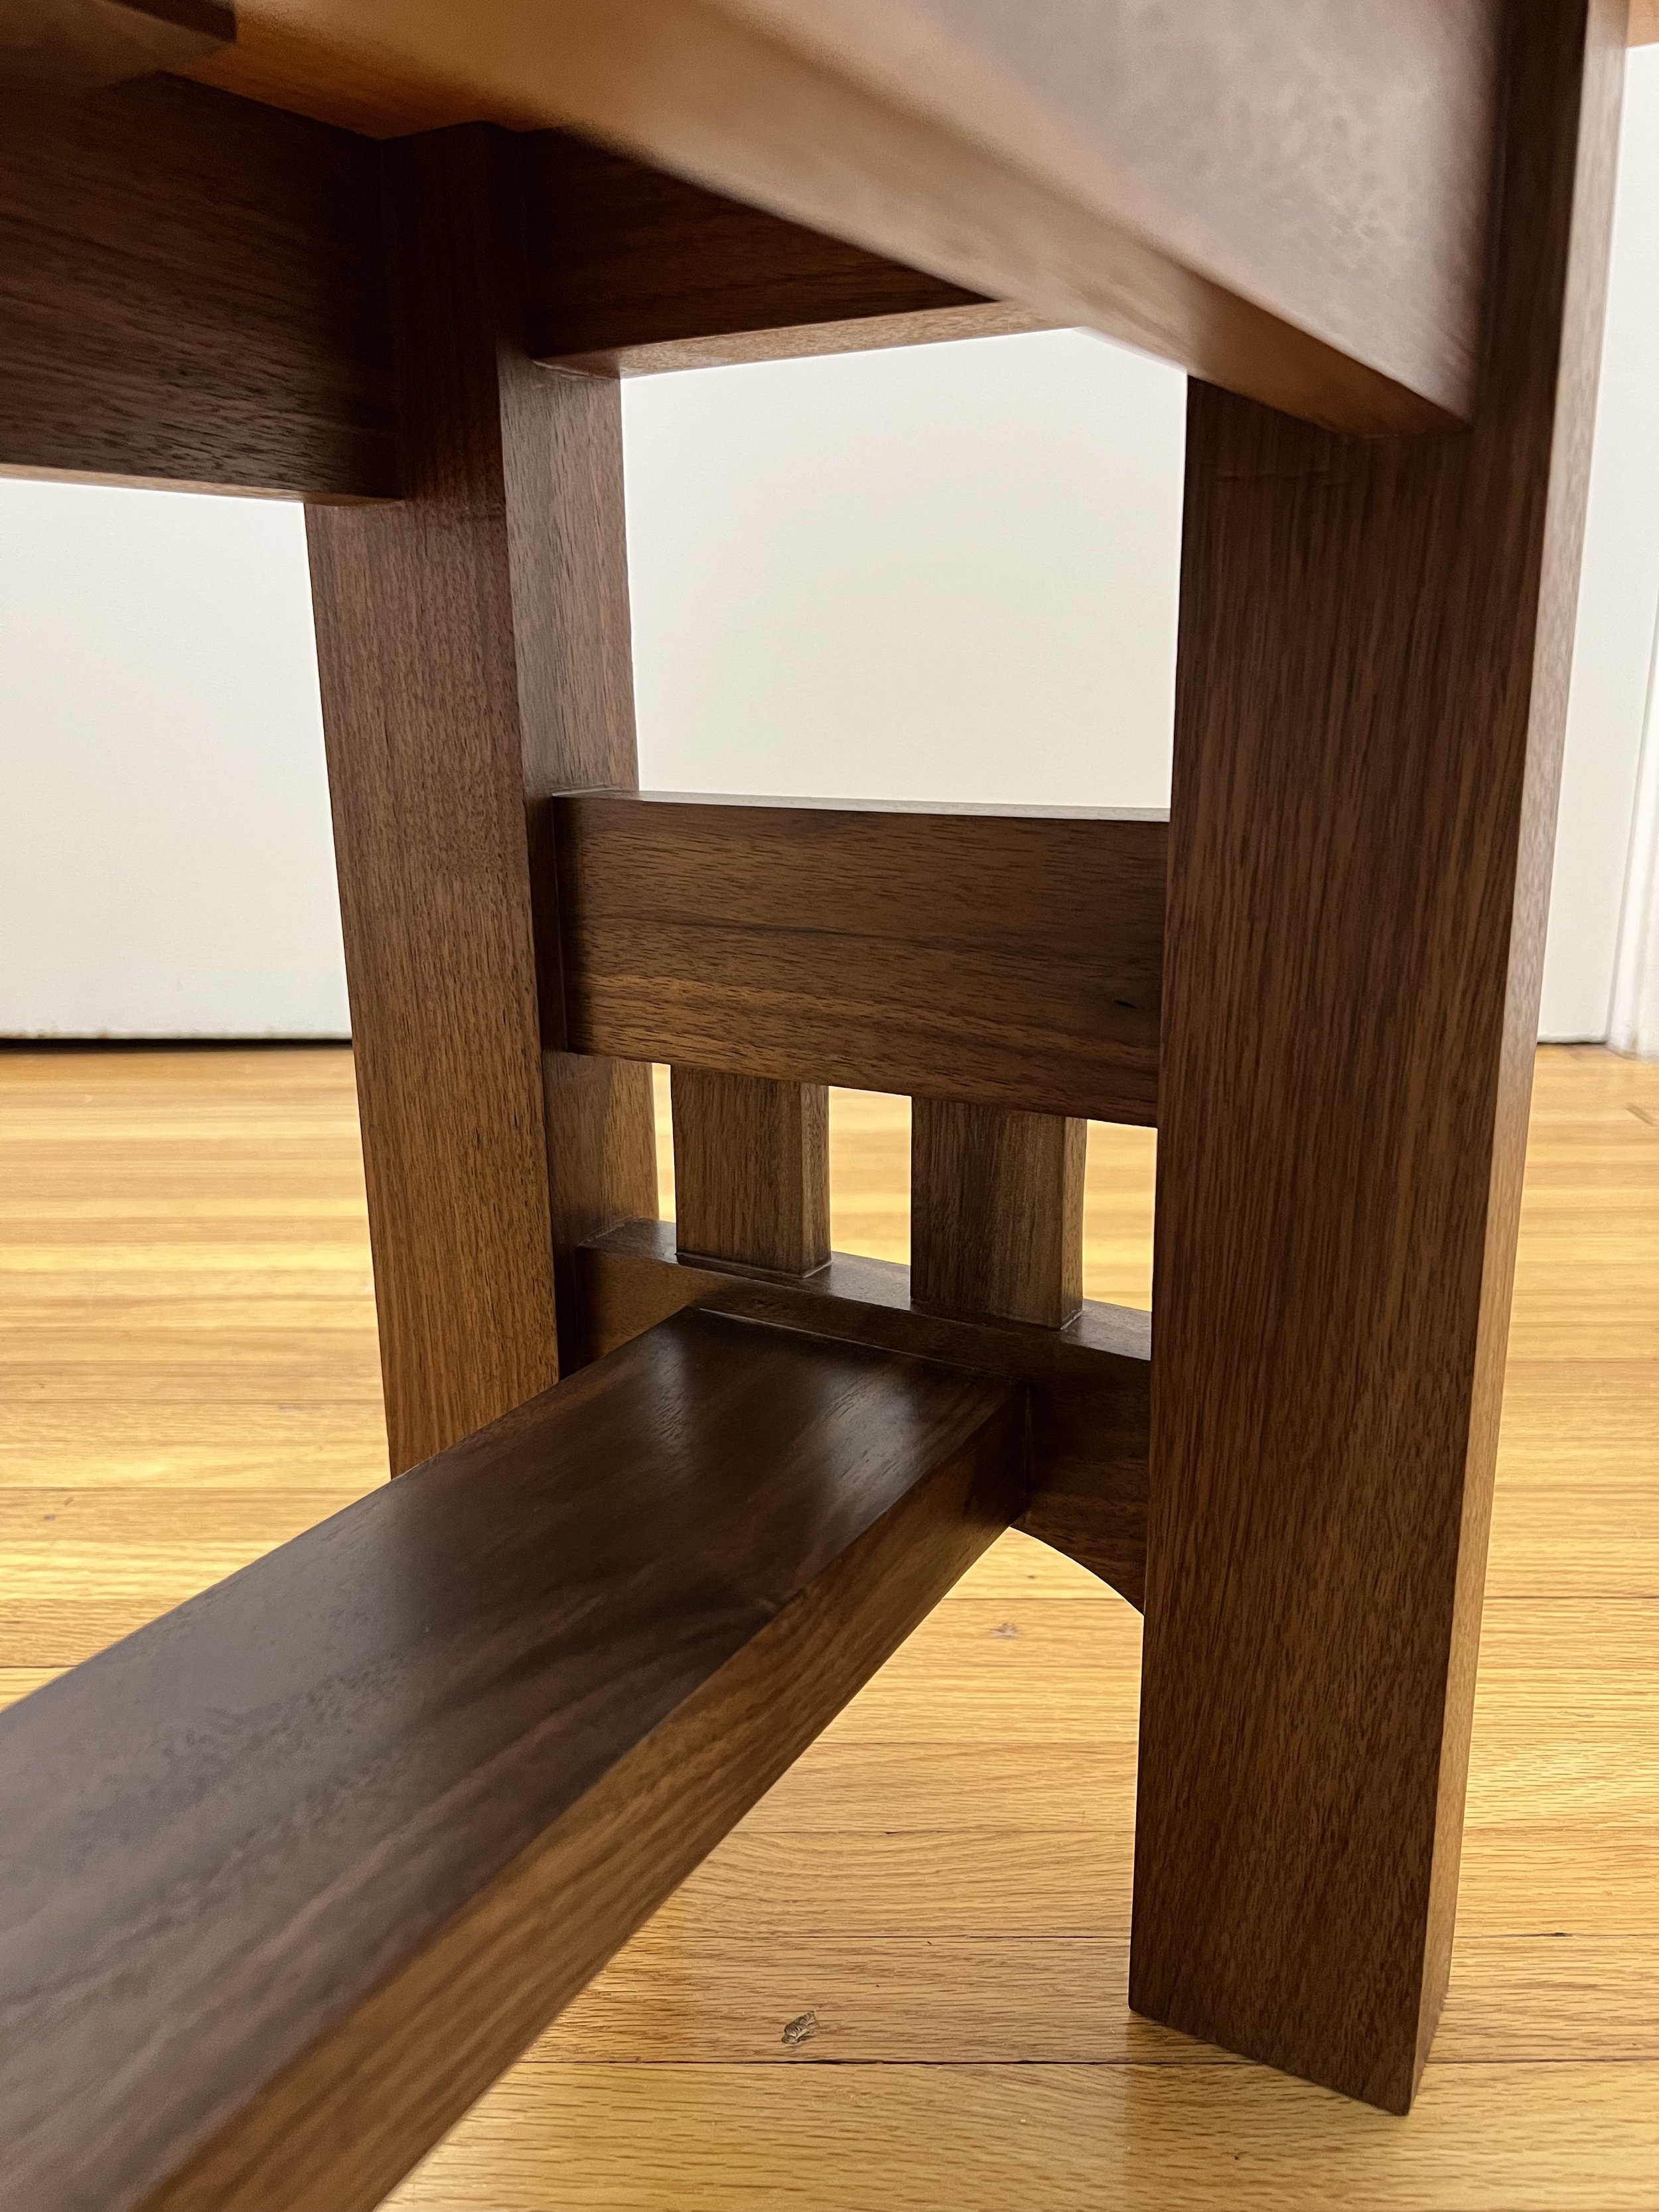
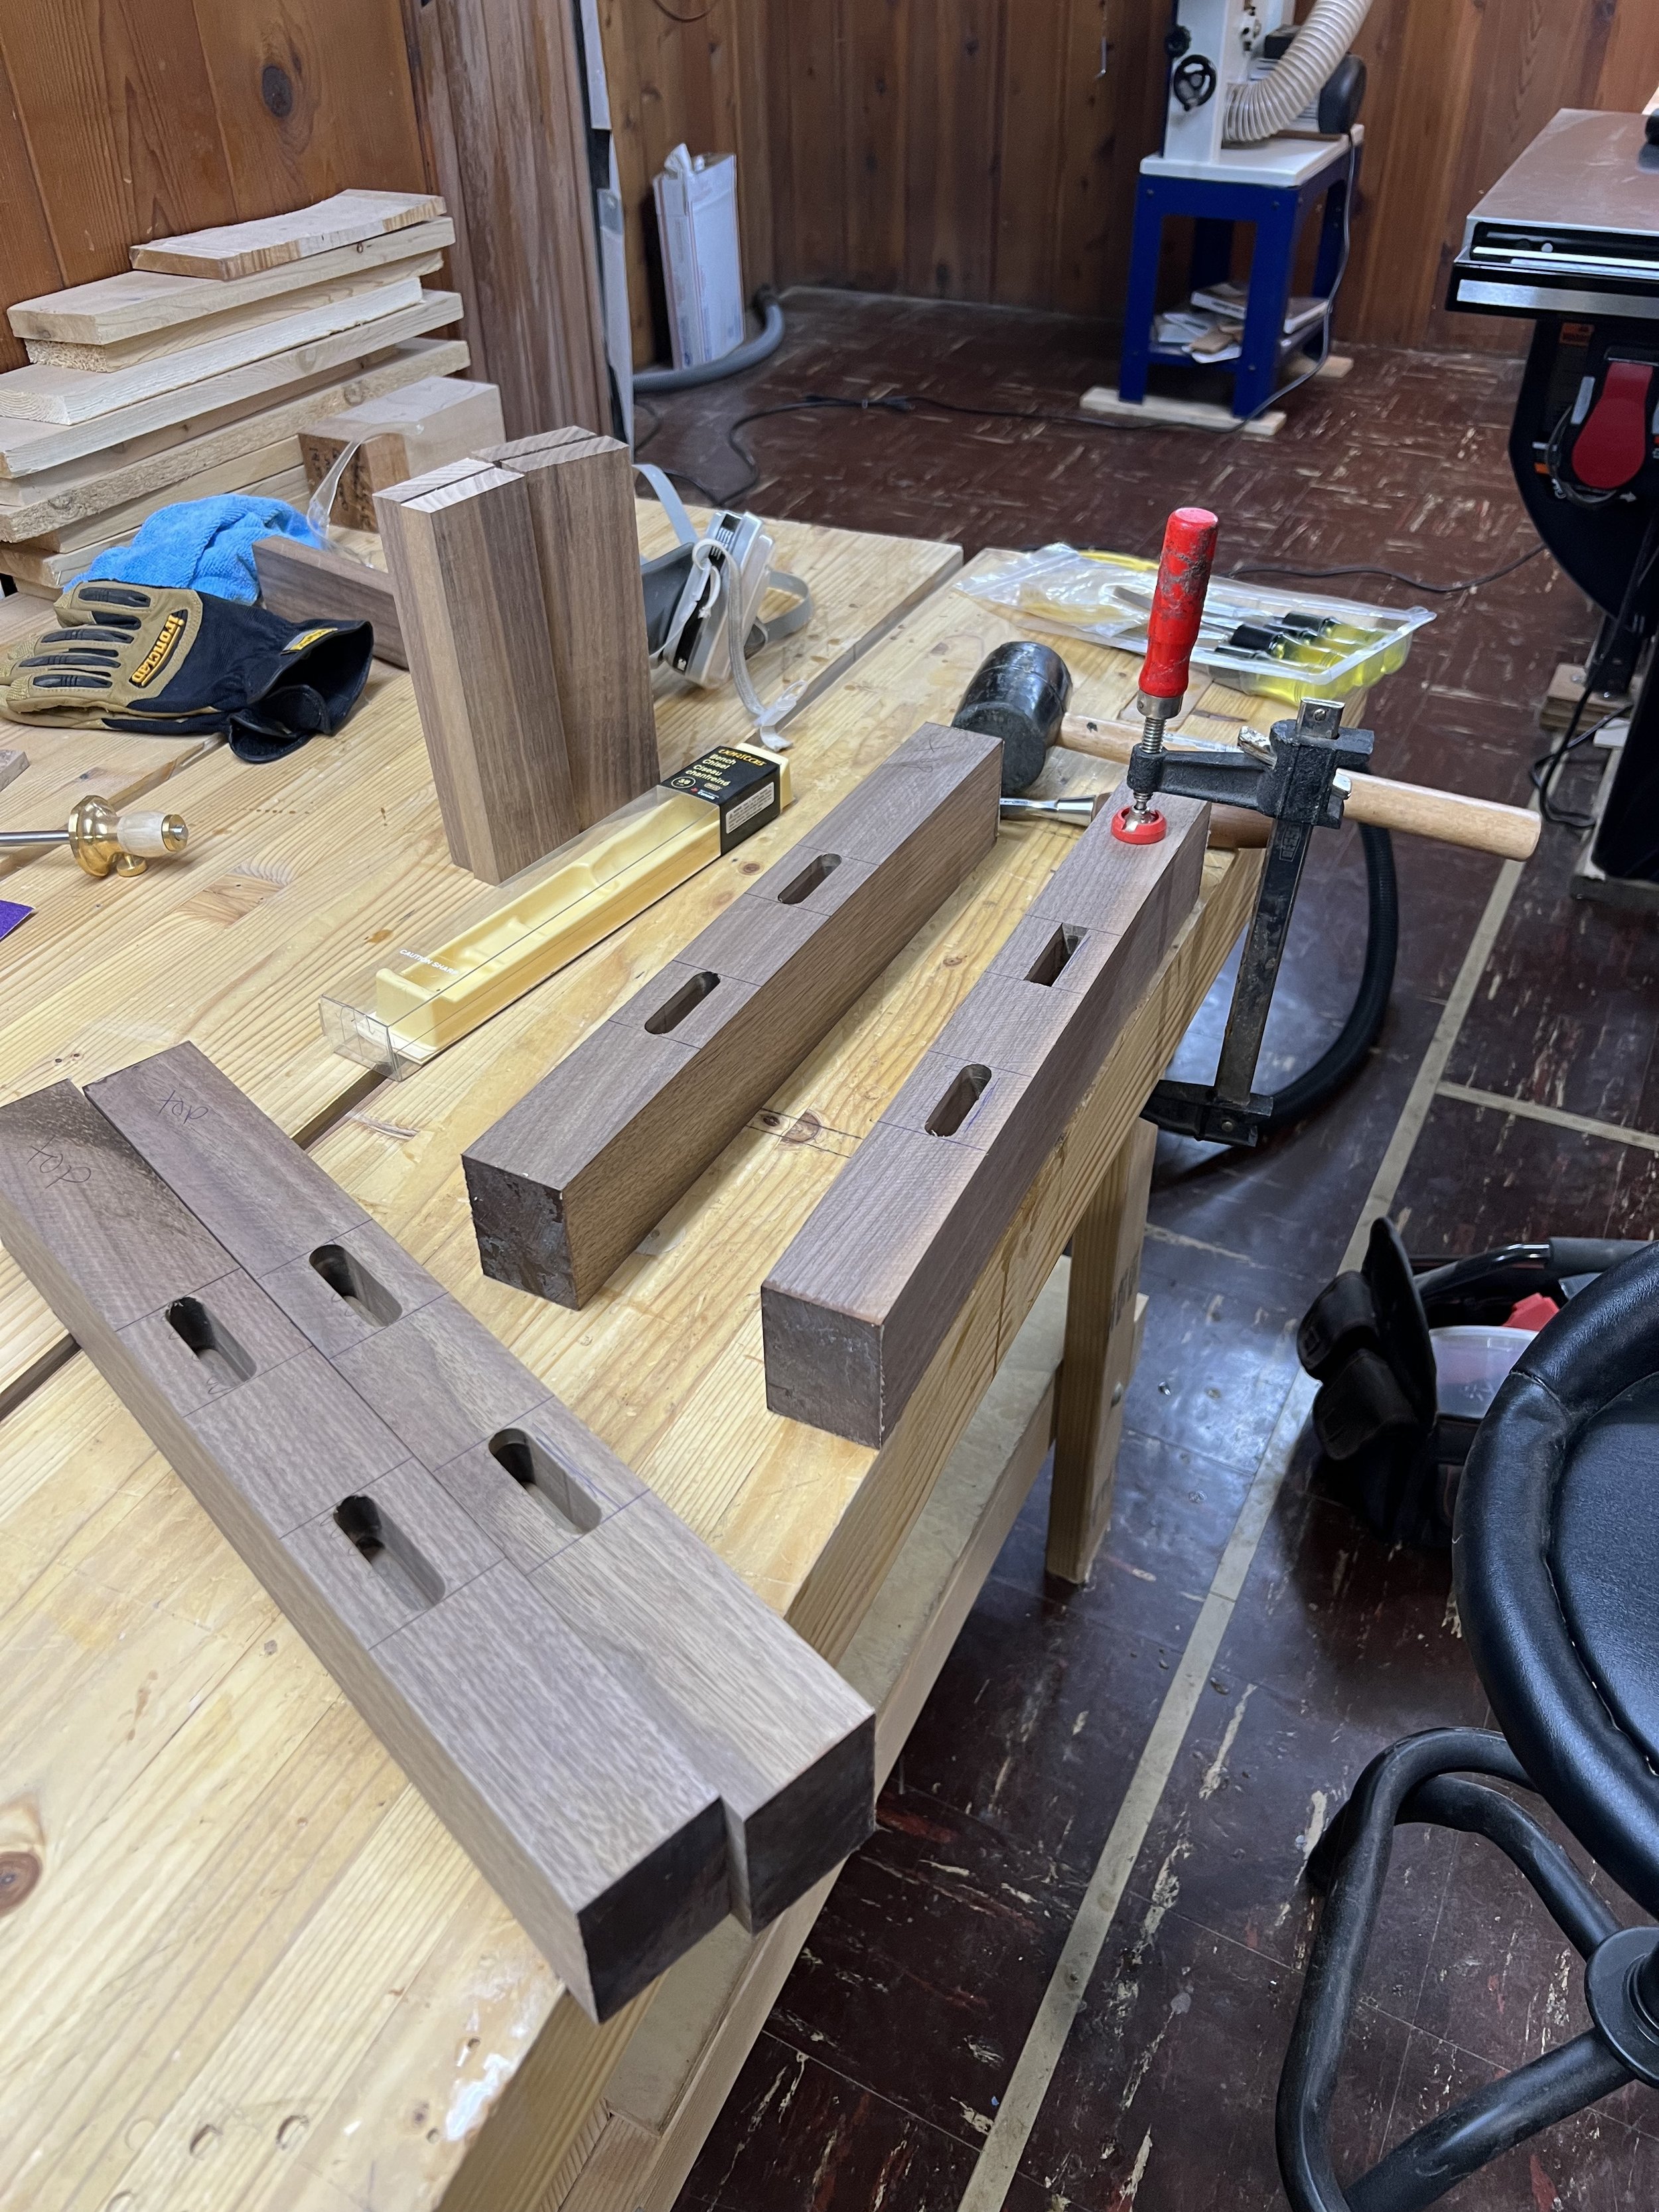
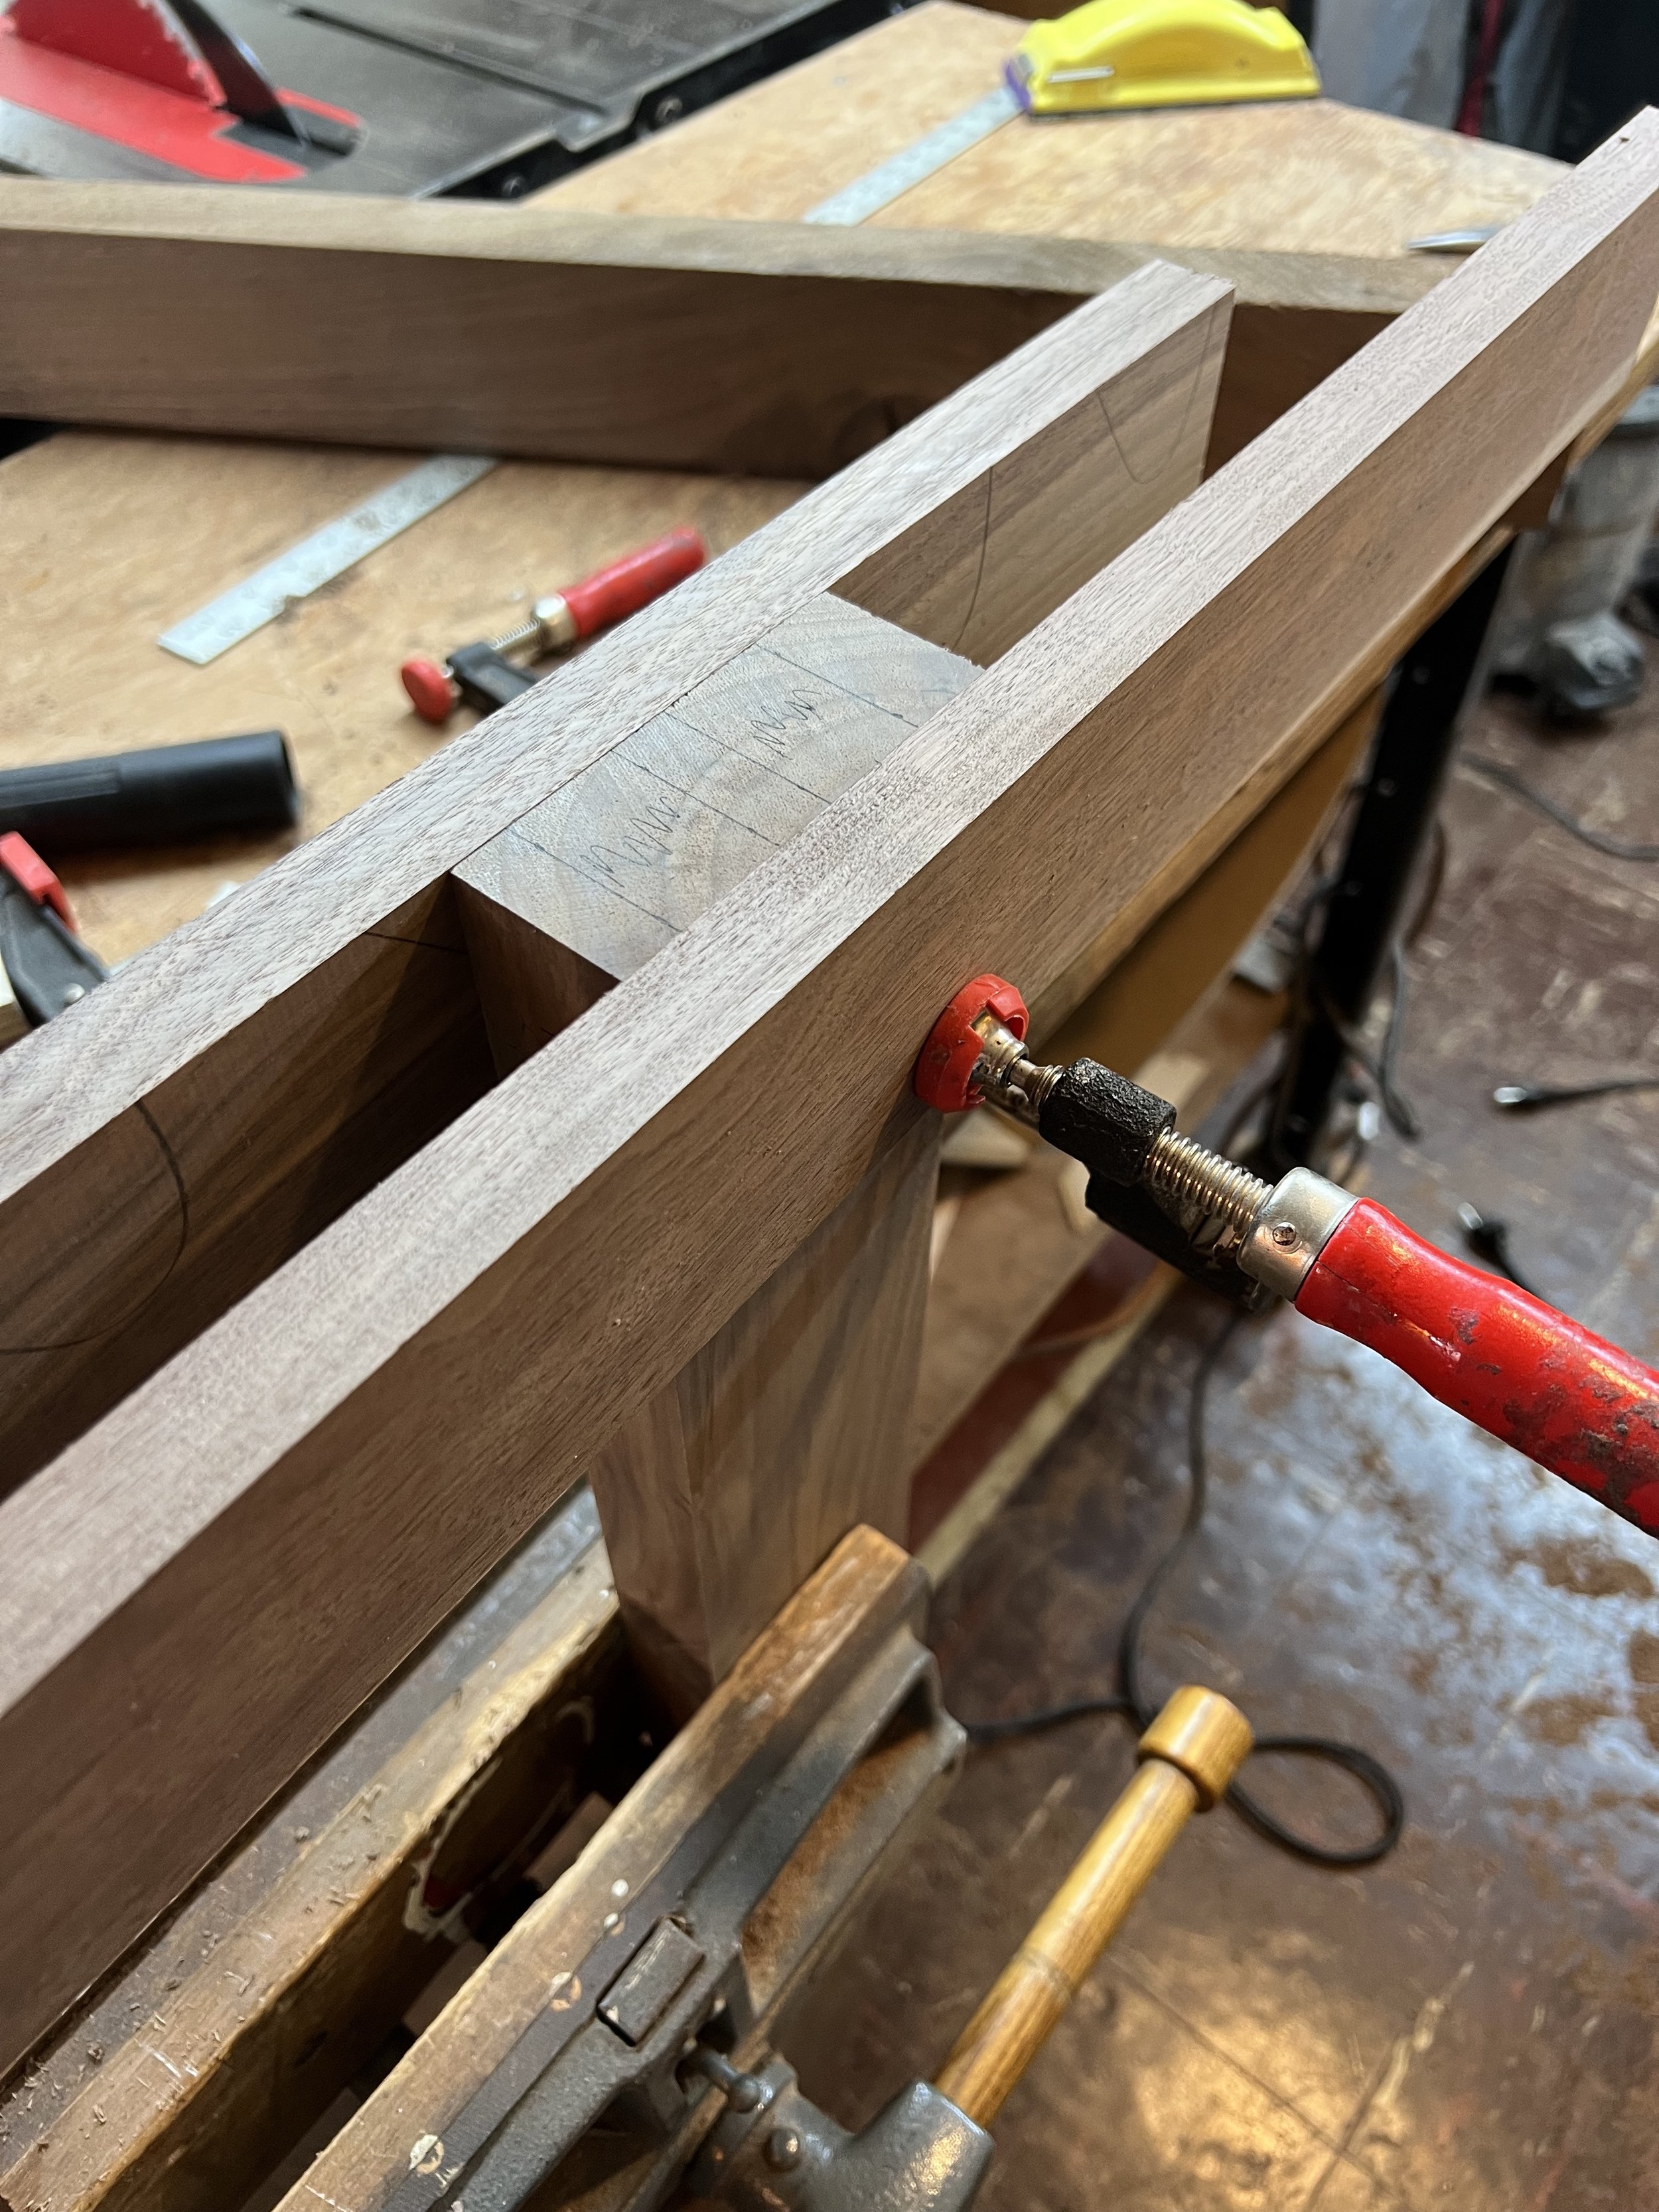
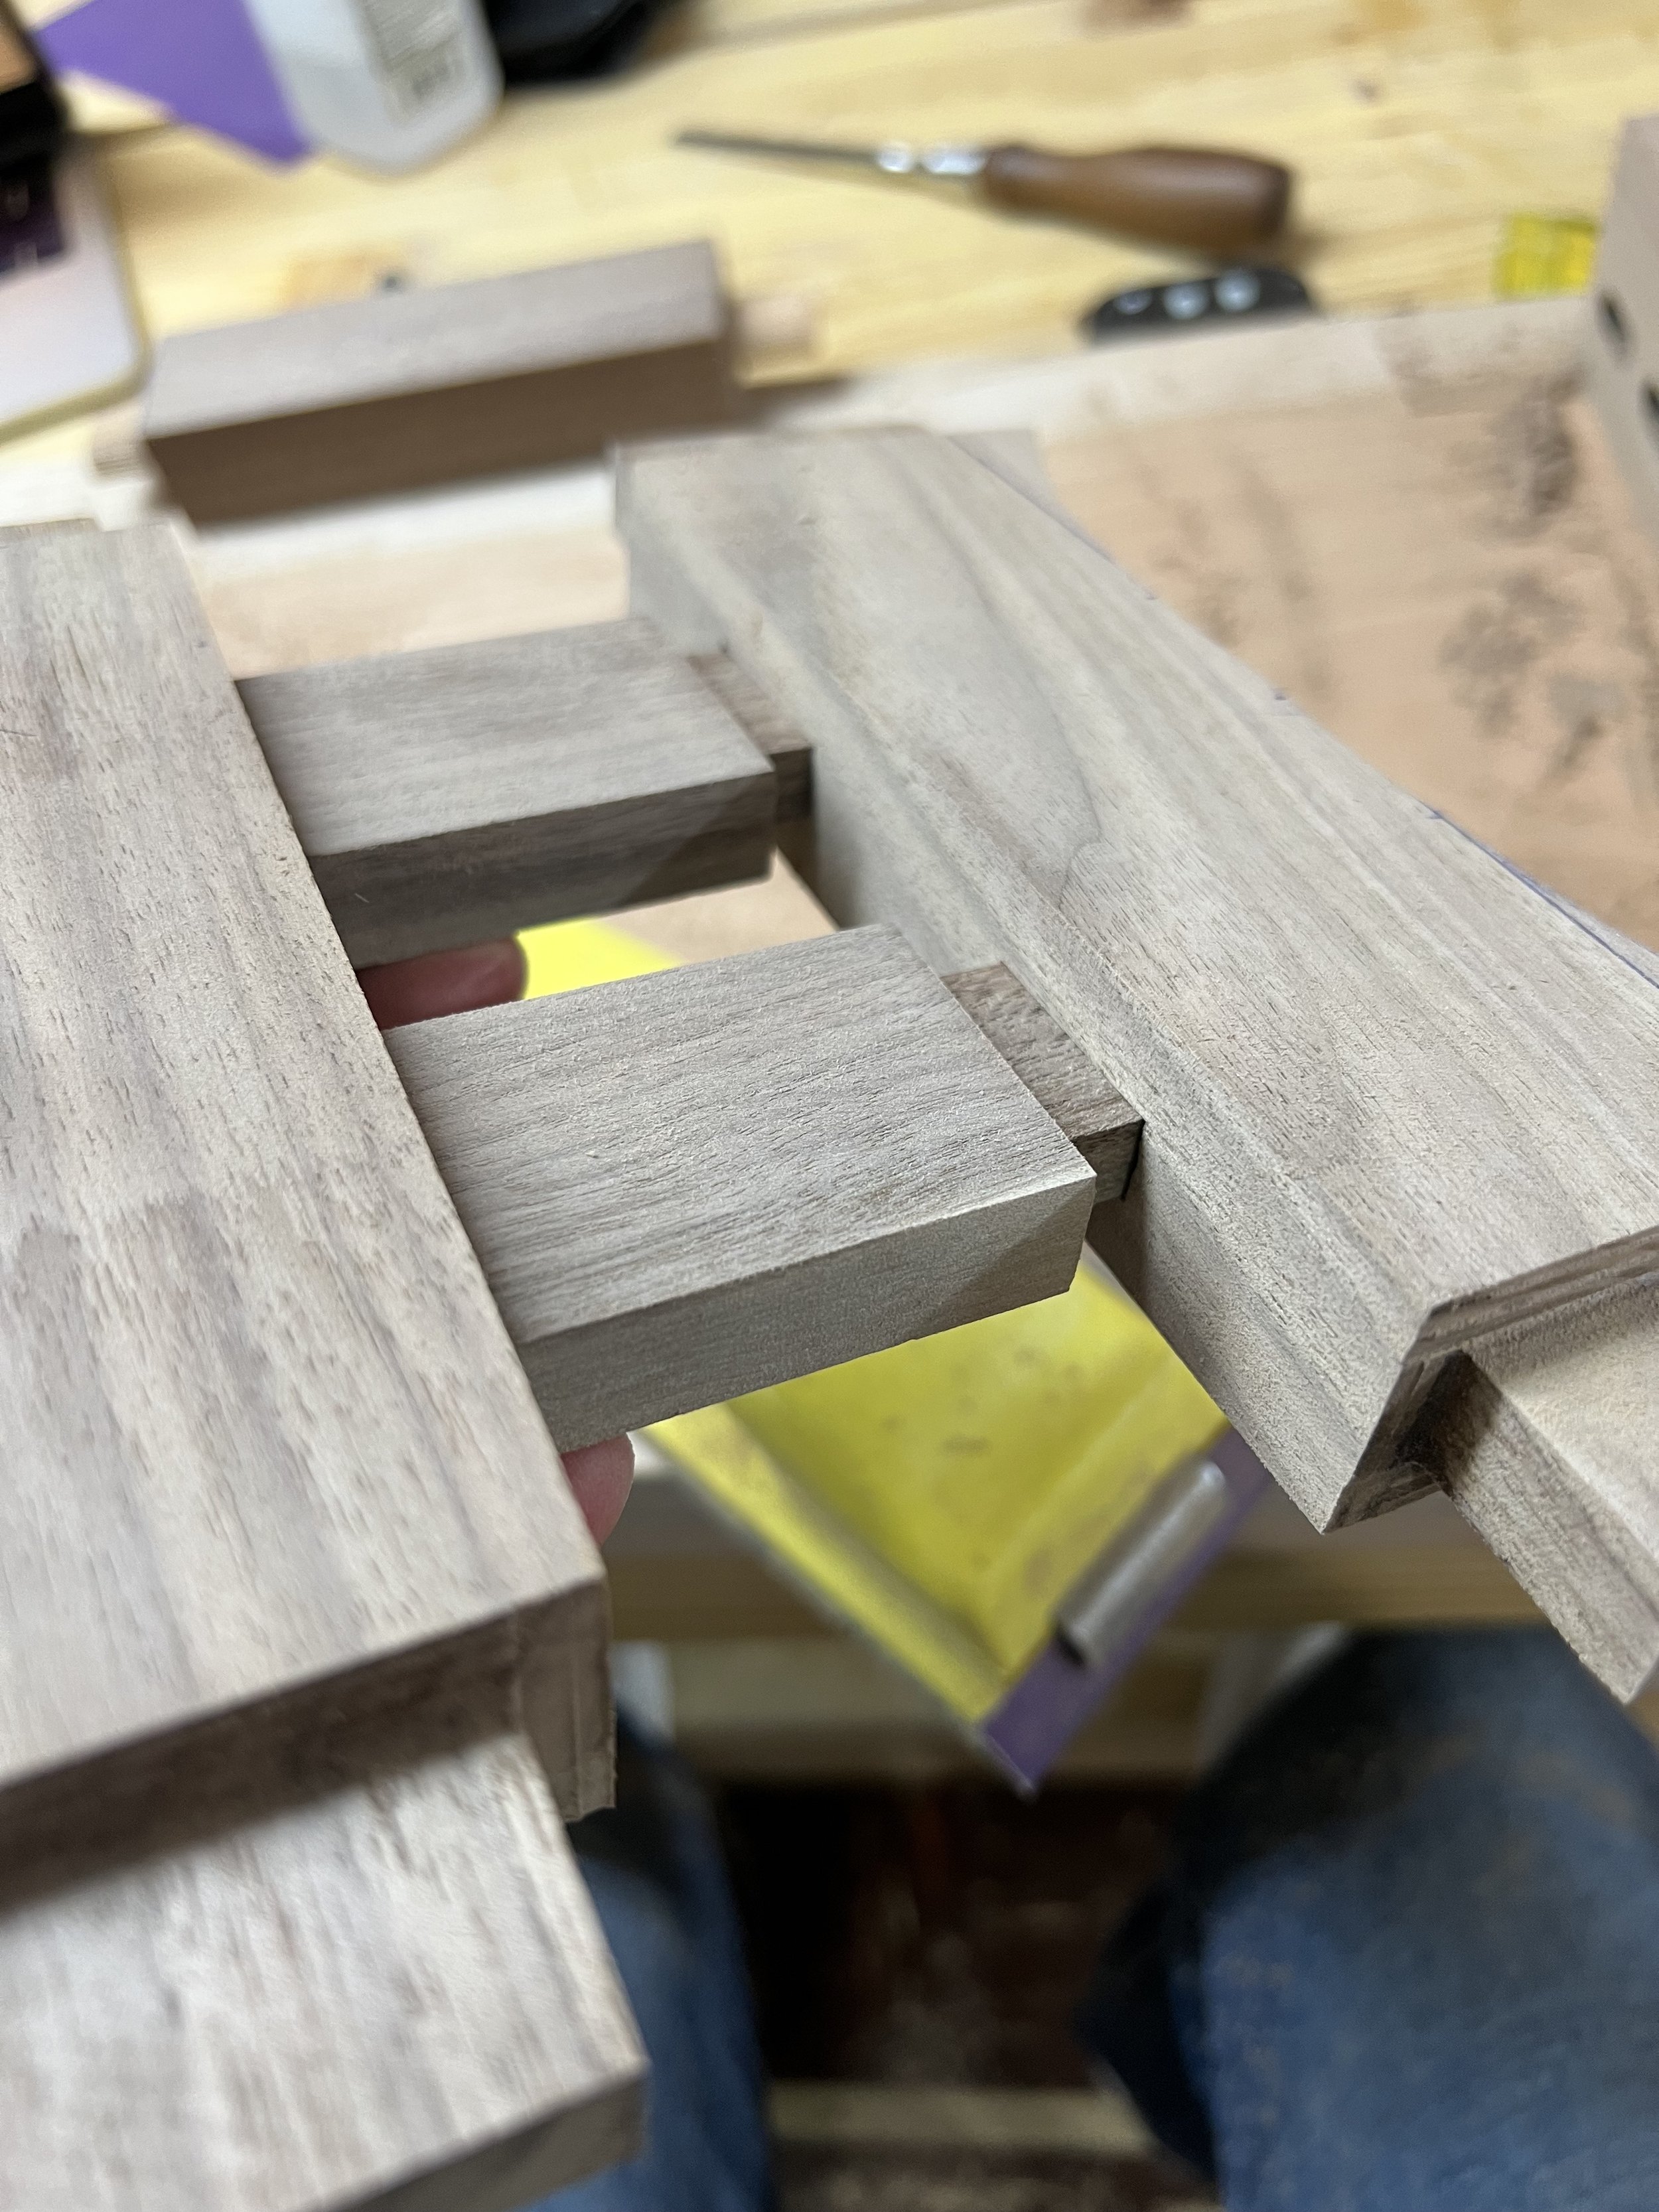
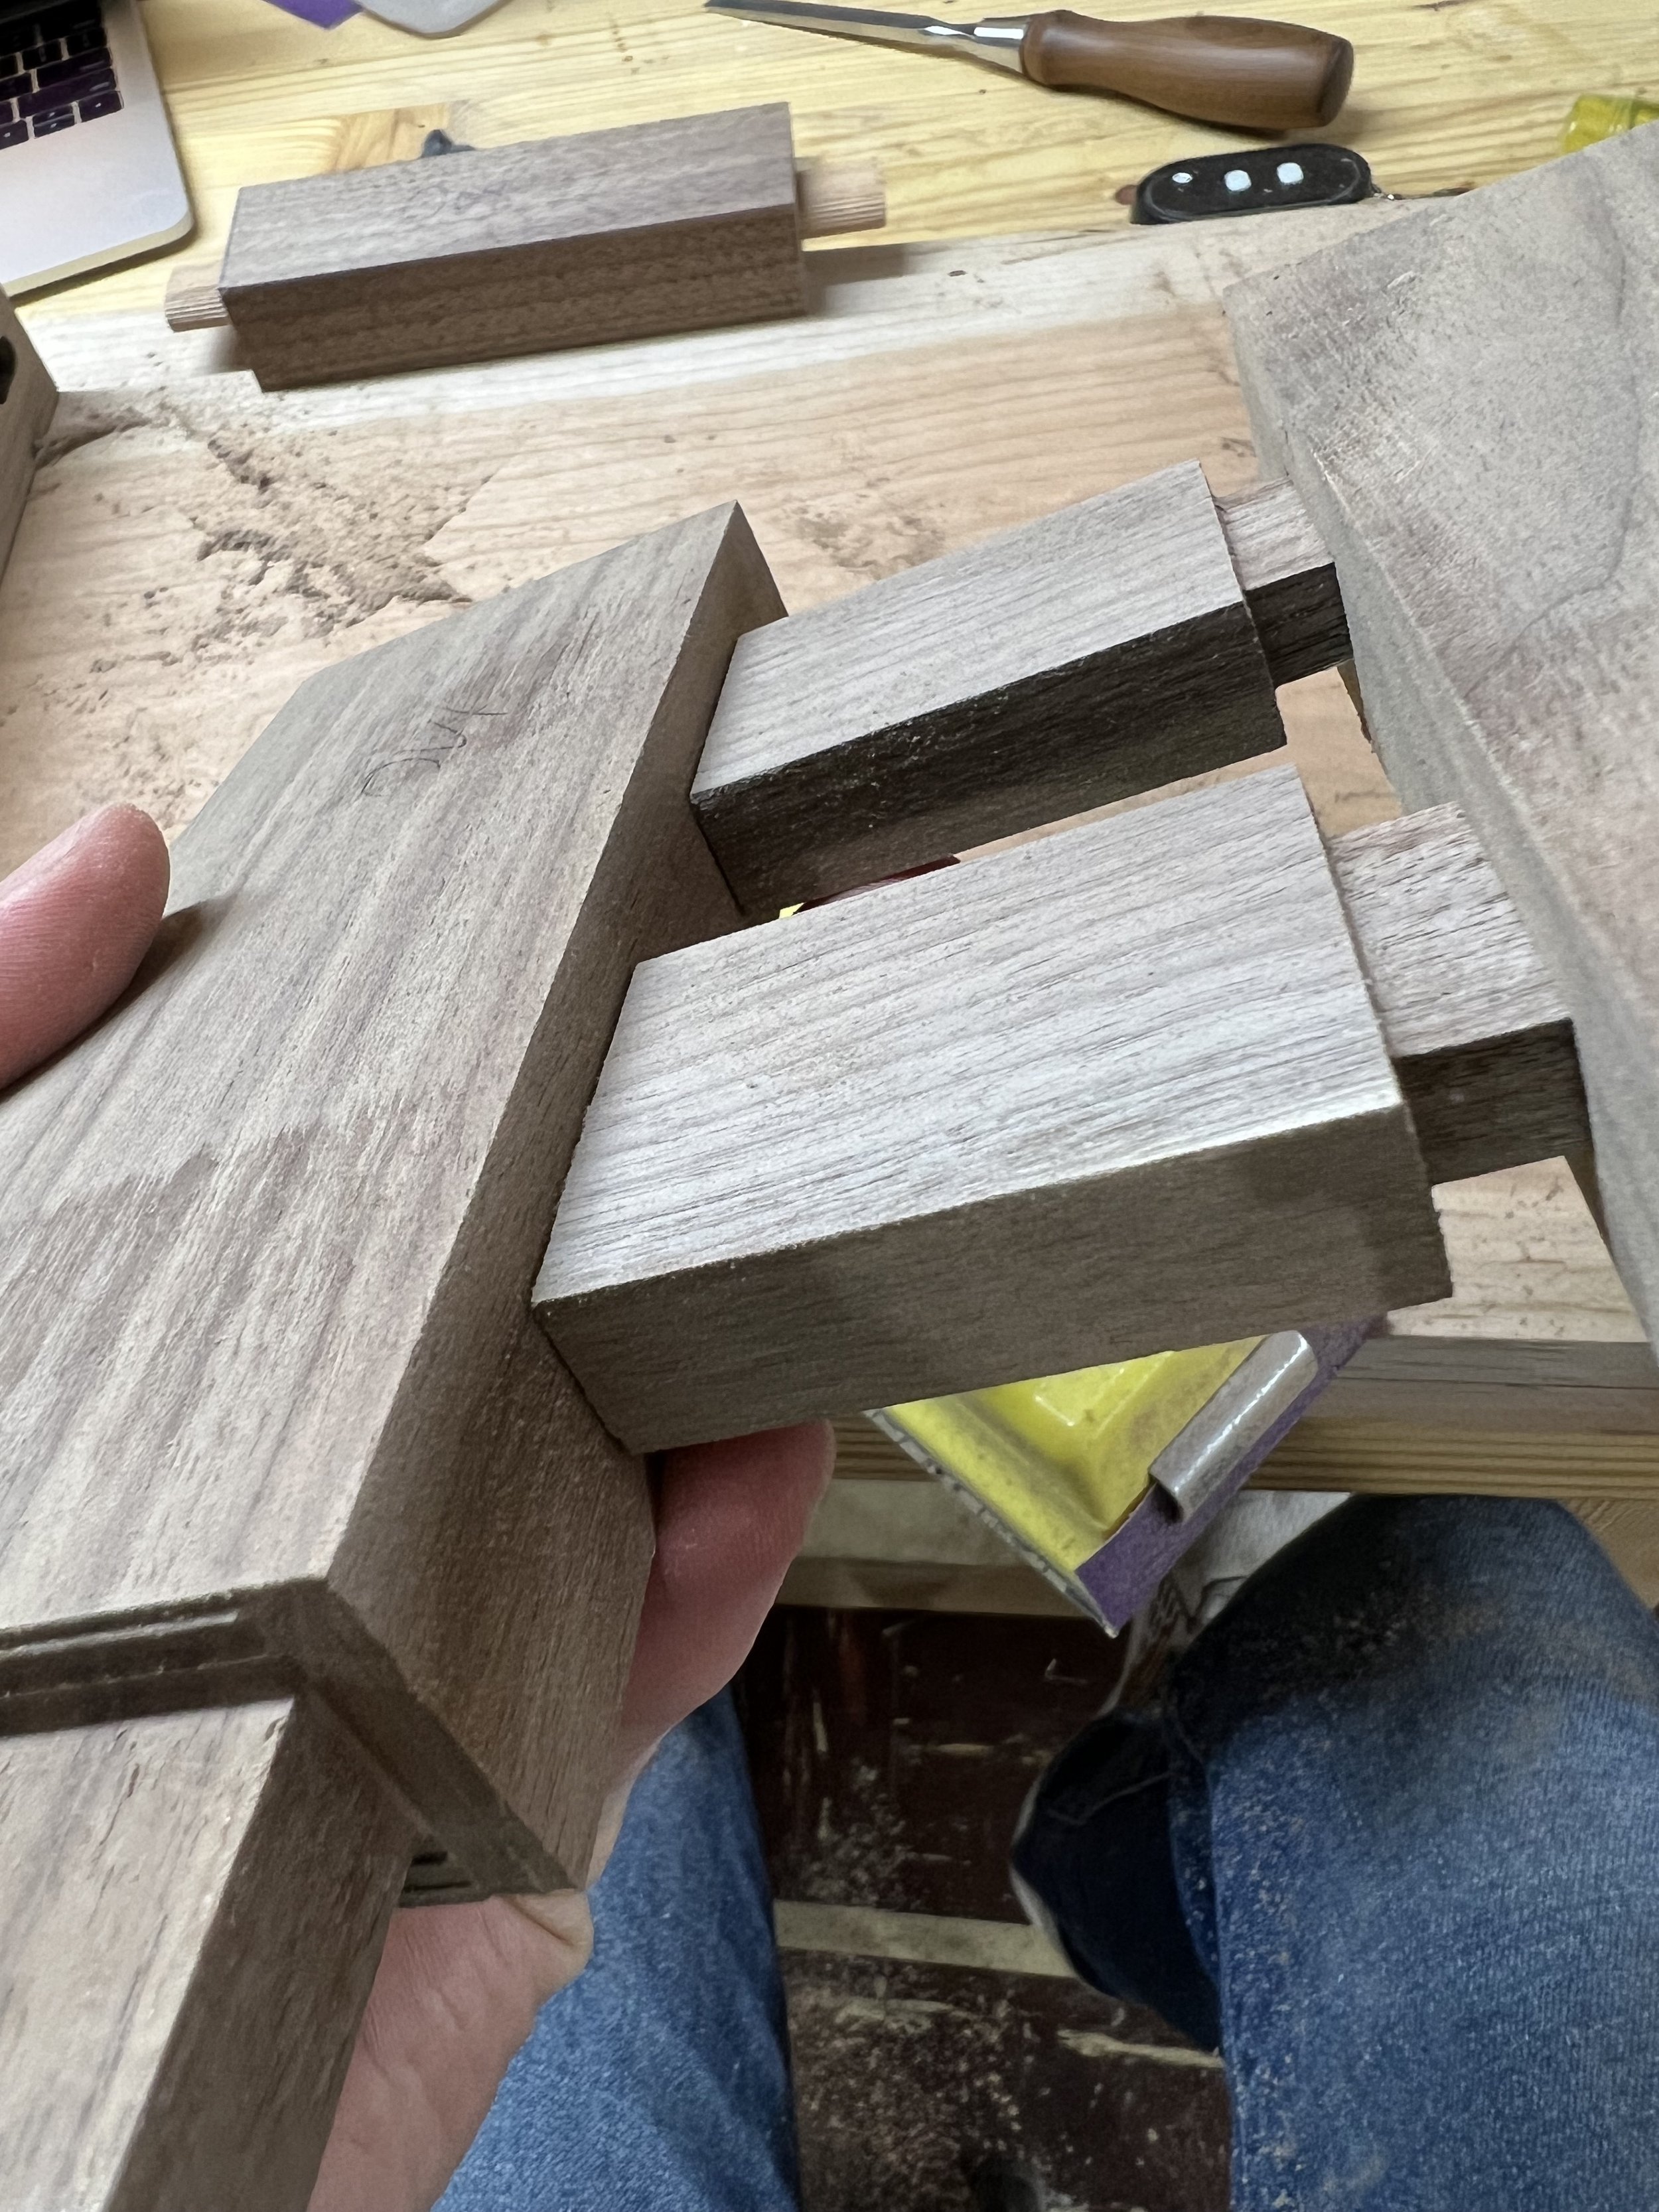
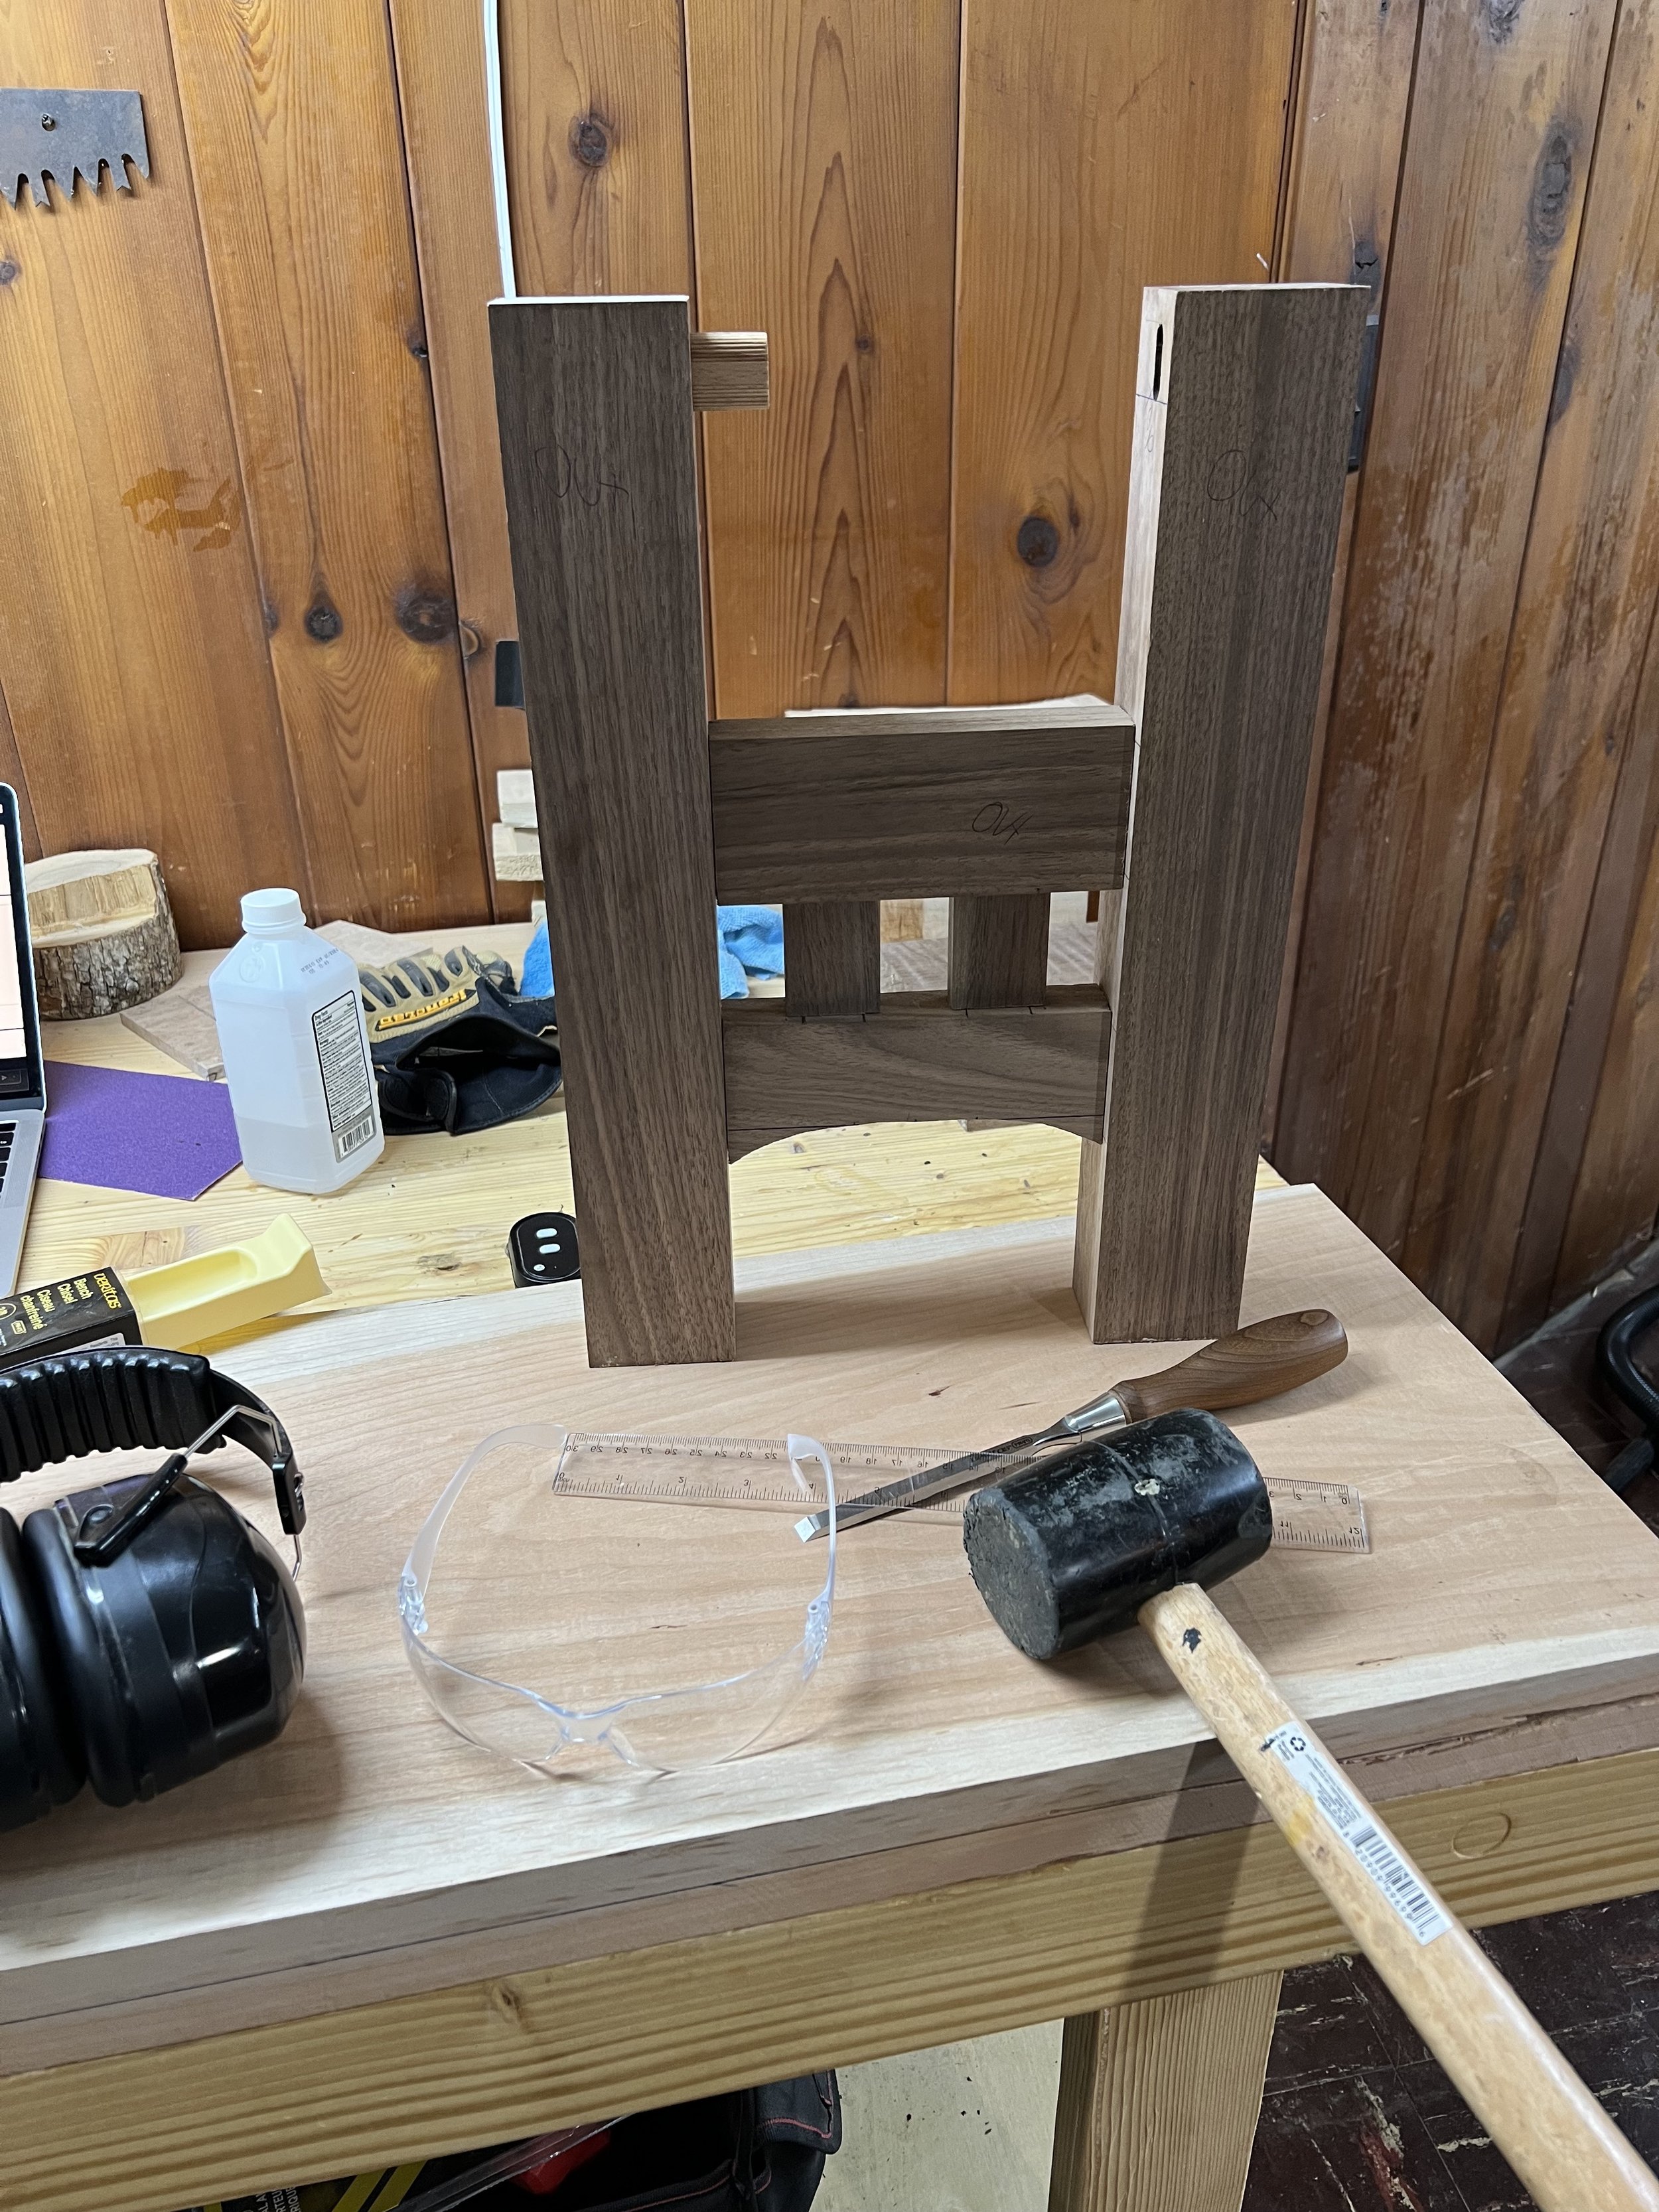
I began by measuring the dimensions I wanted for the bench. Following that, I started on the the bench legs - the most complex part of this project. The bench legs have a total of 16 mortises per leg, with 8 of those being a true mortise and tenon joint, and the side aprons joined to the legs with loose tenons.
To make the mortises, I used a marking scribe to get an exact mark where the mortises needed to be. I then used my router with an edge guide, plunge base, and spiral up cut bit to create the initial mortise. After, I used a chisel to square them so that everything fit snugly. Given the size of many of the leg components and the decorative spindles, I wedged the pieces in a vice between pieces of plywood to create a surface that my router could move over.
Once I had dry-fitted the legs together and made final adjustments, I took the lower apron for each leg over to the bandsaw and cut a gentle curve on the underside to give it a unique look.

Aprons
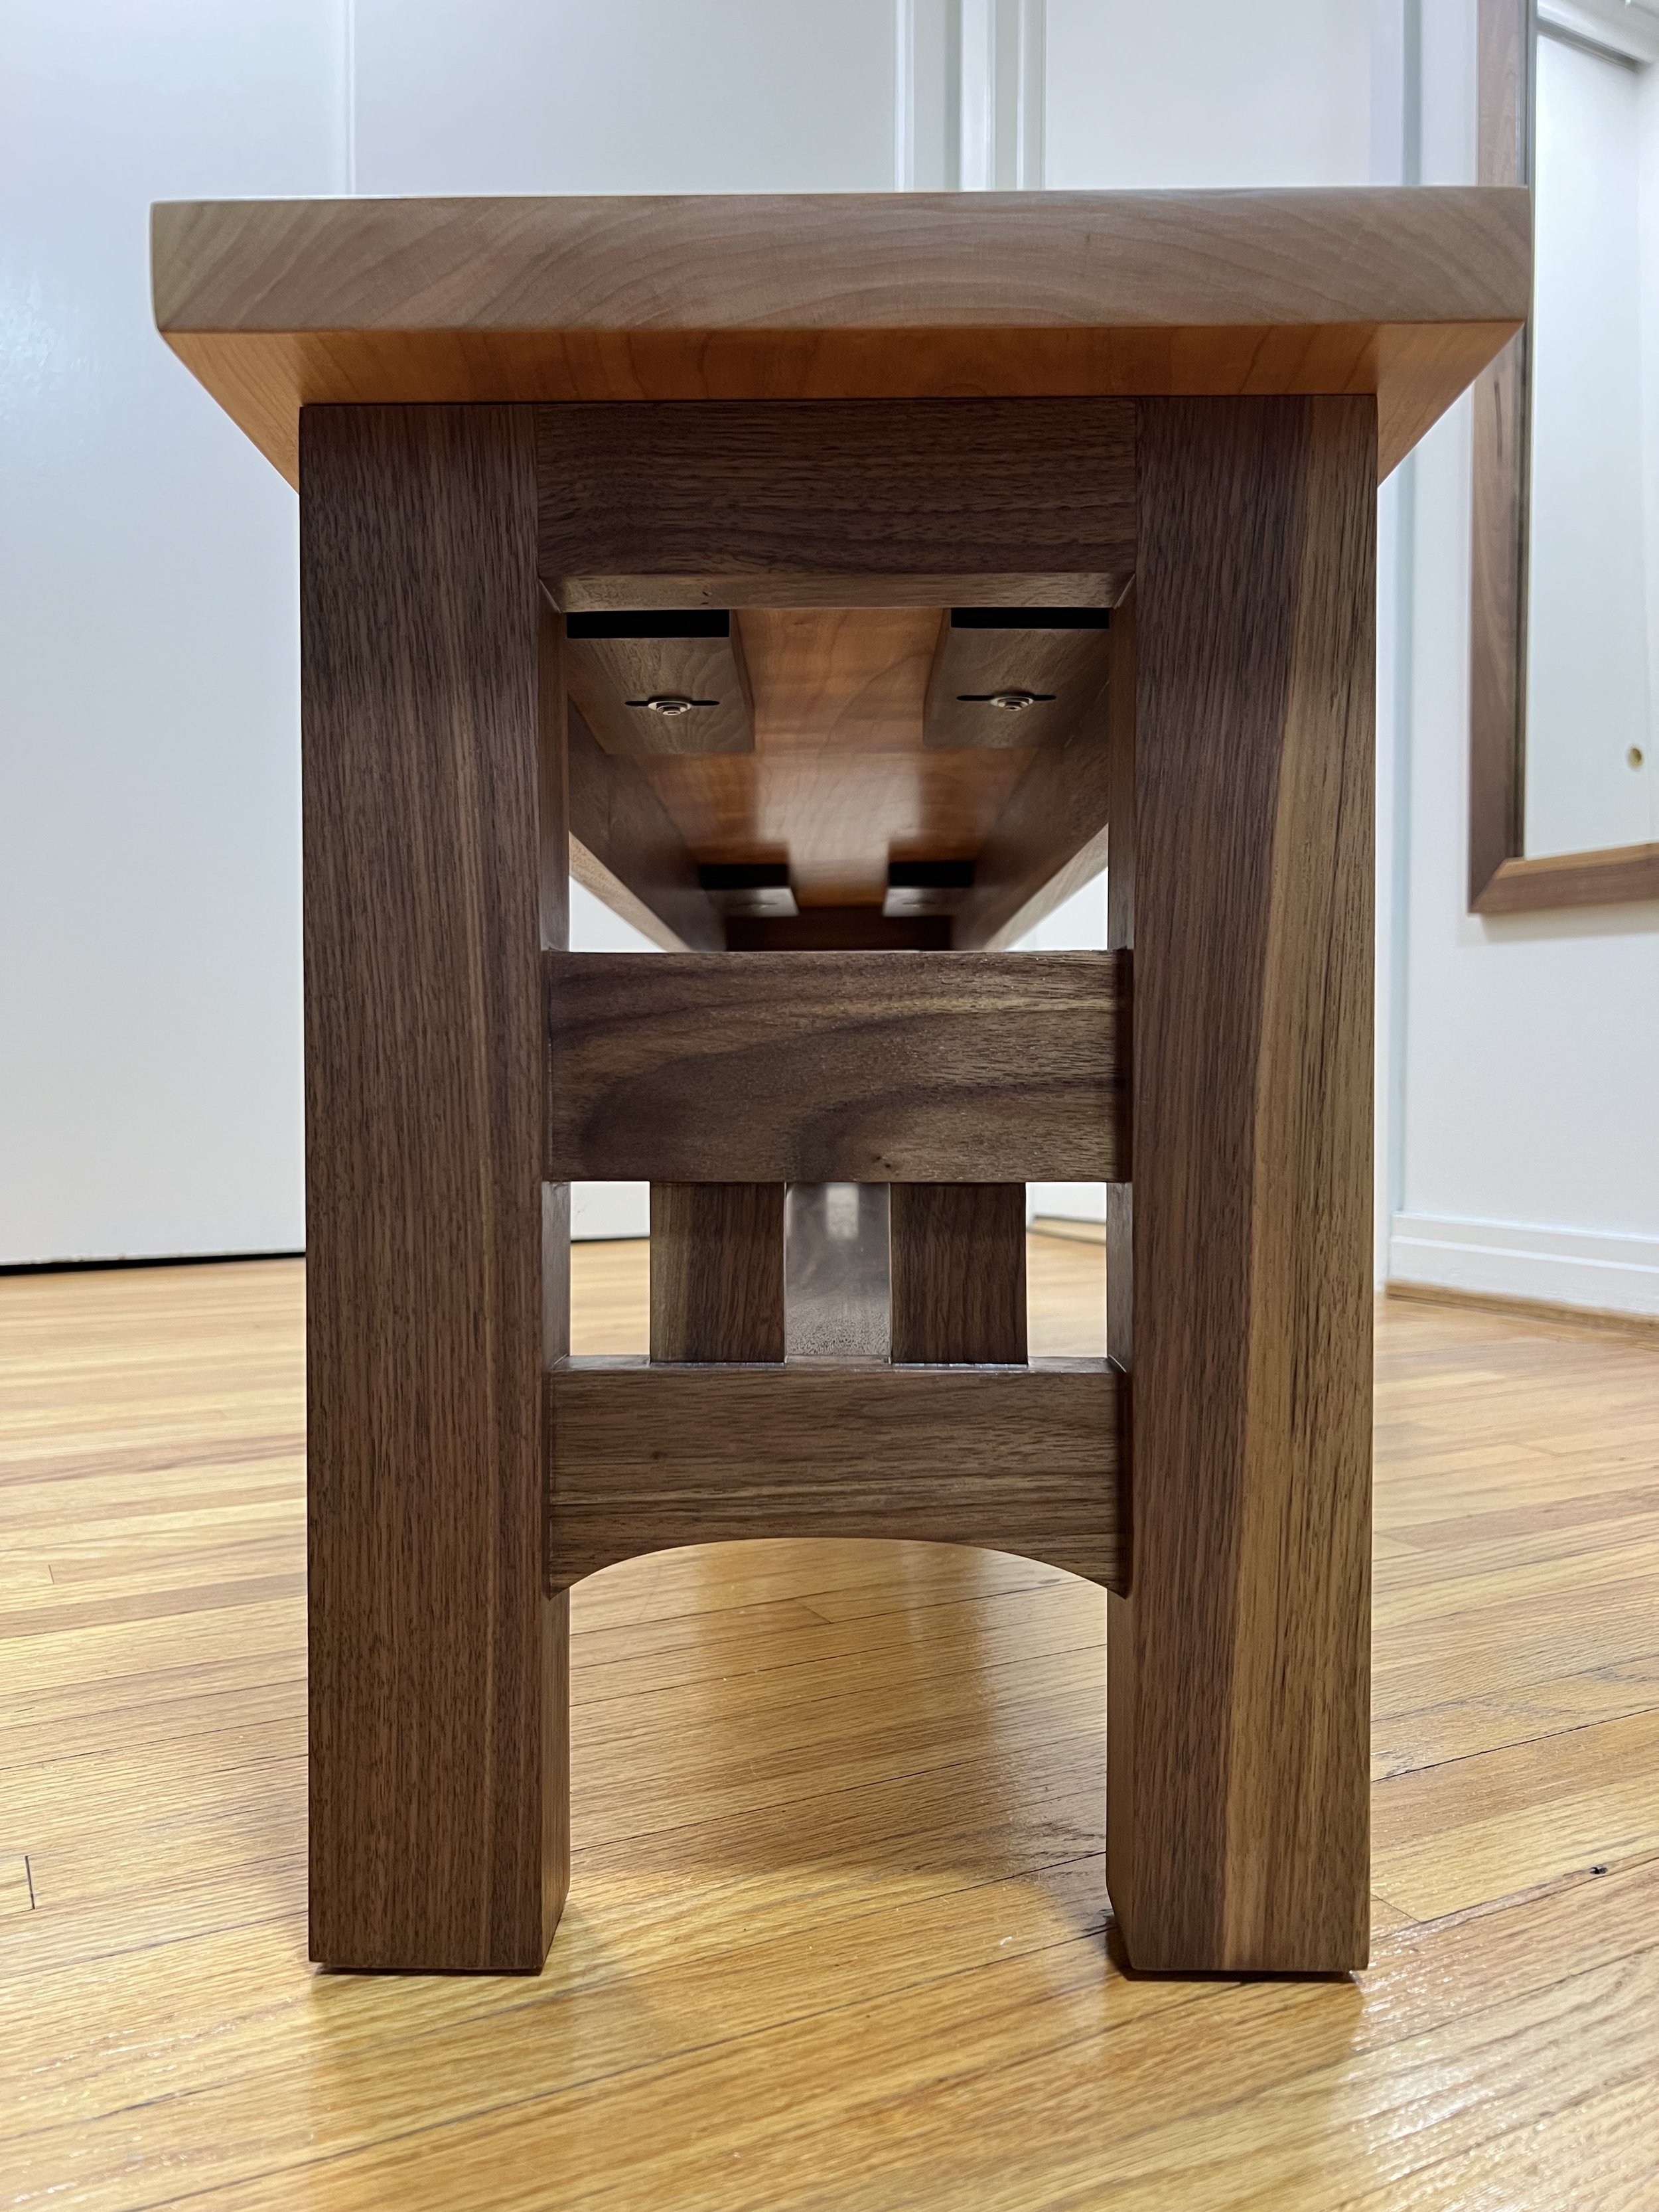
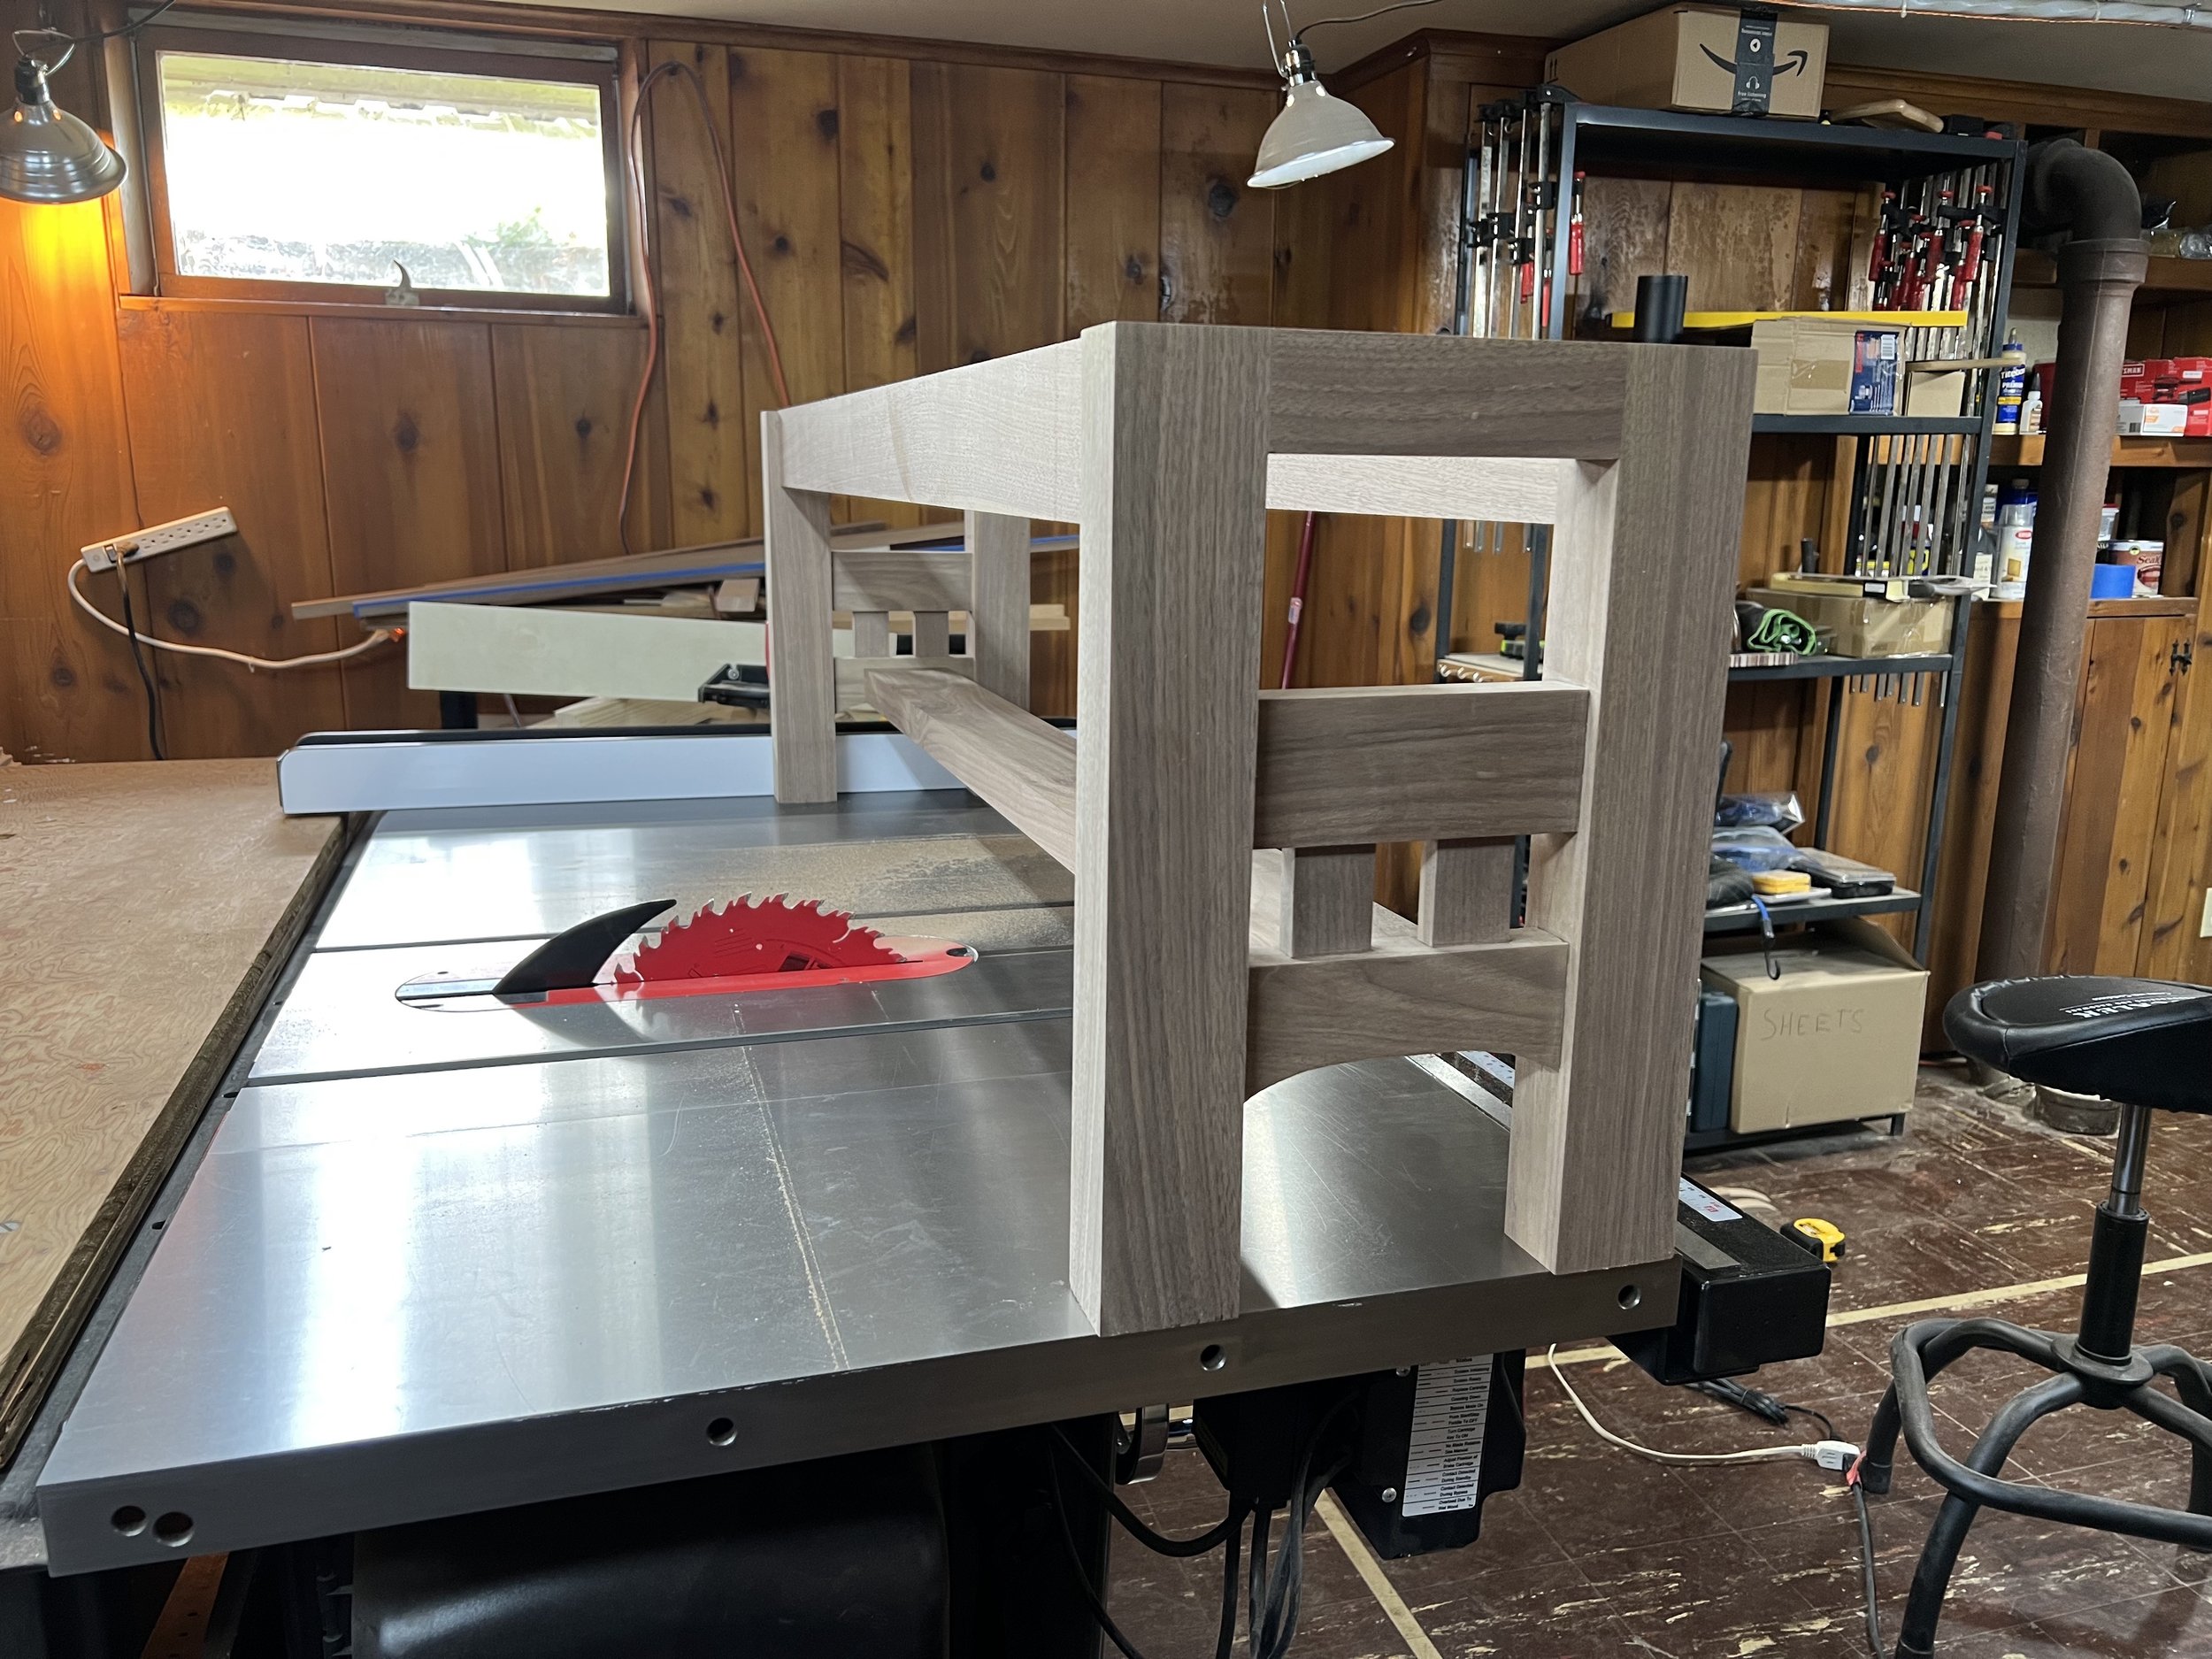
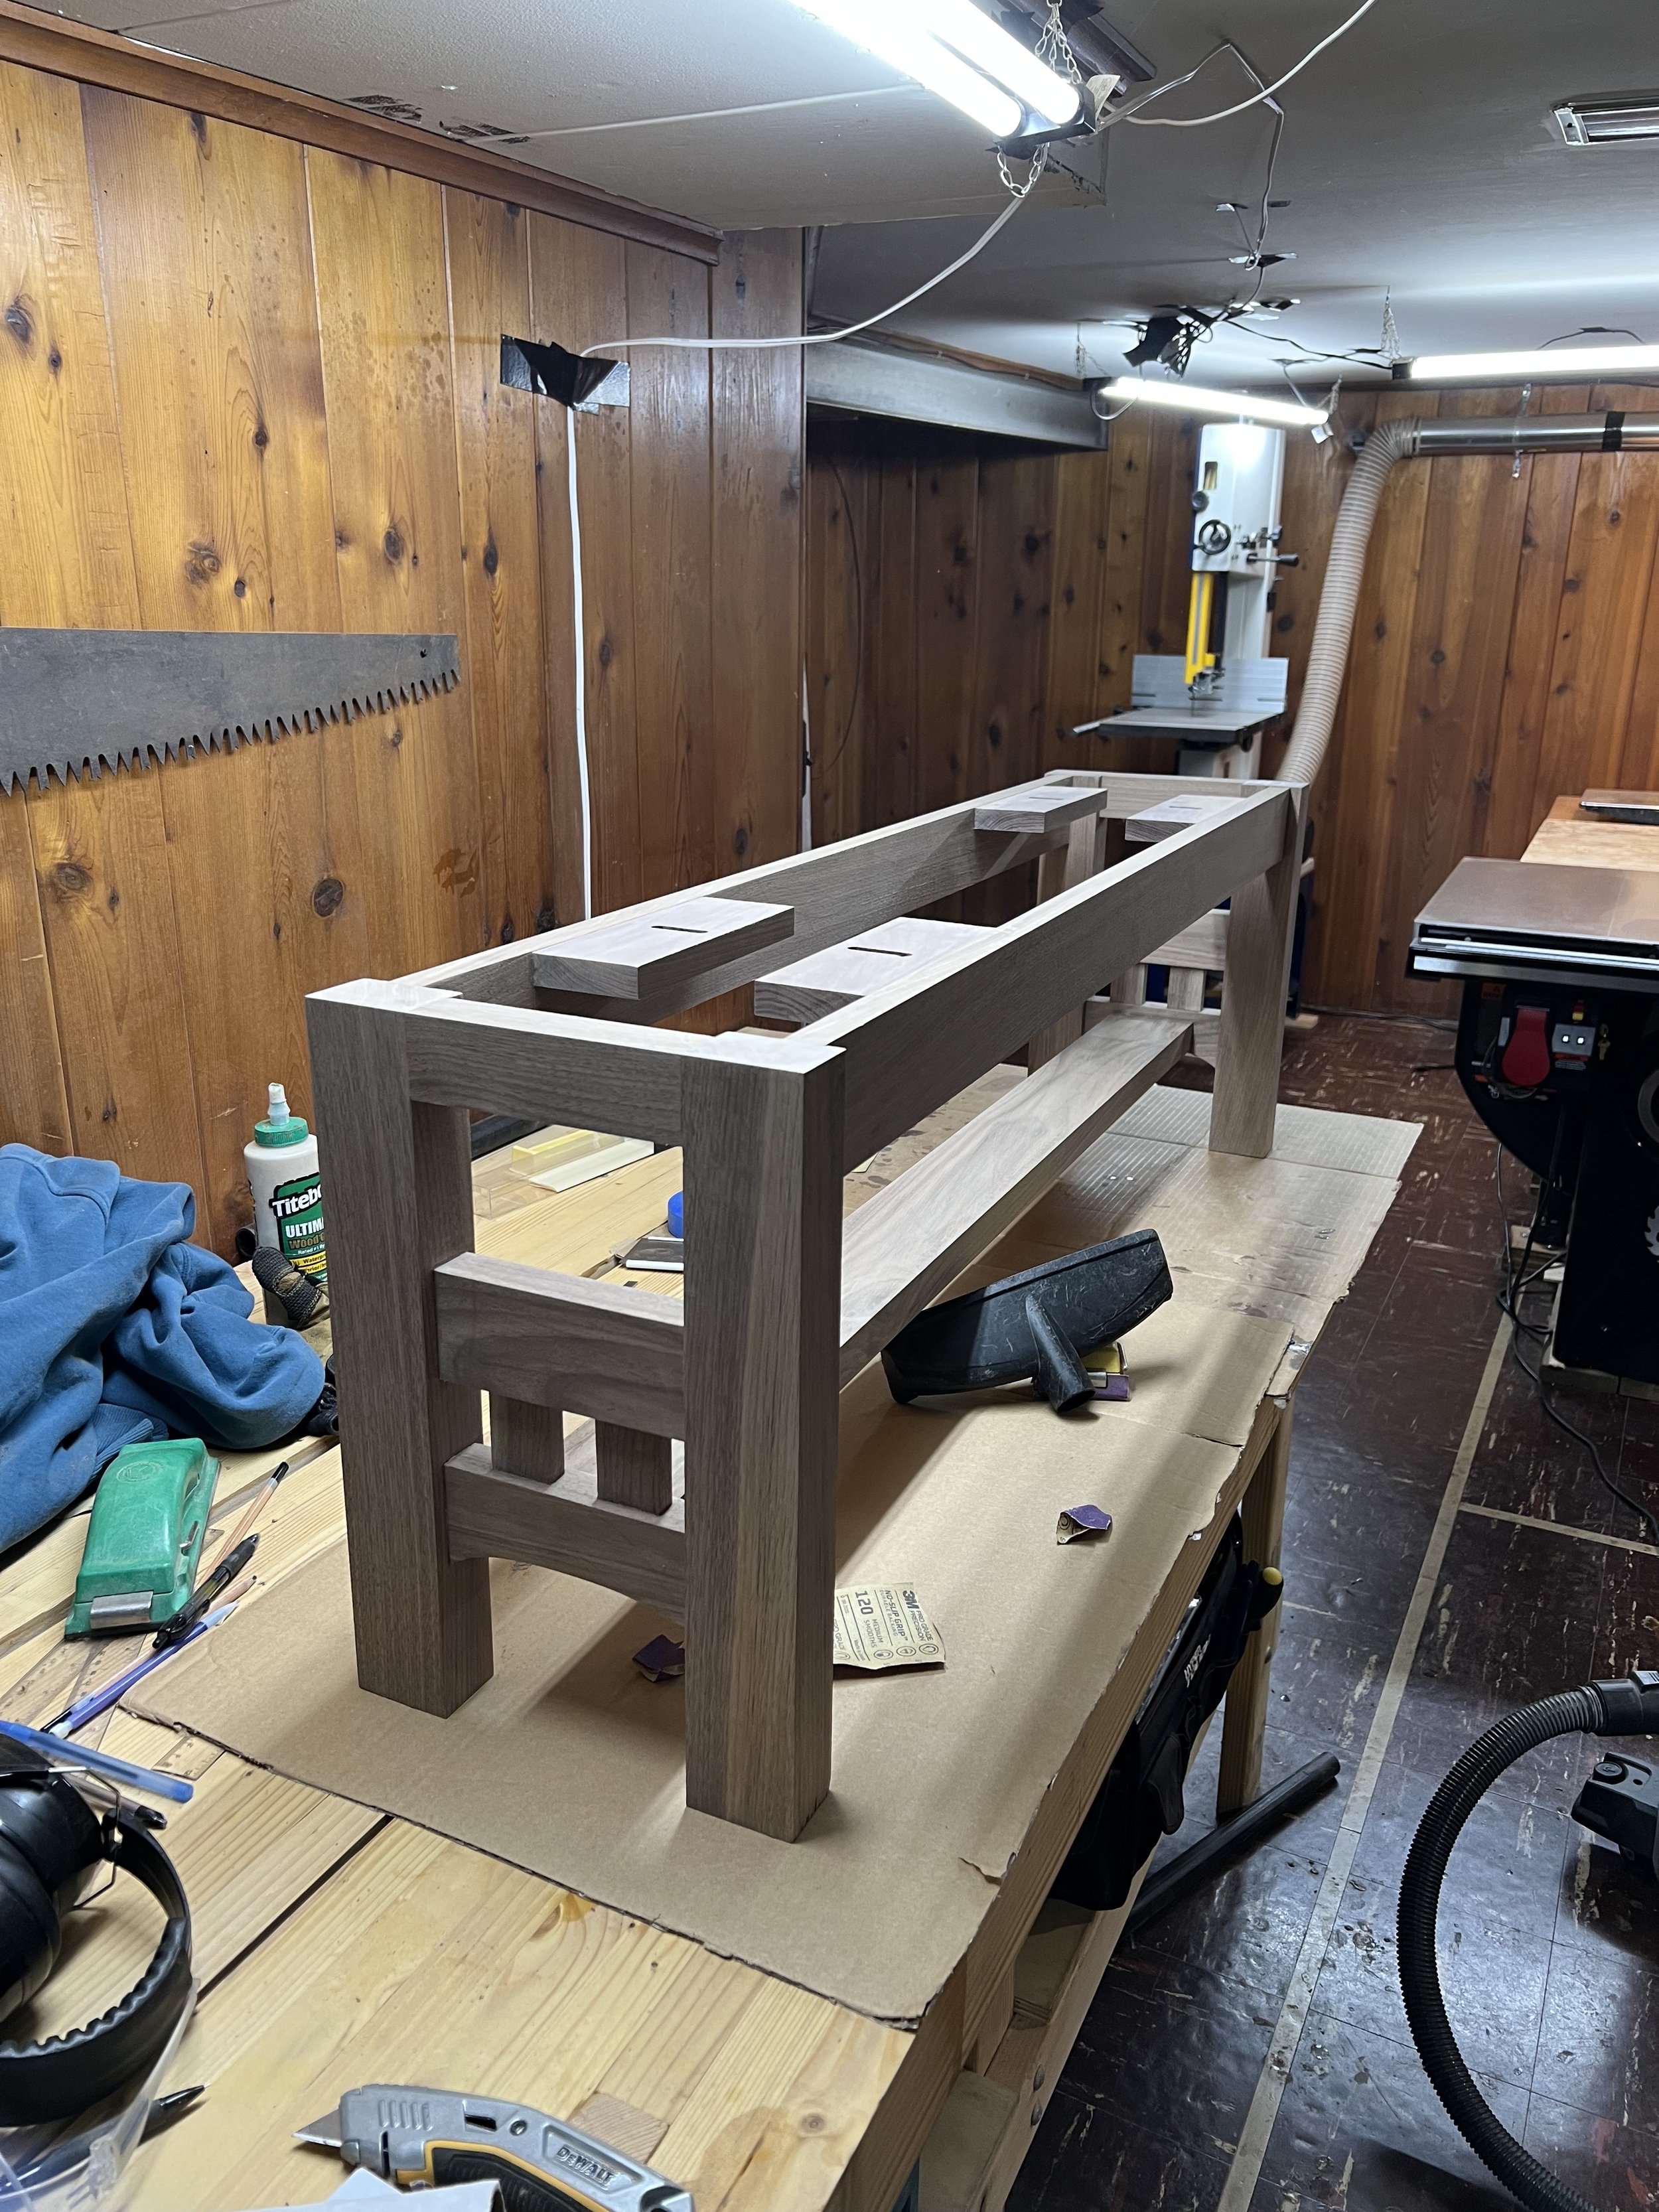
The legs are joined by aprons that run along the underside of the top of the bench, with an additional support that runs between the lower half of the legs. The aprons give the bench rigidity and keep the legs square and undamaged from any racking forces. However, they are not meant to support weight from the bench. When under stress, compression of wood fibers occurs vertically, so vertical wood grain can support much more weight than lateral grain, so I designed the aprons to sit just 1/16” beneath the leg height to be sure that any weight from the bench top is resting on the legs themselves, not the aprons. Even though the bench is nearly 60” long, the top is made of 6/4 hardwood, so lateral flex virtually doesn’t exist.

Top & Finish
To join the base to the top while accounting for inevitable wood movement, I glued four small blocks of walnut to the inner aprons of the bench after routing slots that a screw and washer assembly could go into. This design allowed me to fasten the base to the top securely while allowing the top to expand and contract freely and “float” within the slot (the screws and washers are only hand tight) as wood movement occurs across the grain. Finally, I finished the project with General Finishes oil-based satin wipe on polyurethane, my favorite varnish.


