Project Story
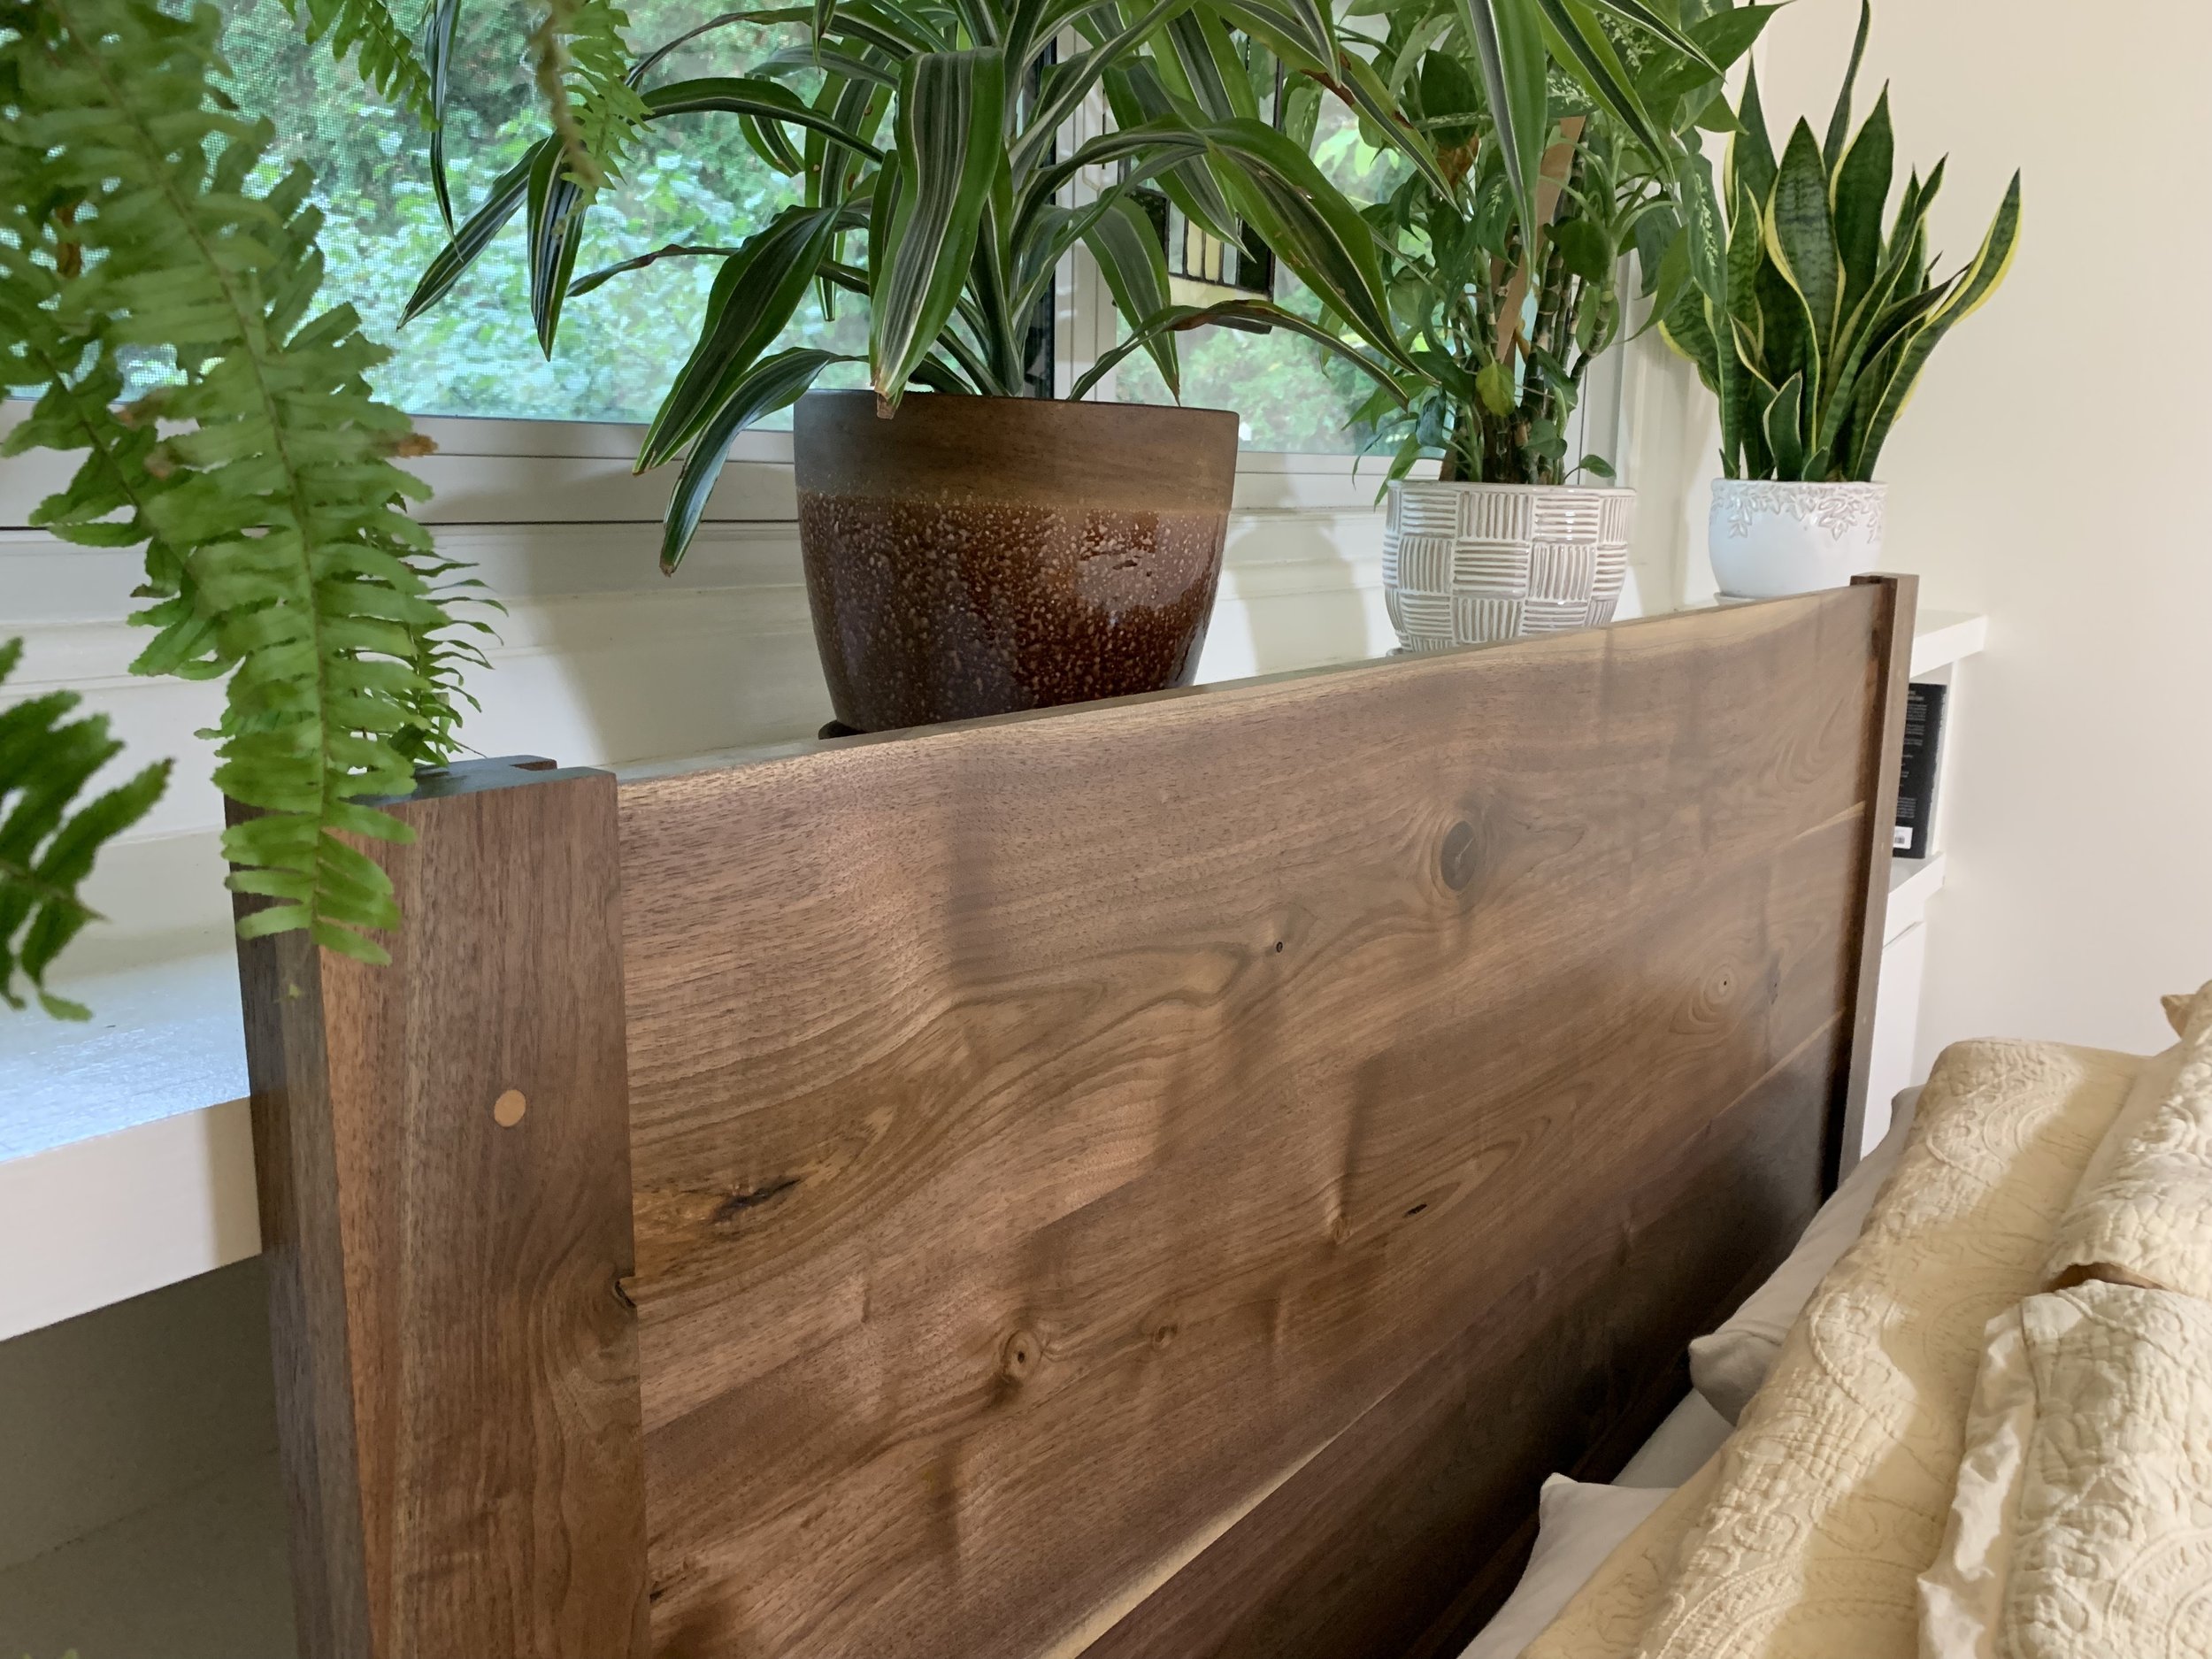
I built this headboard as an attachment to the queen-size platform bed I built a few months earlier. This project was my first experimentation with the mortise and tenon joint - one of the most well known and coveted styles of woodworking joinery. The headboard employs the mortise and tenon joint to fix the headboard panel into the mortised stock which makes up the end posts, also known as “breadboard ends”. Breadboard ends help ensure the panel stays flat and true, minimizing or eliminating warping or bowing of the entire panel by the fact that it cannot move out of the much thicker, mortised end stock. When built properly, breadboard ends also allow the wood panel to shrink and swell, moving across grain due to seasonal changes, changes in humidity, etc. I am very happy with how this project turned out!
FINISH PHOTOS
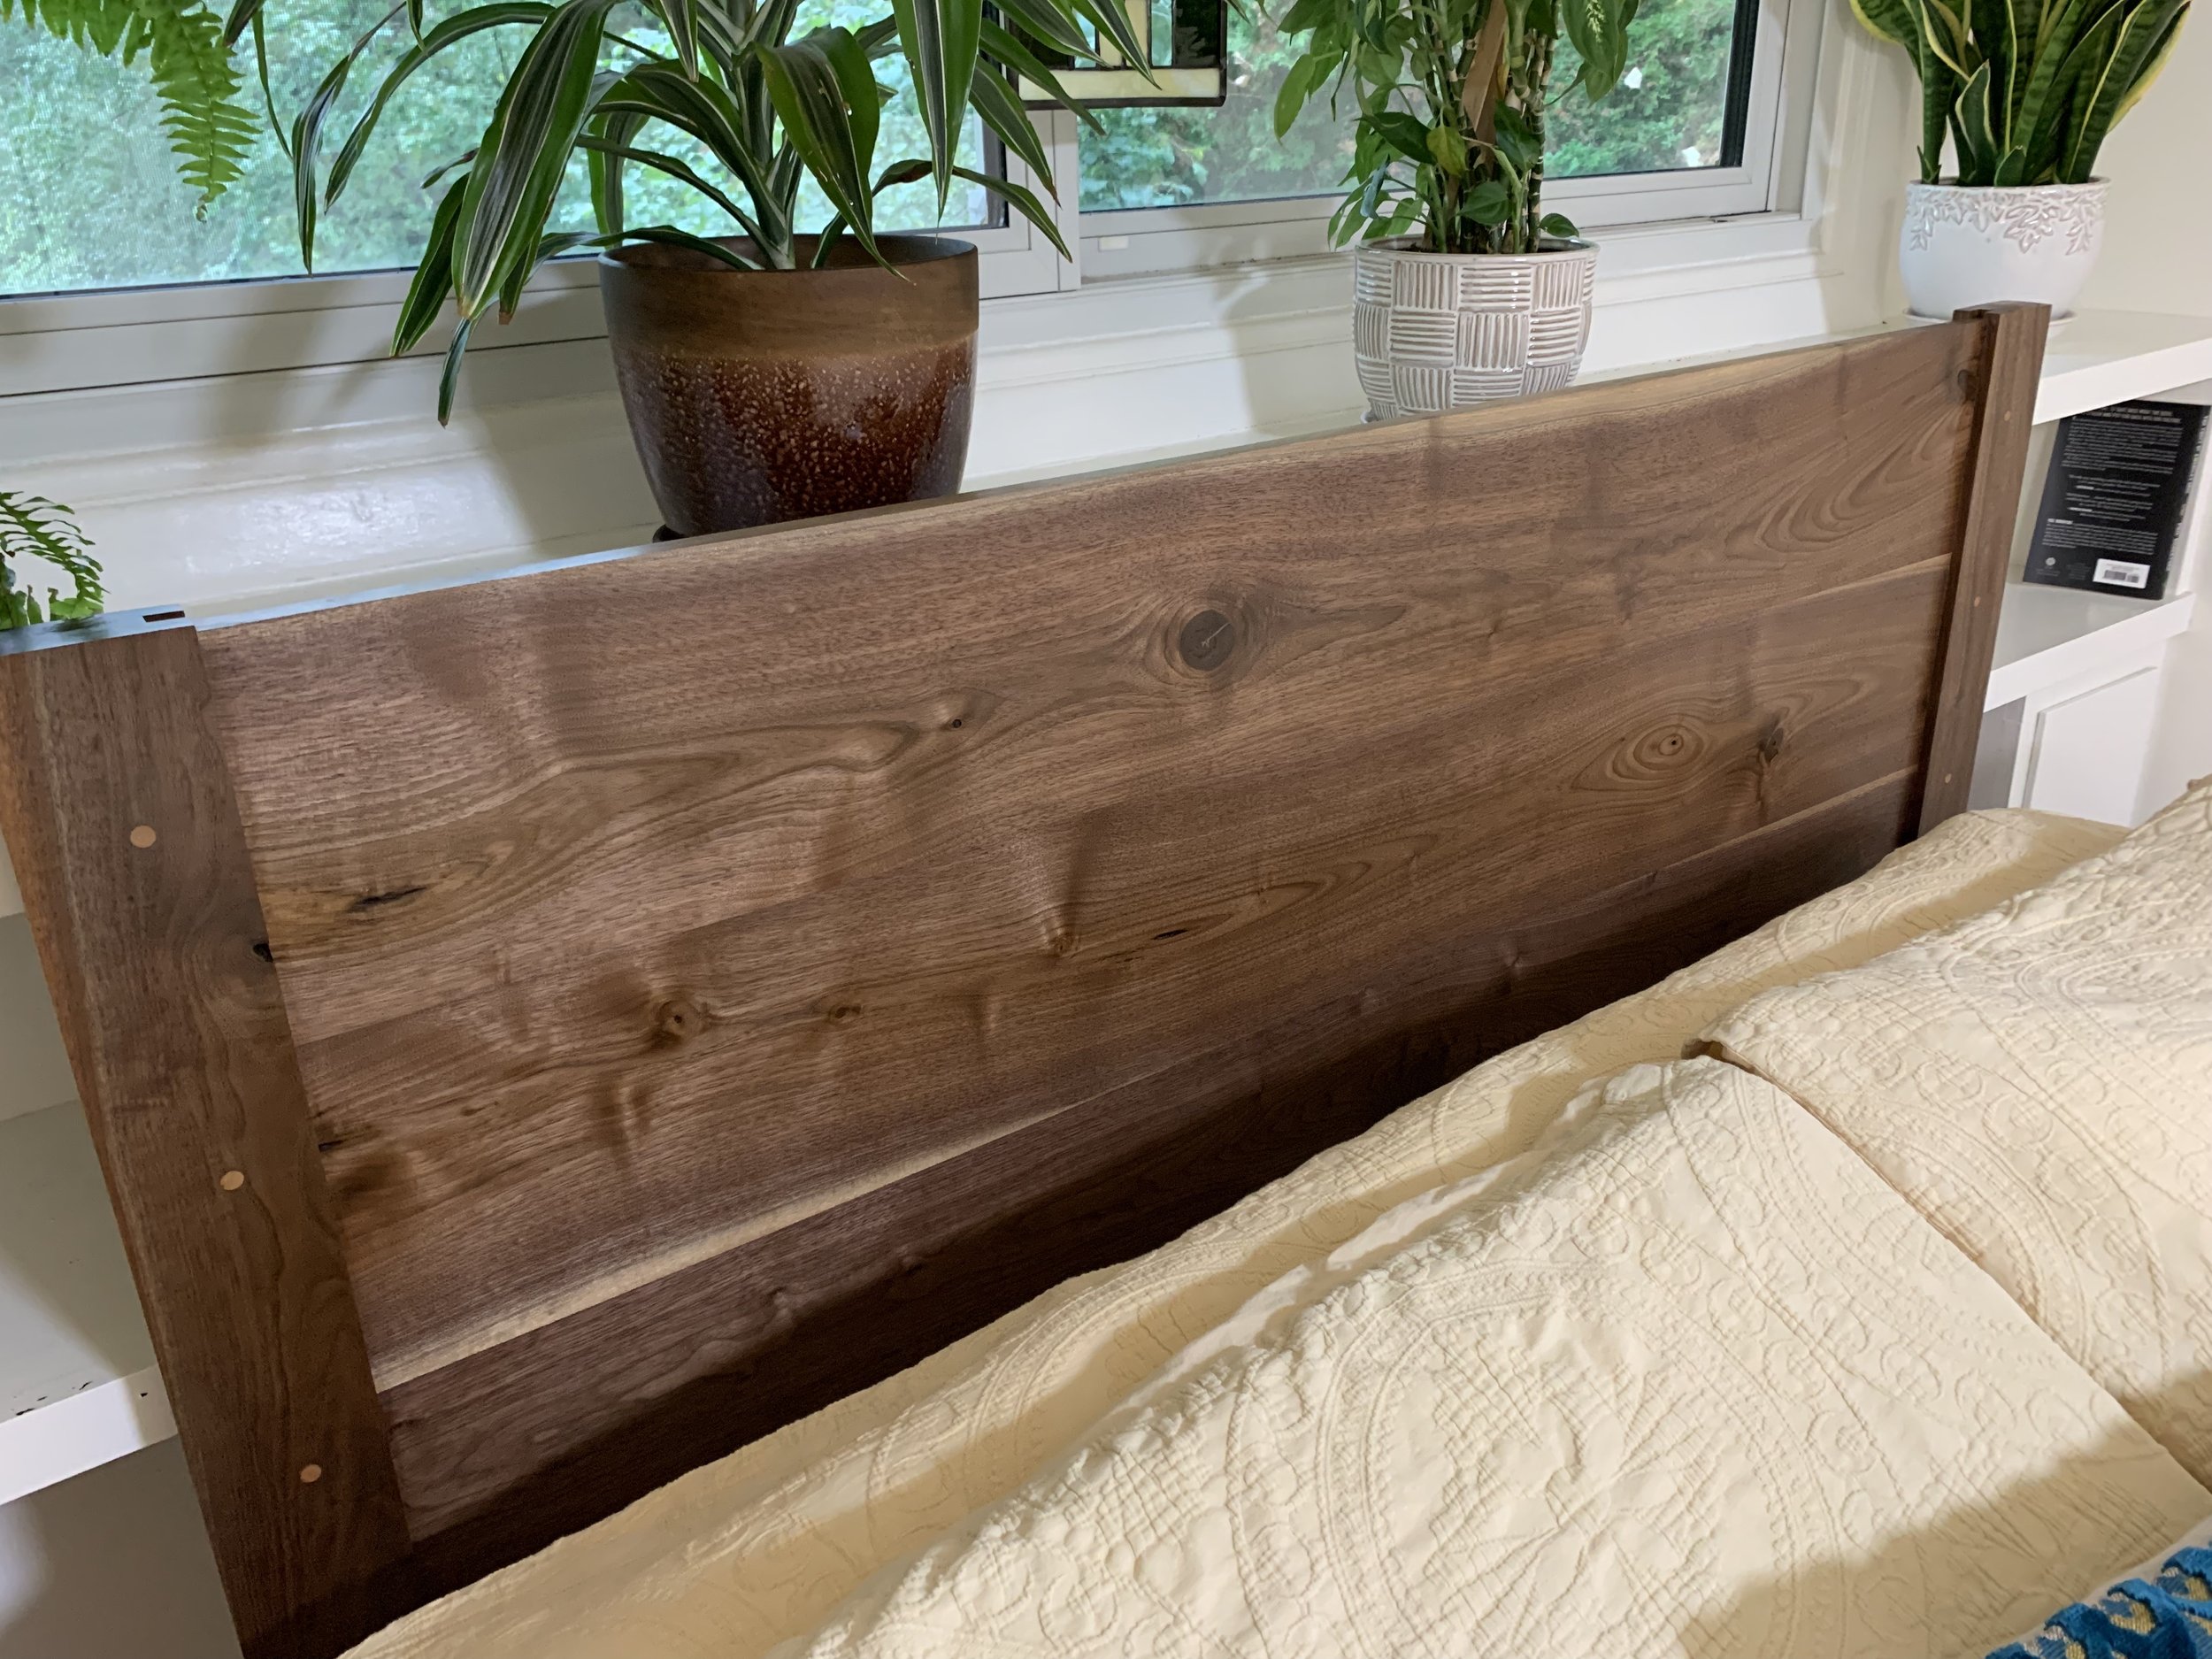
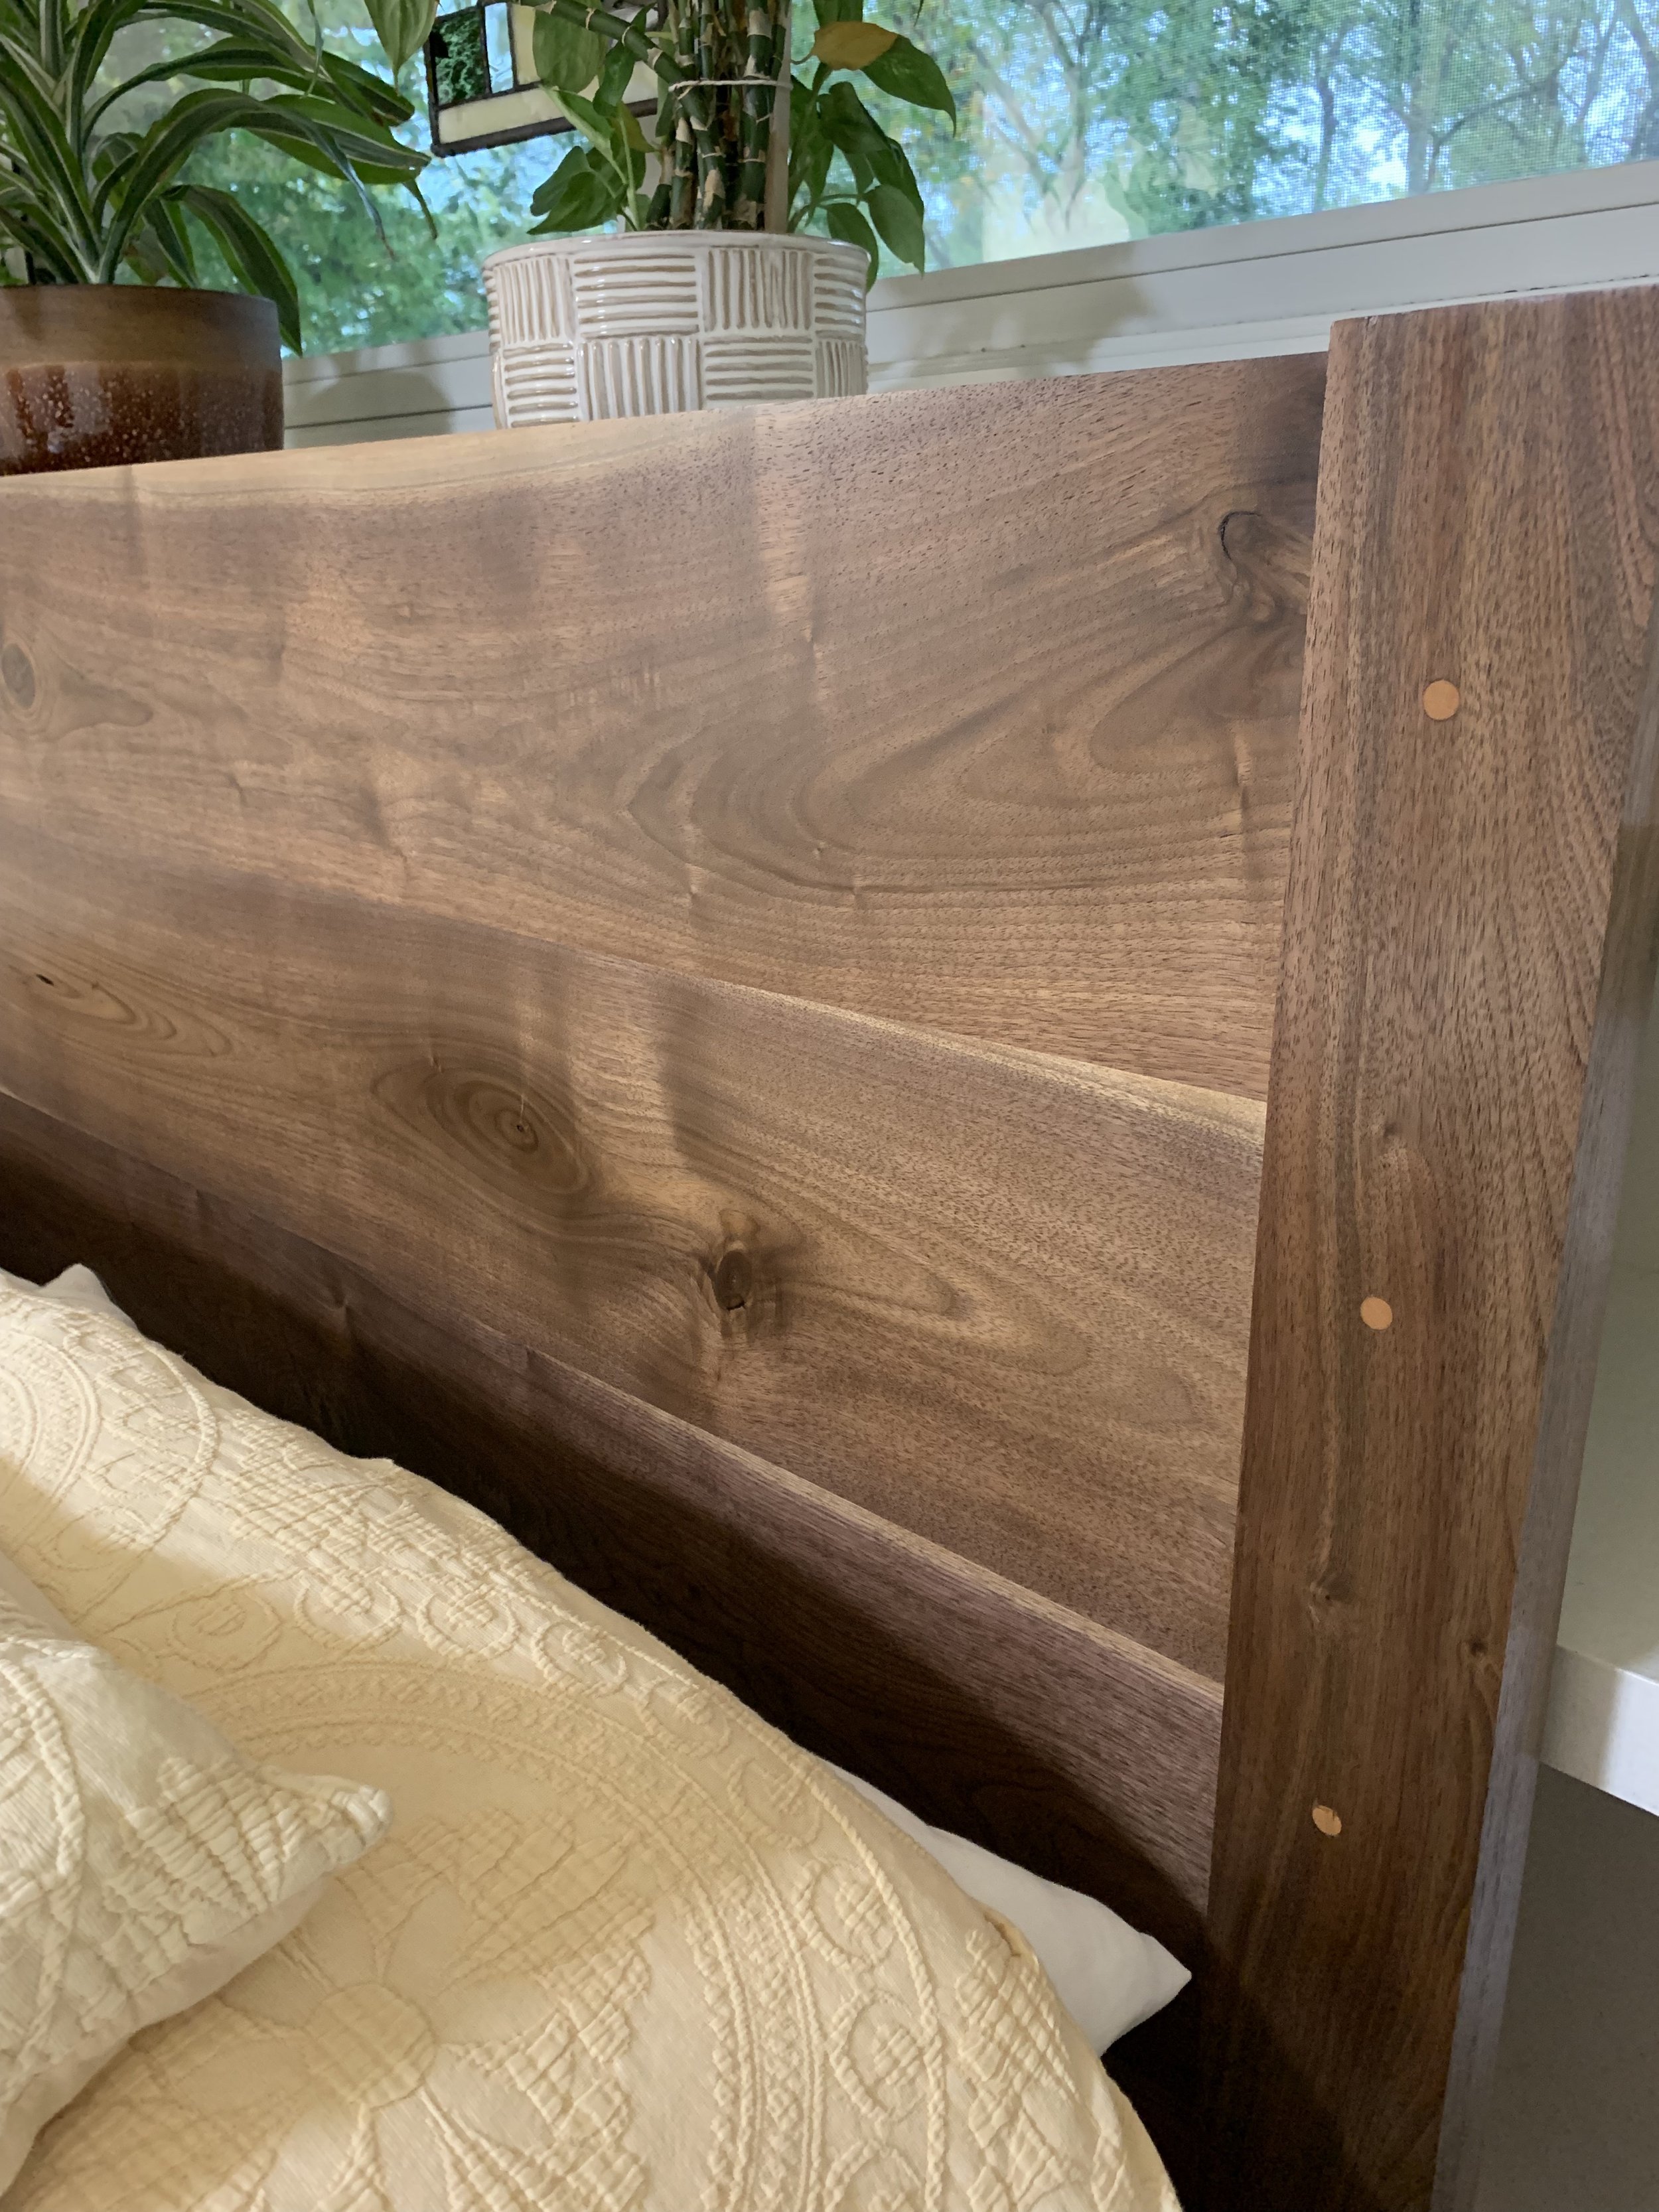
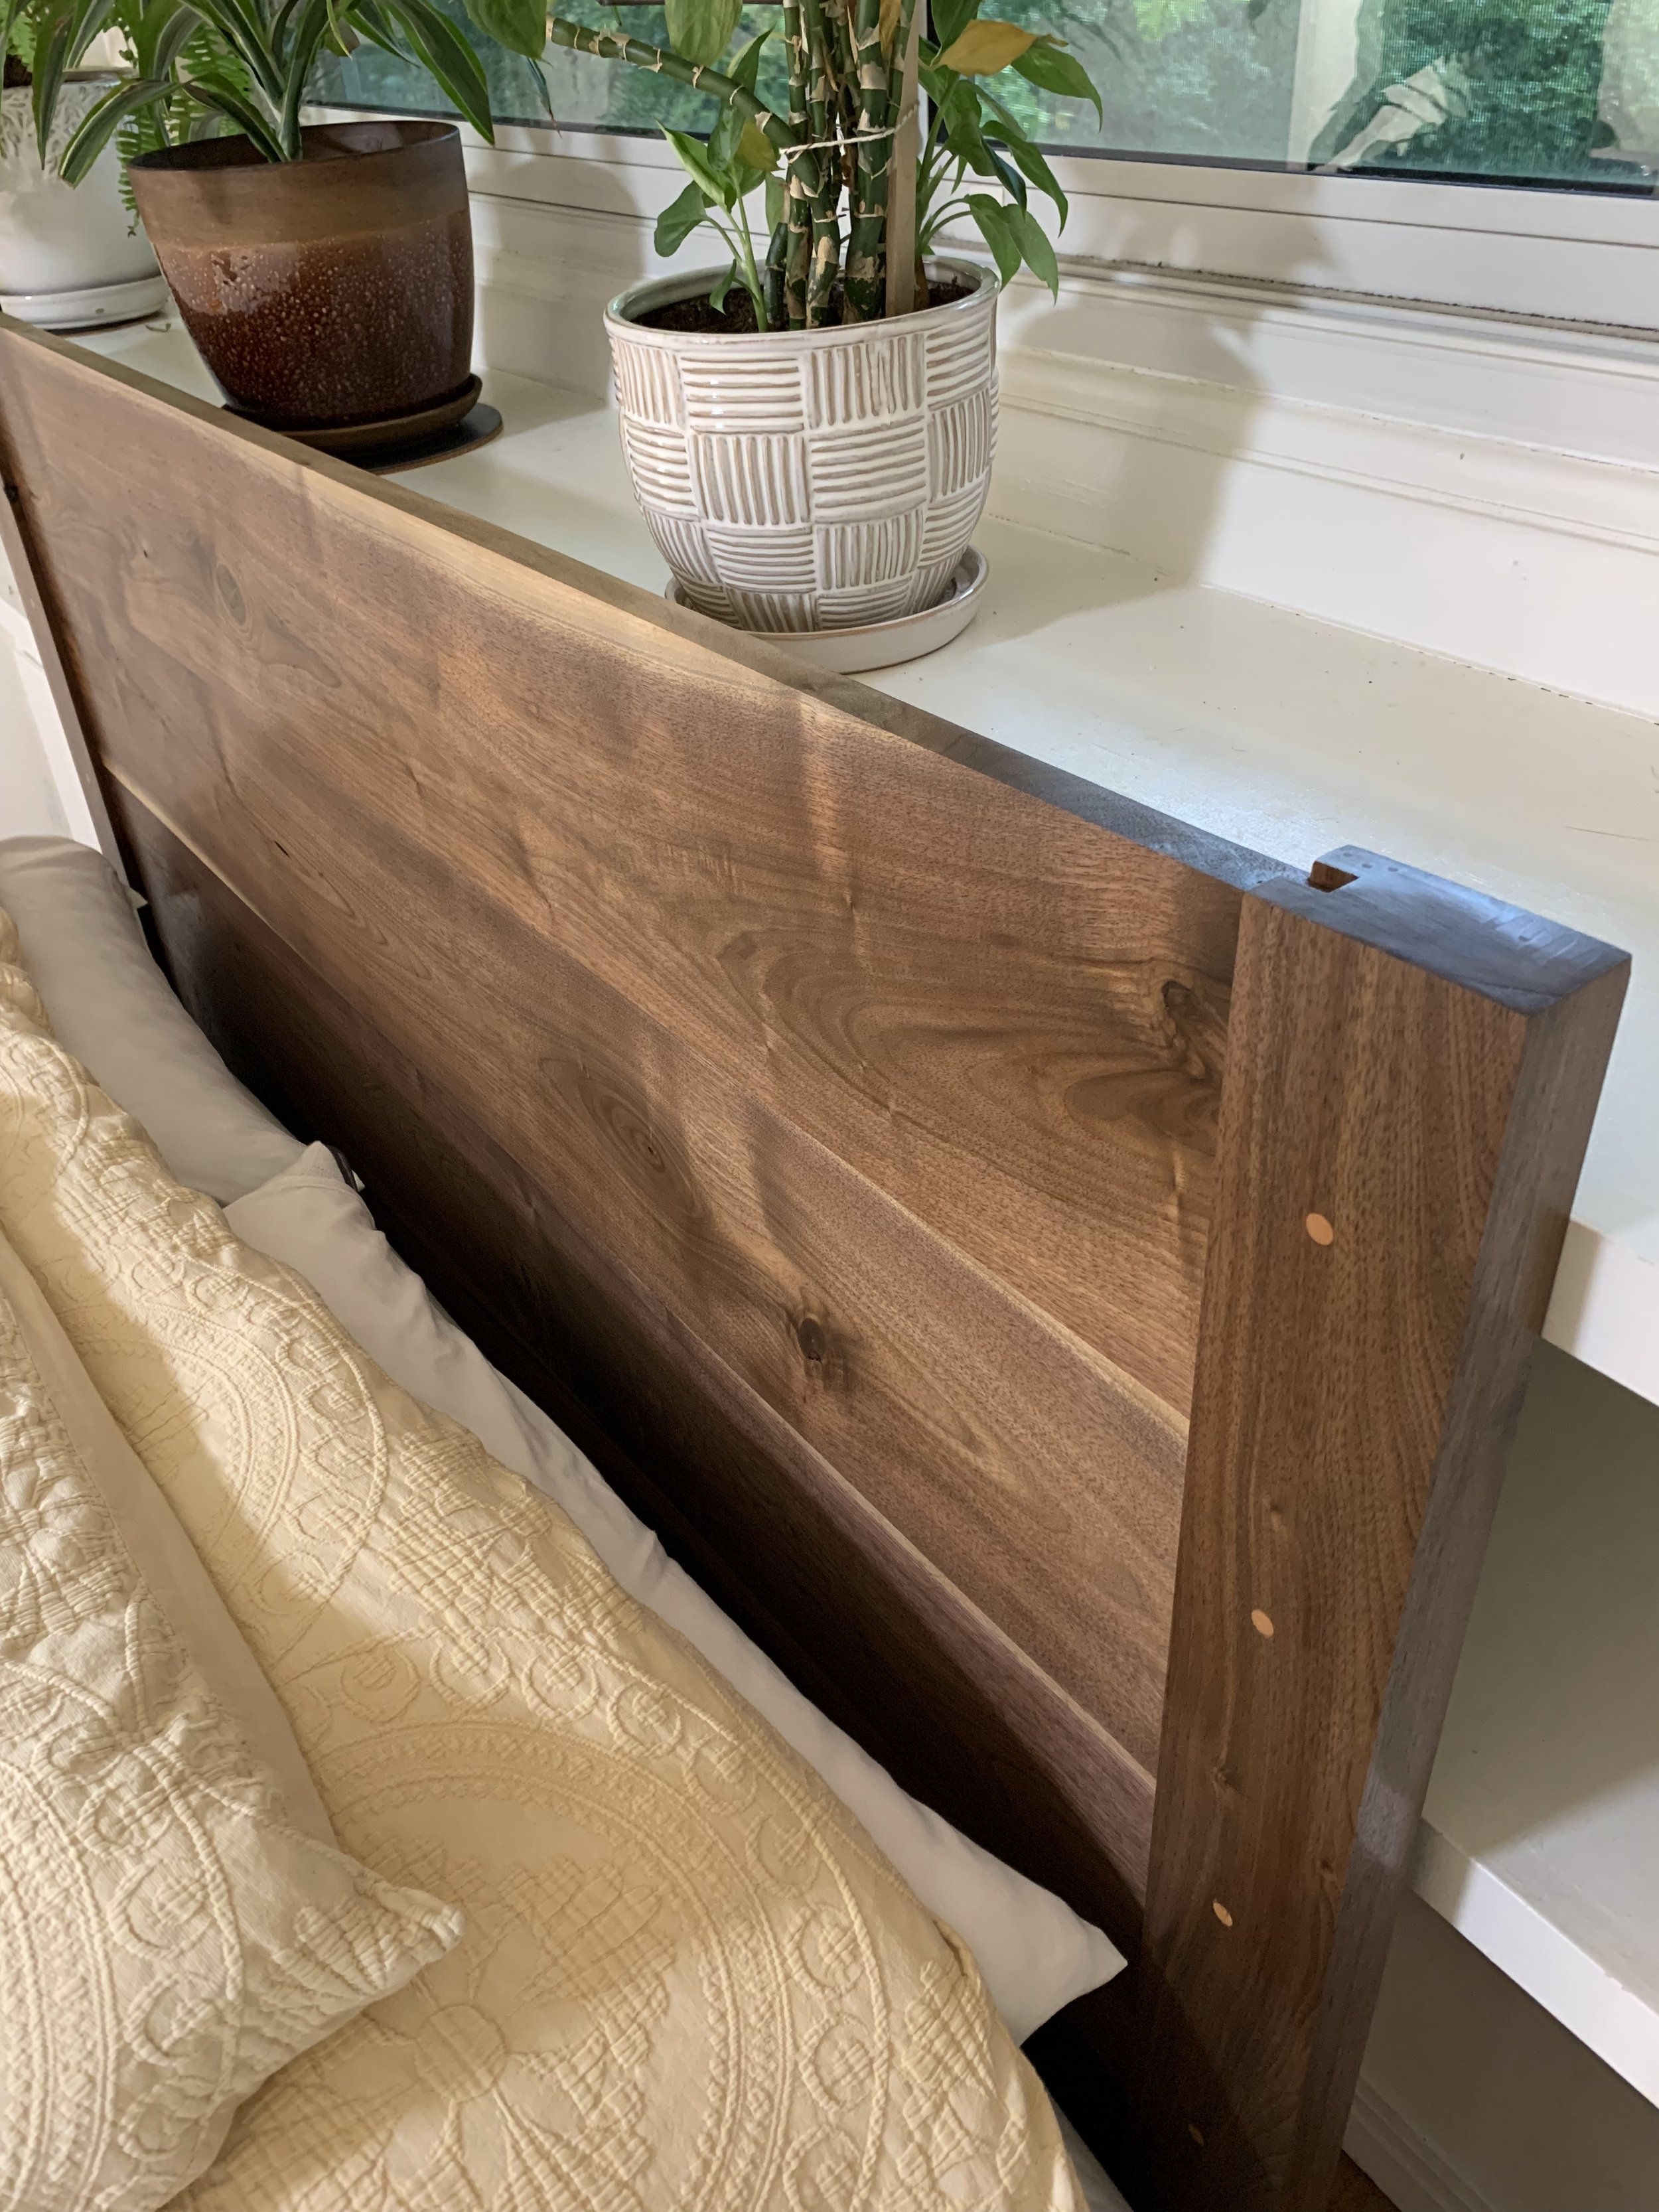
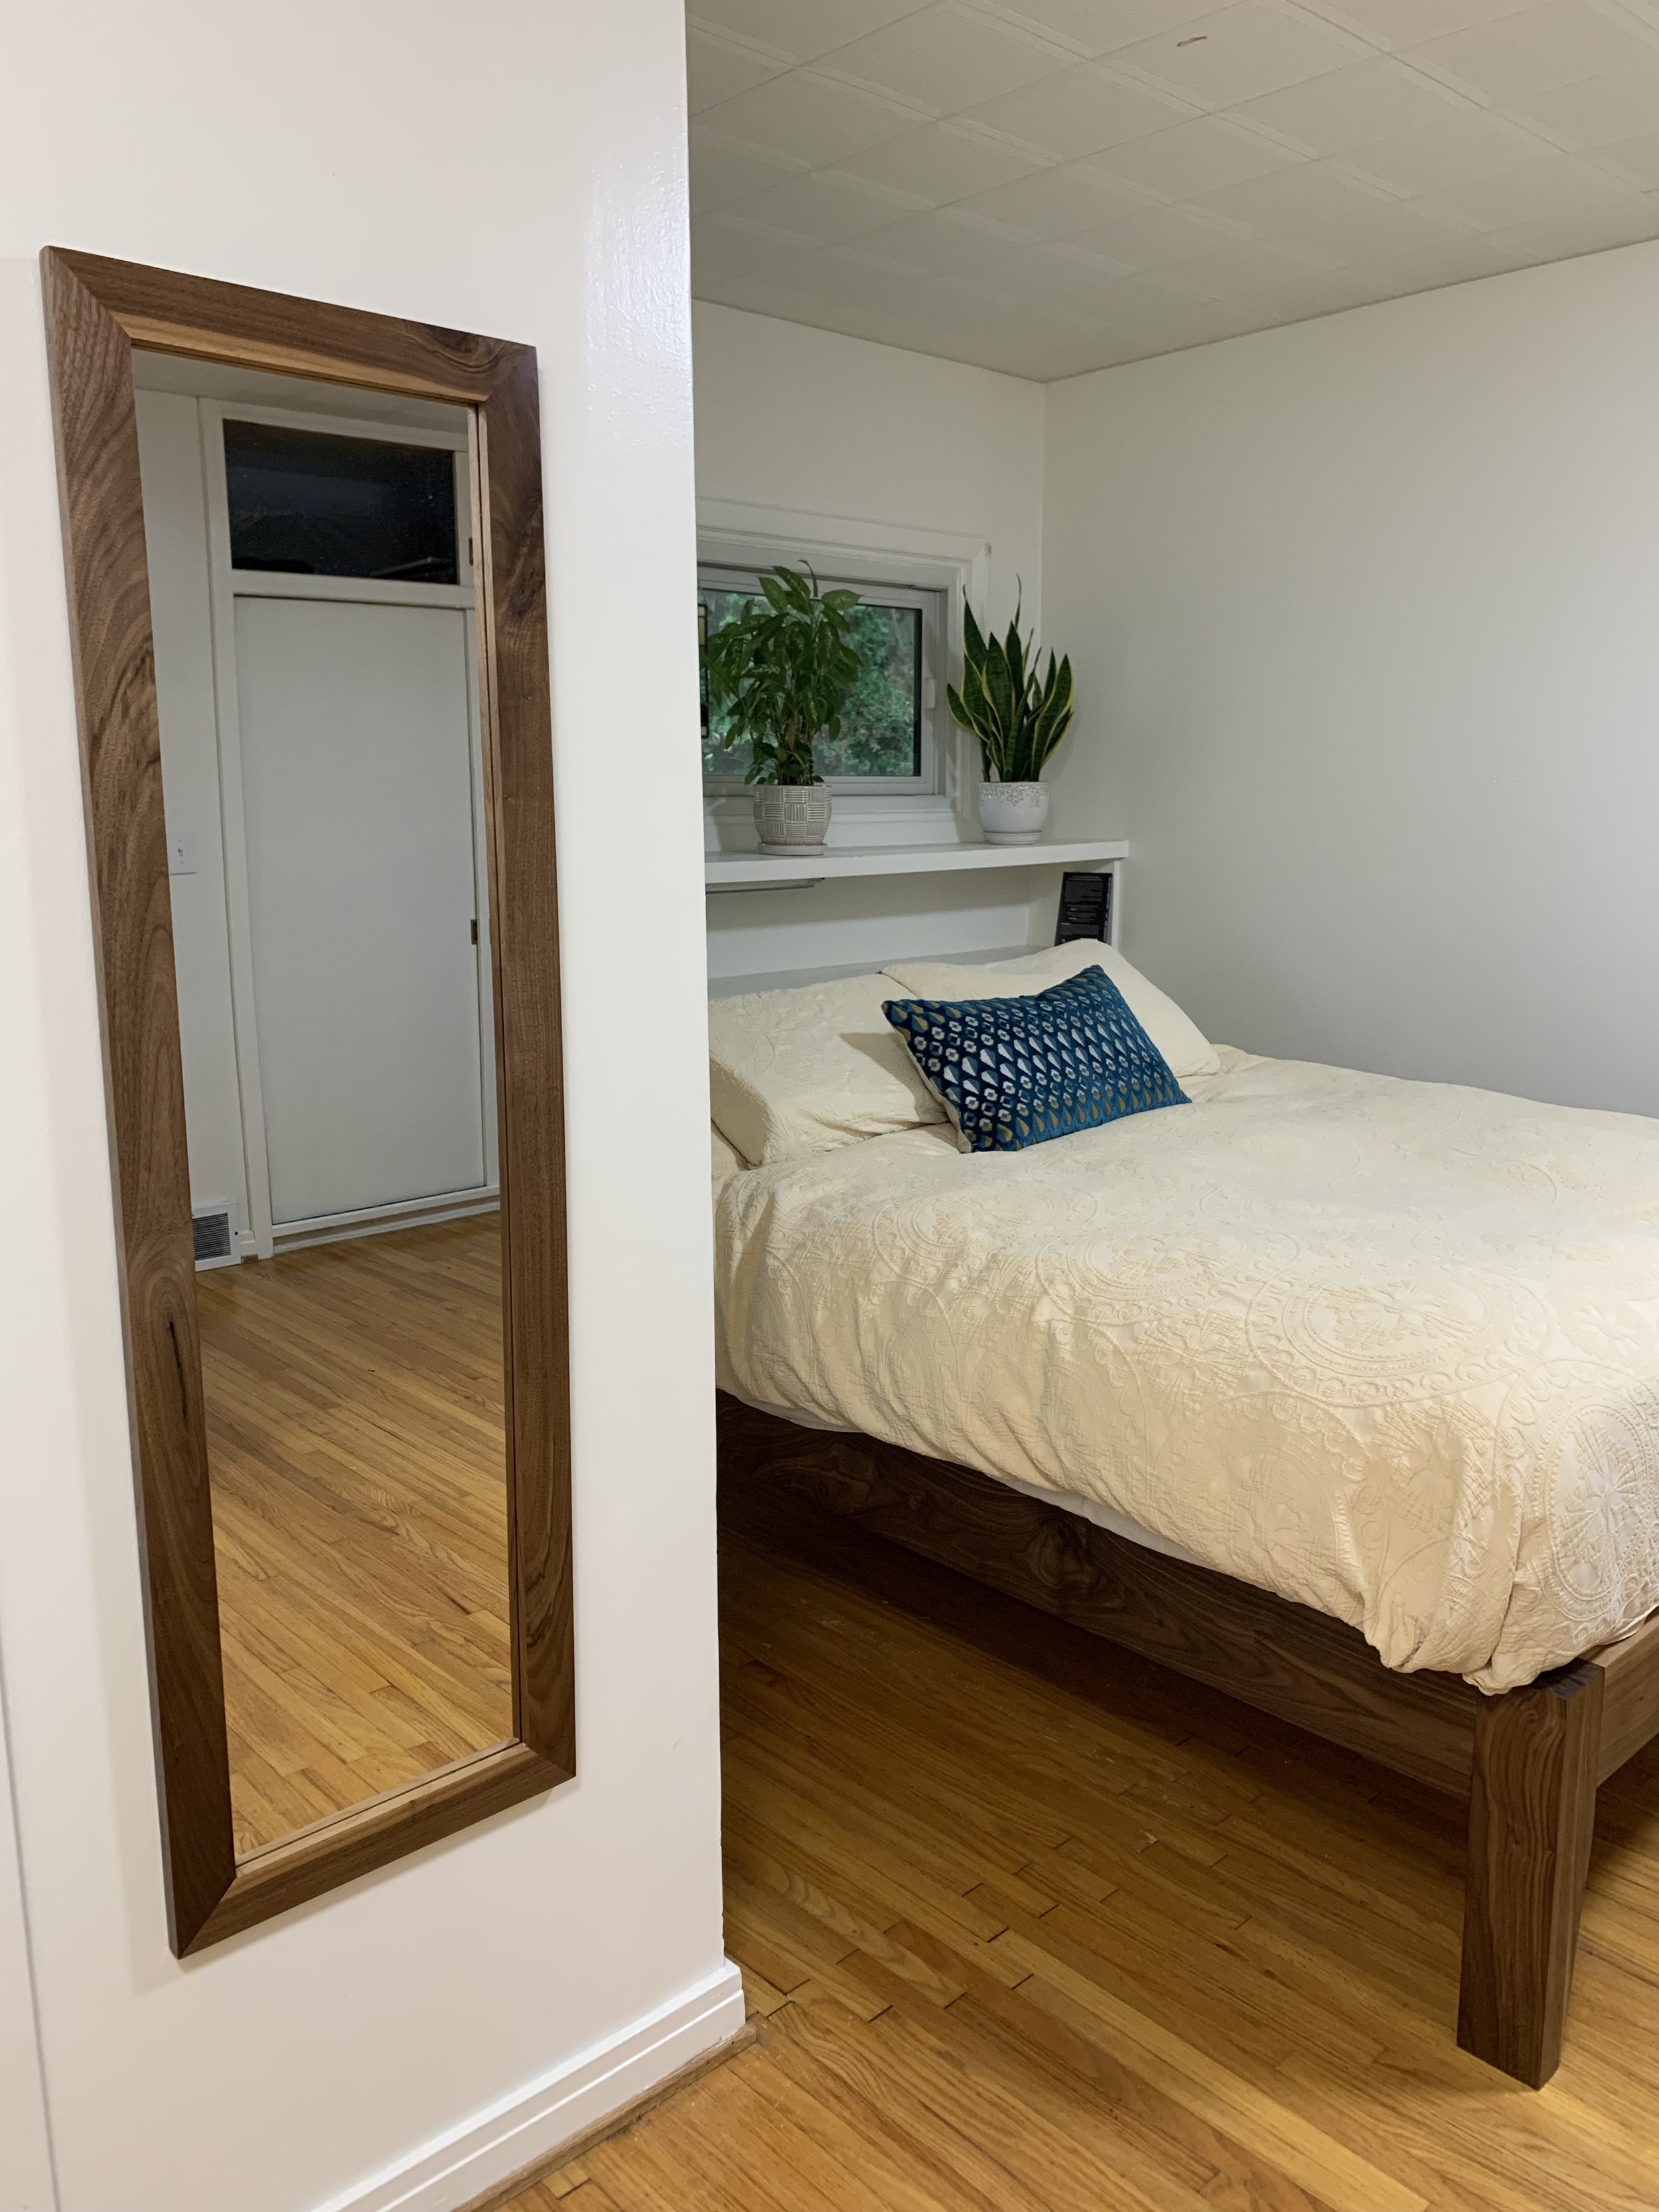
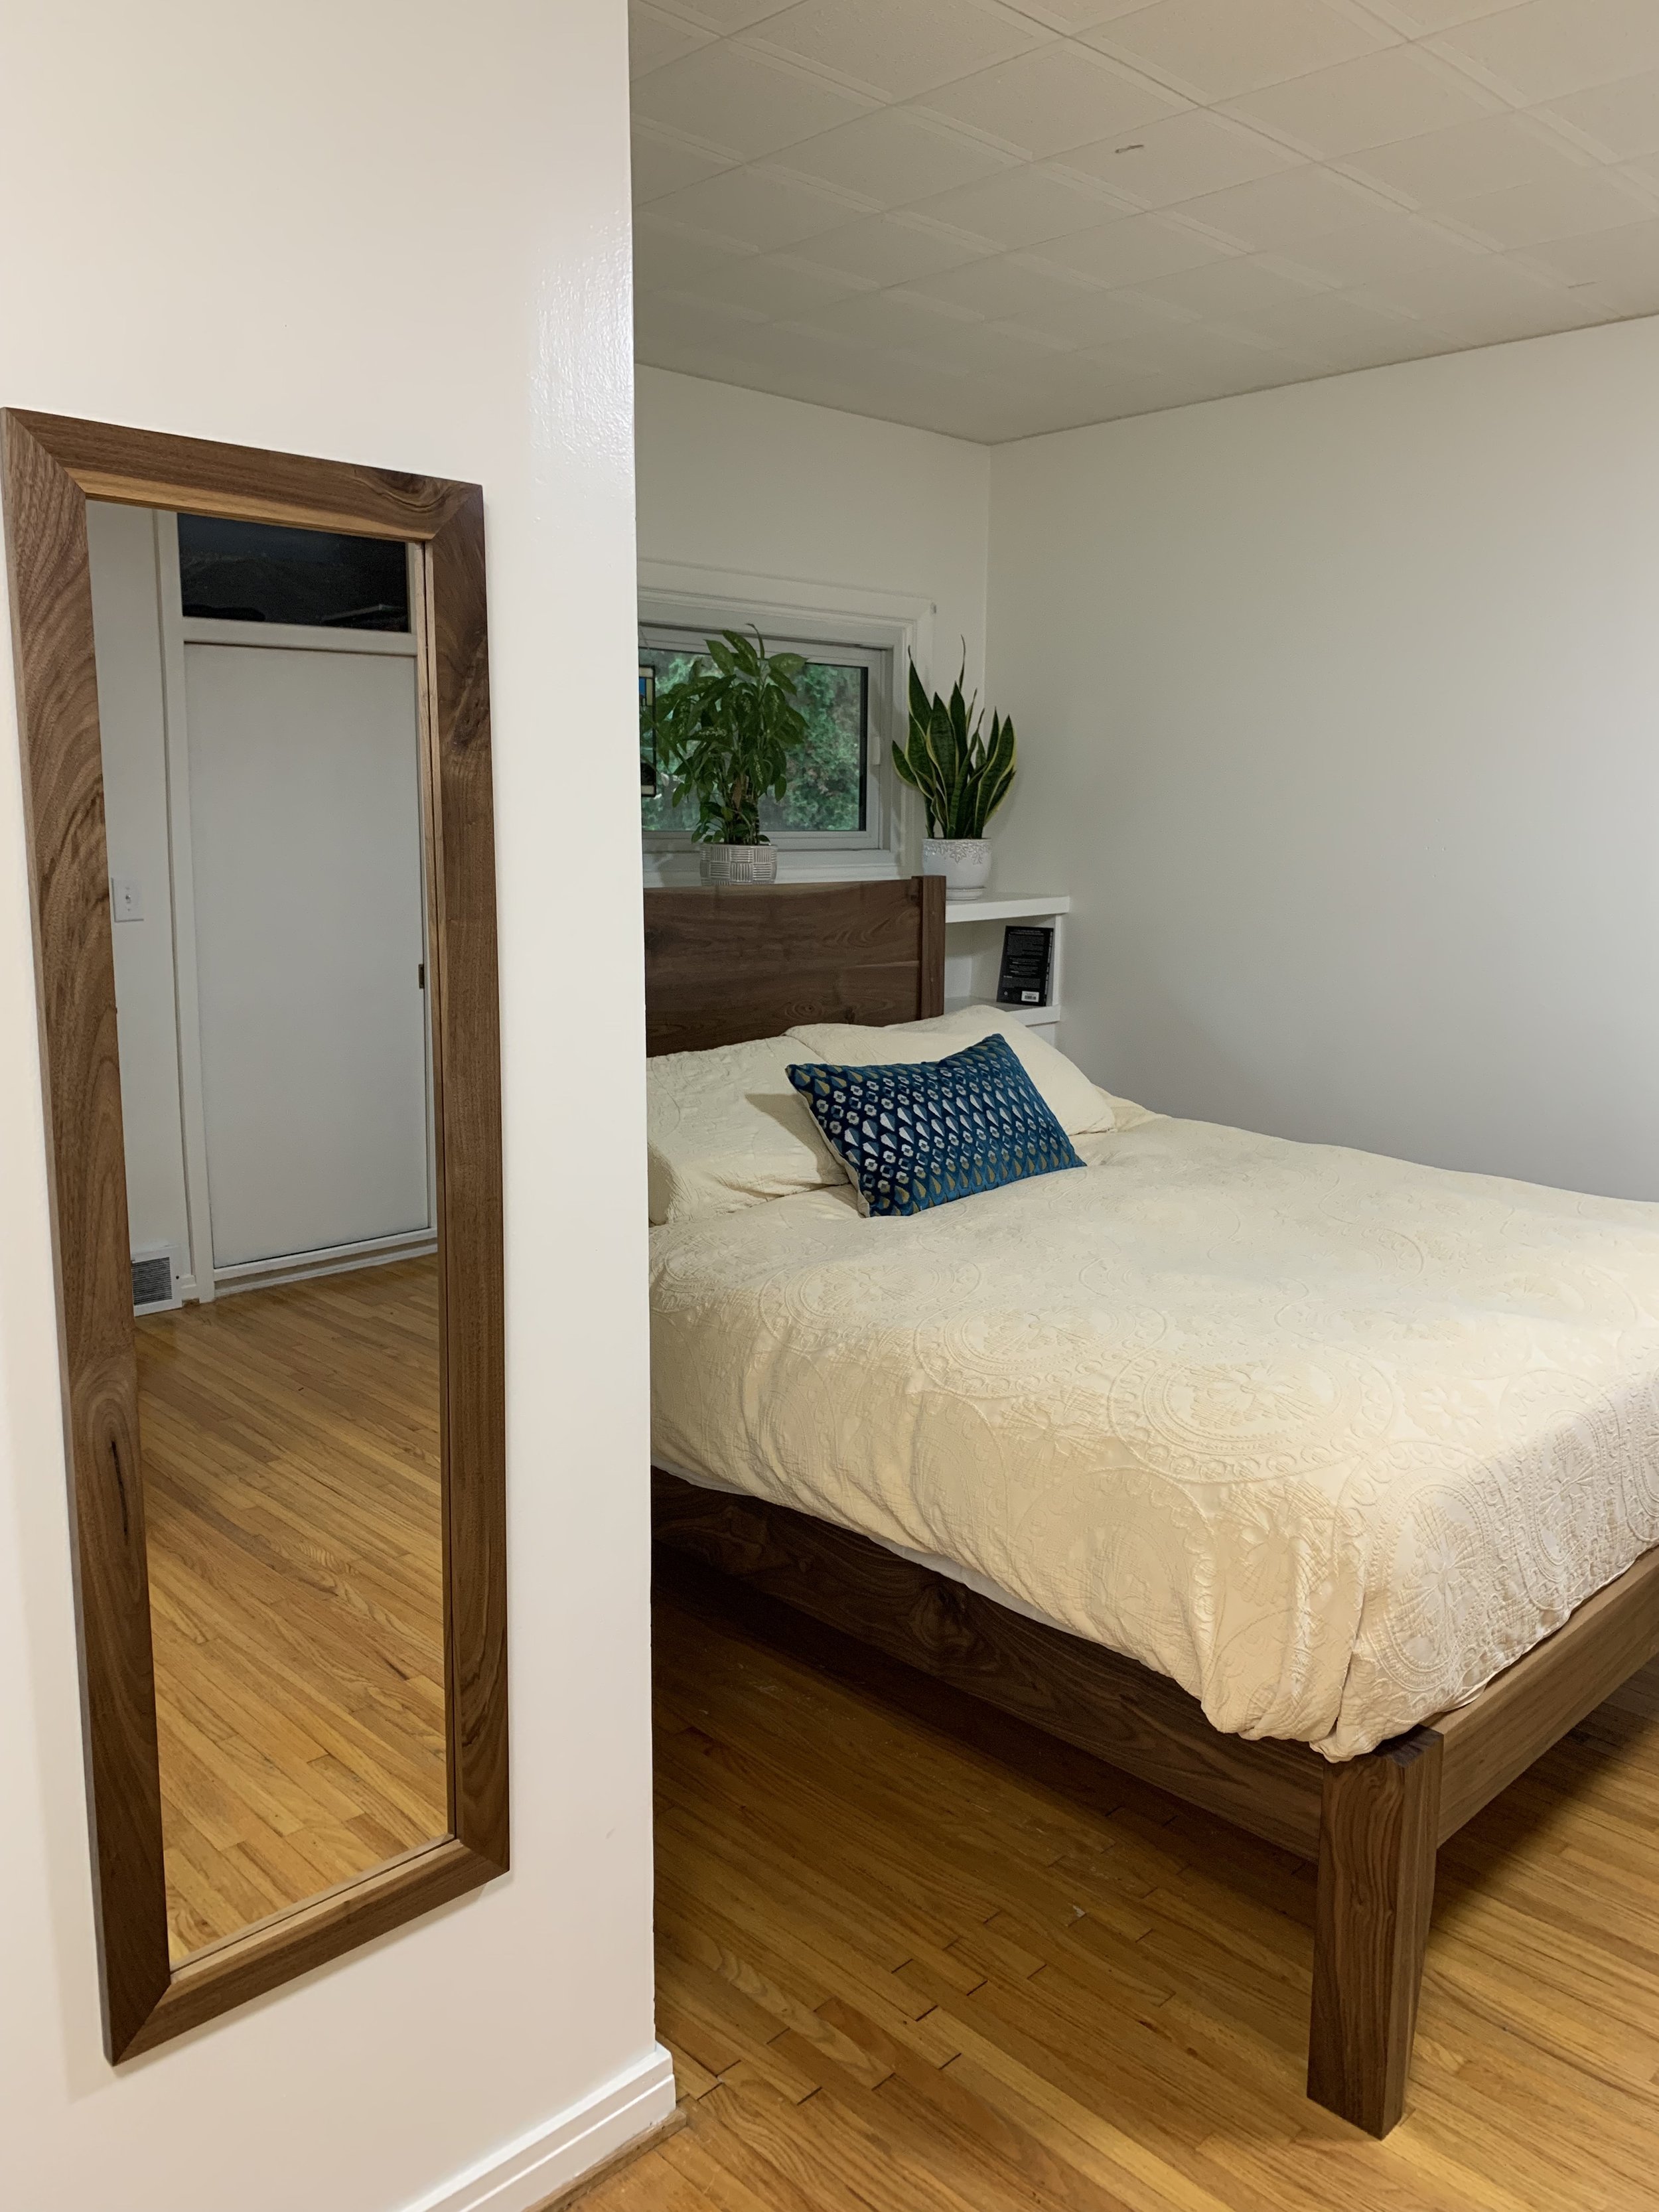
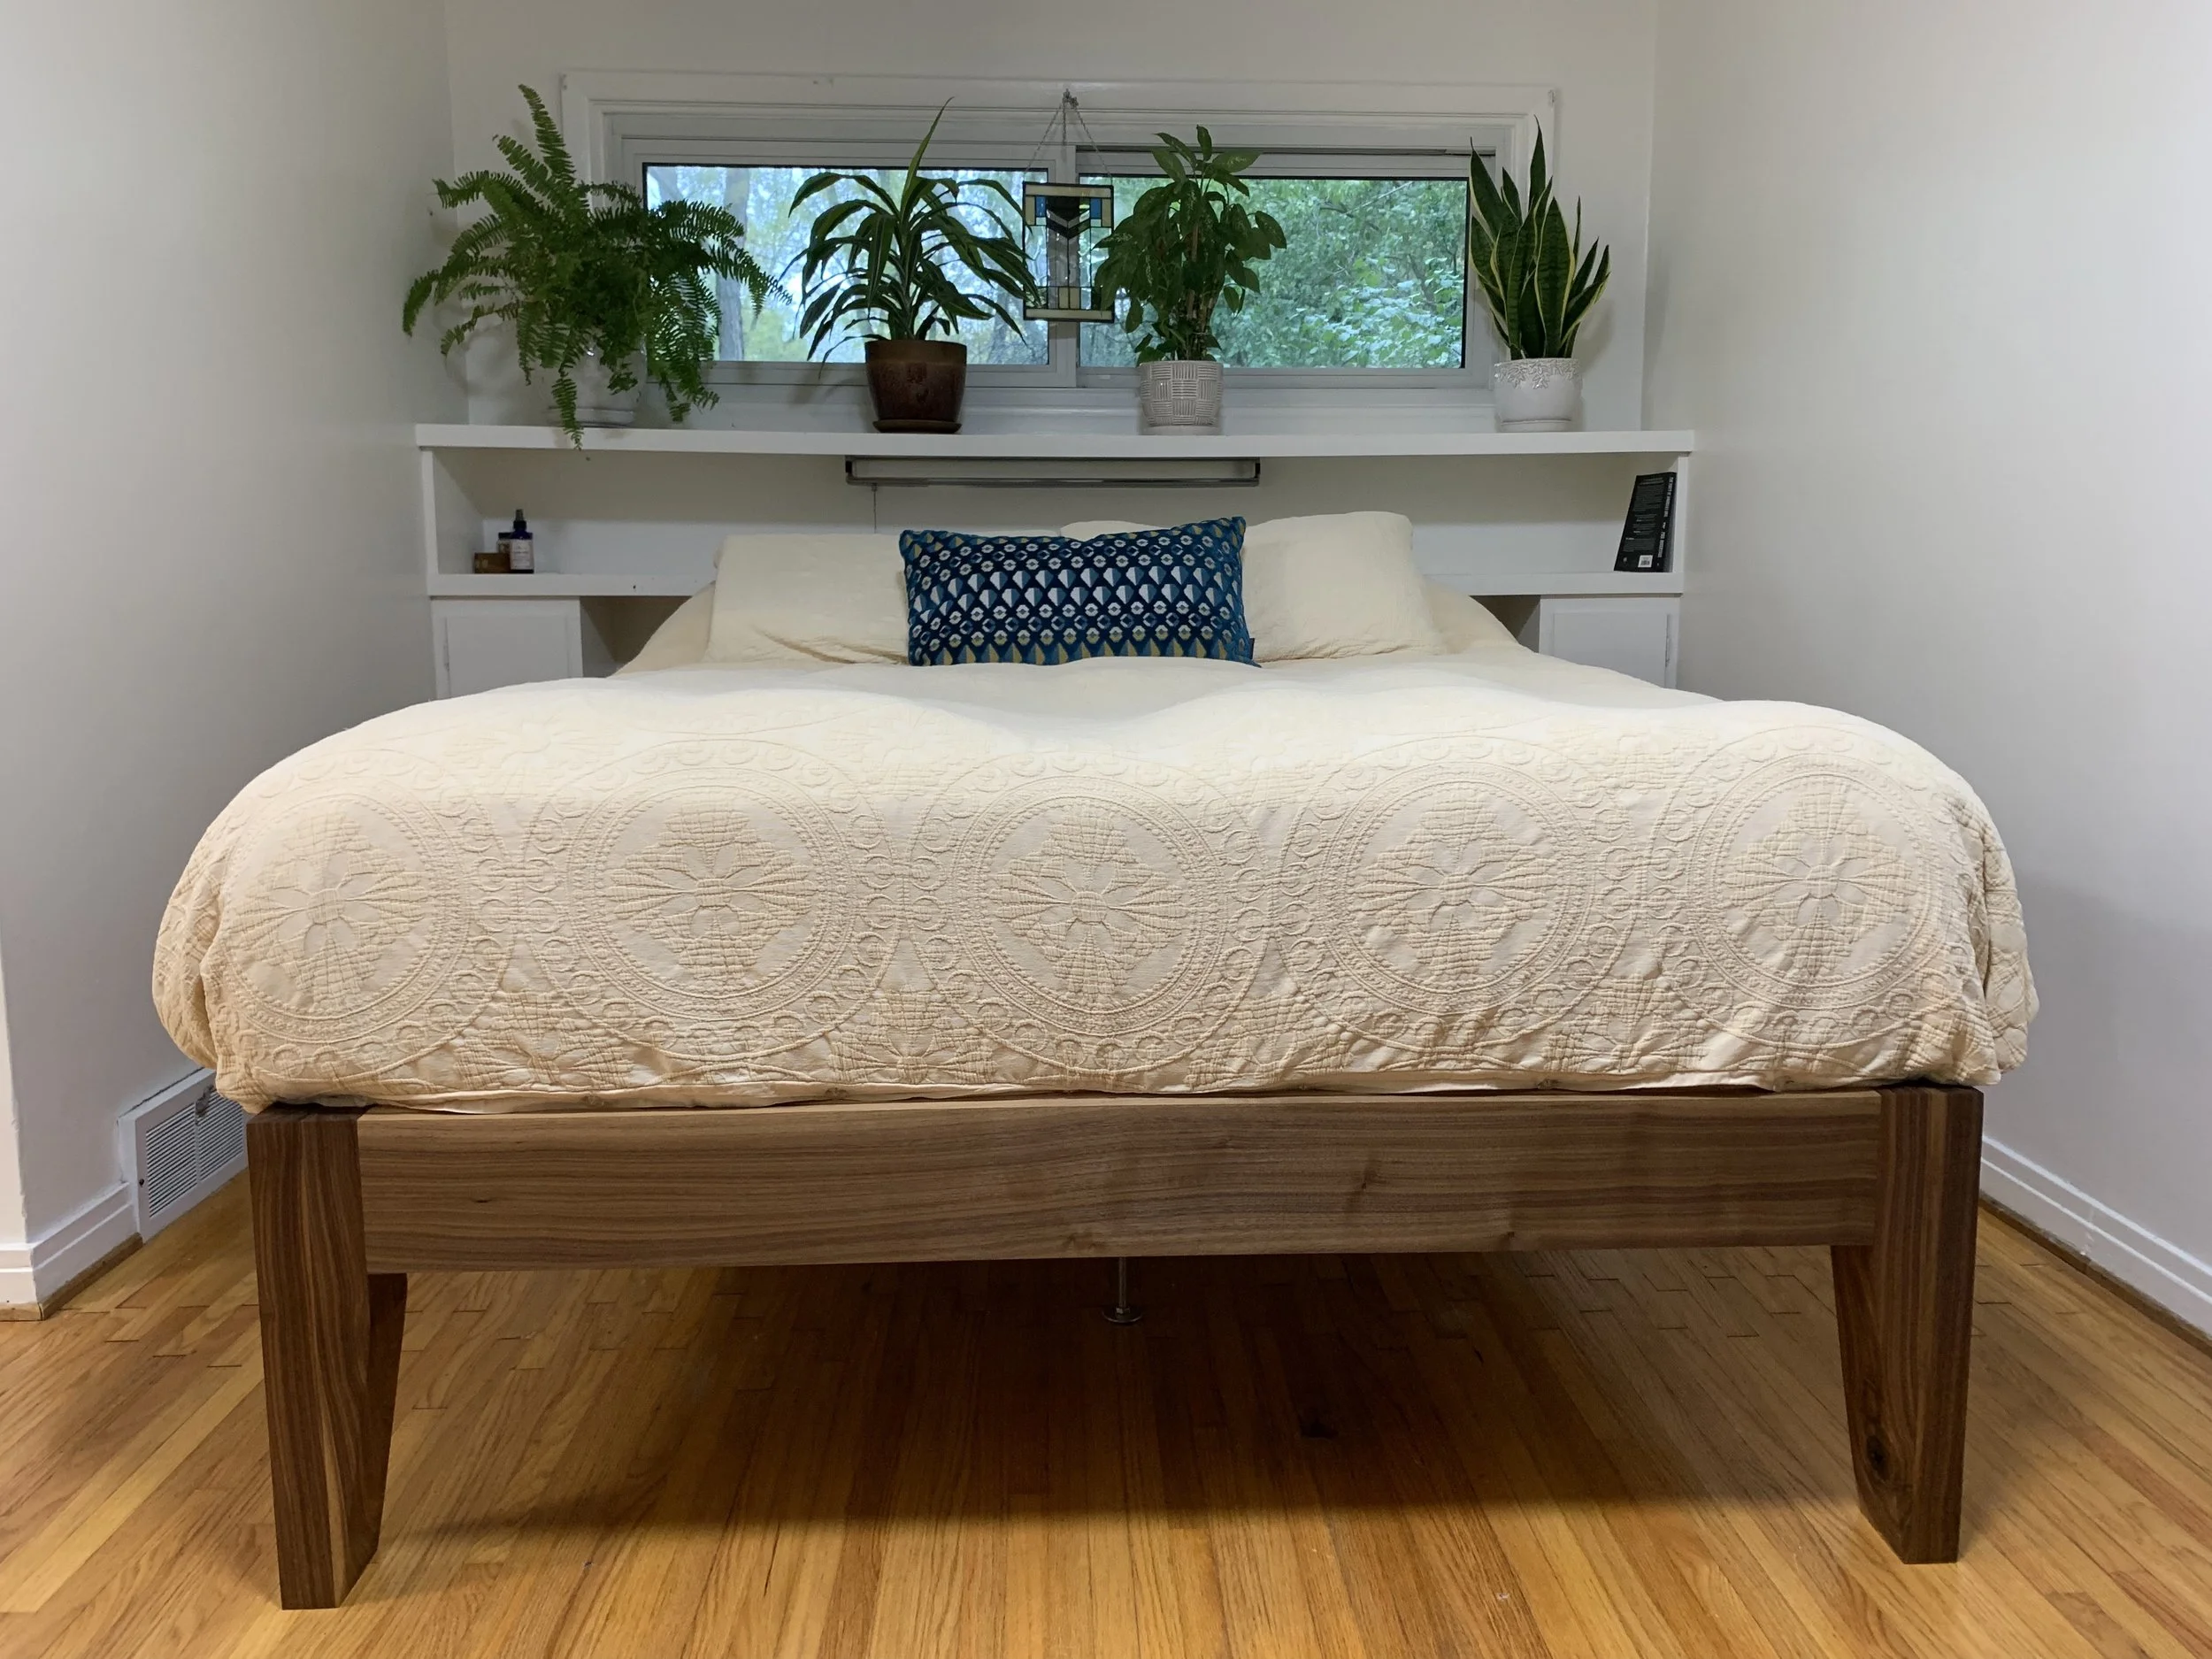
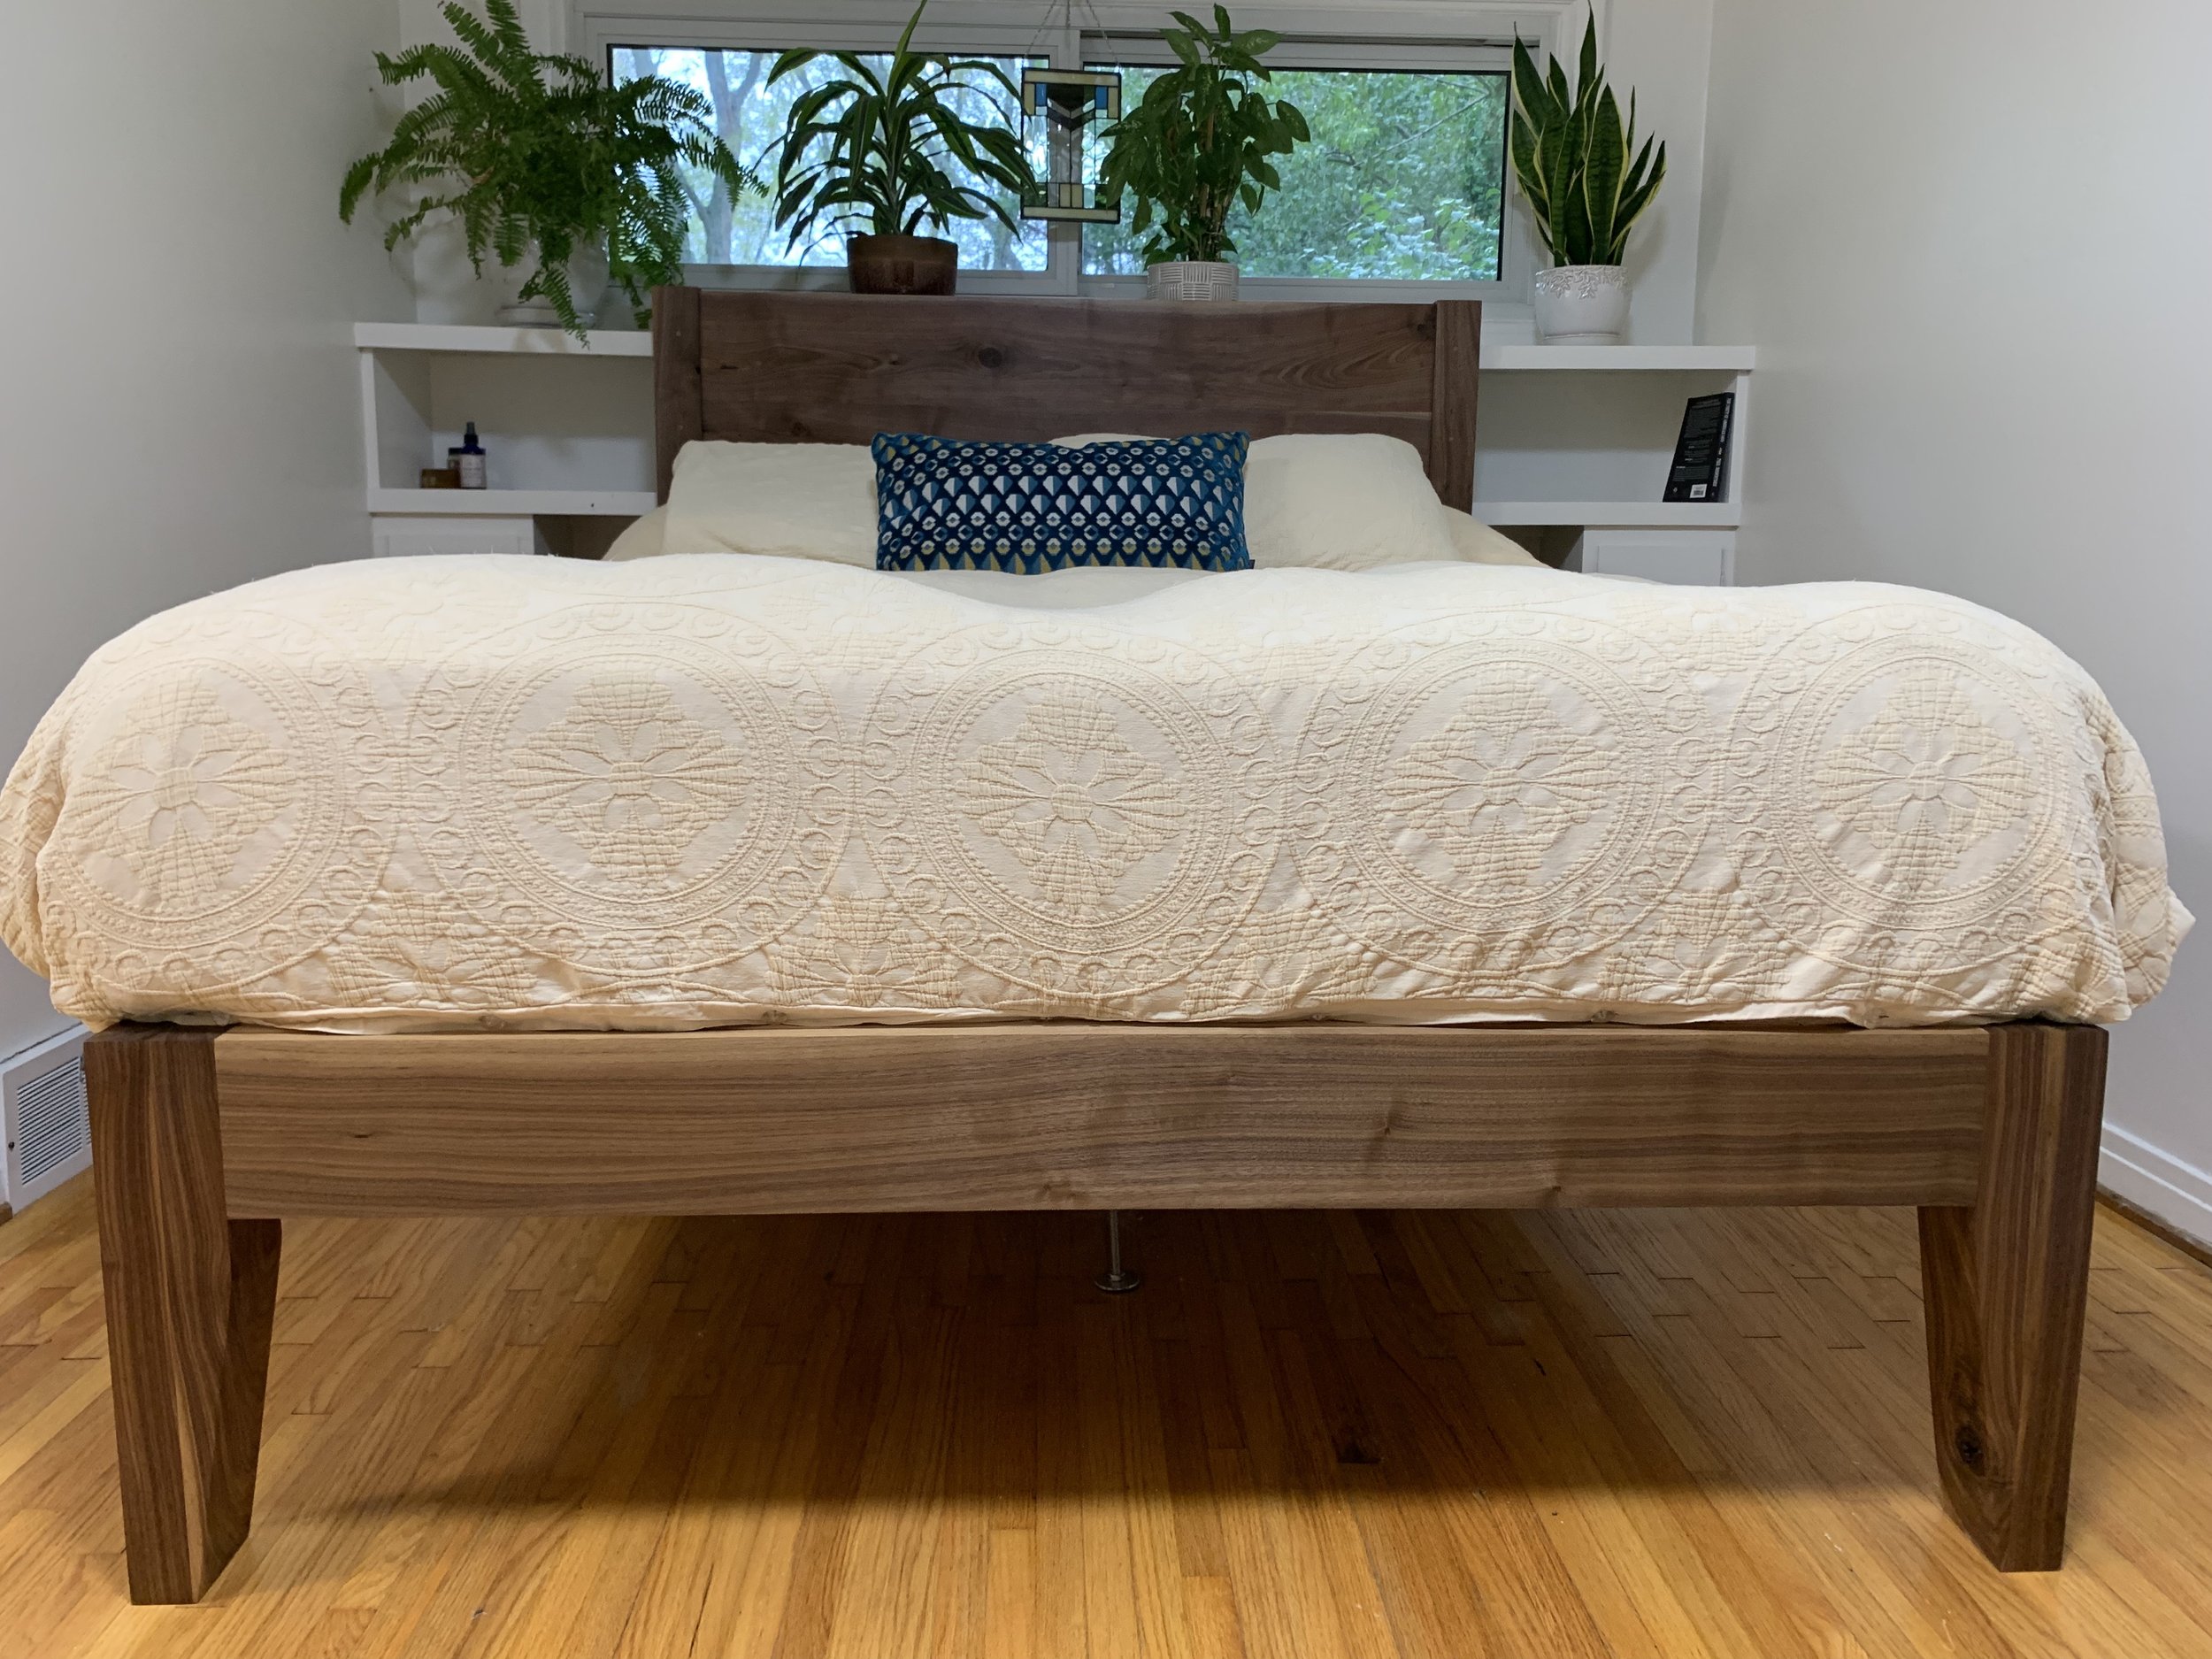
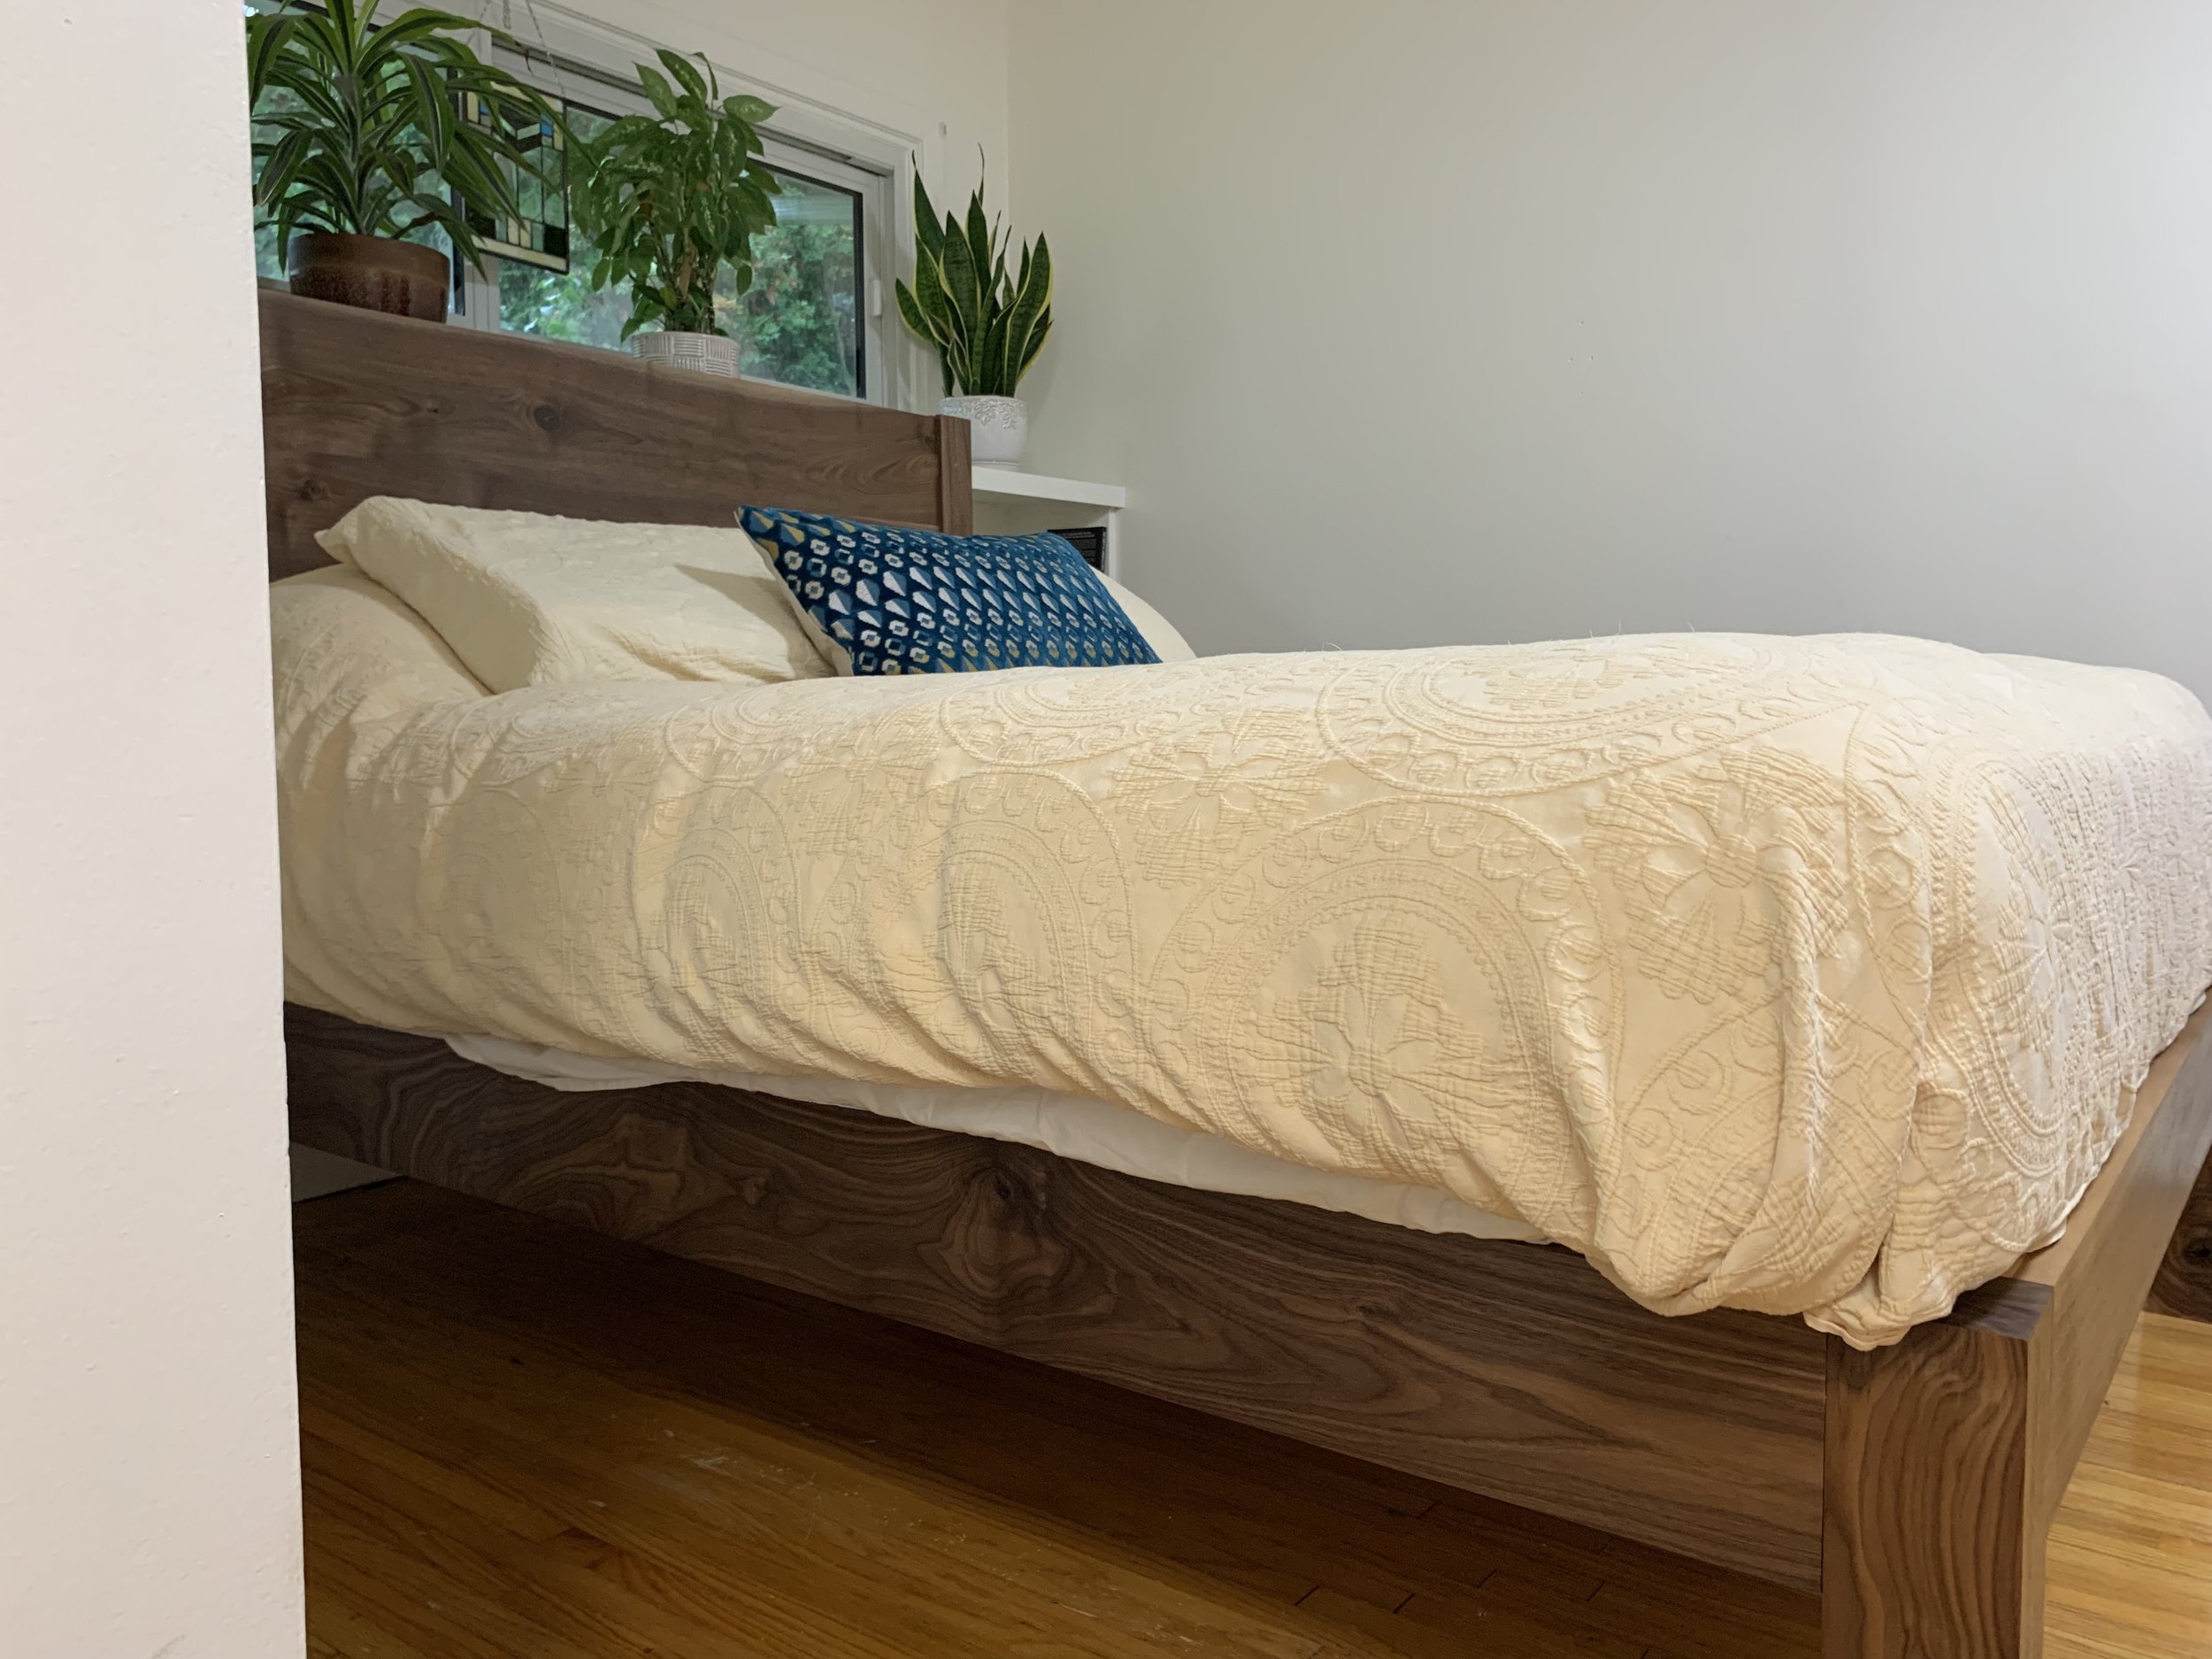
The Mortise and Tenon Joint
To start this project, I first did tons of research on mortise and tenon style joinery. There are mathematical formulas for mortise and tenon dimensions (length, width, thickness, etc.), proven to yield the strongest joint.
For example, the most common “rule” for mortise and tenon style joinery is that the tenon should be 1/3 the thickness of the stock being mortised. The idea here is that the tenon is as strong as the mortise, and vice versa. If your tenon is greater than 1/3 the width of the stock being mortised, then your mortised stock will naturally have slimmer “shoulders” (the leftover wood stock to each side of the mortise hole) - which means the shoulders are weak and susceptible to breakage (vice versa is true - if your shoulders on the mortised stock are much thicker than the tenon, the tenon will be weak - hence why the 1/3 rule is ideal).
Build Story
Step 1: Deciding on the Mortise and Tenon Dimensions
Woodworking projects have shown that a good rule of thumb for tenon length should be (if possible) at least 5x its thickness. For this project I knew I would be using ~3/4” walnut stock for the headboard panel itself, and I knew I would be making the breadboard ends out of laminated 3/4” boards, resulting in breadboard ends 6/4” thick. By the 1/3 rule for tenon thickness, that would mean my tenoned stock (headboard panel) would need to be (mortised stock = 6/4) / 3 = 1/2” thickness, with roughly 1/8” shaved off of each face of the panel to create the shoulder of the tenon. Because the thickness would be 1/2”, I knew 5(x) 1/2” would be a depth of at least 2.5”. I cut my breadboard ends to be 3” deep, leaving 1/2” stock at the end of the mortise. I wasn’t too worried about not leaving enough stock at the end of the mortise, because I was aware of a “through mortise” joint - where as the name implies, the tenon goes entirely through the mortise leaving no stock at the end of the mortise, so I knew it wouldn’t be an issue to be only 1/2” away from the end of the the mortise depth.
Step 2: Deciding on Number of Tenons, and Location
Now I had to decide where the tenons would be, how wide they’d be, and how much space would be in between them. Based on the platform bed frame I already built, I knew where I wanted the bottom of the panel to sit: 13” from the floor. Based on this, I ended up dimensioning the mortise and tenons to be ~2.5” wide, with the center tenon being ~3” wide, all evenly spaced apart, resulting in 5 tenons total. I made sure to account for and leave a shoulder on either side of the tenons closest to each panel edge, before marking where the first tenon would be.
Step 3: Mortising the Breadboard Ends
I first laminated the two pieces of 3/4” stock together to make the ends. I ensured that the ring direction was facing the opposite direction so as to minimize cupping/bowing of the stock as much as possible, especially because I did not have a jointer at the time of this build. I also try my best to pick straight boards at the lumber store with minimal curvature lengthwise. Once I had laminated the boards together, I brought out my router. When cutting mortises, if you don’t have a mortising drill it’s best to use an up-cut spiral bit, so that the bit naturally ejects the wood chips as it cuts the mortise. However, I only had a 2.5” deep, 1/2” wide straight (not up-cut) freud bit, and a 3/8” wide up-cut spiral bit. I needed my mortises to be 1/2” wide, so instead of buying an additional up-cut spiral bit for creating the mortises, I decided to use my standard straight bit that was 1/2” wide to drill the mortises. In order to do this I needed to make many passes - so with my router edge guide and plunge base attached, I did so to eventually cut the desired depth of the stock. I also routed a 1/2” wide groove the length of the panel, so that I could have a “tongue” in addition to my tenons. Last, I cleaned up the rounded mortise edges with a chisel.
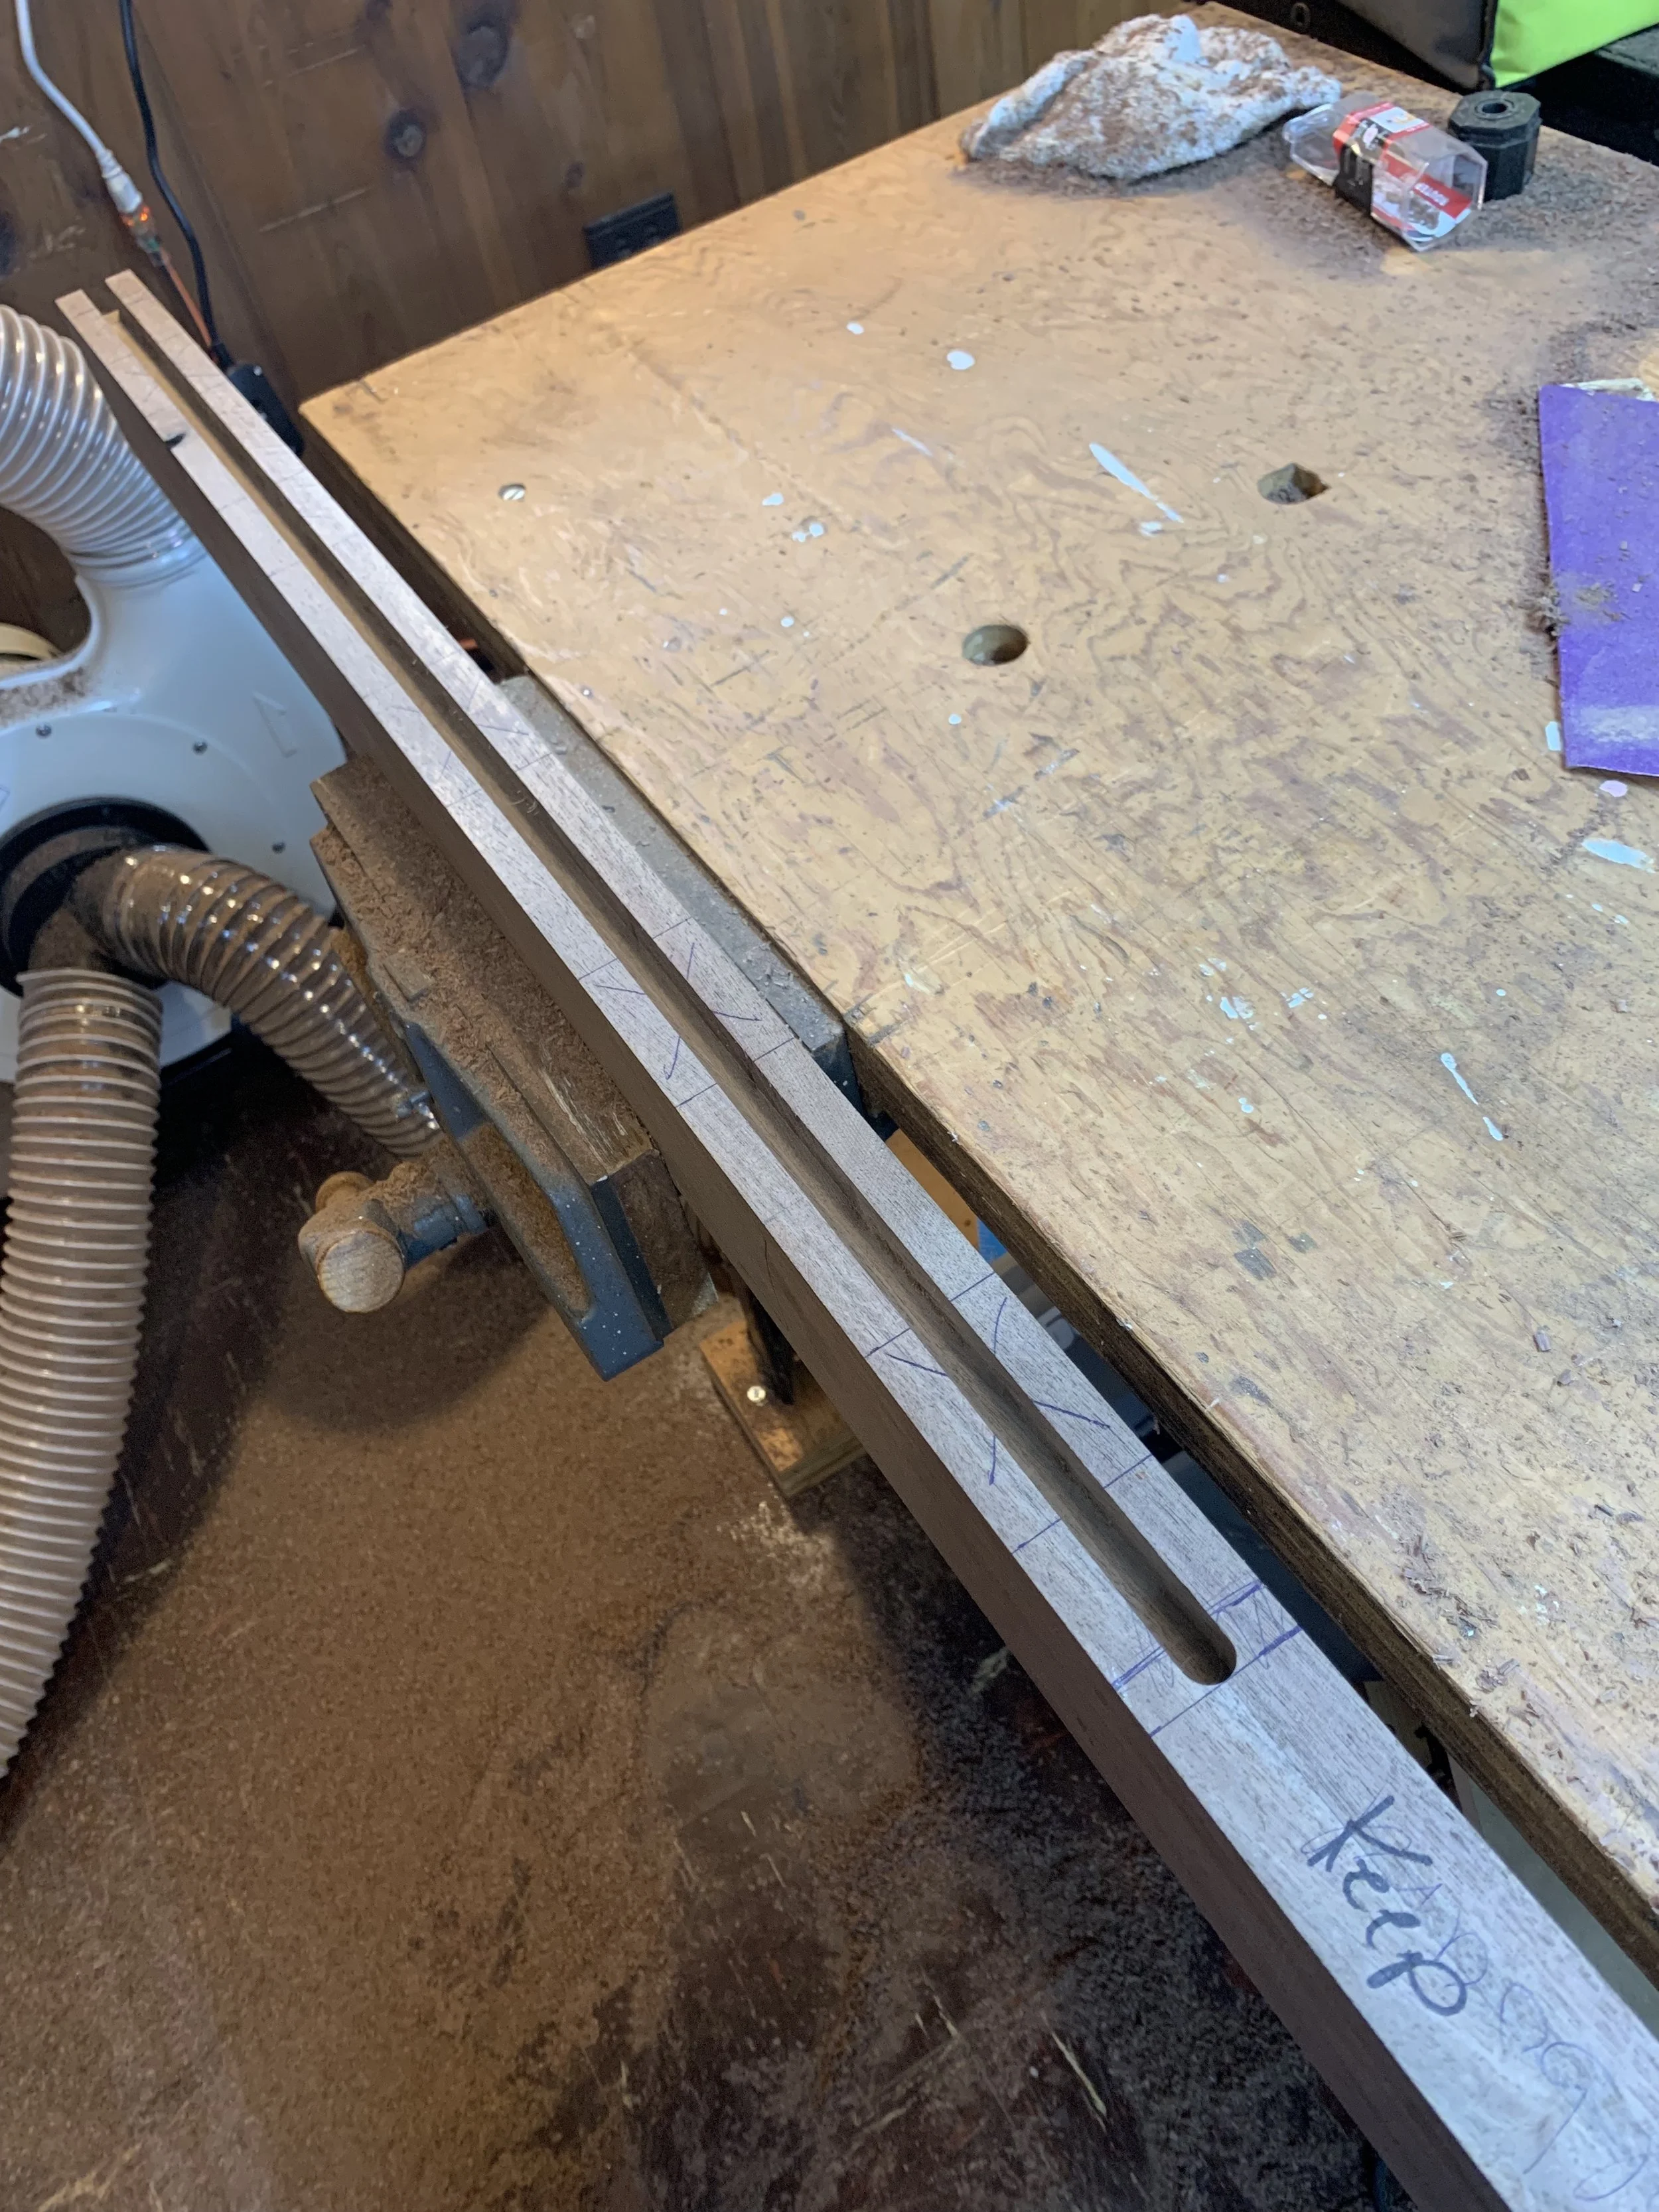
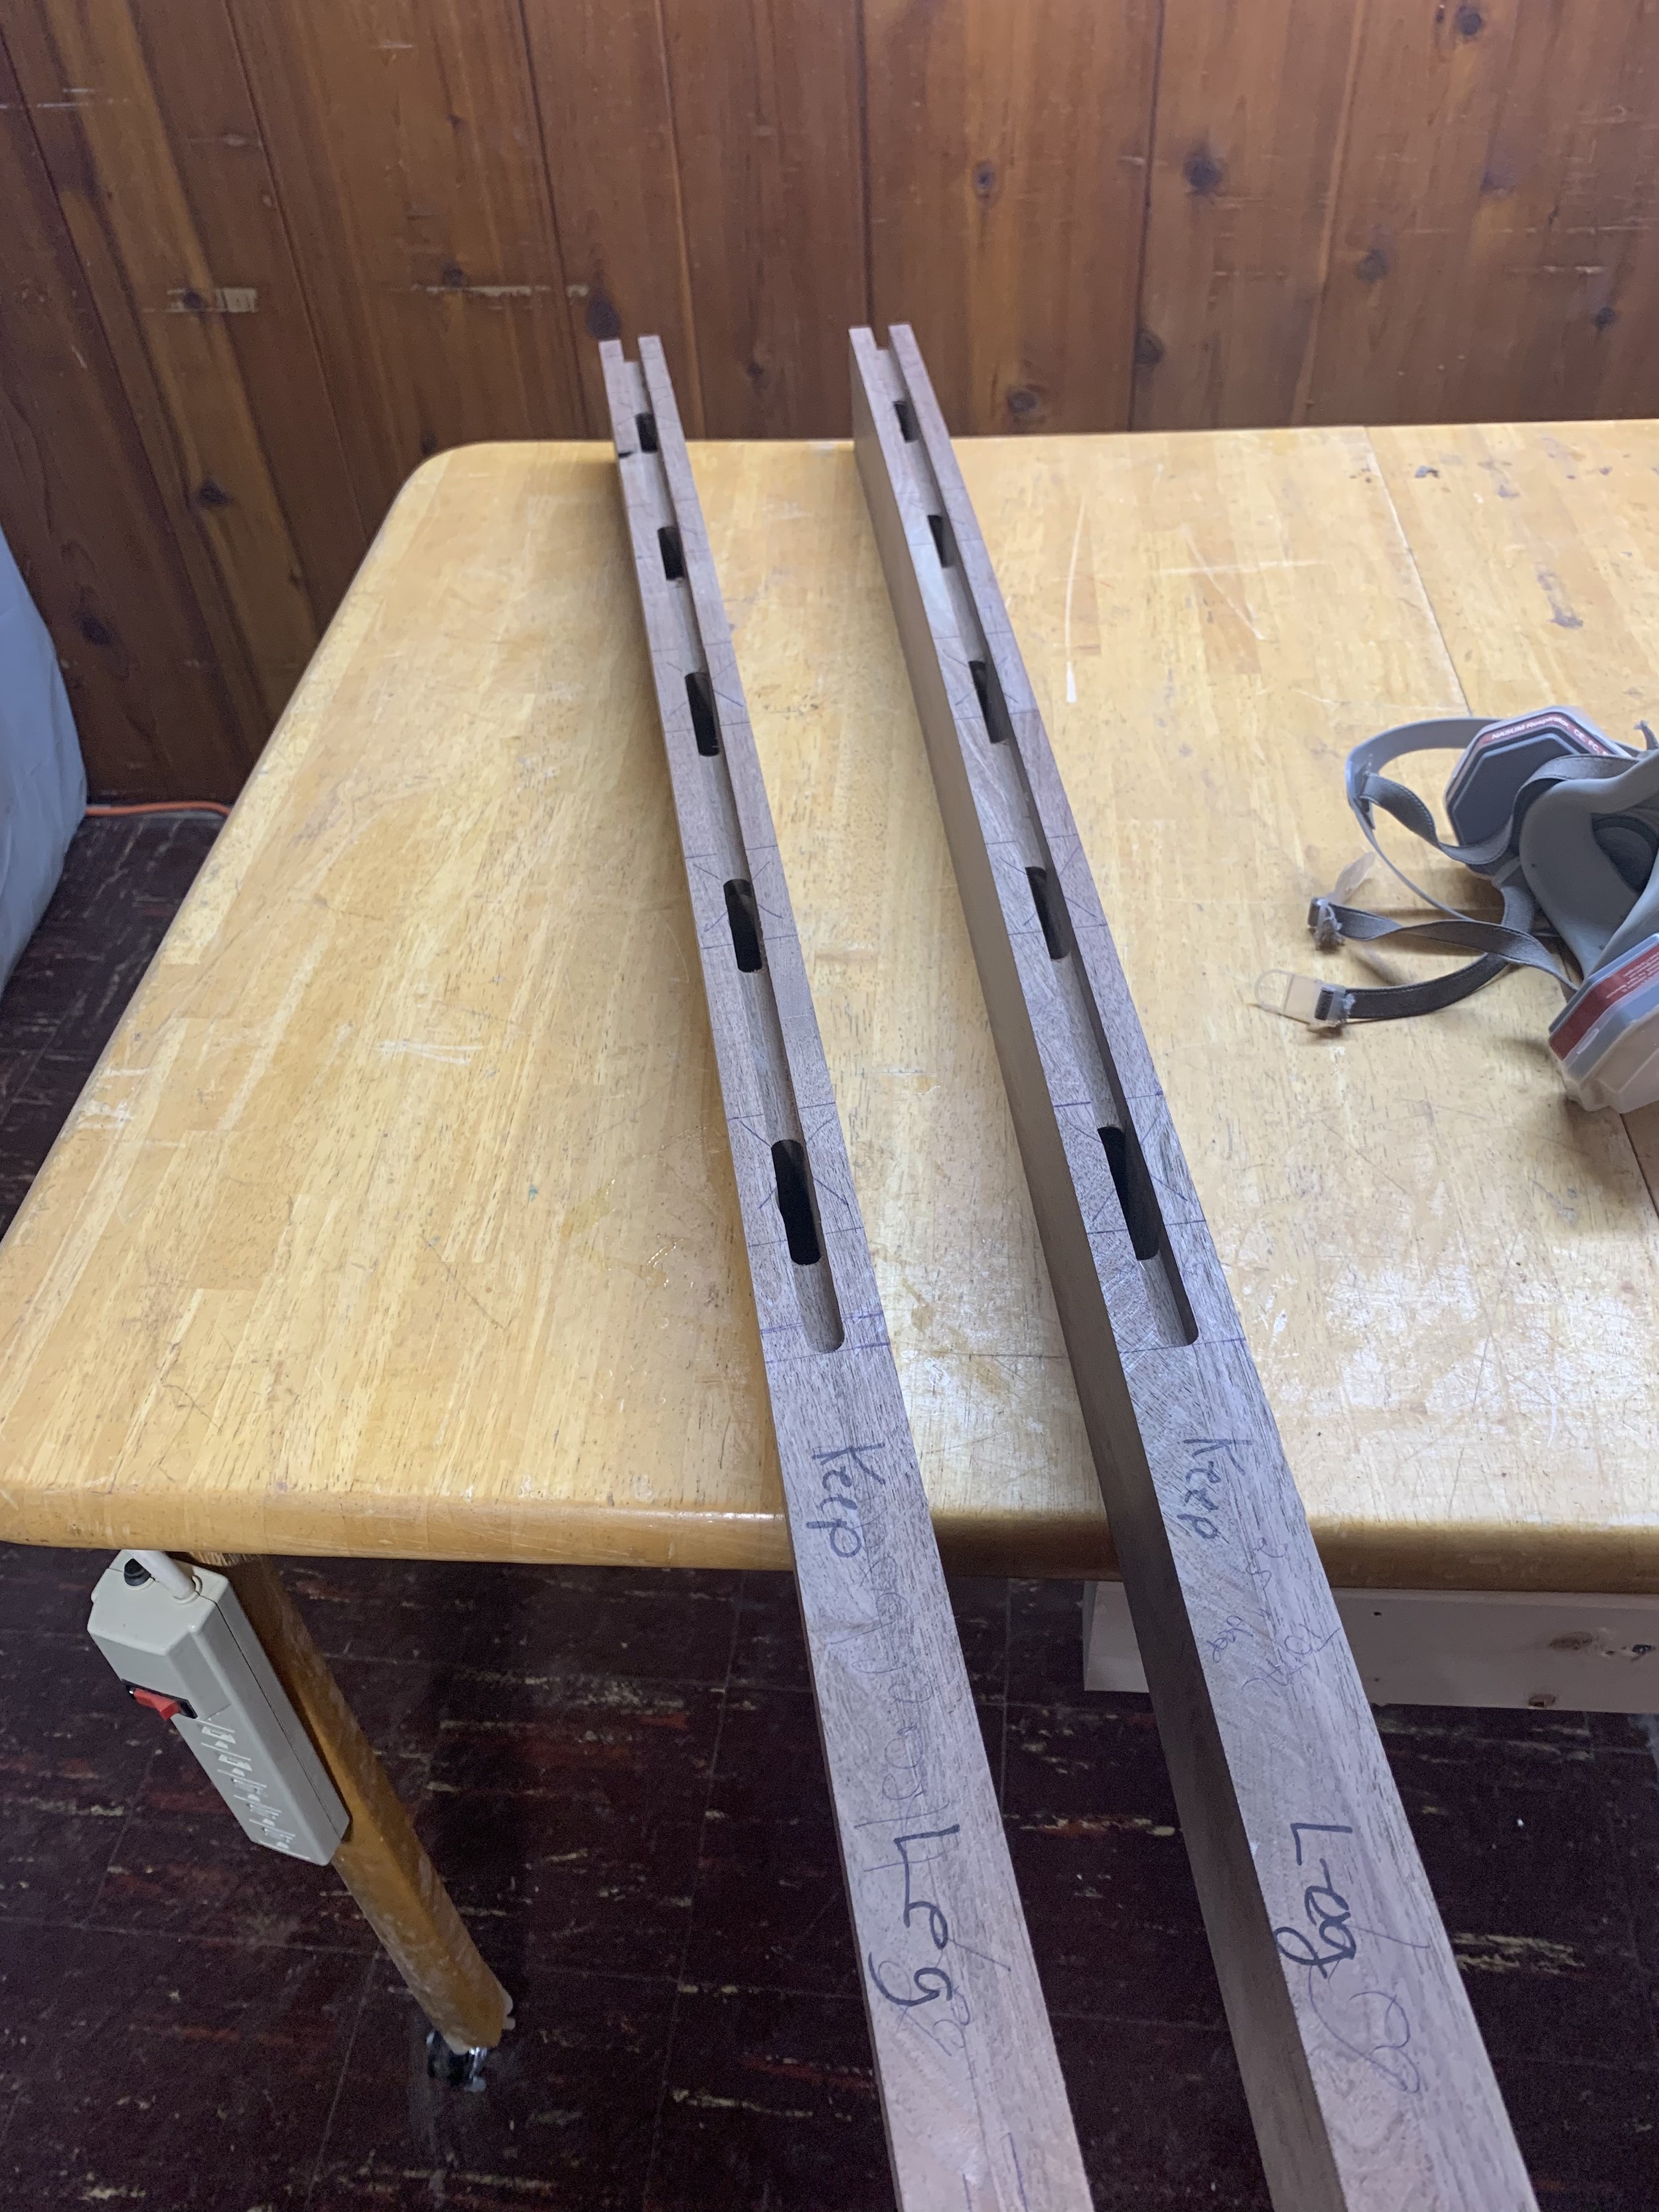
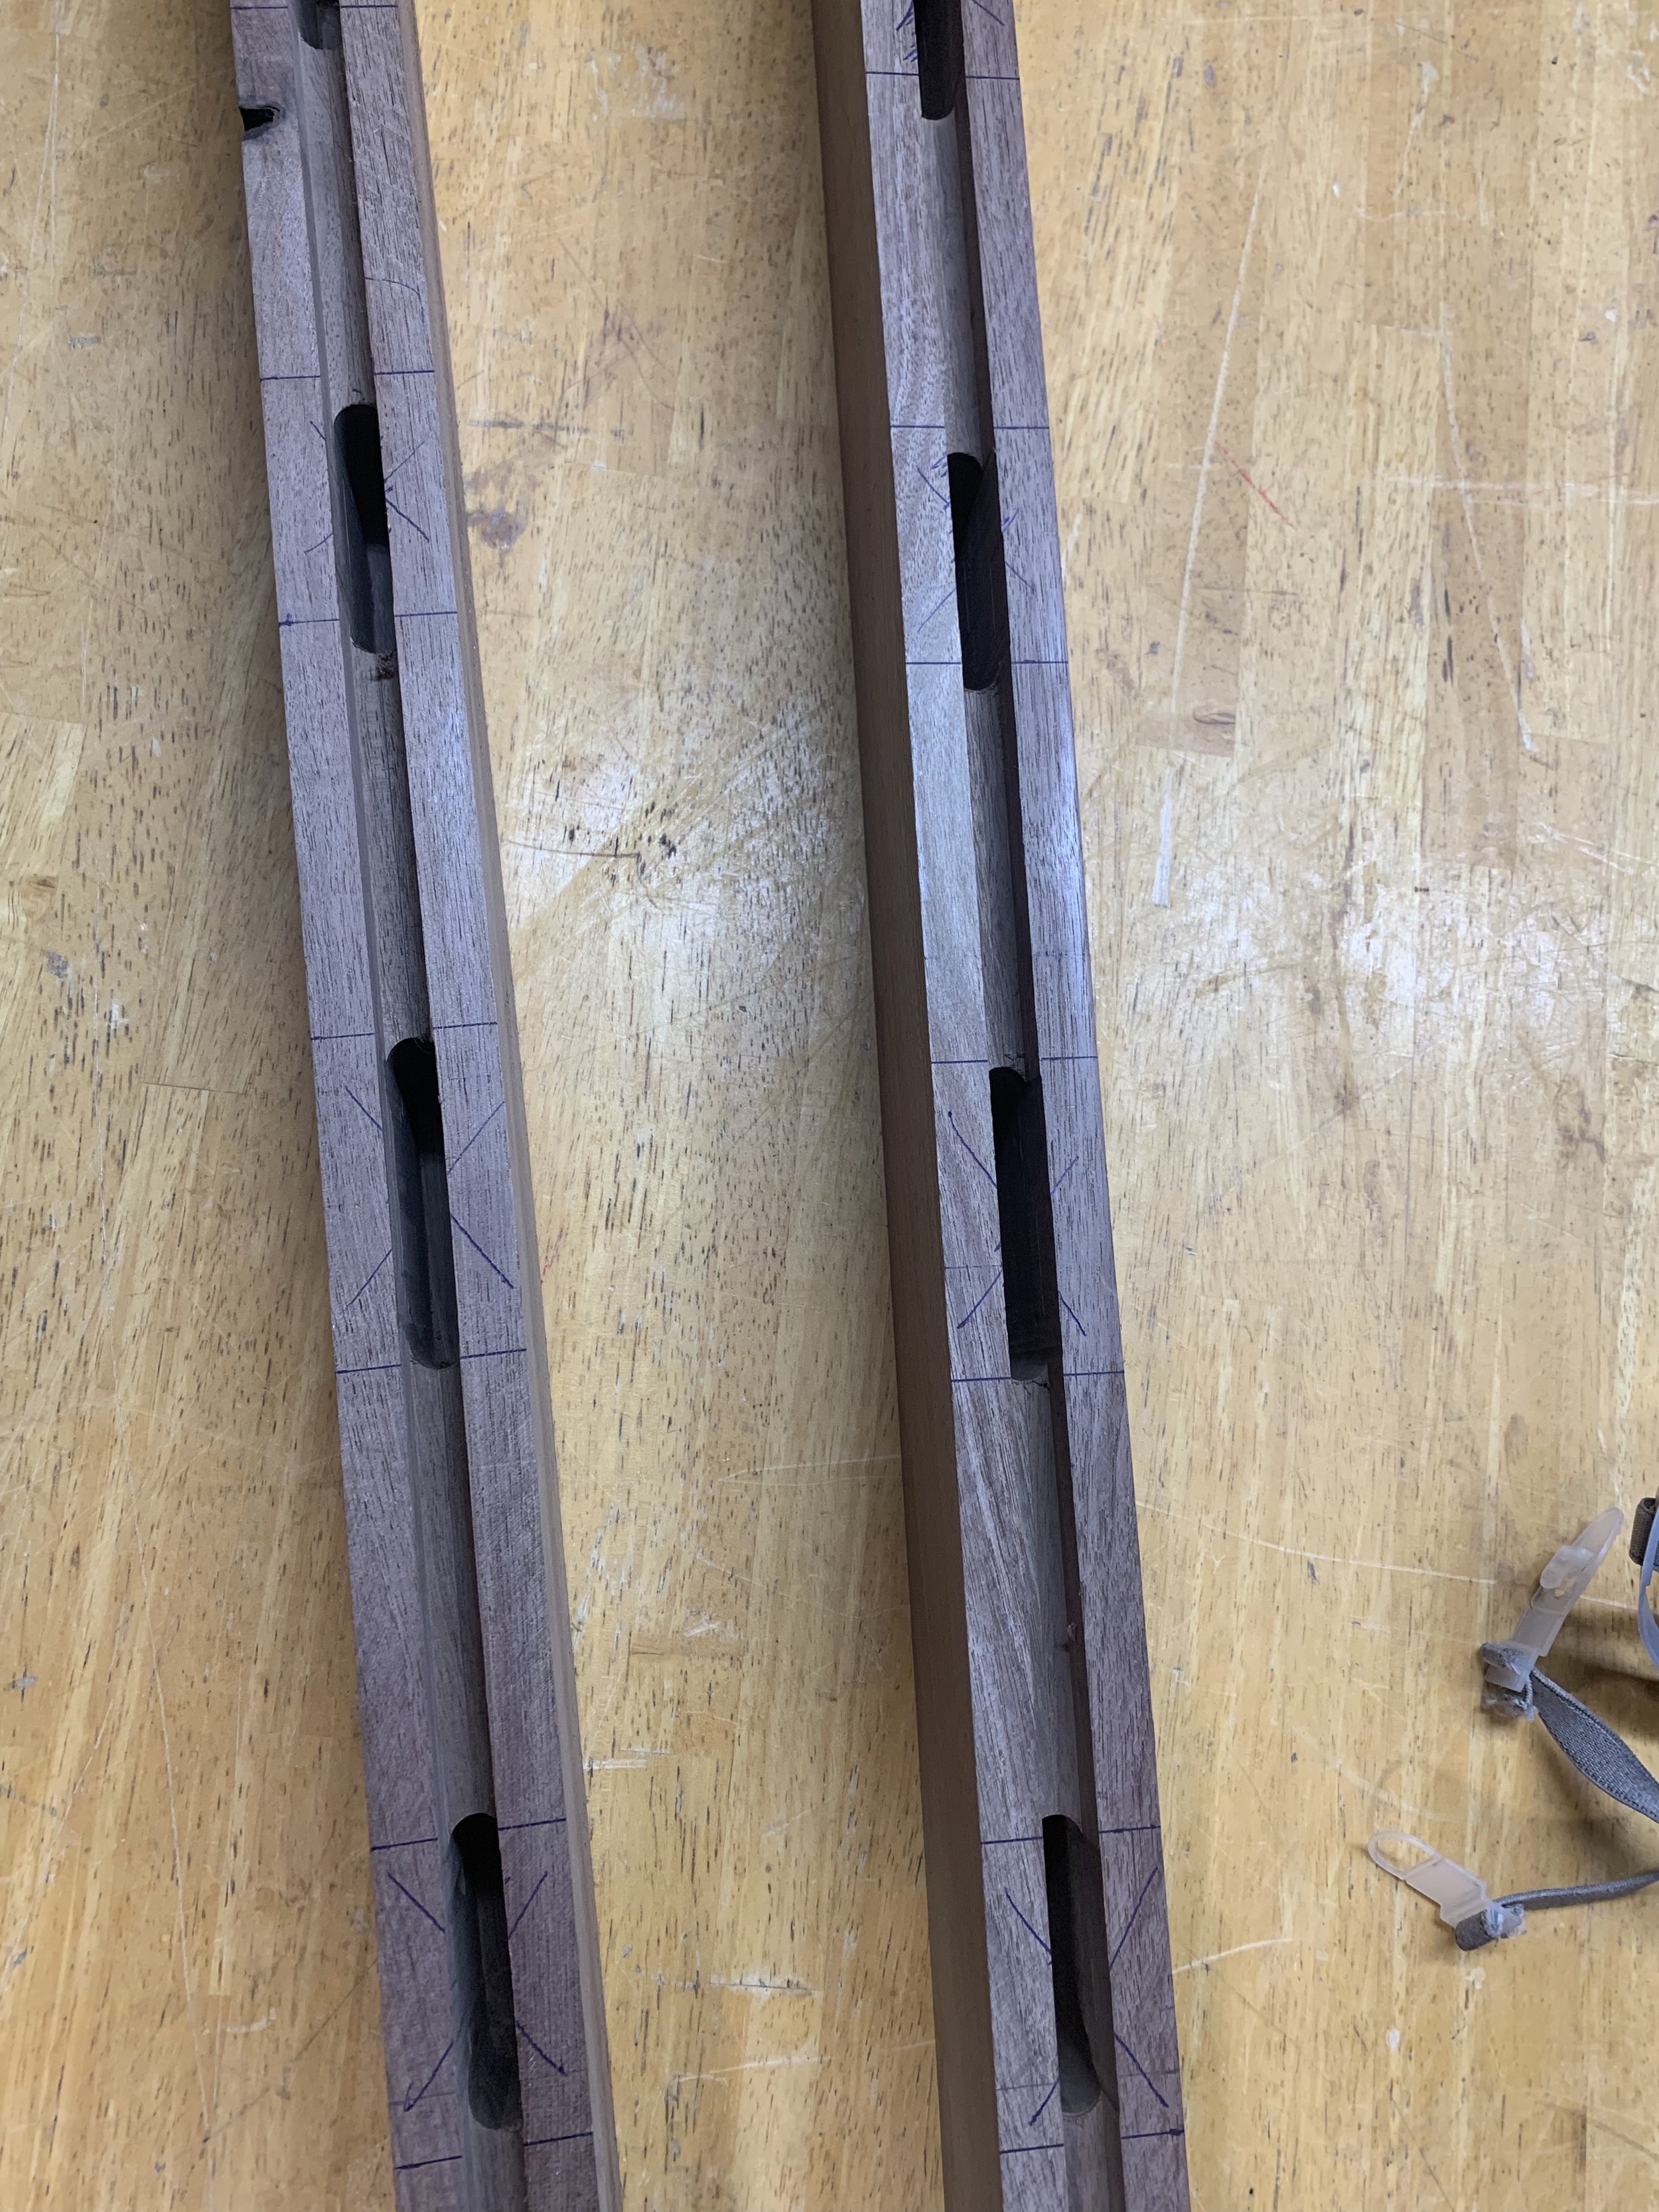
Step 4: Creating the Headboard Panel and Dimensioning the Tenon Thickness
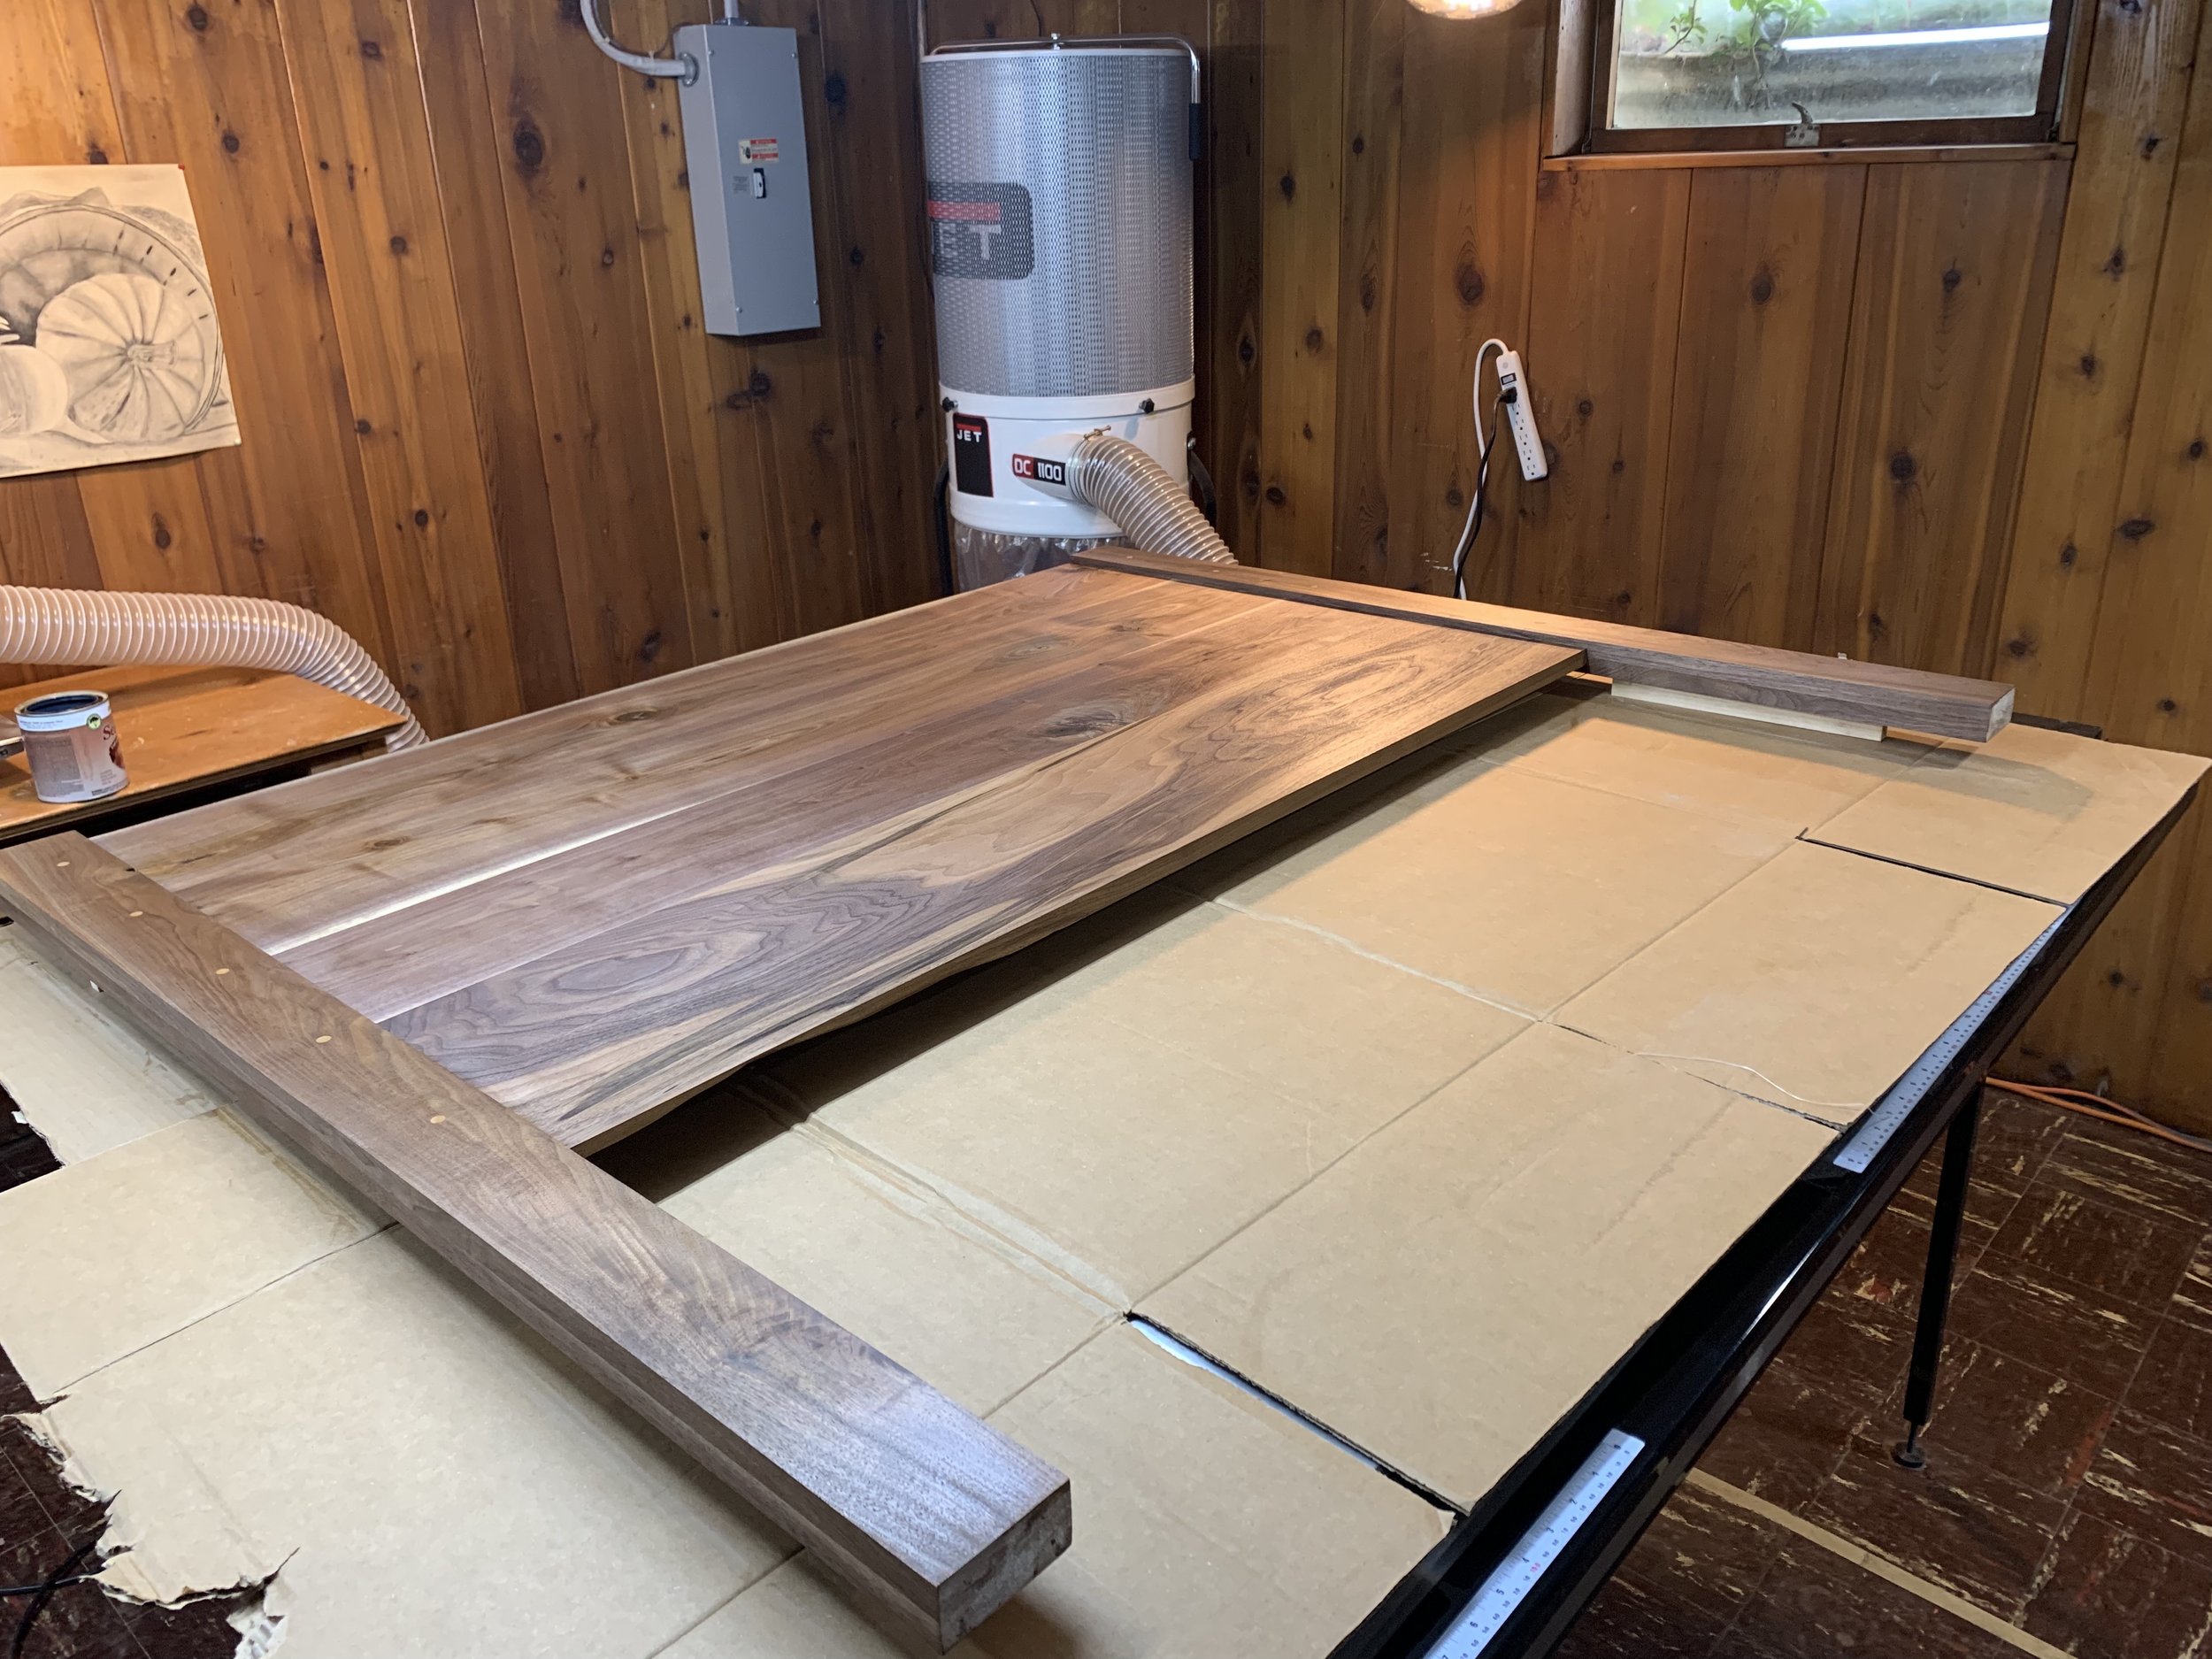
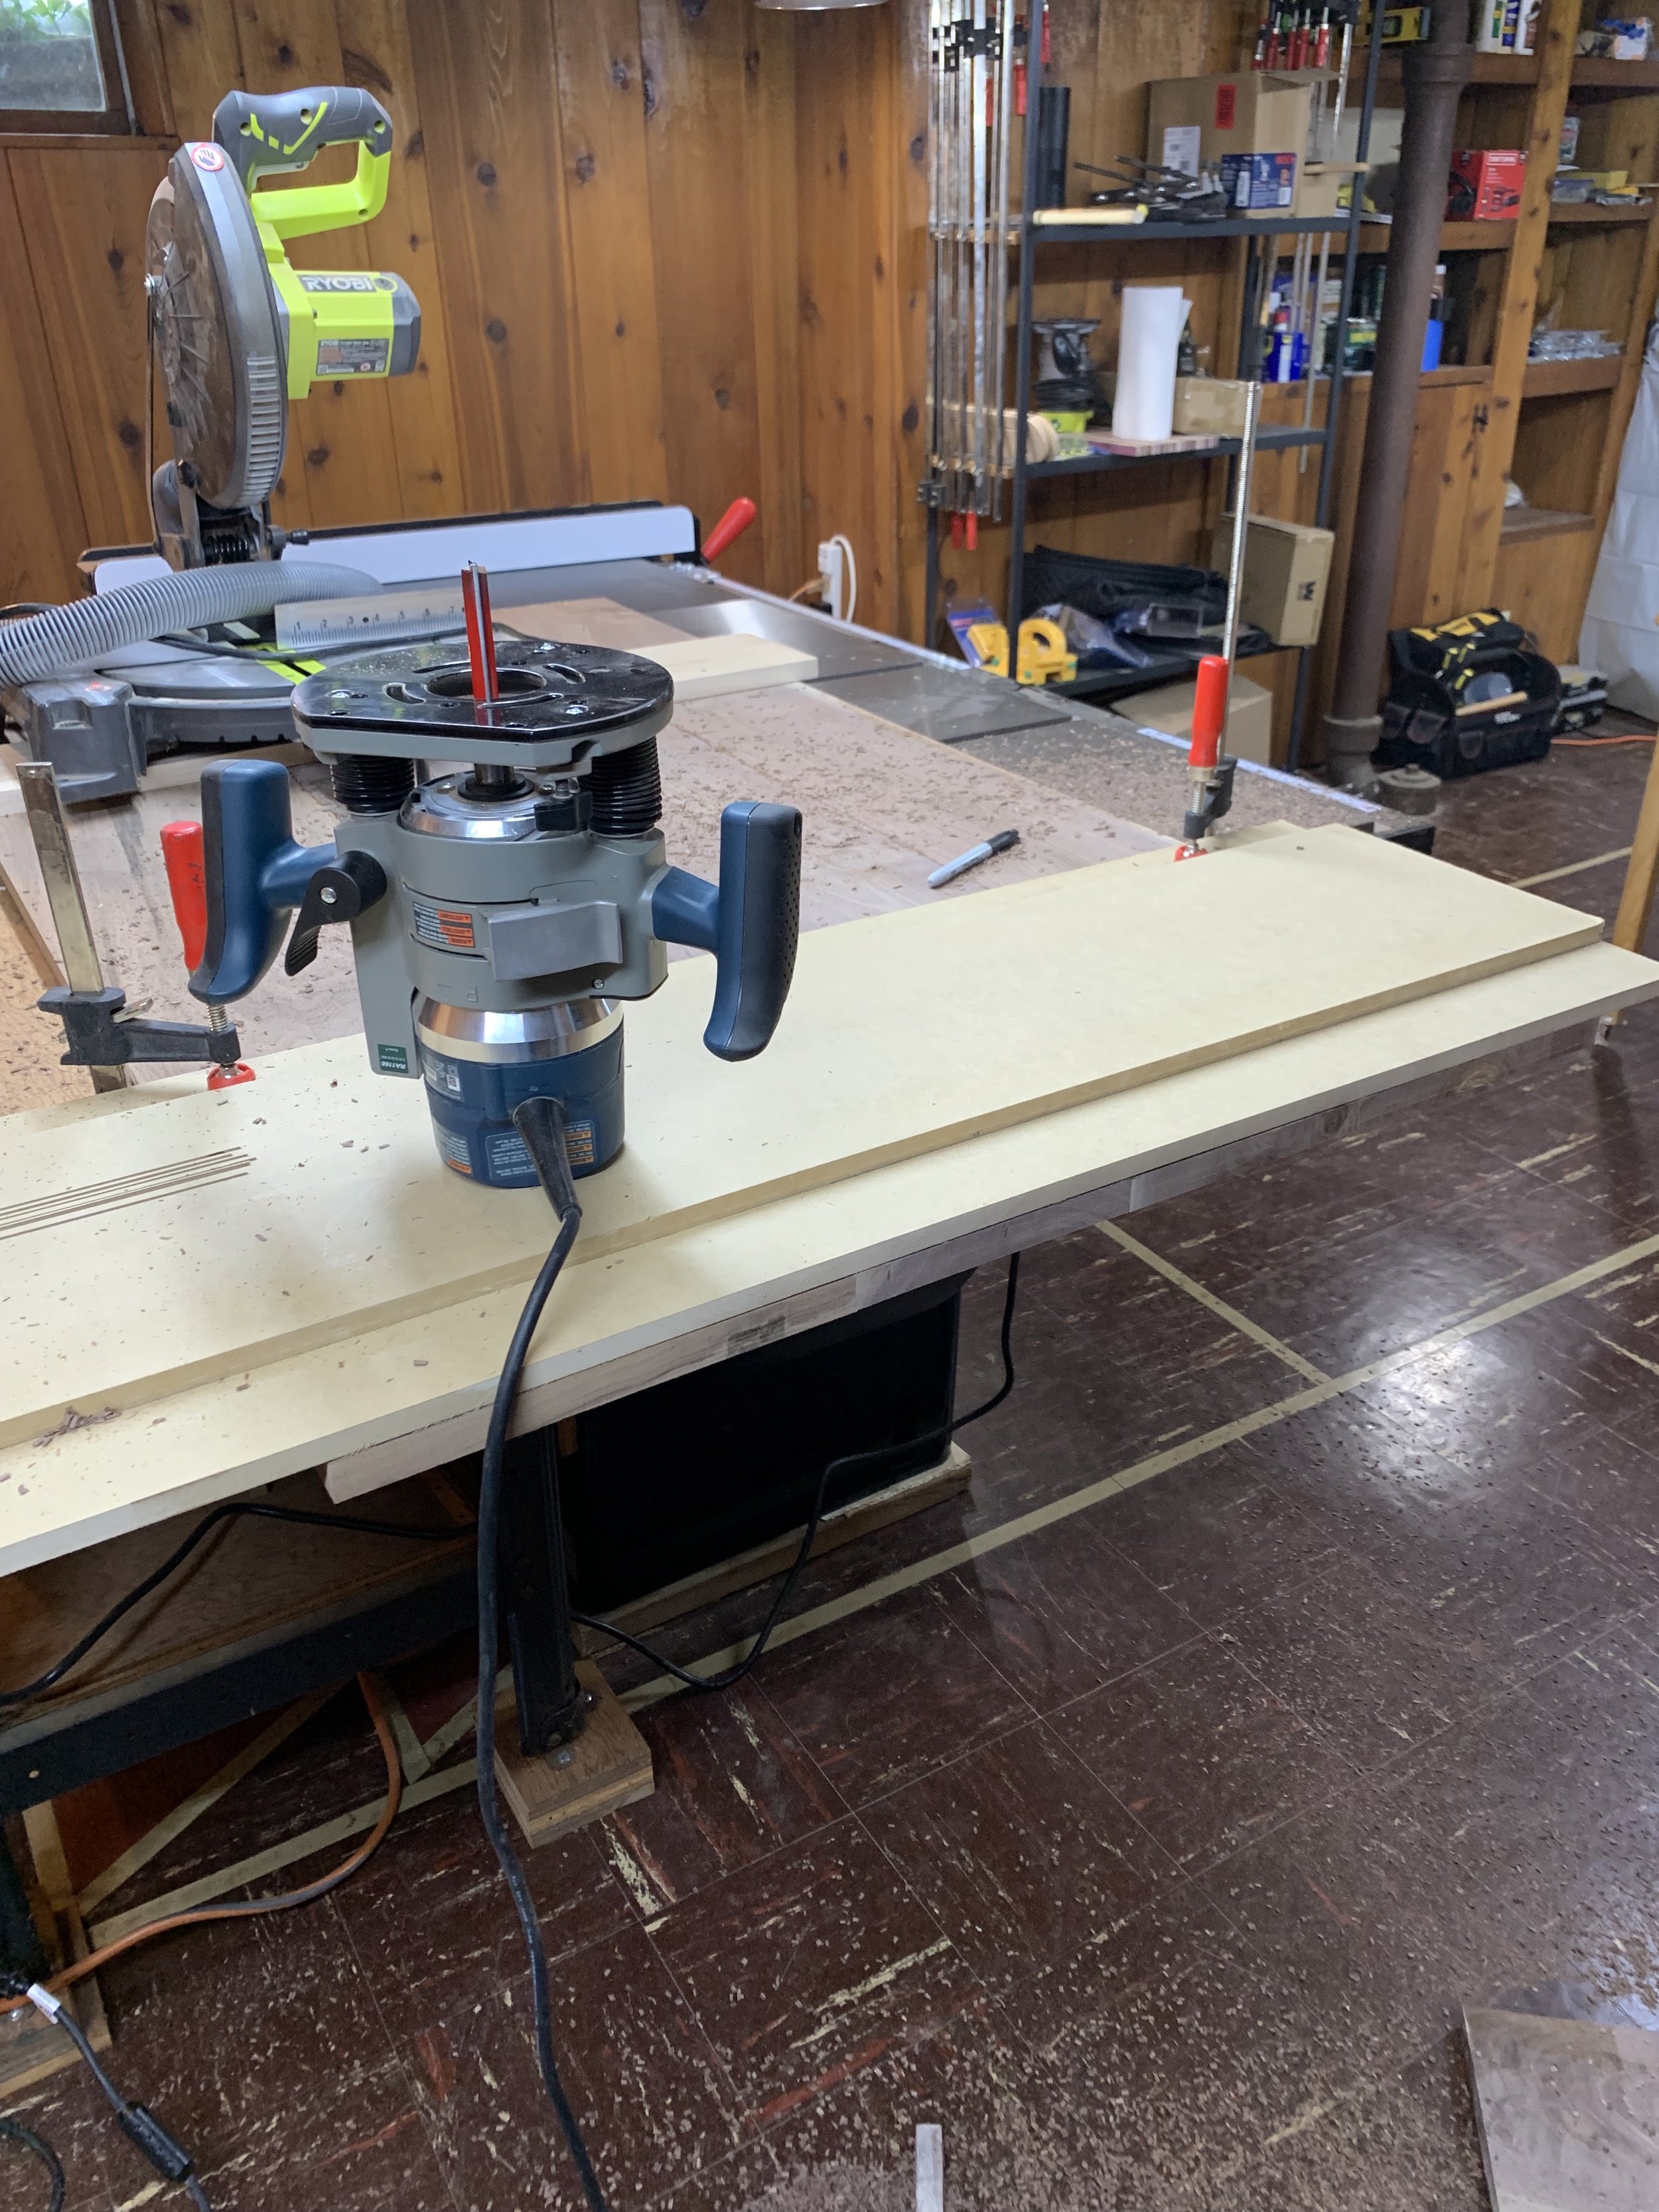
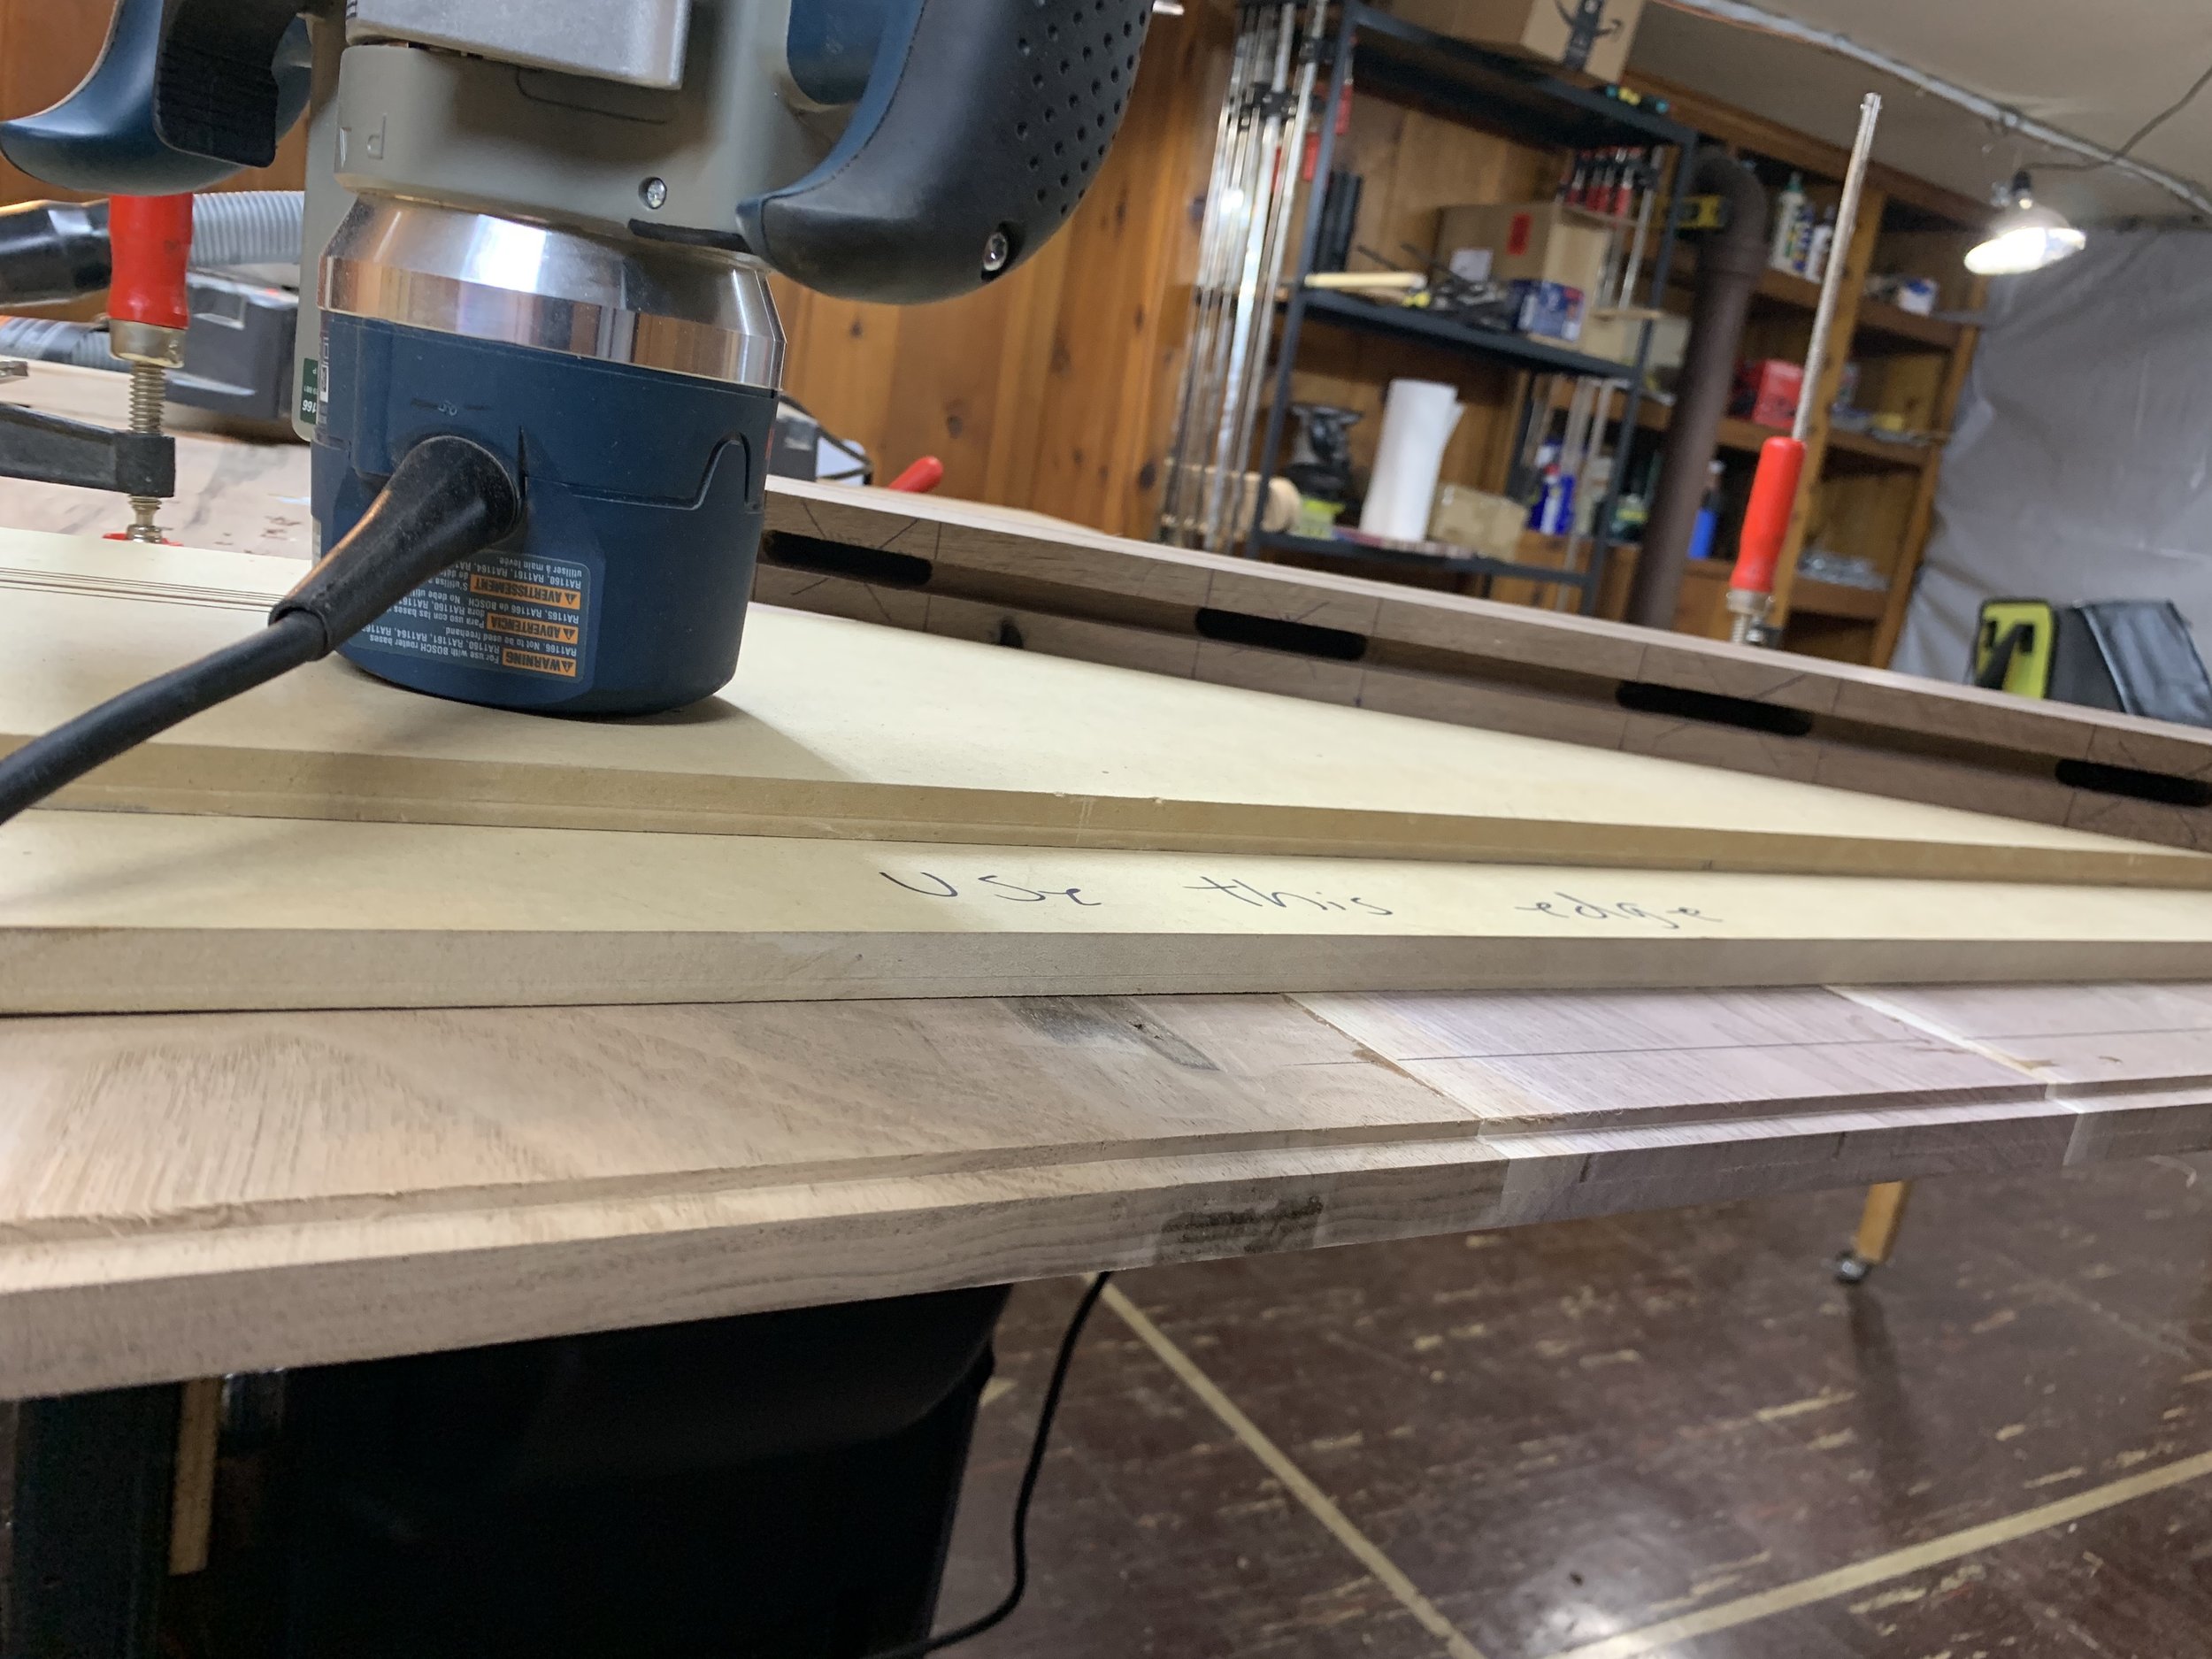
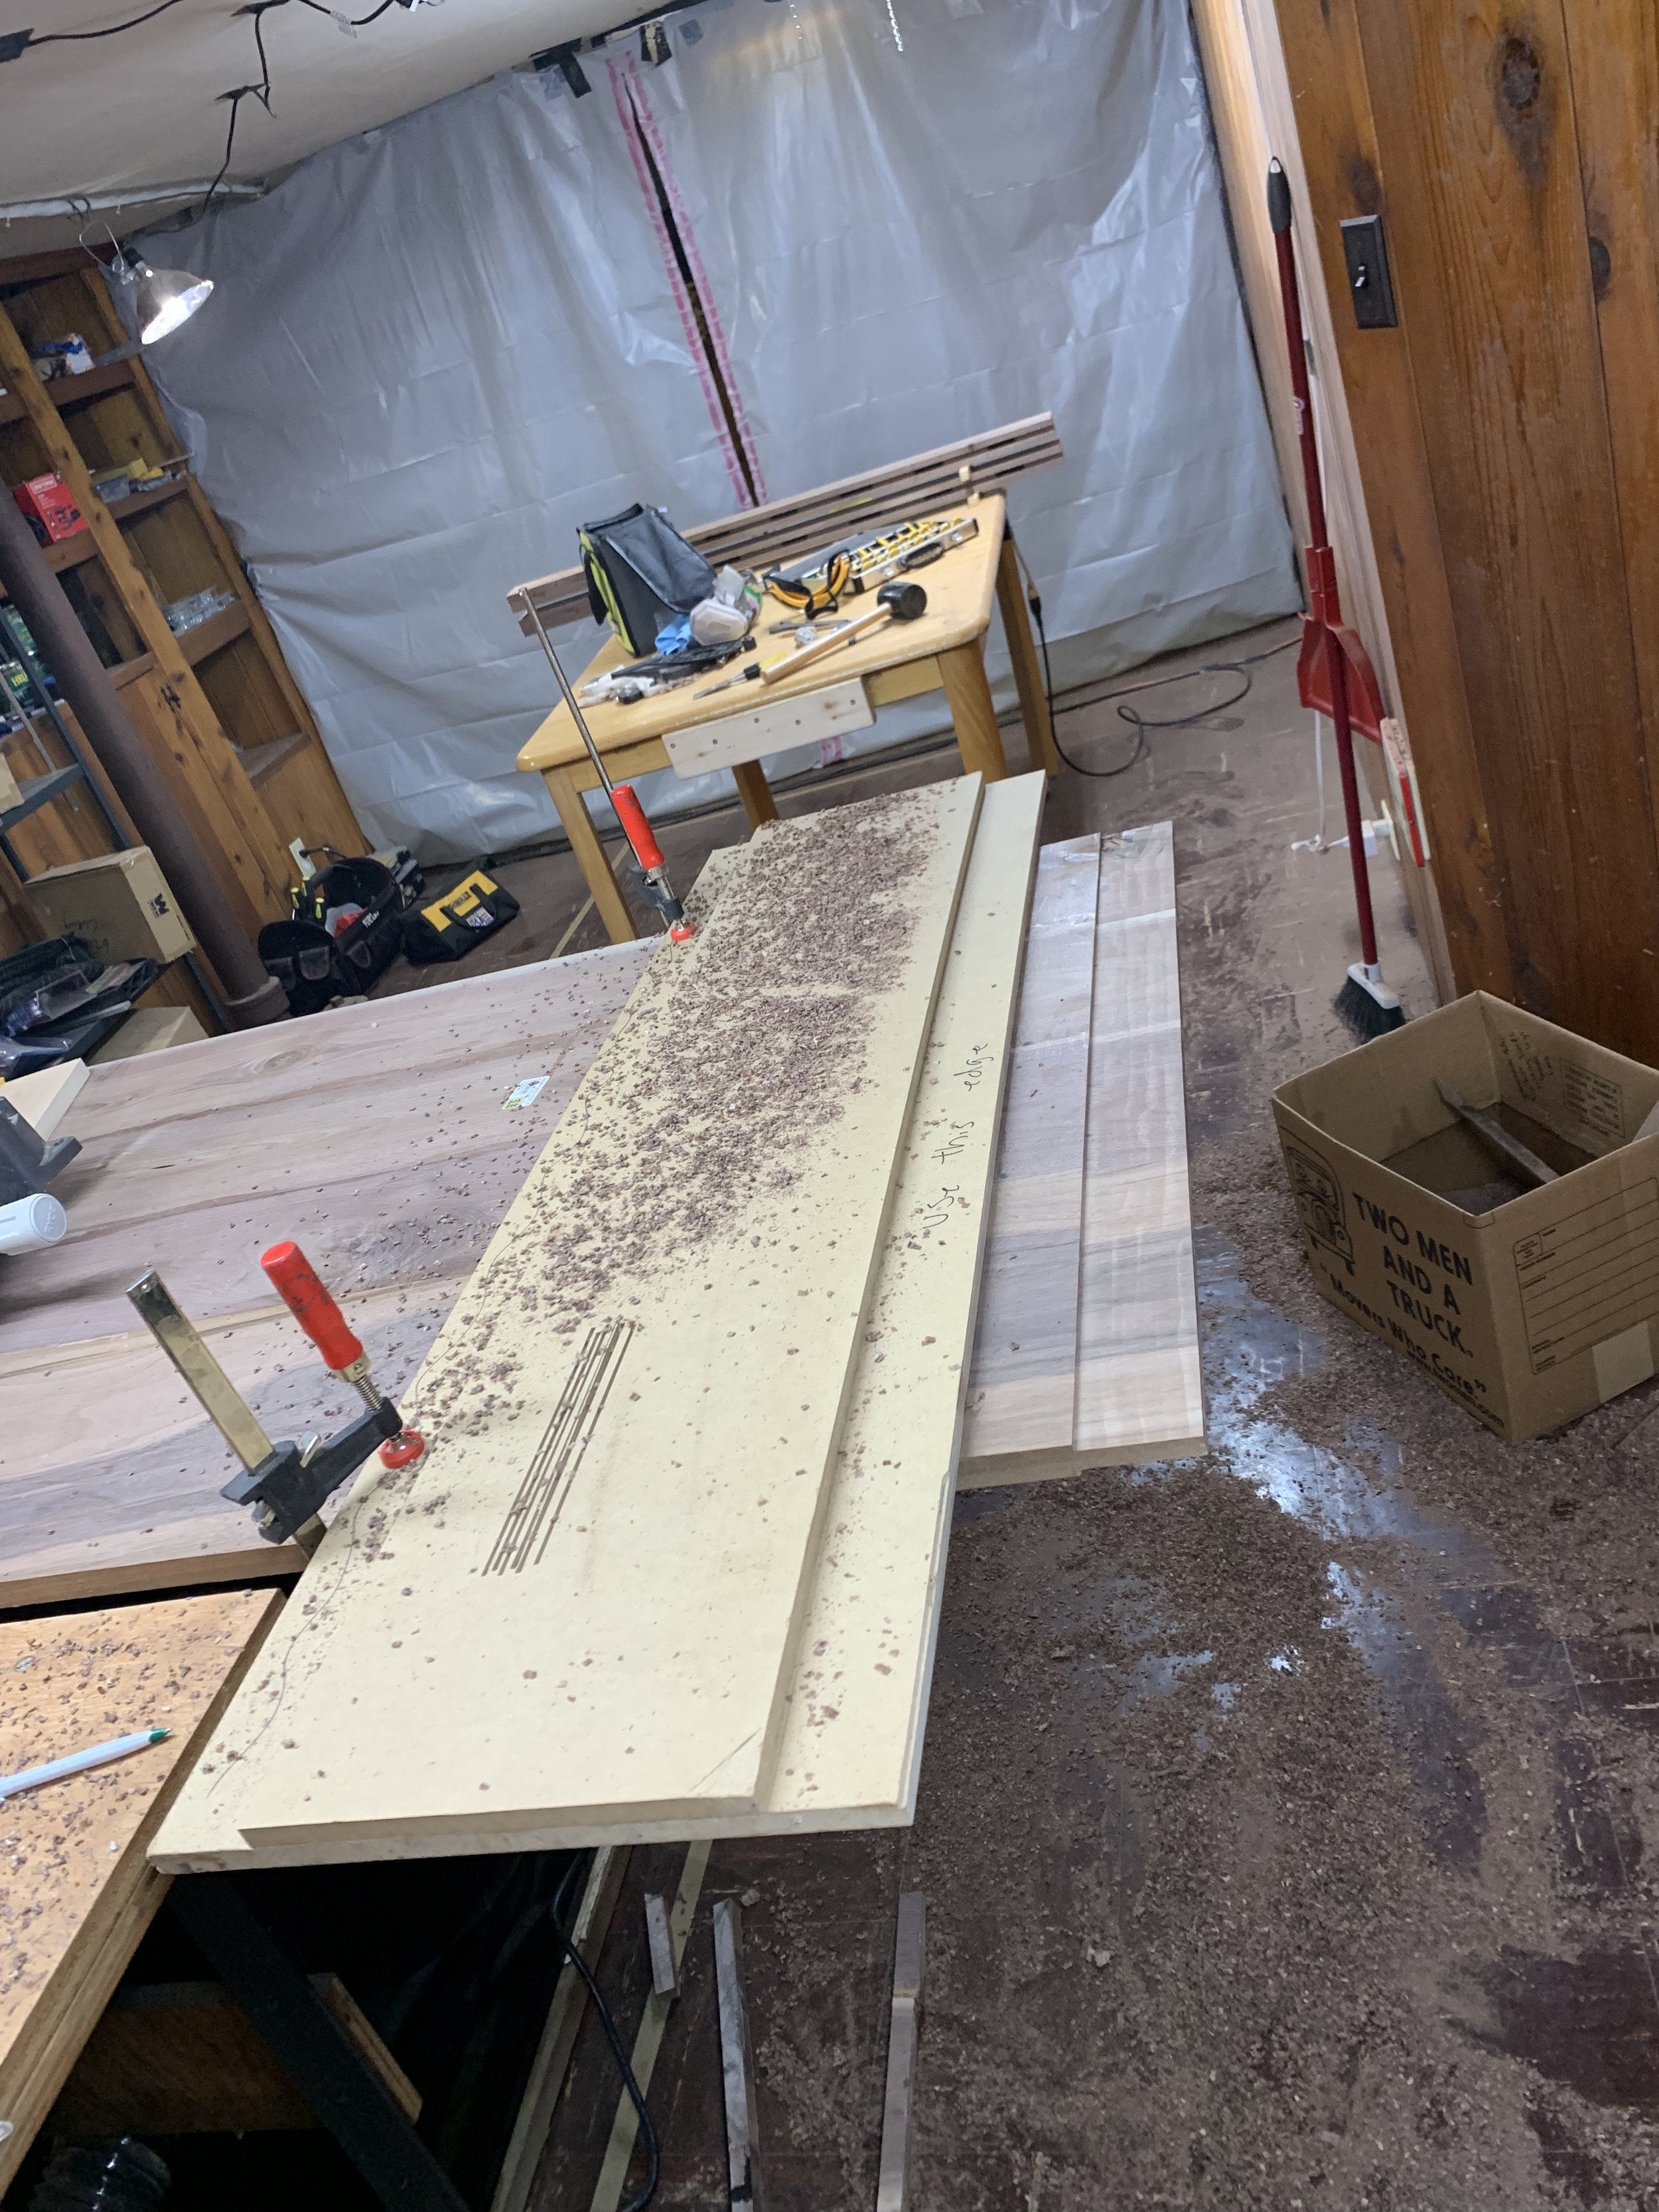
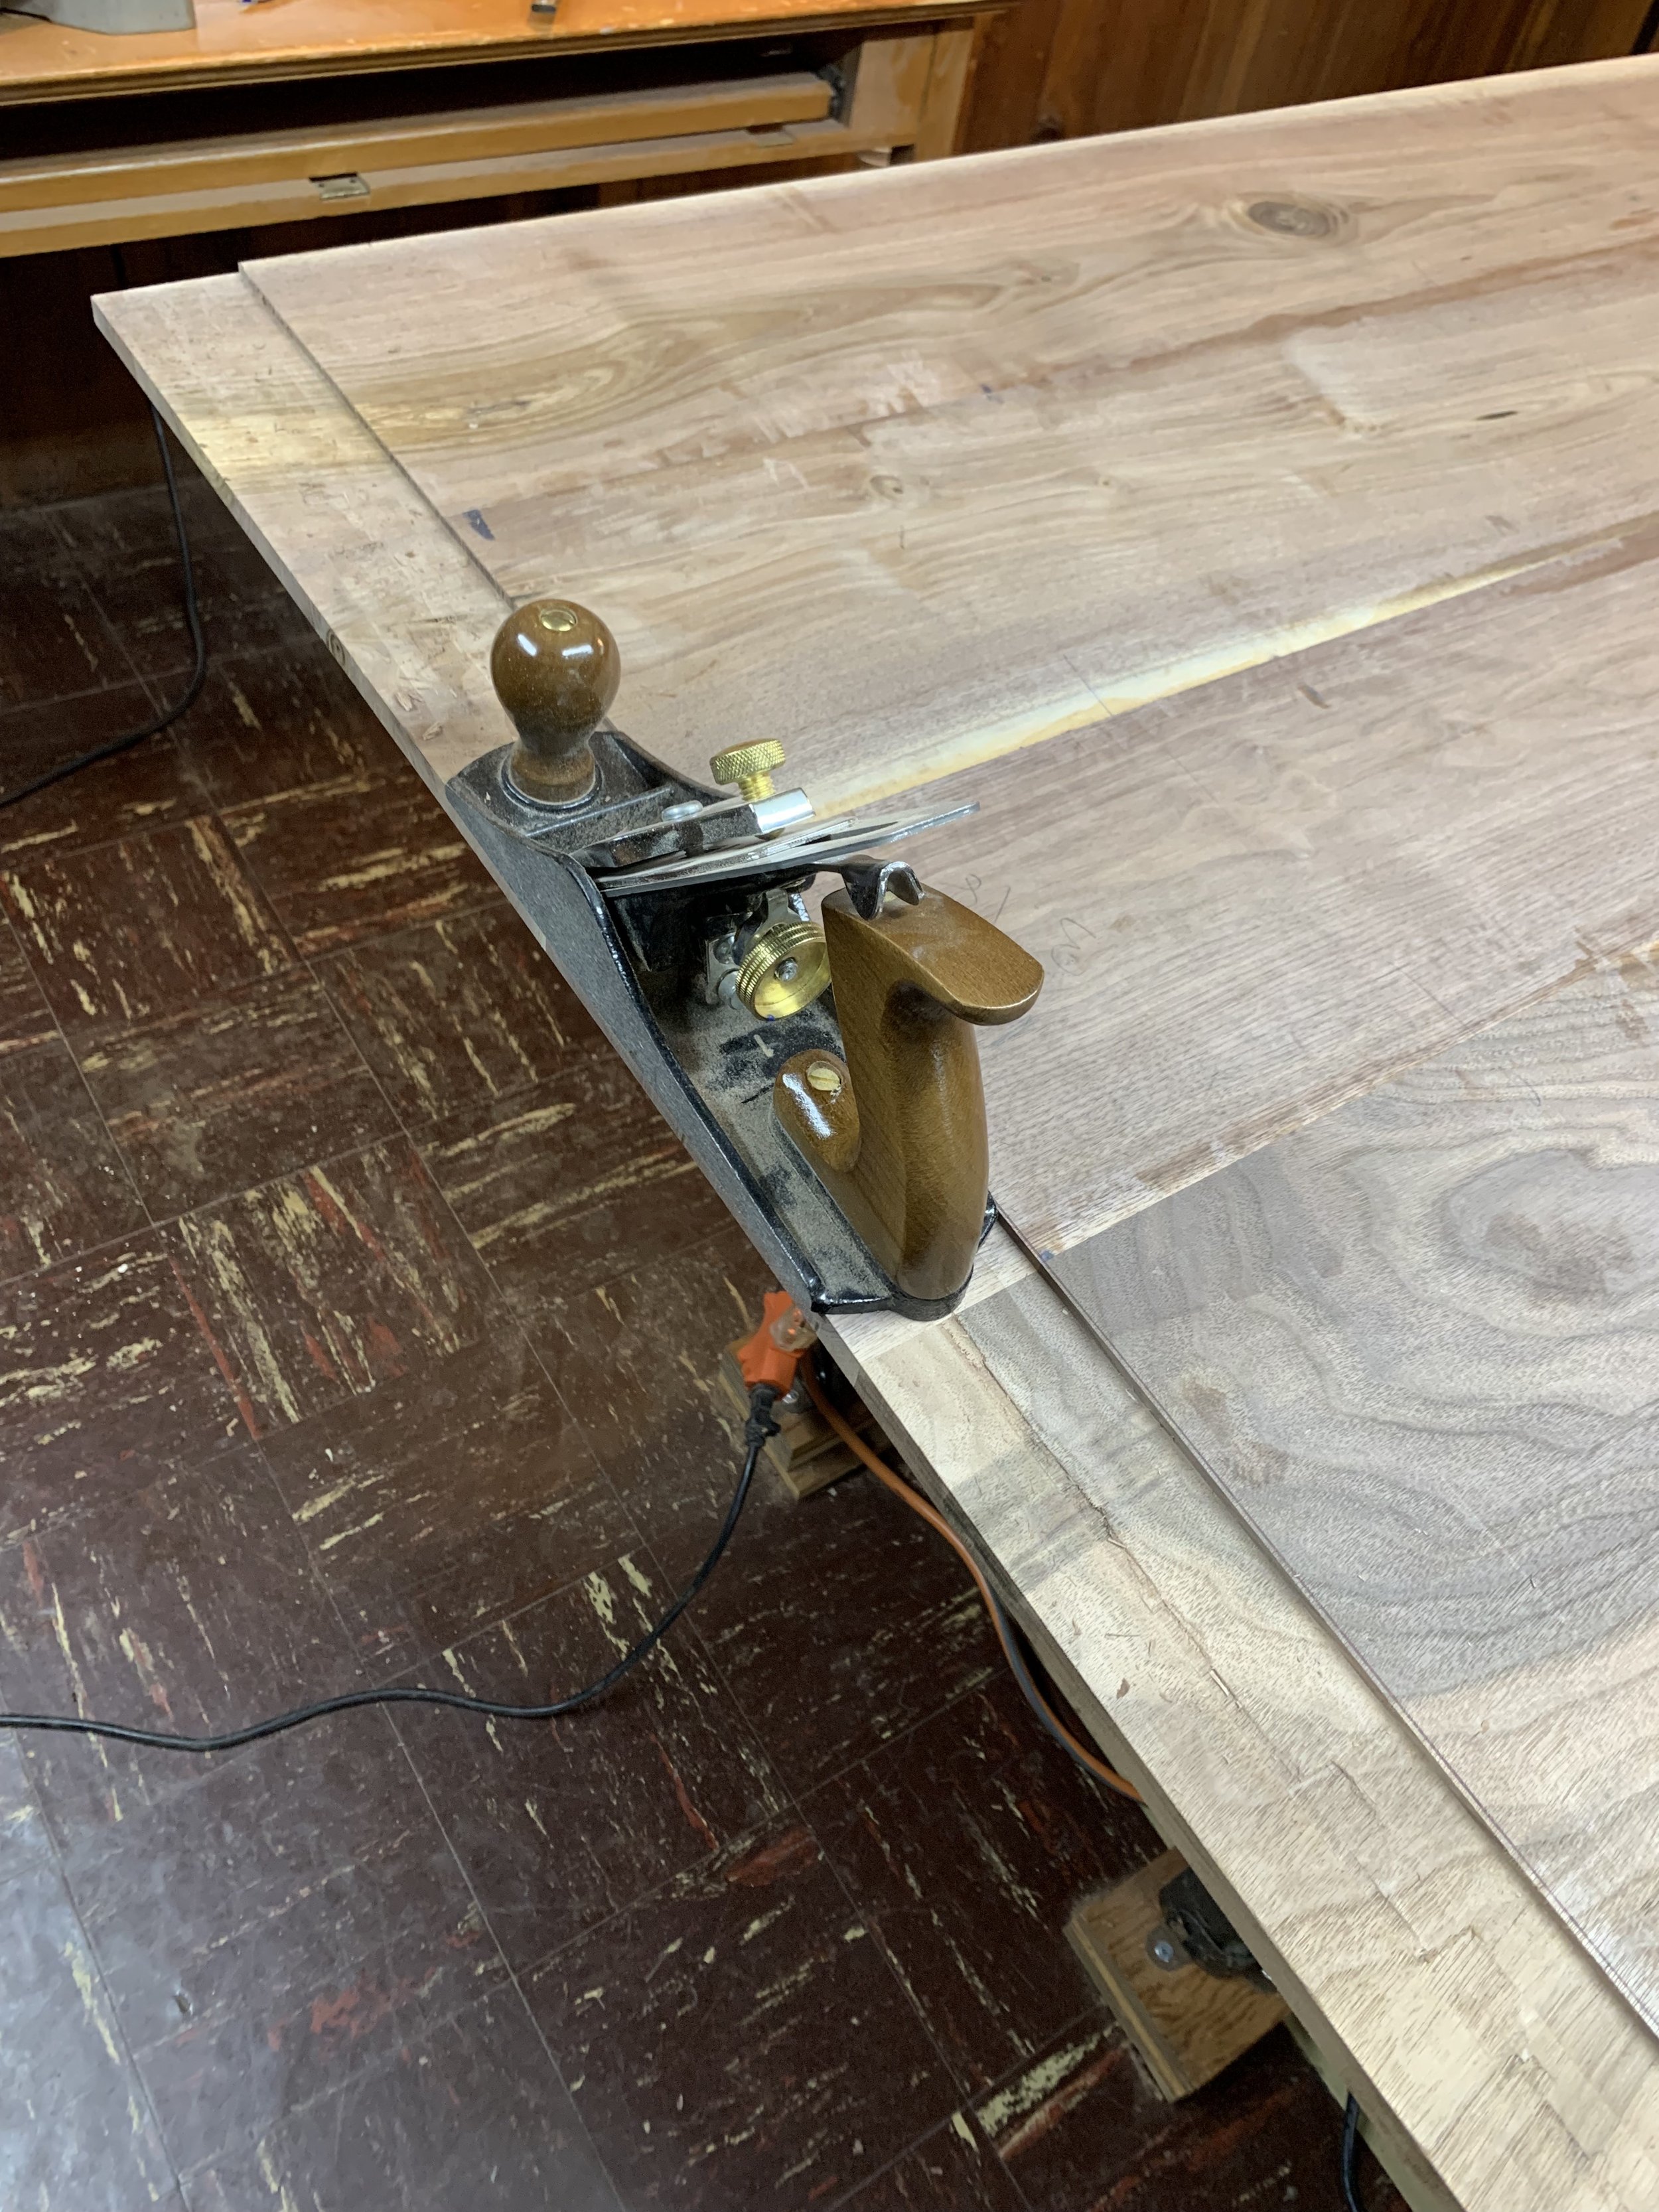
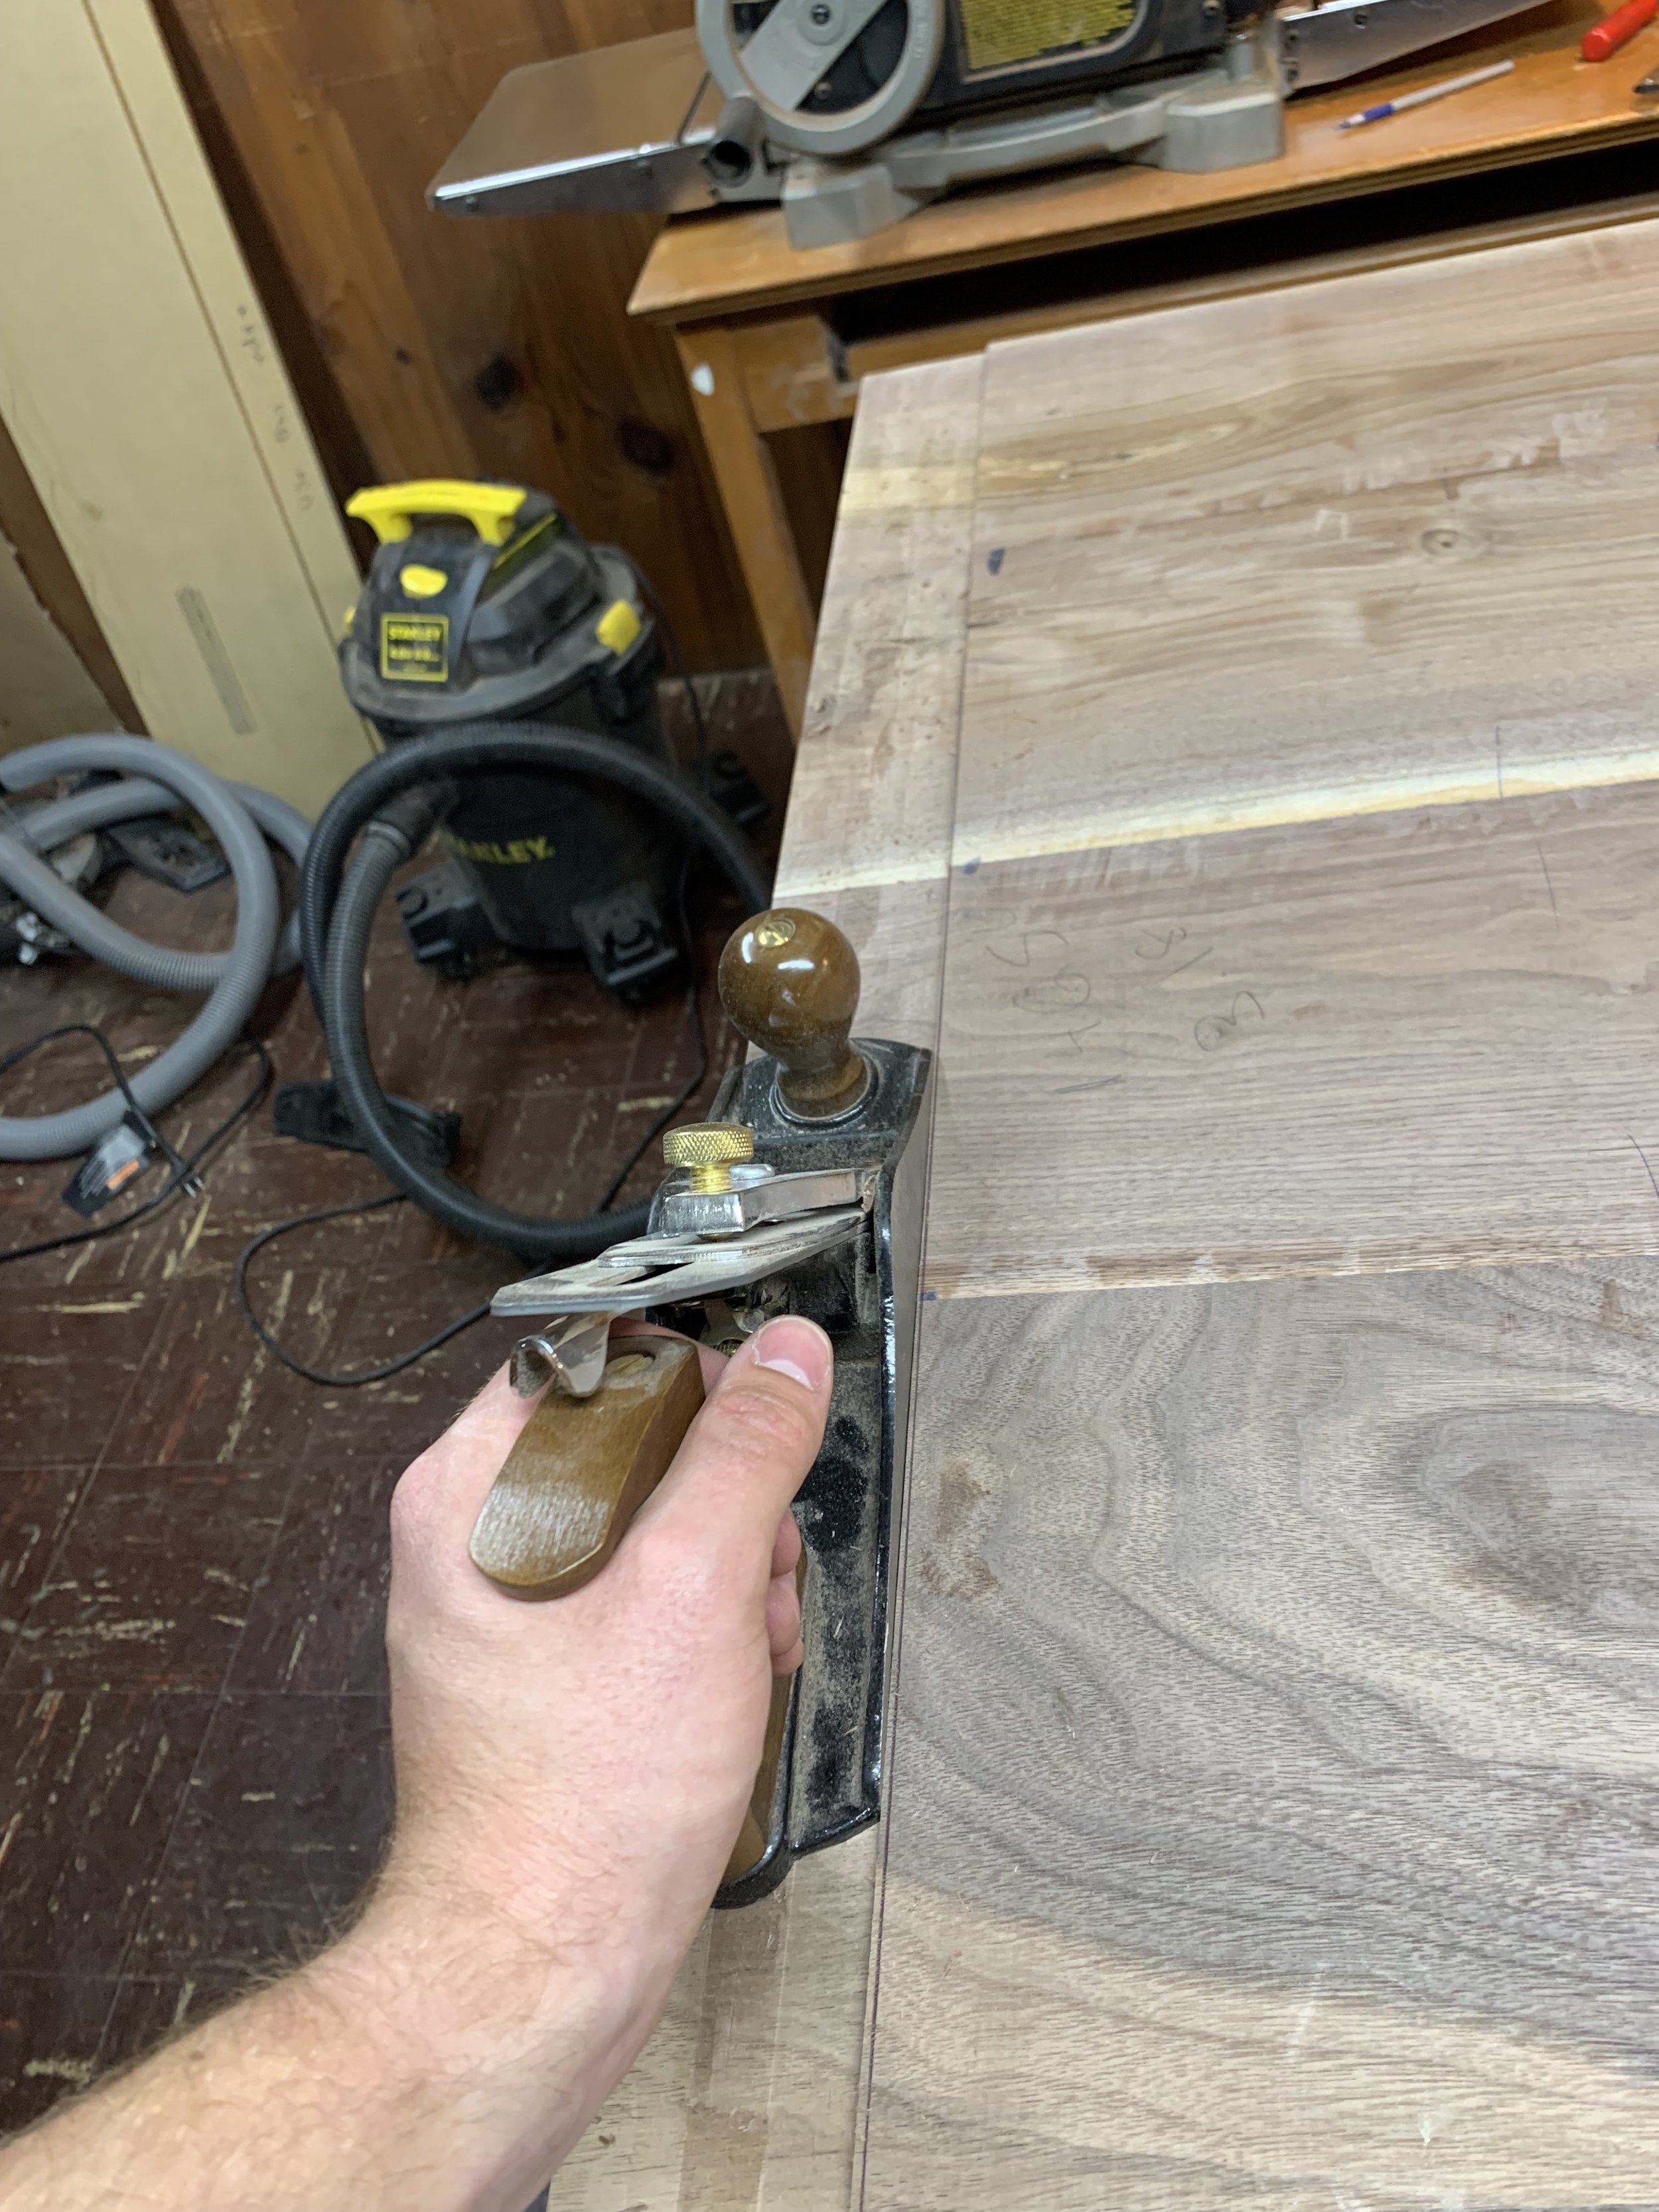
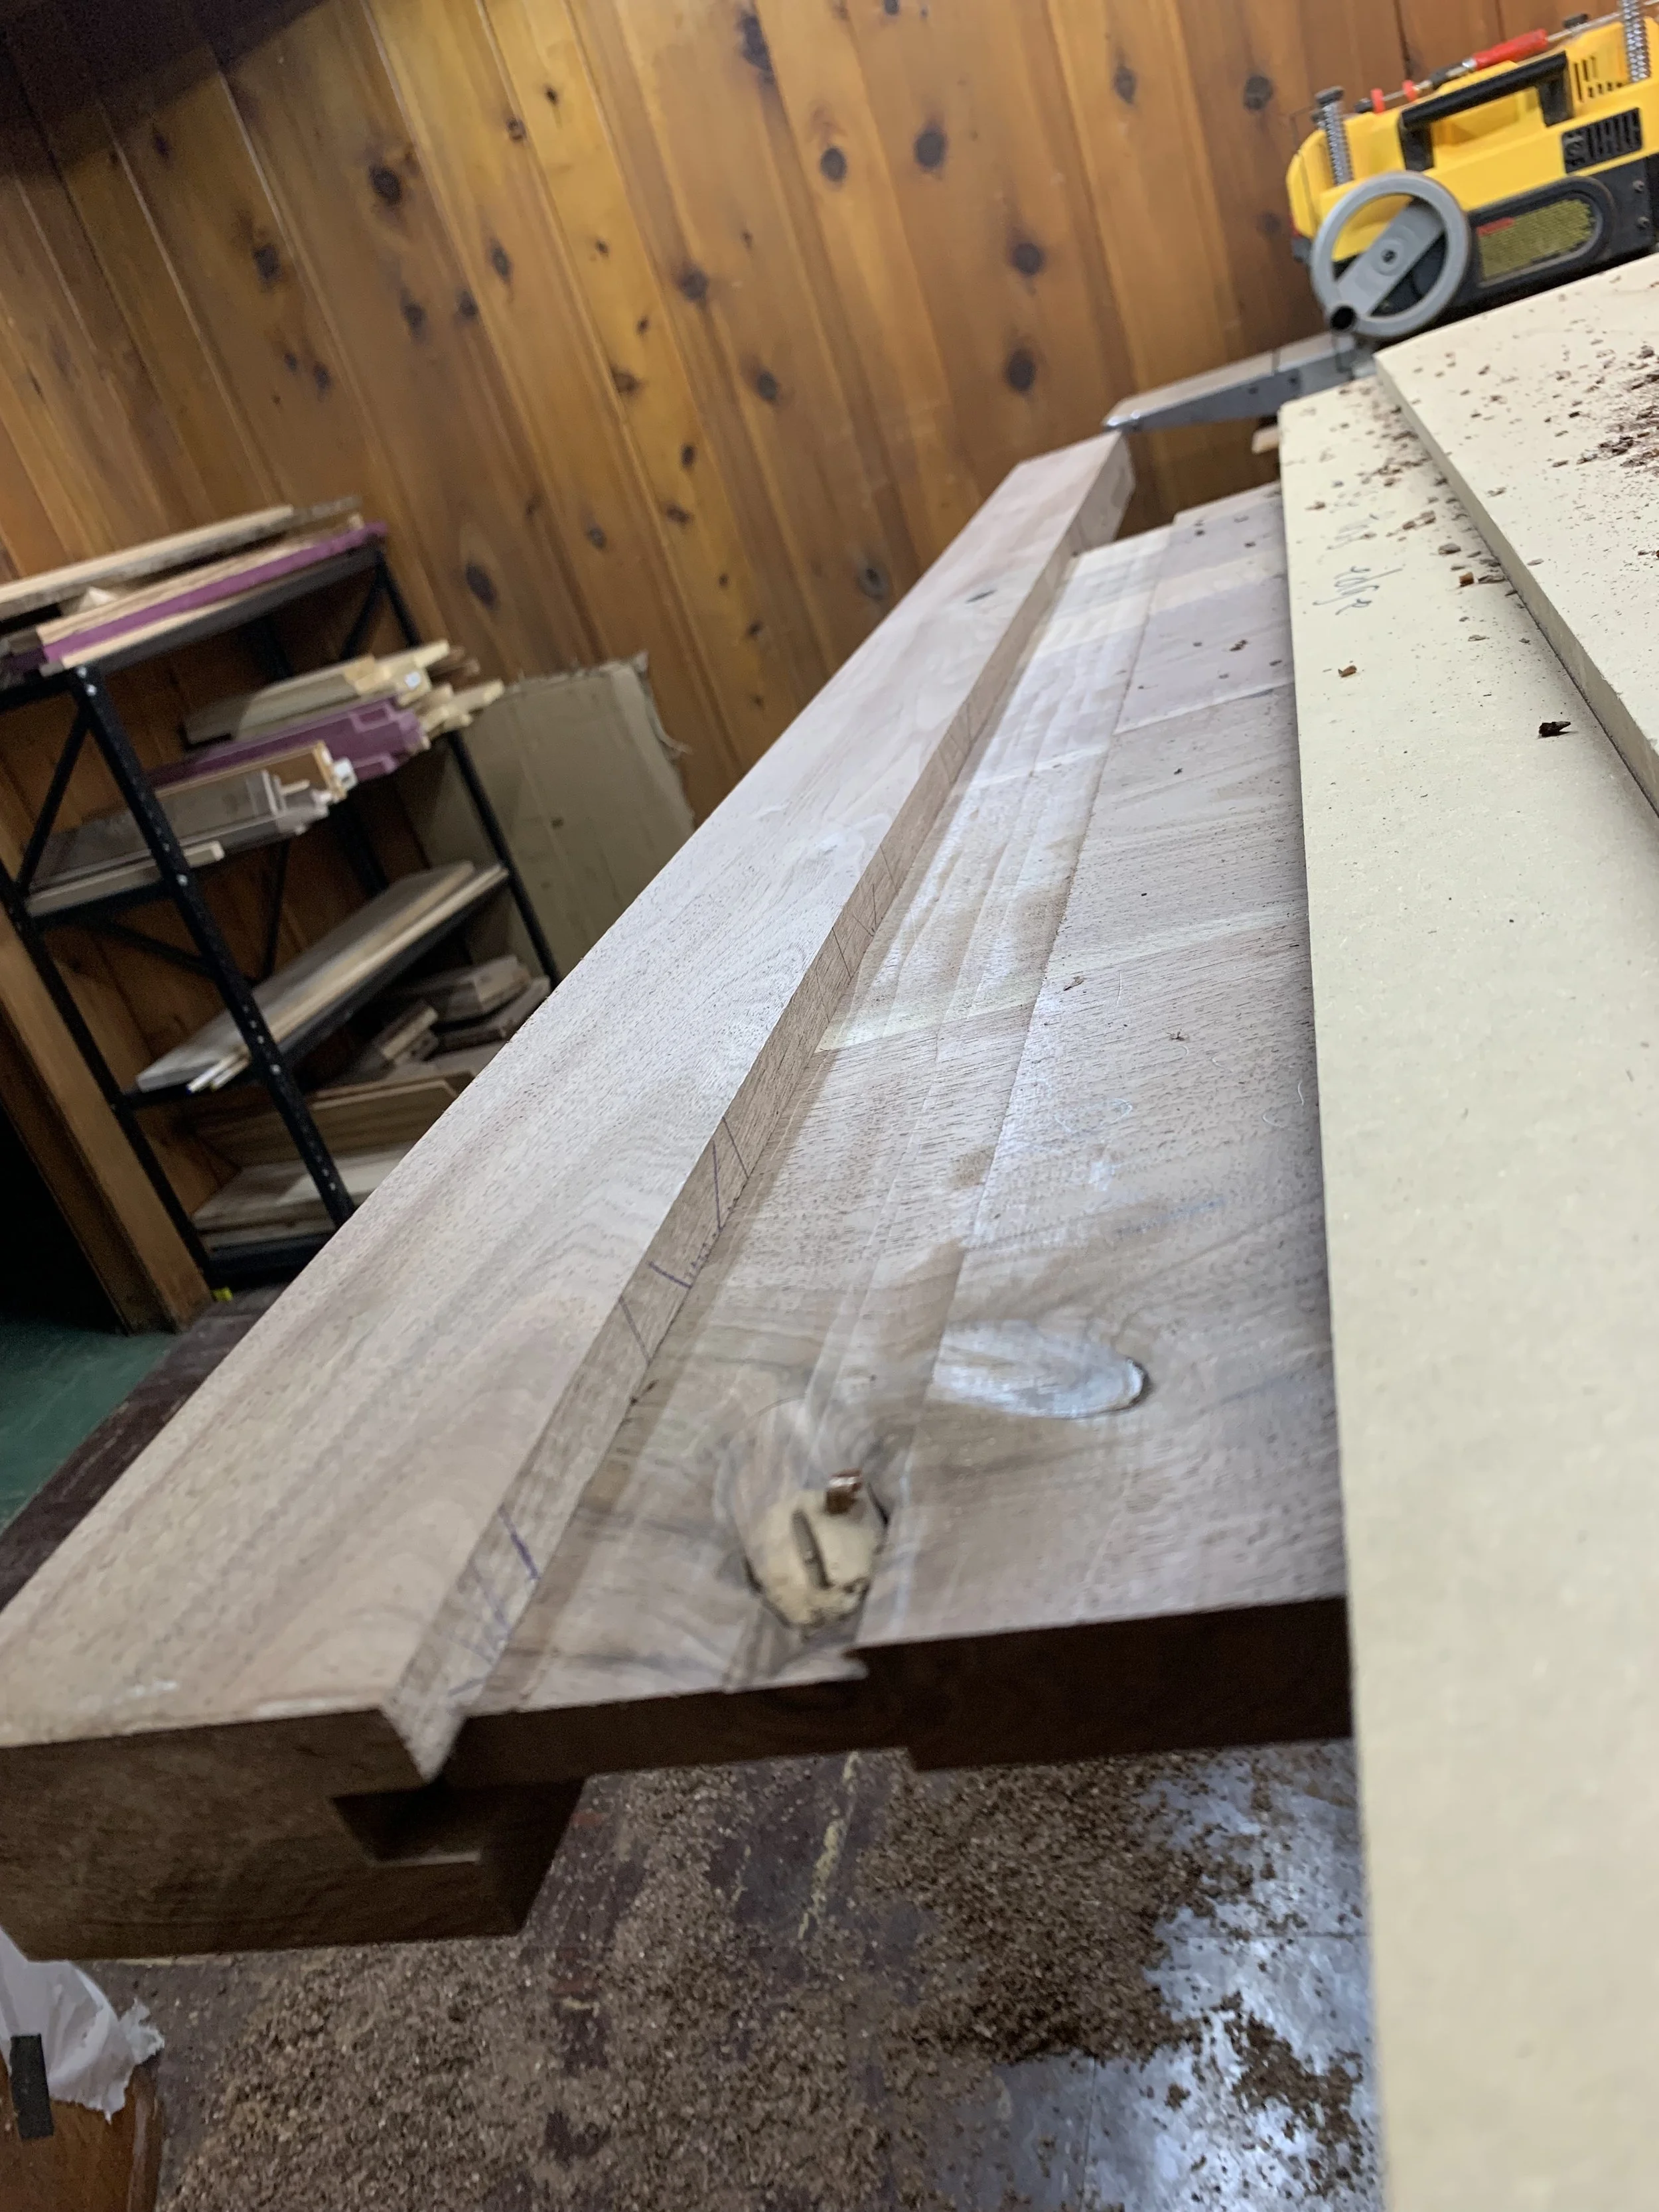
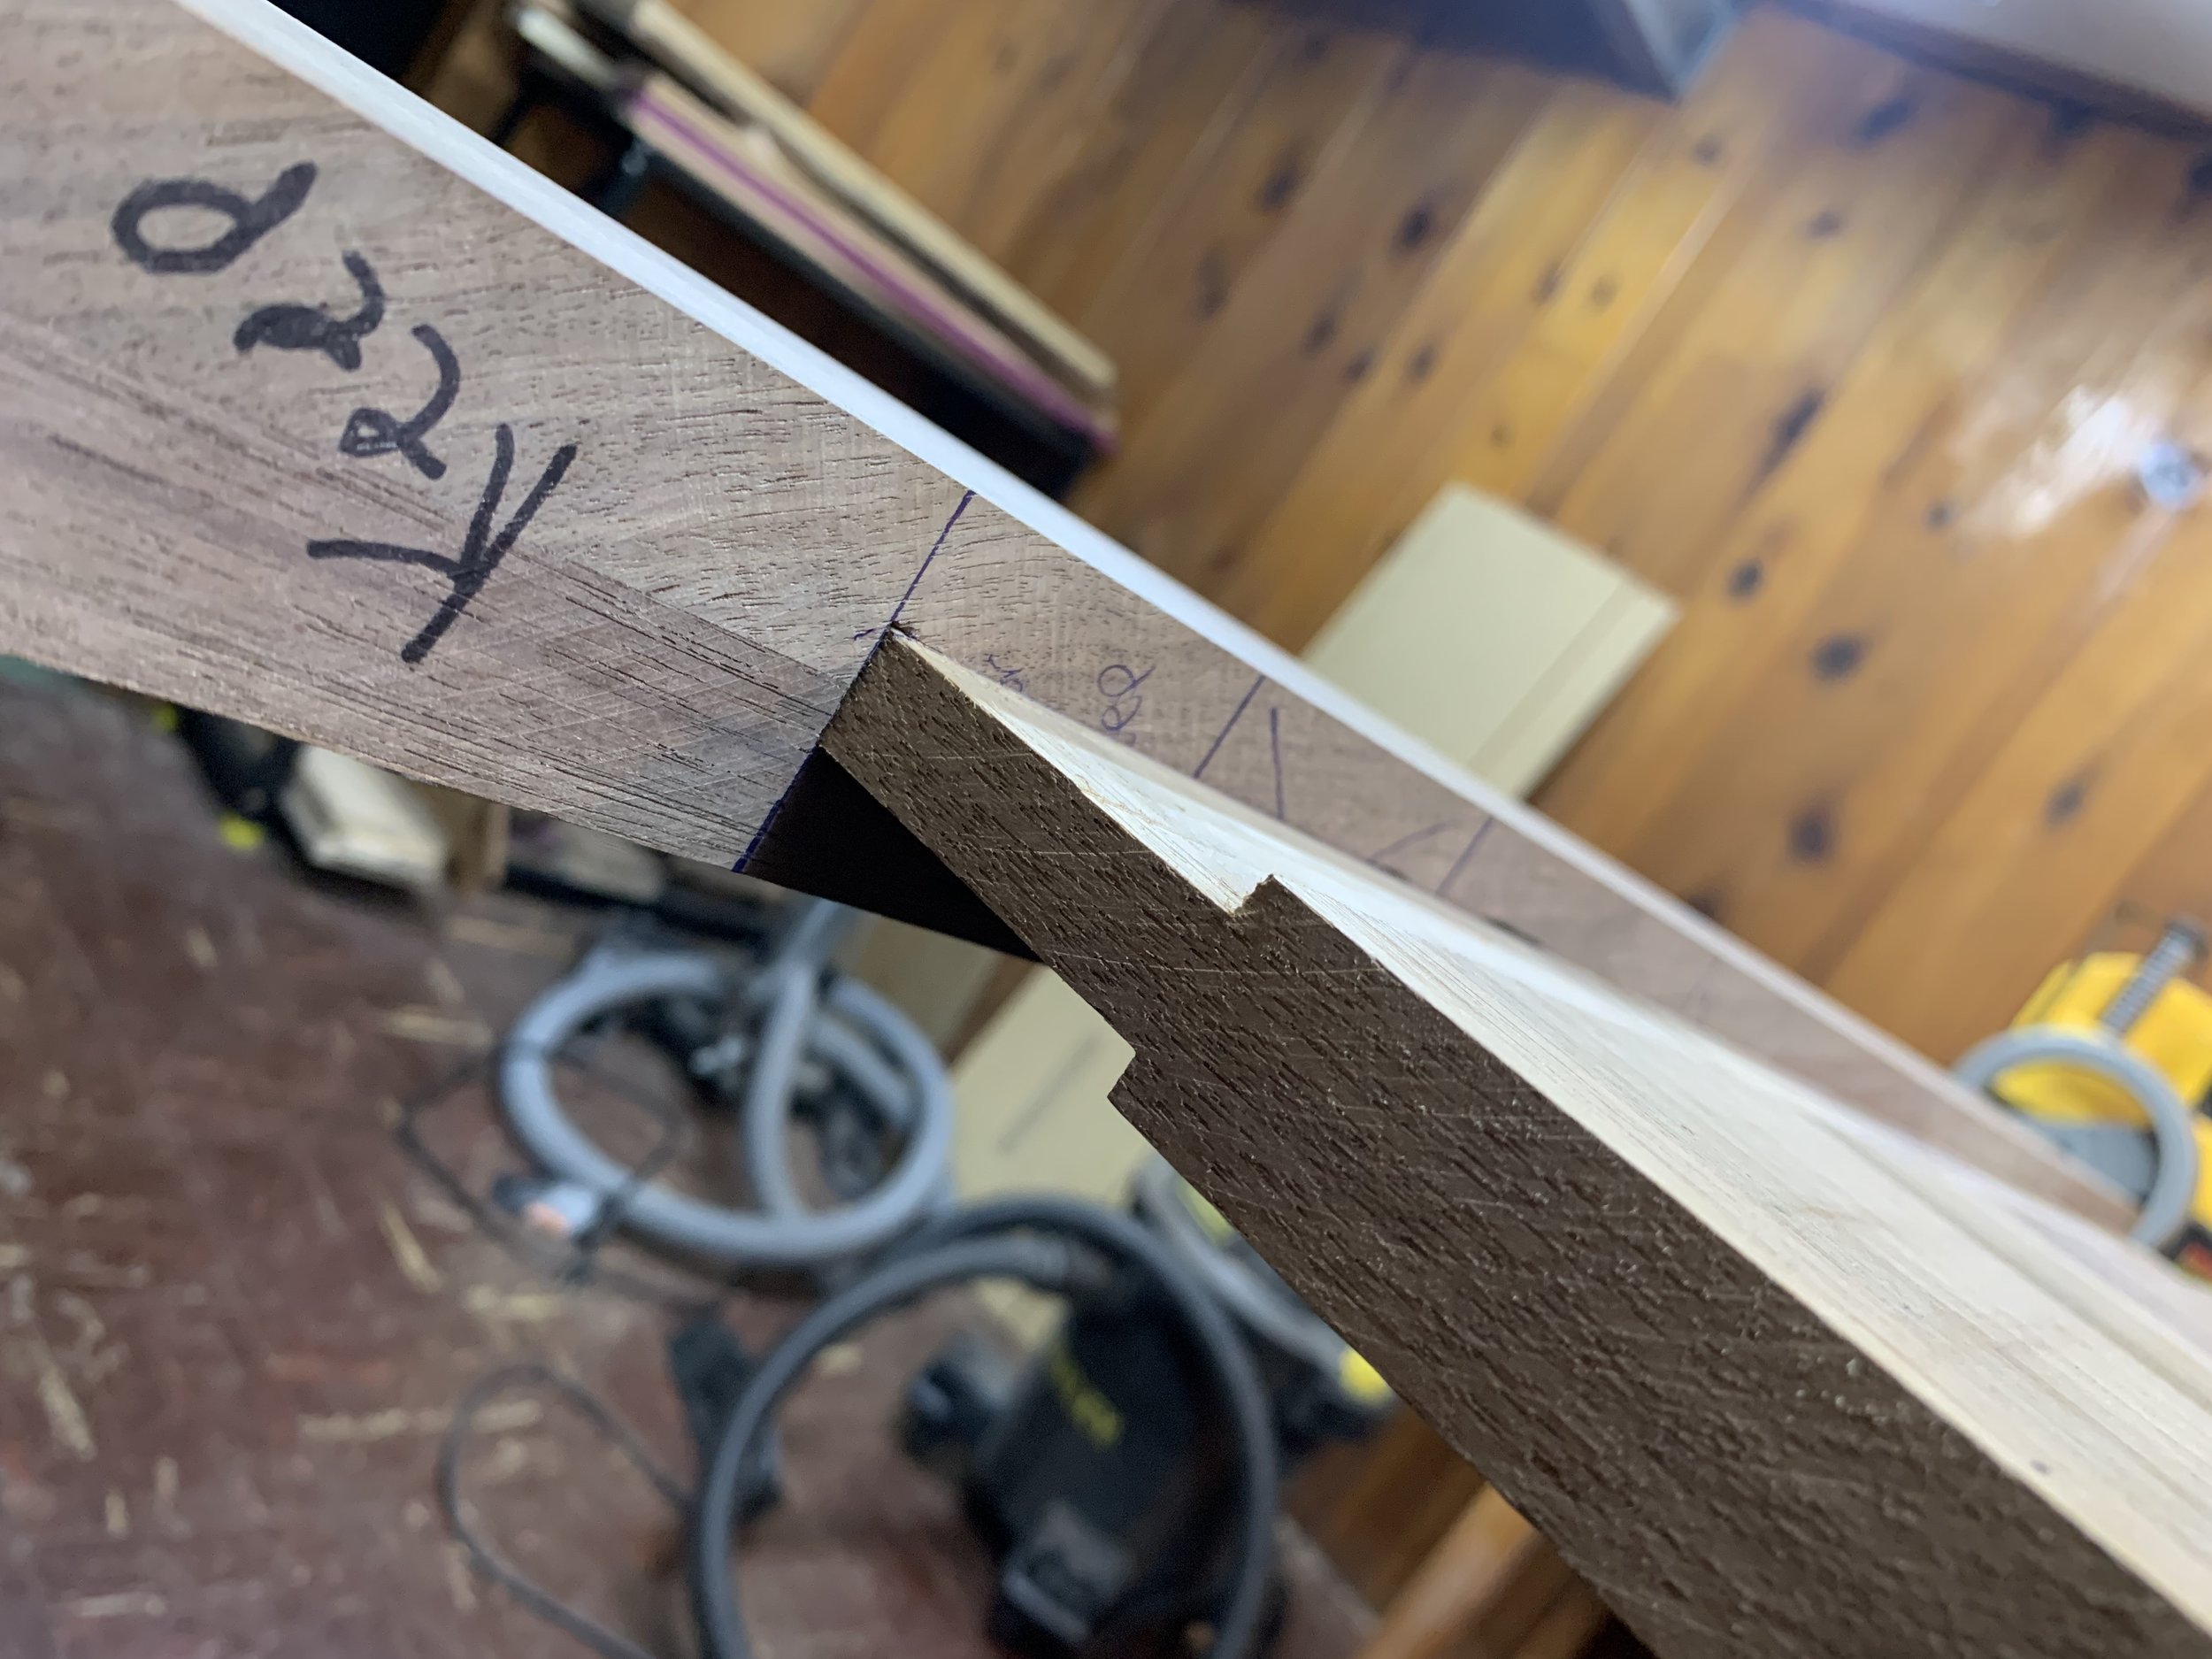
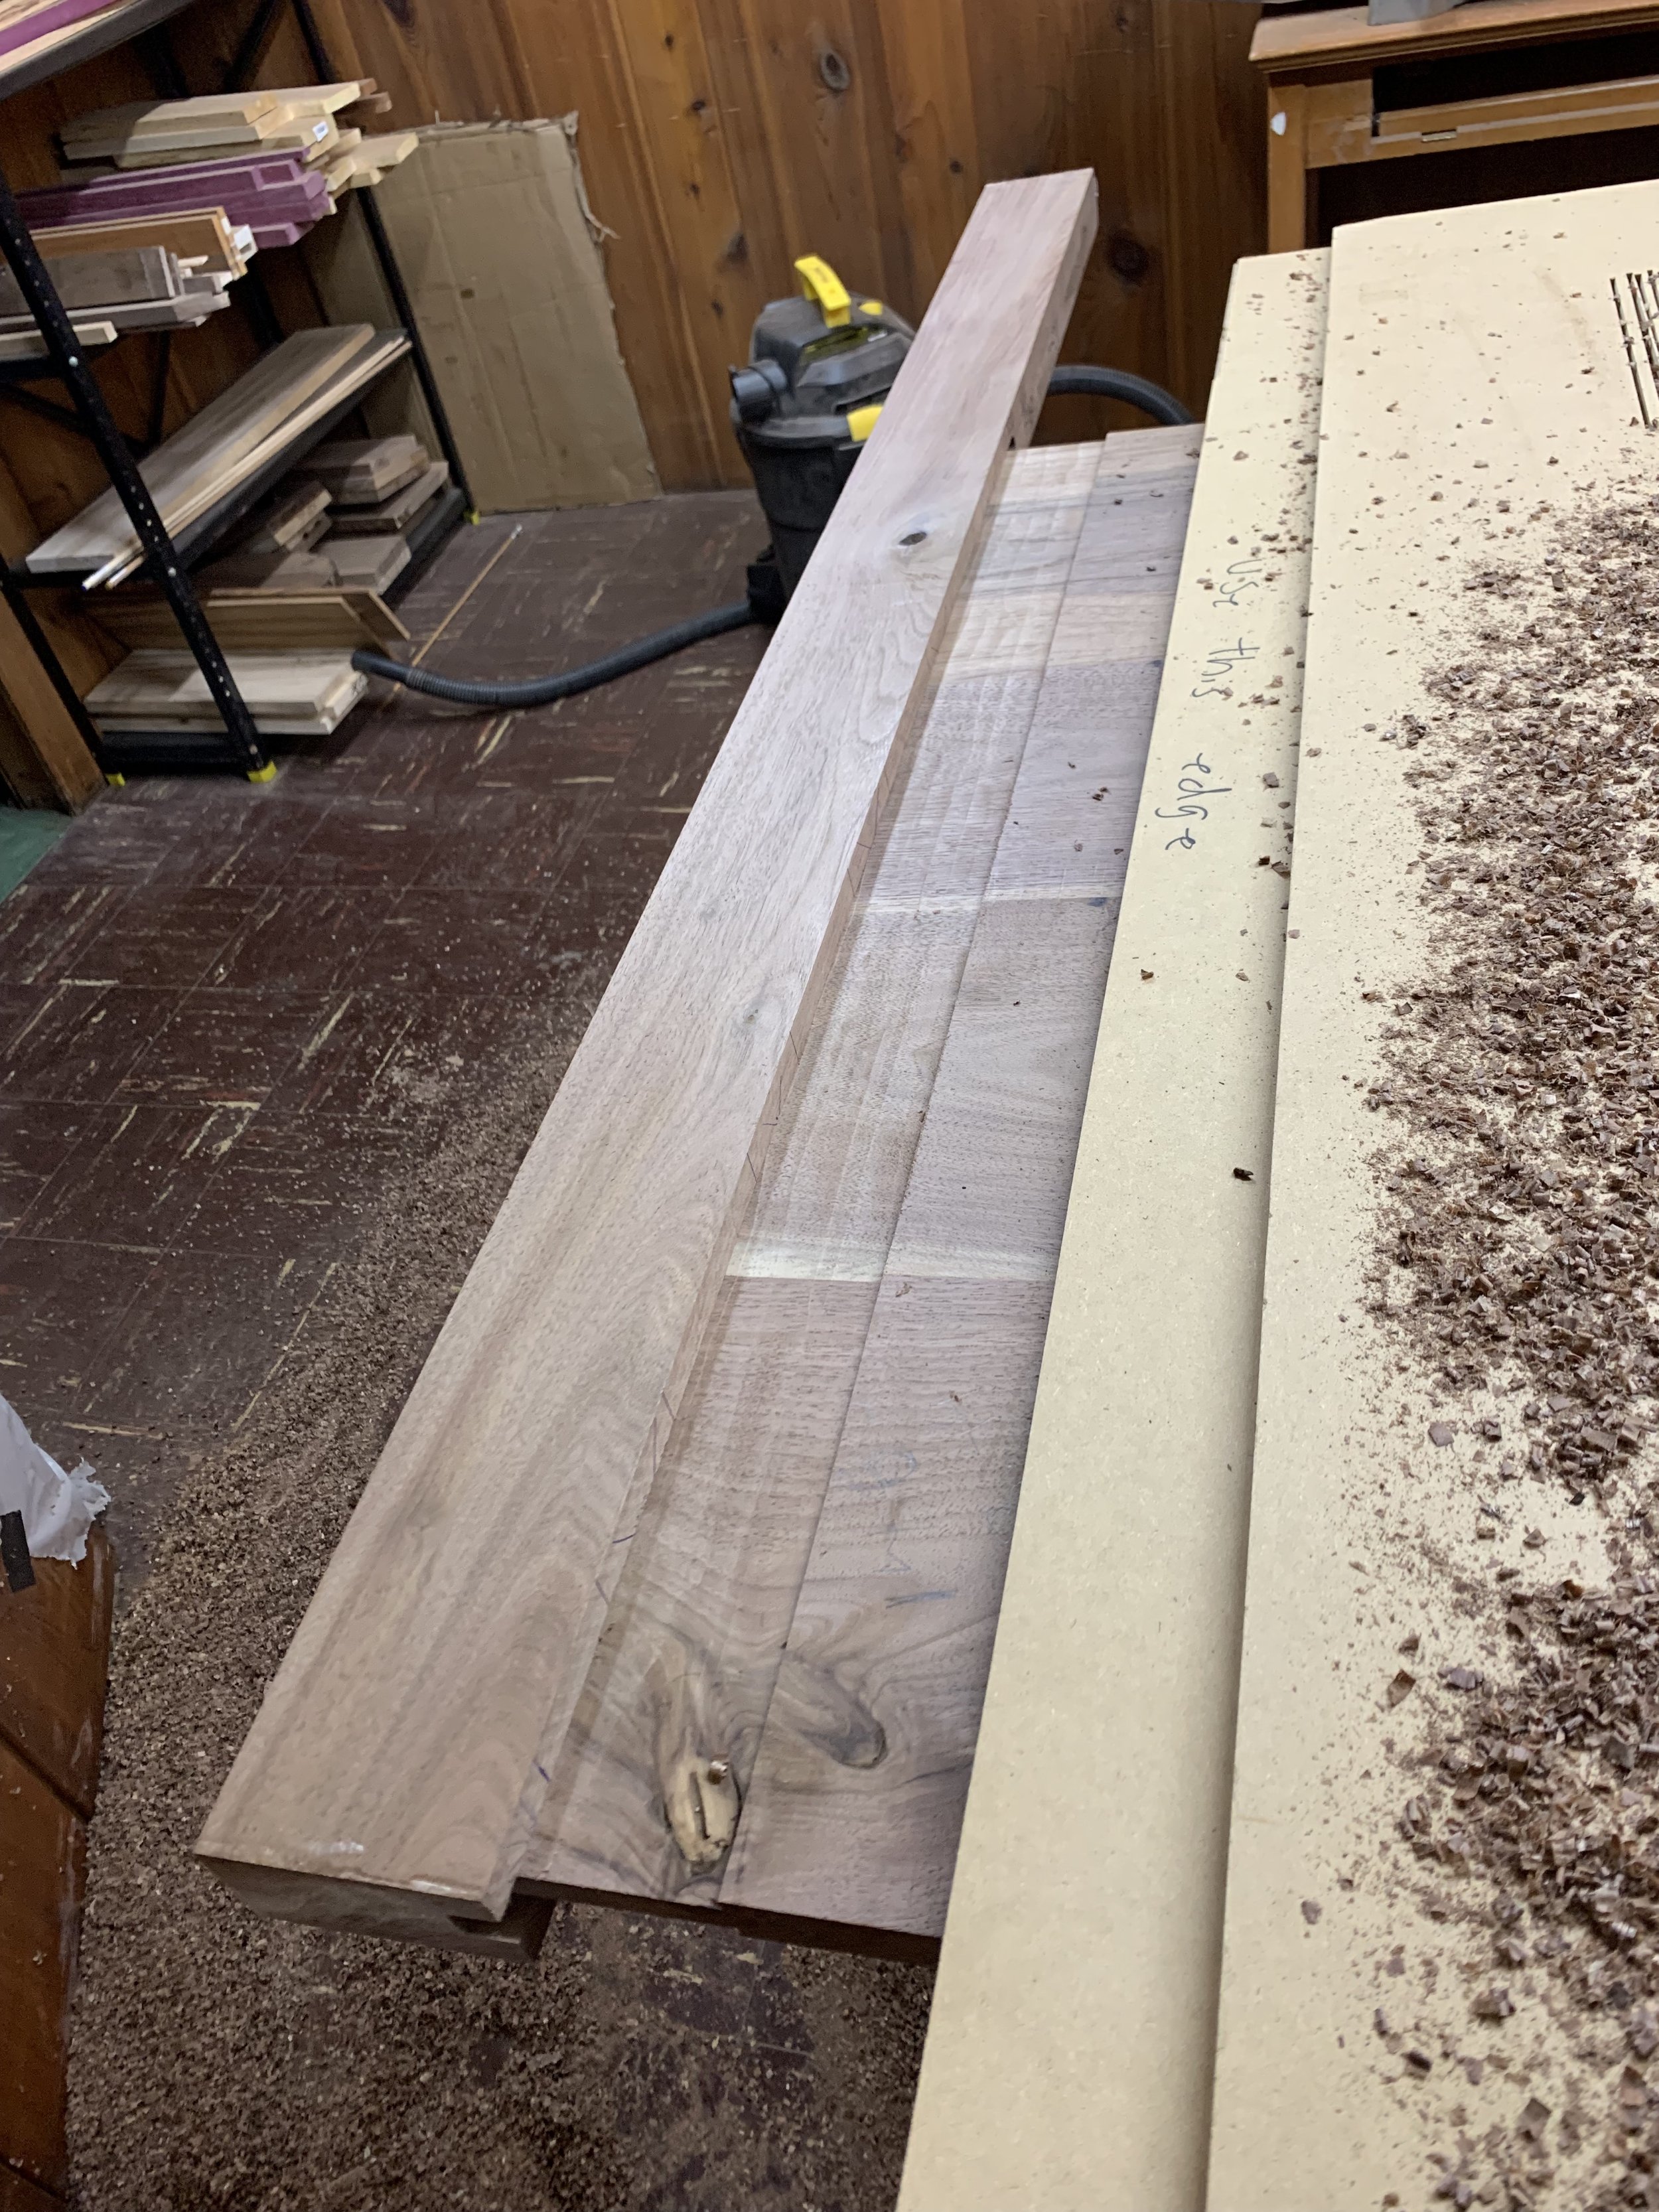
After straight-edge ripping individual walnut boards, I joined them together using a dowel jig to align and keep the individual boards flat when clamping together and doing my glue up. After the panel was assembled, I started on the tenons. For the tenons, I knew I needed them to be 2.5” long, and 1/2” thick. The panel stock was just over 3/4”, so I needed to shave off ~1/8” from each side of the board. At the time of this project I didn’t have a track saw, so I made a straight edge out of MDF and used the MDF straight edge as a router guide to create a 90 degree clean cut edge of the headboard panel. Then, I used it as a fence to dimension the tenons as 2.5” long. To do this I first did a few shallow passes, adjusting the router plunge base stop-collar until I had a perfect depth to achieve the right thickness of the tenon - it needed to be perfectly snug so that the joint had mechanical strength but not too snug where it caused undesired stress on the shoulders of the mortised stock. I finally used my hand plane to clean up the cut until test fitting in the mortise yielded perfect.
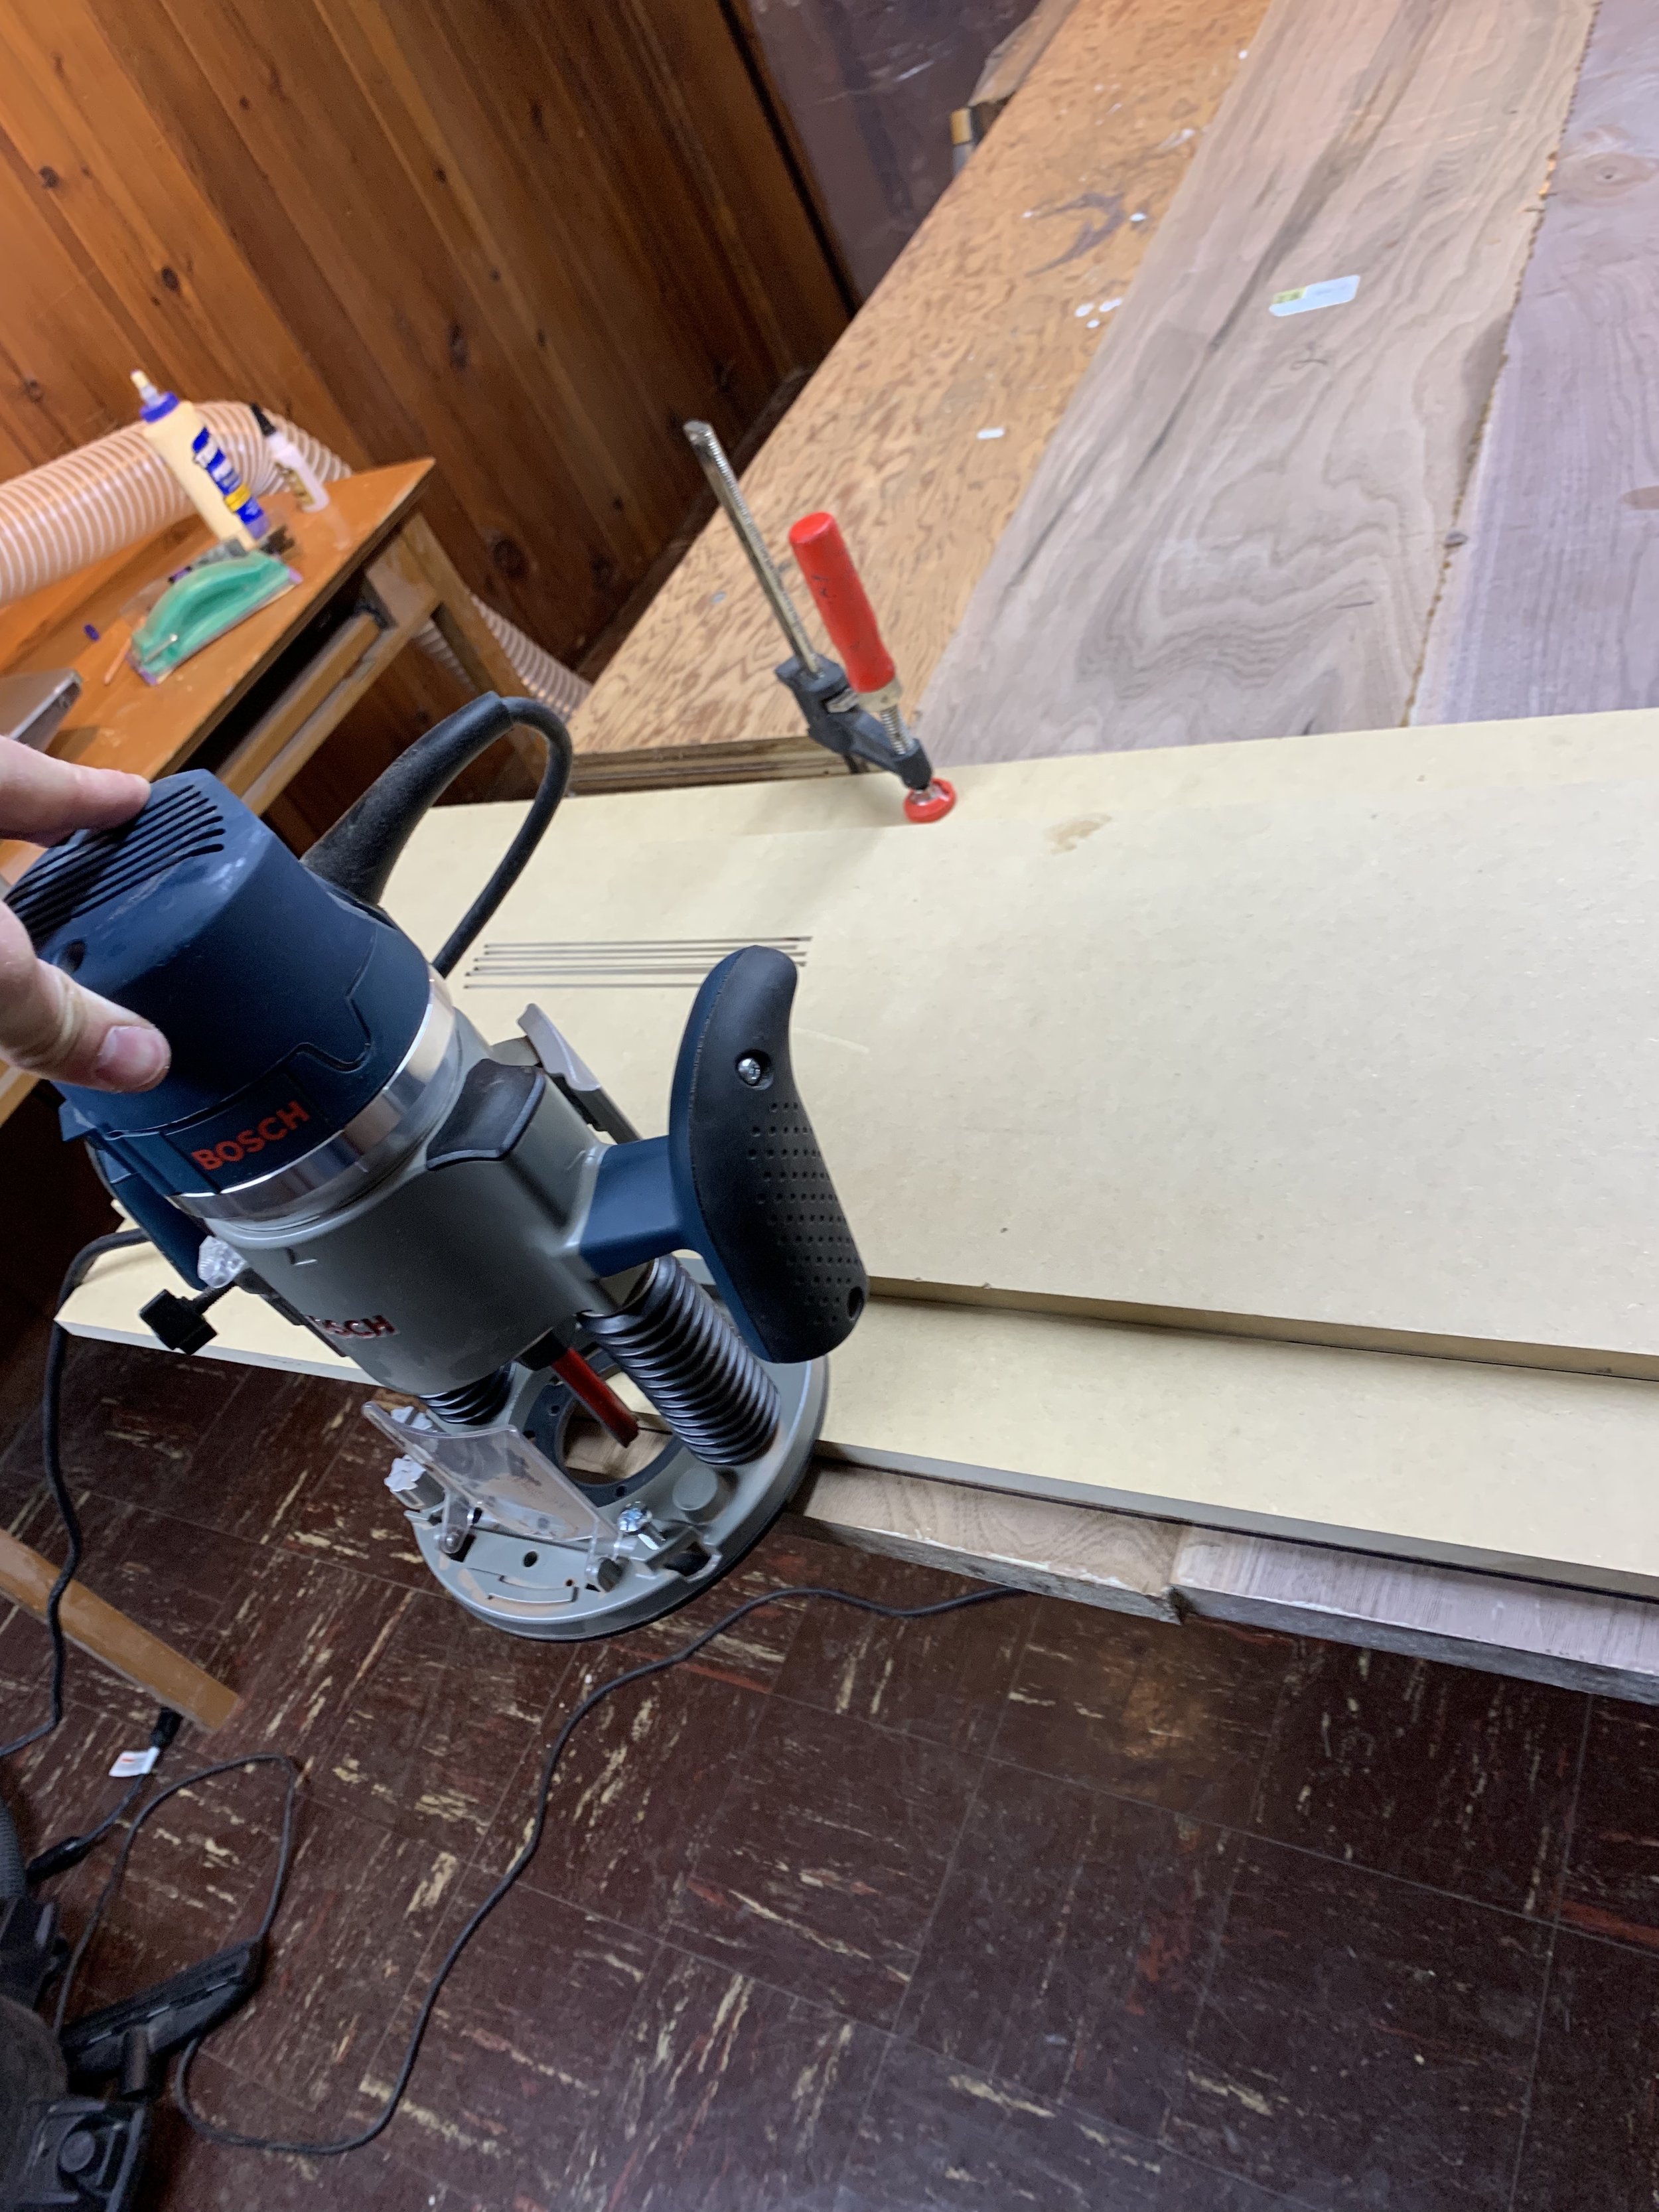
Step 5: Creating the Tenons
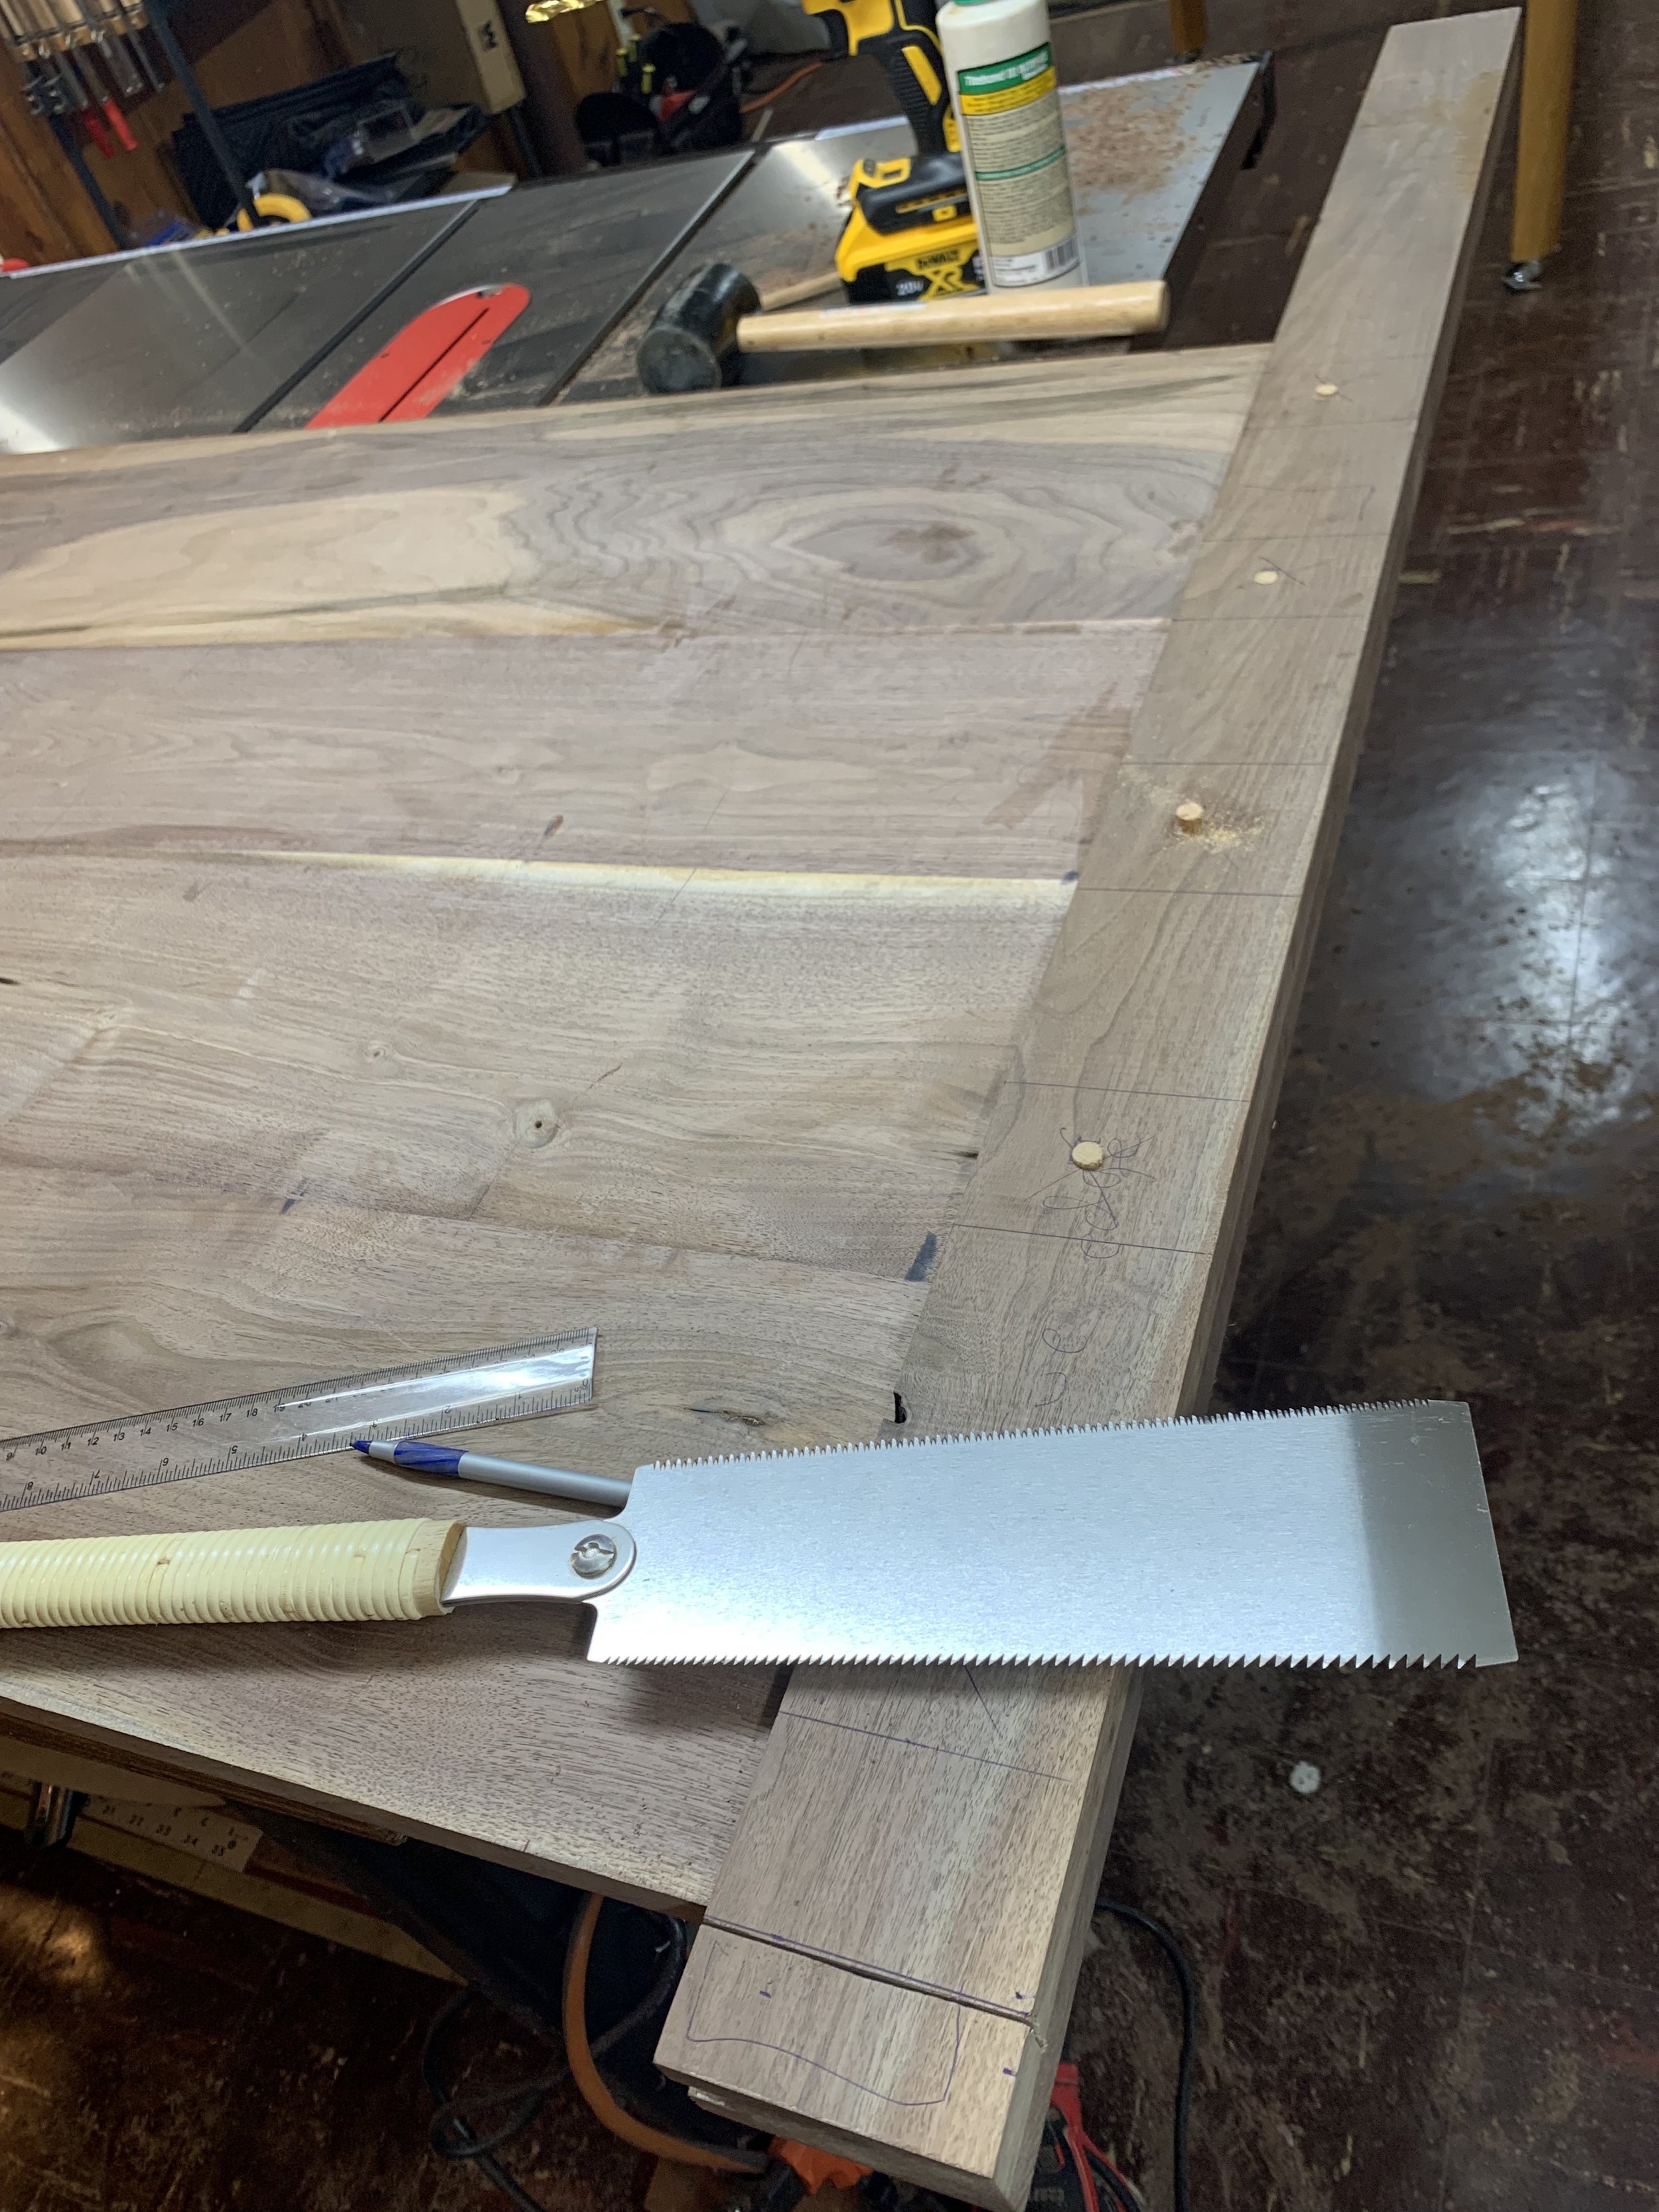
Once I had the ends of my headboard panel the desired depth and width for my tenons, I snugly fit the breadboard ends on, then scored where the tenons should be cut based on where my mortise lines were.
I cut the tenons with my Japanese handsaw. When cutting the tenons, I made sure to leave 1/2” of tenoned stock at the end of the tenon to act as a tongue to fit my 1/2” groove in the breadboard posts. This design adds yet another level of keeping the panel flat and fixed in the breadboard, also minimizing and distributing stress on the individual tenons.
I made the tenons slightly less-wide than the mortised ends, to account for seasonal movement across the grain, and allow the tenon to move within the mortise. Once I cut my tenons, I did a test fit, carefully putting even pressure on each side of the breadboard so the tenons slid in nicely.
Step 6: Doweling the Breadboard Ends in Place
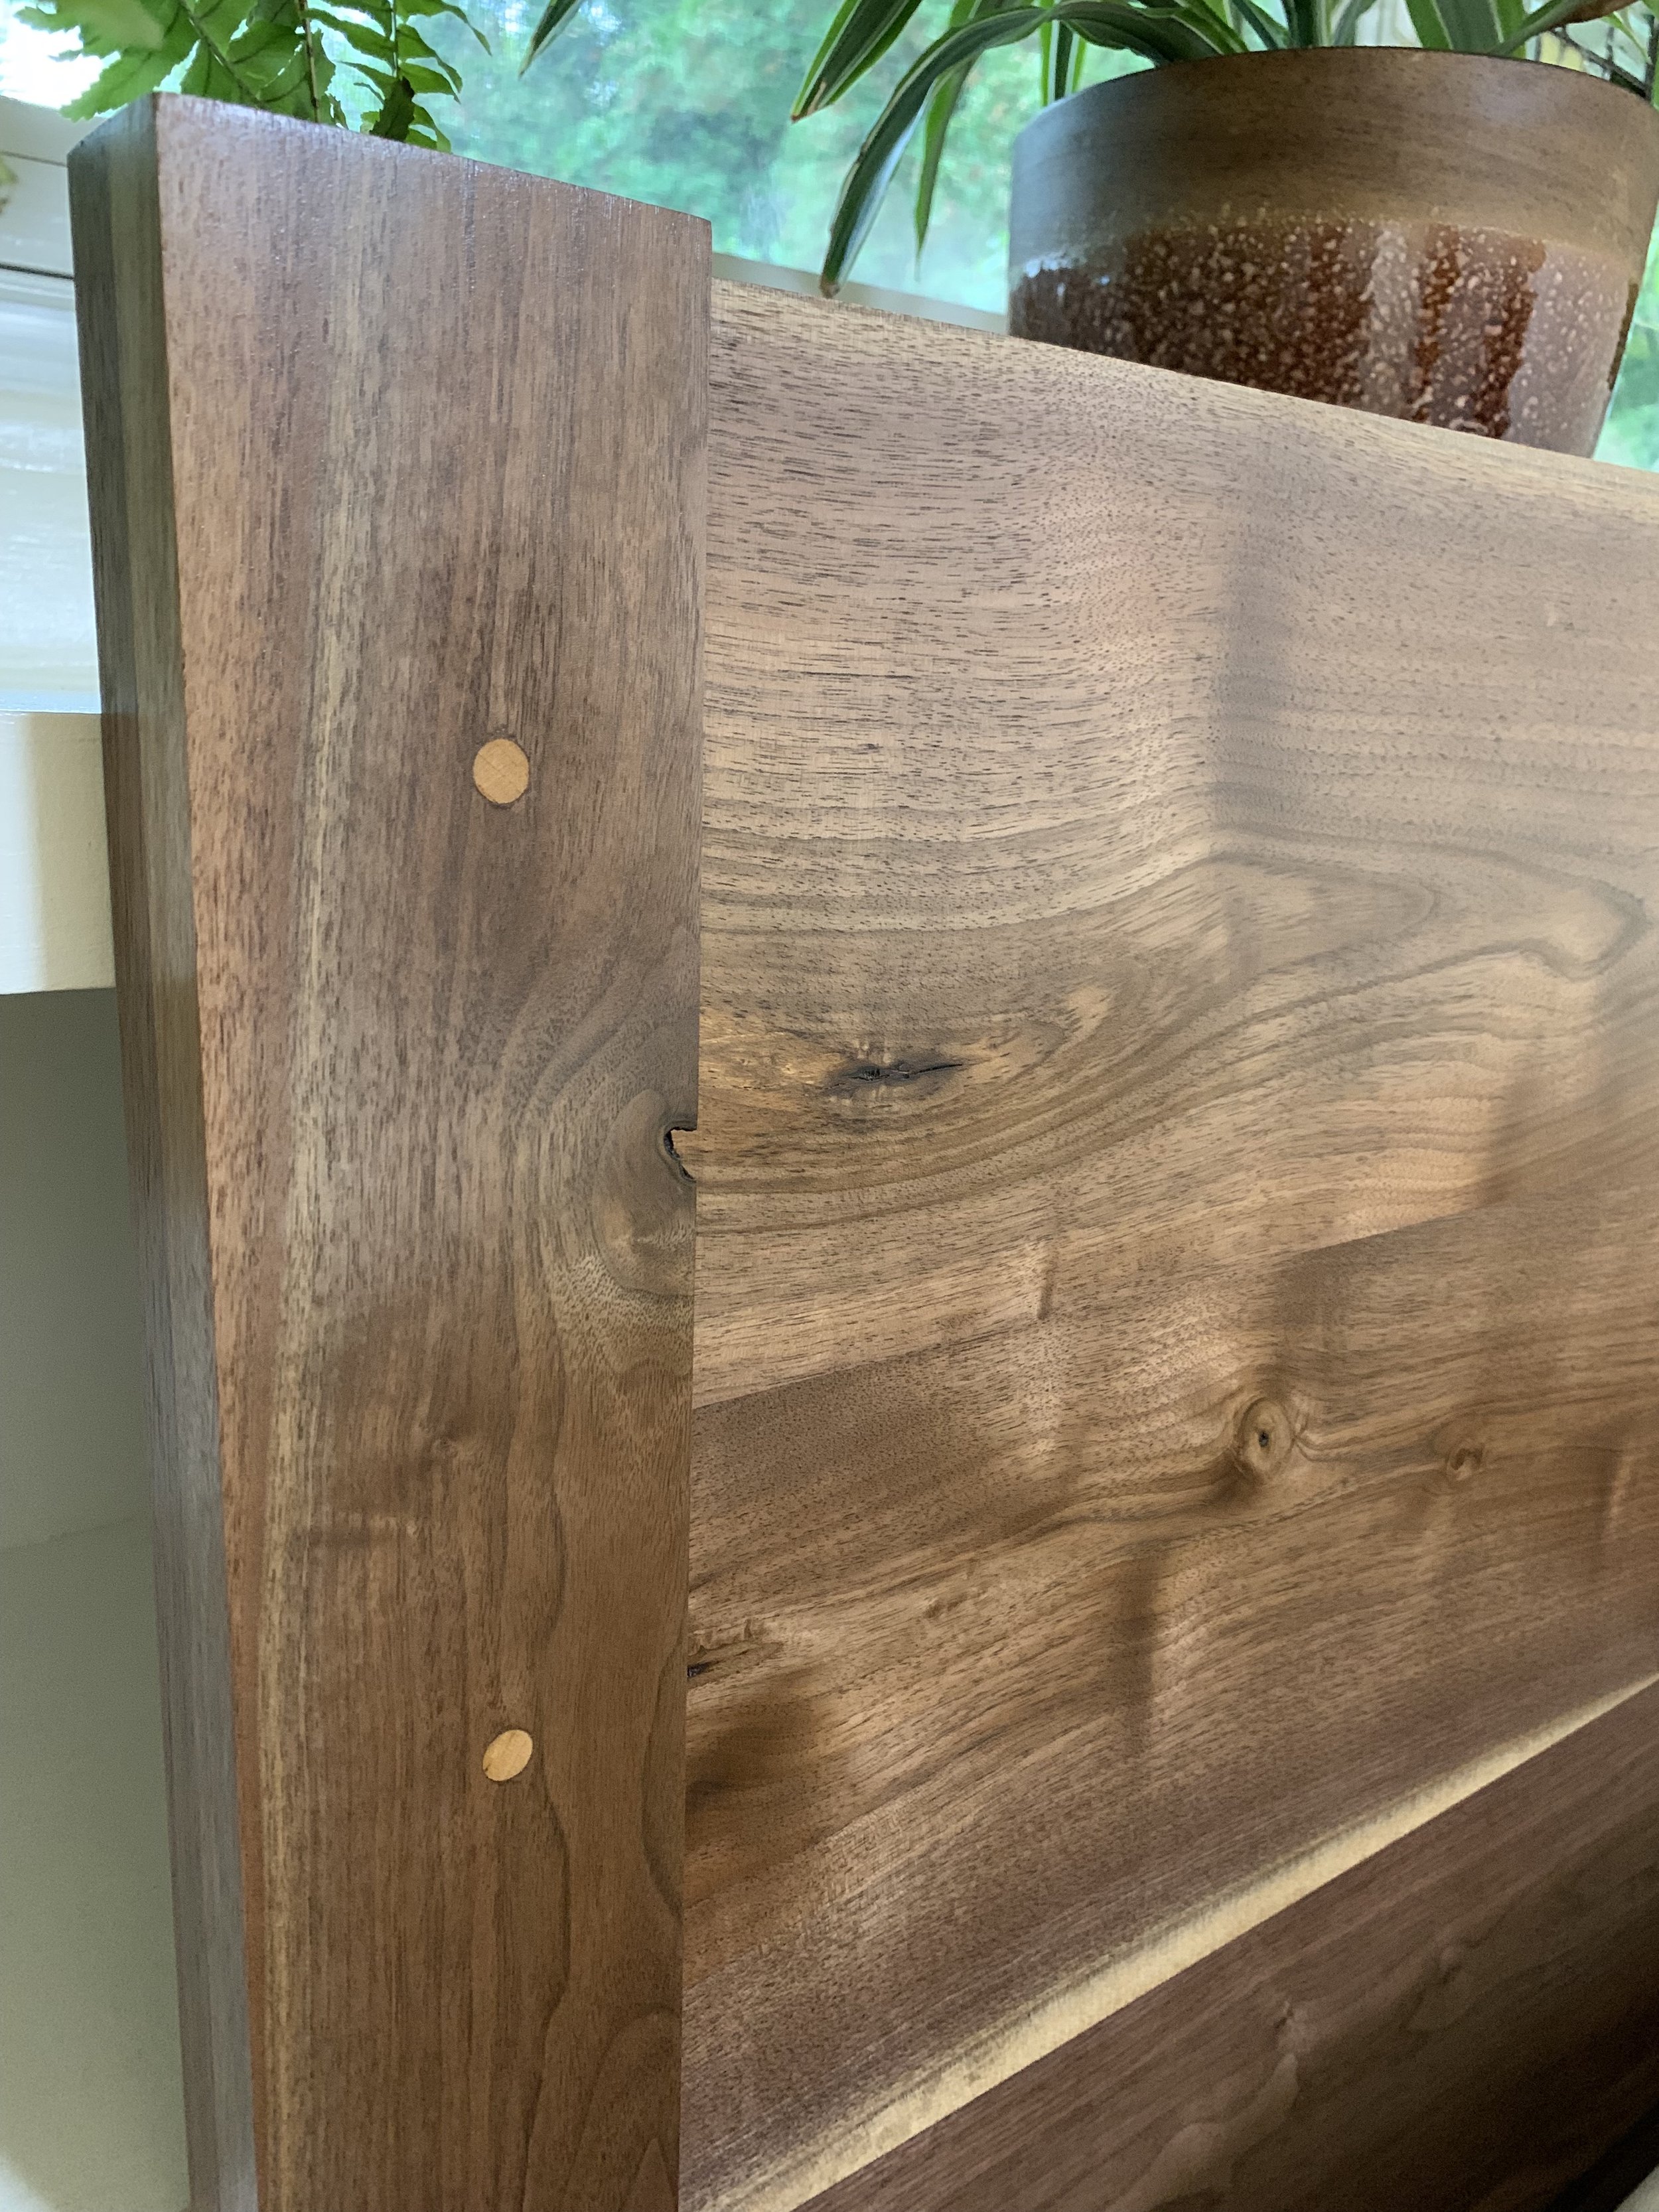
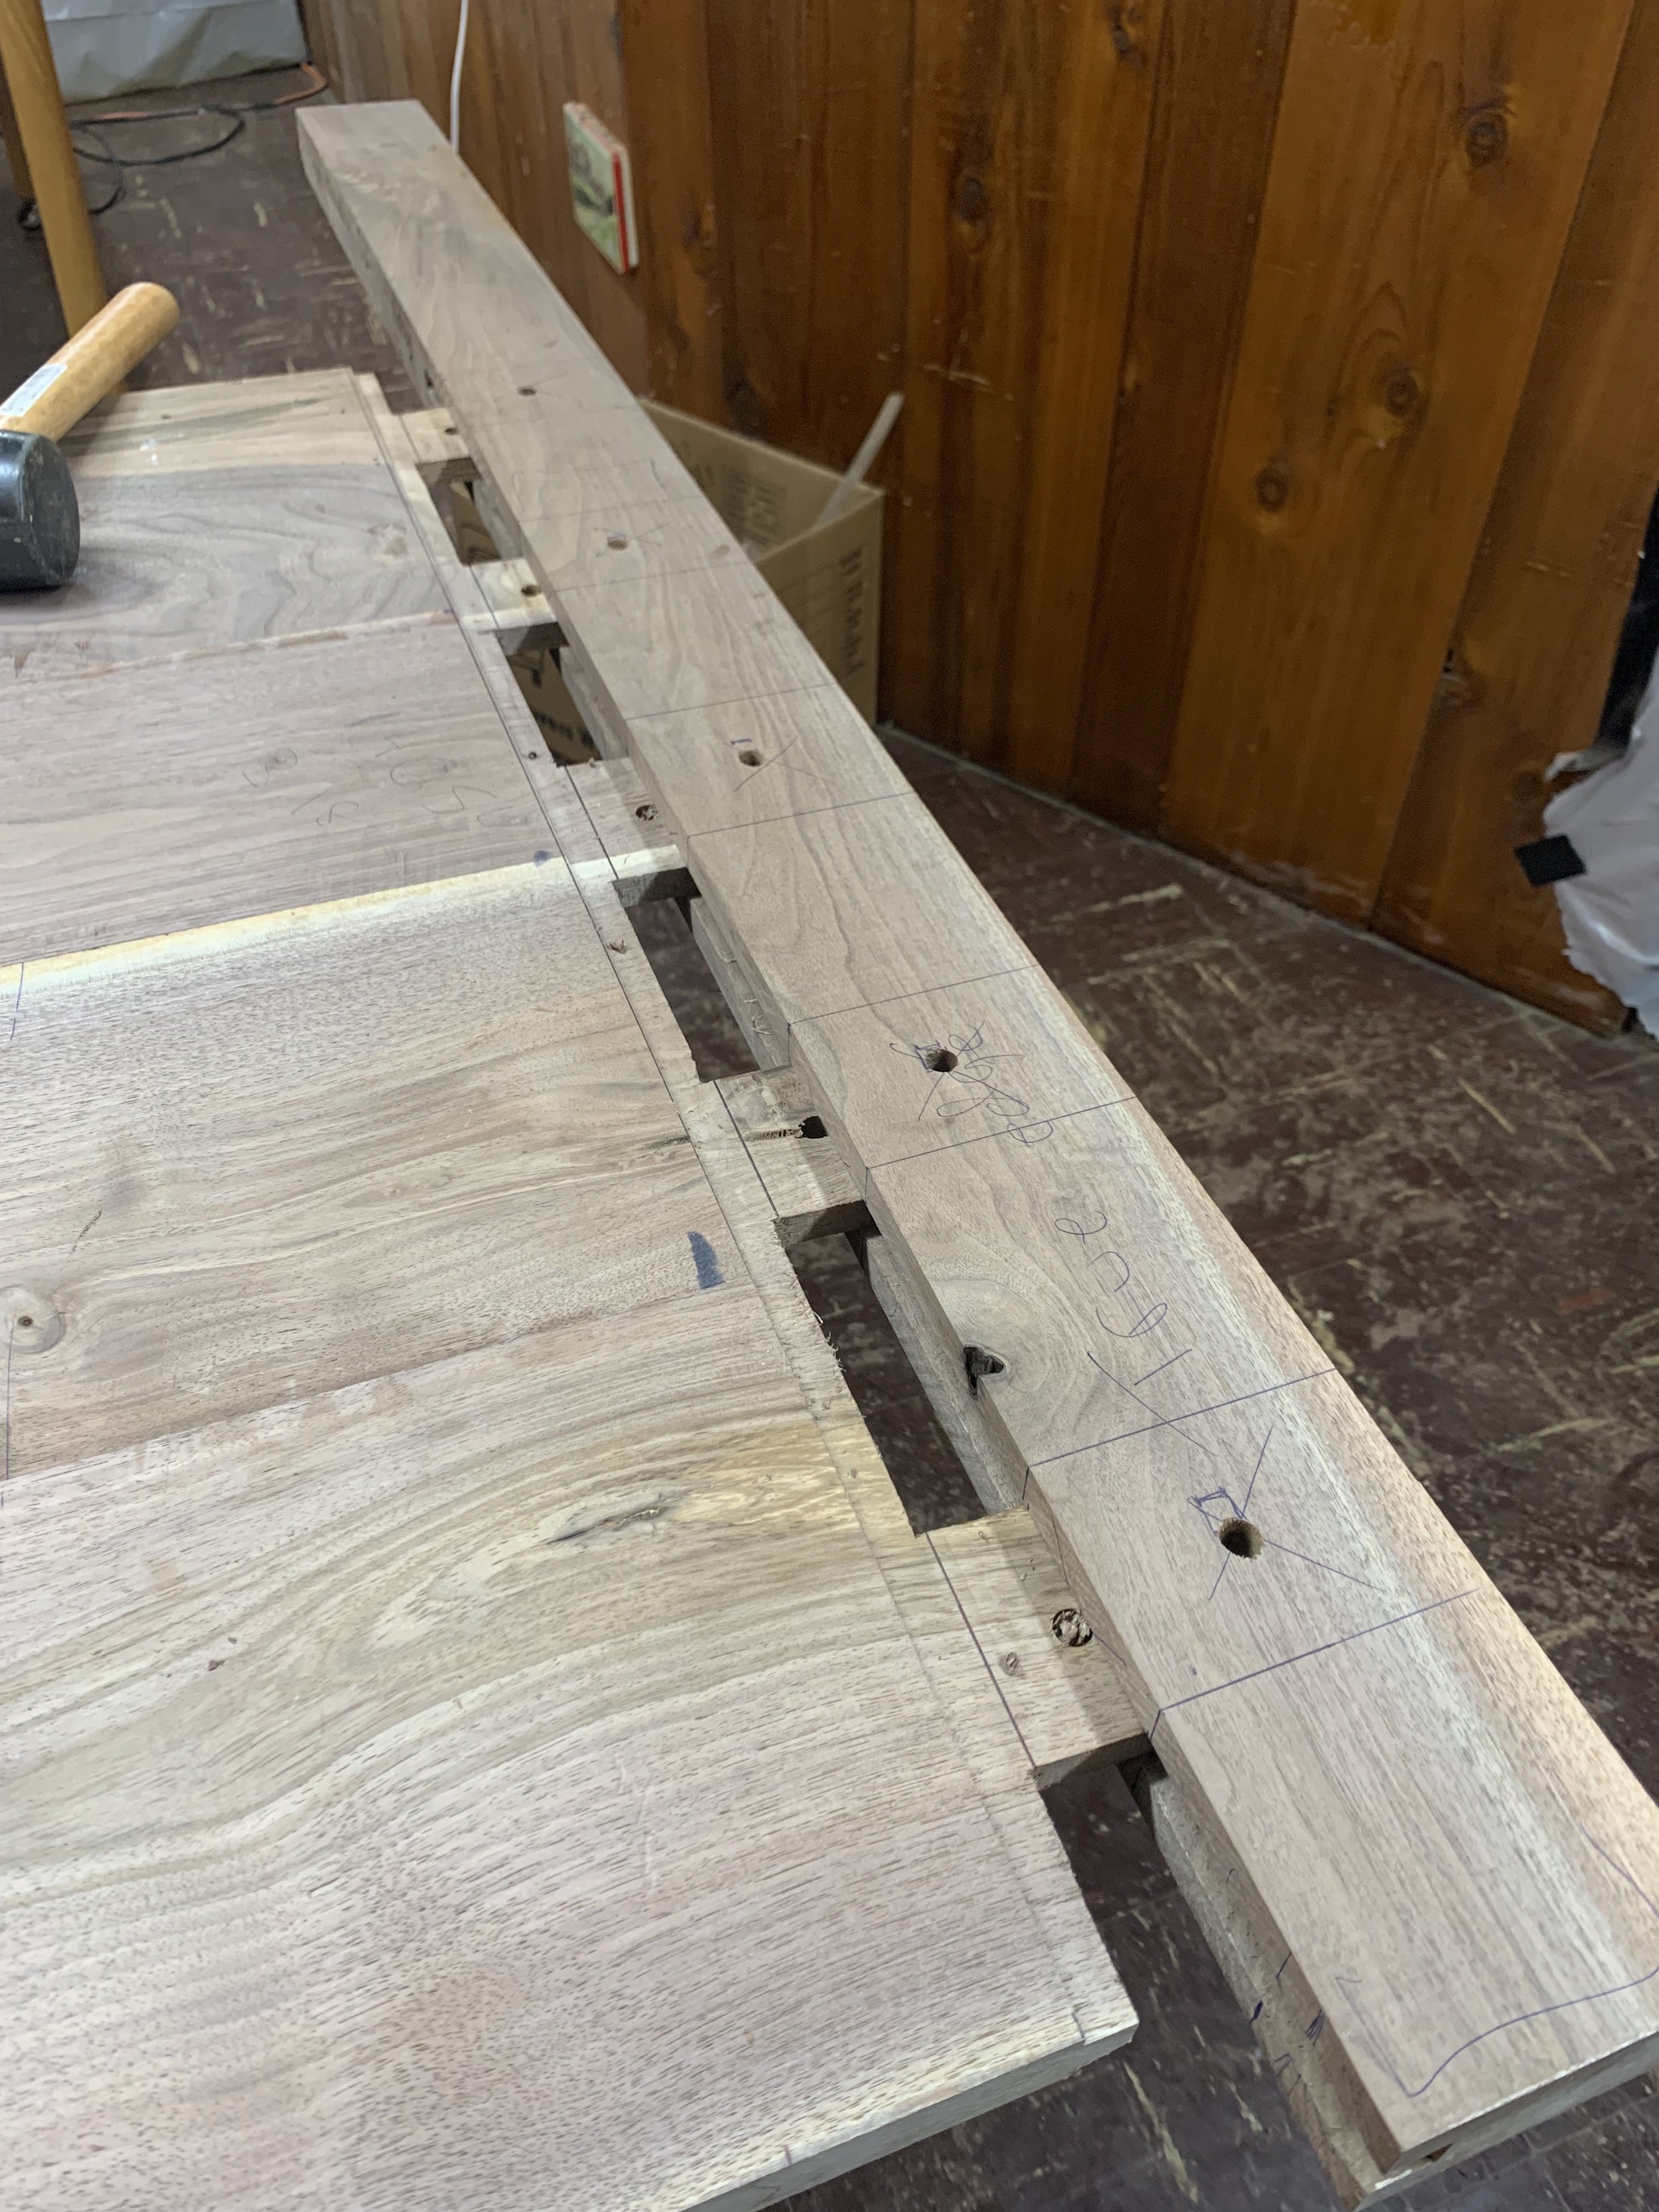
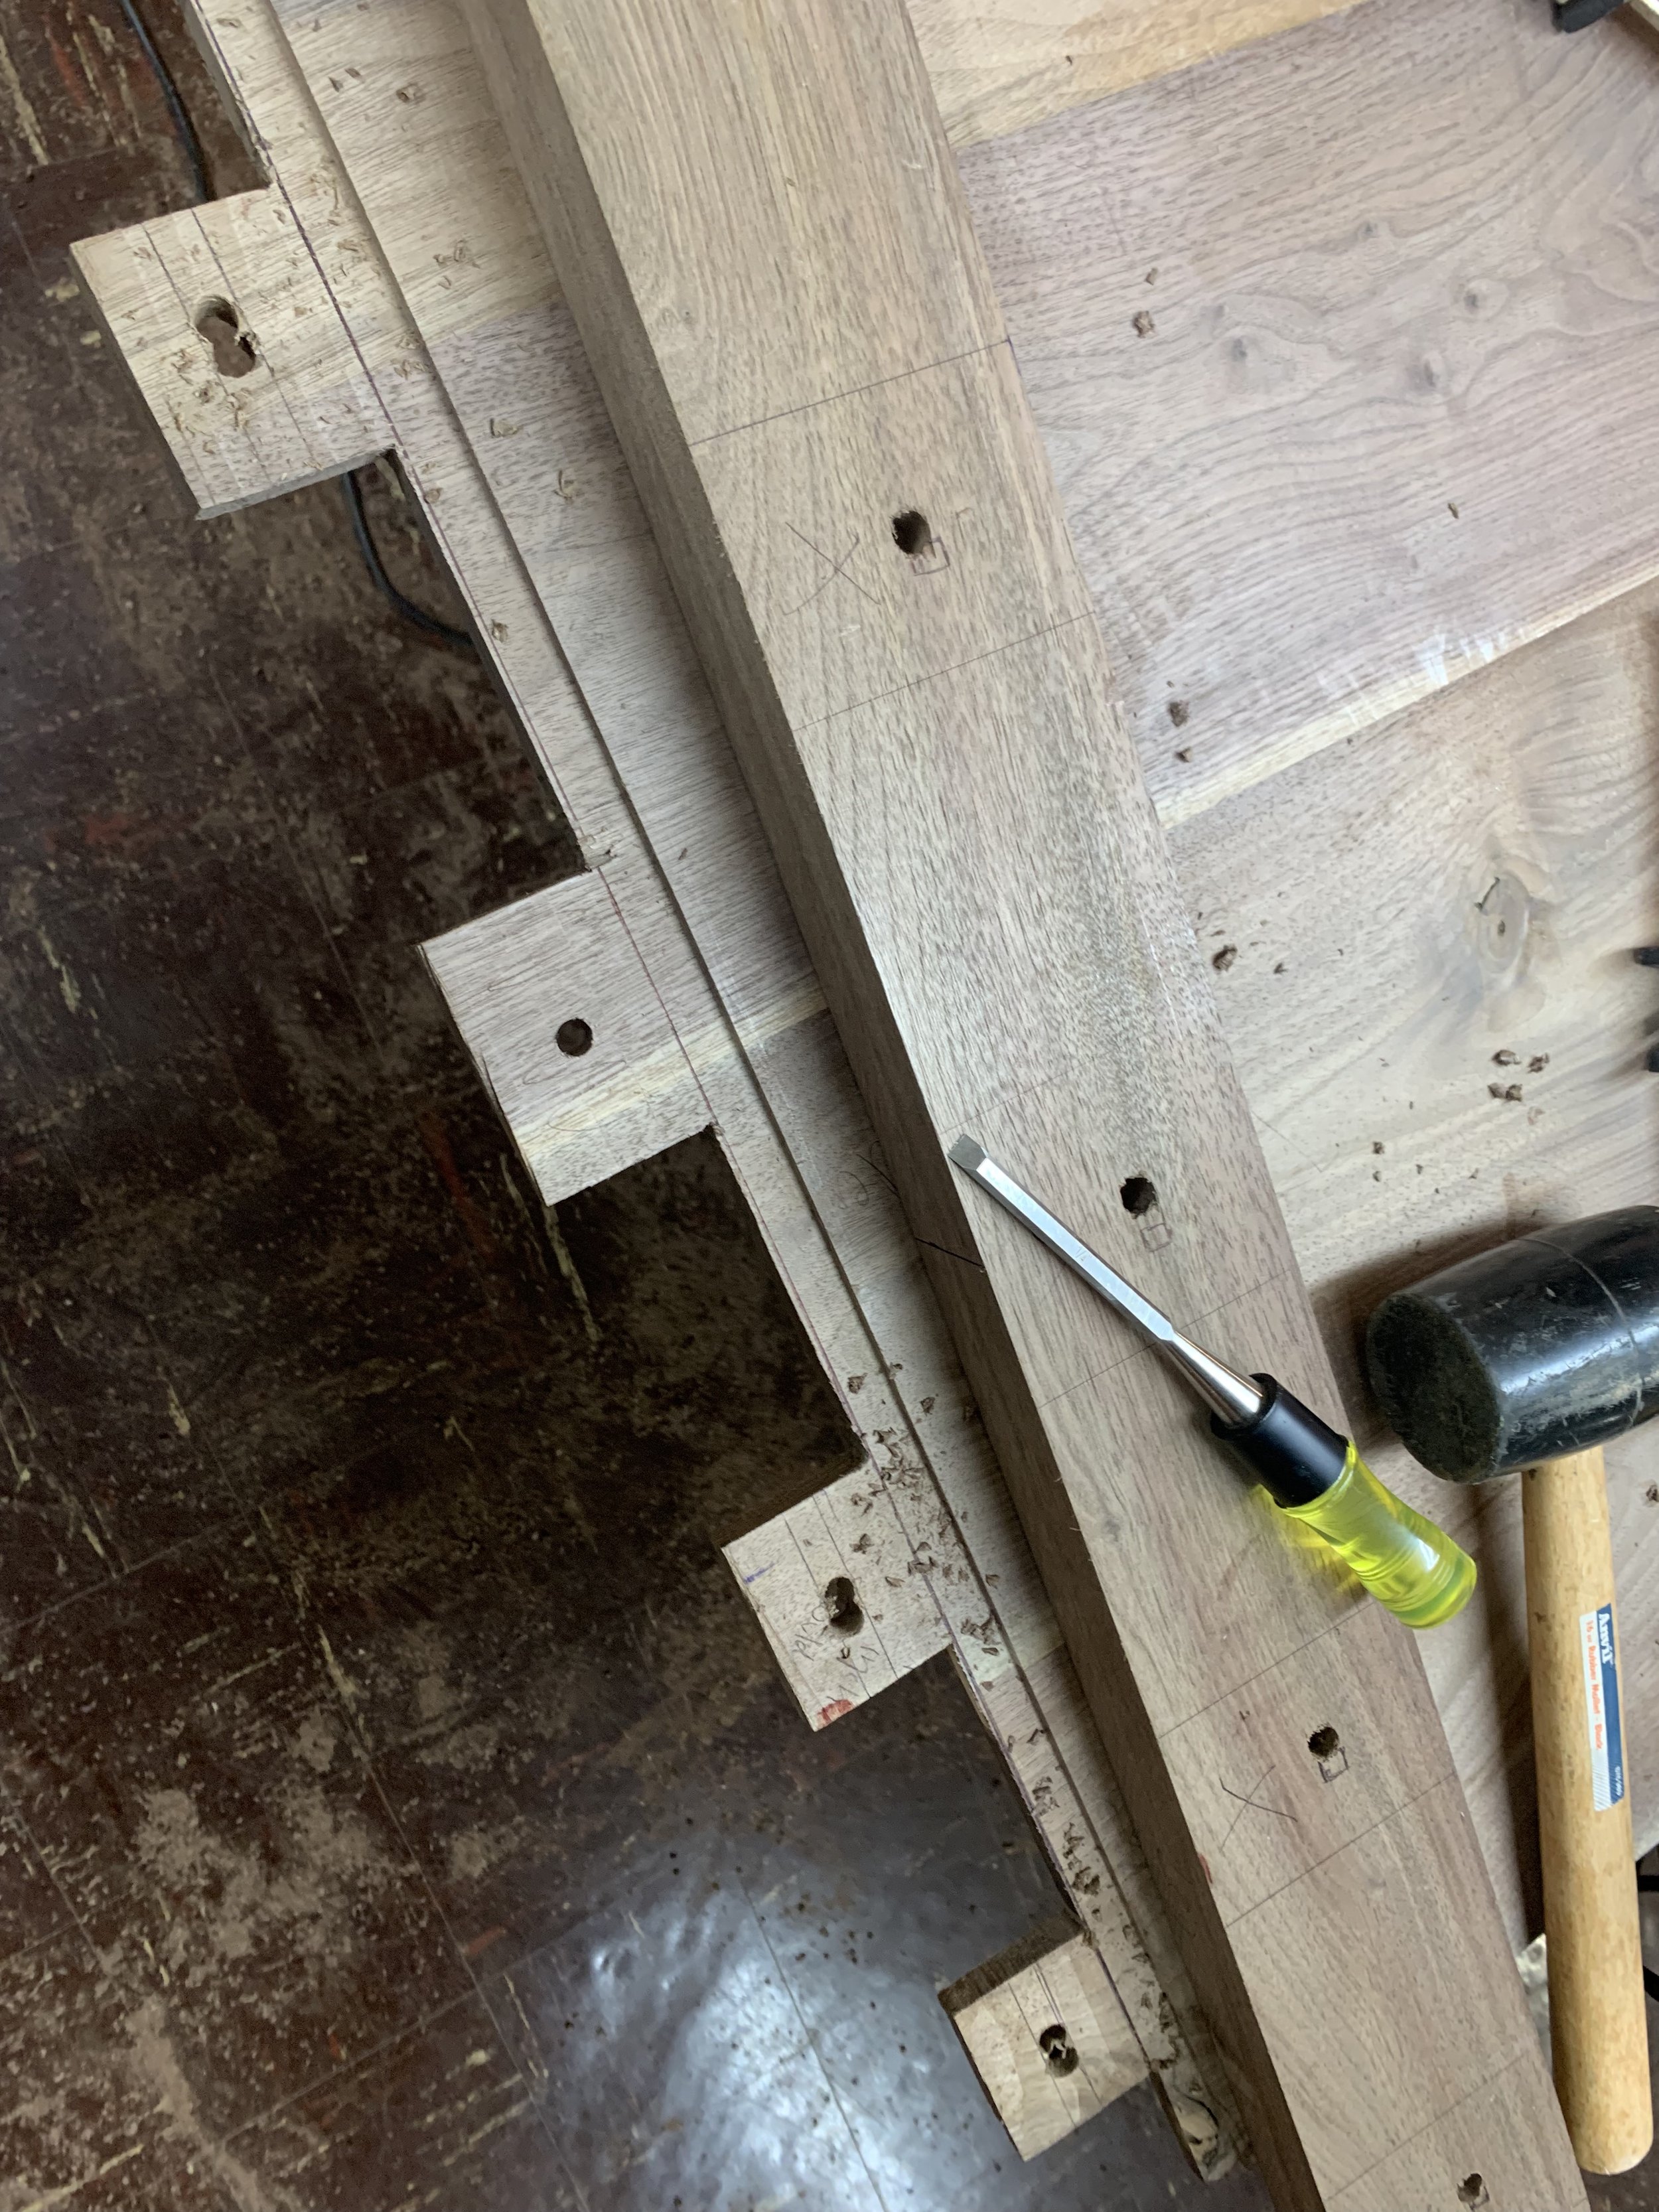
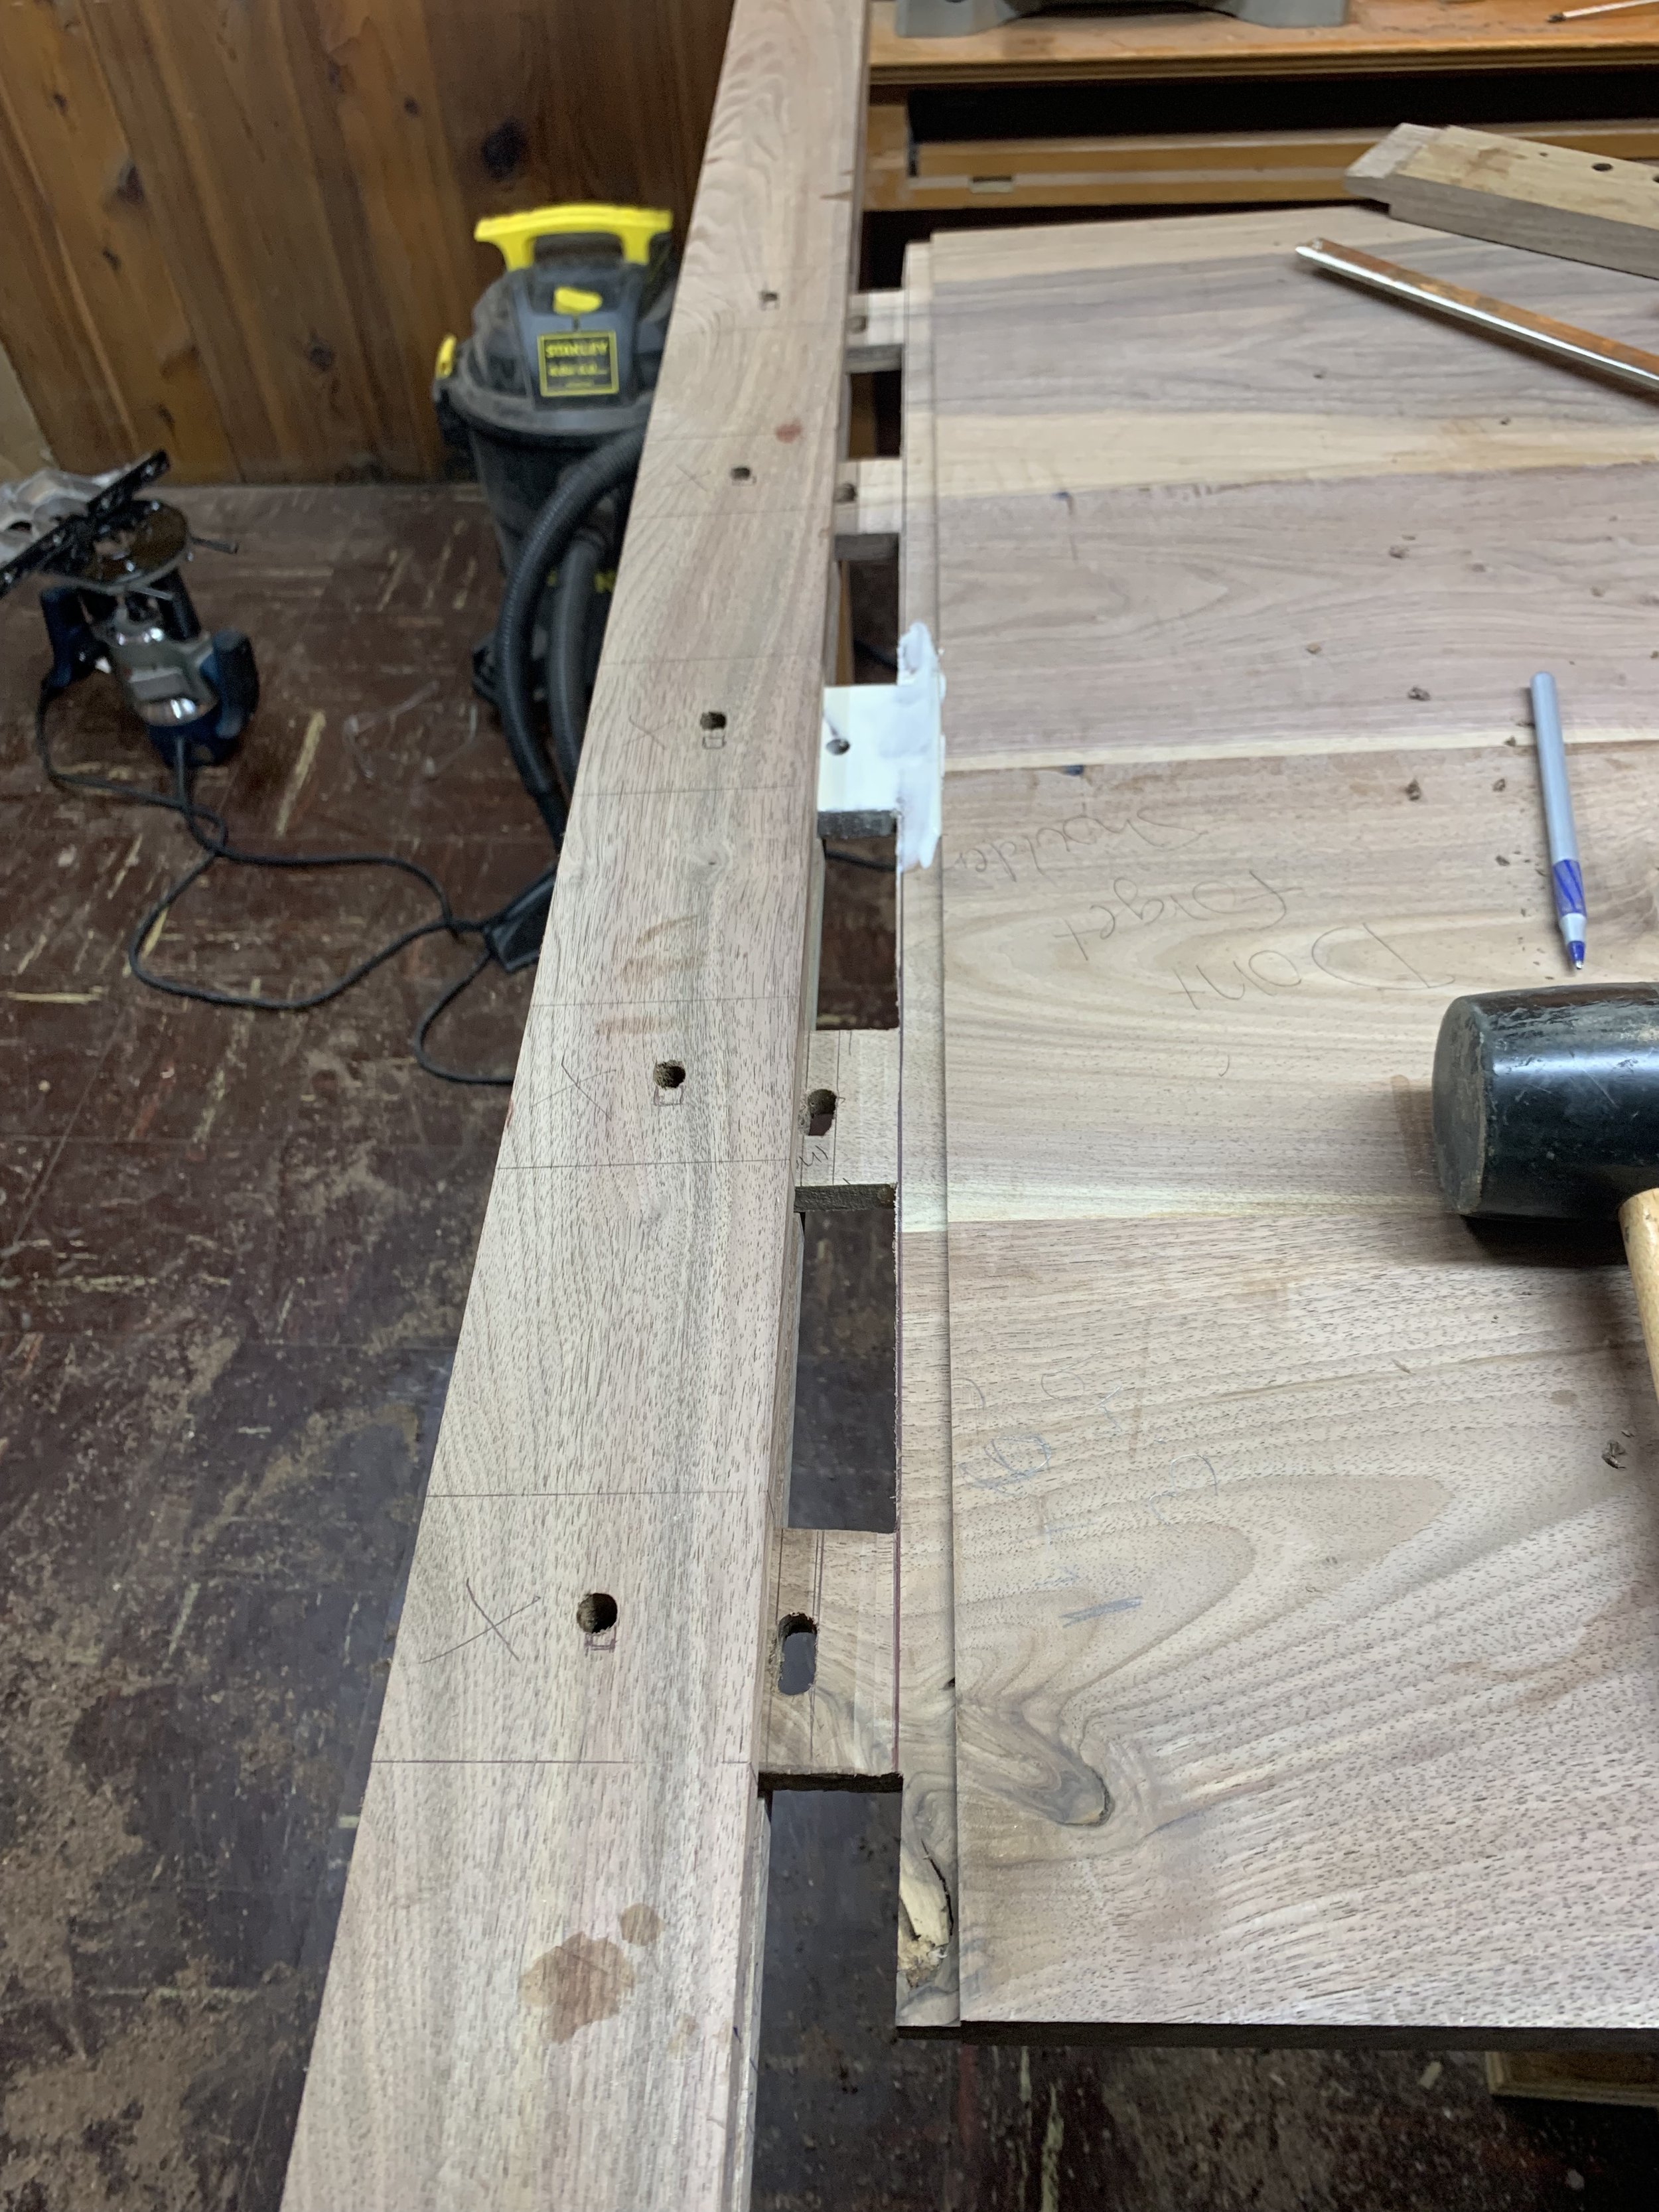
To properly secure the breadboard end to the panel, I glued the center tenon and mortise, but left the tenons to the right and left of the center unglued. This allows for the seasonal movement of the wood across grain, while the panel remains fixed within the breadboard by the center tenon. Dowels are necessary to go through the center of the tenons (but also left unglued) so that once the tenon is in place, the dowels all it to “float” within the mortise. As seen below, to do this I expanded the initial drilled hole to create a groove to float within.
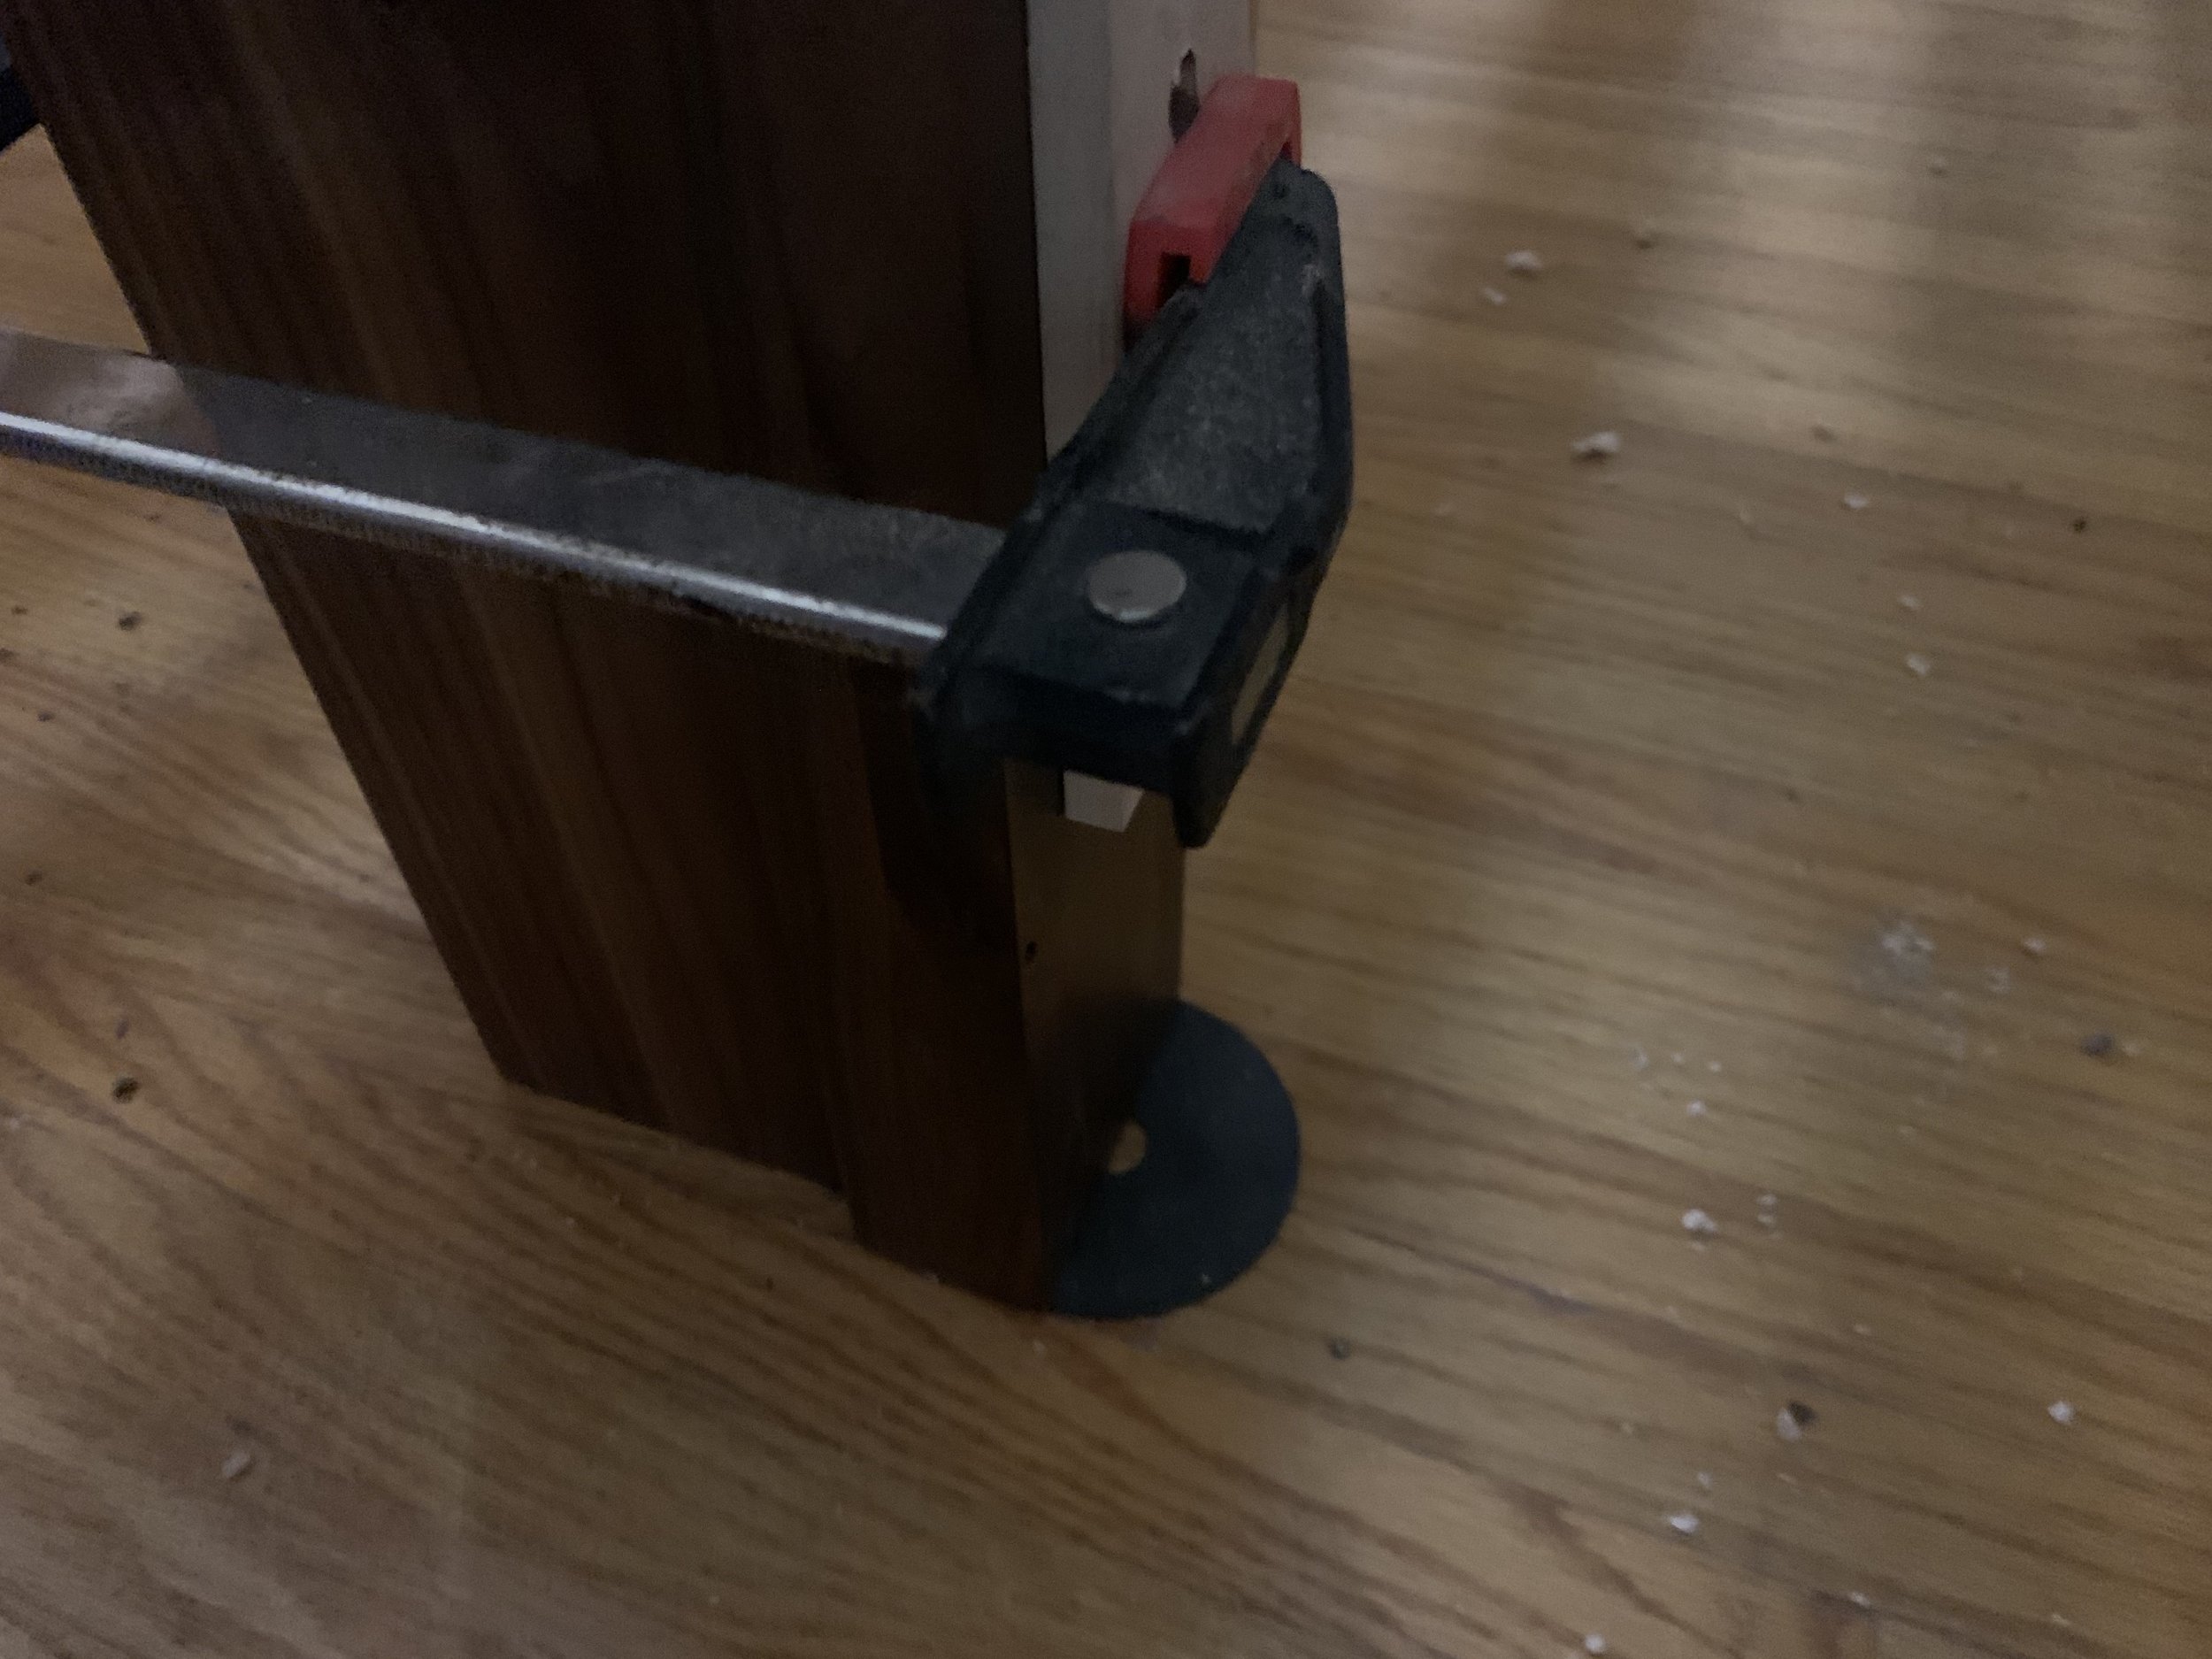
I clamped a piece of sacrificial stock to the bottom of the breadboard to help prevent tear-out when drilling the holes for the dowels, and drilled a 3/8” hole through the center of each tenon. Then, I removed the breadboard ends and re-drilled holes to the left and right of the current holes to create the groove for the tenon and allow the dowel to float. I cleaned these grooves up with a chisel afterwards.
After I expanding the holes, I reassembled the breadboard to the panel. I decided I’d use cherry dowels to give the project a nice accent. If I were to do this again, I’d have used a 3/8” forstener bit which produces a much cleaner hole than a standard drill bit; even though I used stock to prevent tear-out on the underside of the drilled piece, the drill produced a bit of tear-out on the top side. I repaired the tear-out as best as possible by using a mixture of black walnut sanding dust and epoxy mixture, later sanding flush.
Finishing and Assembly
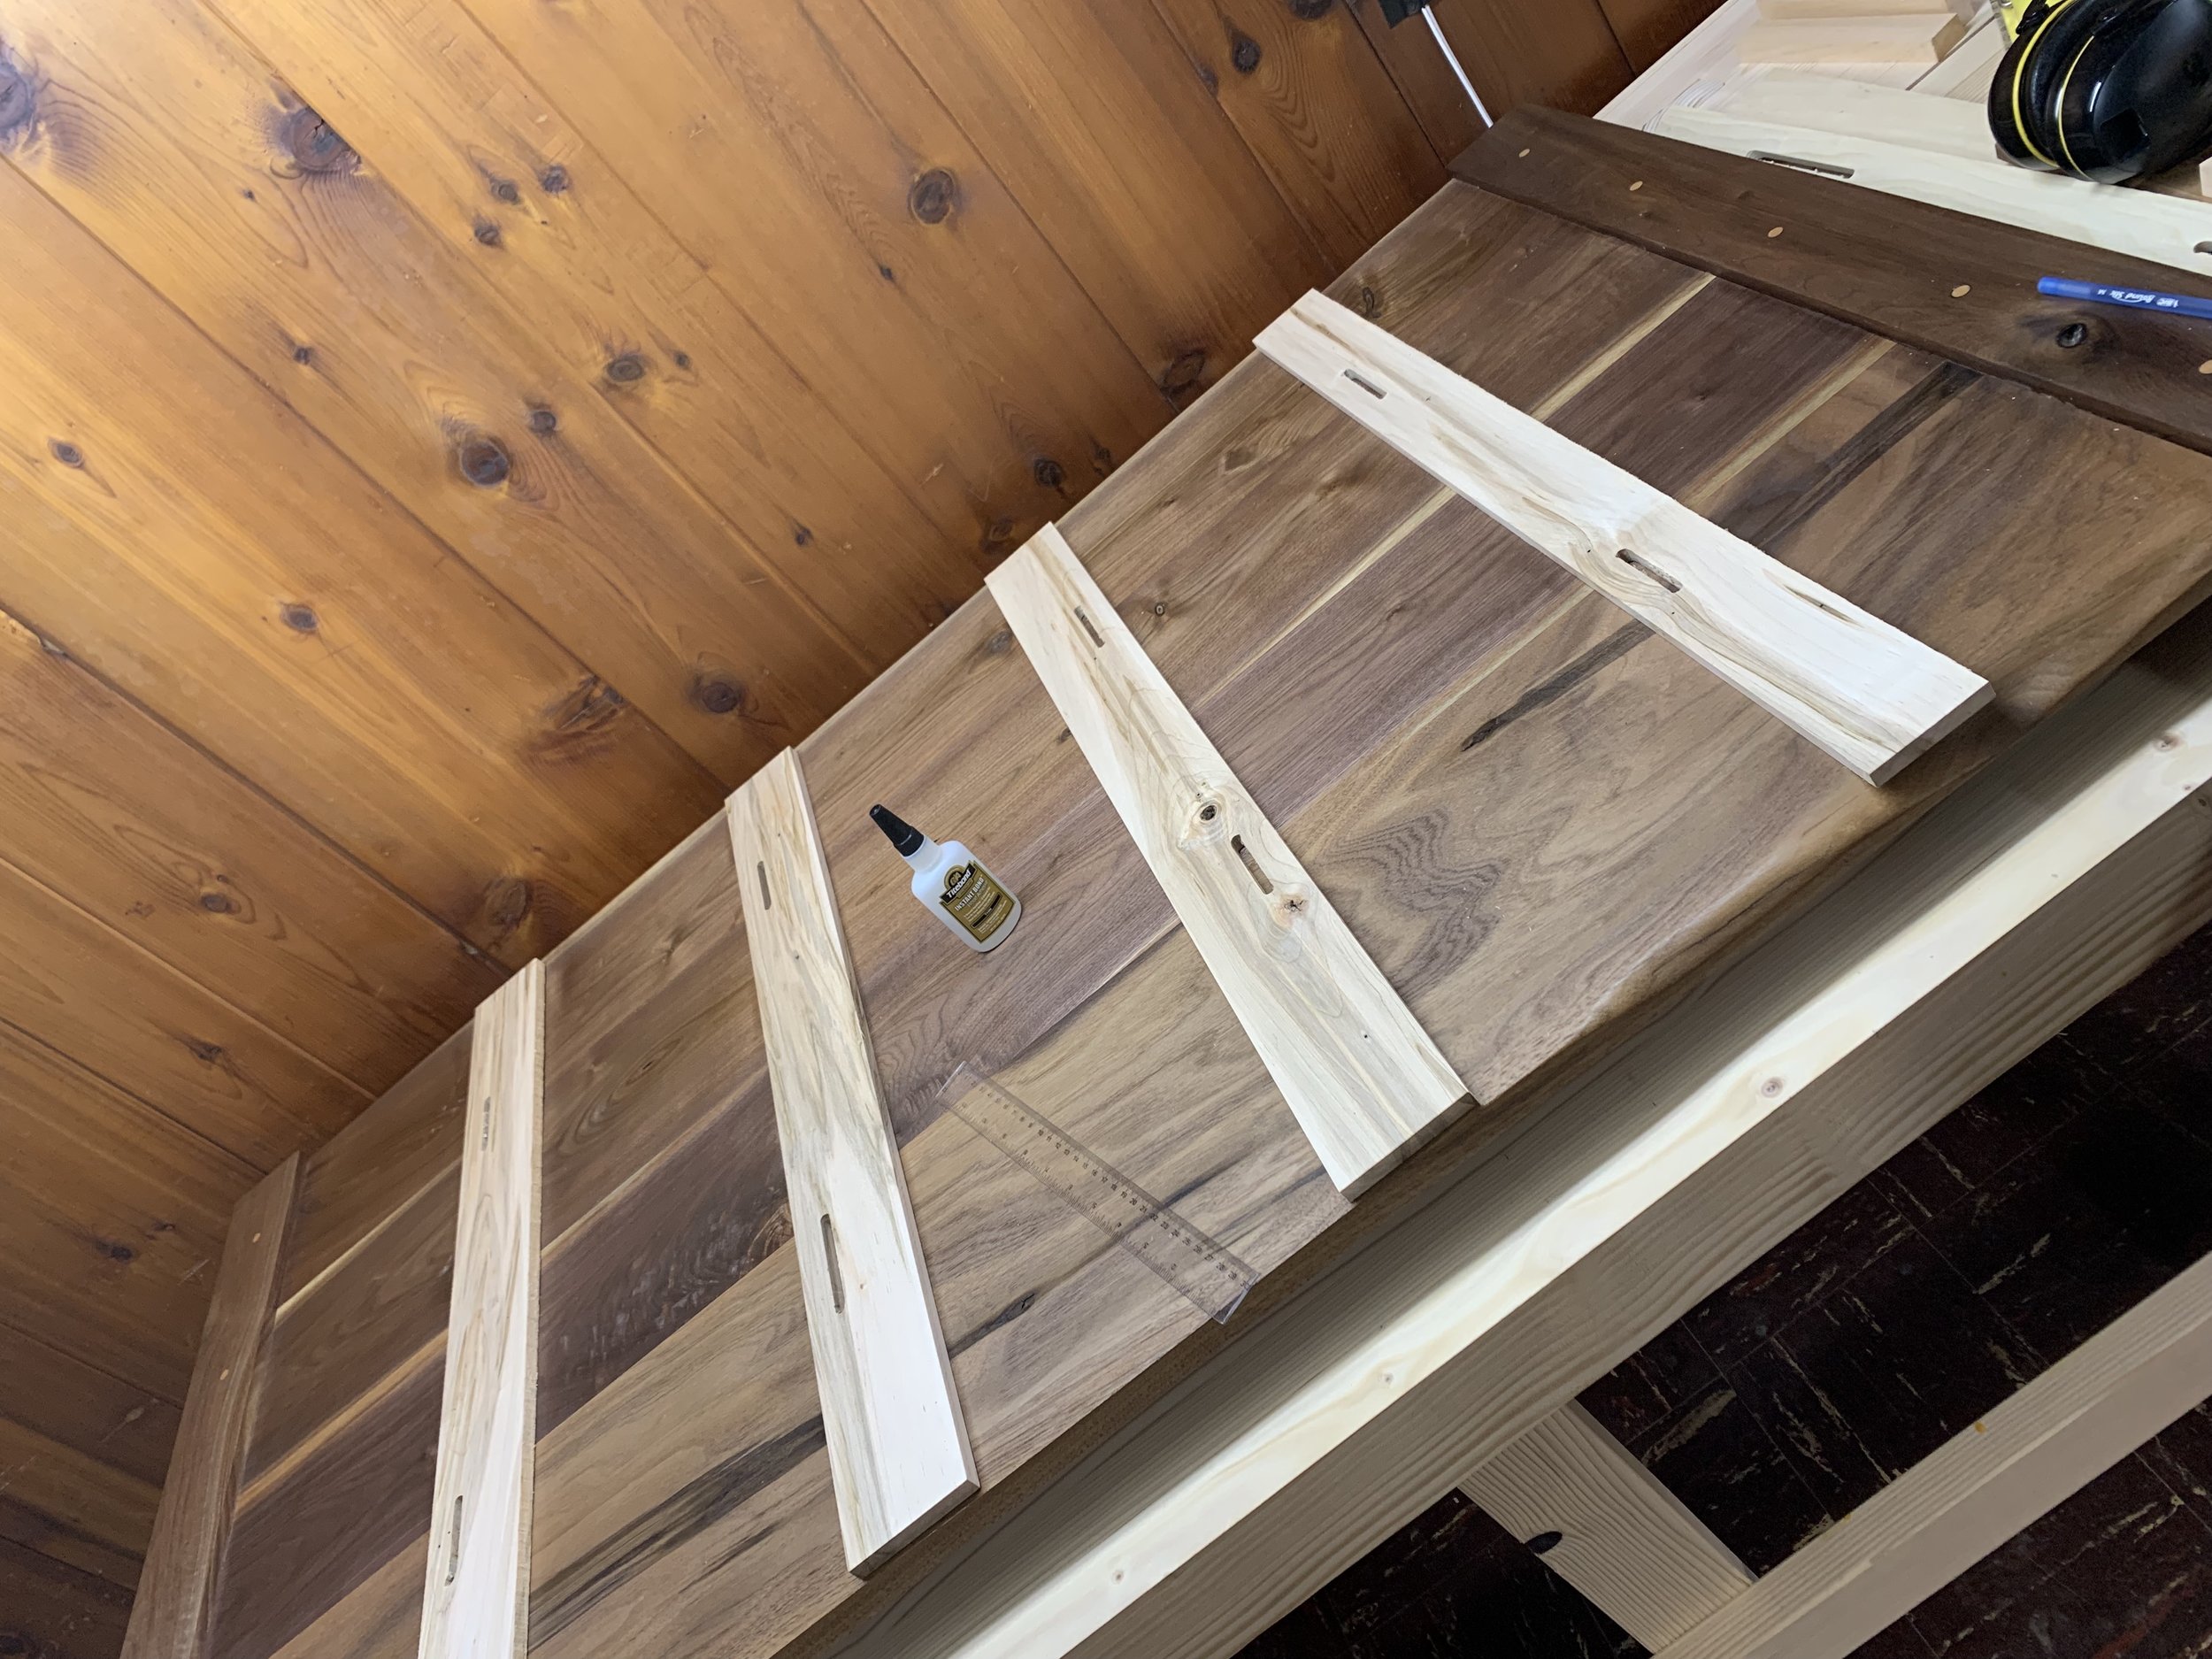
Step 7: Finishing and reinforcing the panel- after a long time spent sanding, sanding, and more sanding, I was ready to finish the project. I used 3 coats of Arm-N-Seal Satin top coat on both sides of the headboard, ever so lightly touching the surface with 400 grit sandpaper between coats. After the project was done, I realized I was a bit worried about the panel portion of the headboard flexing or taking abuse (sudden sitting against it for example). Though I was confident in the joinery and the panel thickness of 3/4”, I wanted to reinforce and minimize risk of the headboard panel being flexed or sudden shock to it. I planed a few pieces of maple to 1/8” thickness so that it was flush with the breadboard ends, and glued it to the back of the headboard (I only used a drop of glue in the center of the pieces, so that it didn’t prevent wood from moving and expanding across the grain - which would ruin the entire concept of the breadboard end design). With the scrap maple runners in place, I could now confidently push the headboard flush against the wall and know that the panel wouldn’t have any room for play or flexing.
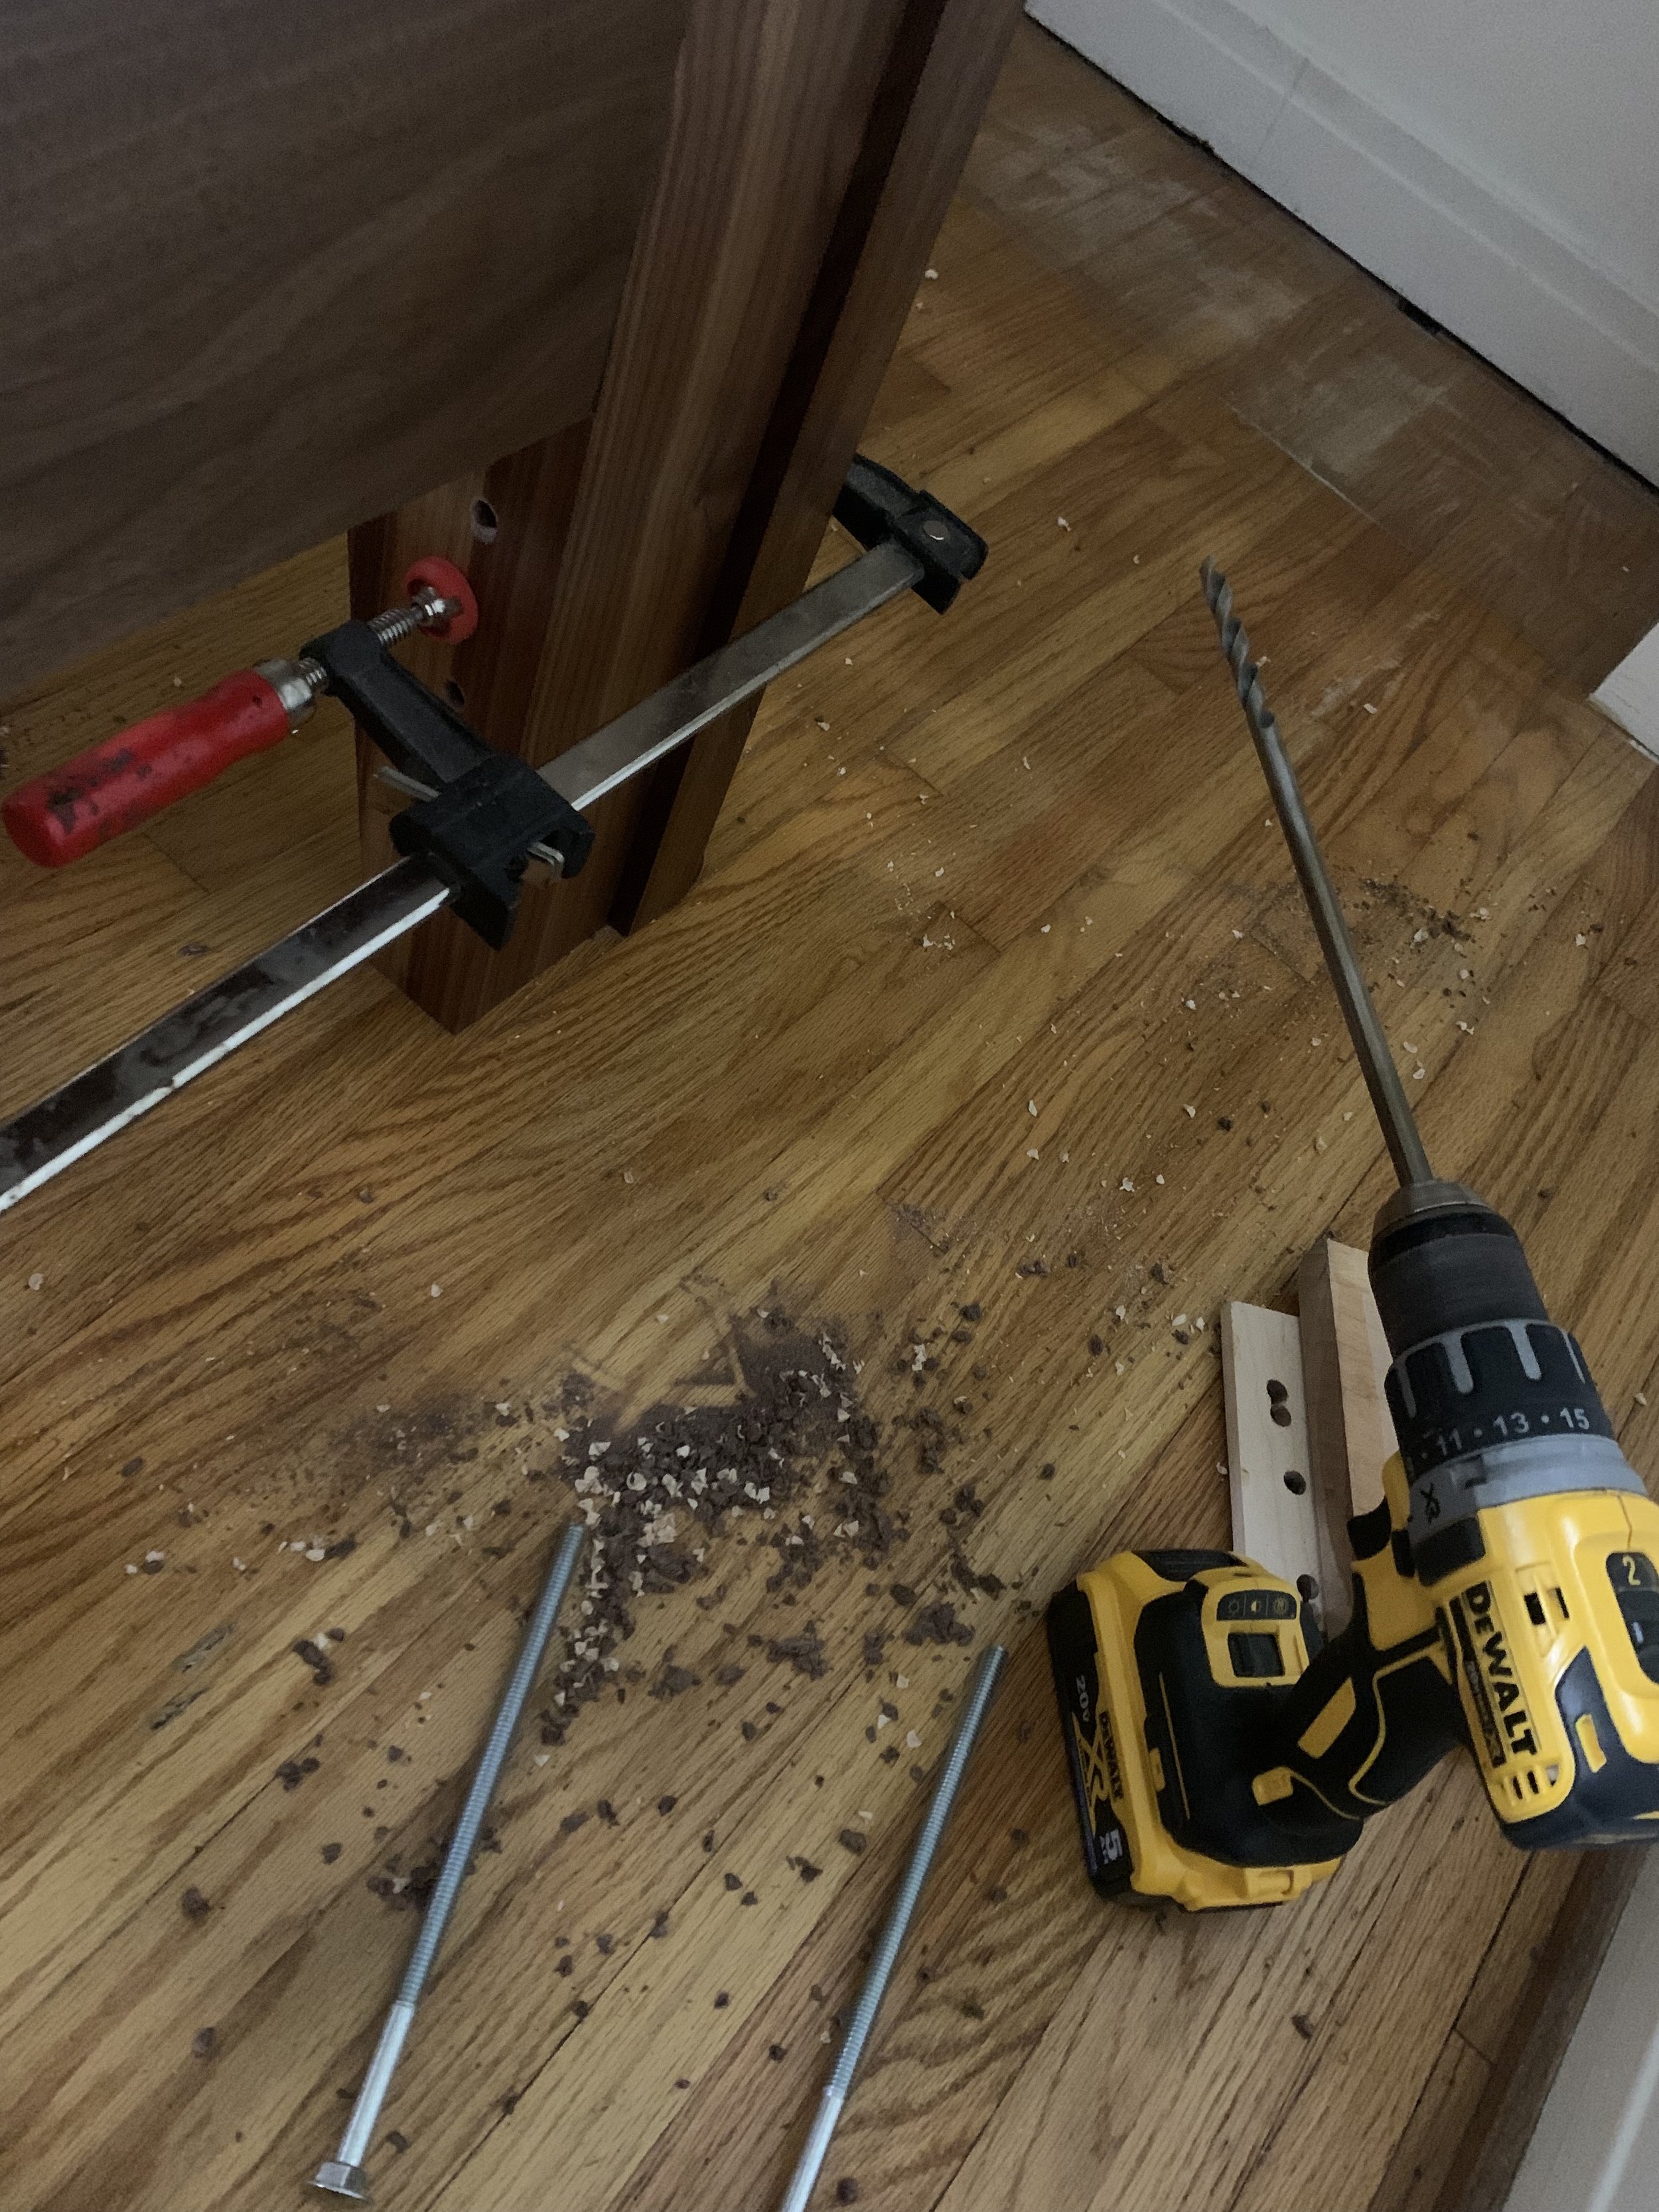
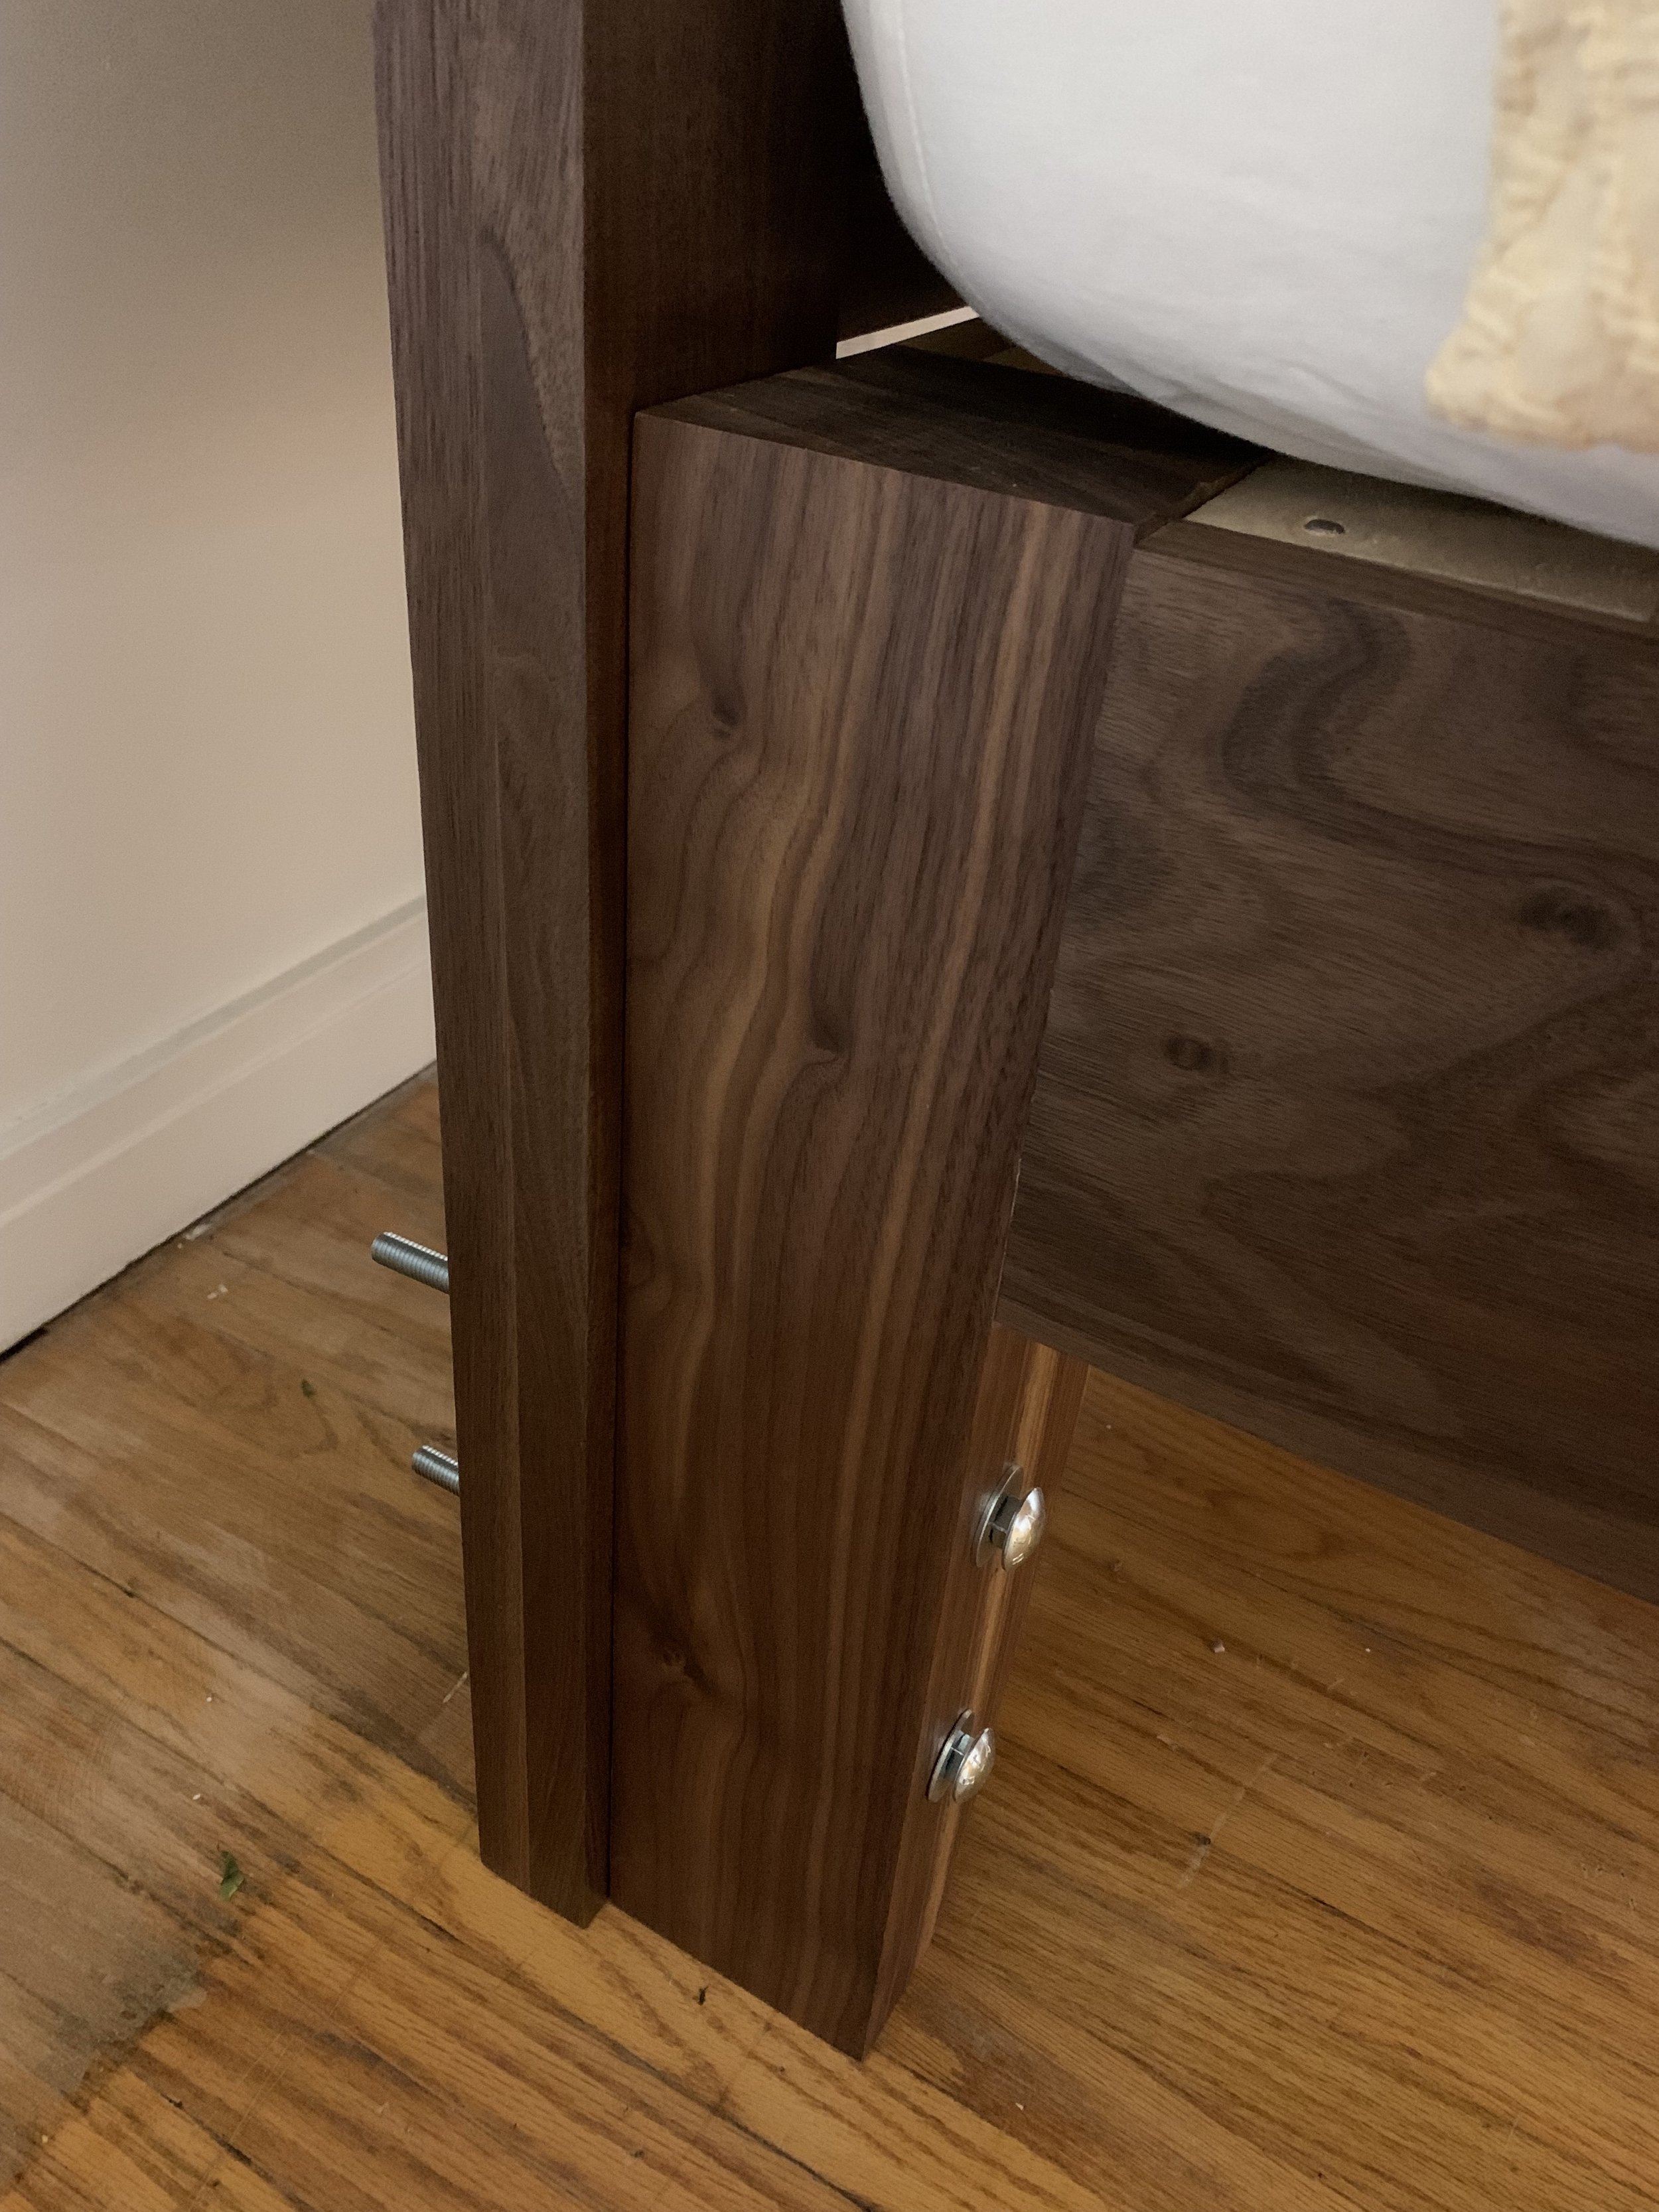
Step 8: Attaching to the existing frame - to attach the headboard, I drilled 3/8” holes to secure it to the 3.5”x3.5” legs of the current bed frame - I used lag bolts, washers and lock washers. I learned my lesson on the tear-out, and used scrap stock on both the back and front of the drilling surface. It may have been overkill, but I decided to expand the 3/8” holes I drilled in the headboard posts to 5/8”: a 1/8” increase upwards, and 1/8” increase downwards, so that in the event of an uneven floor surface, both the bed frame and headboard would sit flush on the floor. To do this I positioned 1/8” shims under the bed legs, re-drilled through the existing 3/8” hole in the bed leg, then re-positioned the 1/8” shim under the headboard post this time, and re-drilled through the existing 3/8” hole.
