Walnut Bedframe
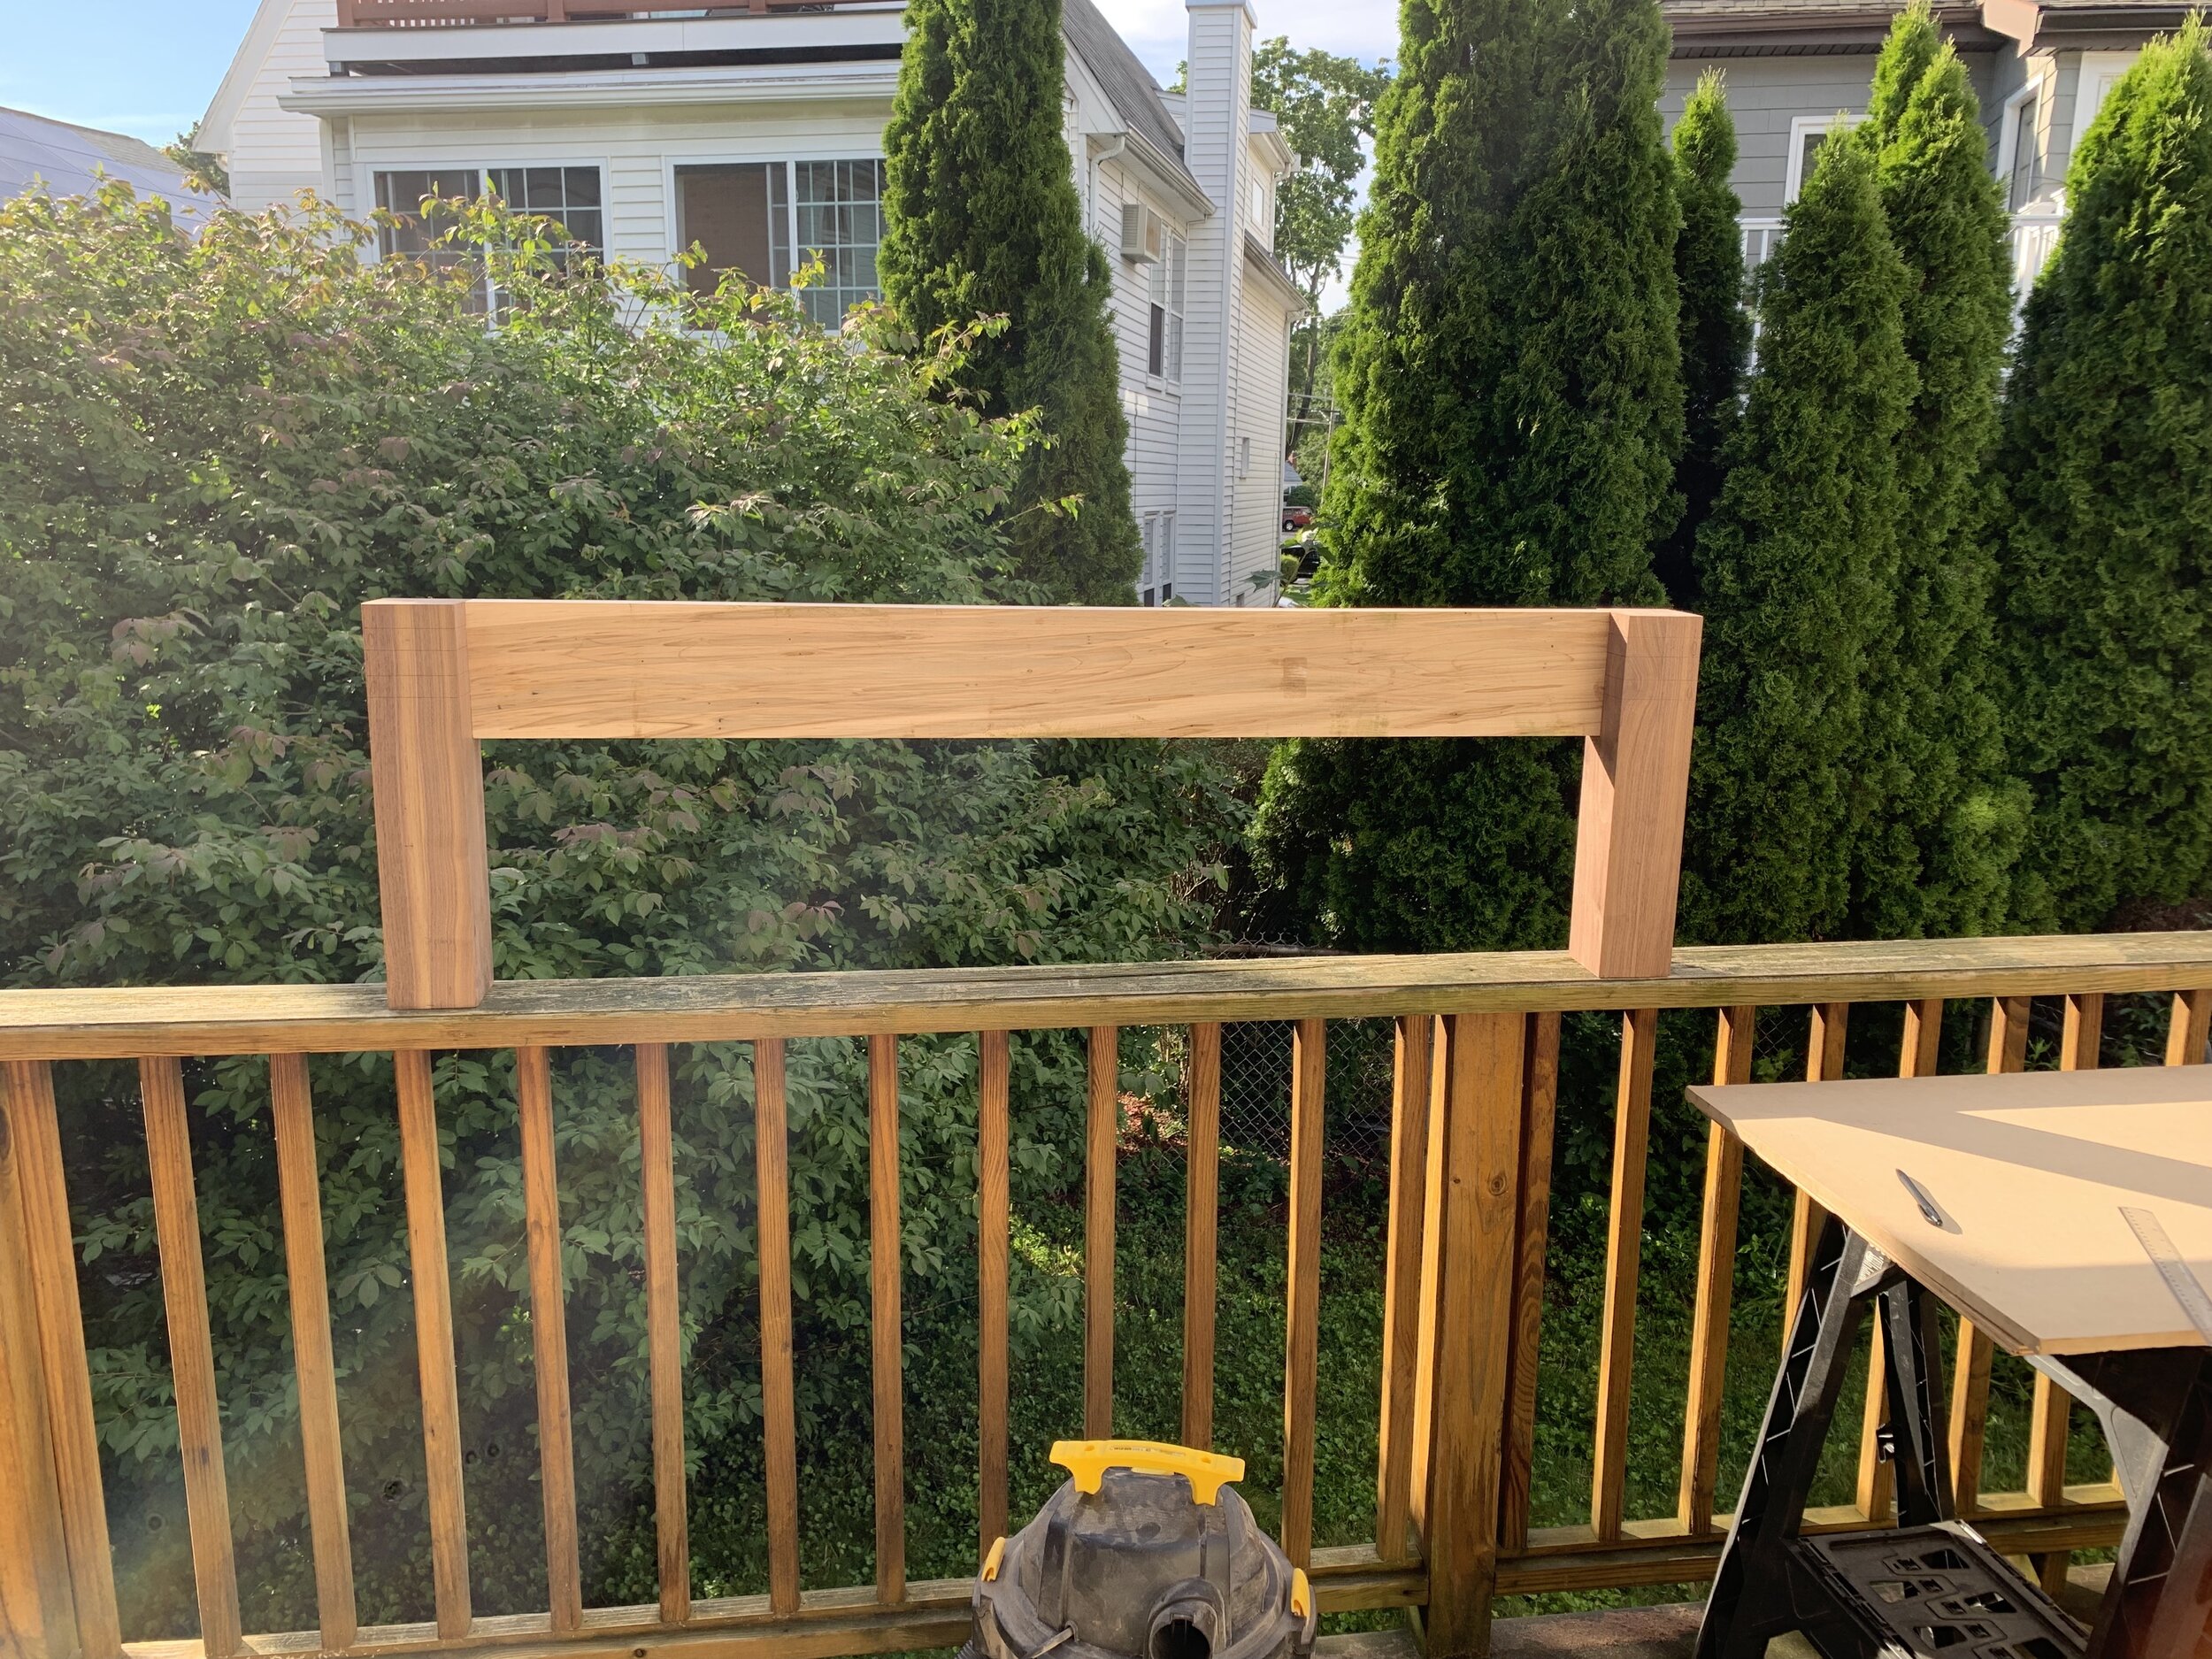
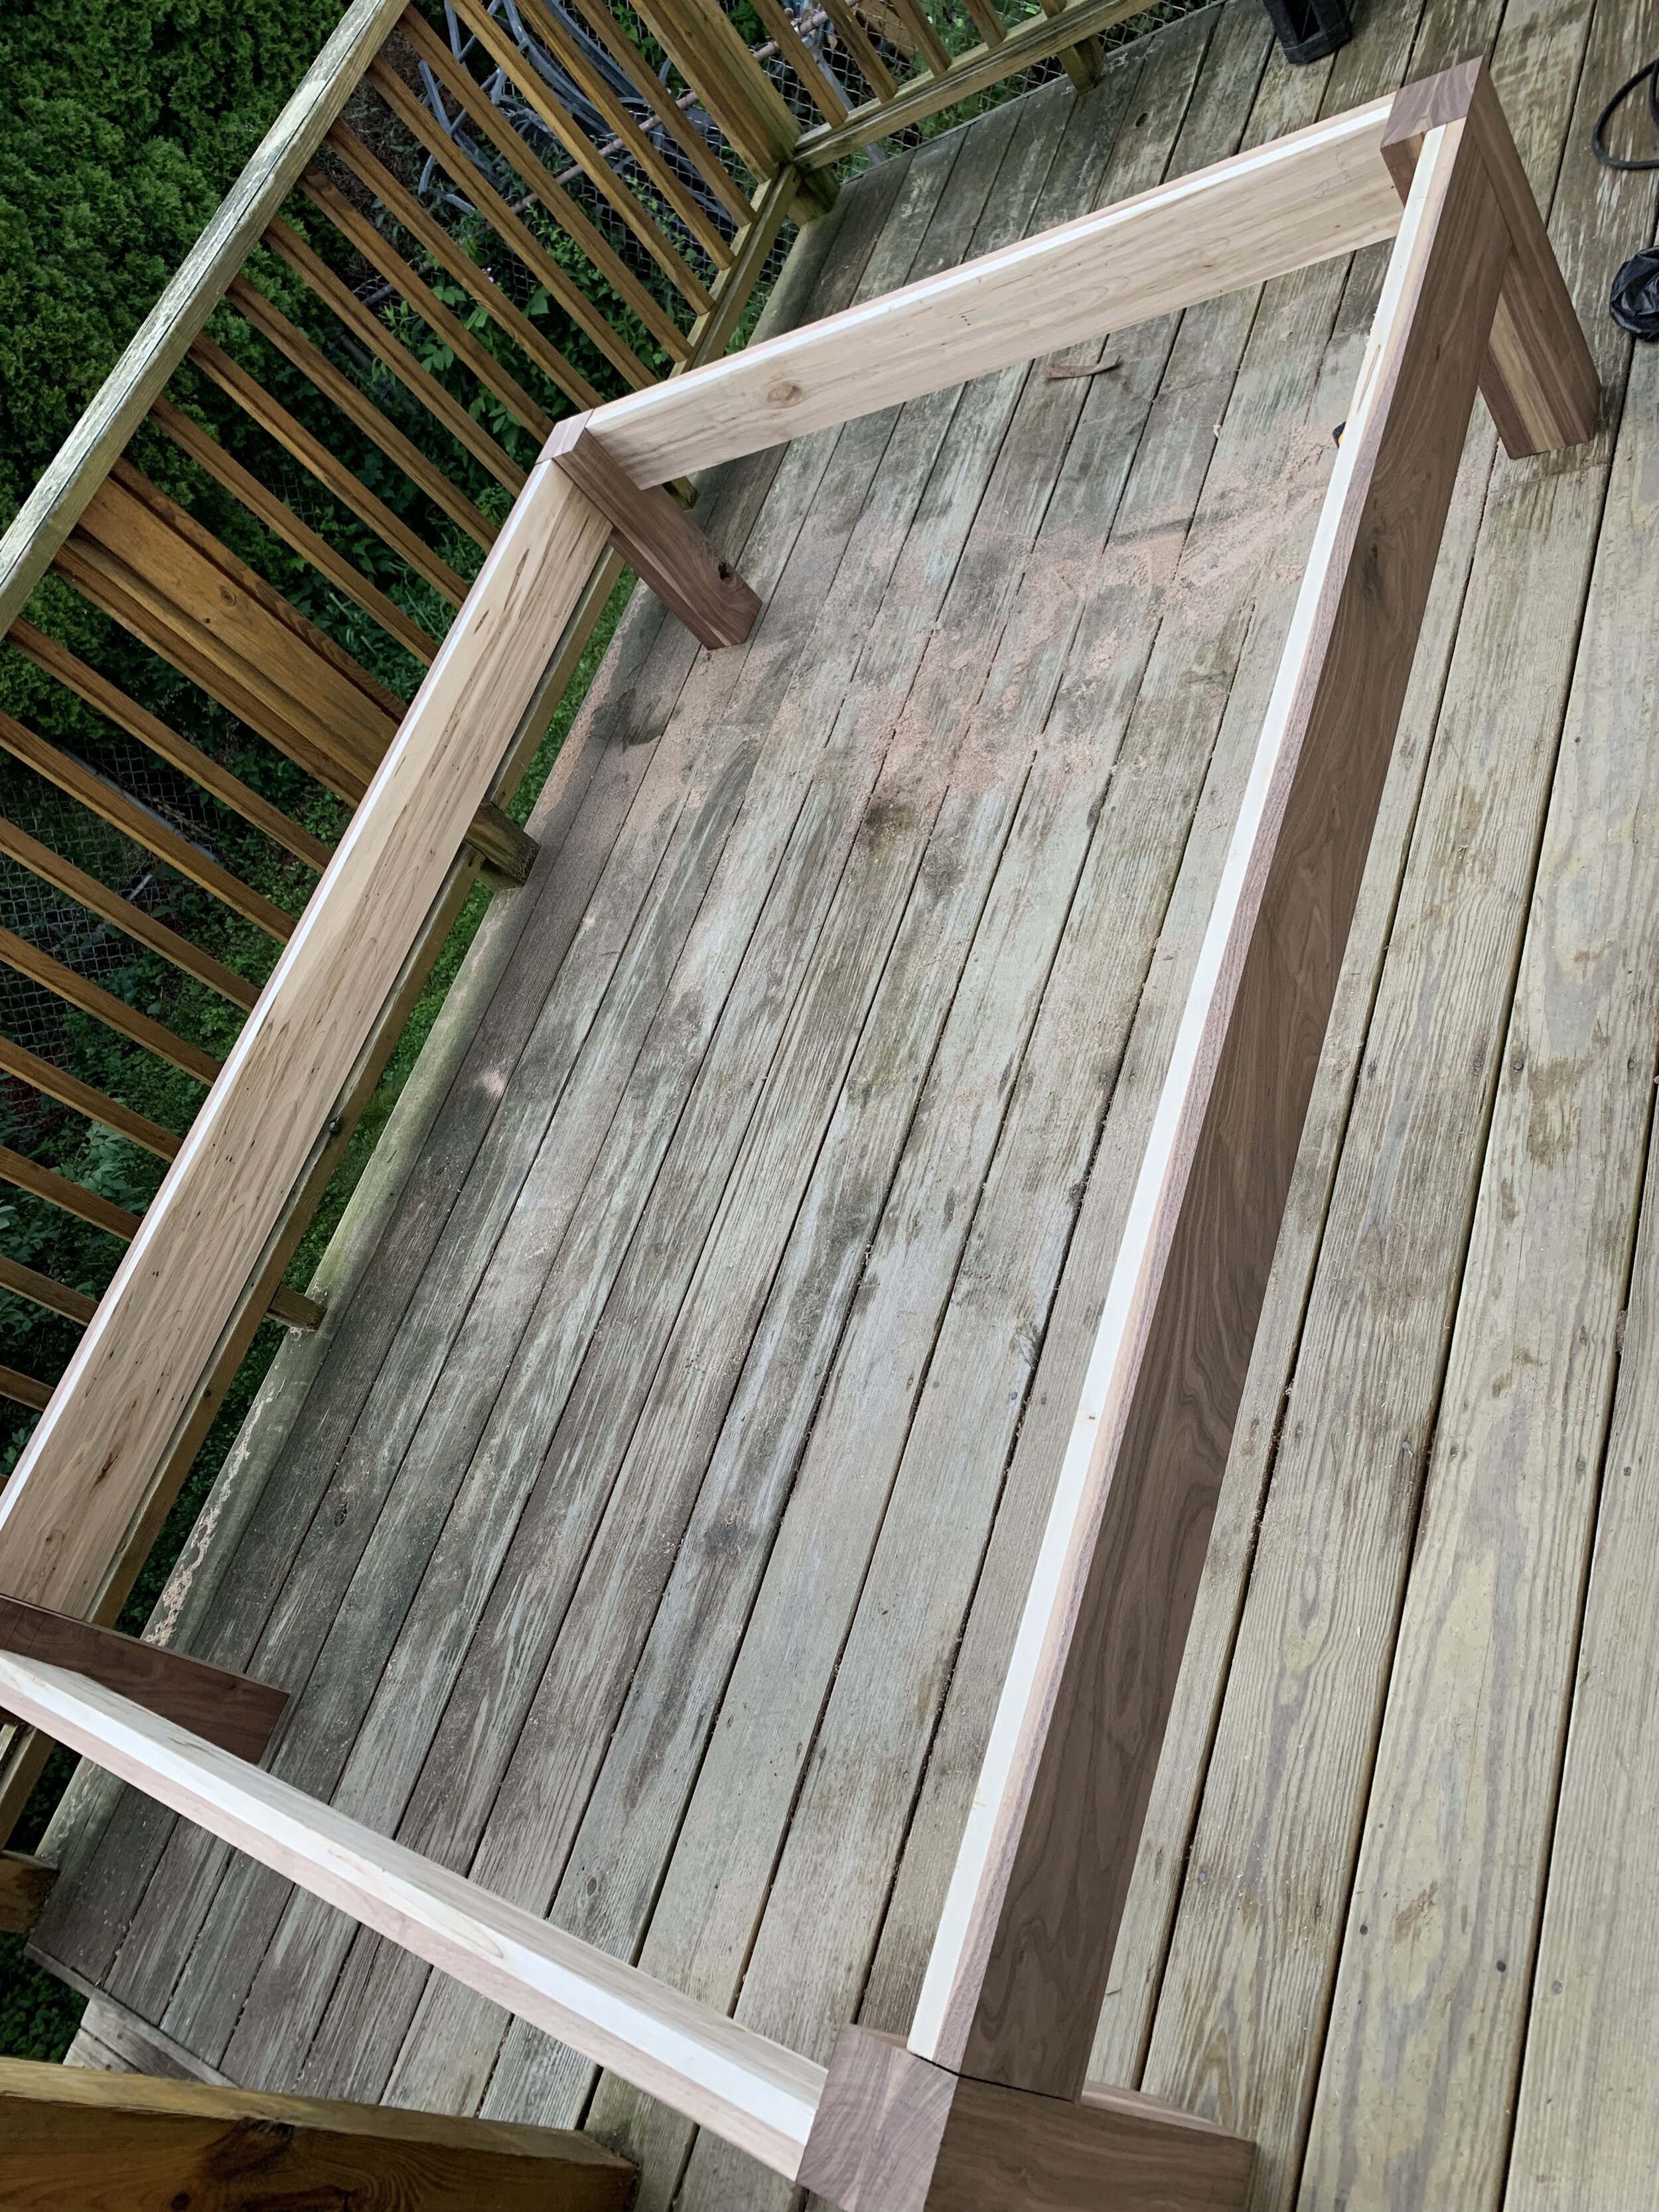
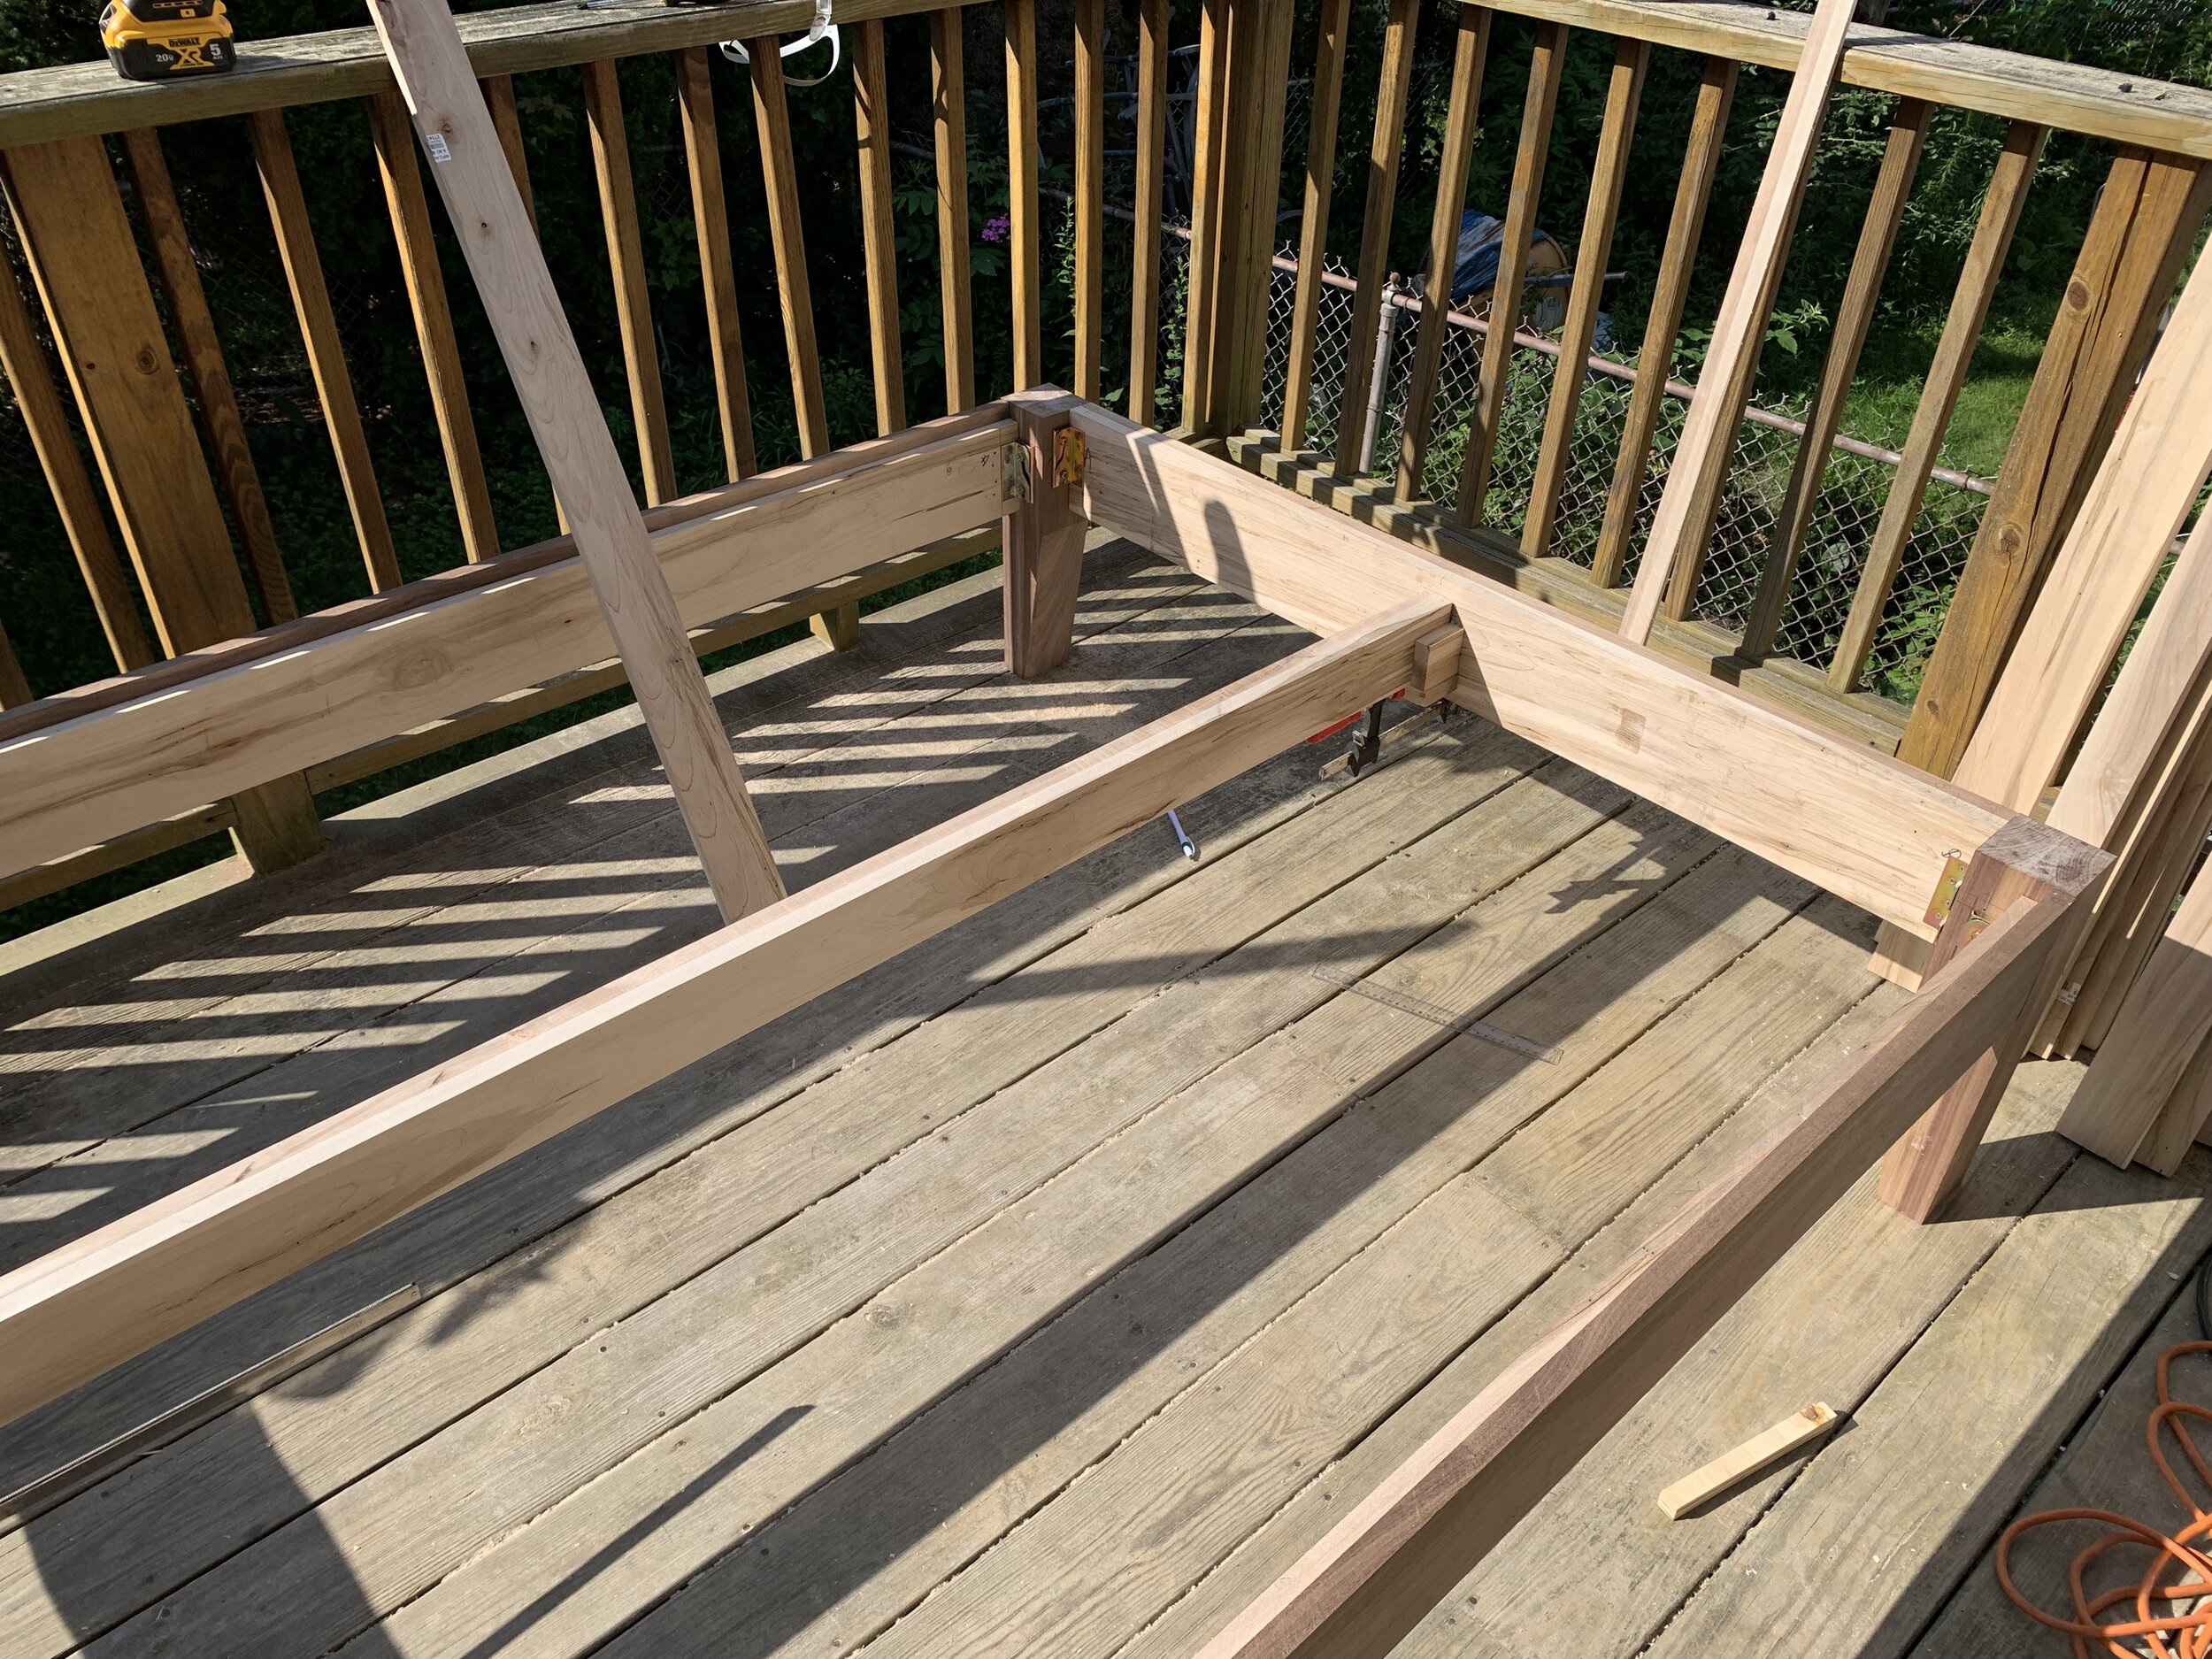
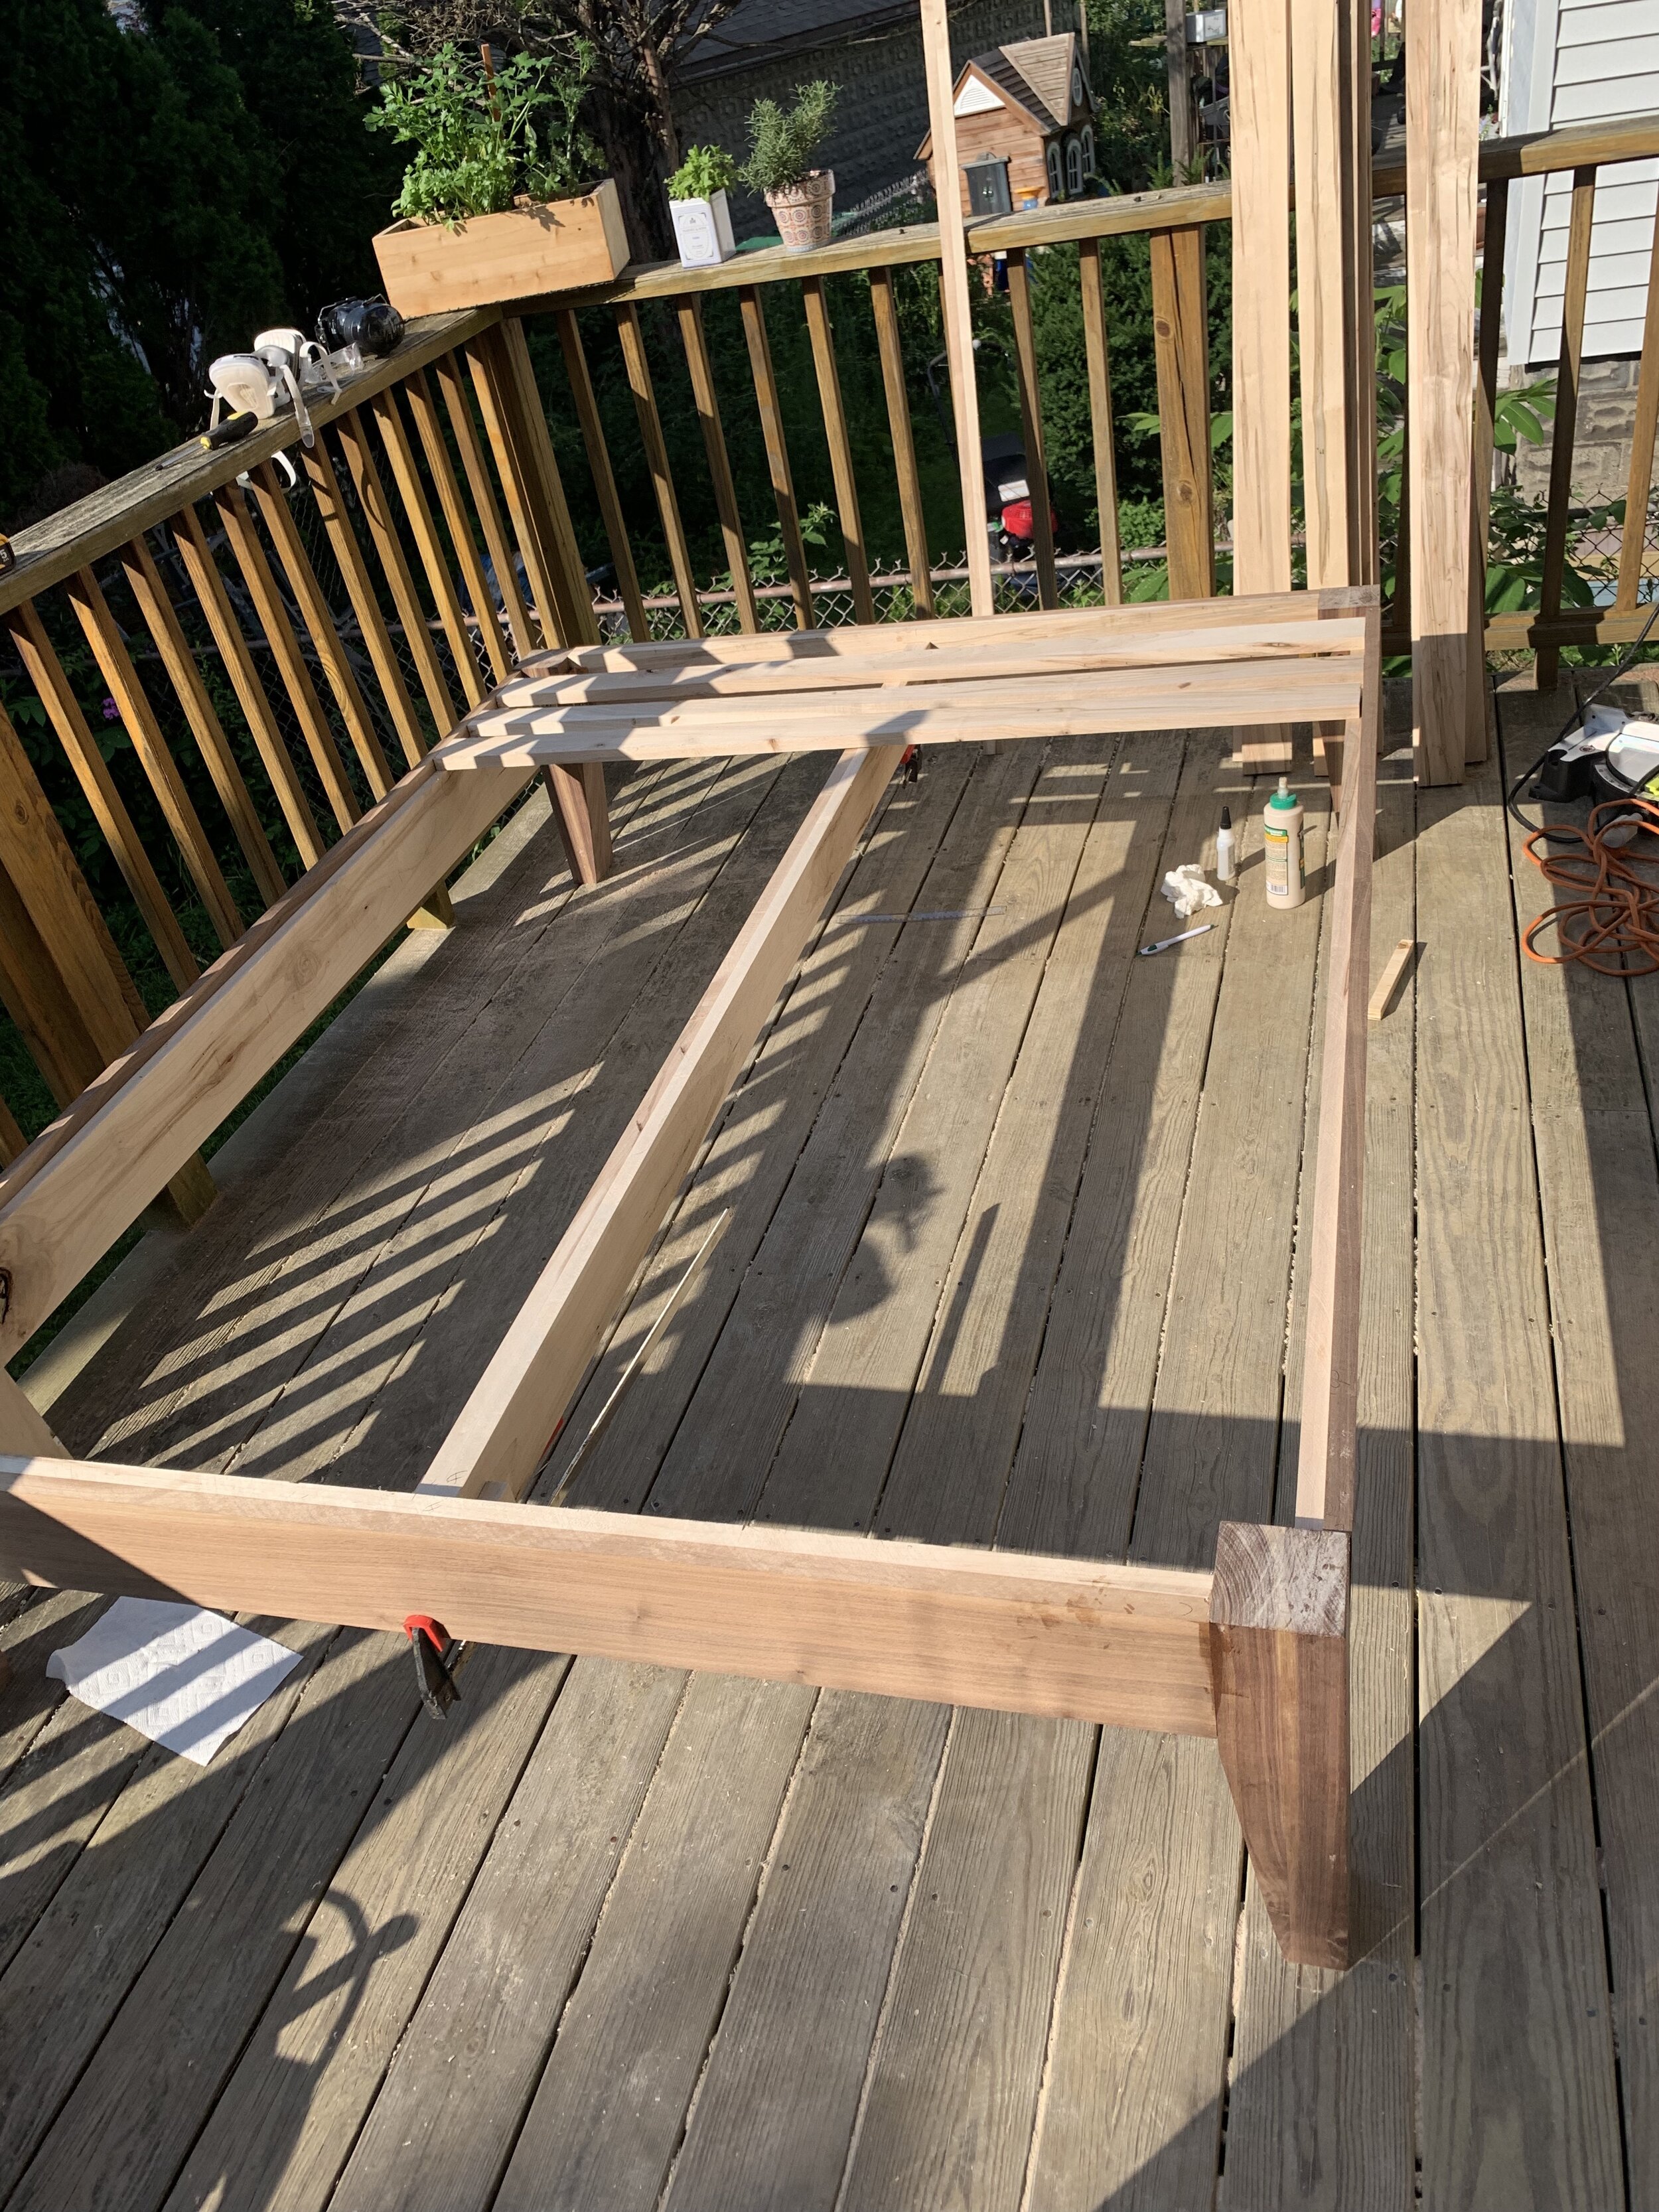
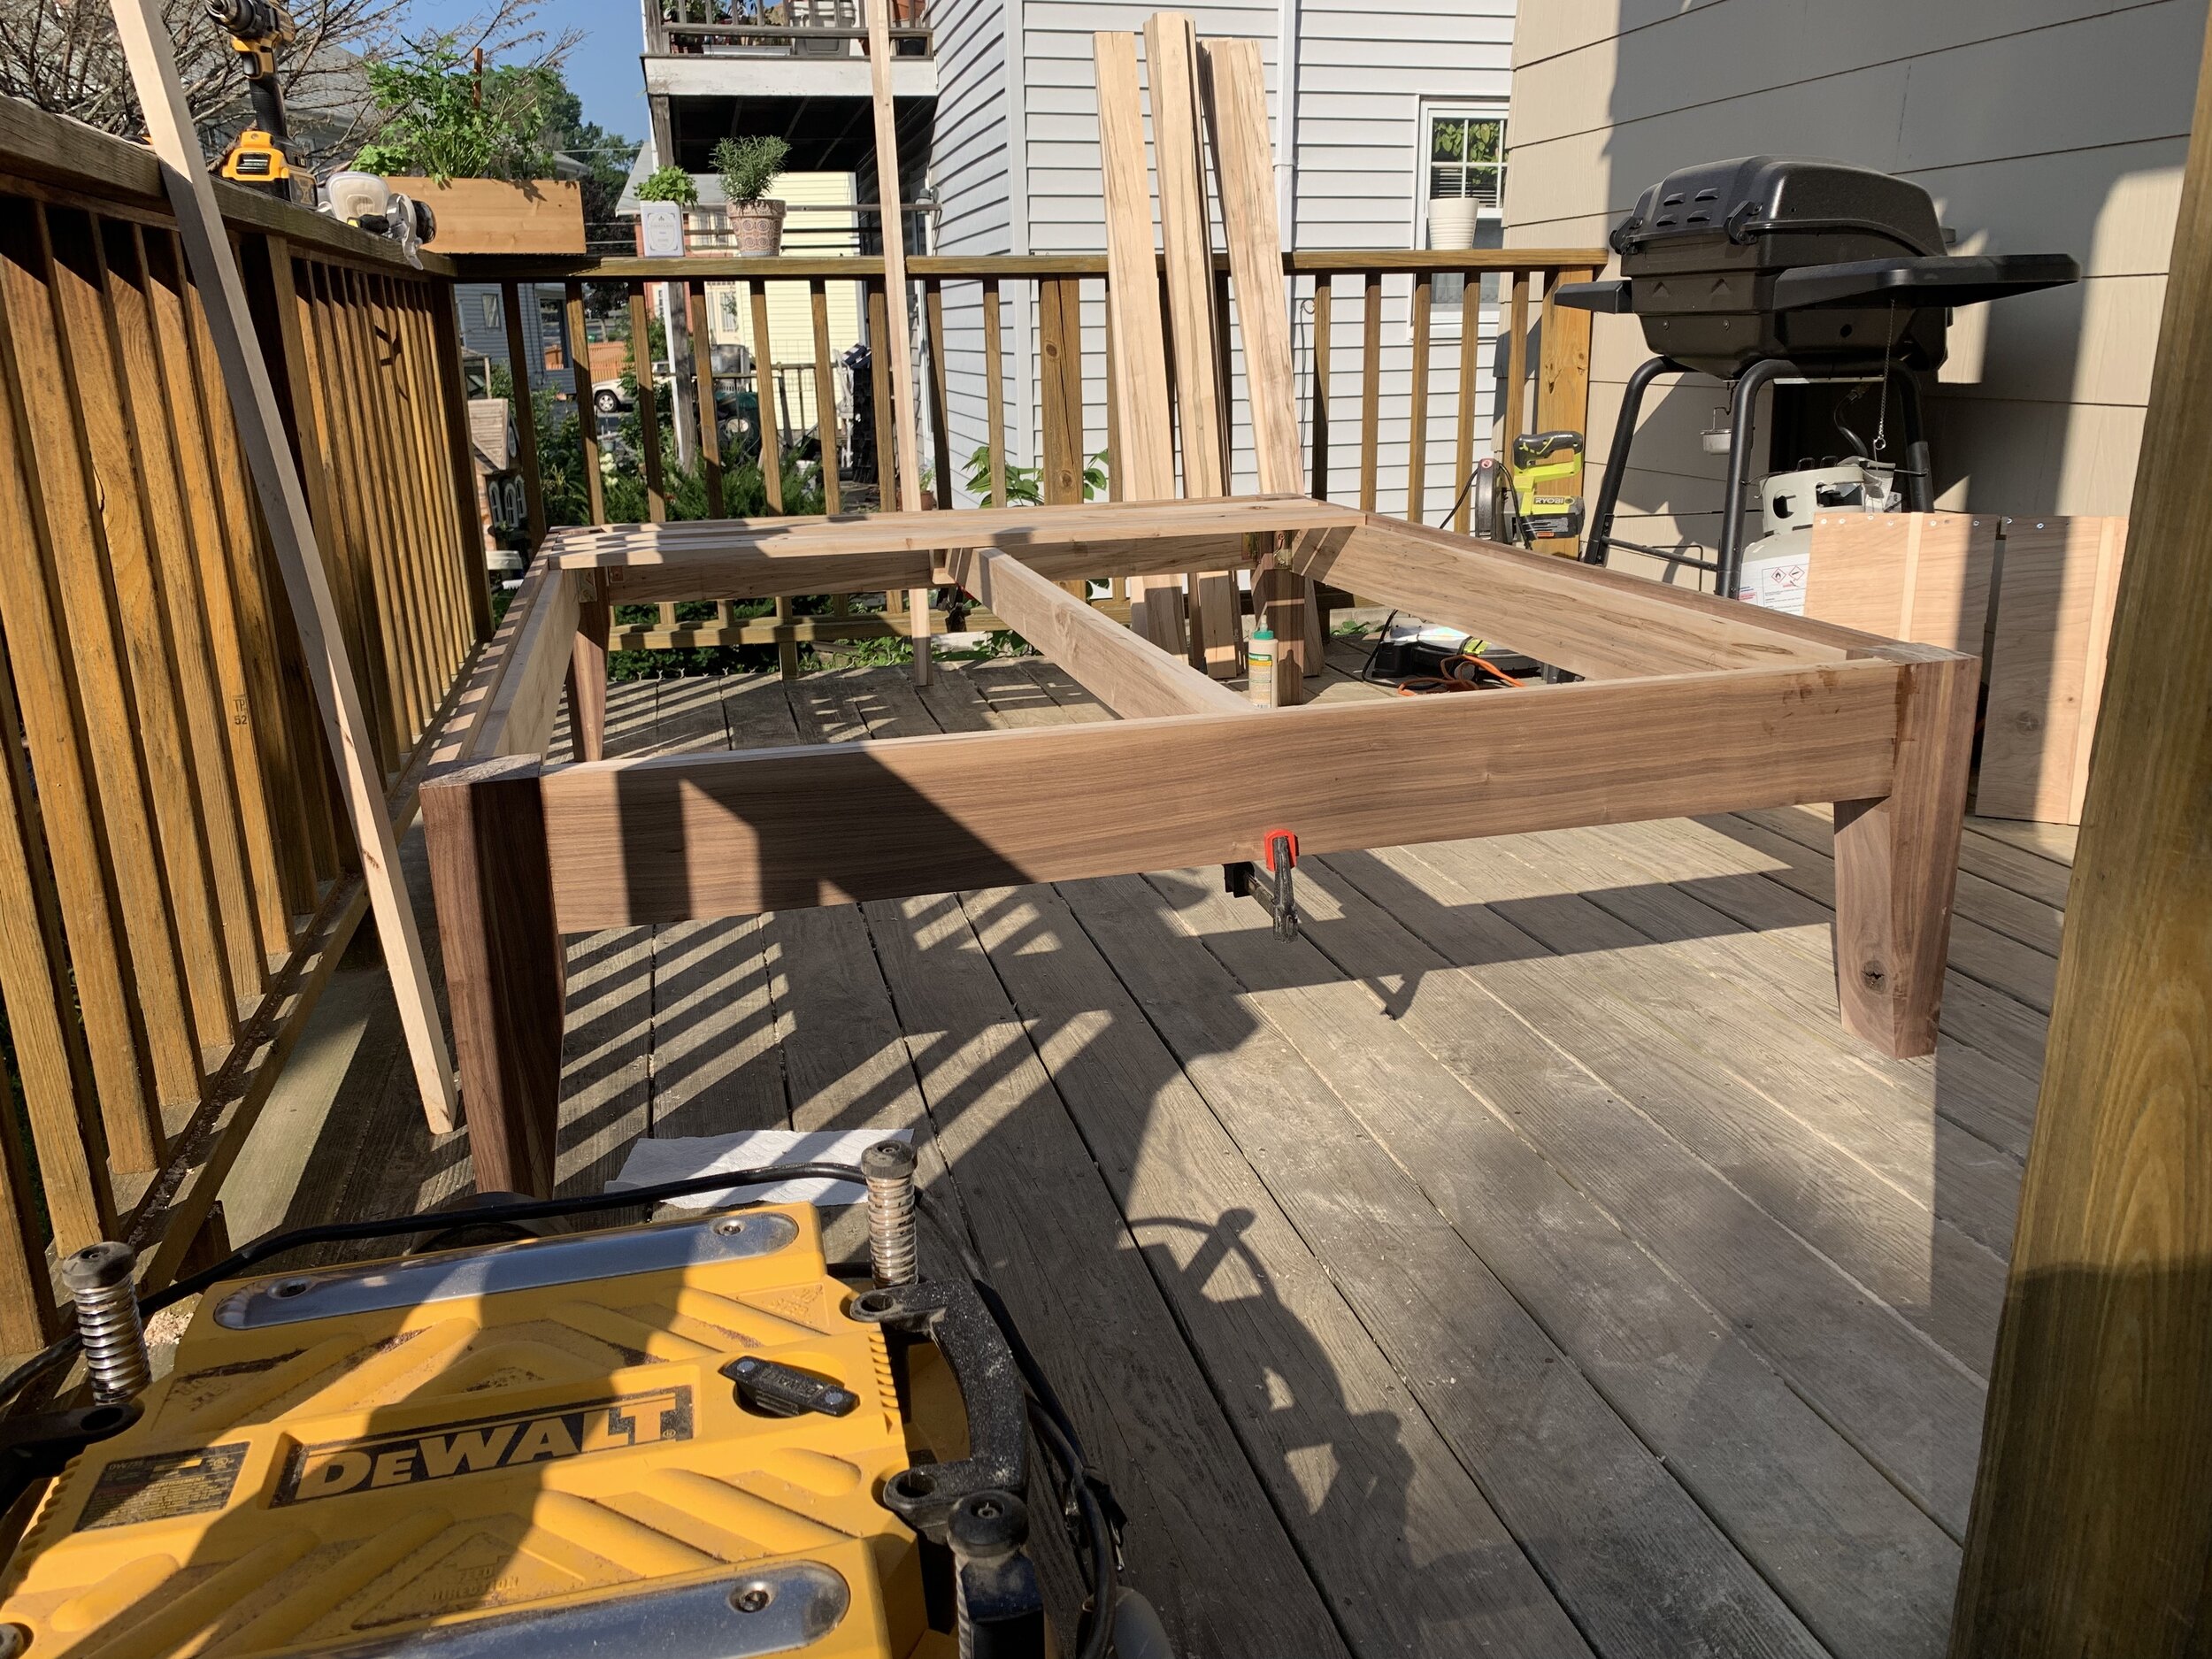
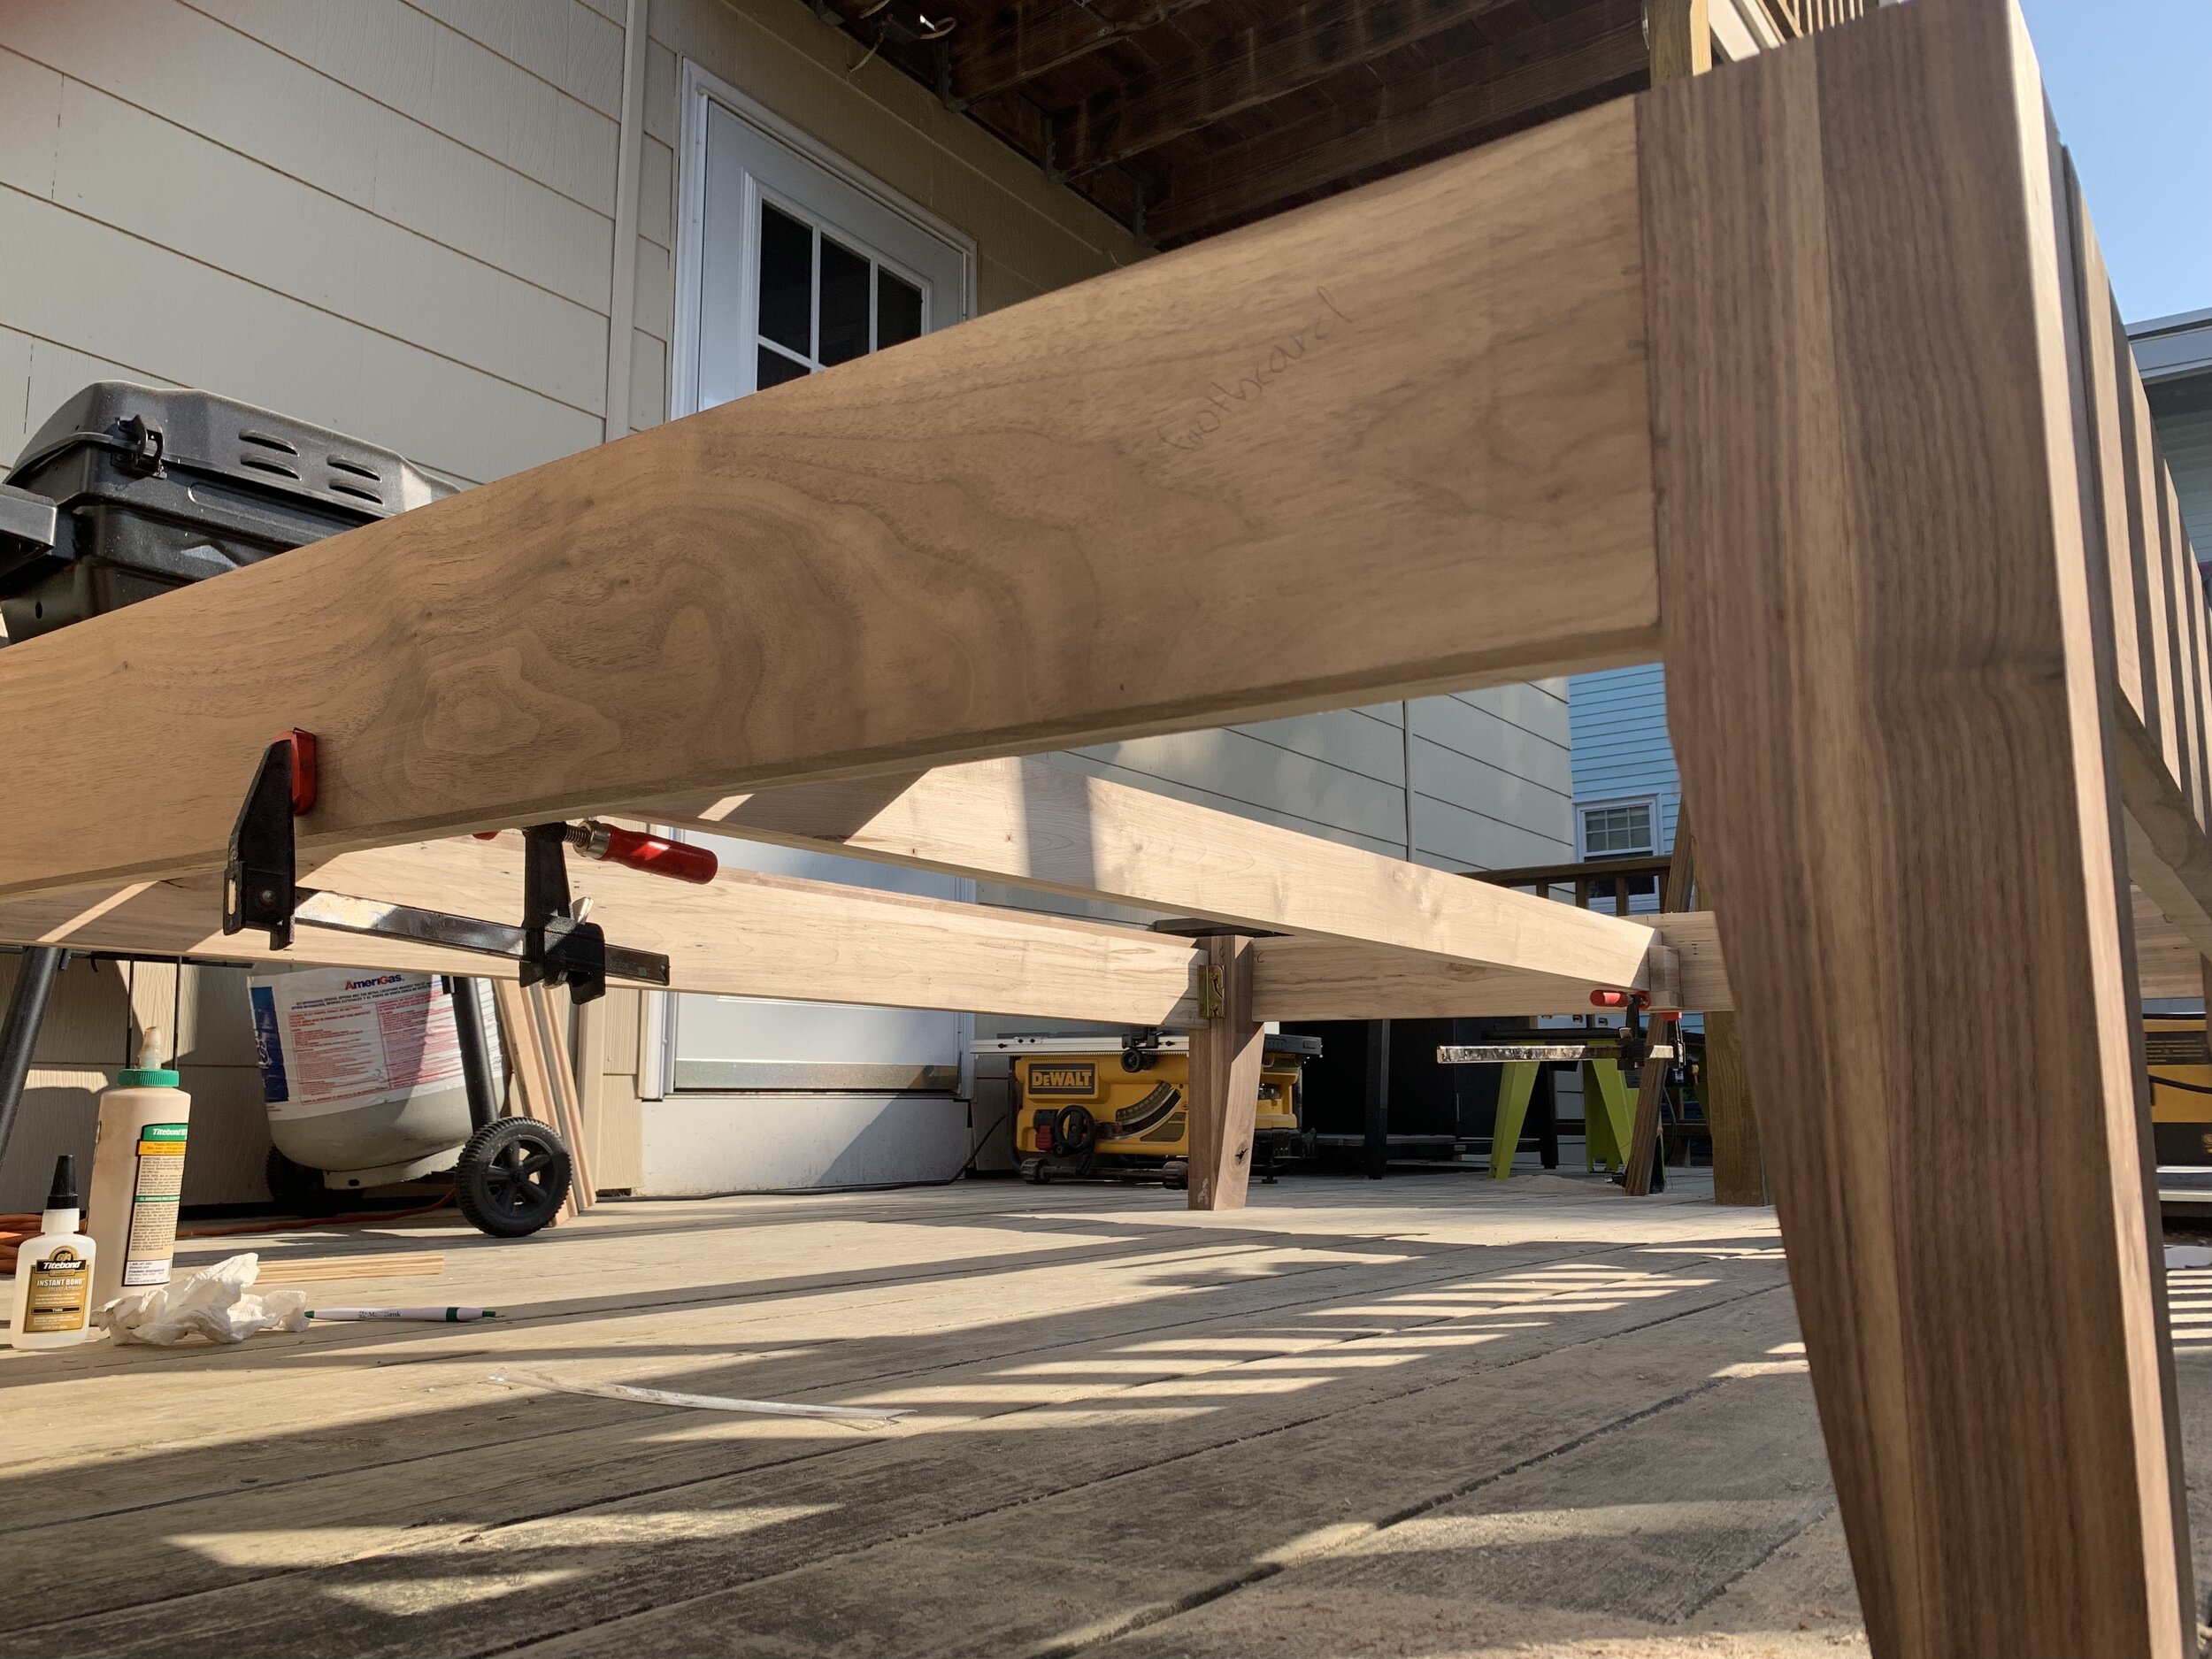
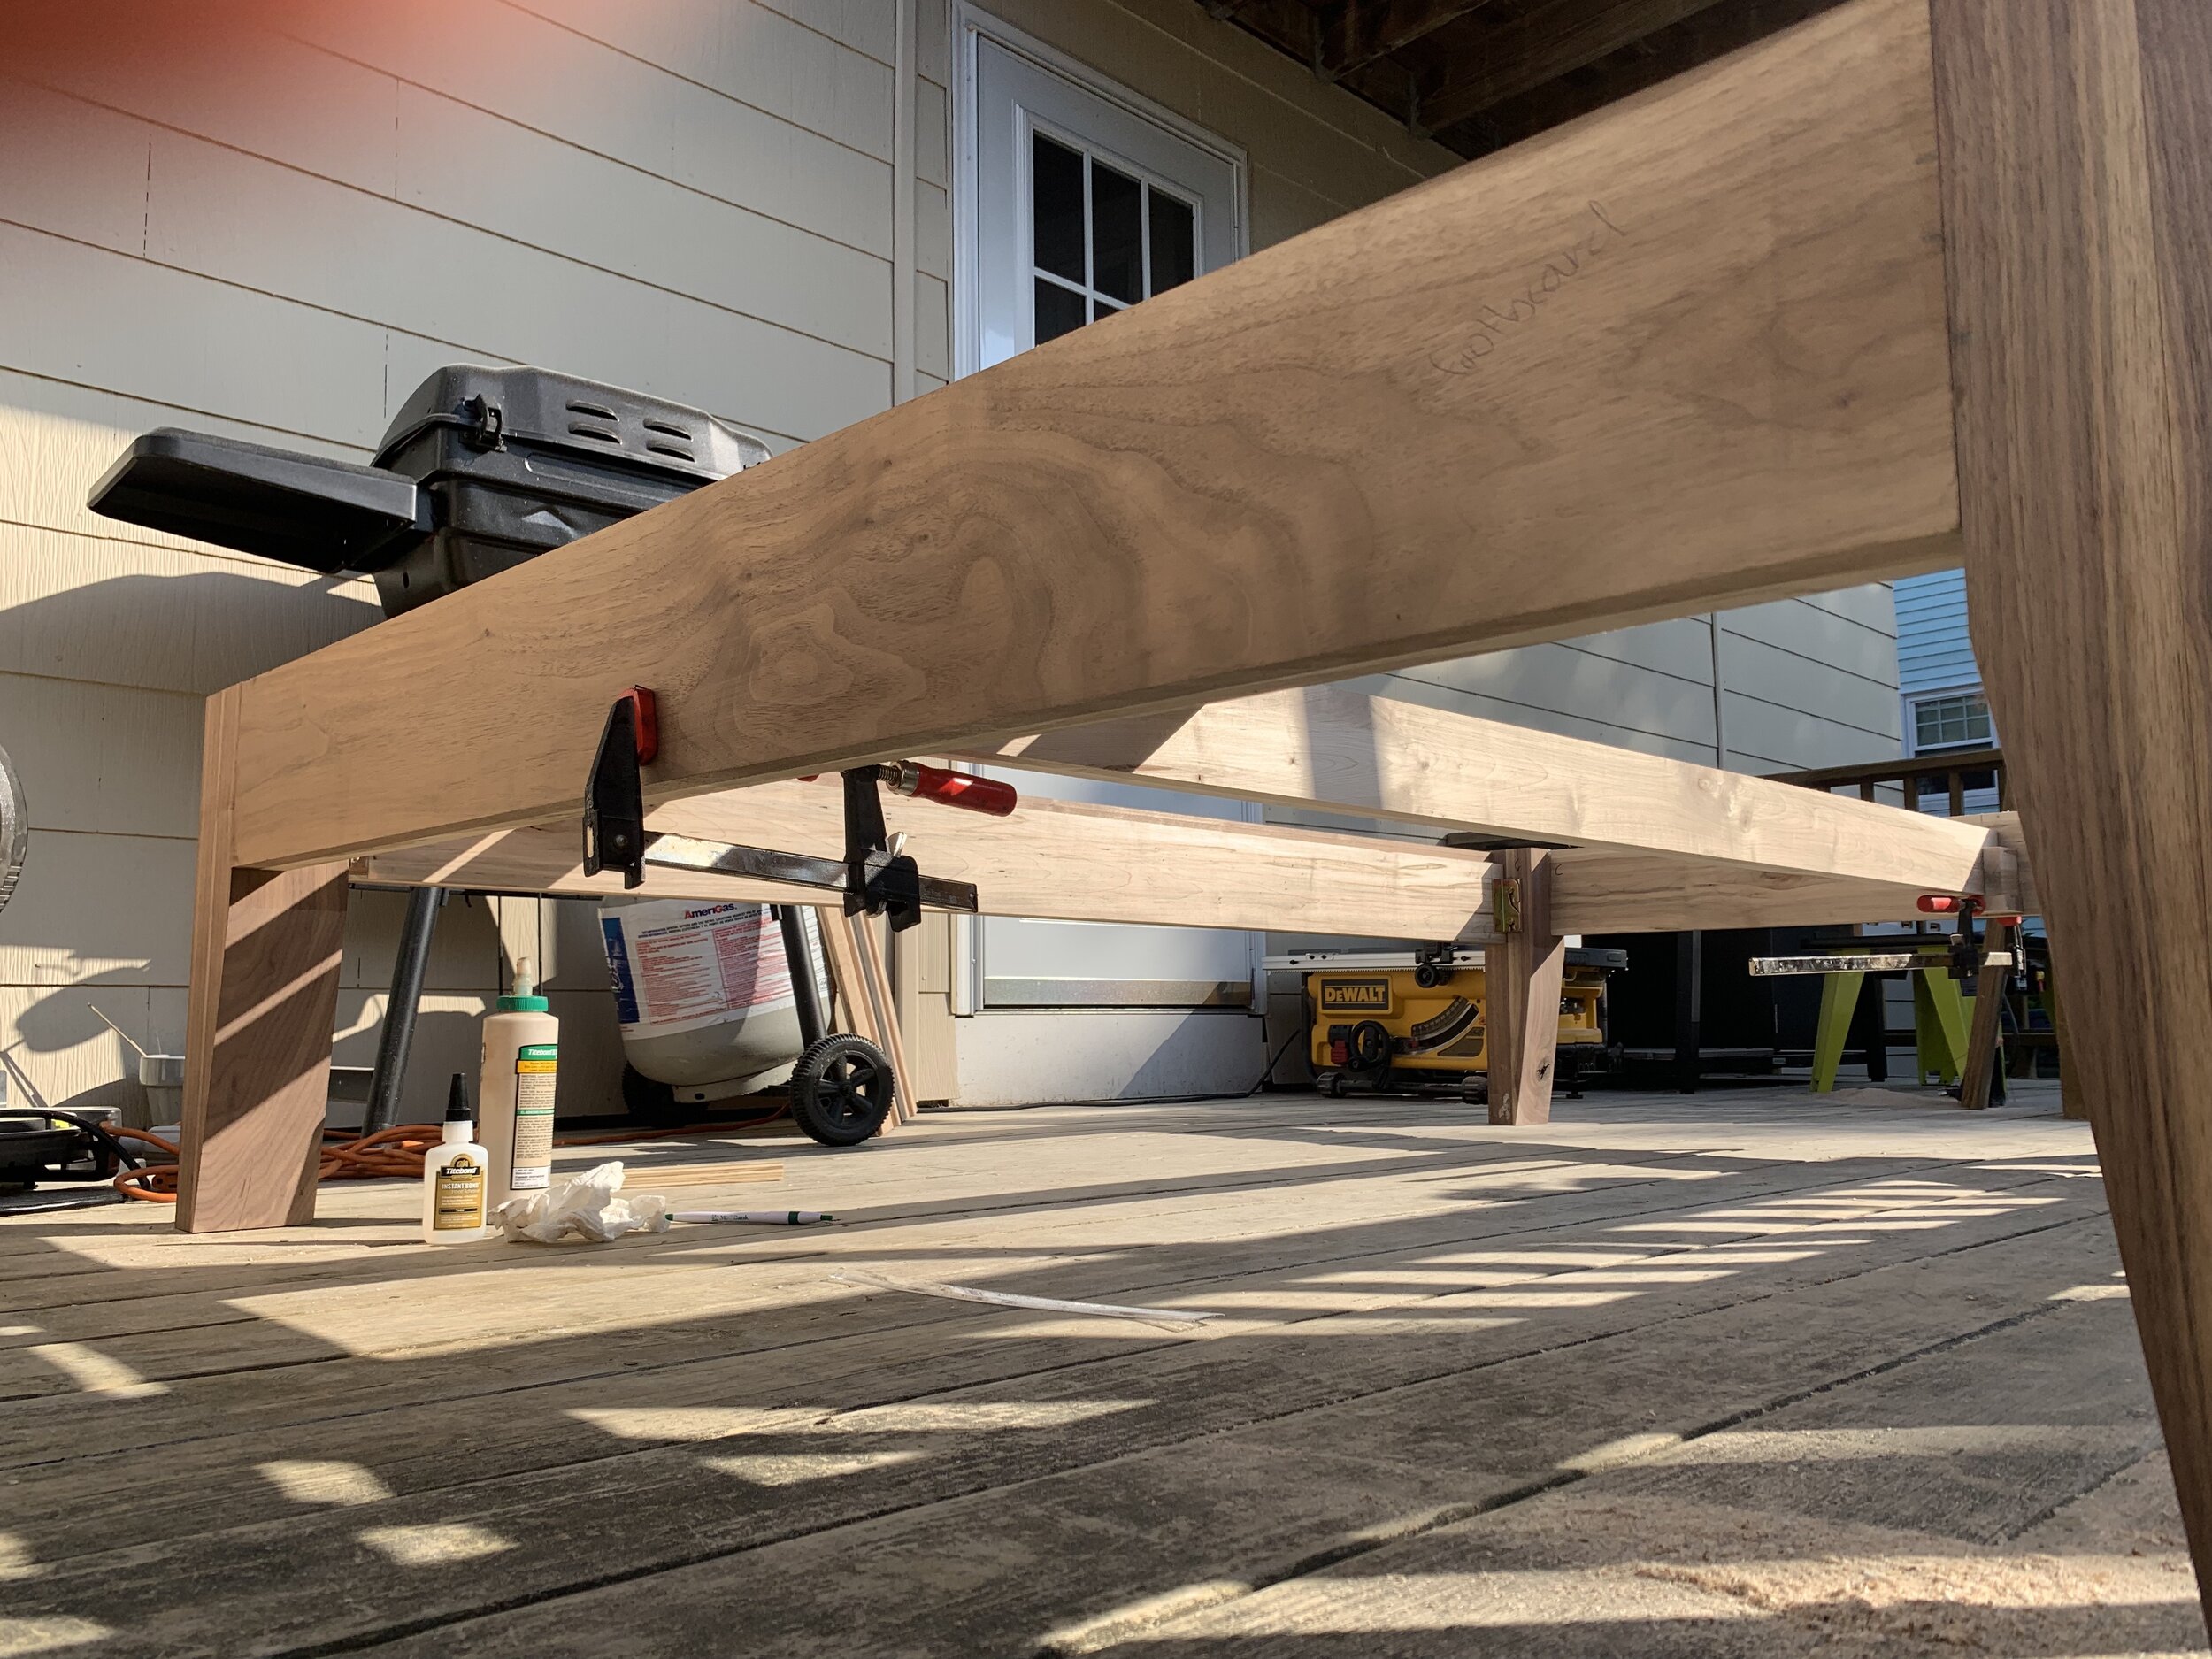
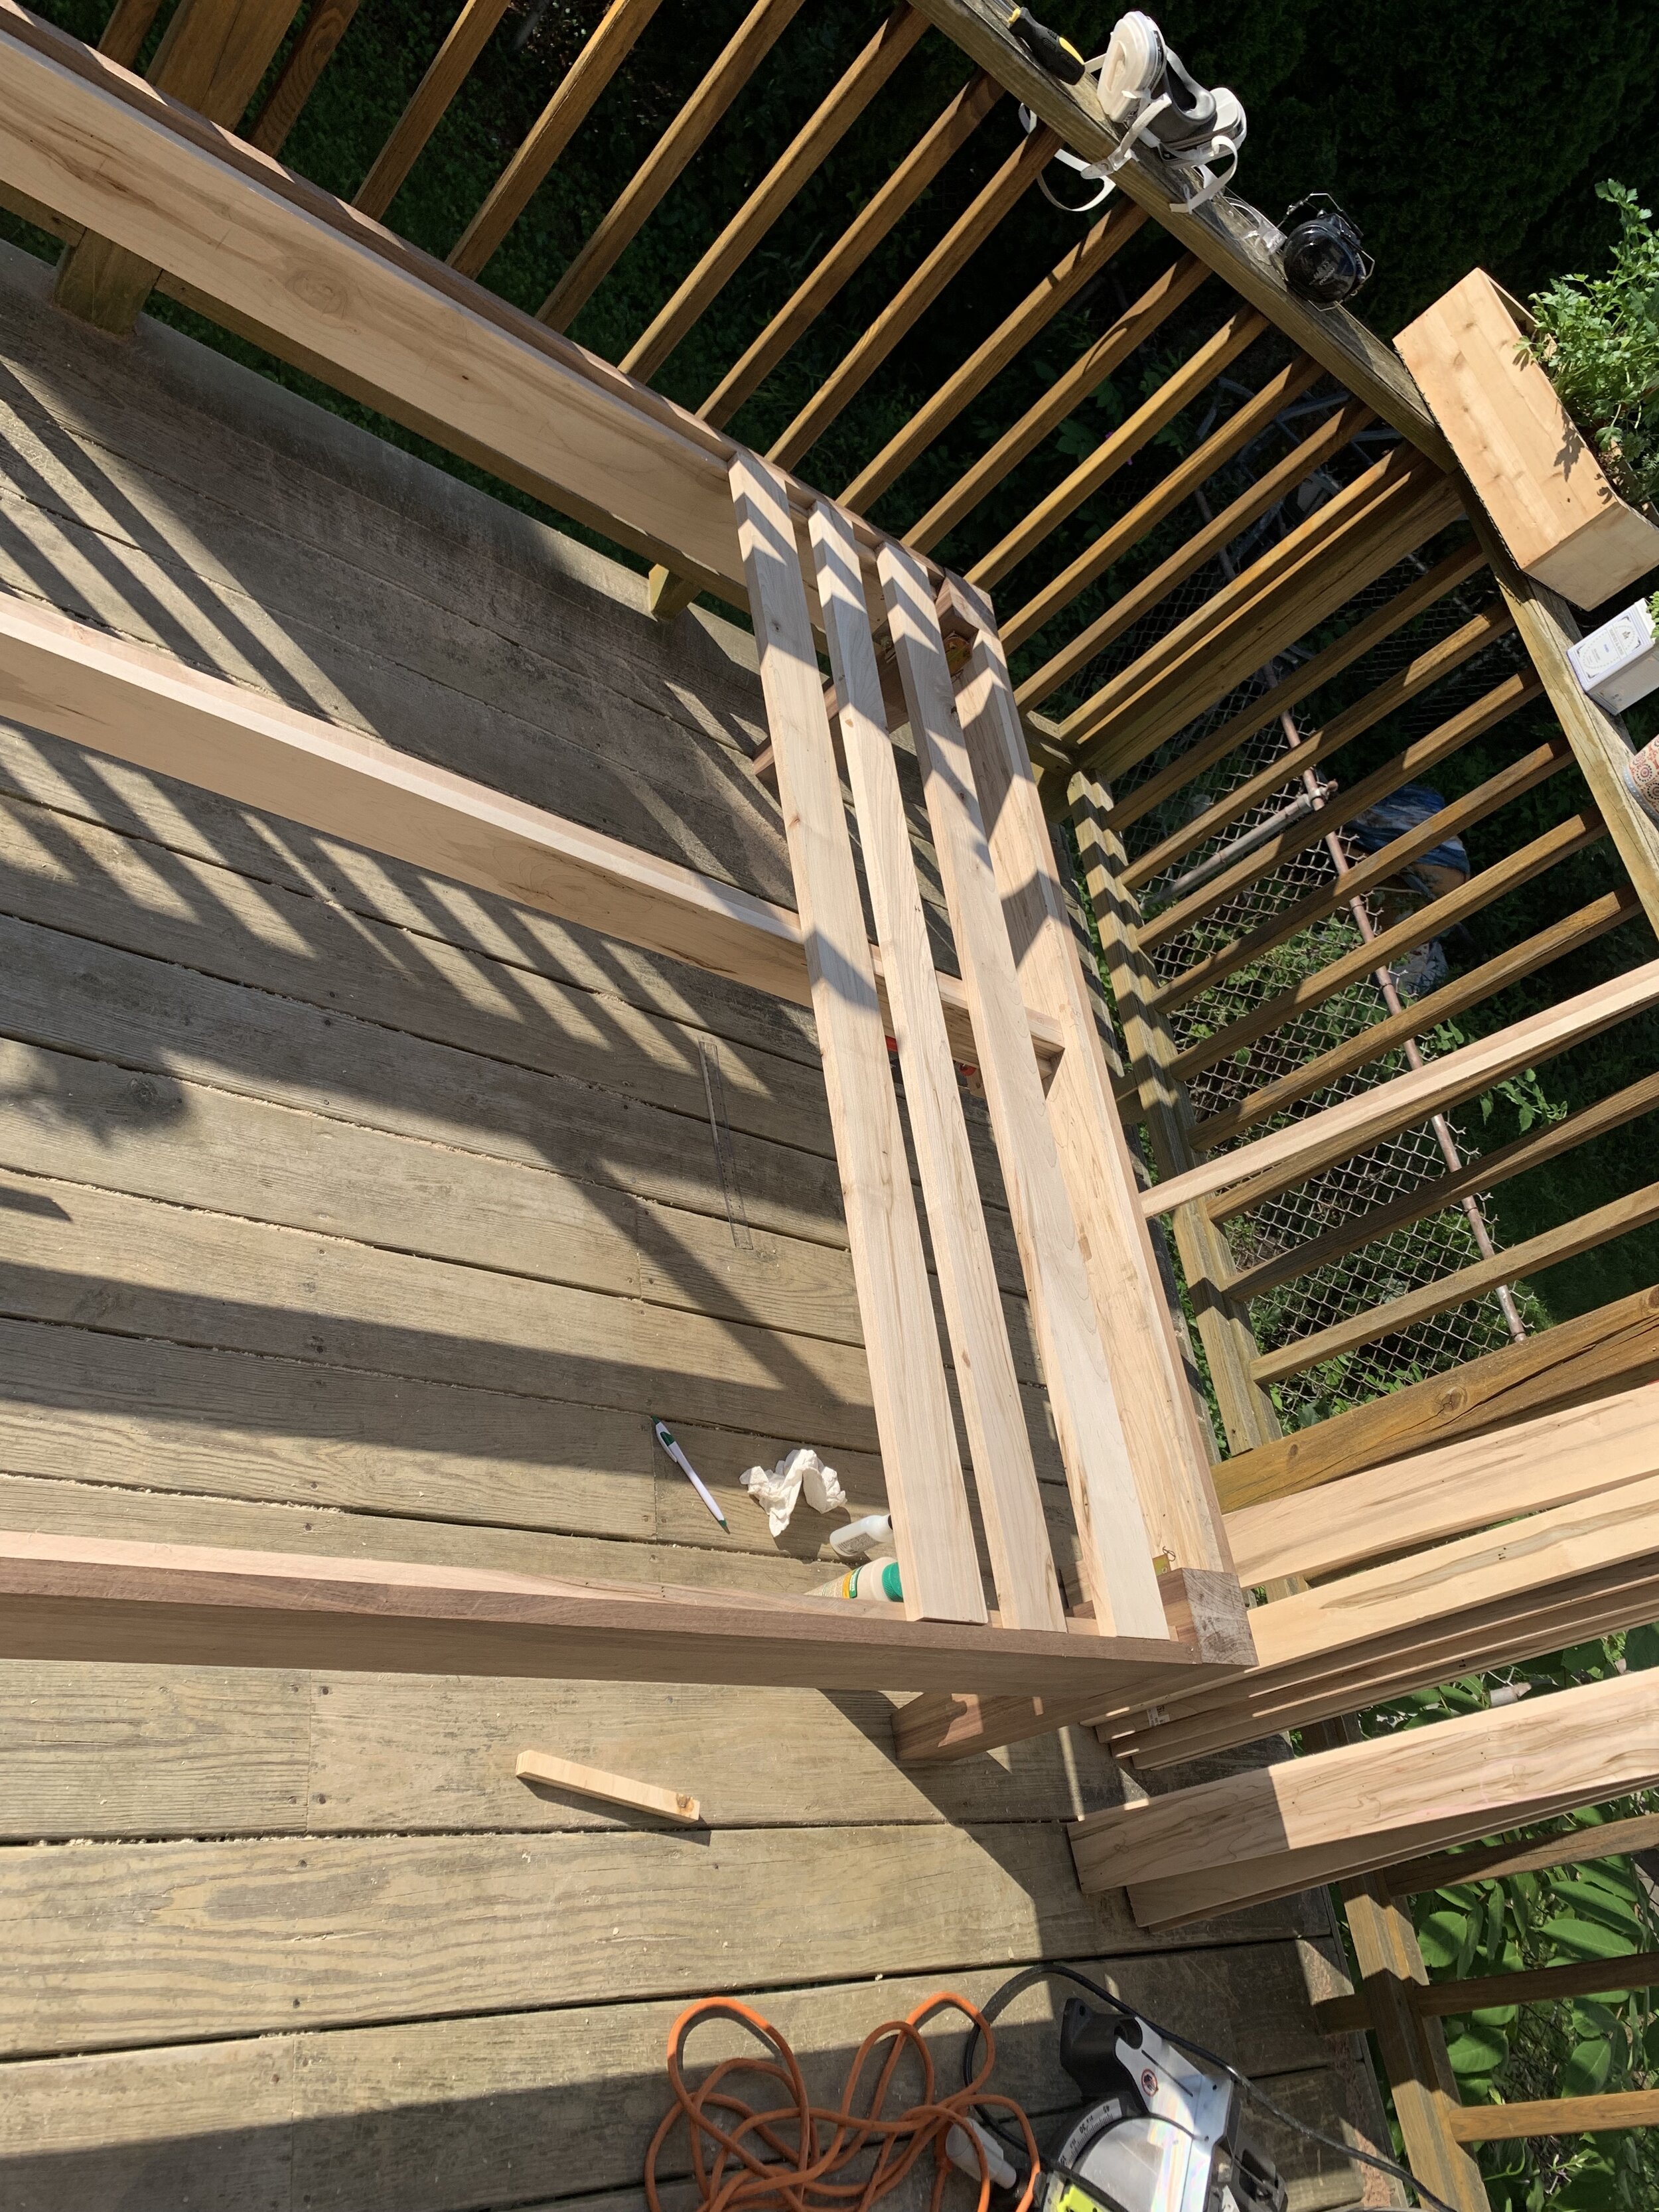
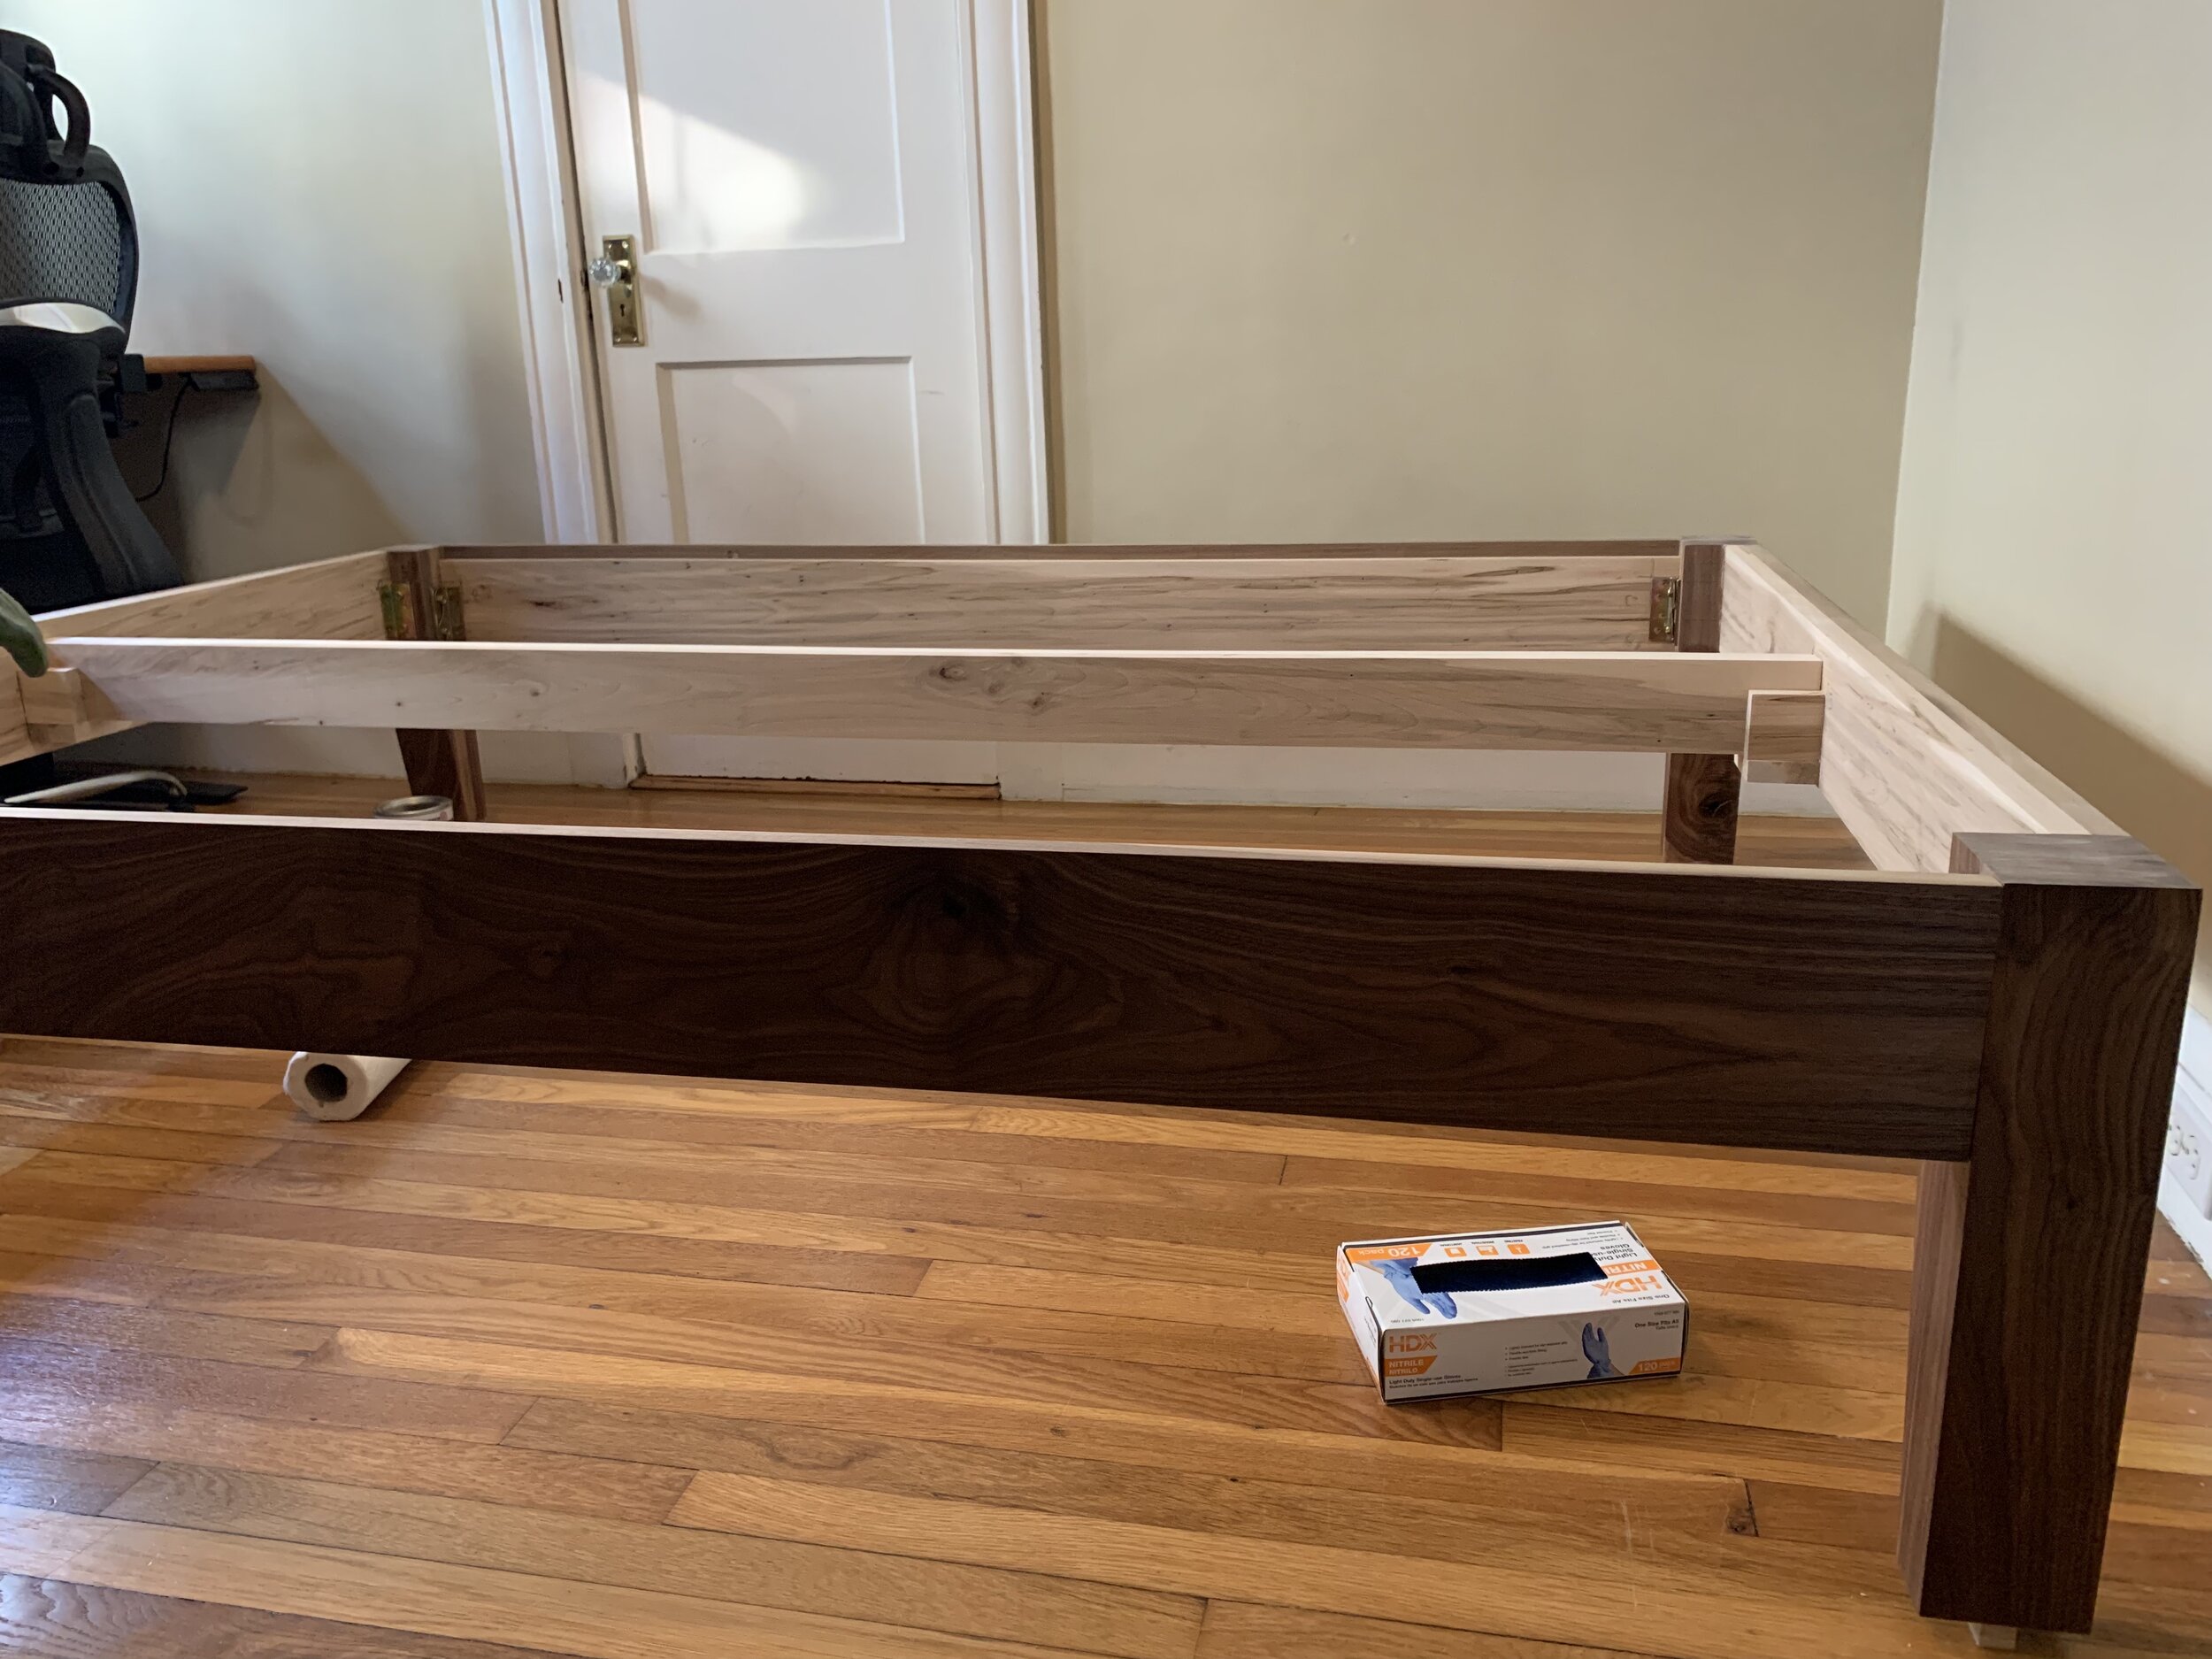
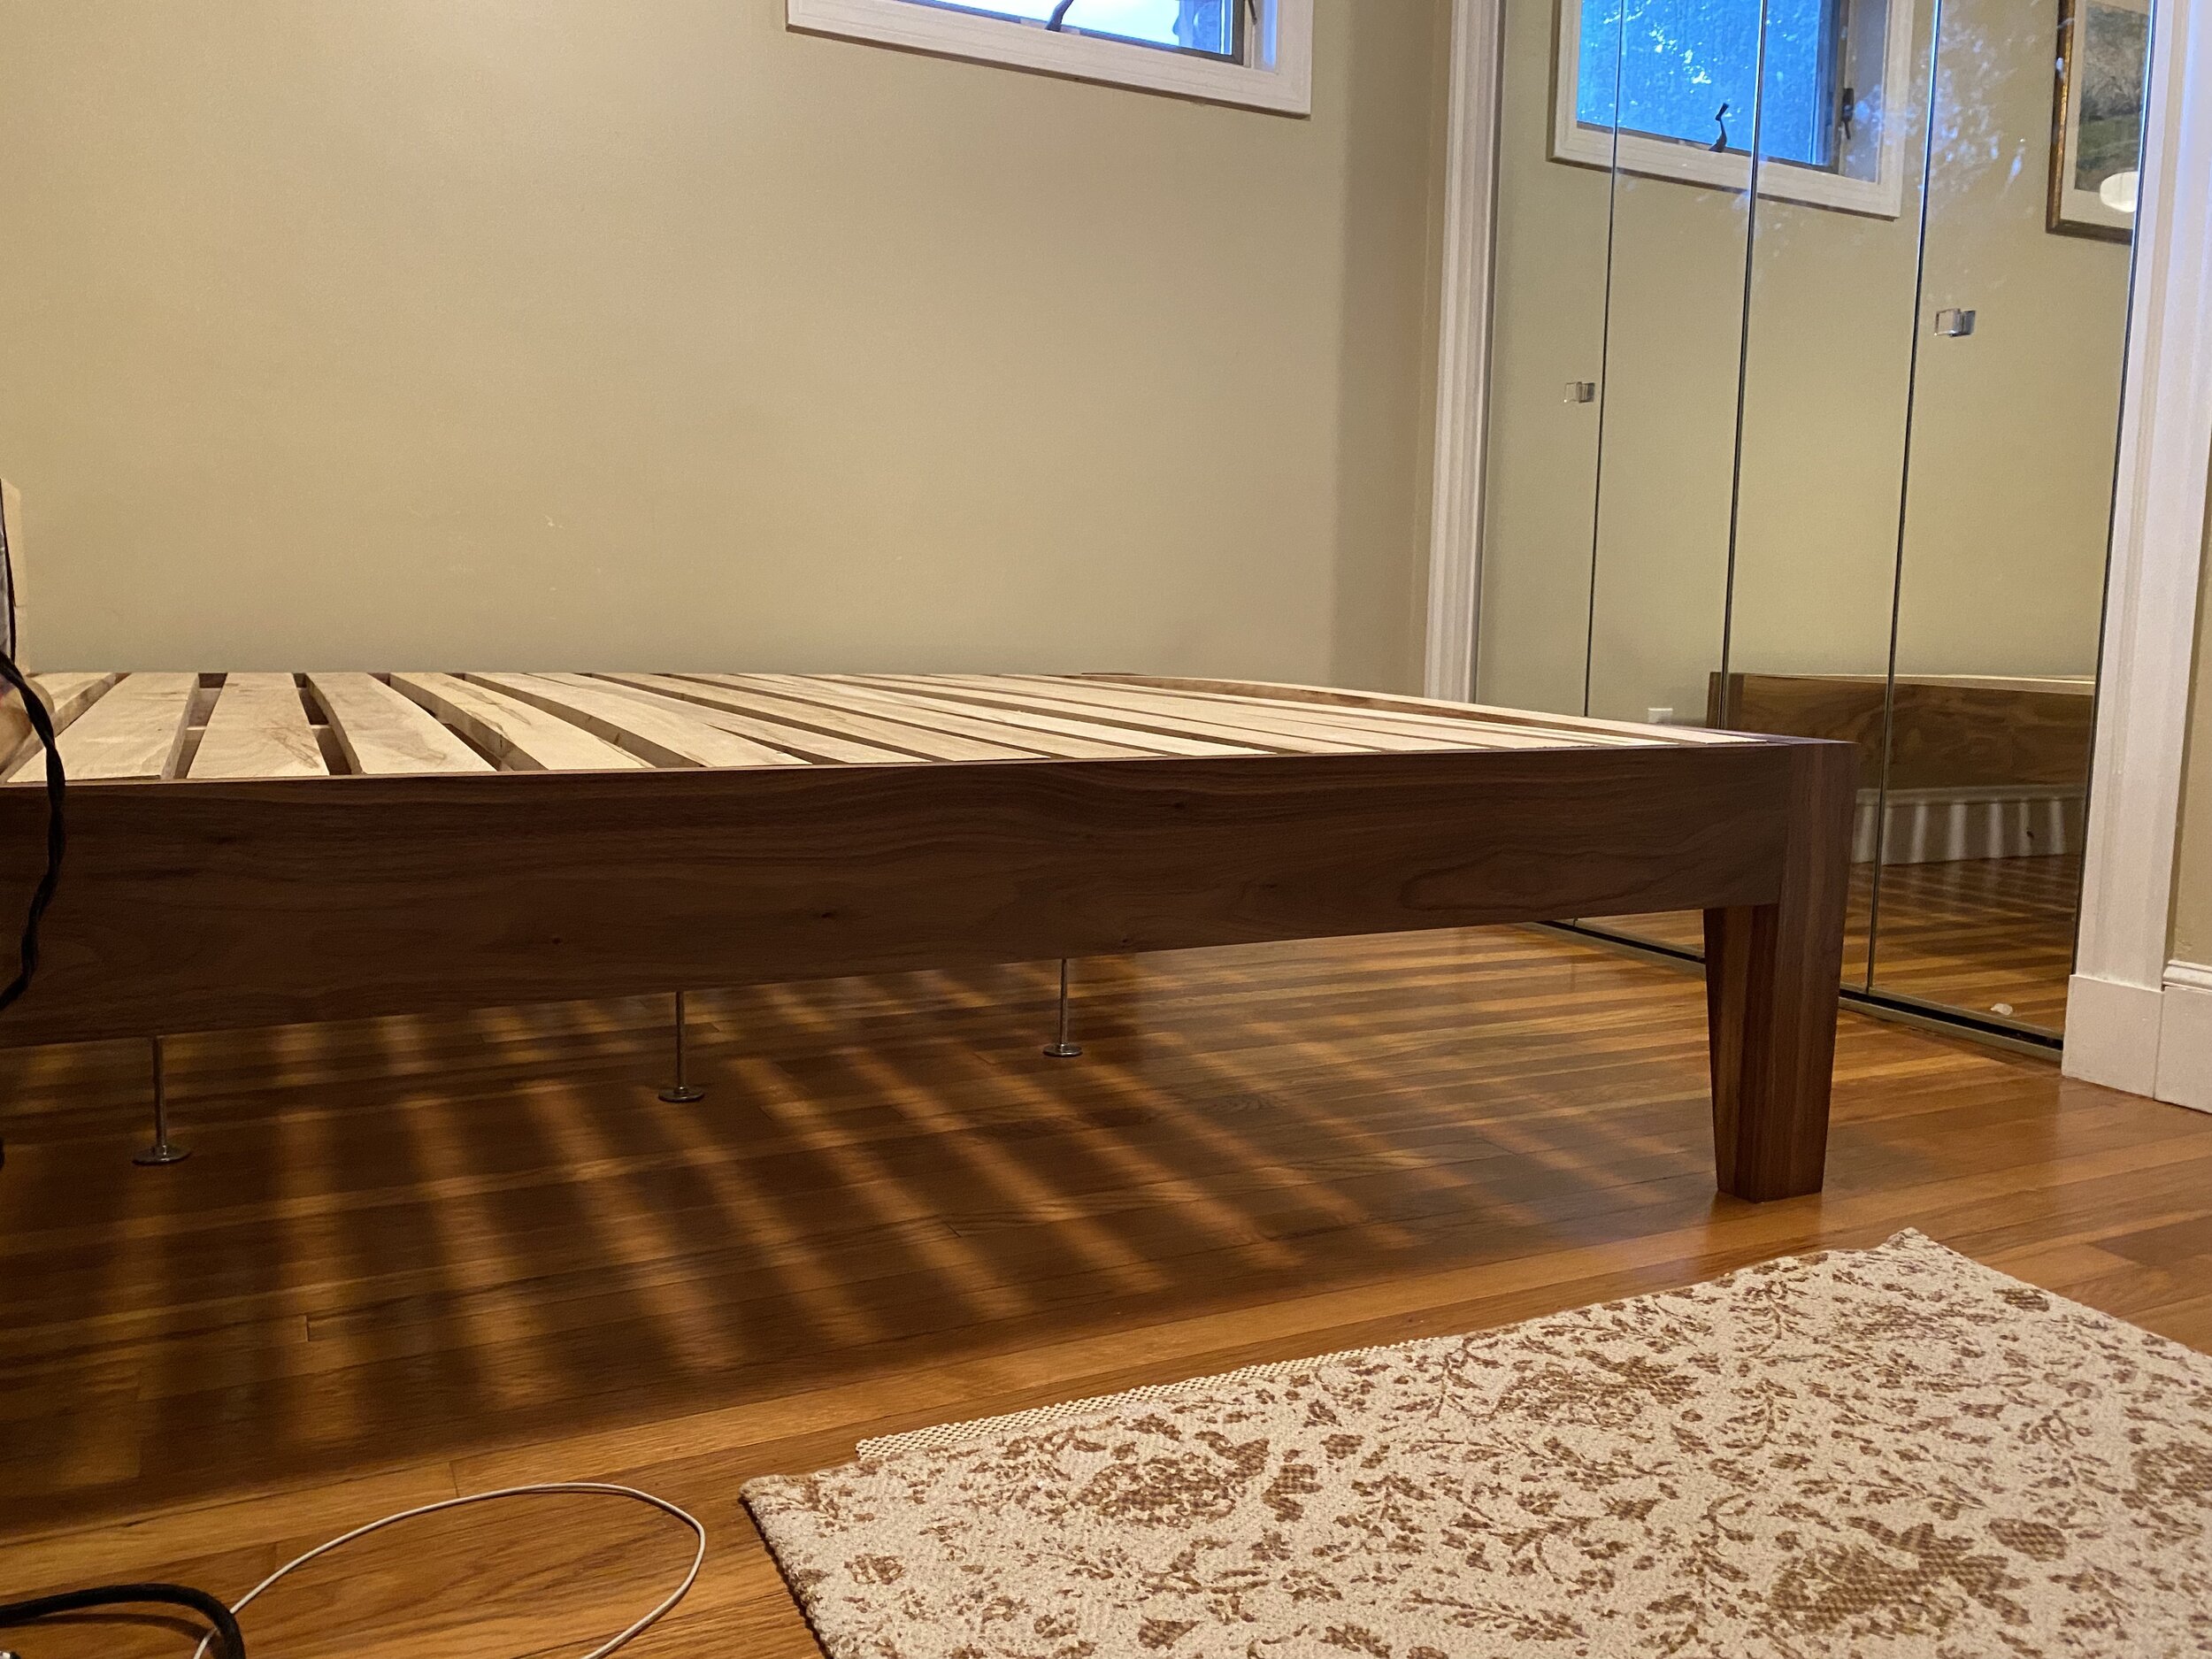
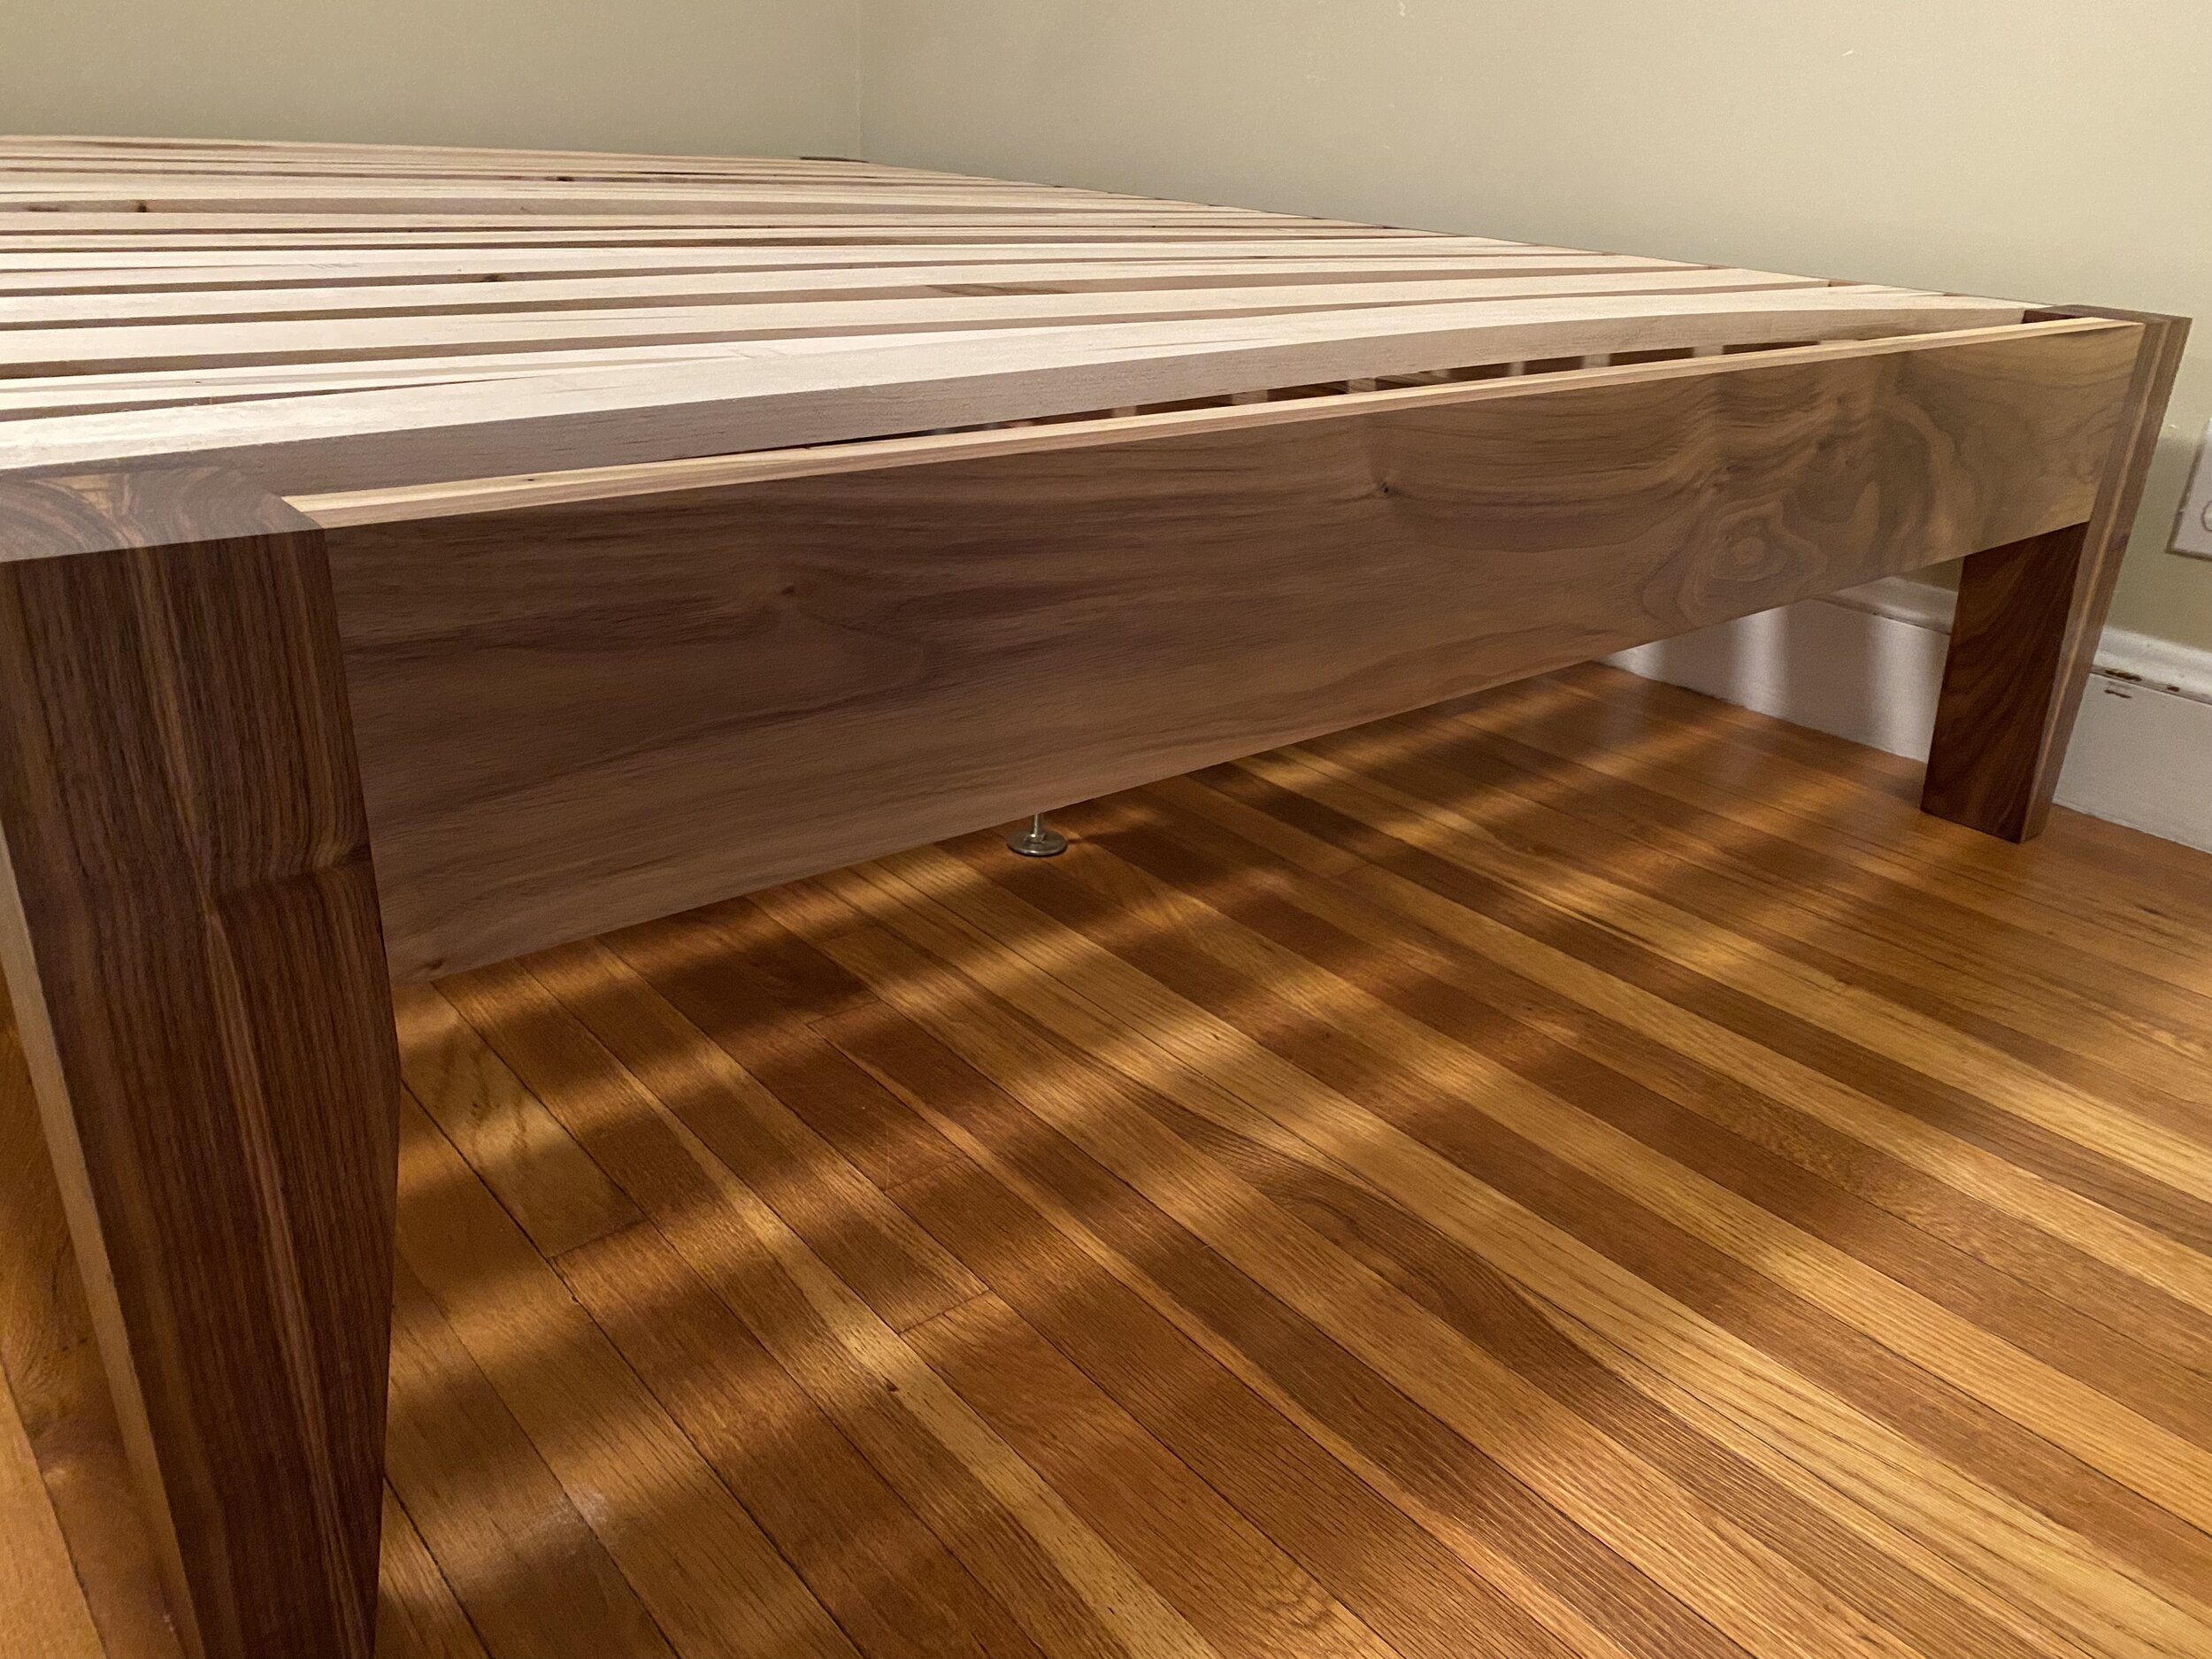
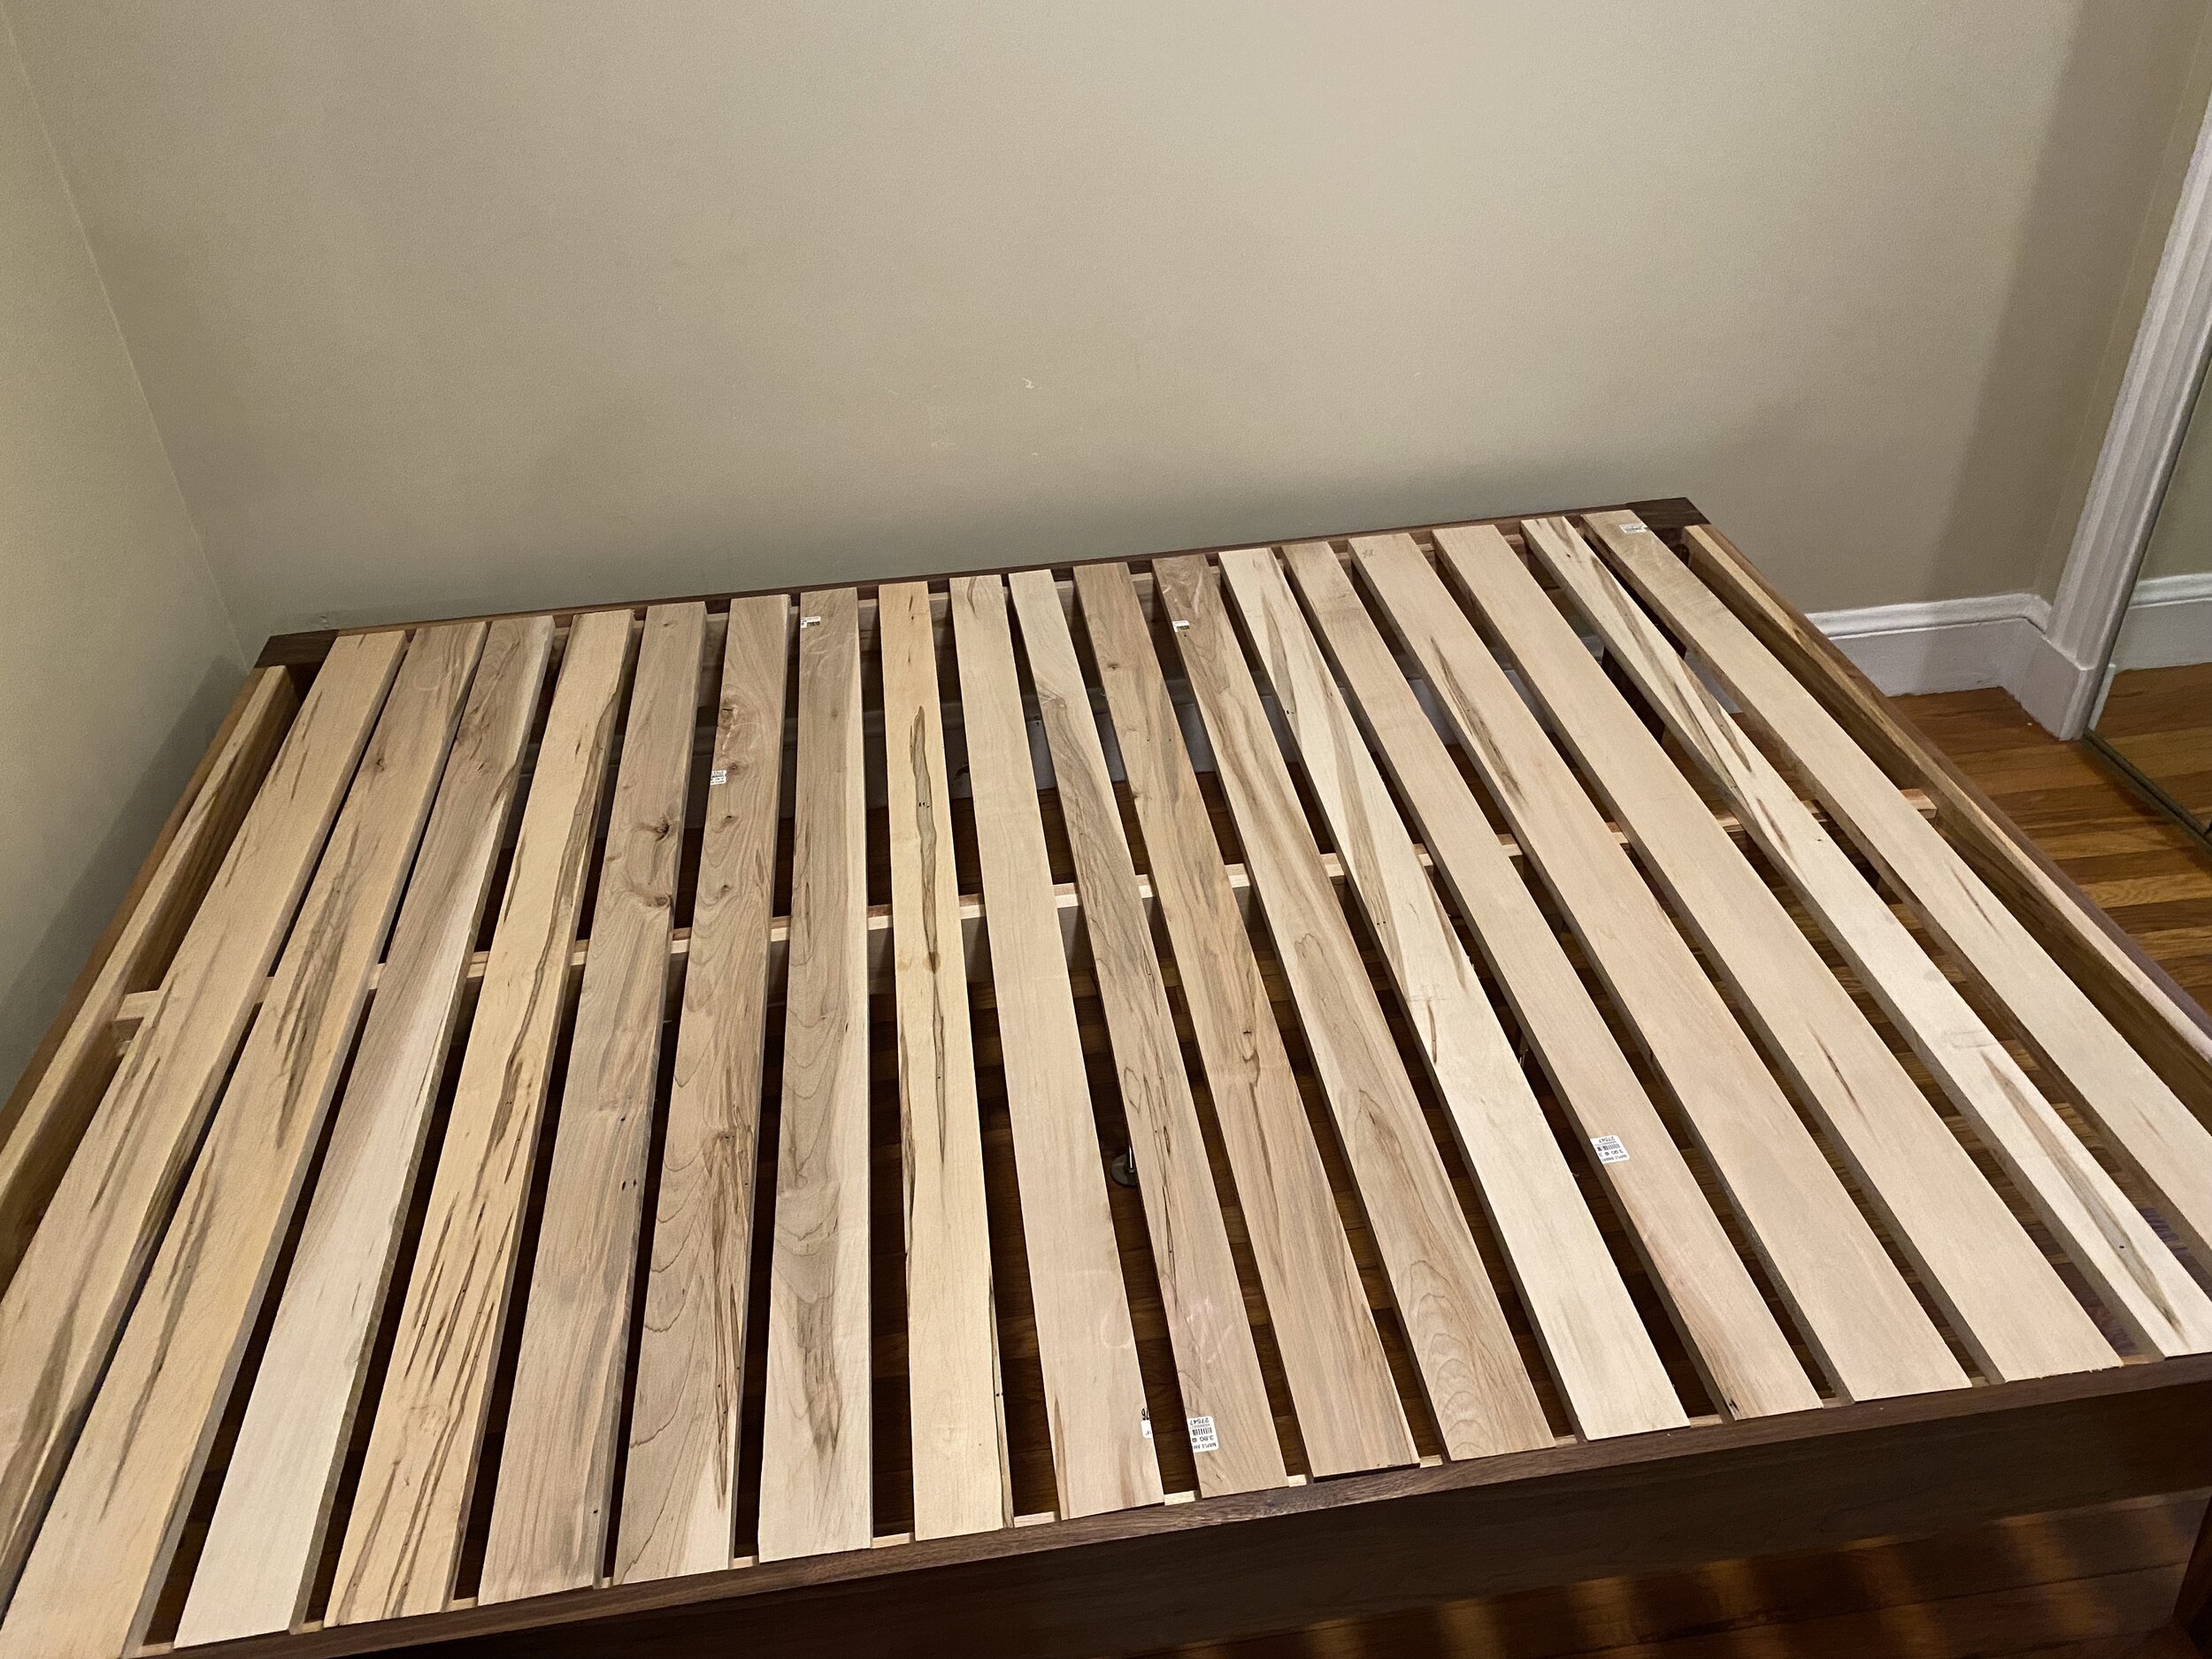
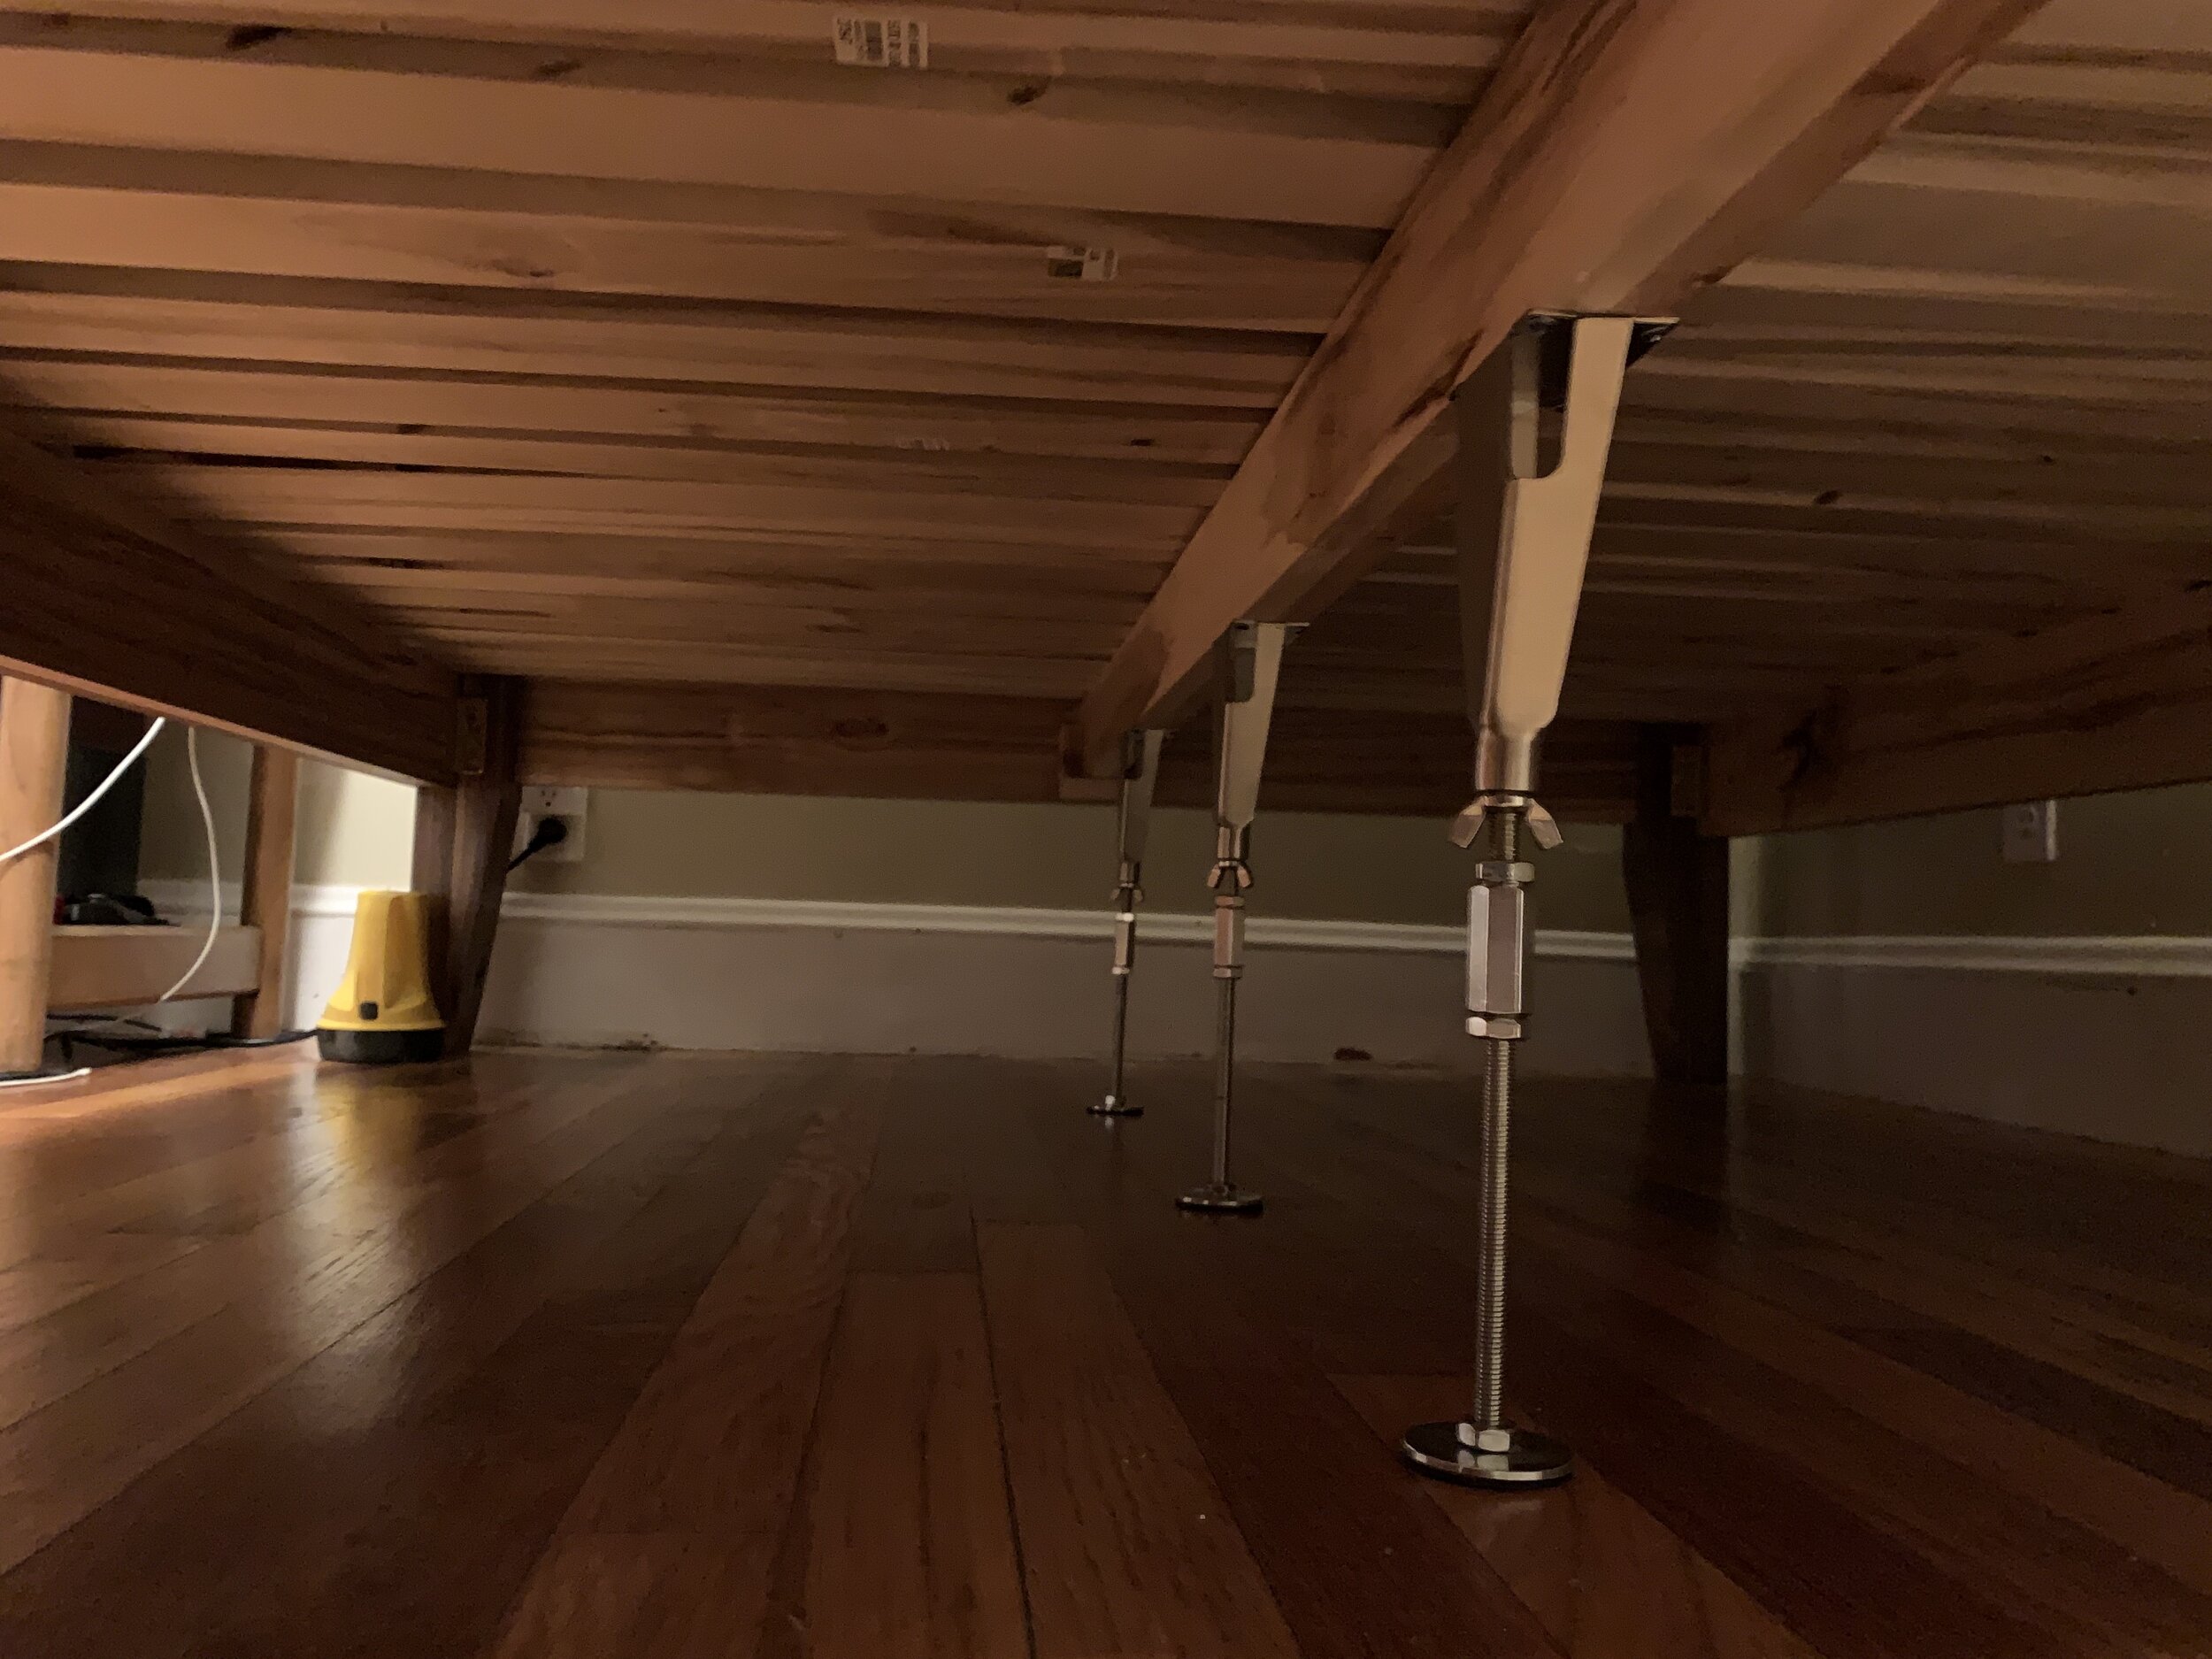
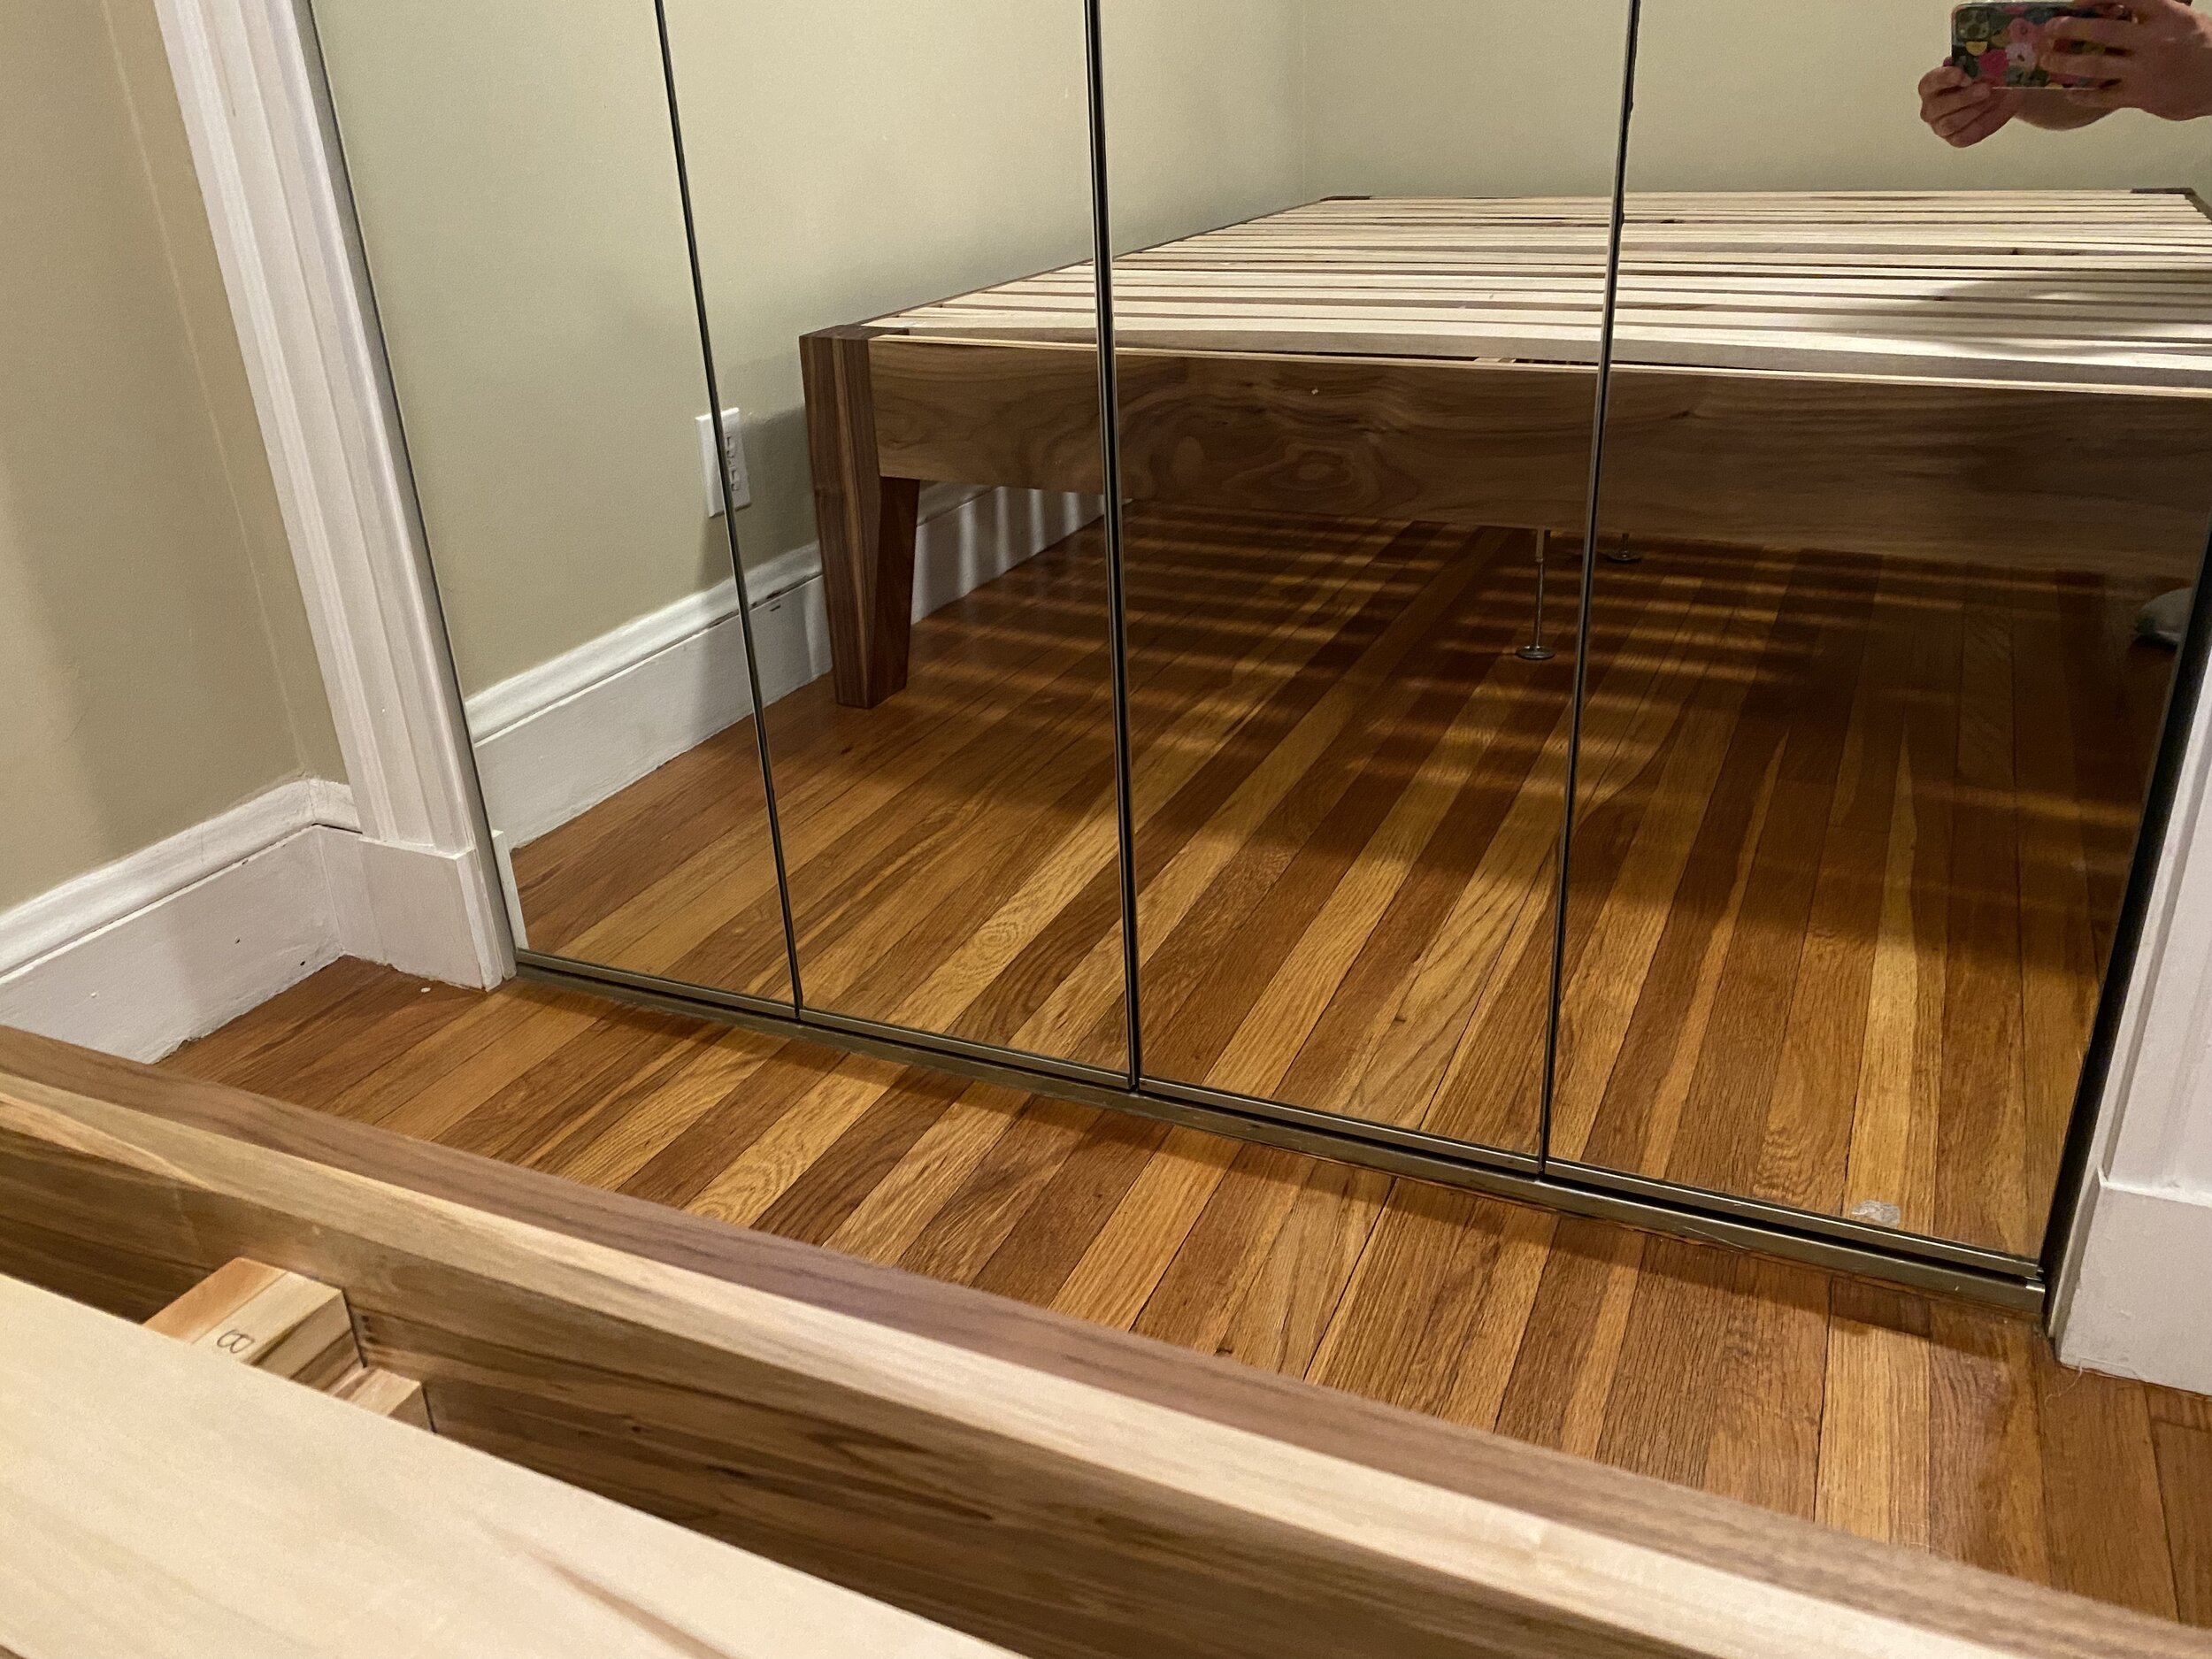
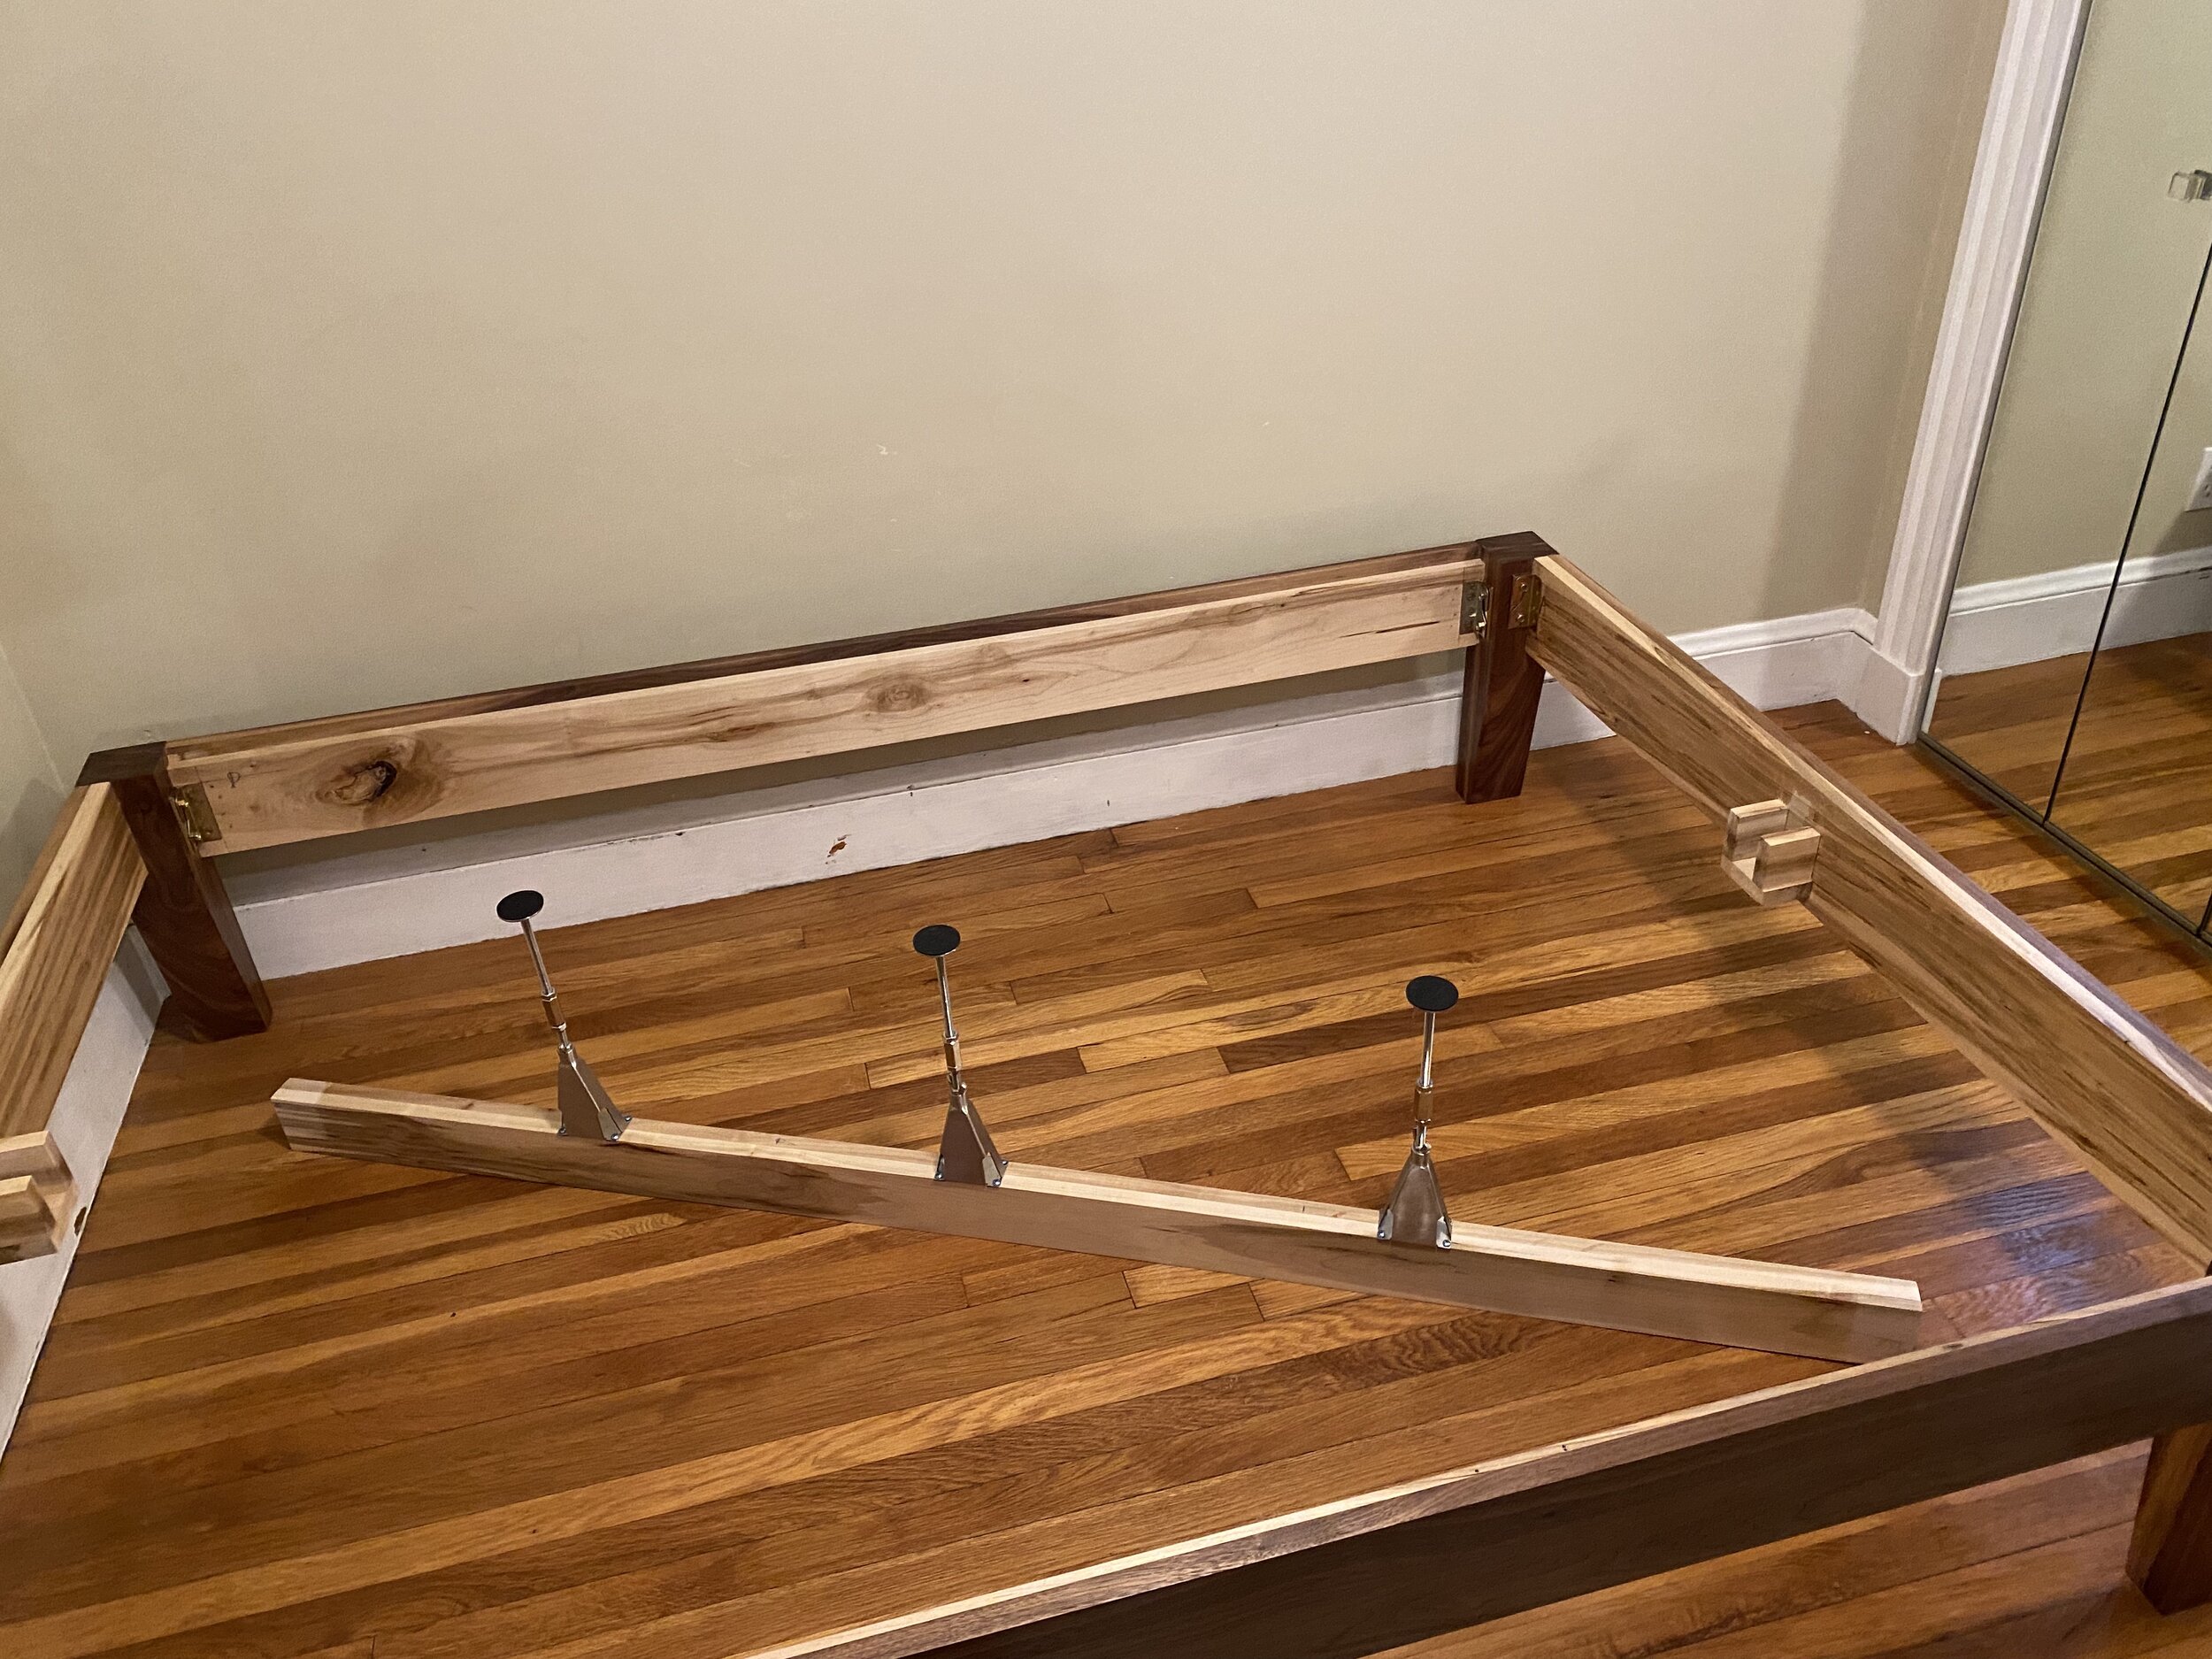
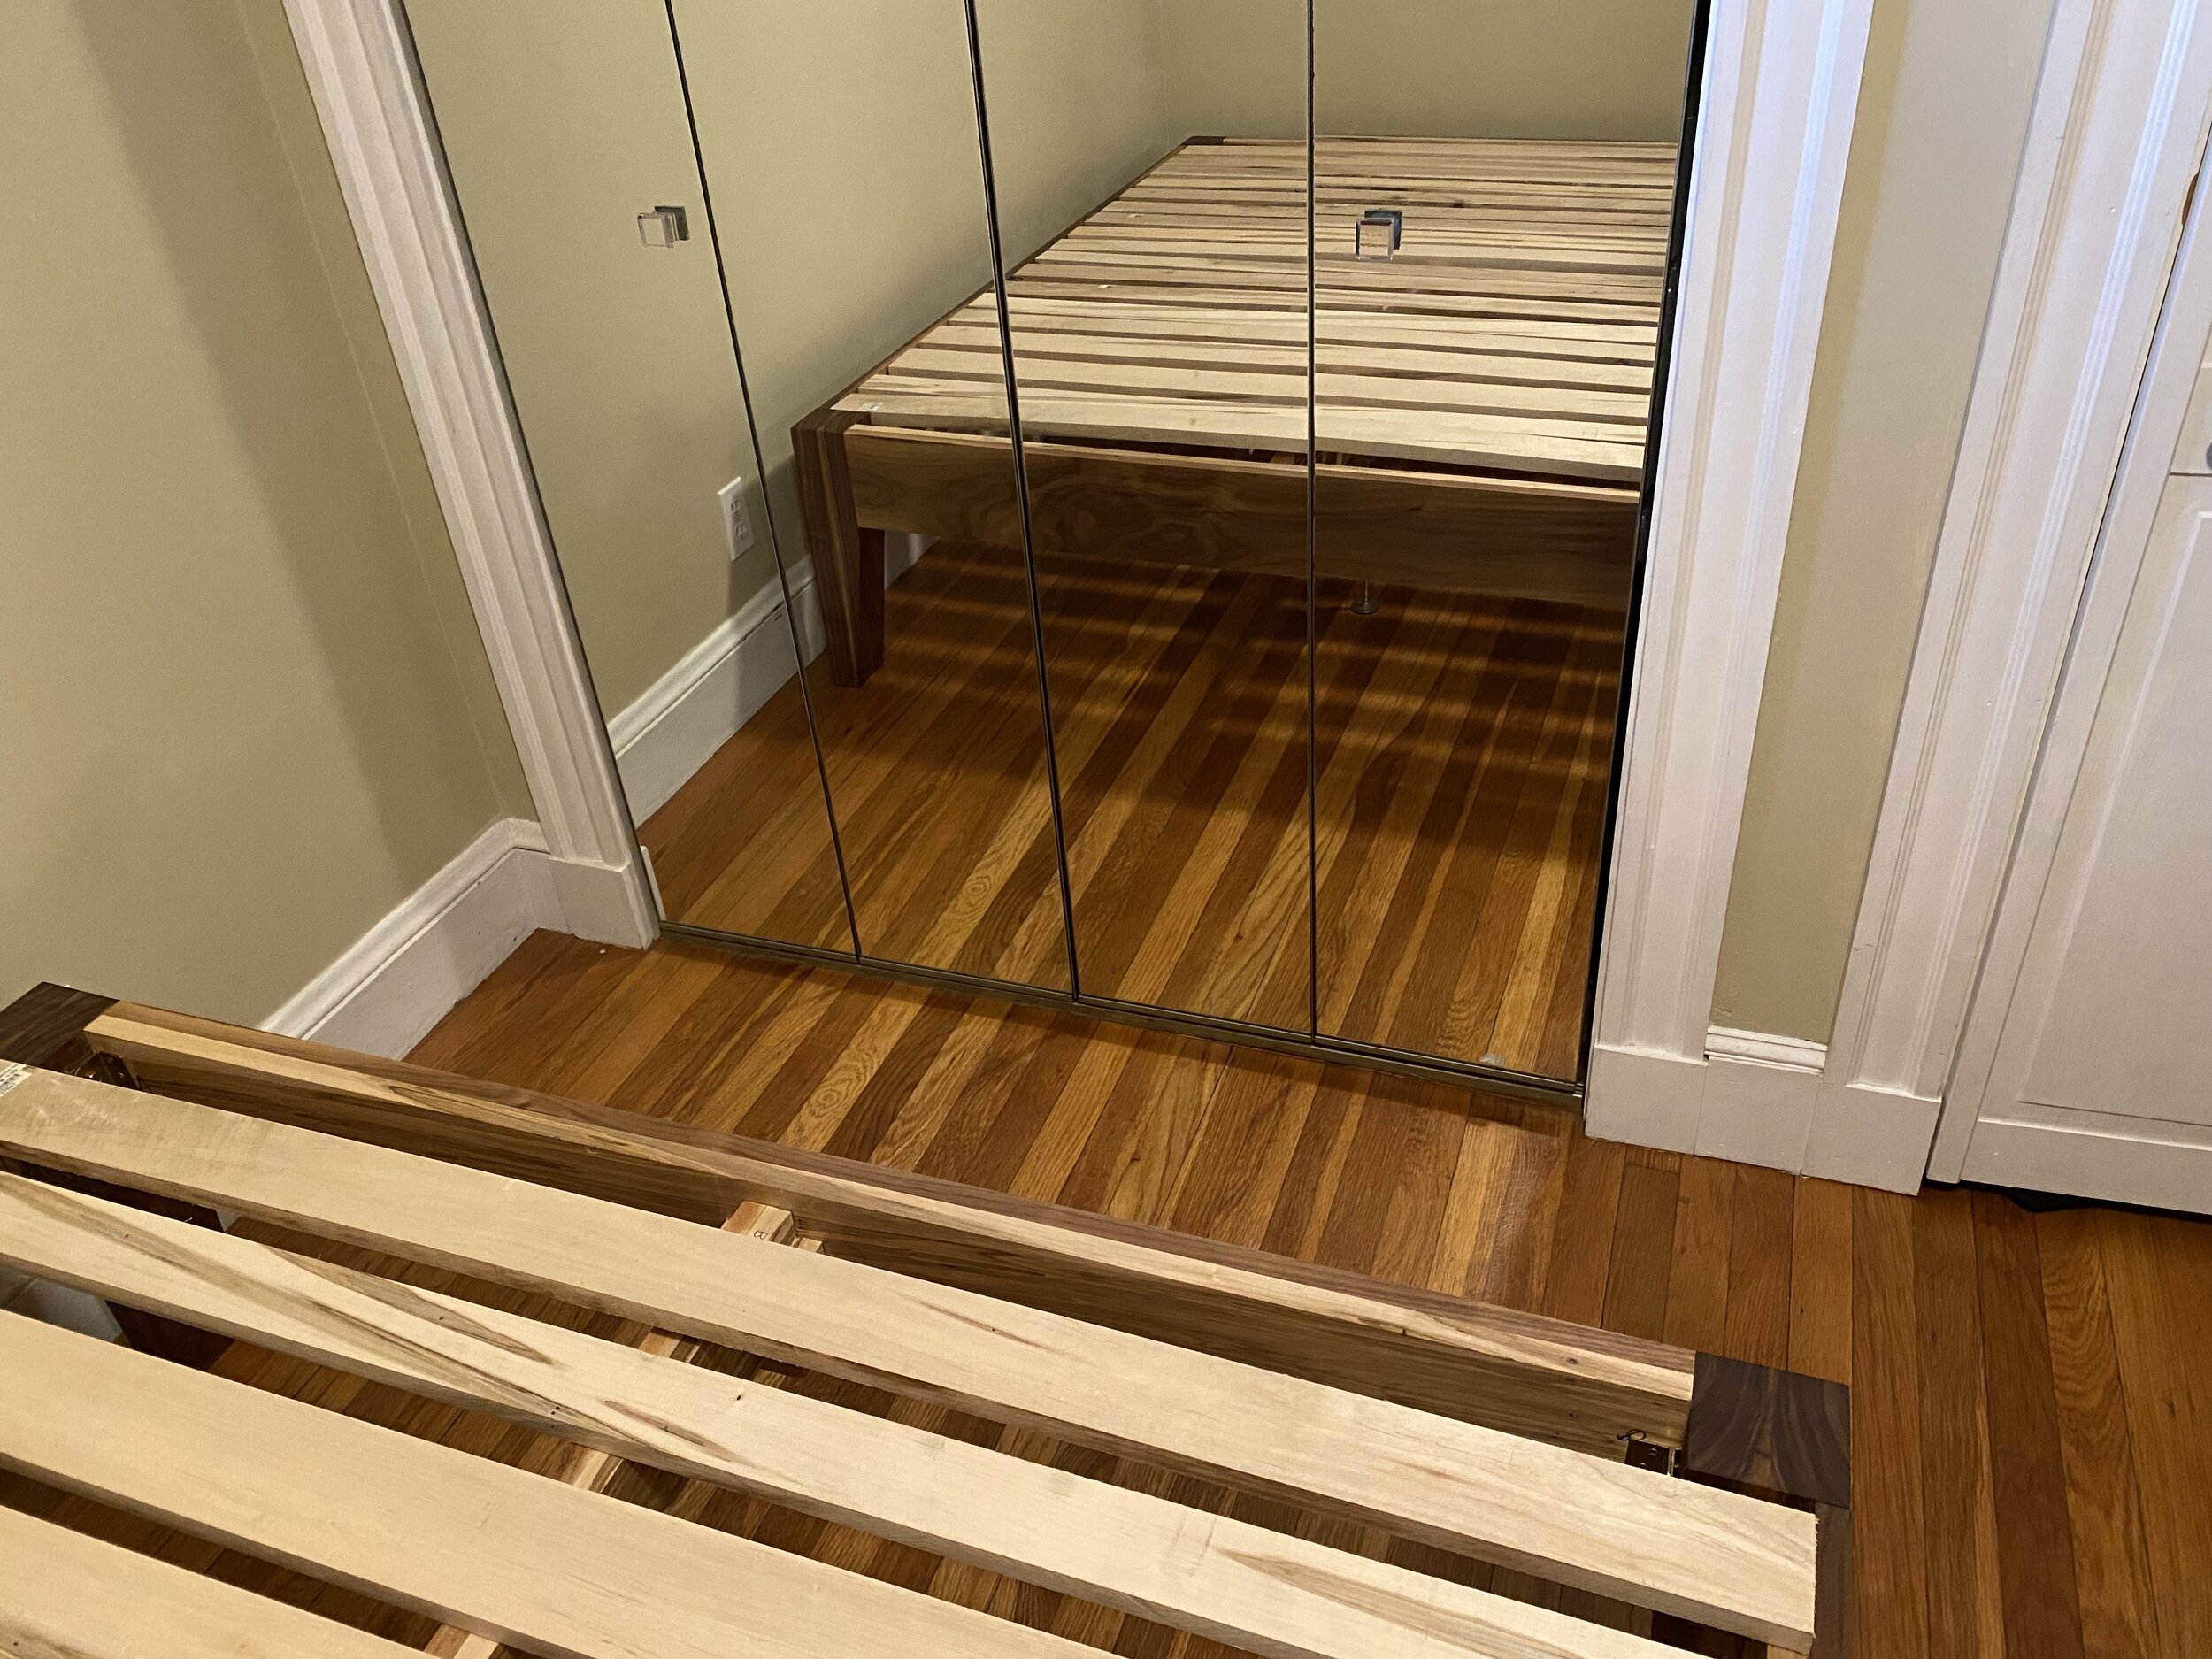
This is a queen size, mid-century modern-inspired platform-style bed frame I built out of Walnut and Maple Ambrosia.

Project Story
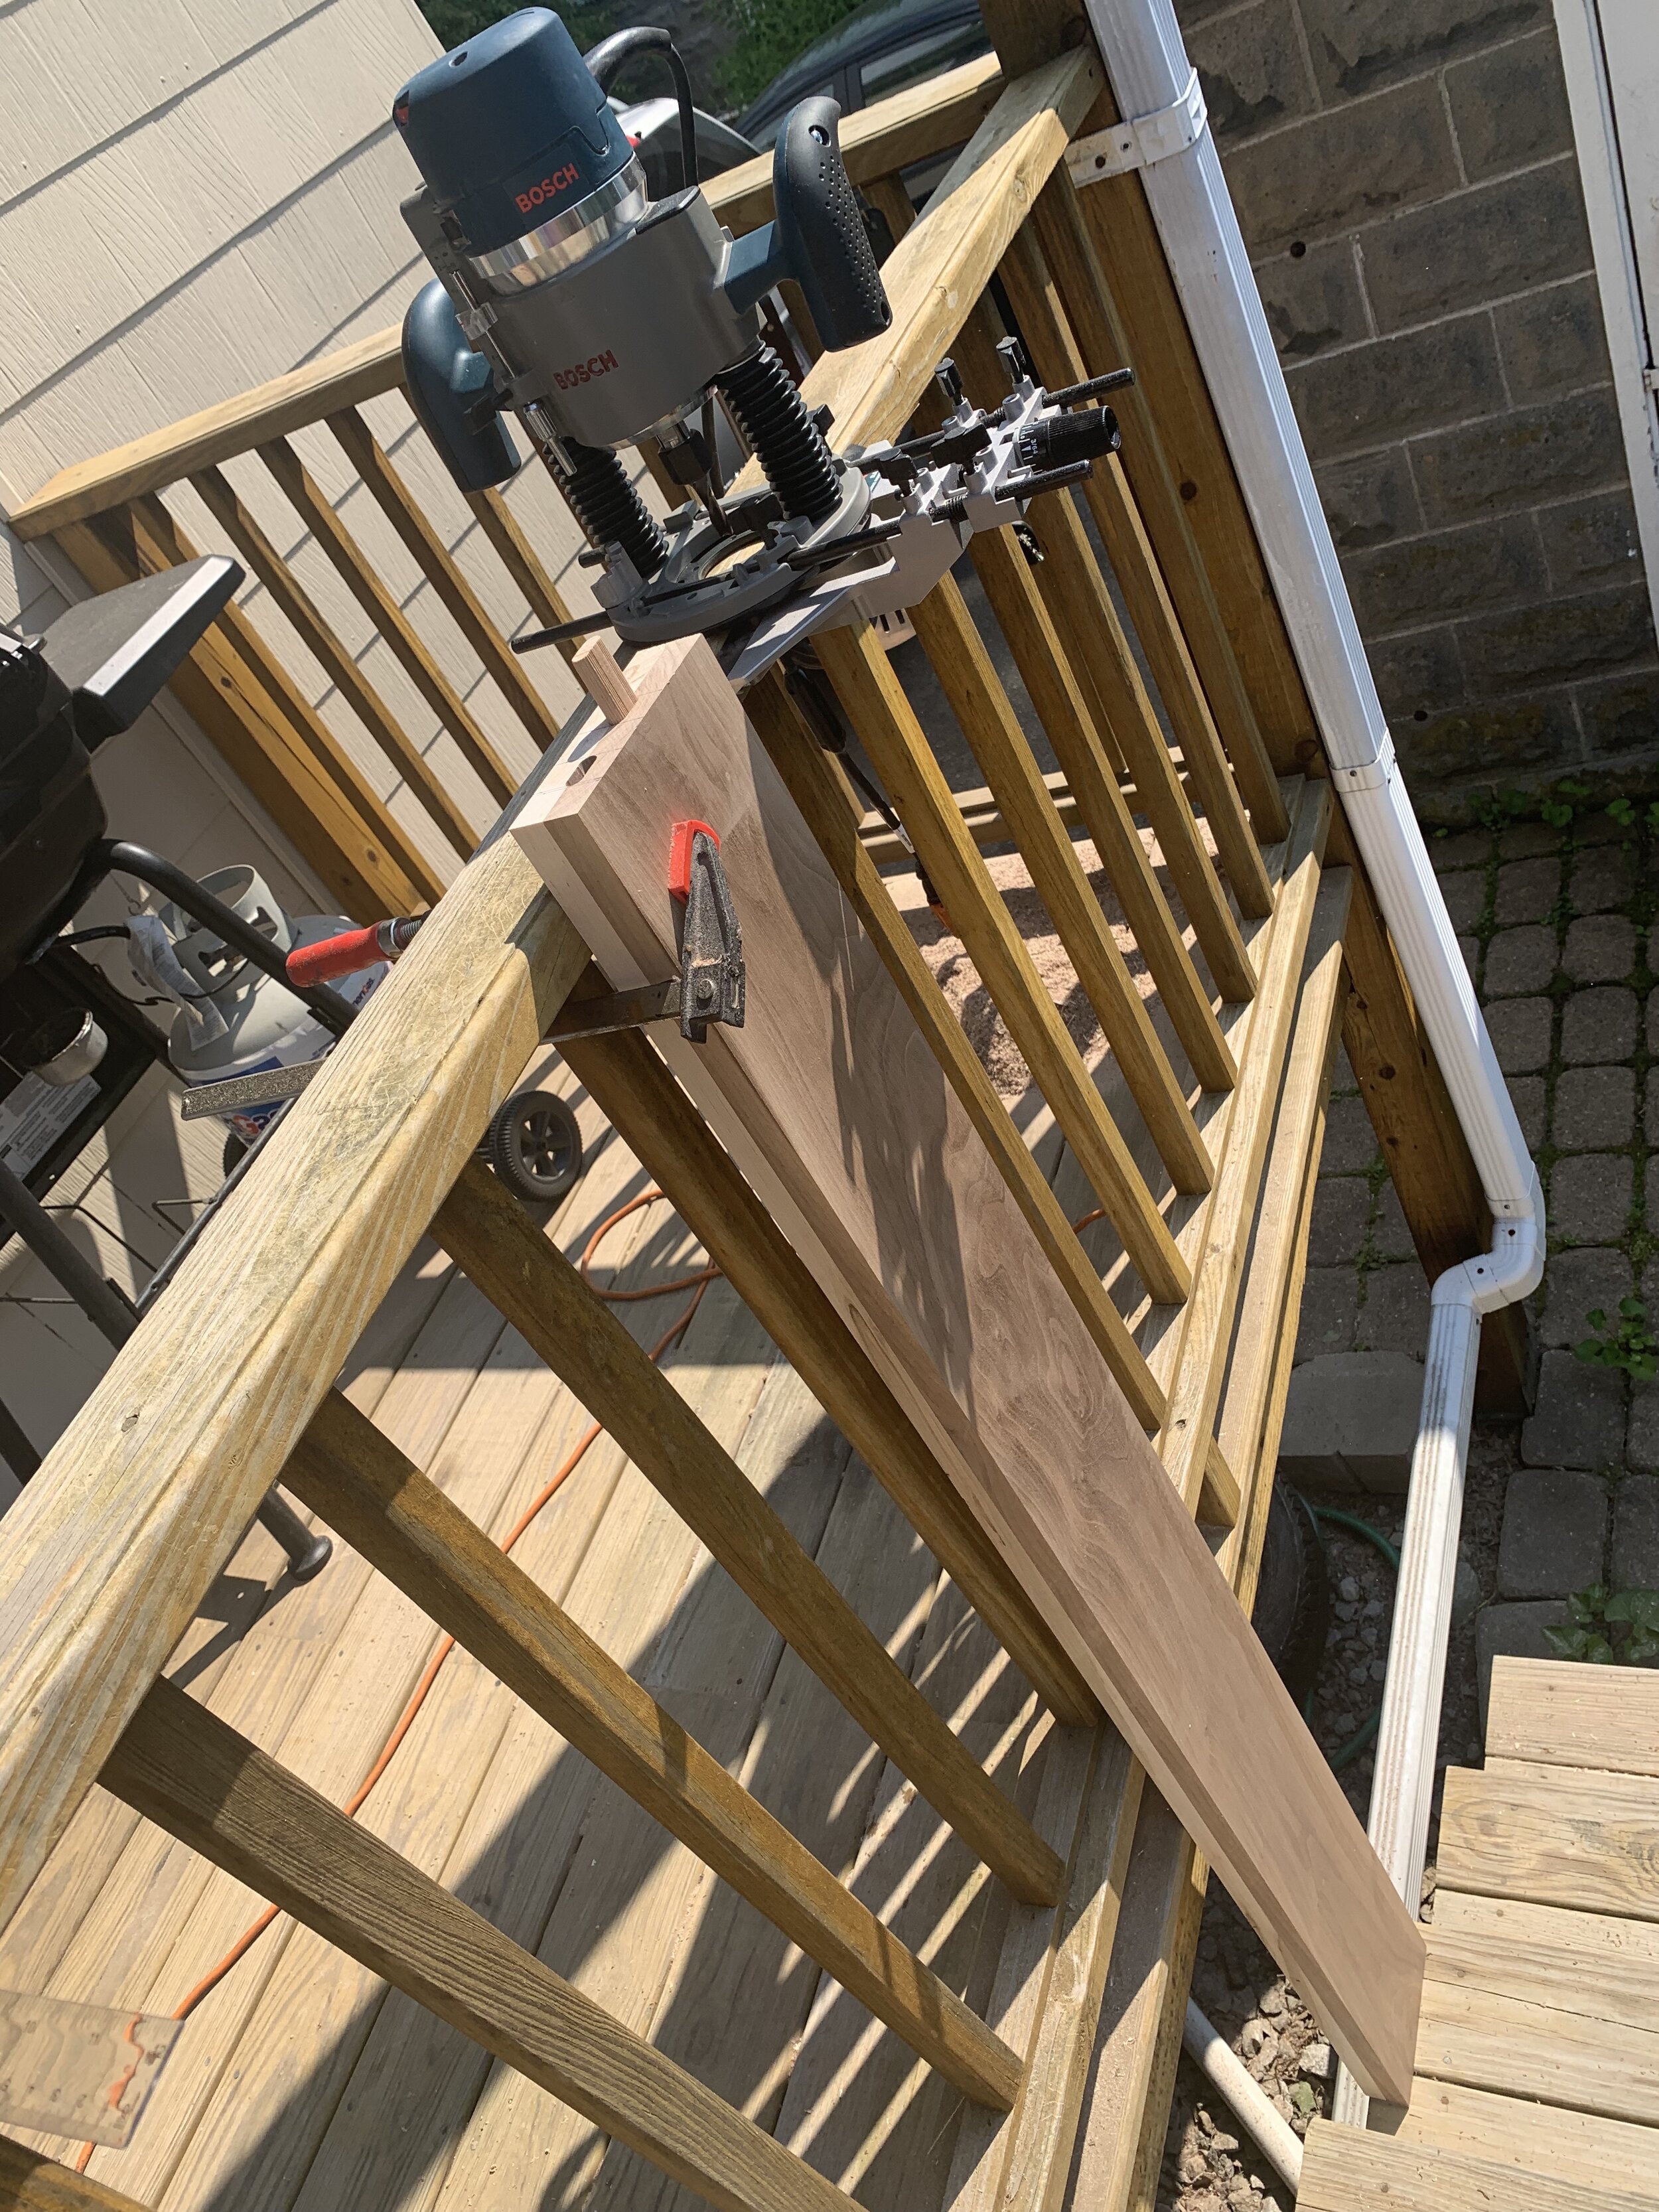
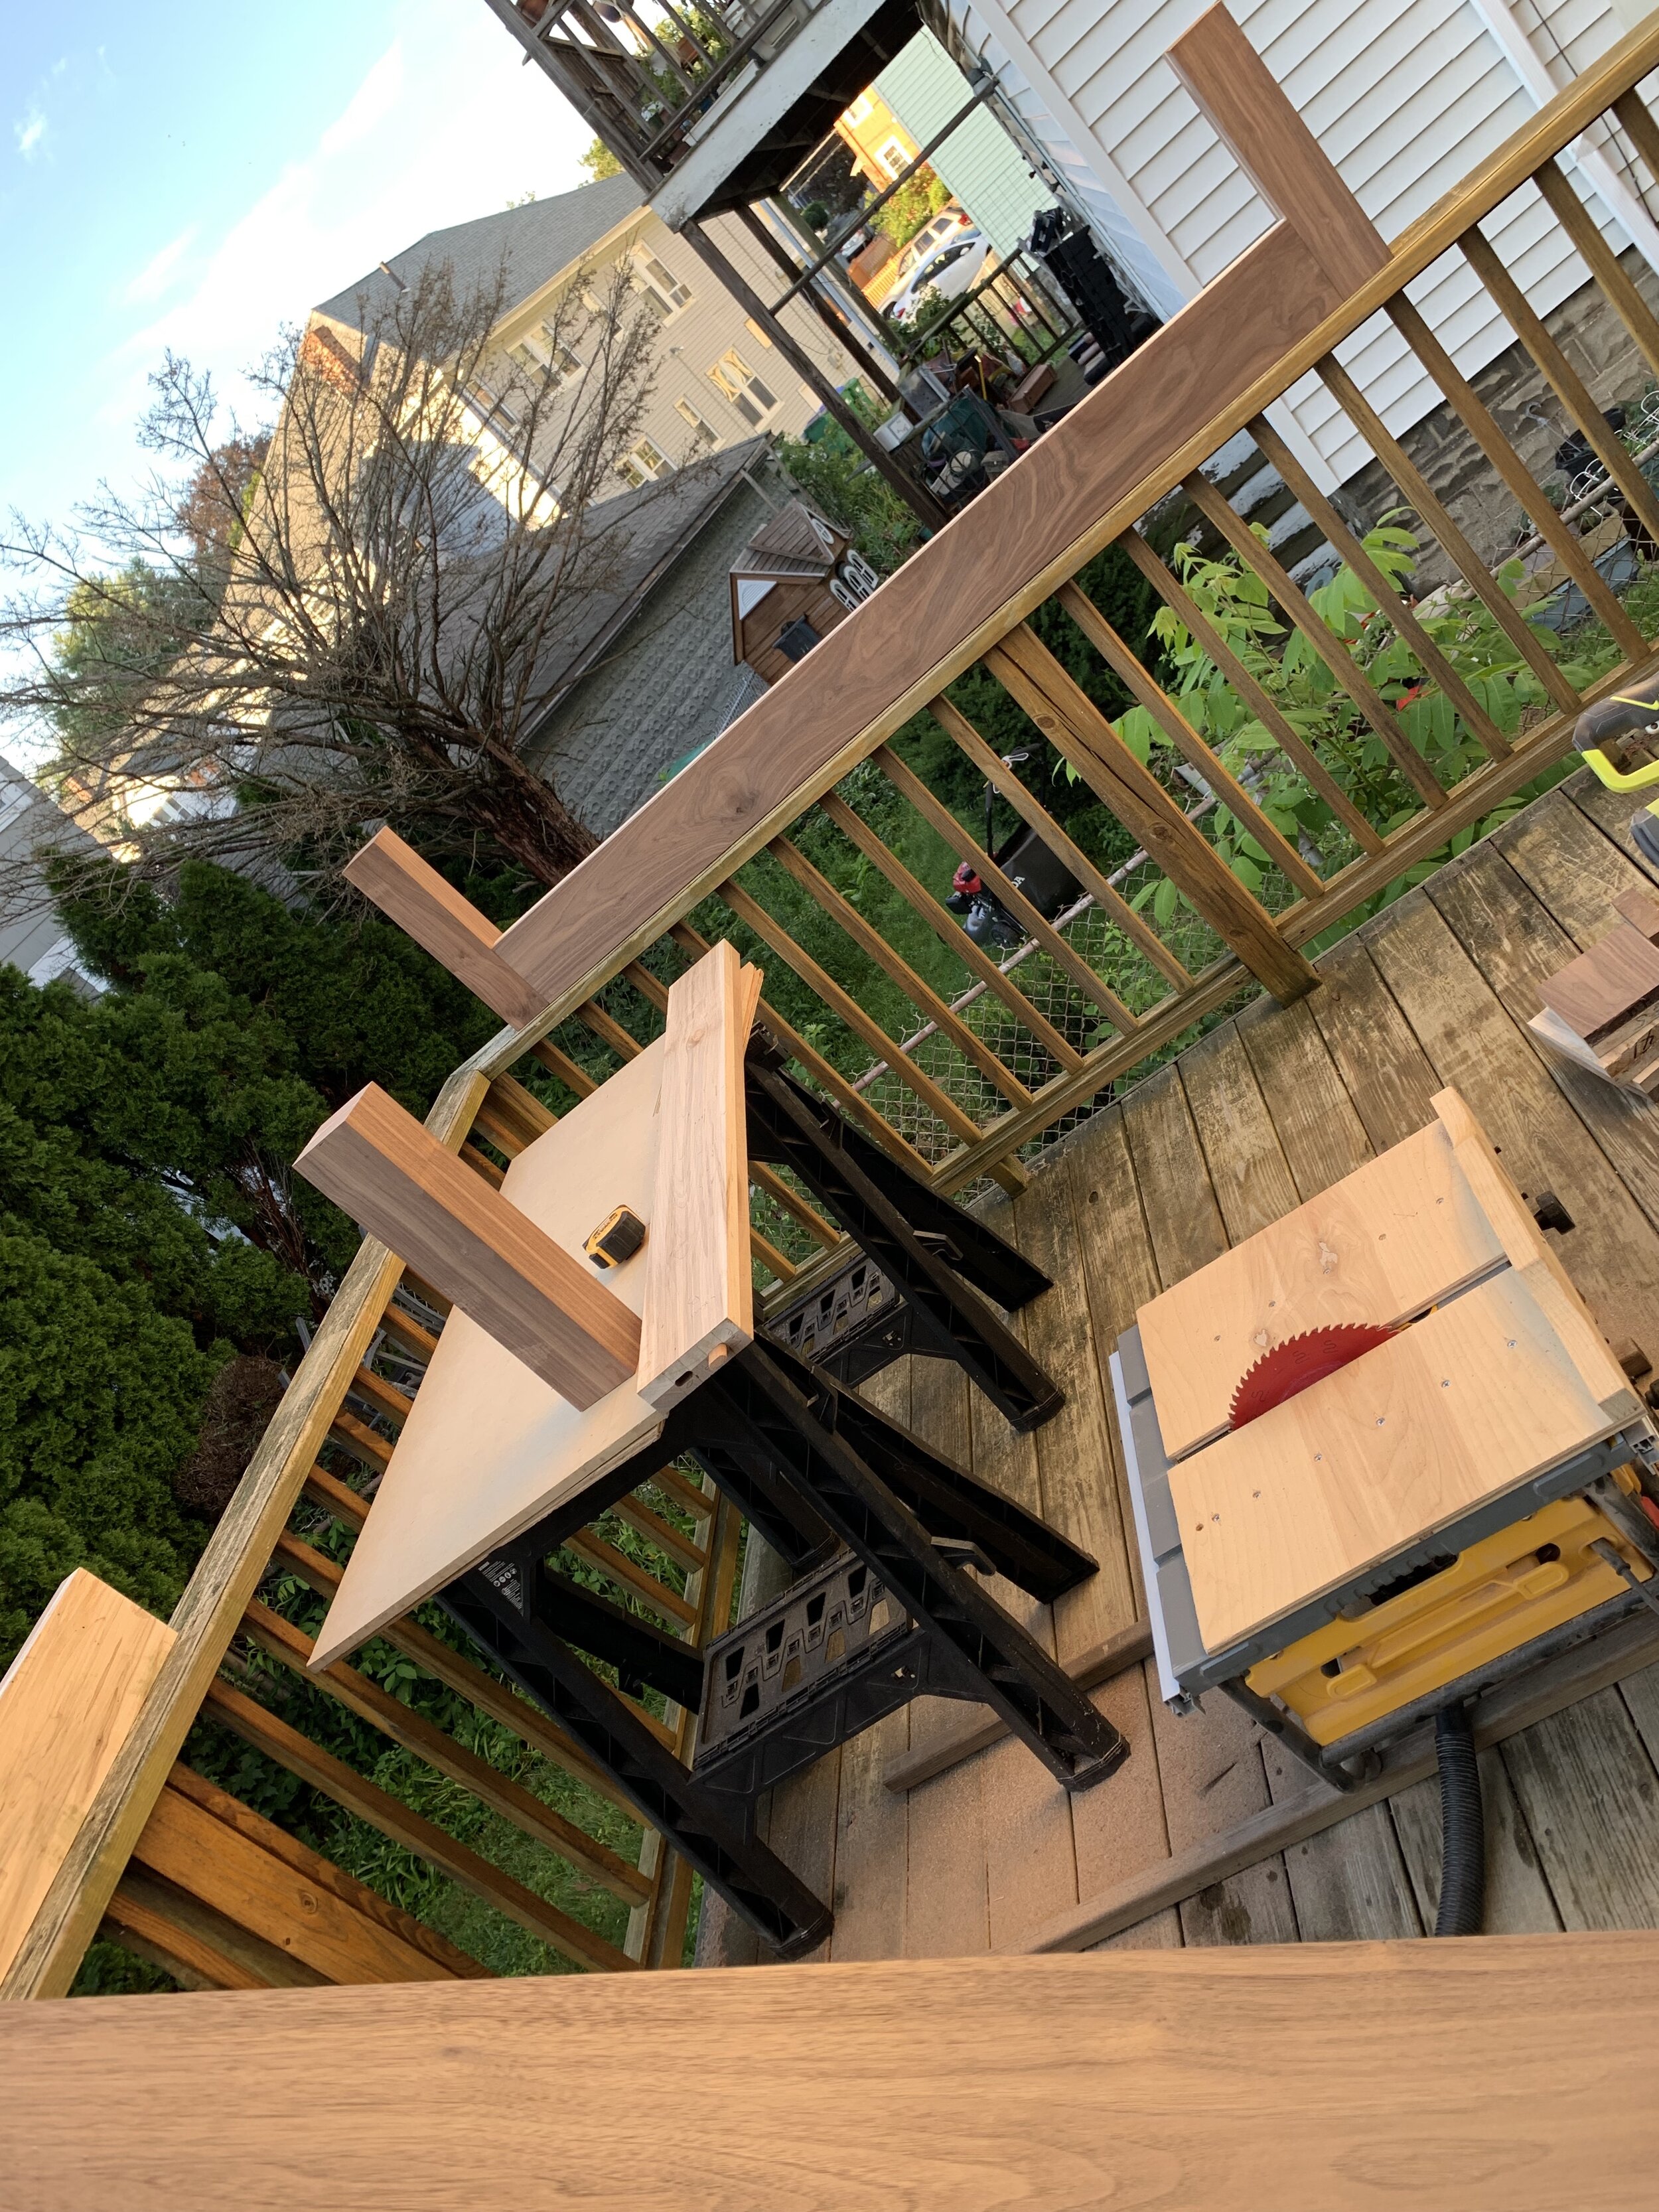
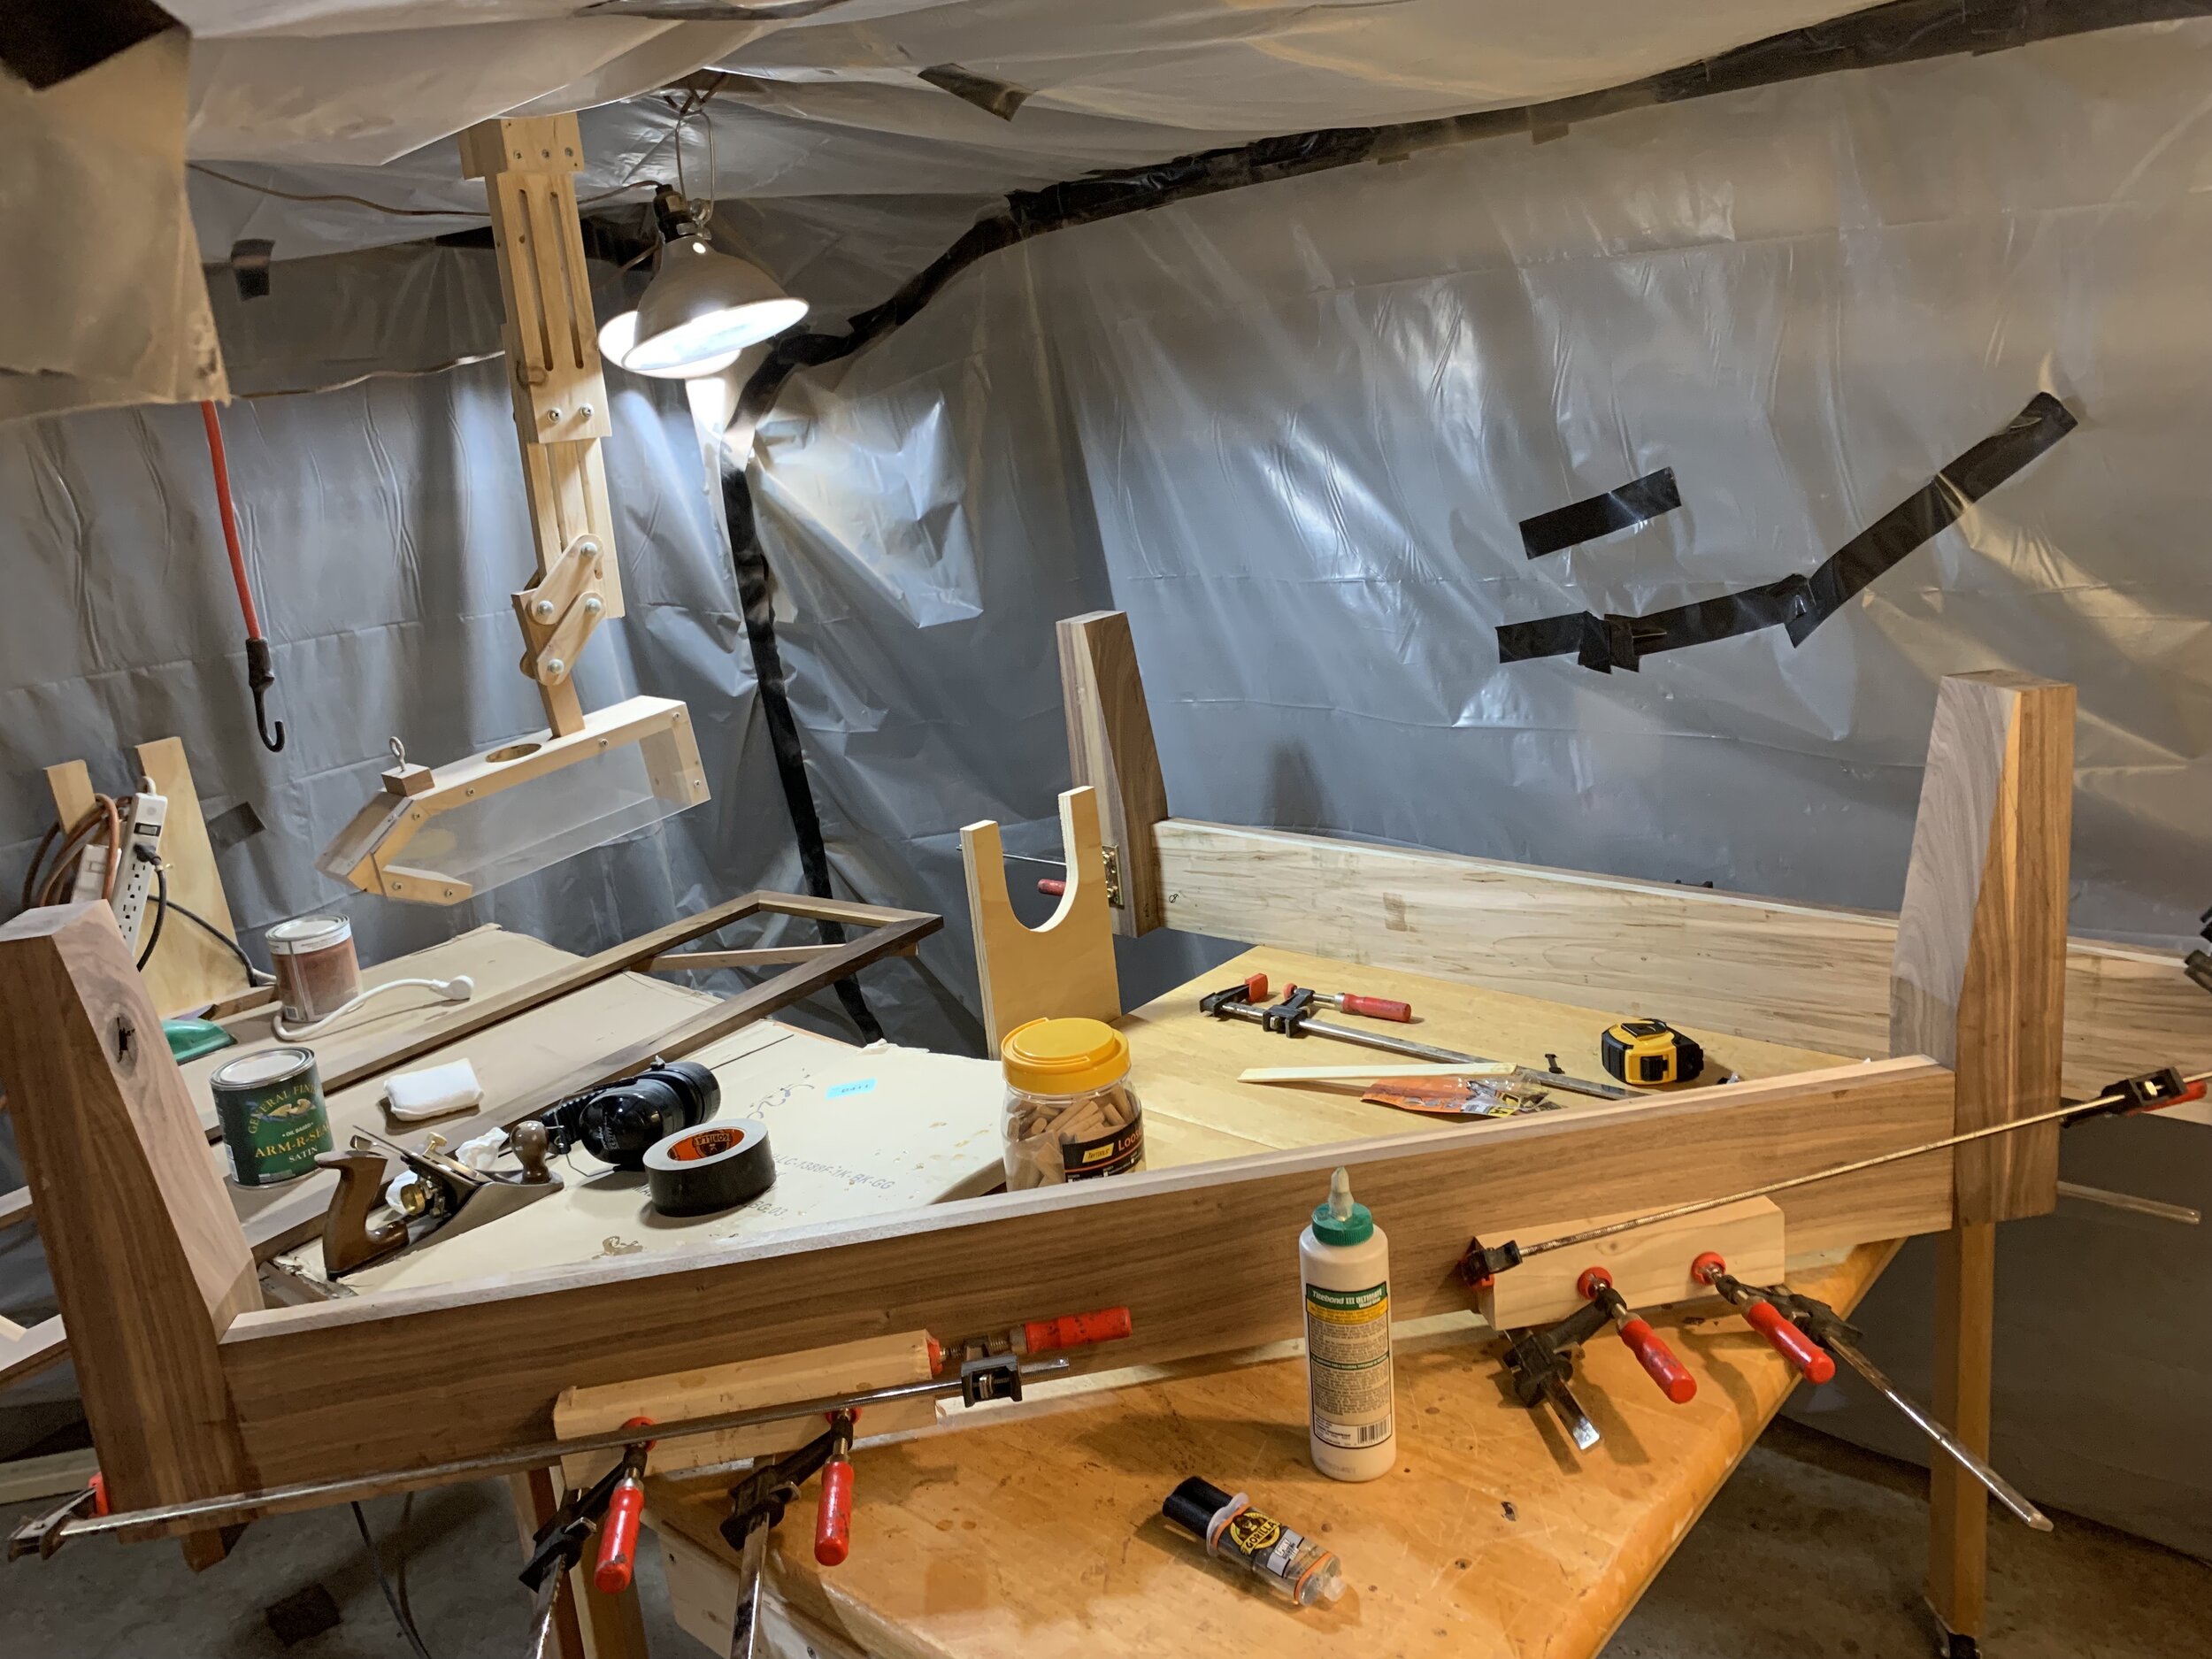
I was able to complete this project in just a few weeks (my own anxieties certainly played a role) and building this bed frame was a lot of fun! This was my first project of a larger scale however (60”x80” in this case), so working with the lumber and completing the project without a professional shop or adequate space proved quite challenging (and had to occur mainly on our porch deck out back).
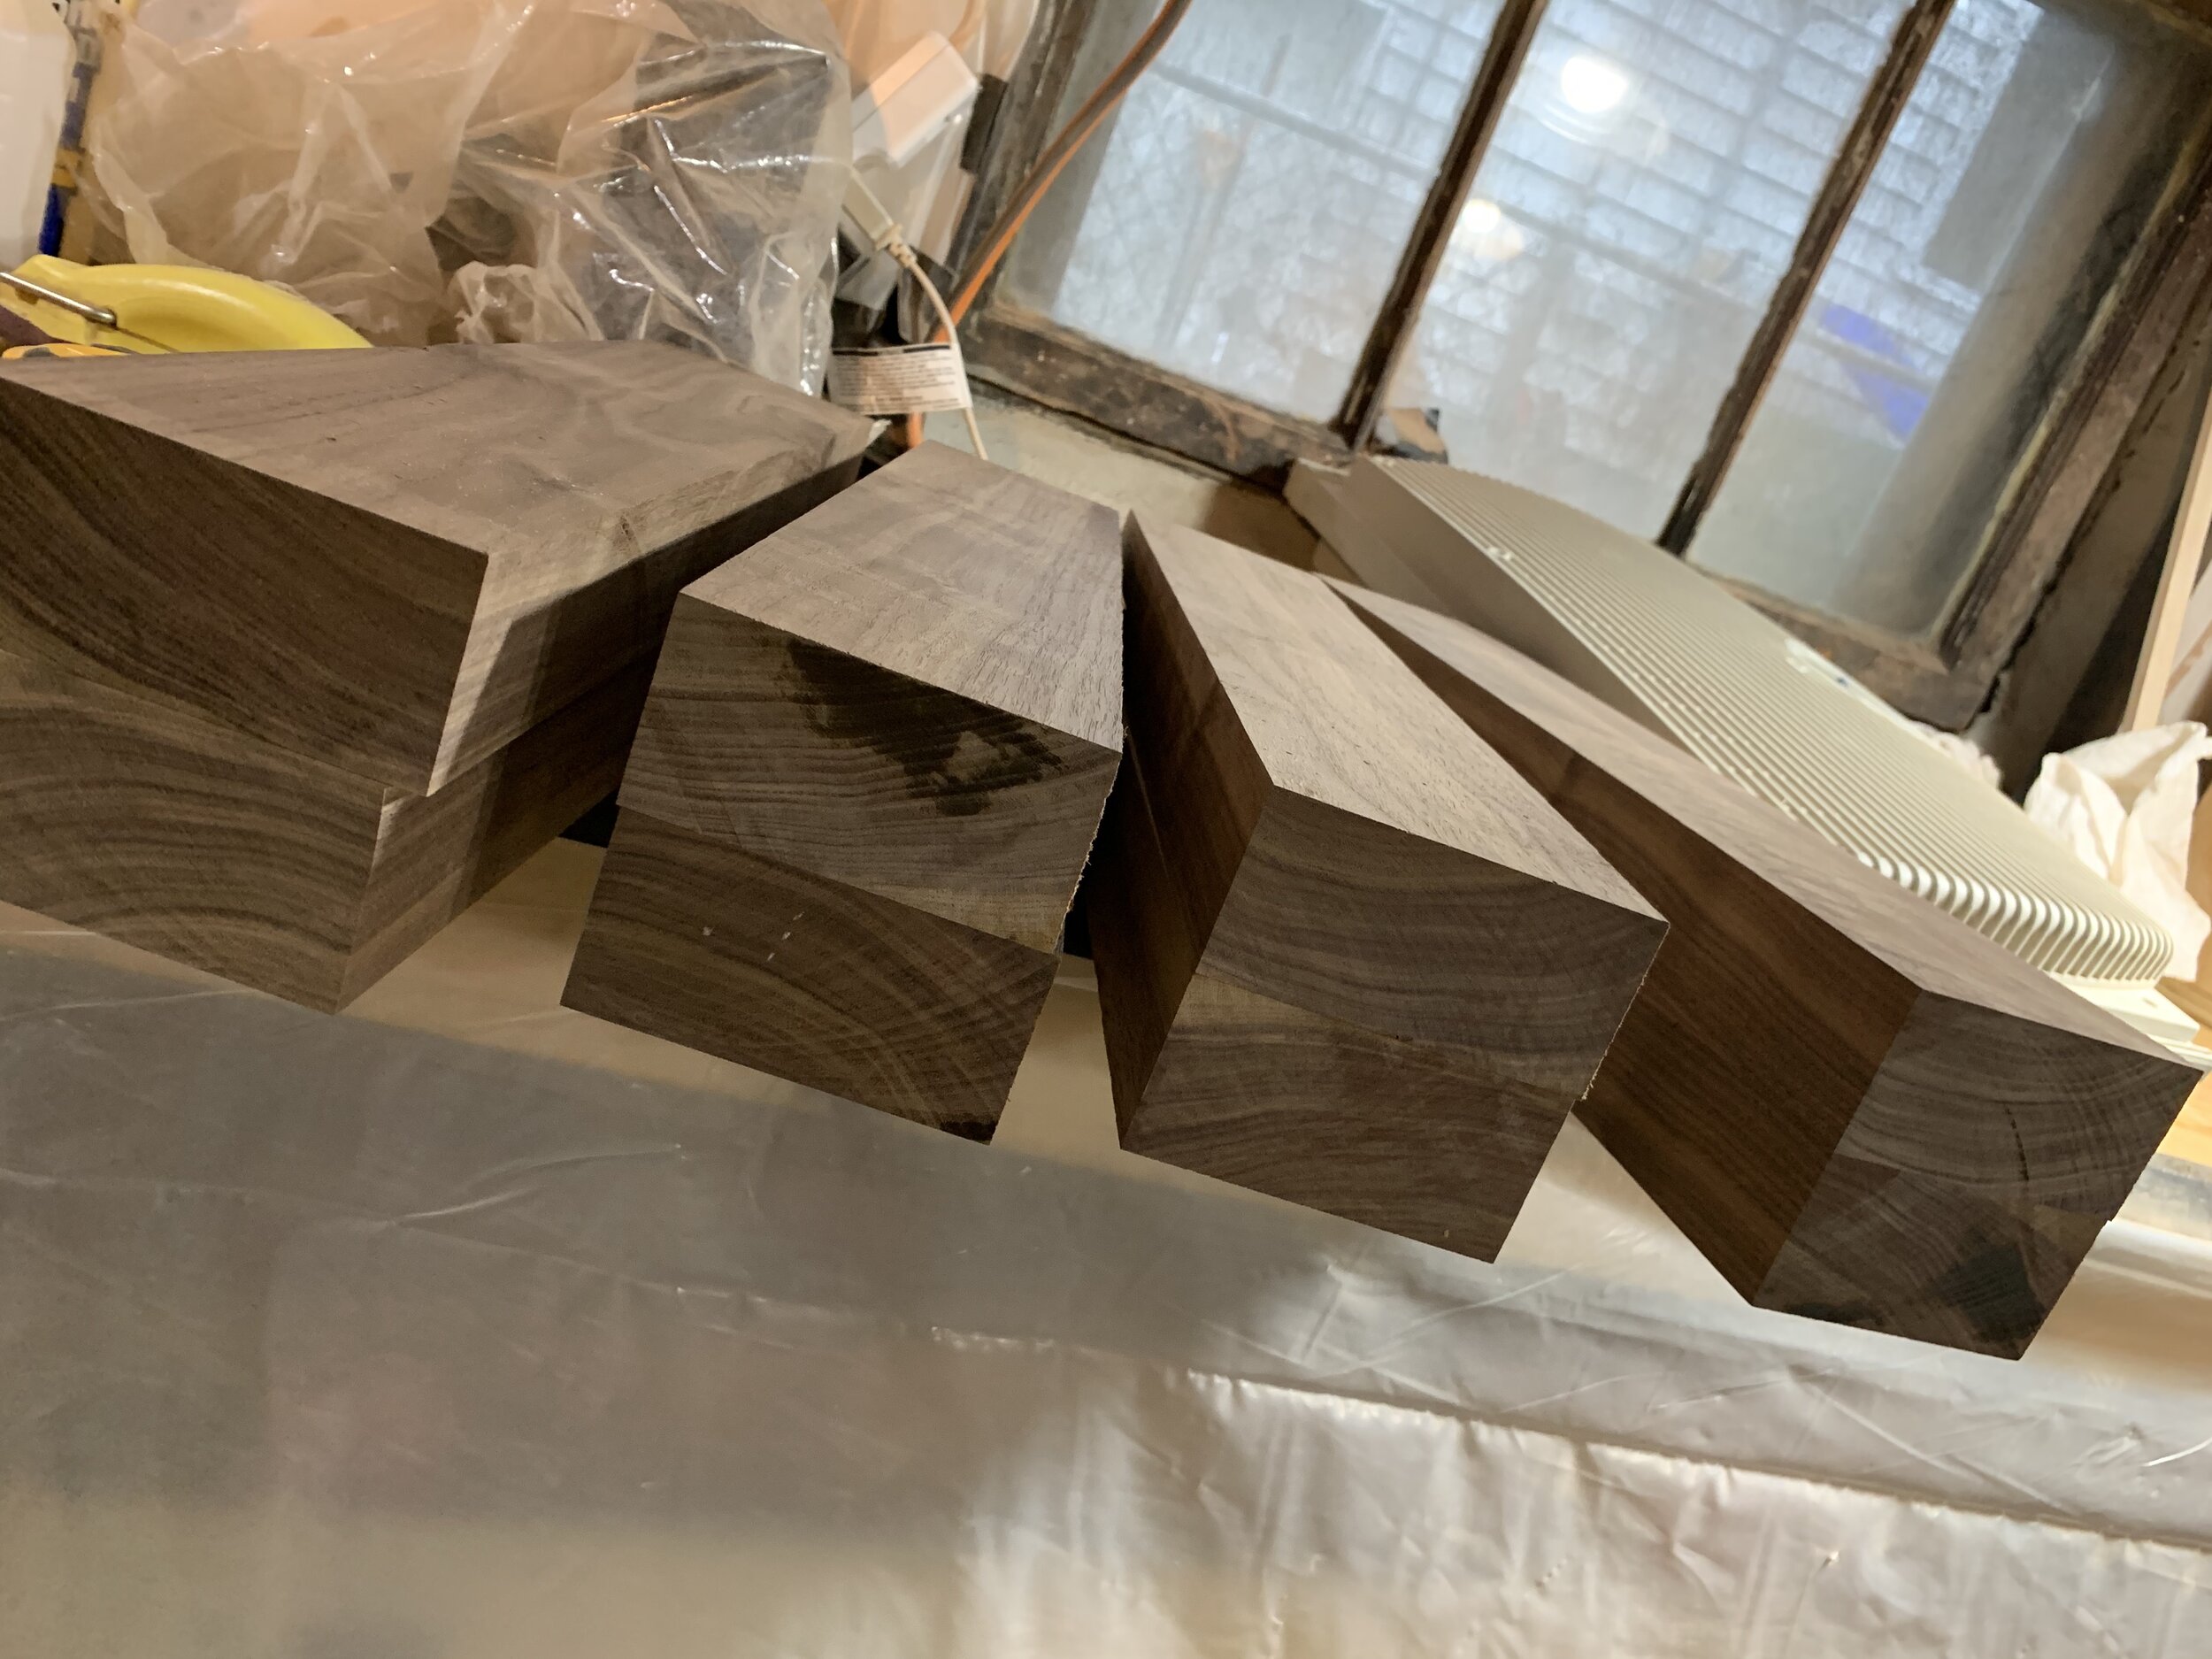
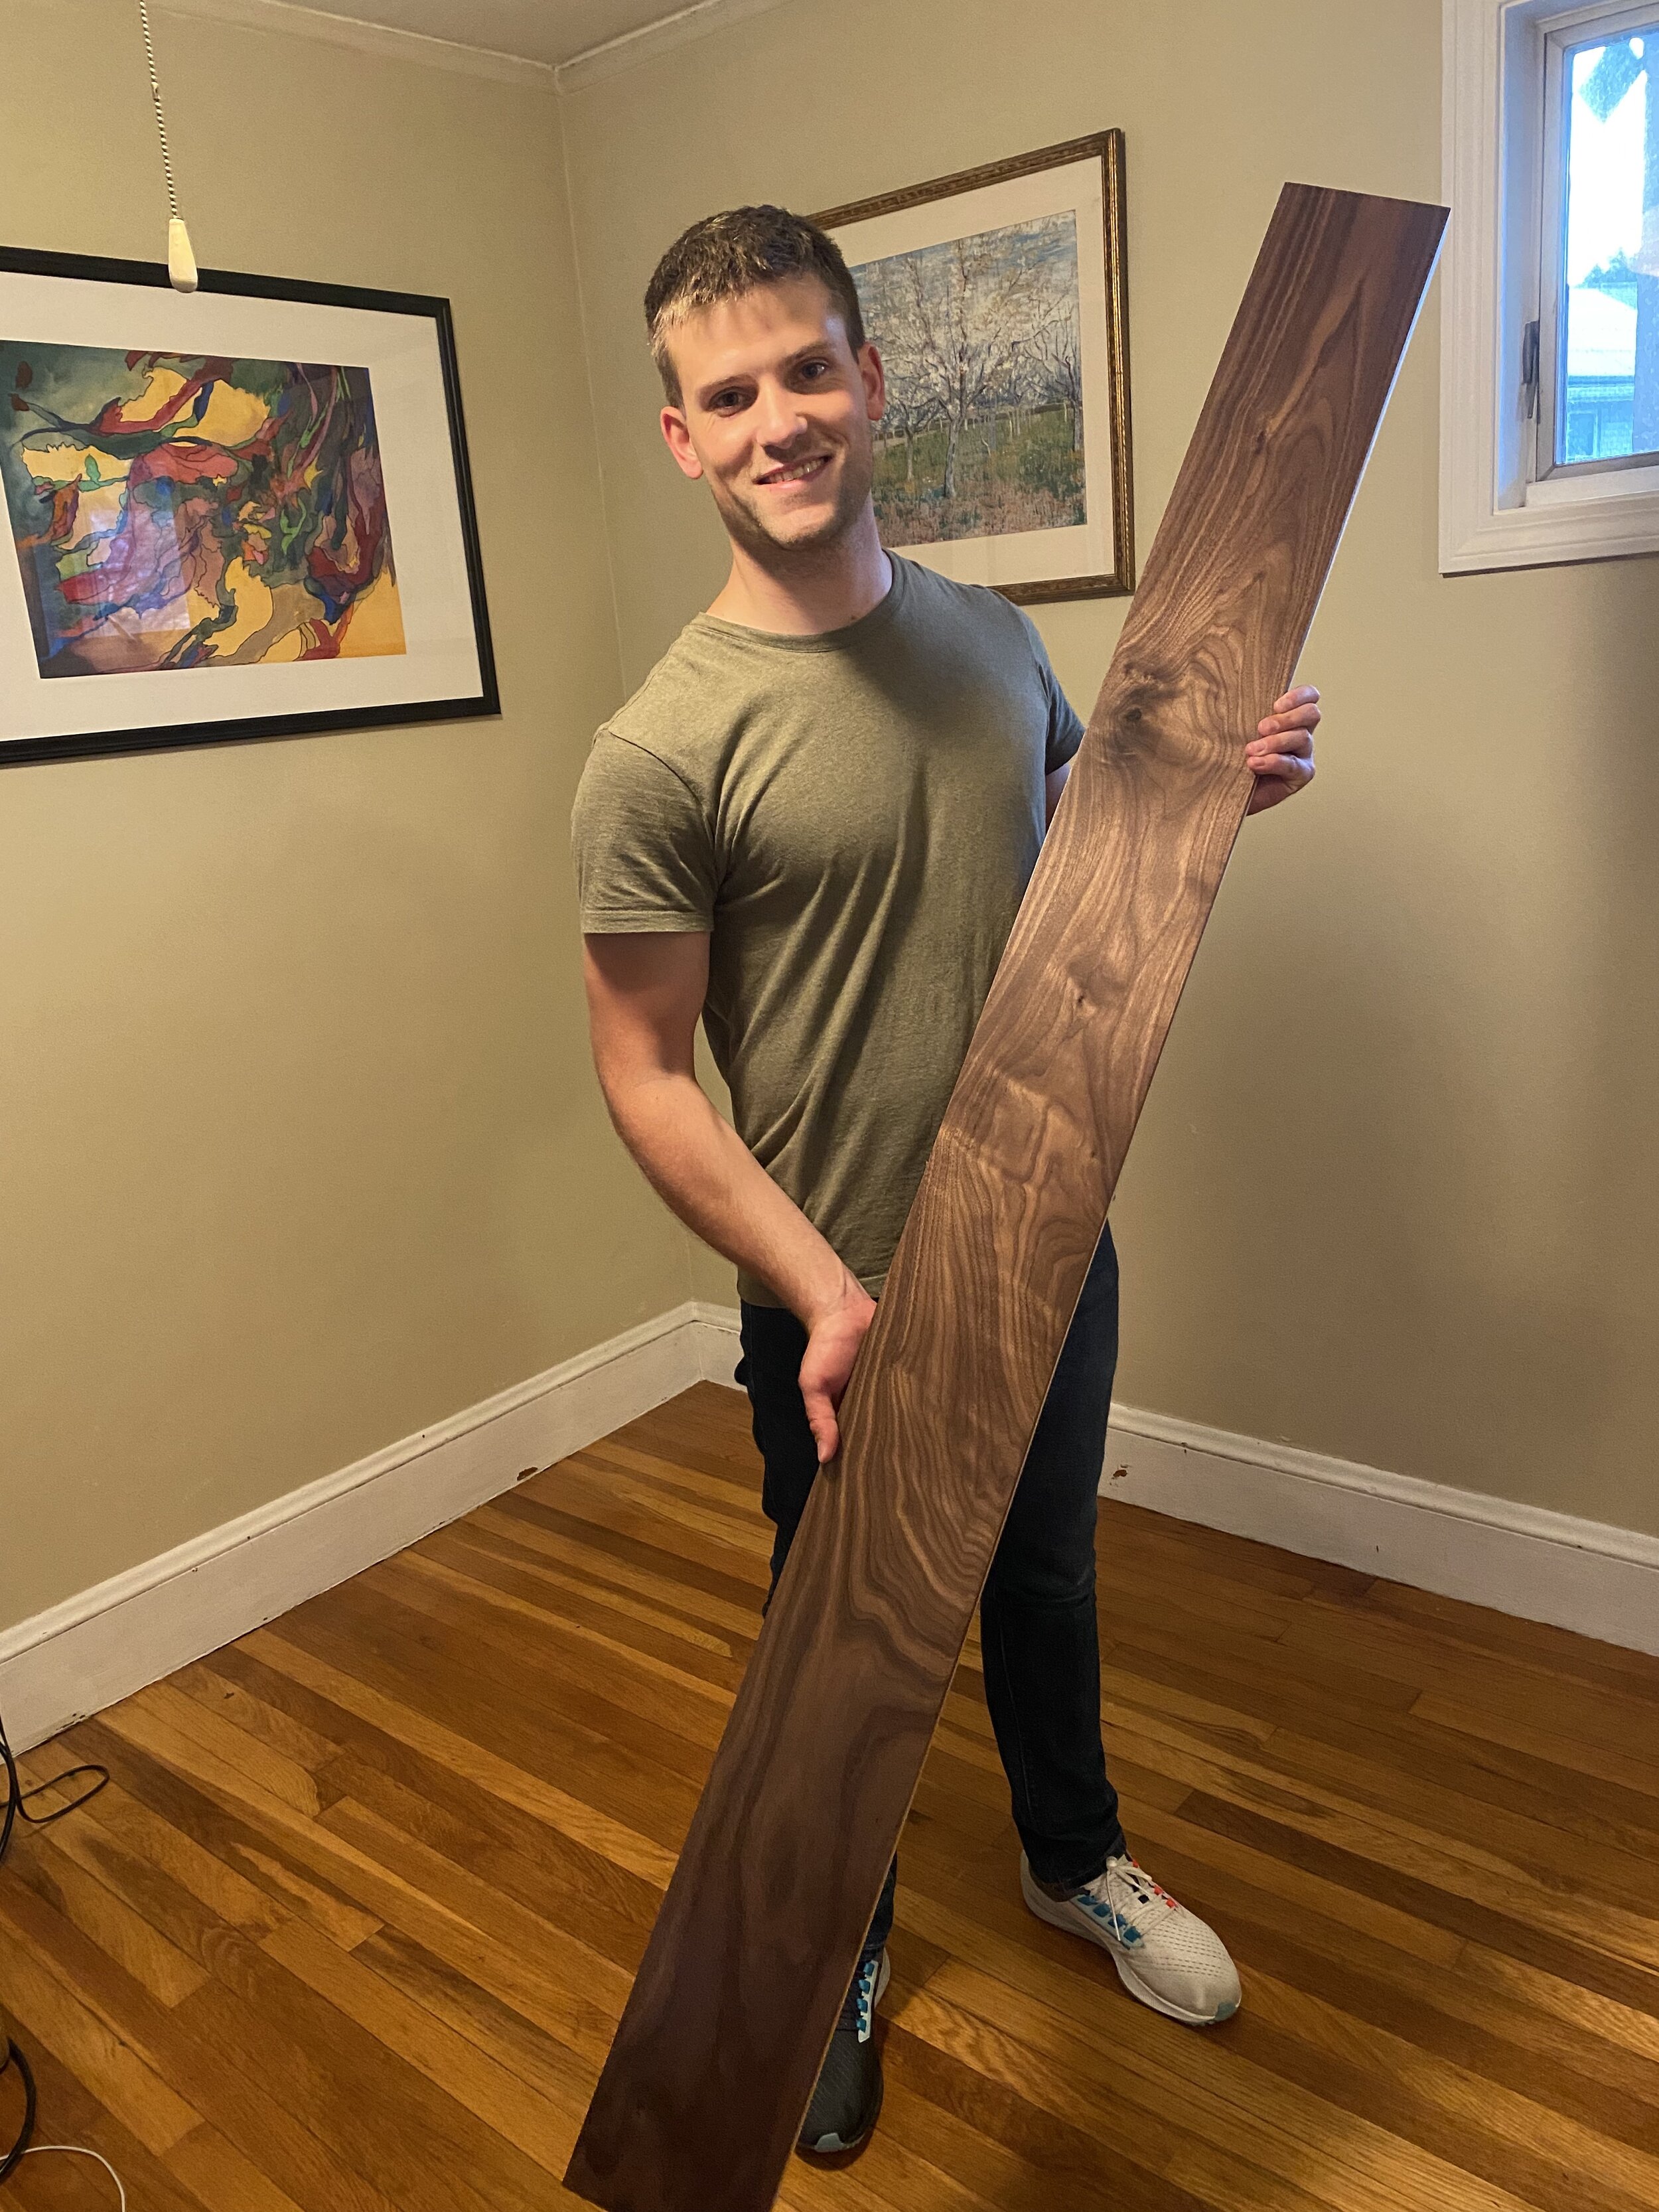
It wasn’t until after we purchased the ~$400 of walnut and brought it home that I realized we had to move out of two apartments within the next month. In addition, it hadn’t really occurred to me that I didn’t have what you would call adequate space to complete this project, and a tropical storm was brewing and expected to hit the East Coast within the next few days (which it did - presenting it’s own challenges of a flooding basement with high humidity, risking changing the boards shape and figure before I could complete assembly and finish the project).
Between these challenges, wedding planning, other large projects, a few “you shouldn’t do it now!”s , and the wood store, Rockler, telling me “yeah man - you can return the lumber while it’s in it’s original shape prior to cutting if you’ve changed your mind!” - I decided that I was up for a challenge and that I had always figured it out with other projects - so I started making some cuts and began.
Building Experience
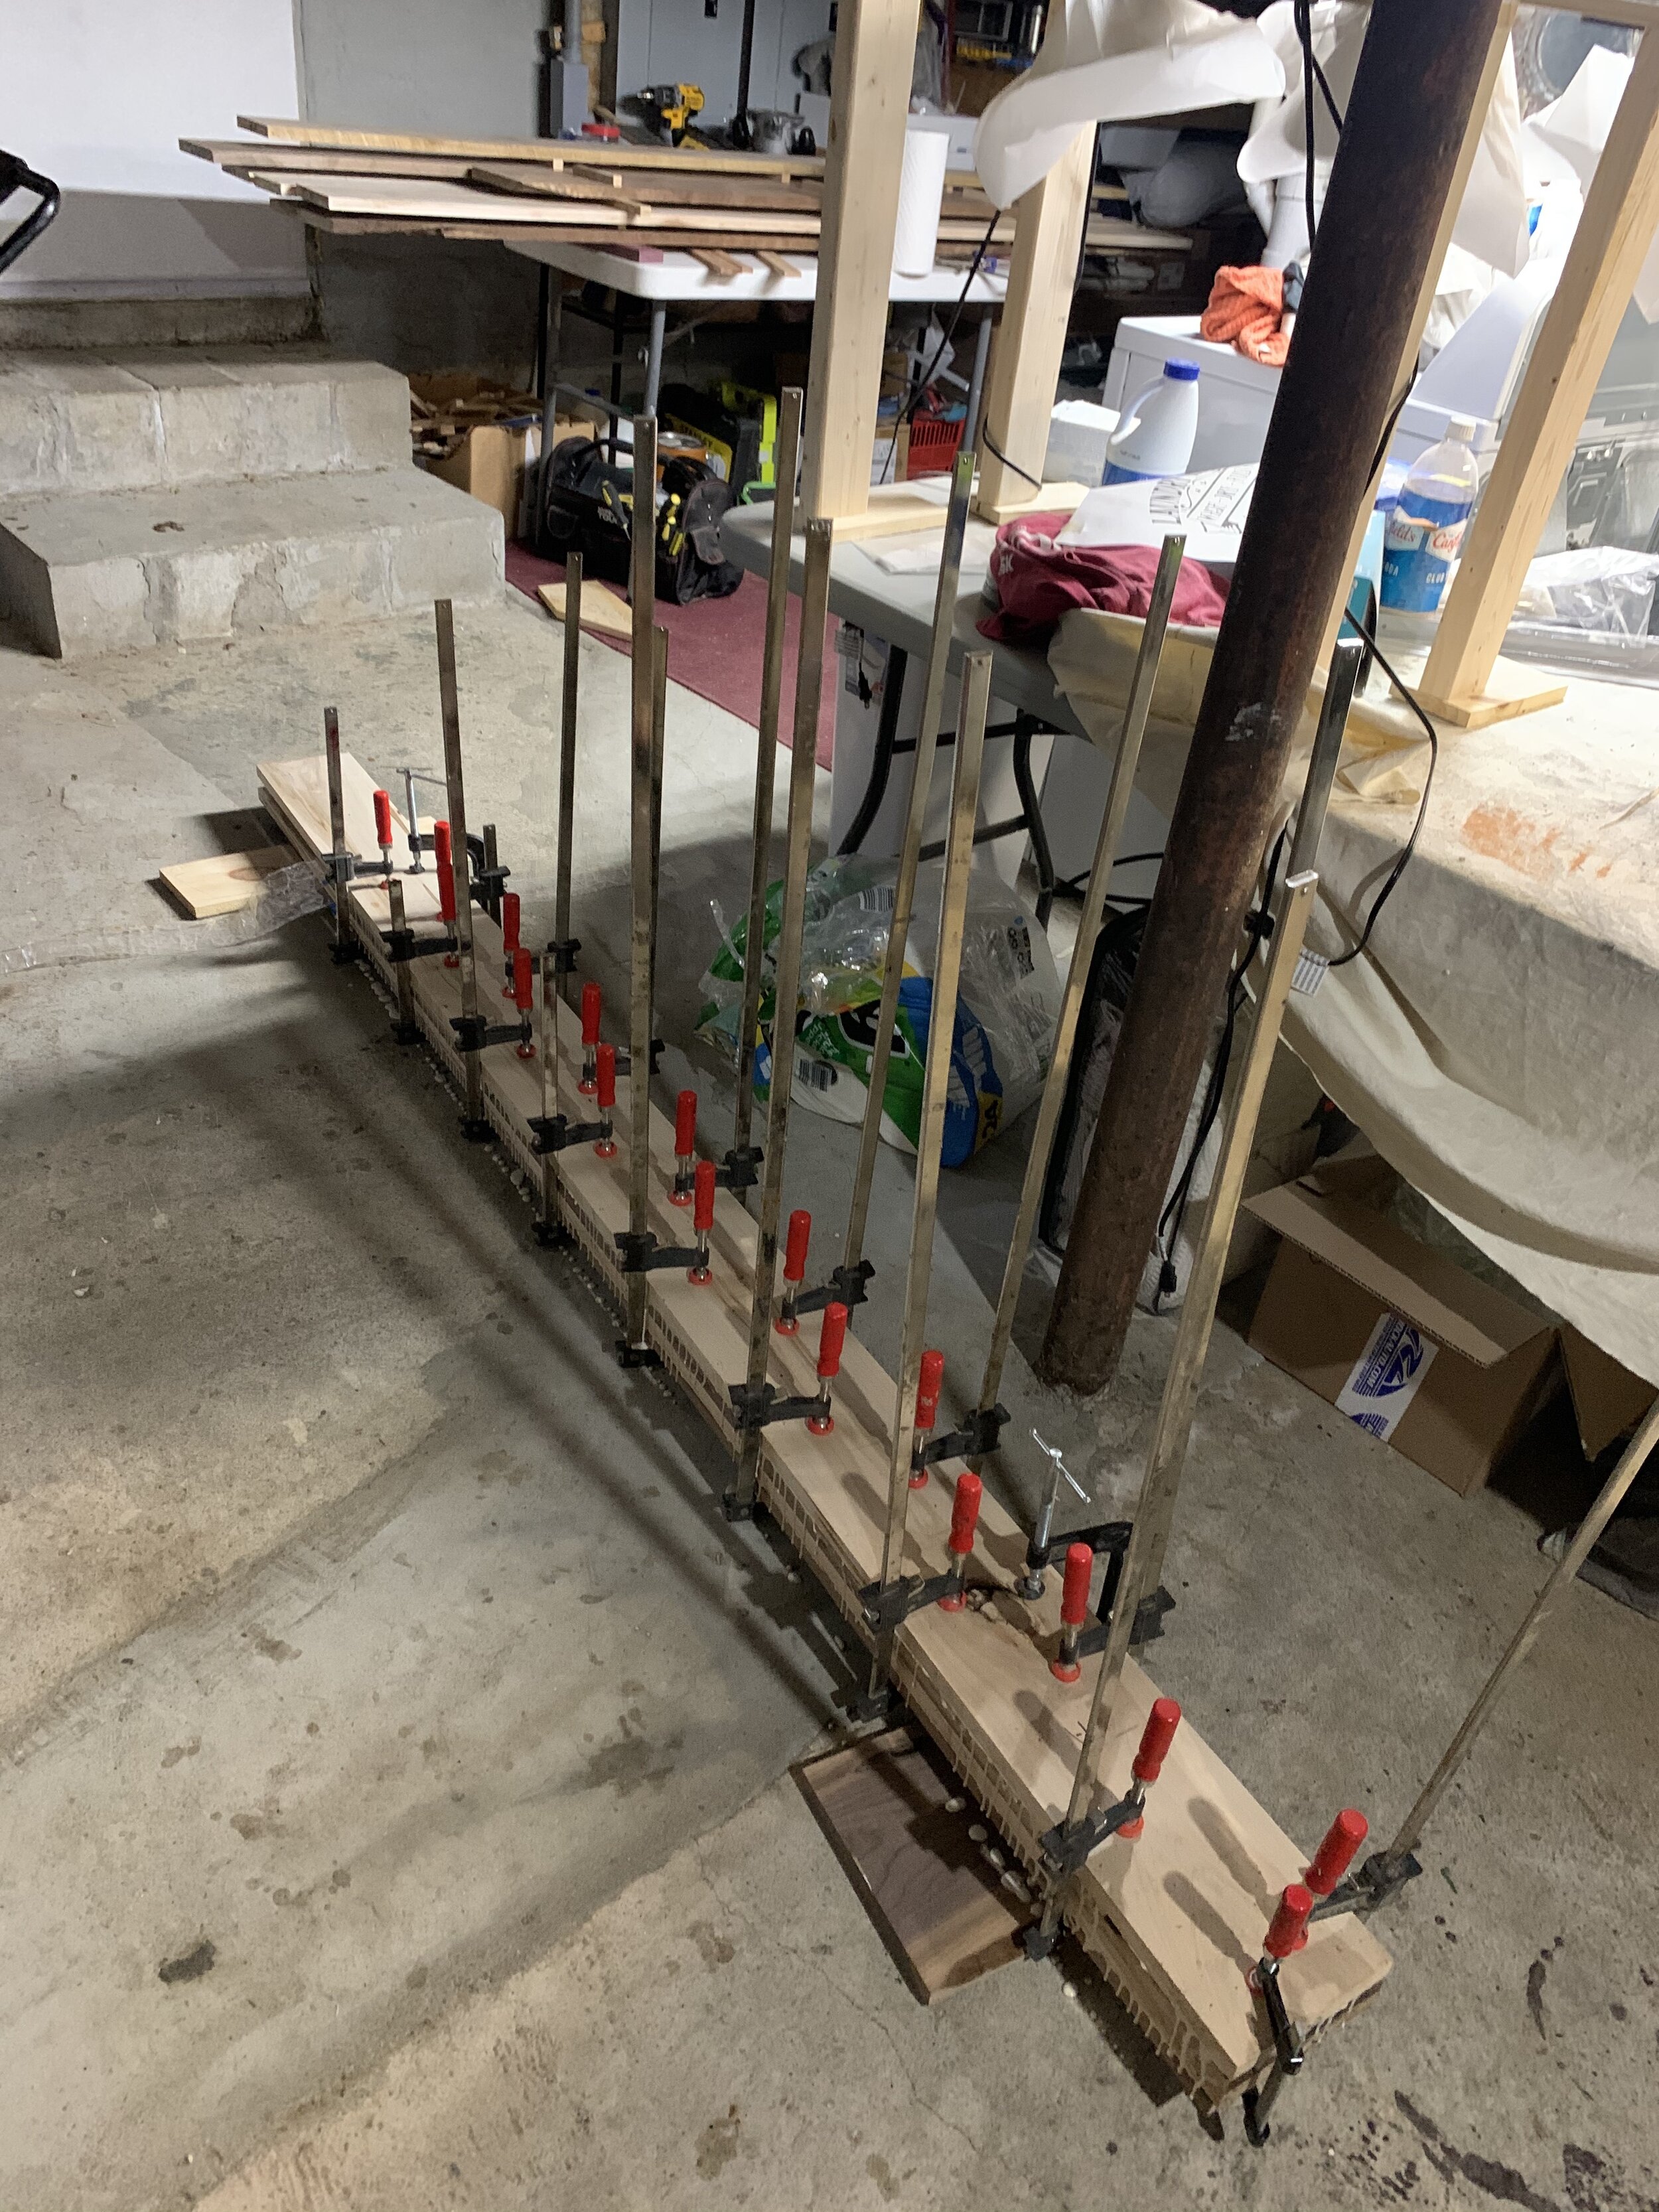
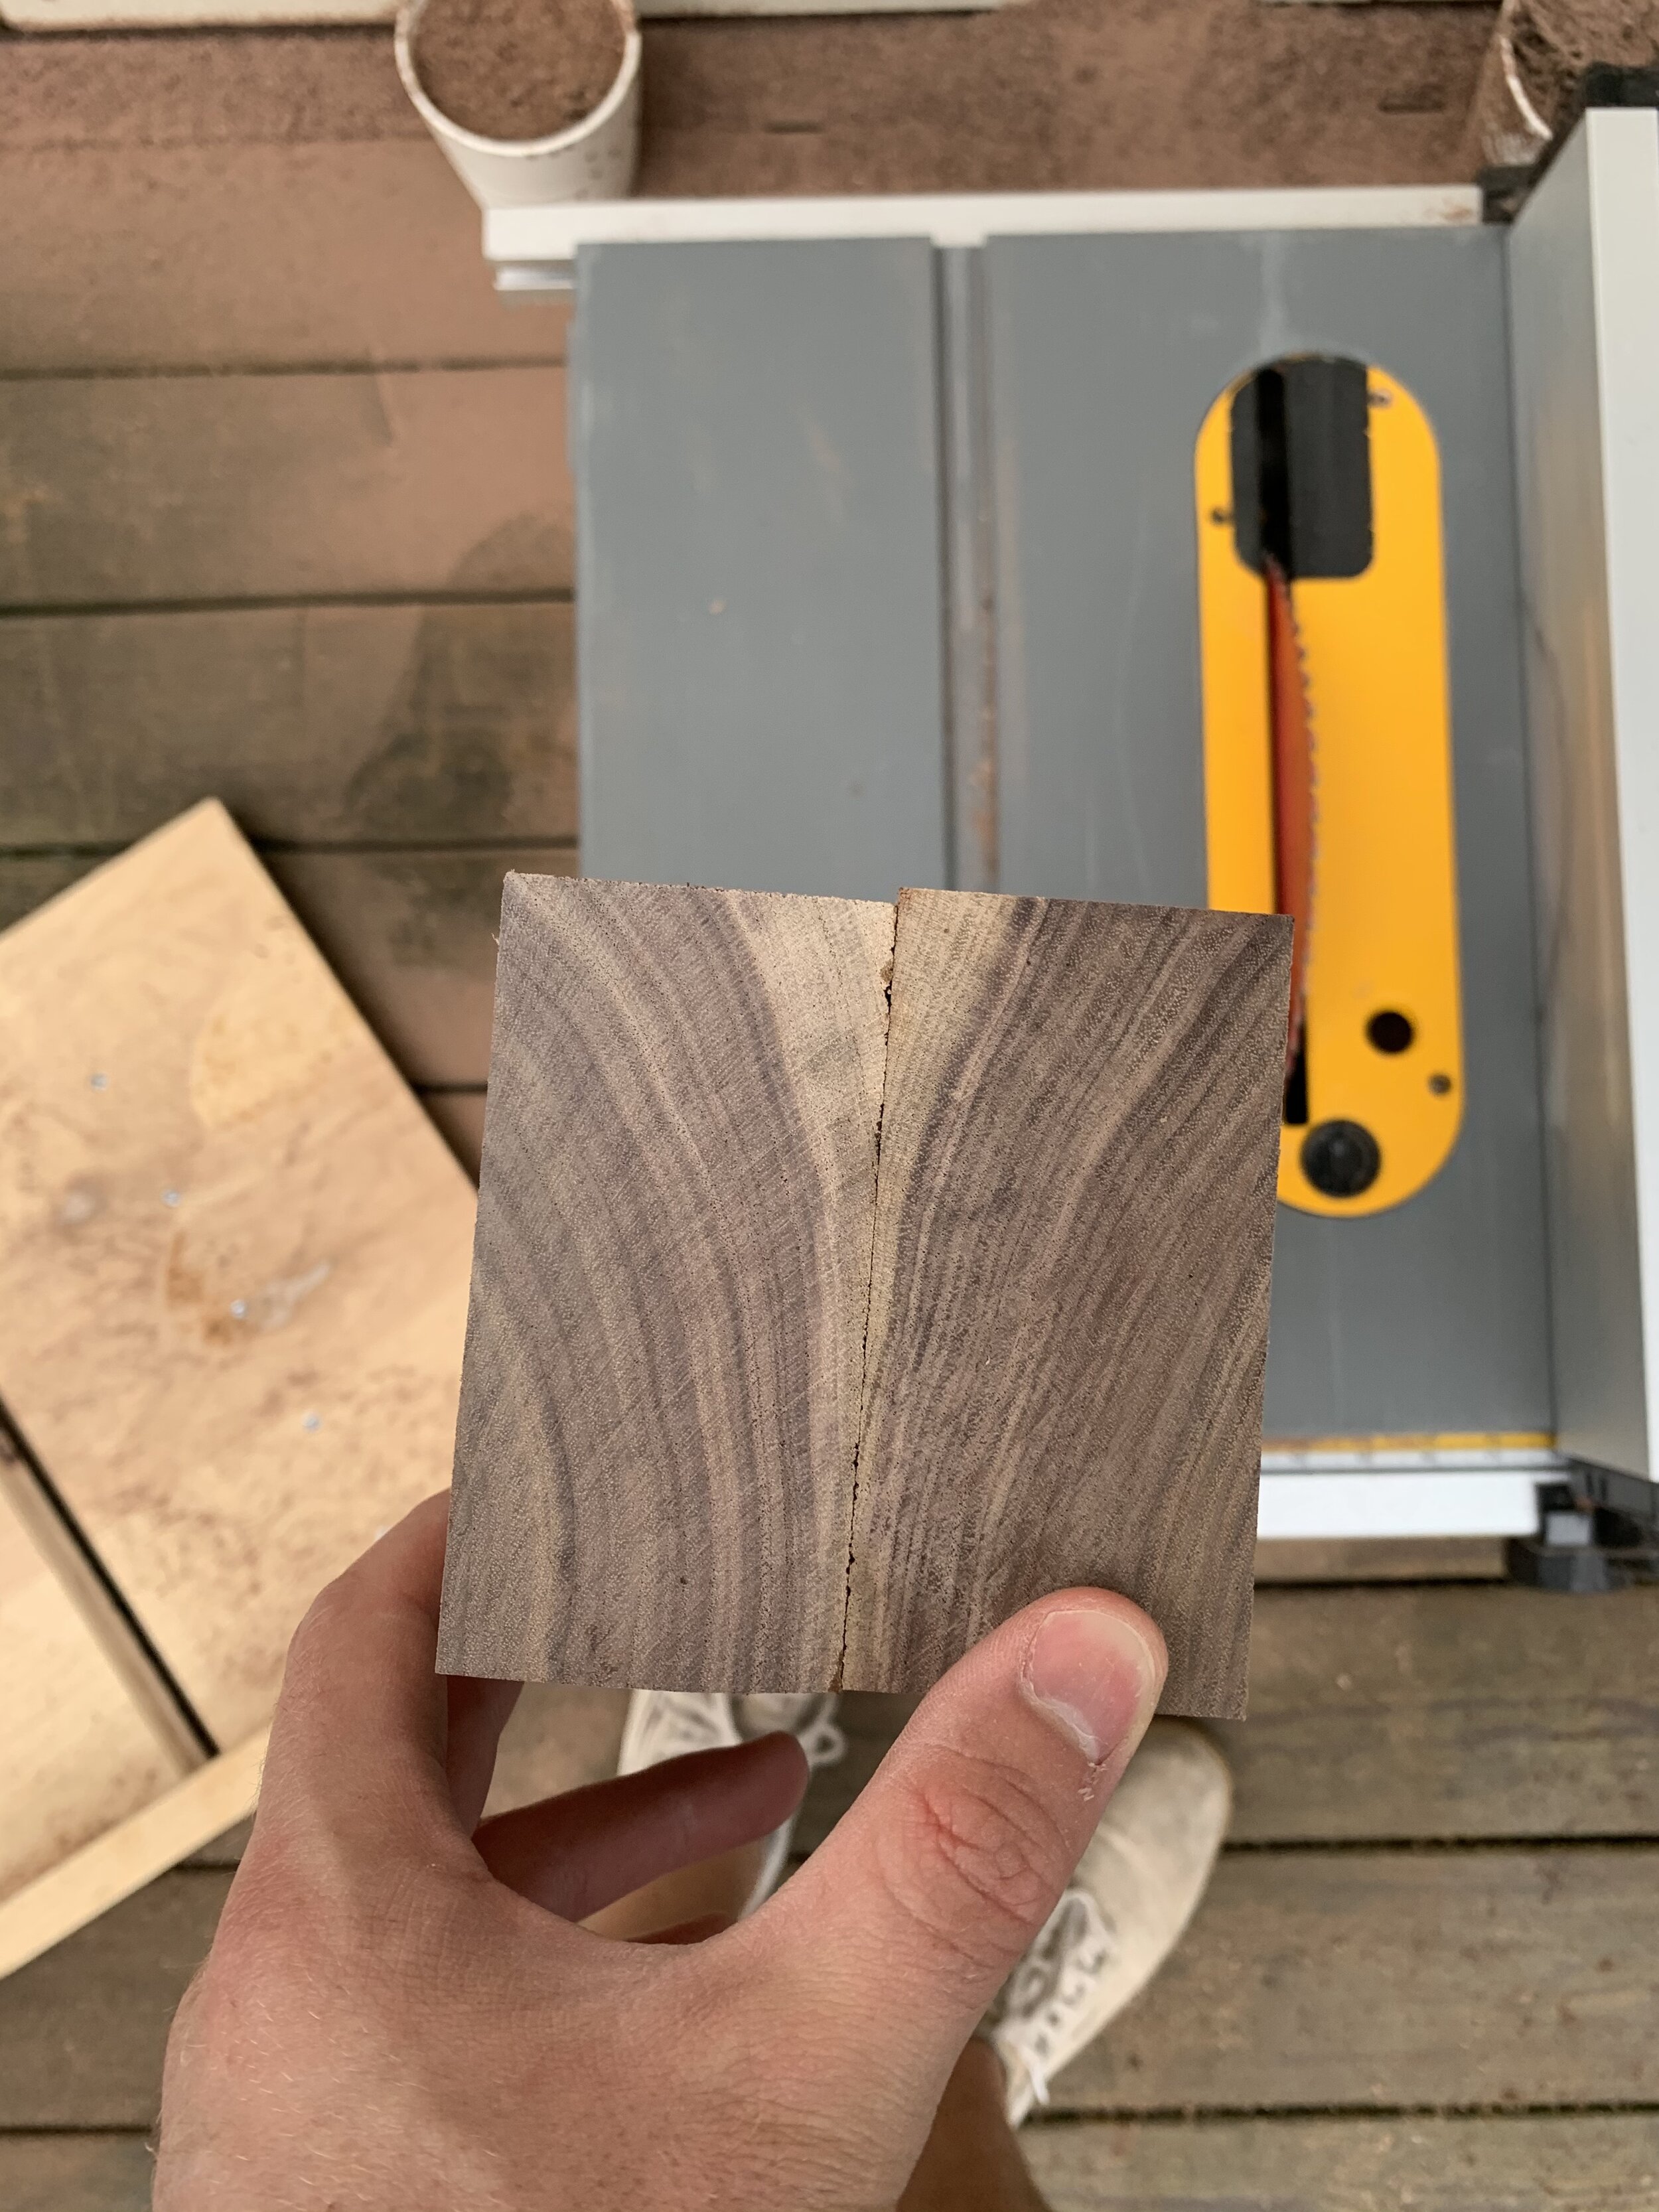
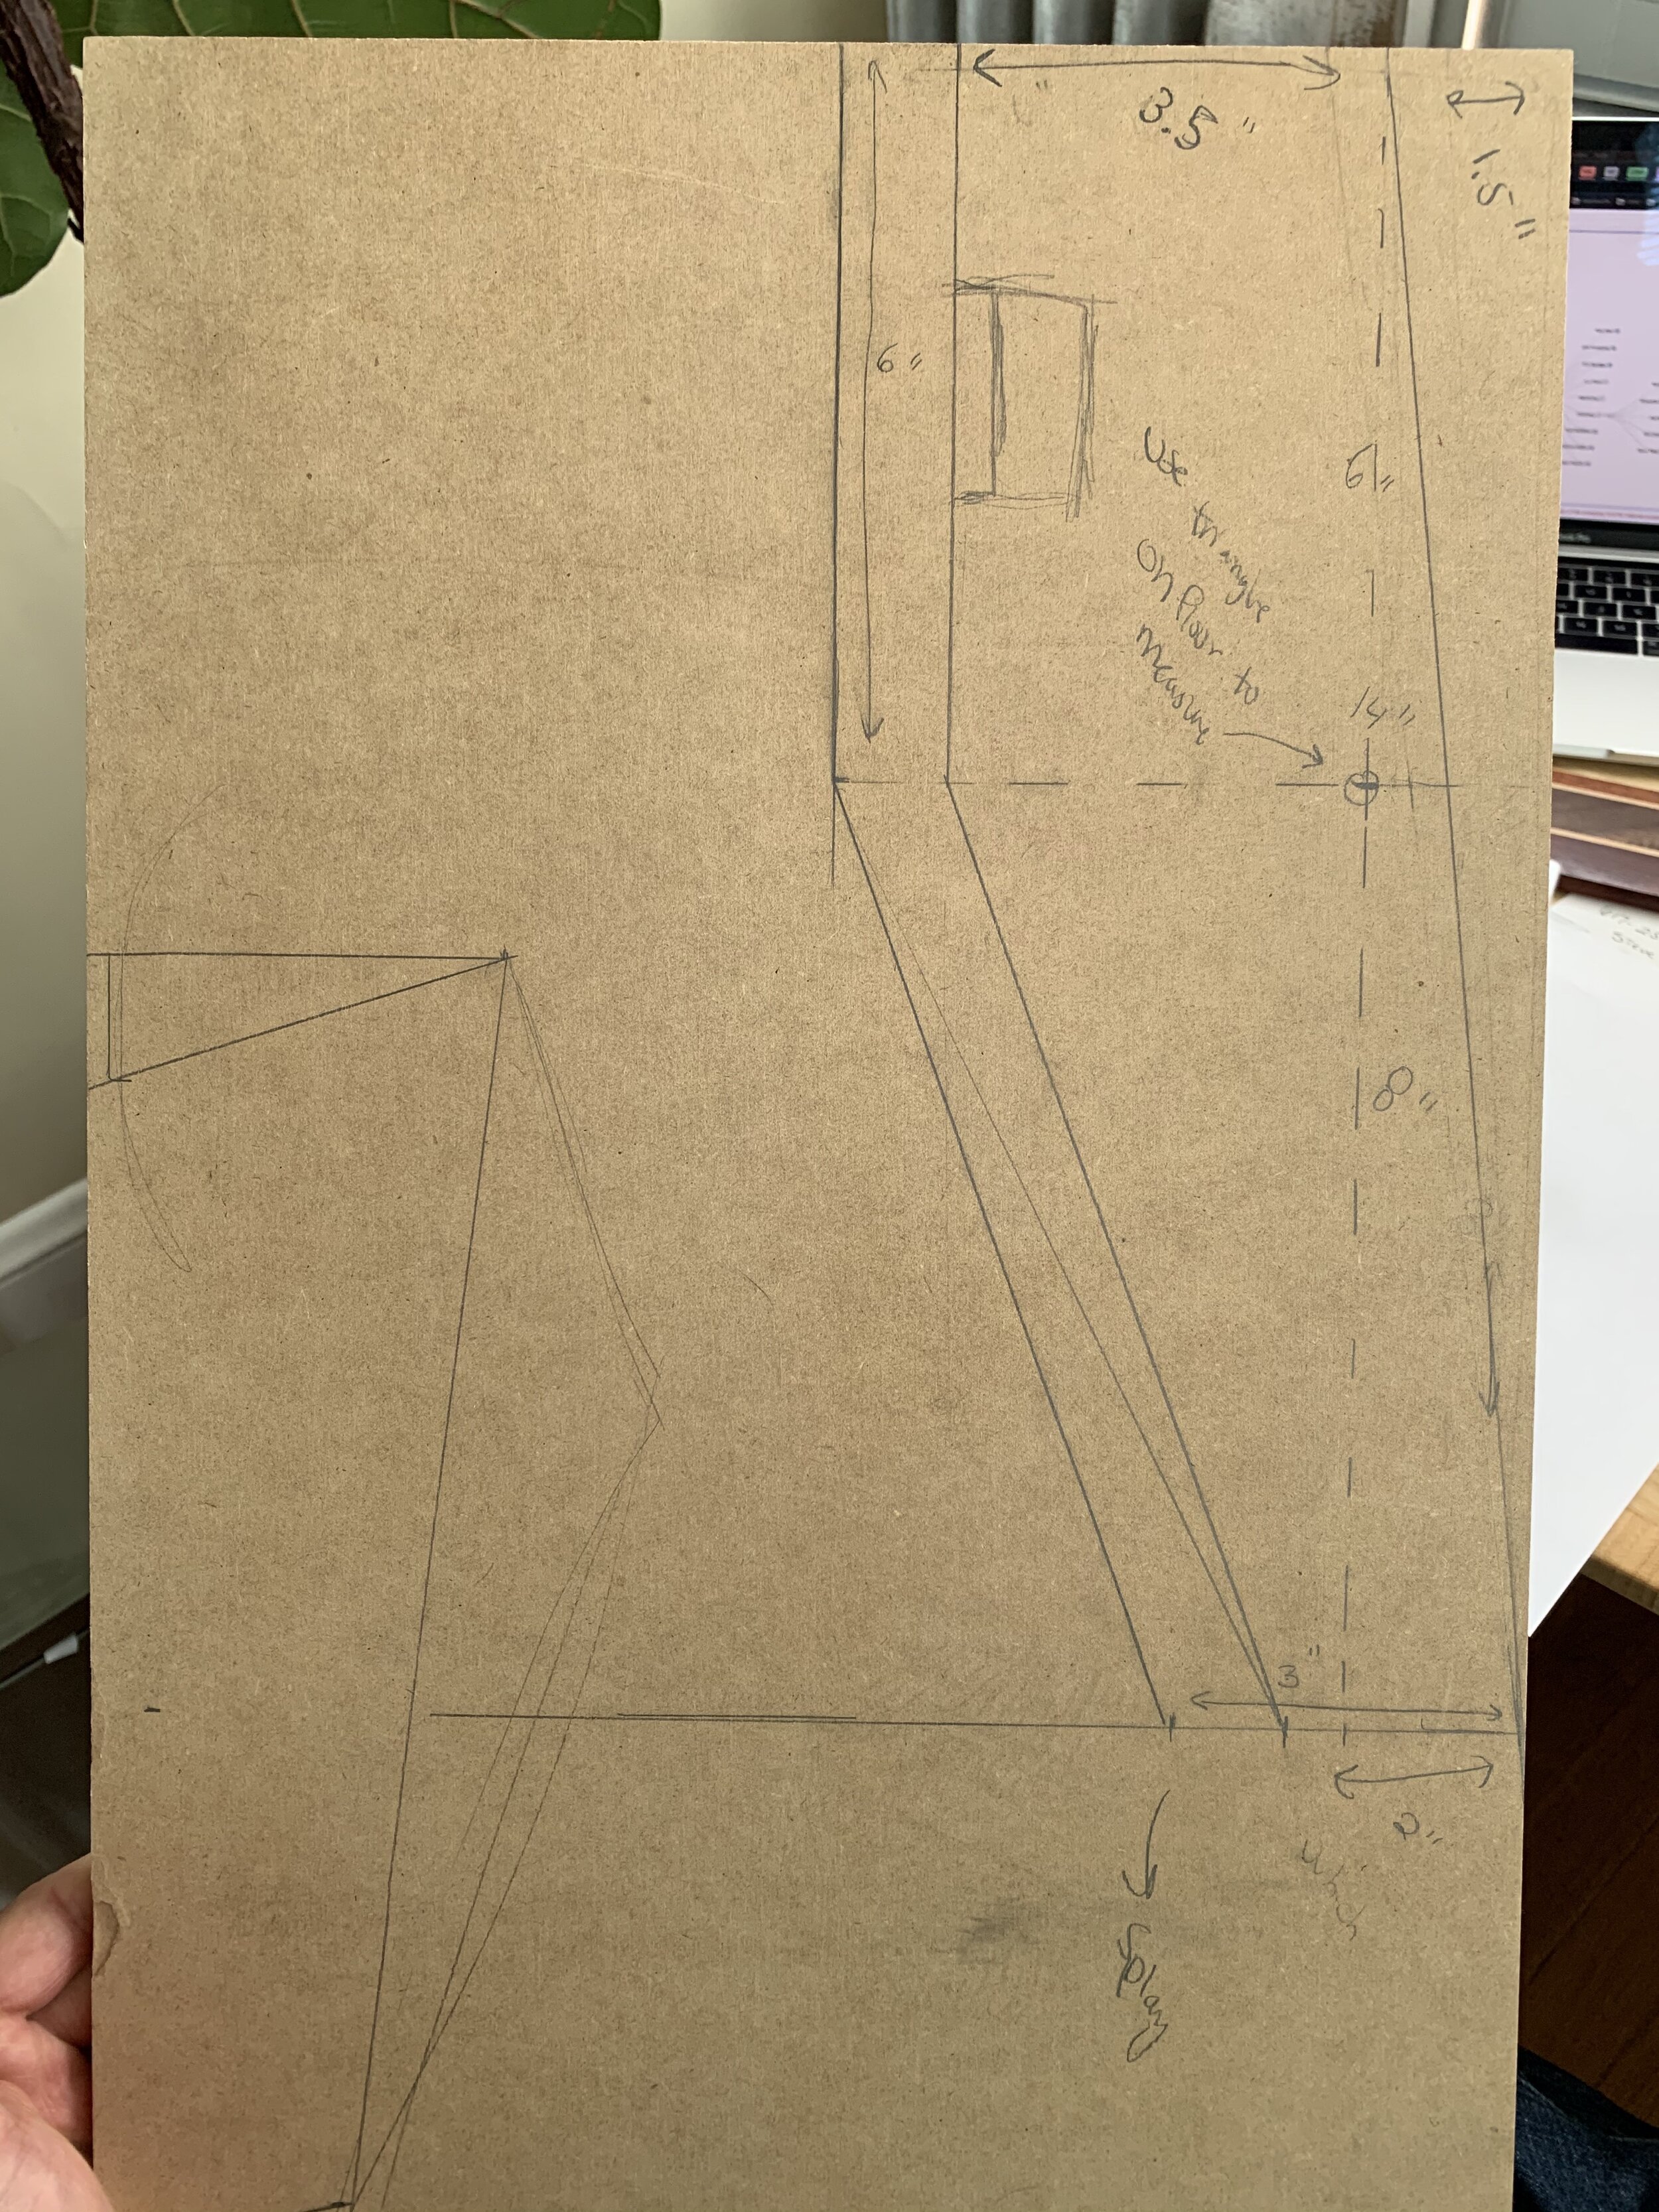
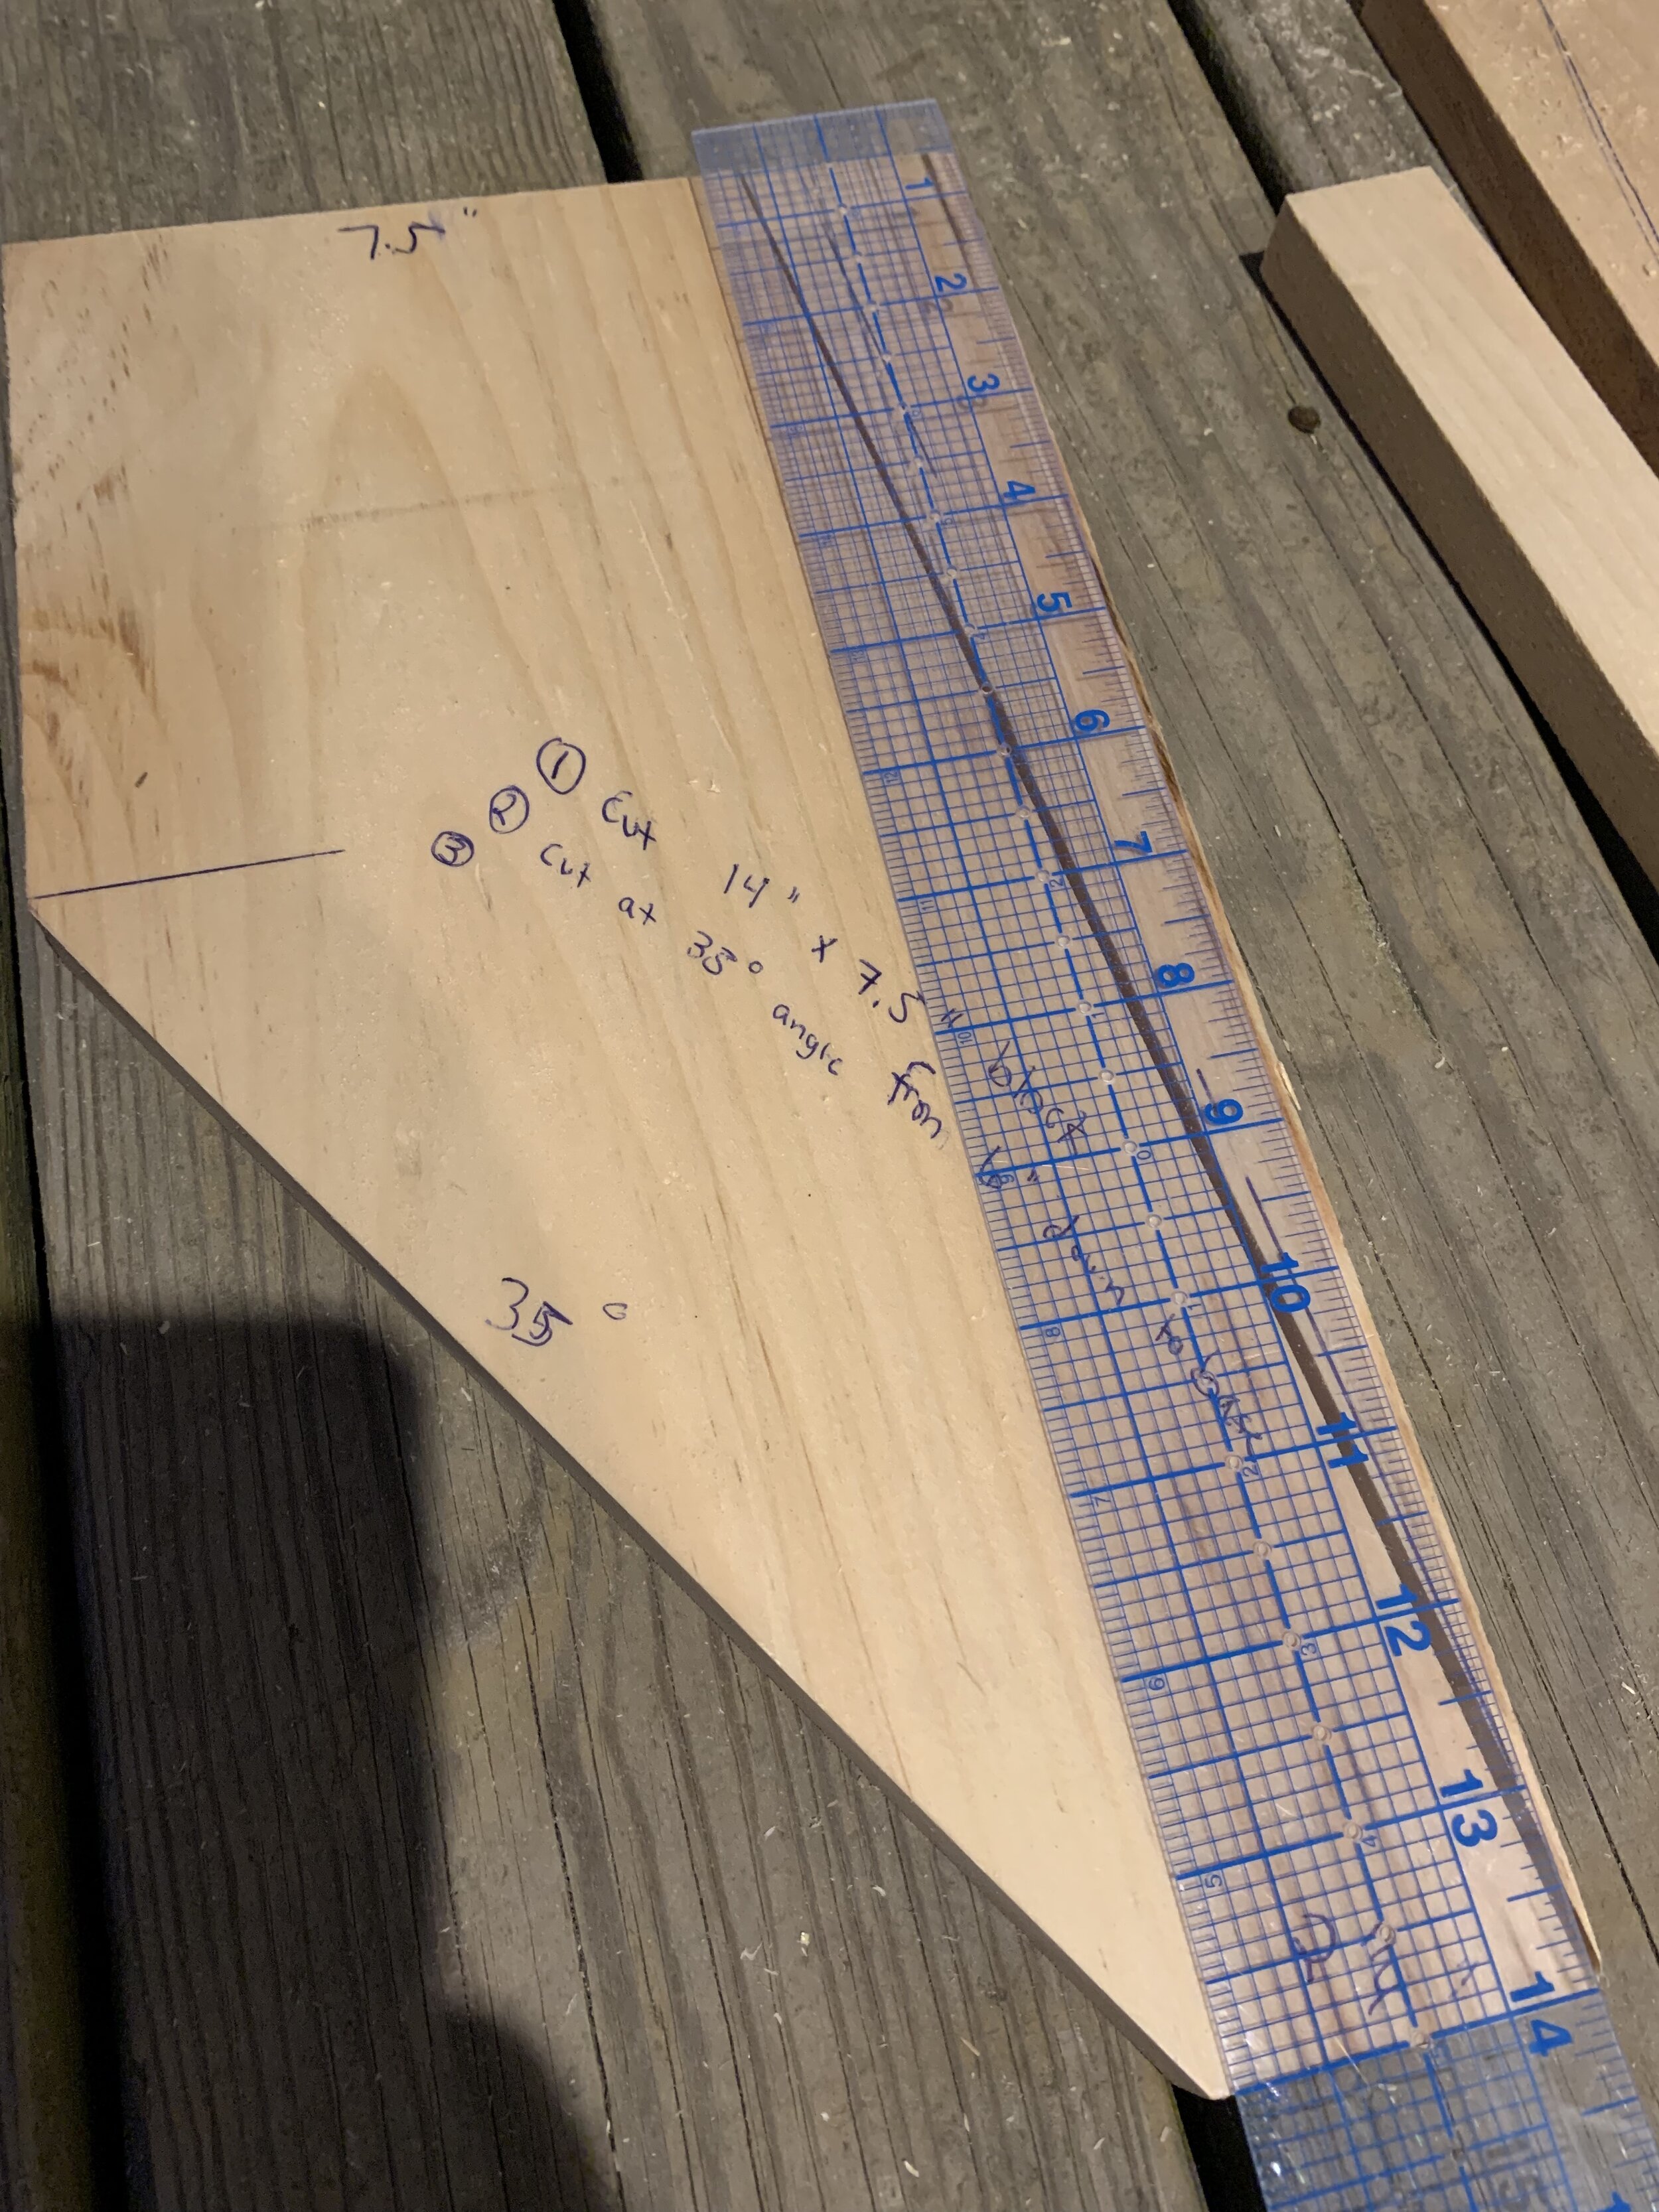
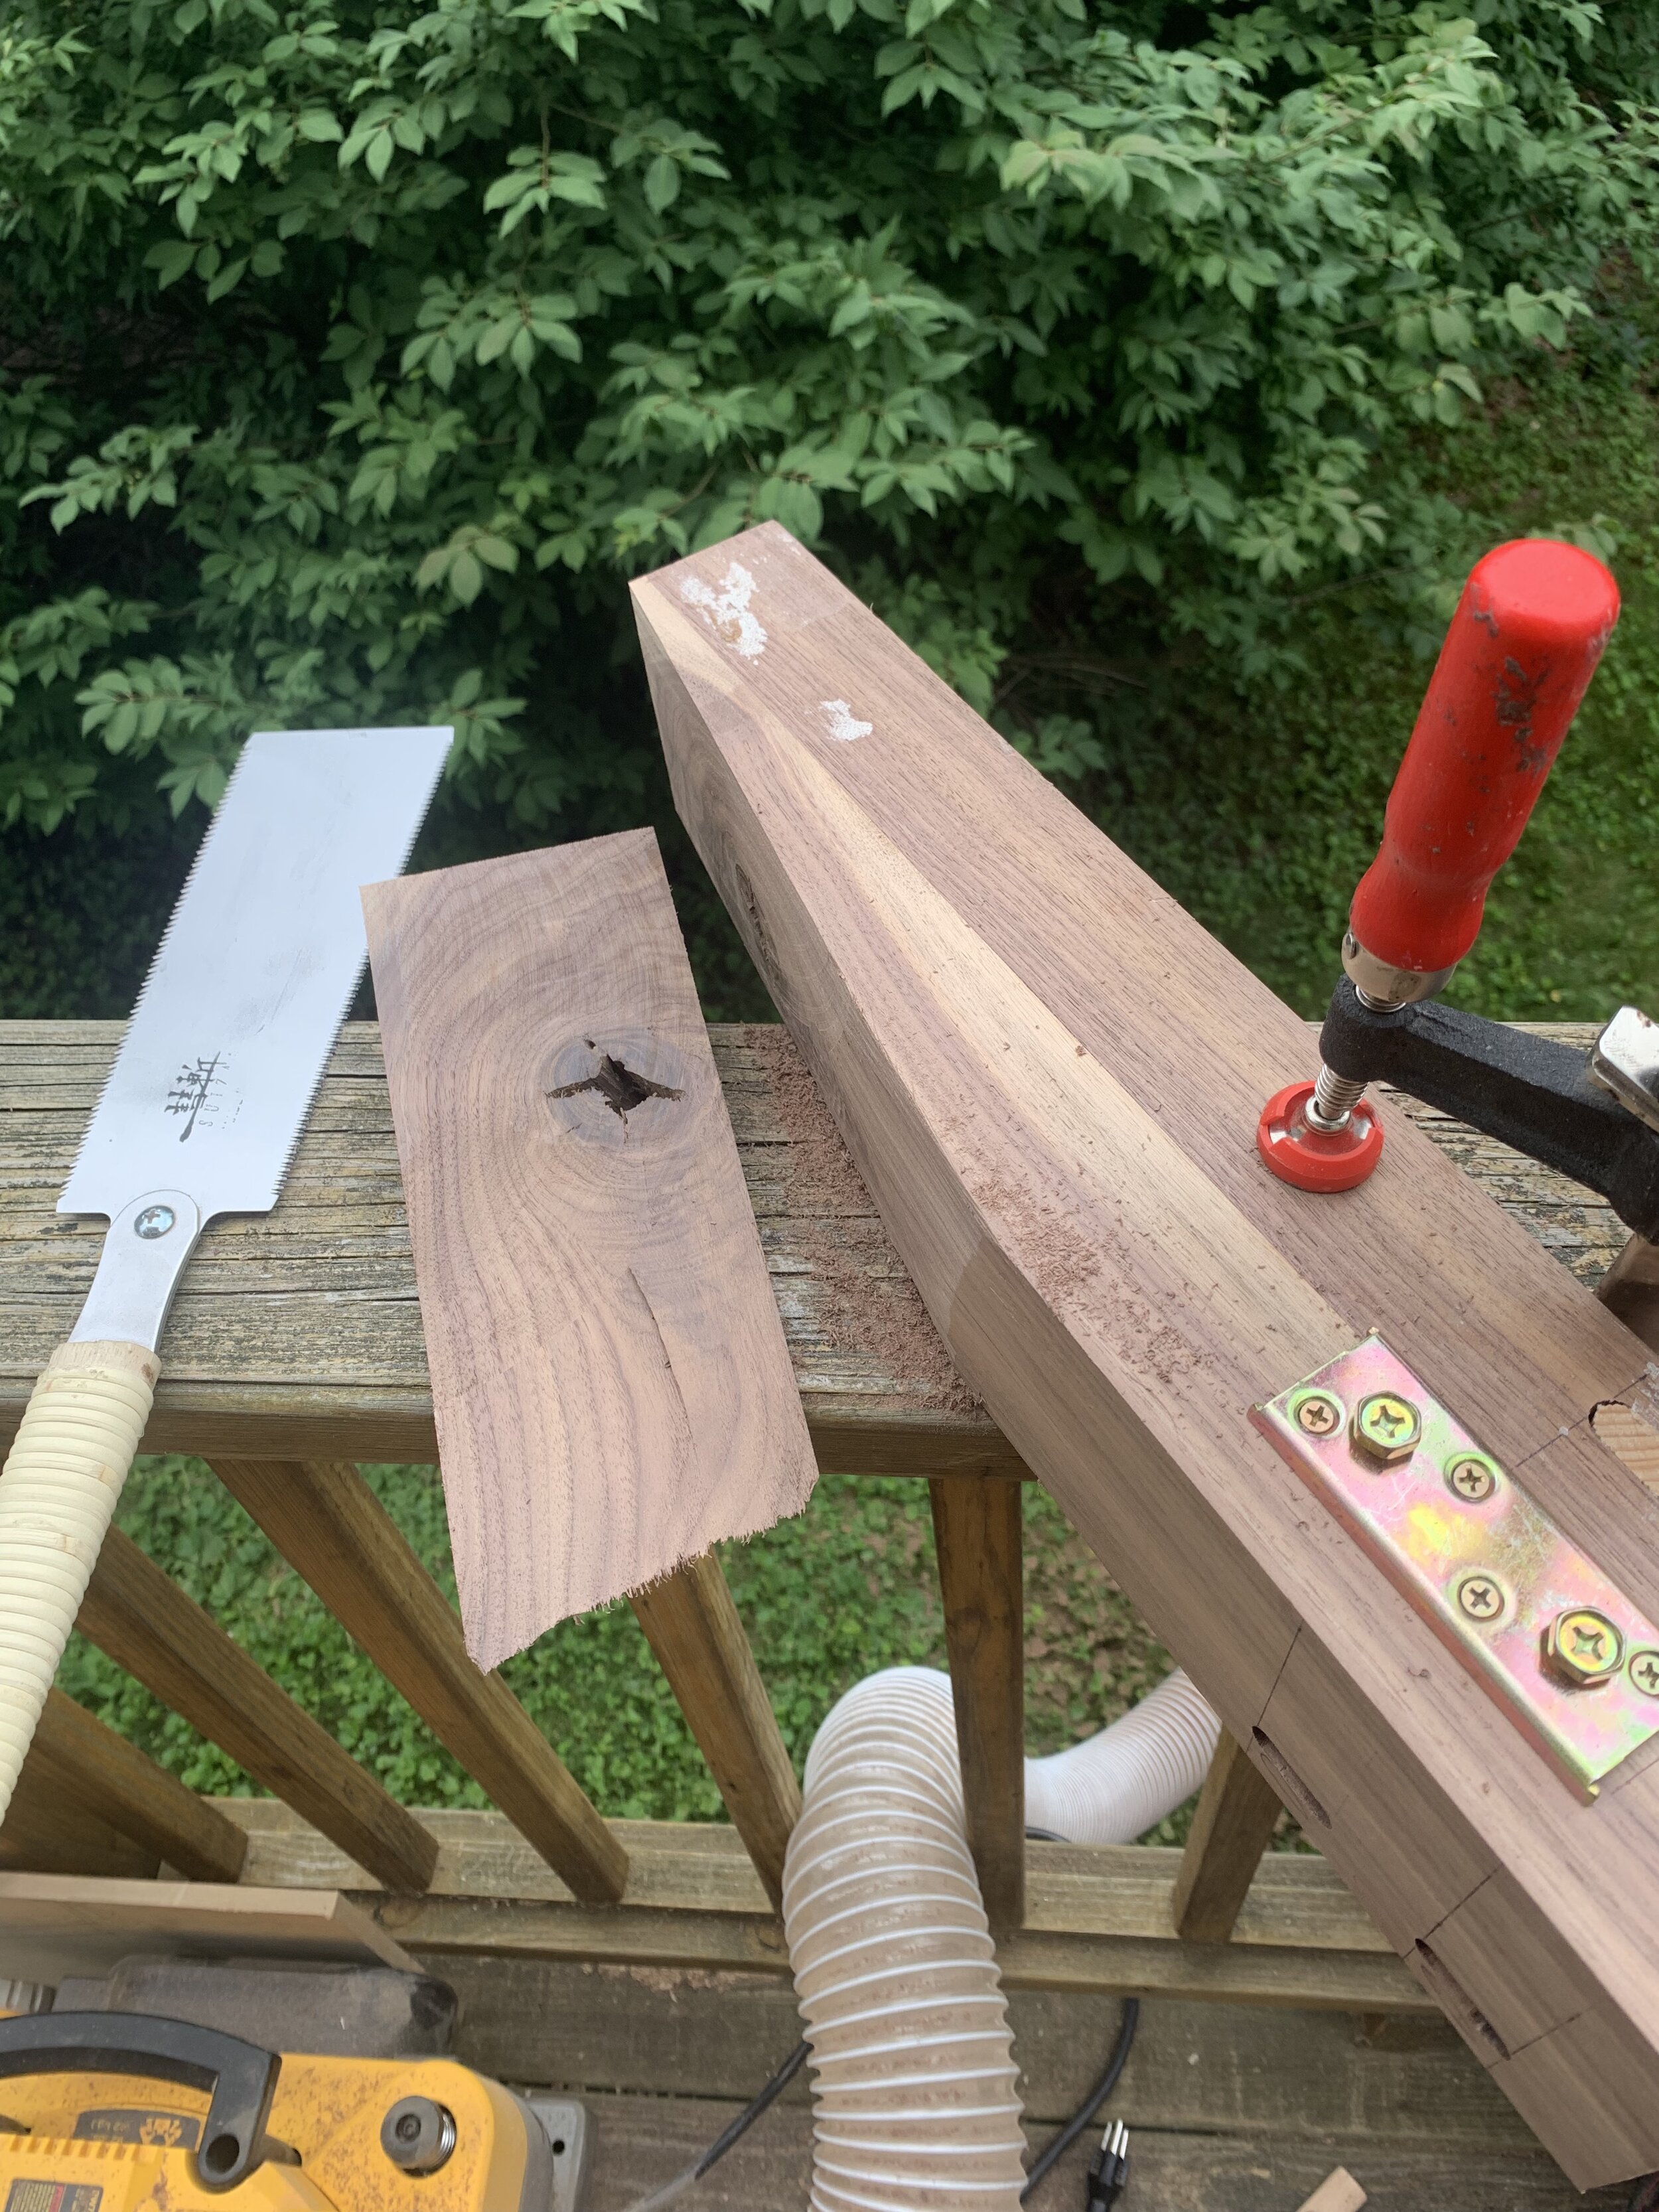
I learned a lot building this bed frame, but mainly that I have a tendency to overthink, over-engineer, and make the project more complex than it needed to be. For example, I spent hours considering and researching structure: which directions the wood grain should be oriented for maximum strength when laminating two boards together (and to reduce bowing or cupping), how much angle I could get away with for the angled legs without leaving the surface where the side rails meet the leg completely unsupported underneath, and much more. I was glad I did, however some might say it was a bit overkill; my neighbor Chris joked “the bed is so sturdy I could park my truck on it”.
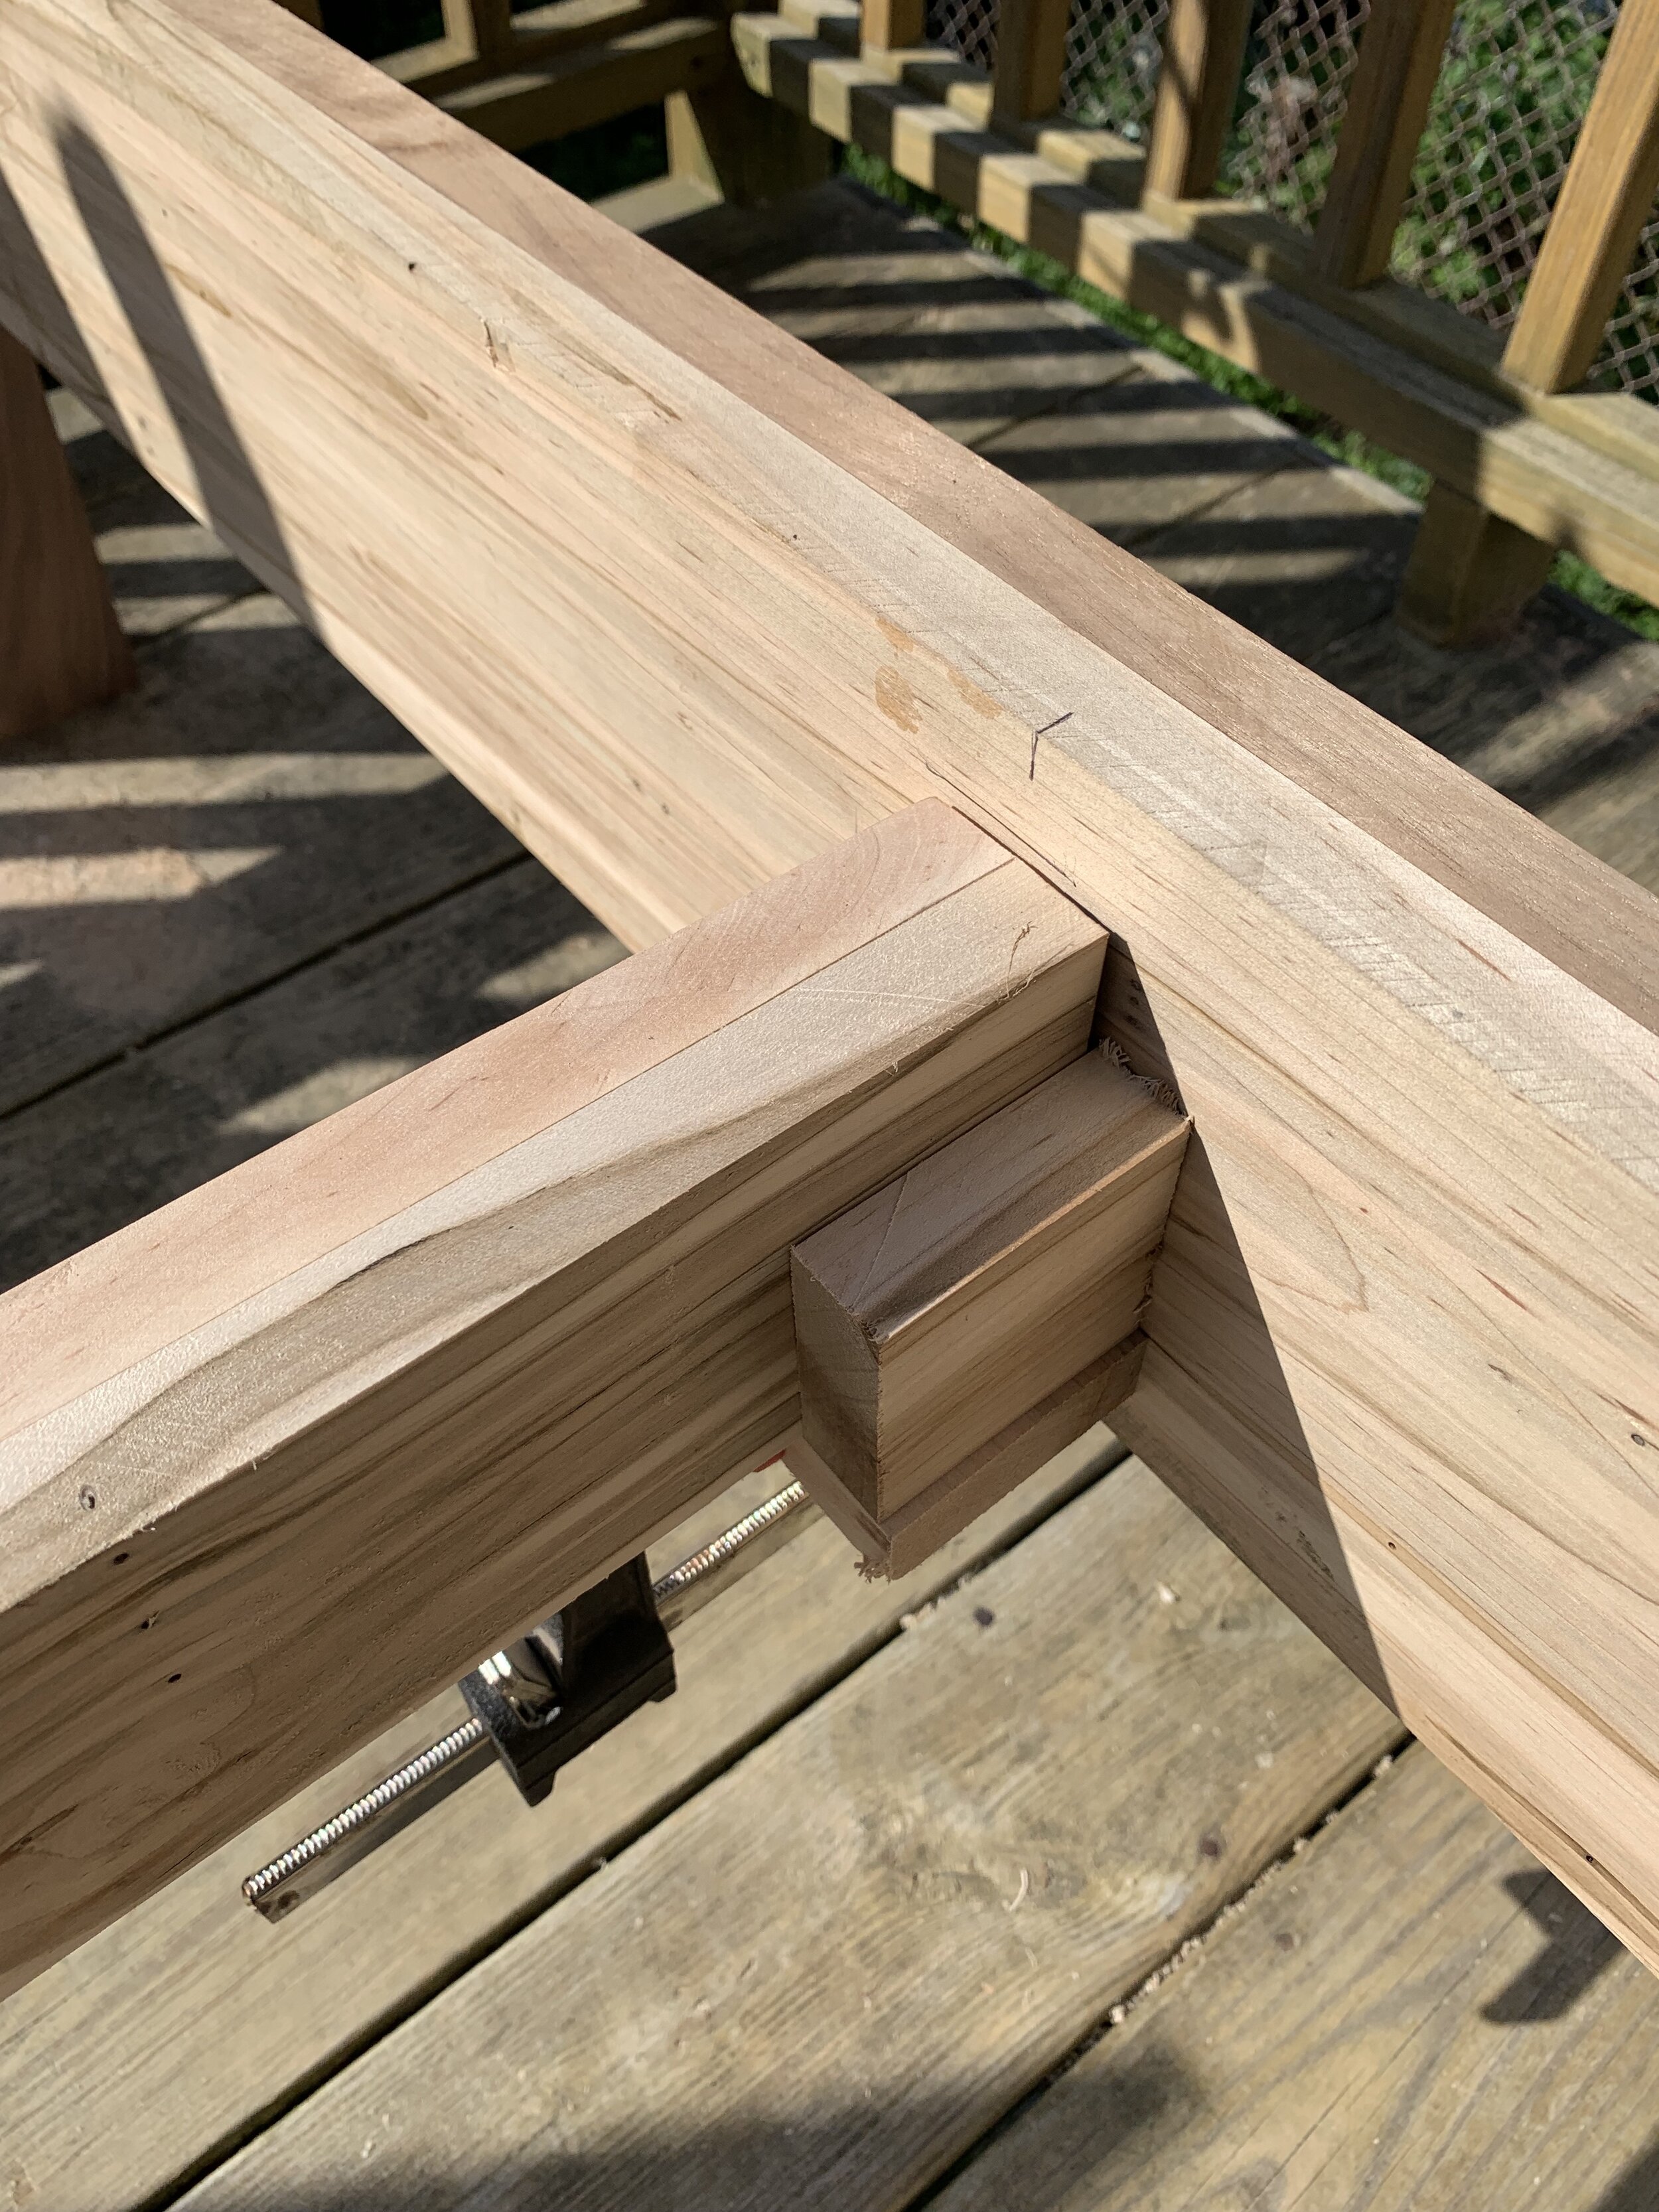
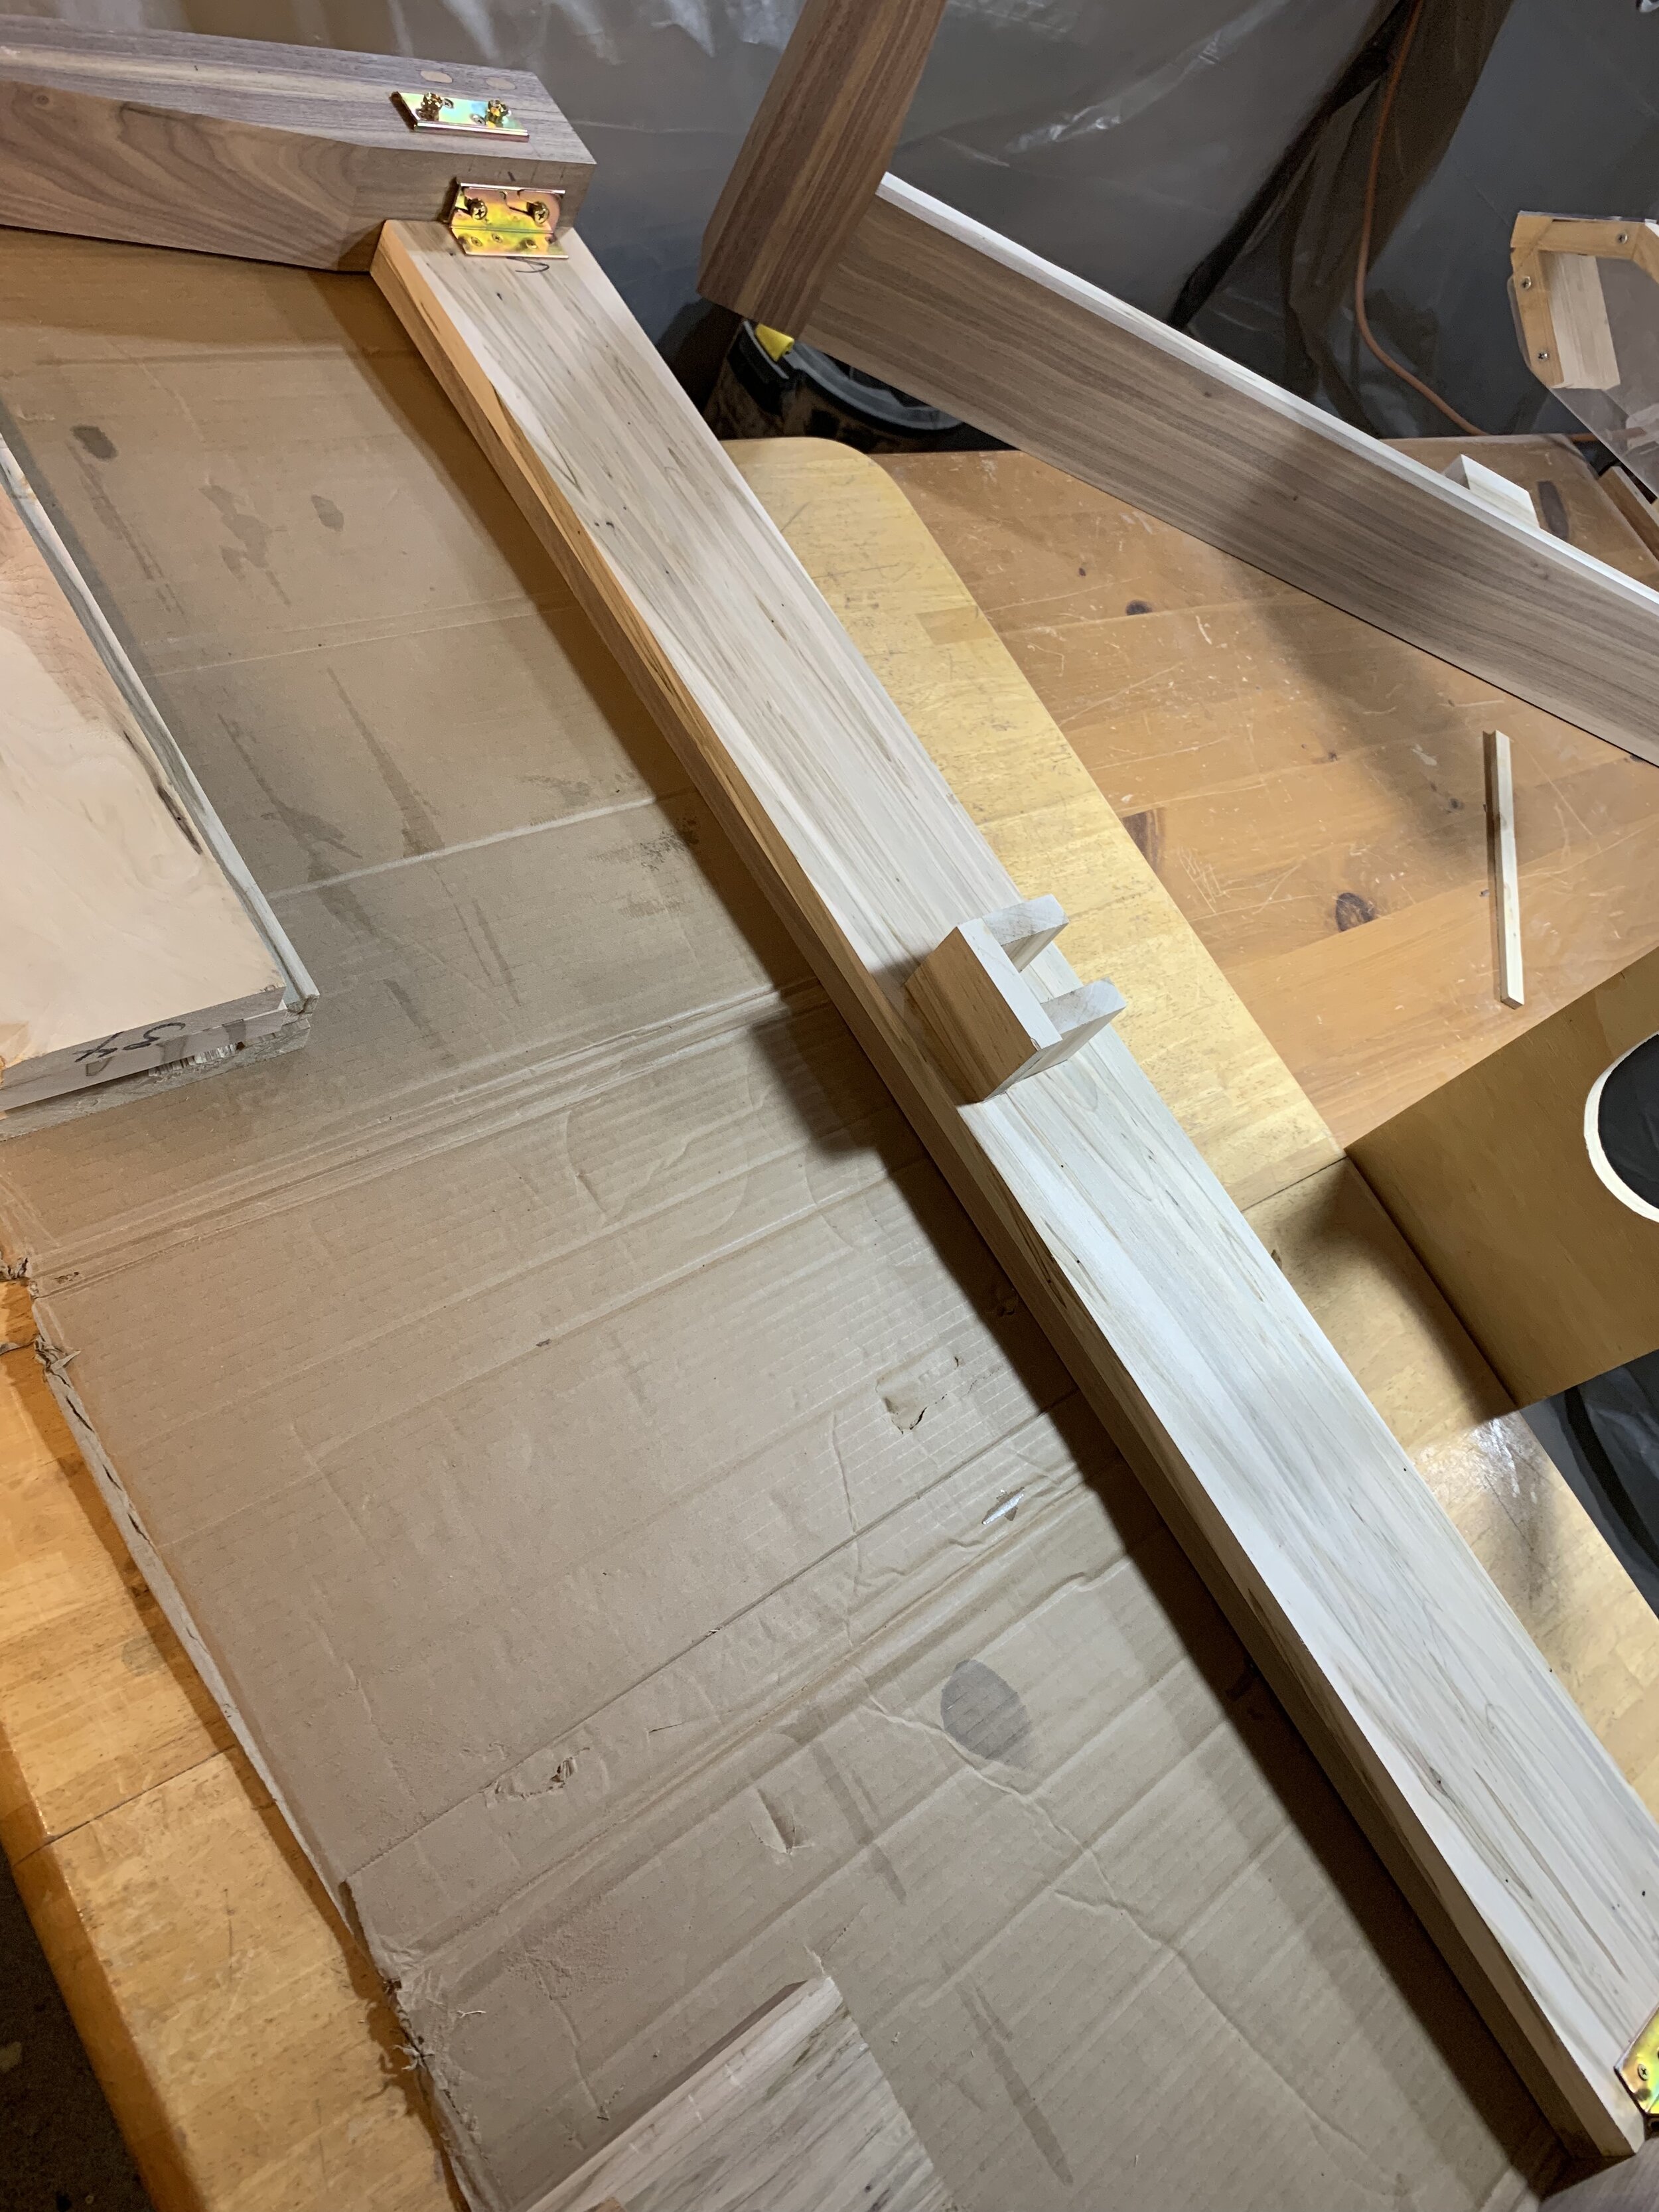
My biggest stressors for this project were that it was my first time working with a project this size and using mortise-and-tenon style joinery; I knew I didn’t have another shot at mortise-and-tenons and the dimensions of the lumber; the project needed to be 60x80 to fit a queen-size mattress correctly so if I made a mistake and ended up too short of stock, I couldn’t use the wood any longer for this project and now had 50”-70”+ worth of scrap.
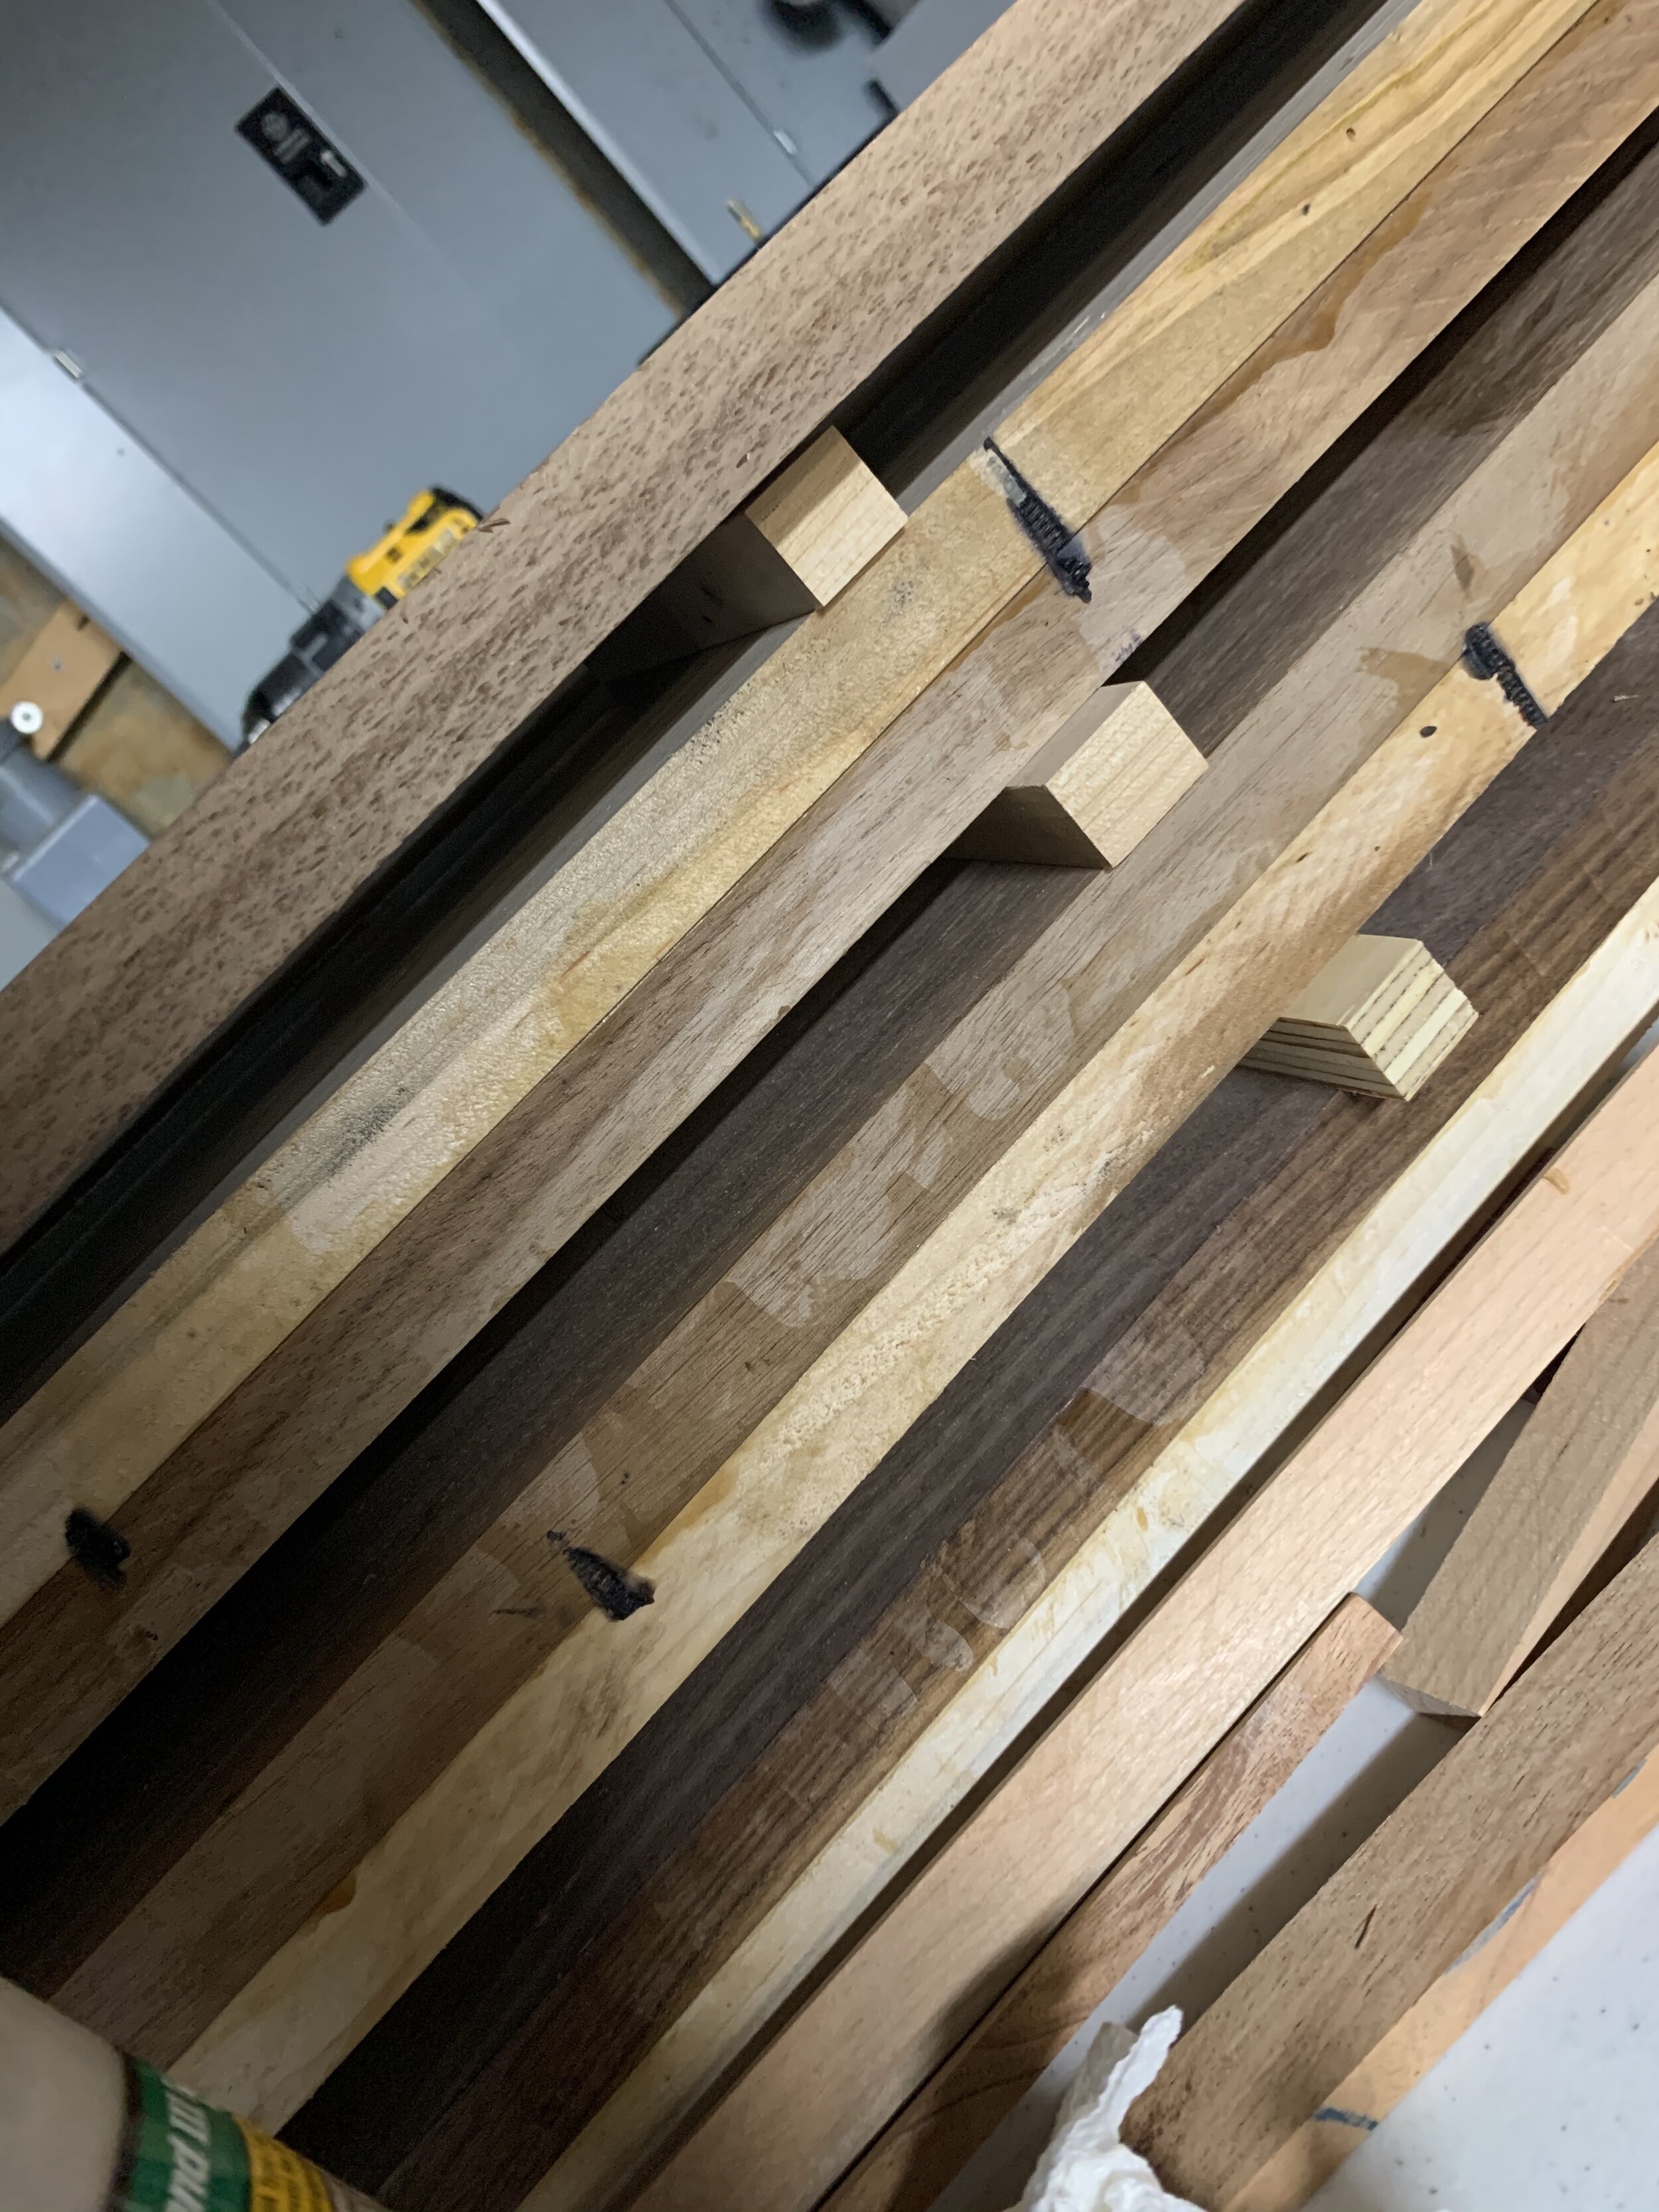
I also knew that, when working with this long of boards, naturally they weren’t going to be completely square during assembly. Laminating two 3/4” boards together to achieve 1 1/2” of side rail stock was great for bed rigidity and straightening any bows in each board, however didn’t leave much room for being able to flex the wood during assembly. I didn’t have a jointer which I suspect would have increased my confidence that the footboard, headboard, and sides rails were going to line up nicely during assembly. Even if I did have a jointer, if I didn’t work quickly with the lumber once jointed, I risked the wood moving back to its original non-square figure. I tried my best to prevent any lumber bowing or surprises in the project - stickering the lumber in the cellar properly to receive airflow on each side of the boards, using paste-wax to seal off the end grain of the wood (where the wood absorbs moisture up to 250x as fast as long grain) and completing and assembling the project as quickly as I could once I started milling the lumber.
Overall Thoughts
I’m very happy with how this project turned out and am so glad I decided to embark on the journey! While it wasn’t without its challenges, it was fun - and also validating to have gone through with the project and completed it successfully.
