Curly Maple Mantel Clock
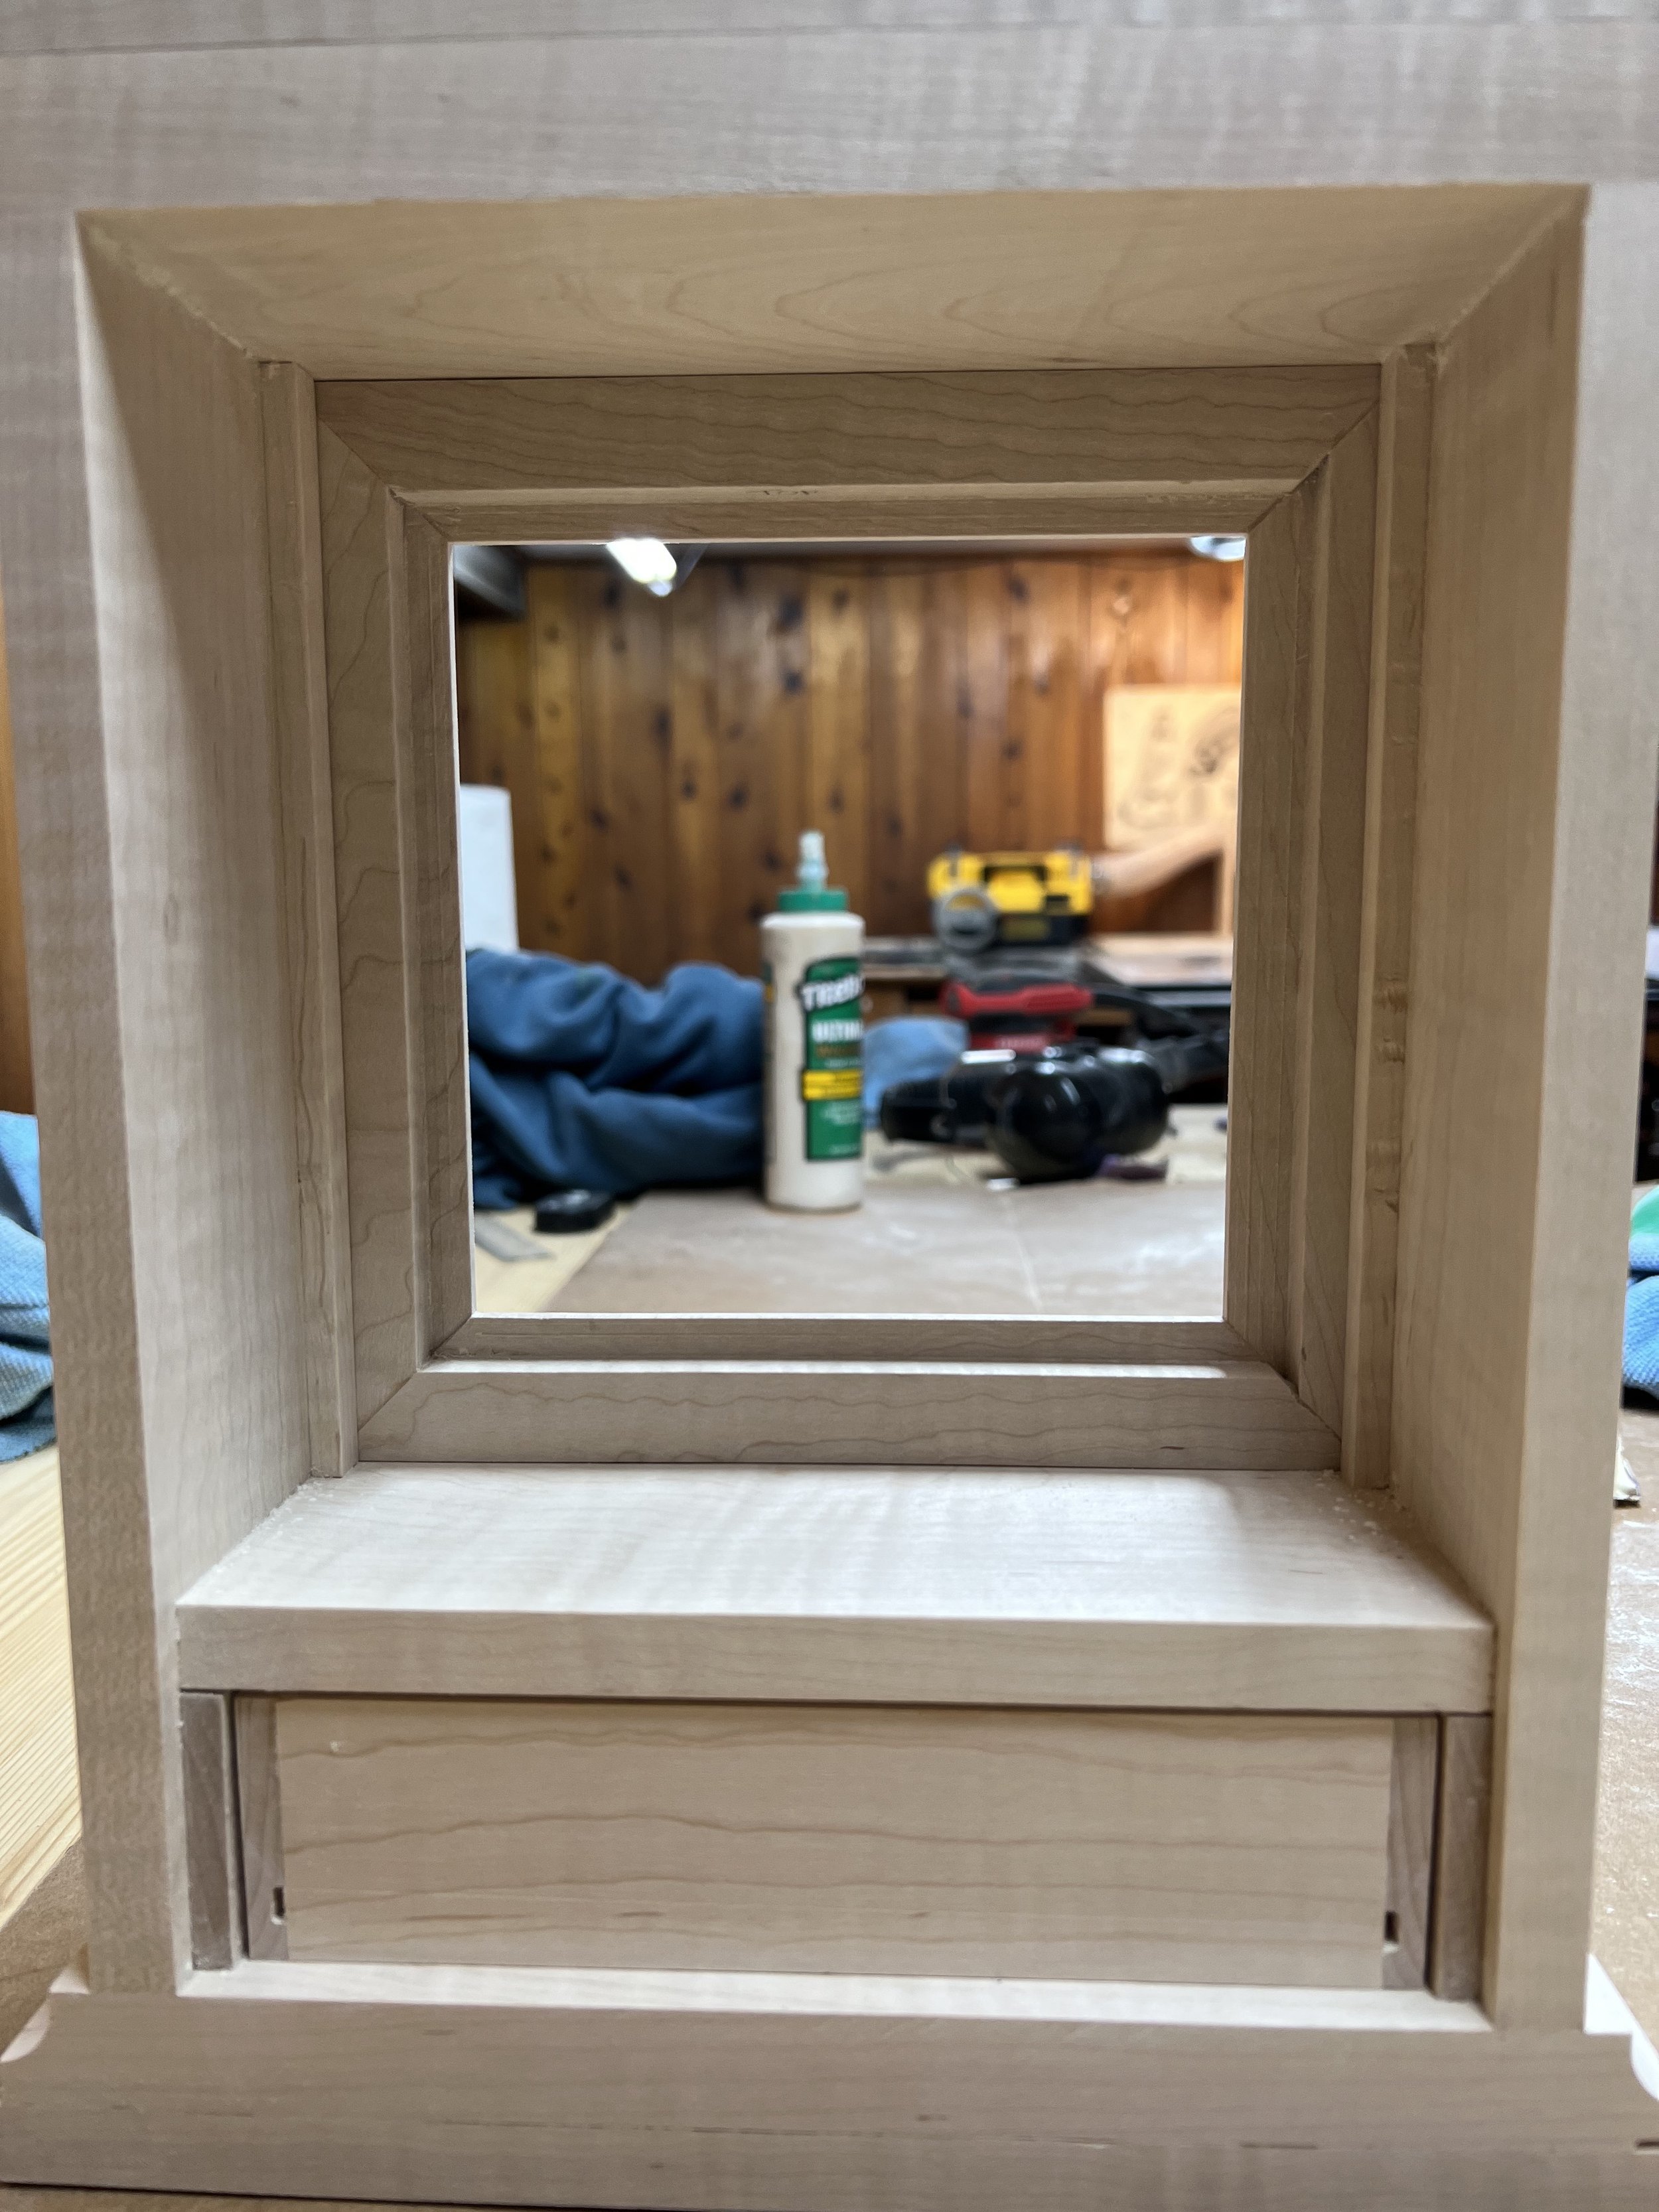
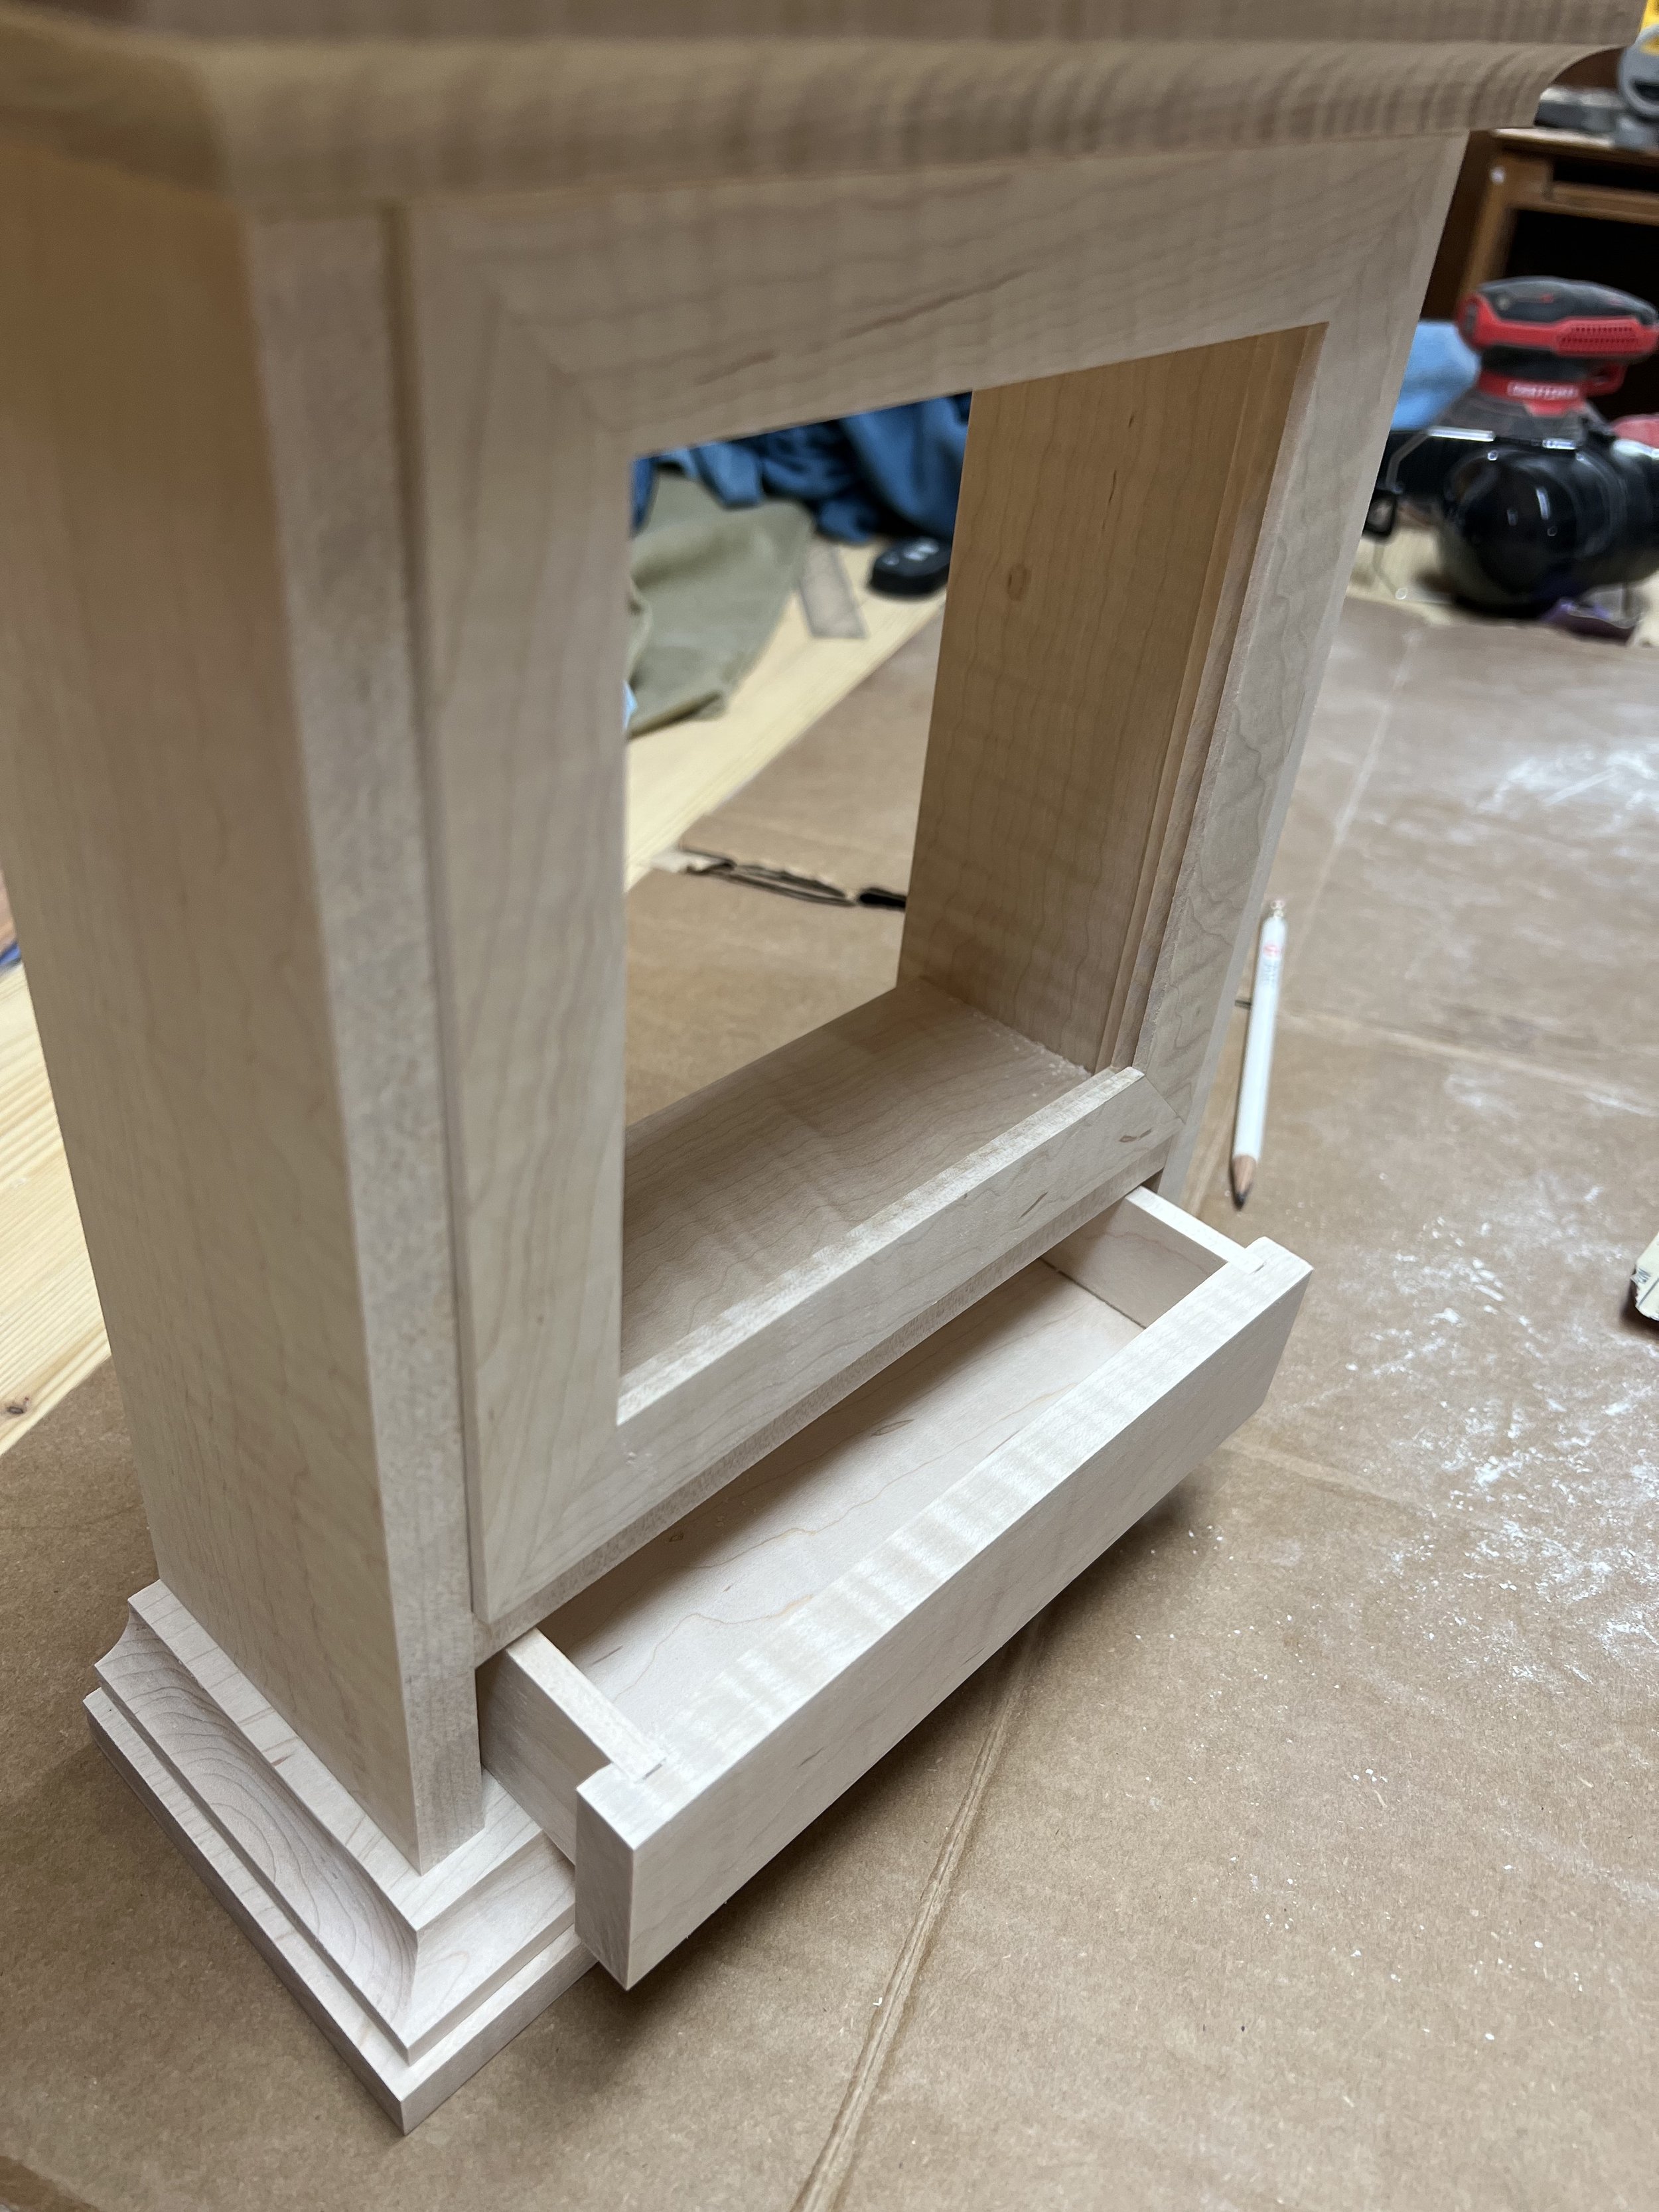
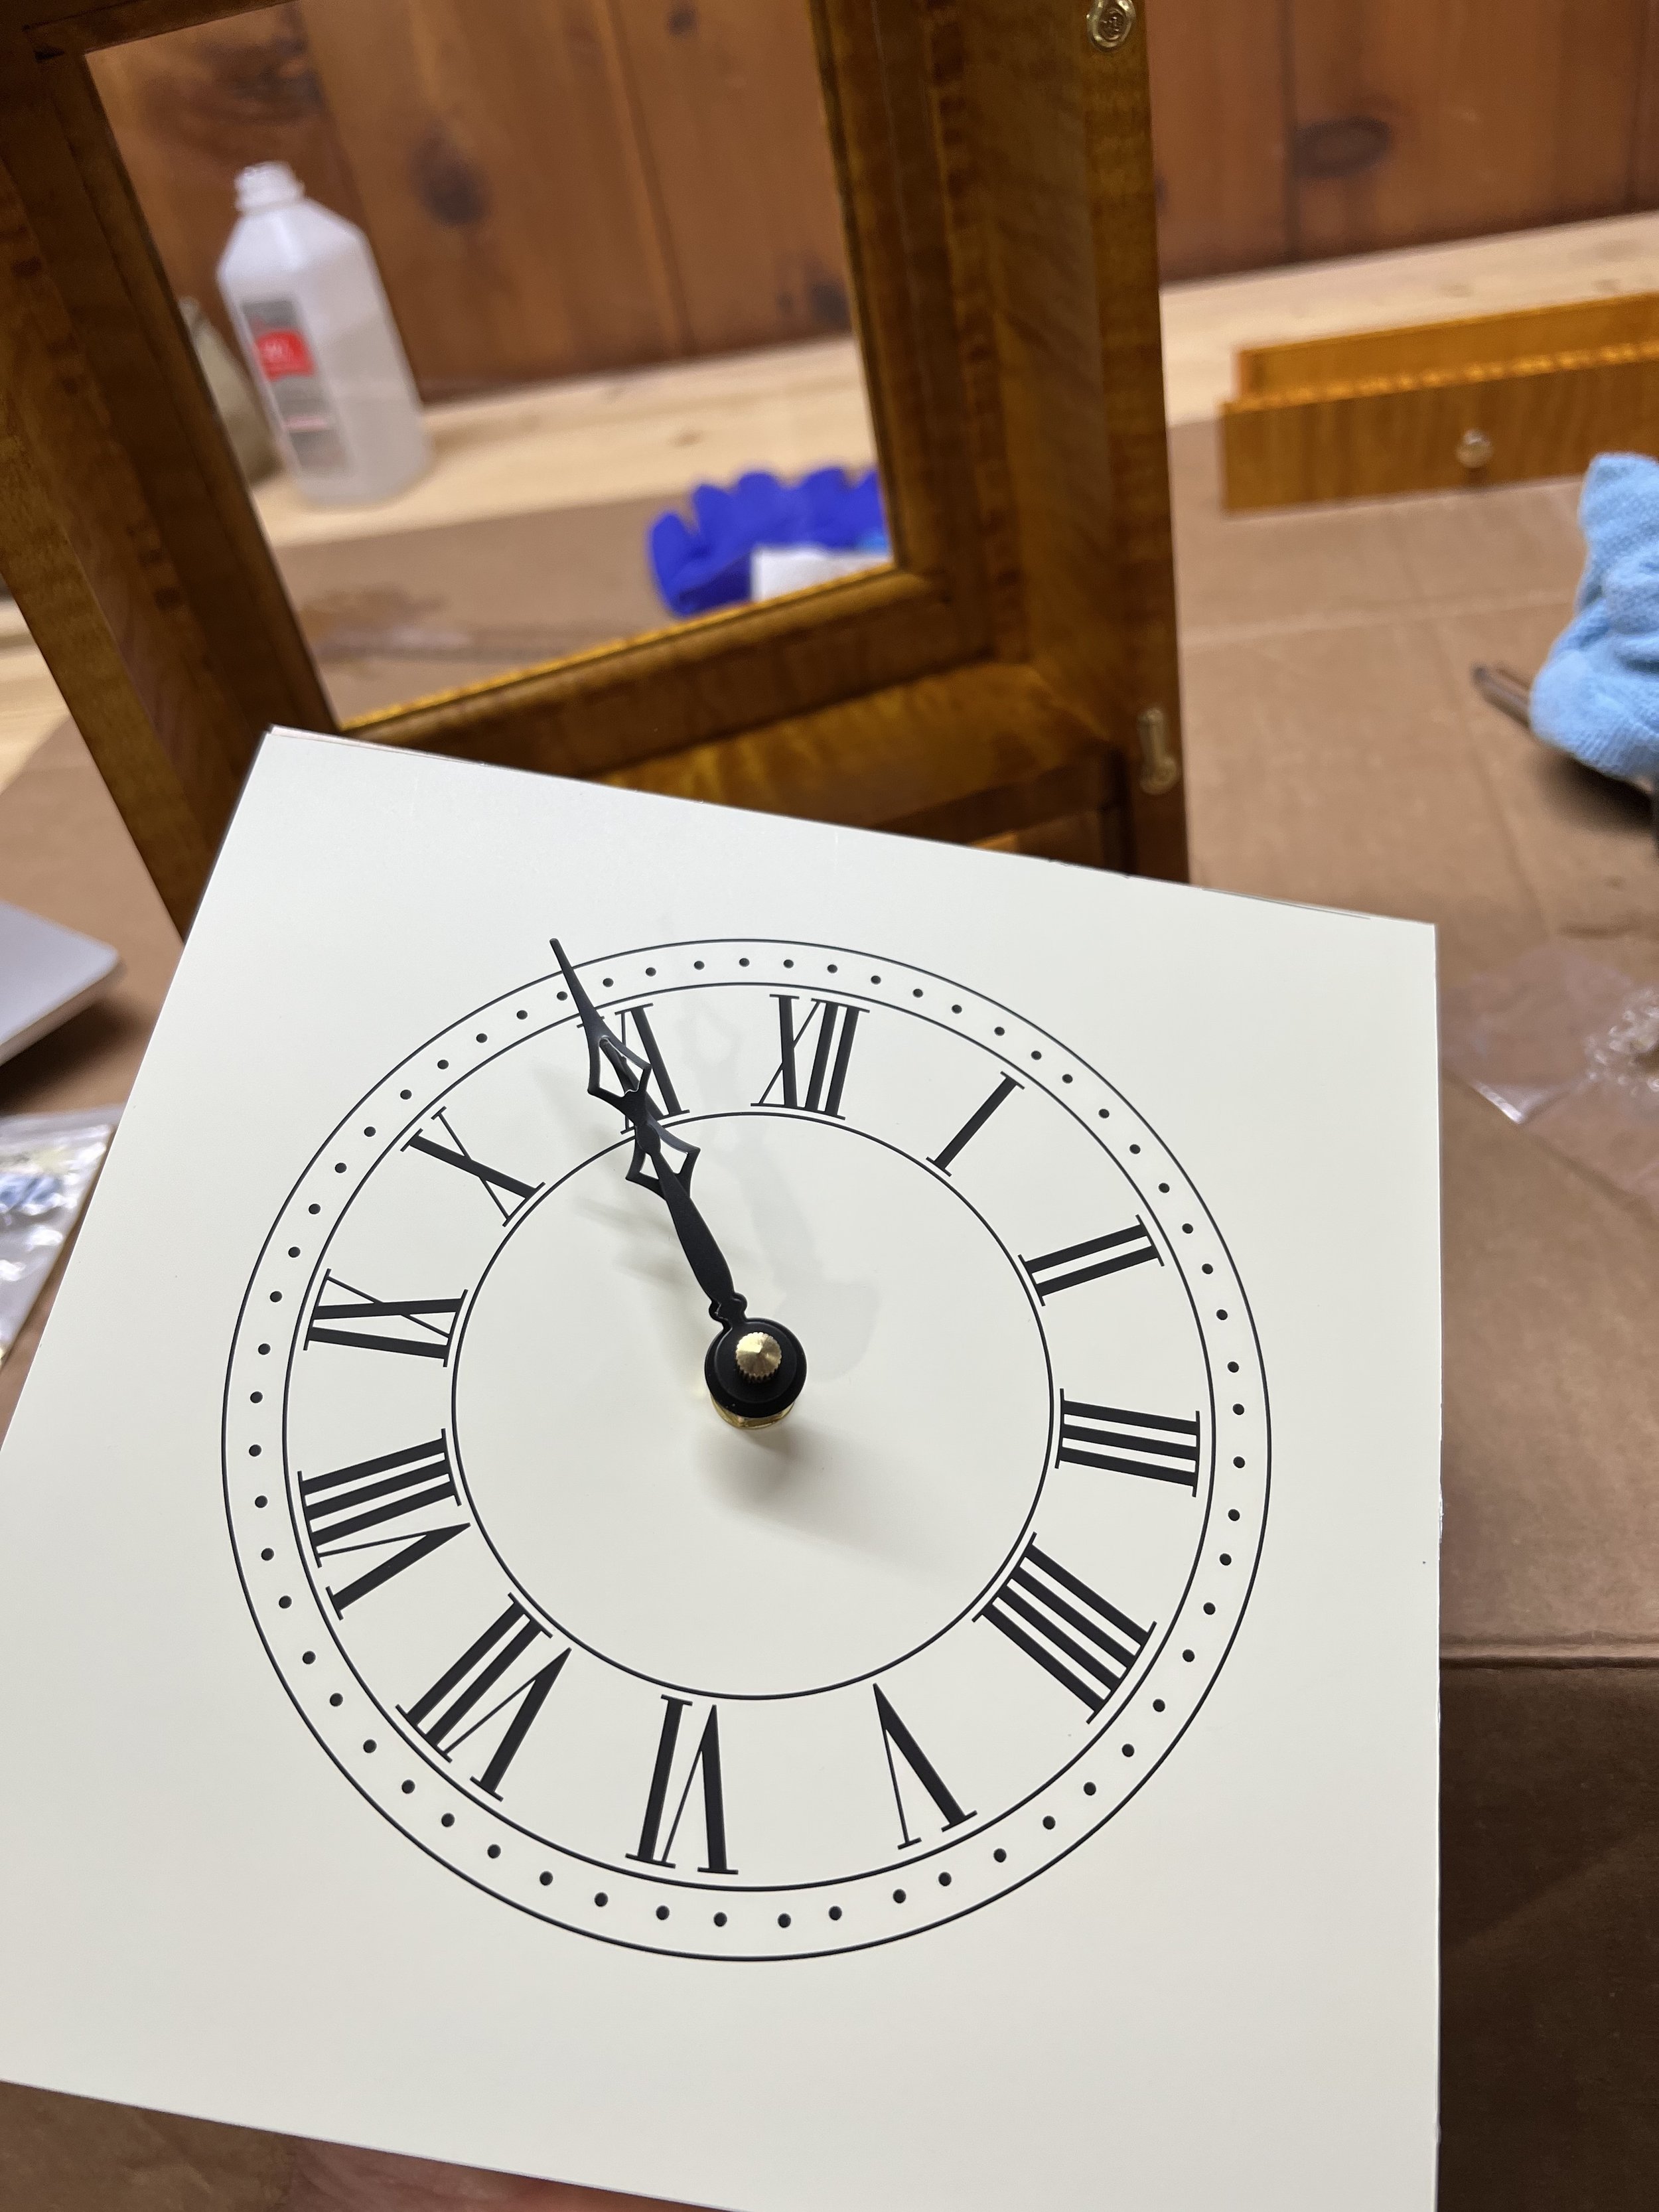
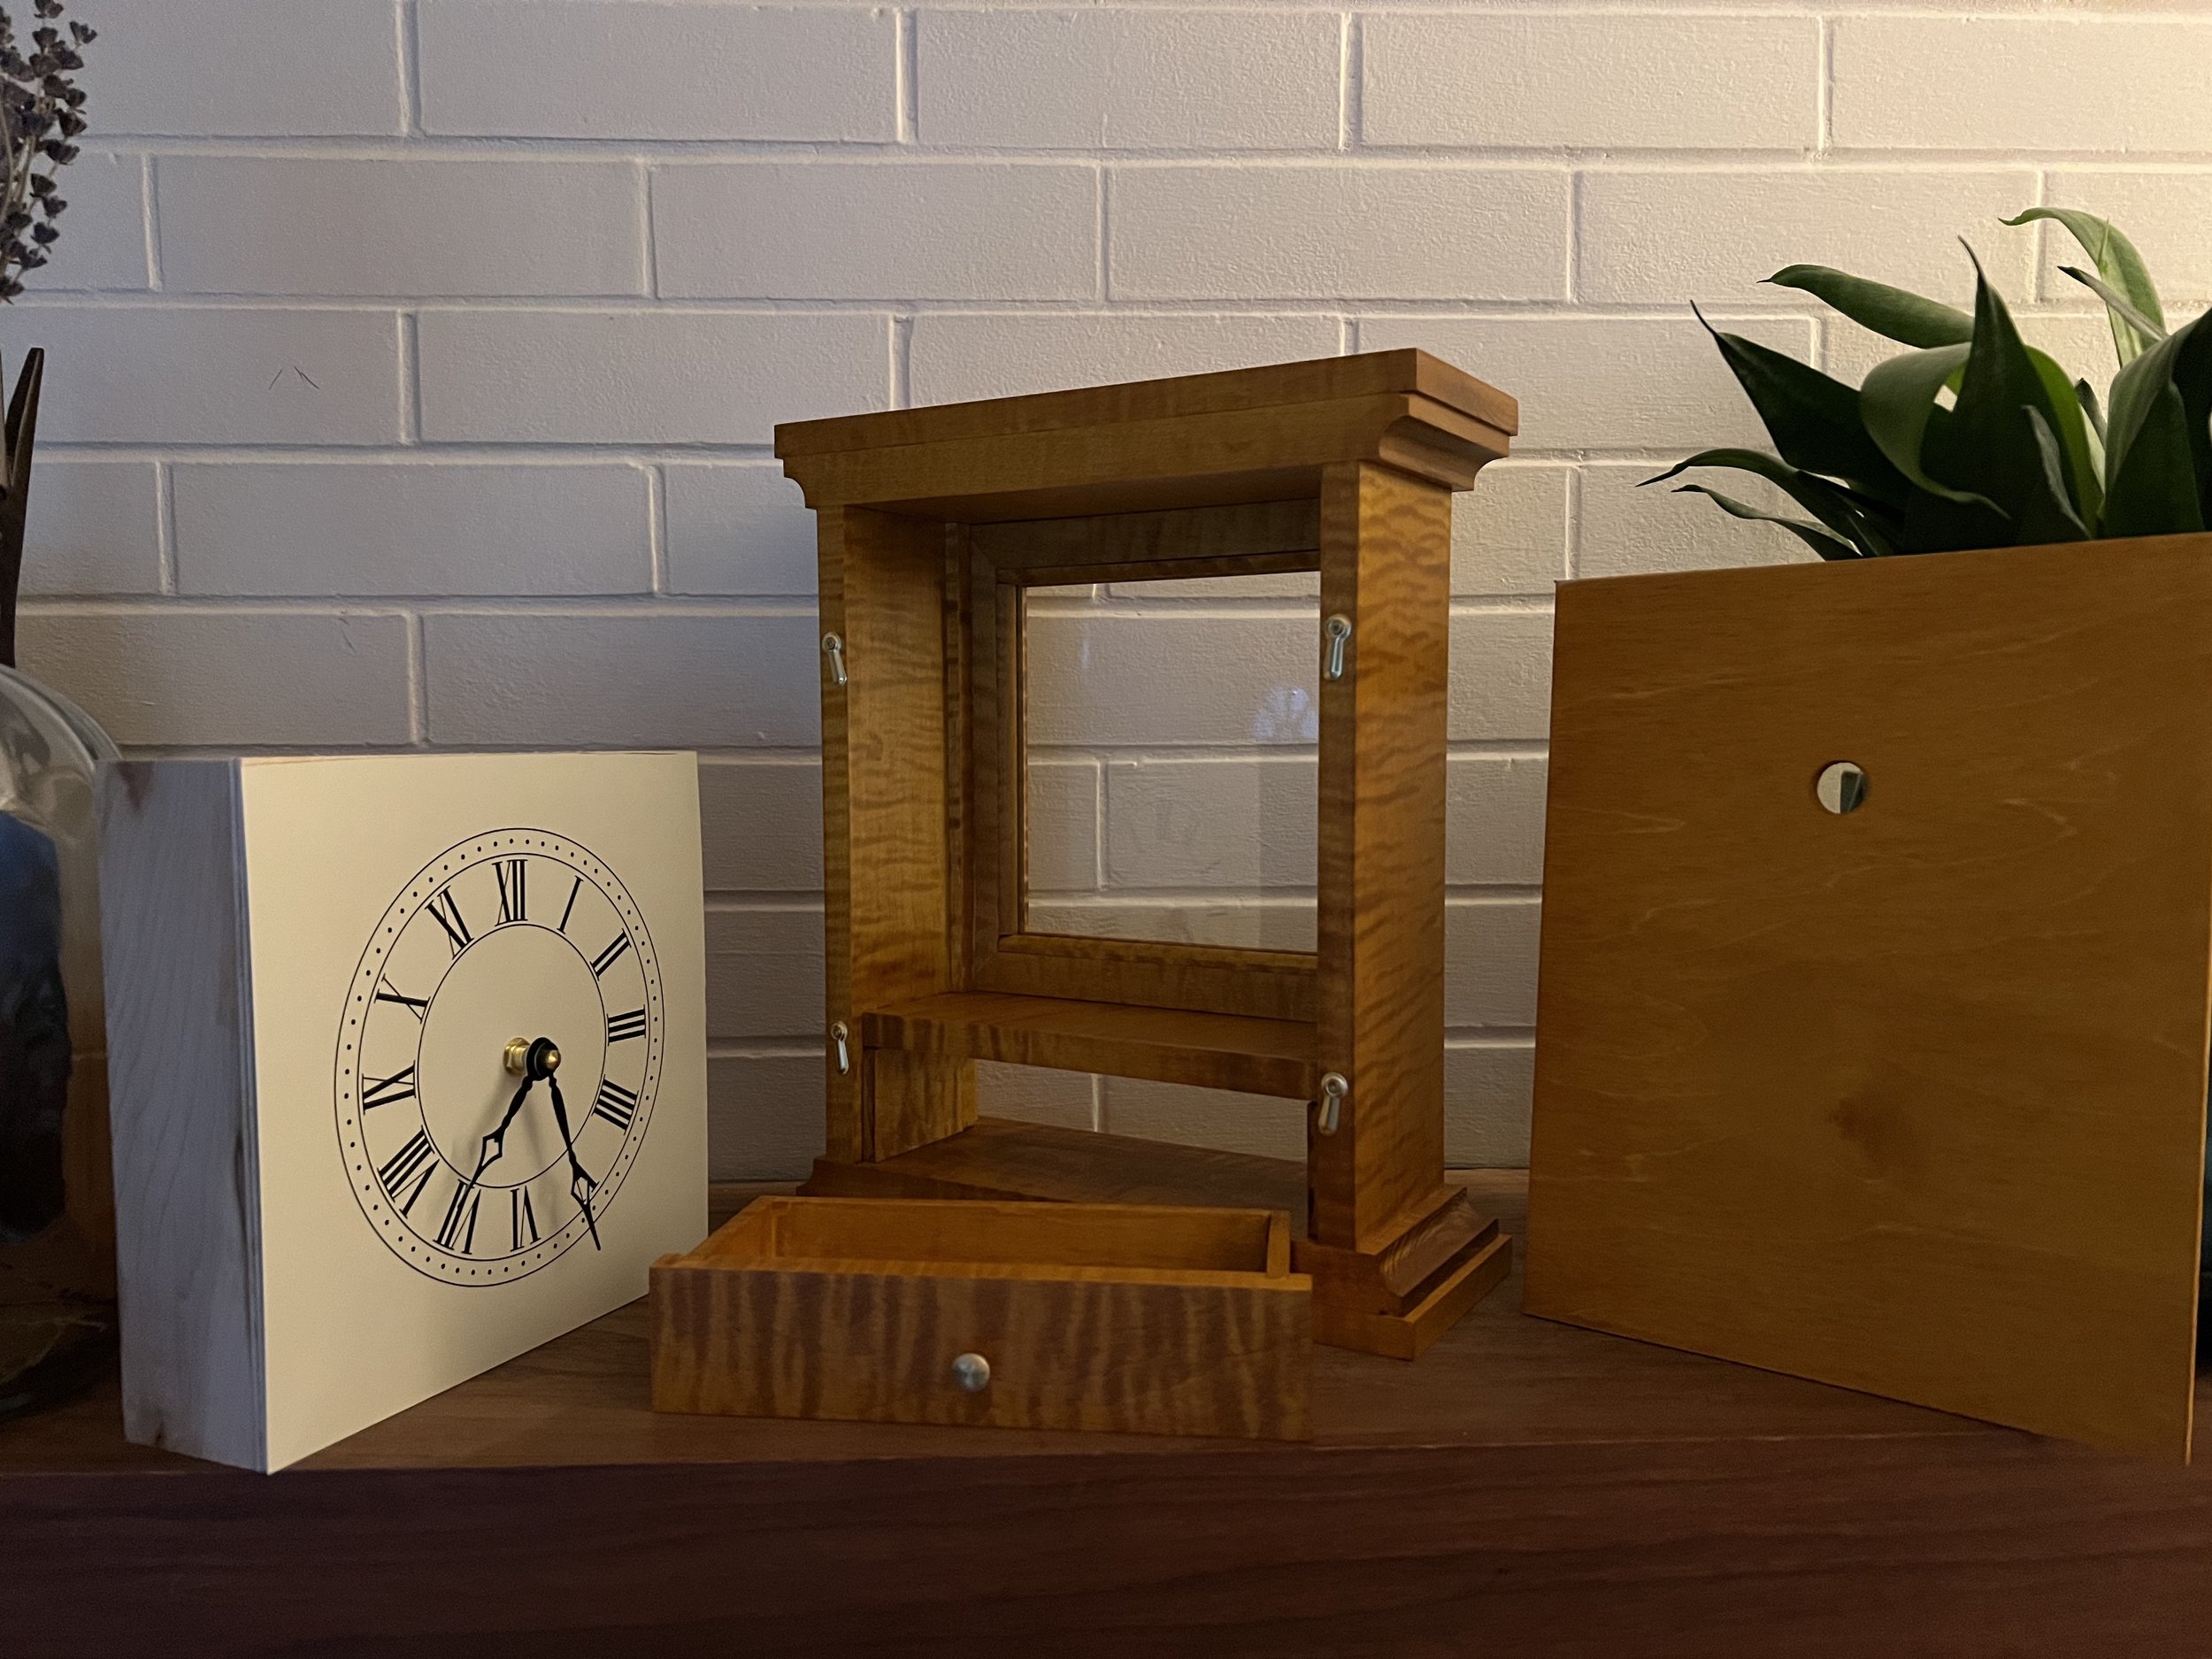
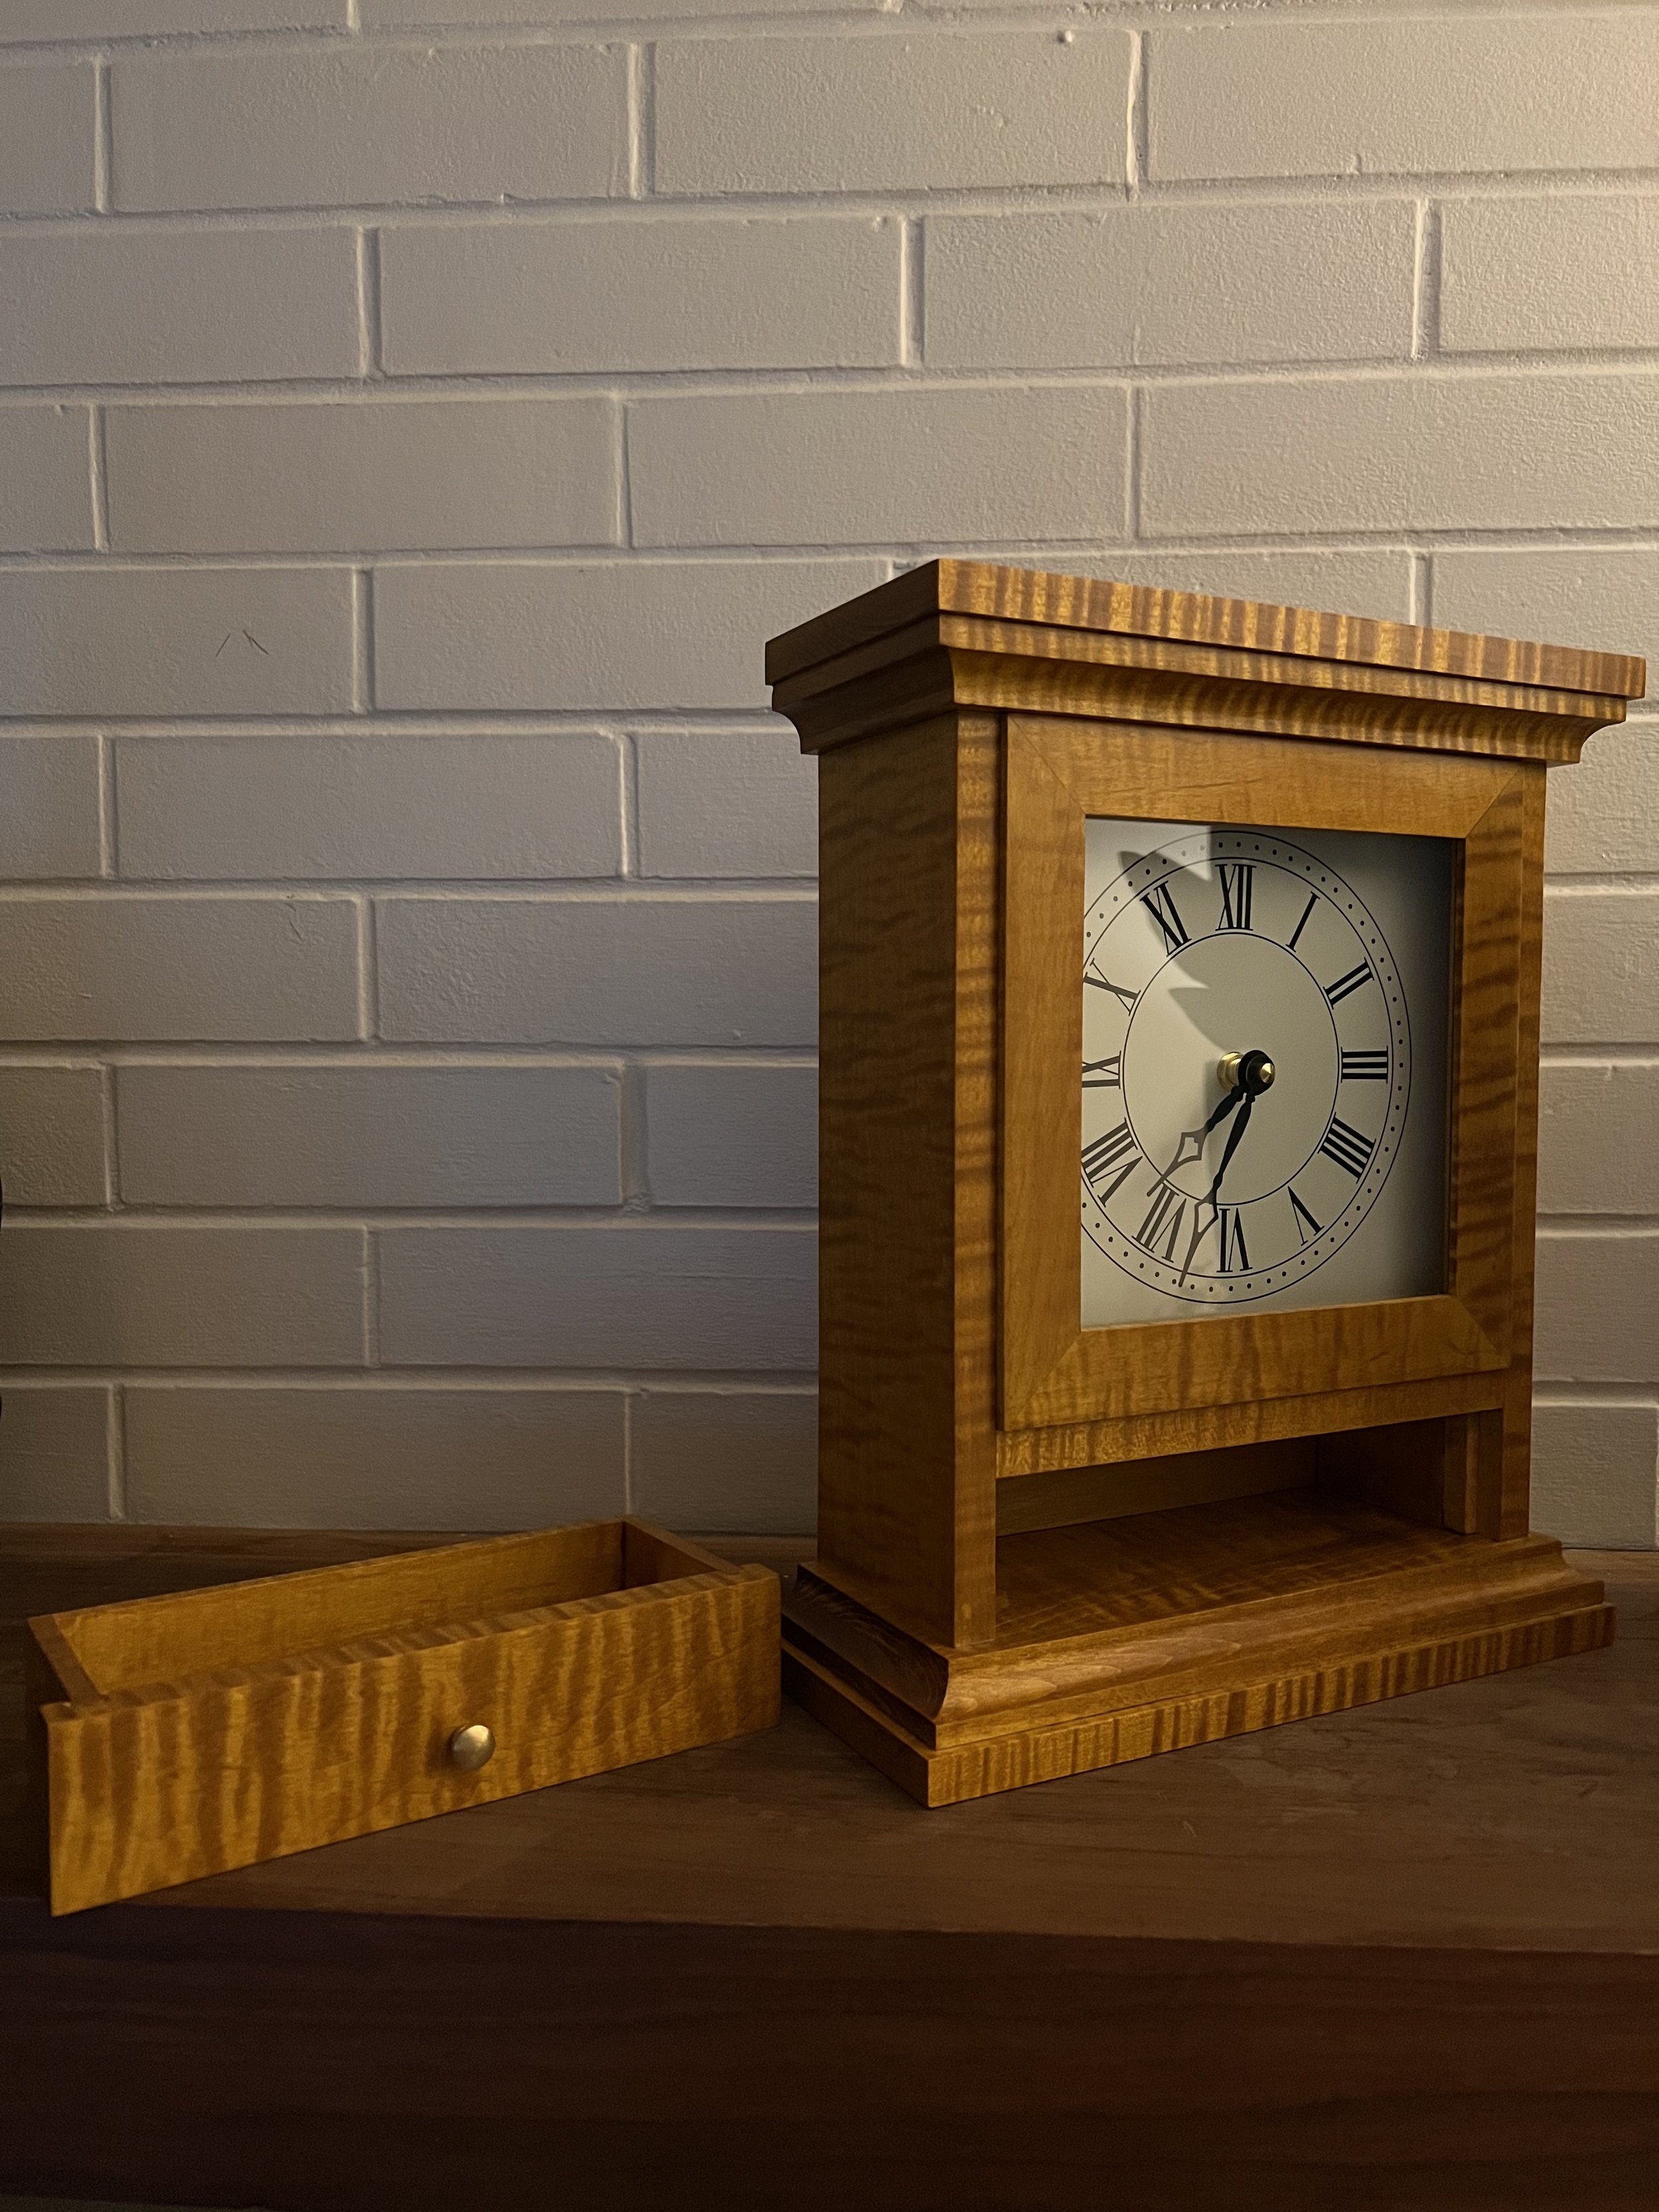
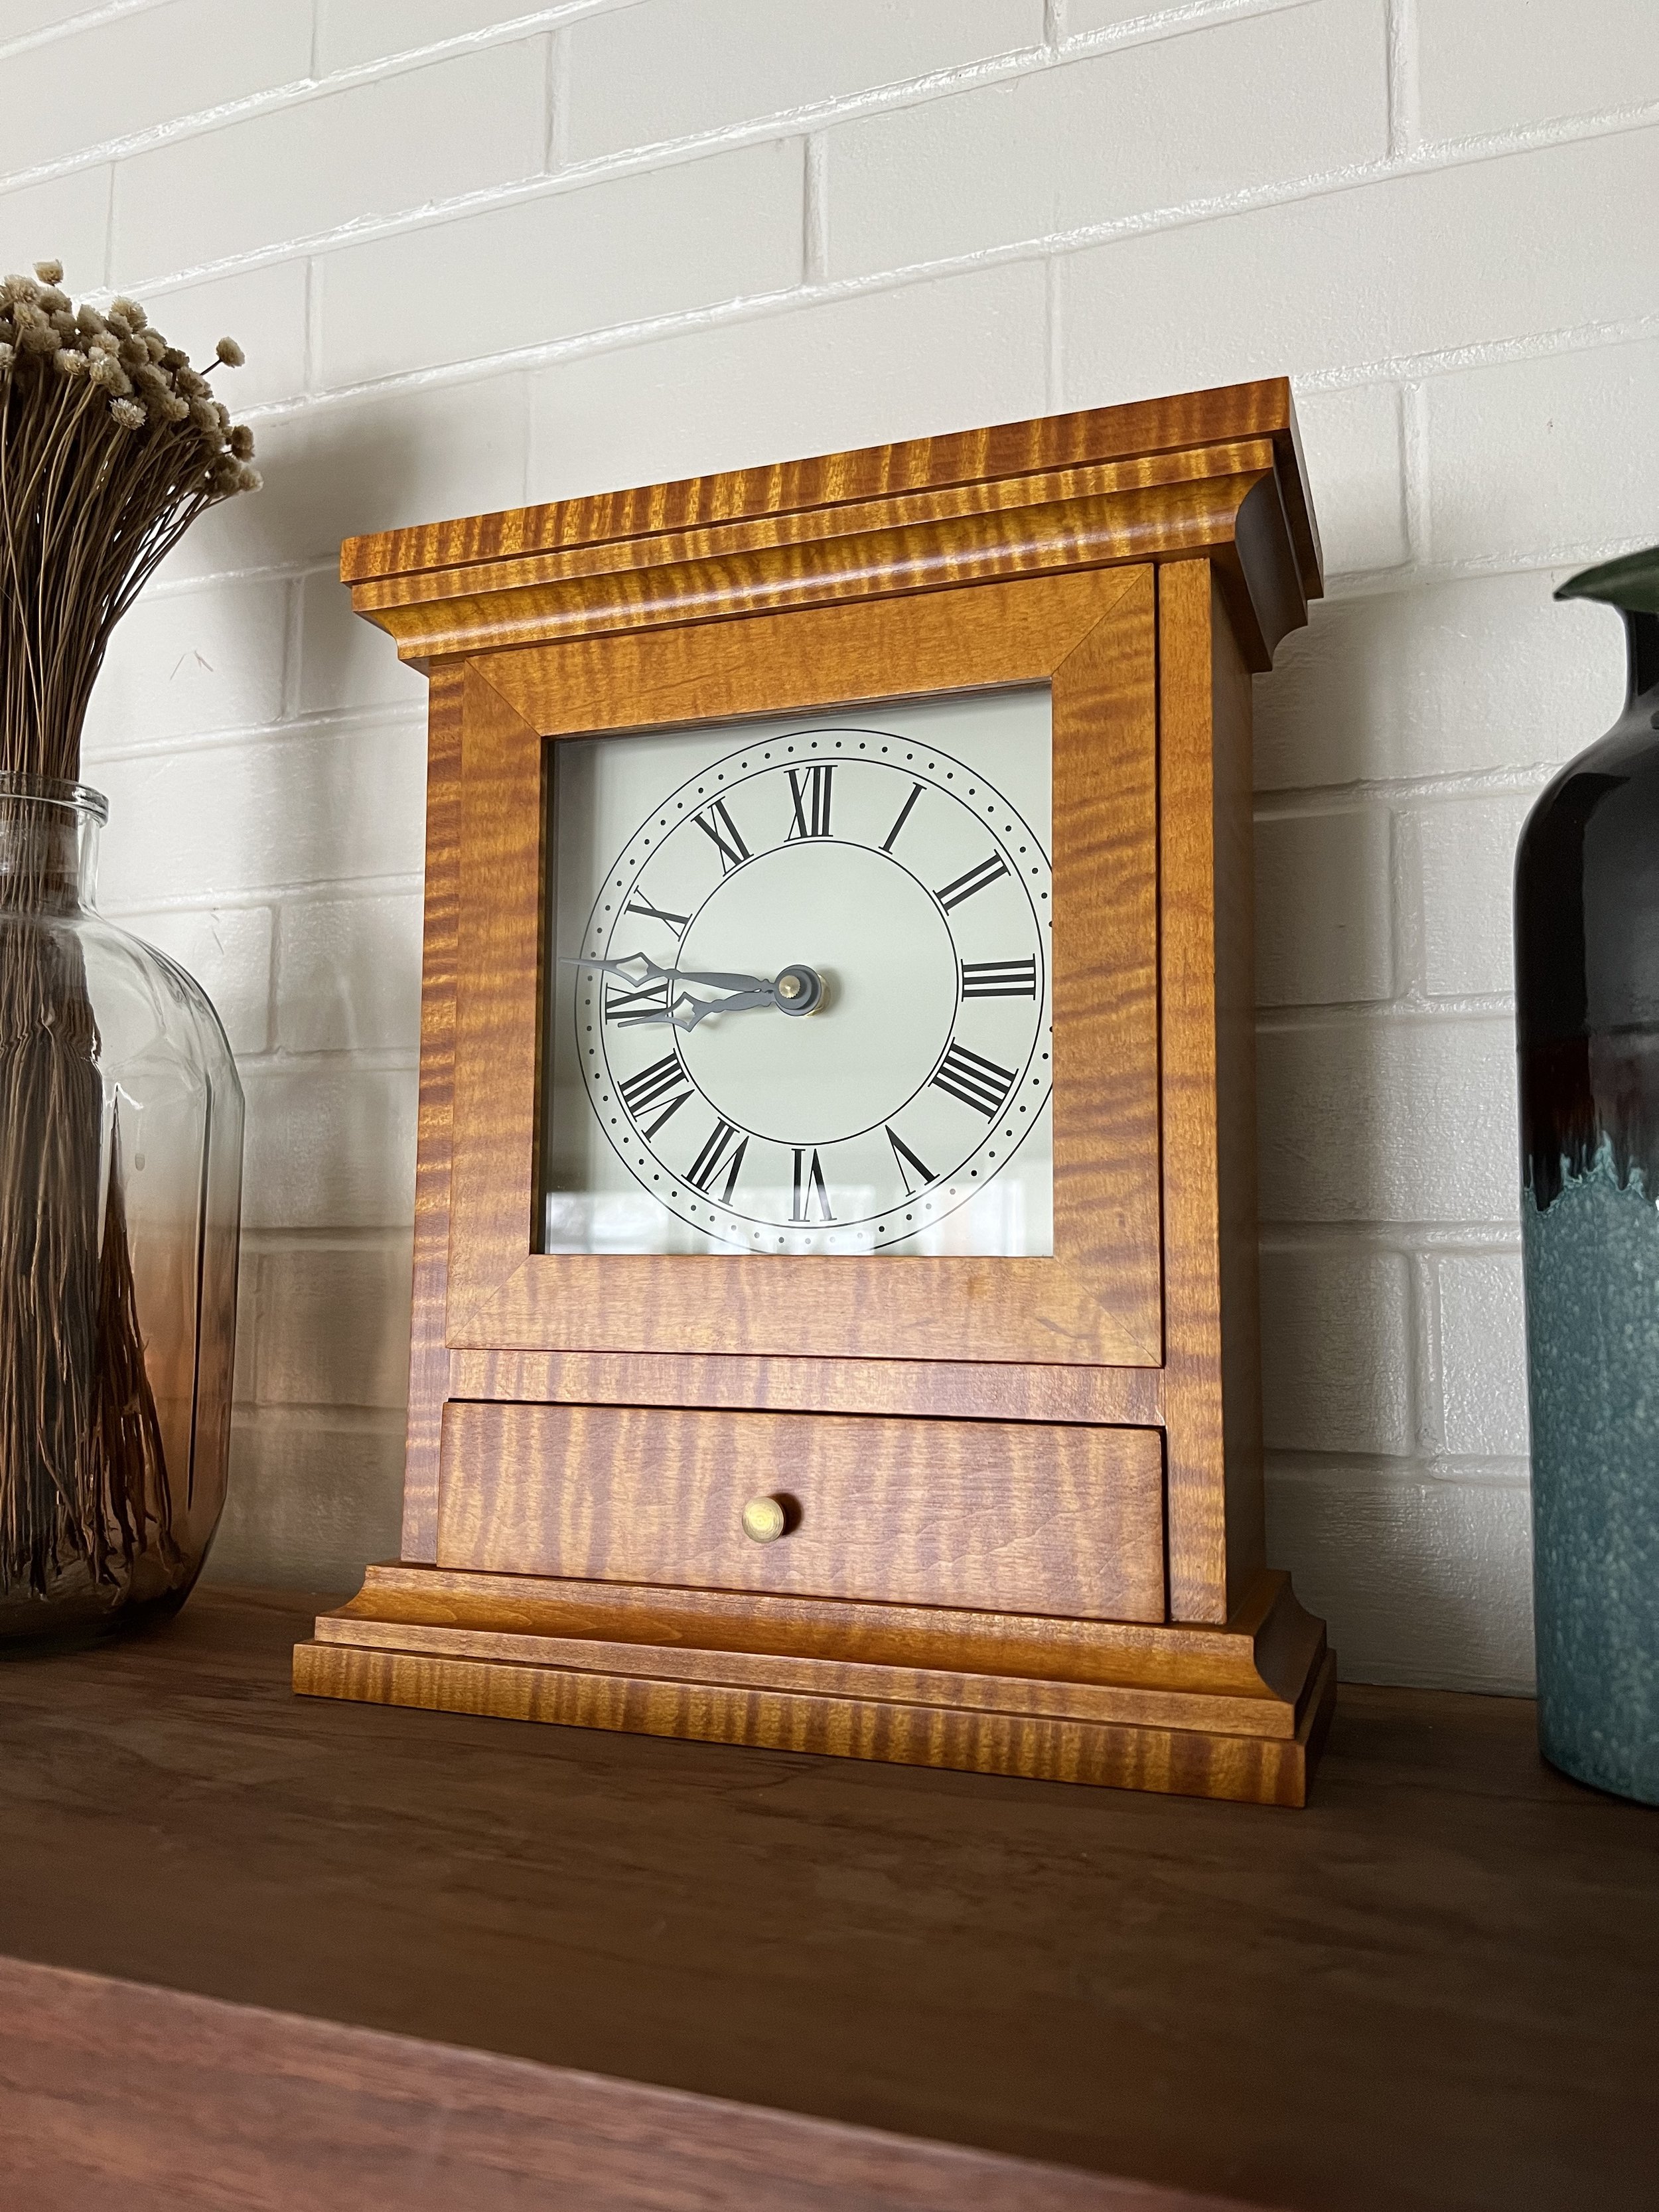
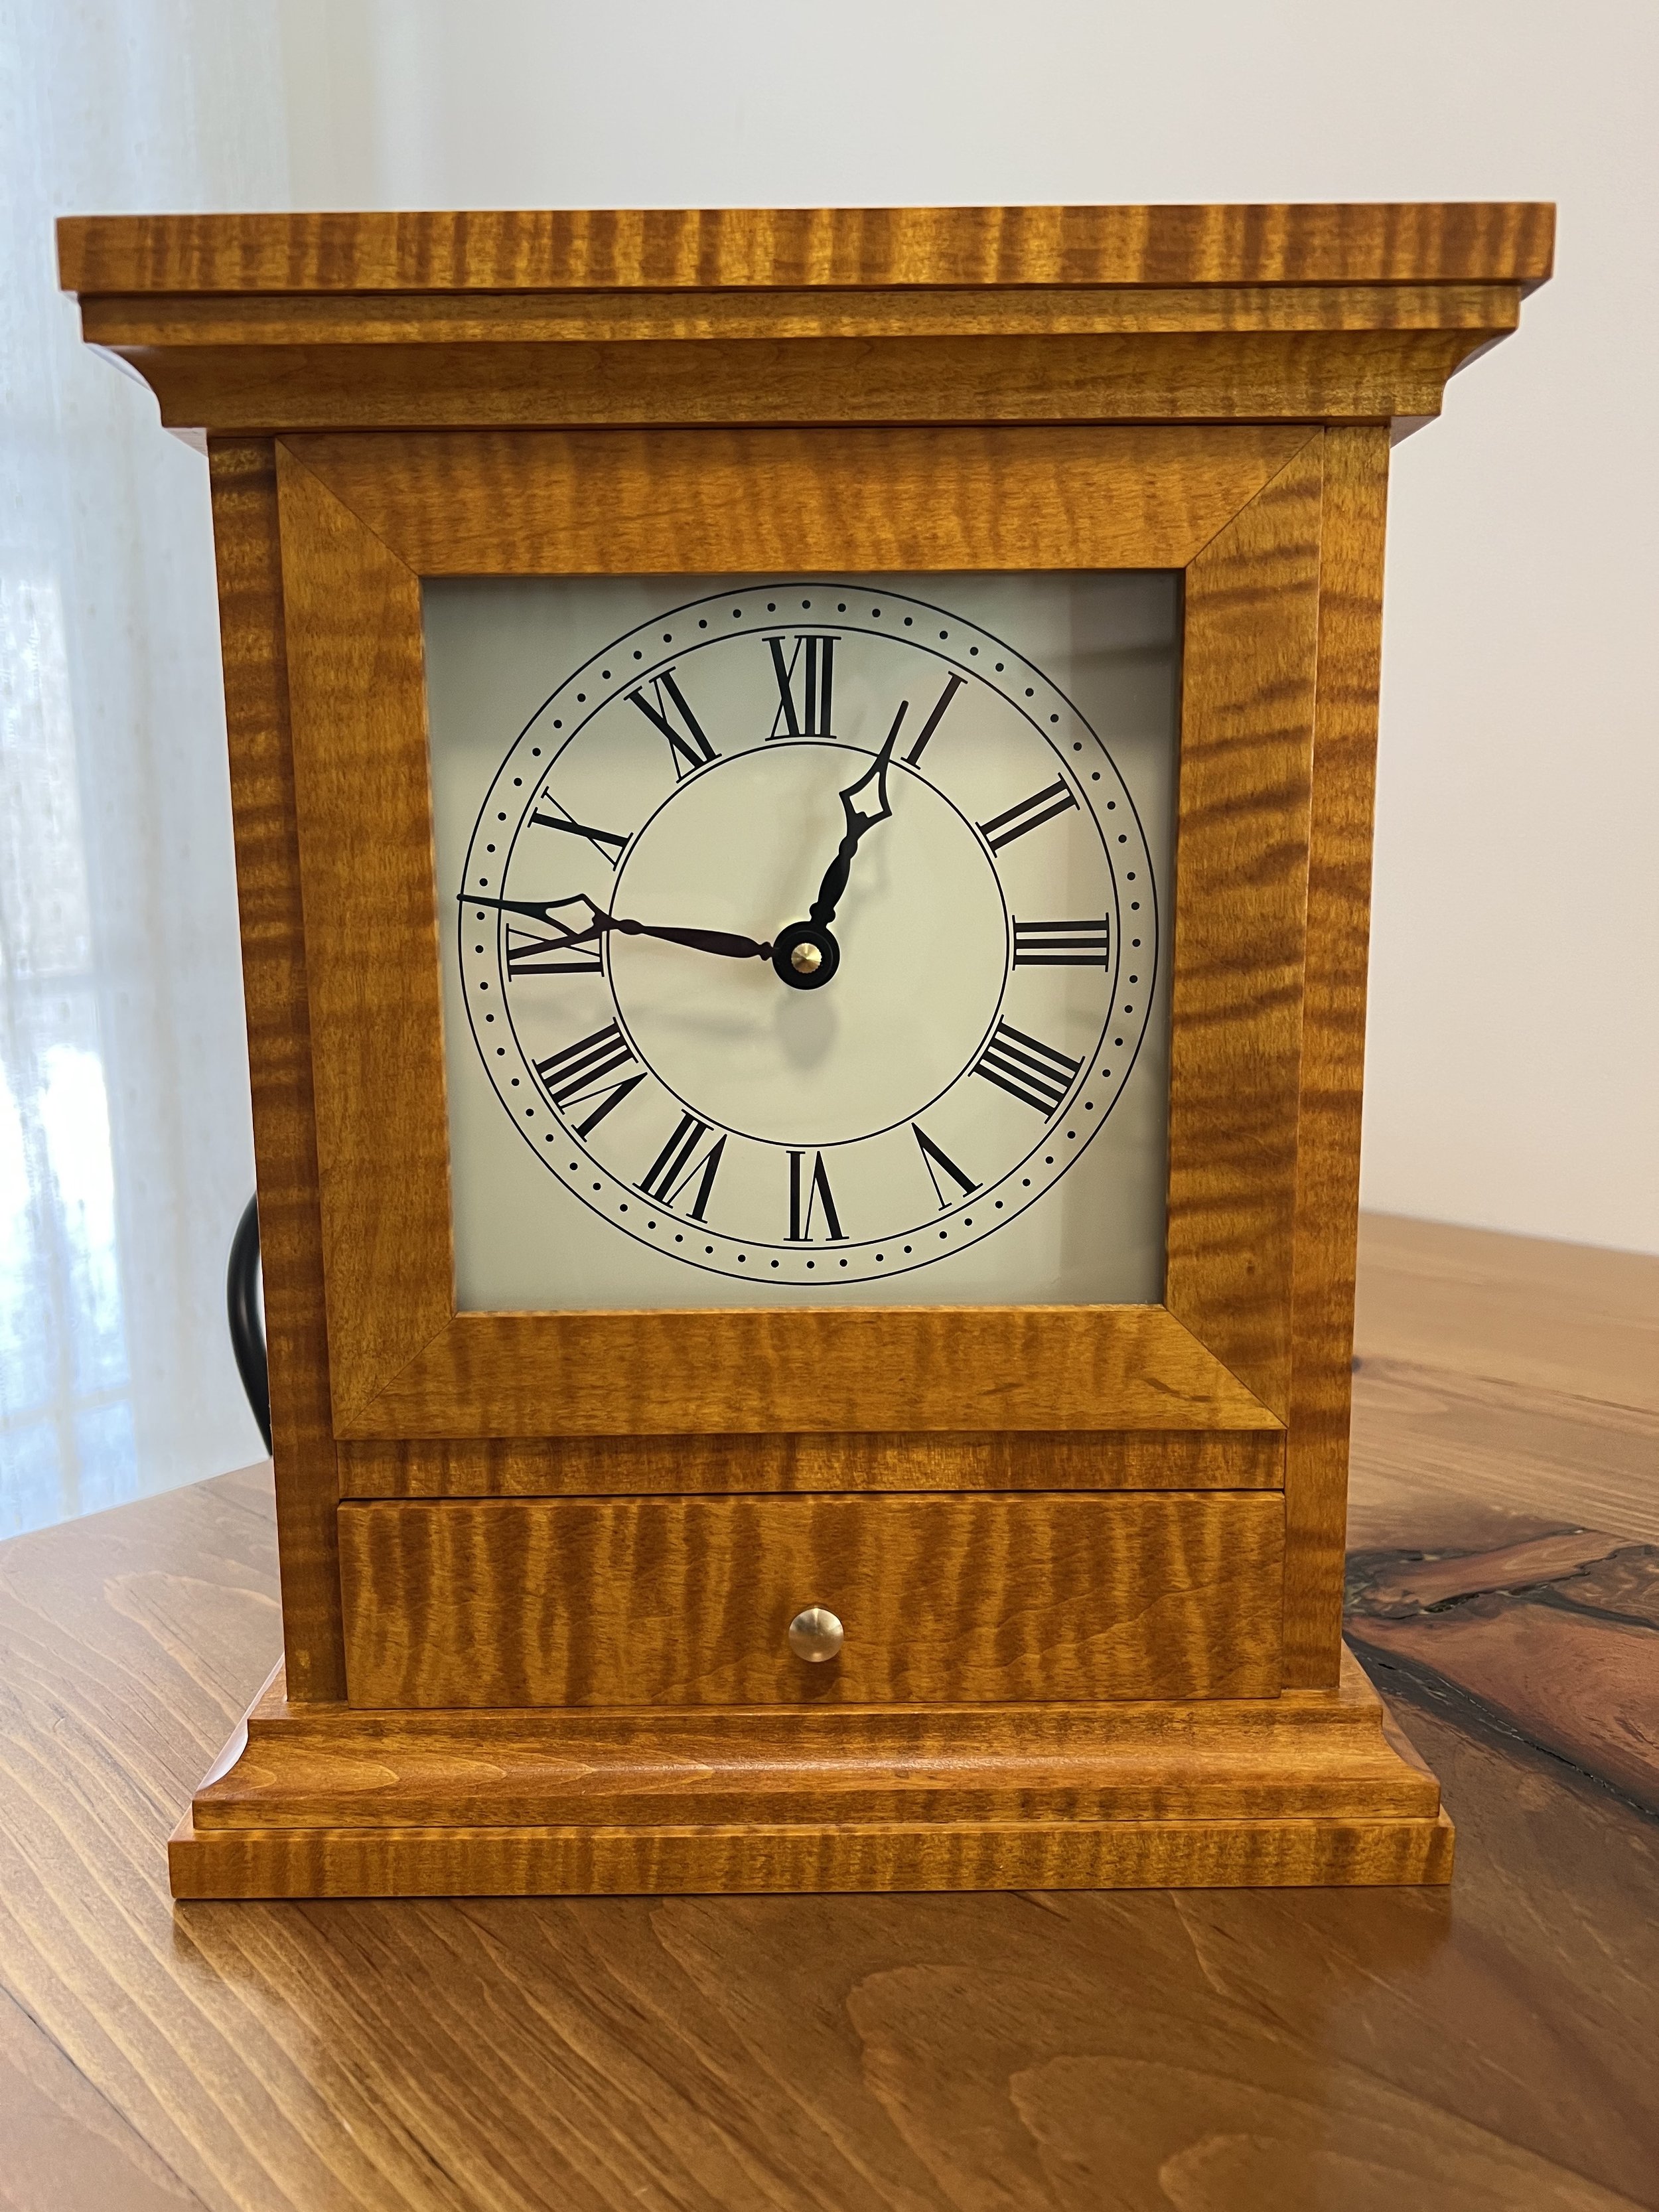
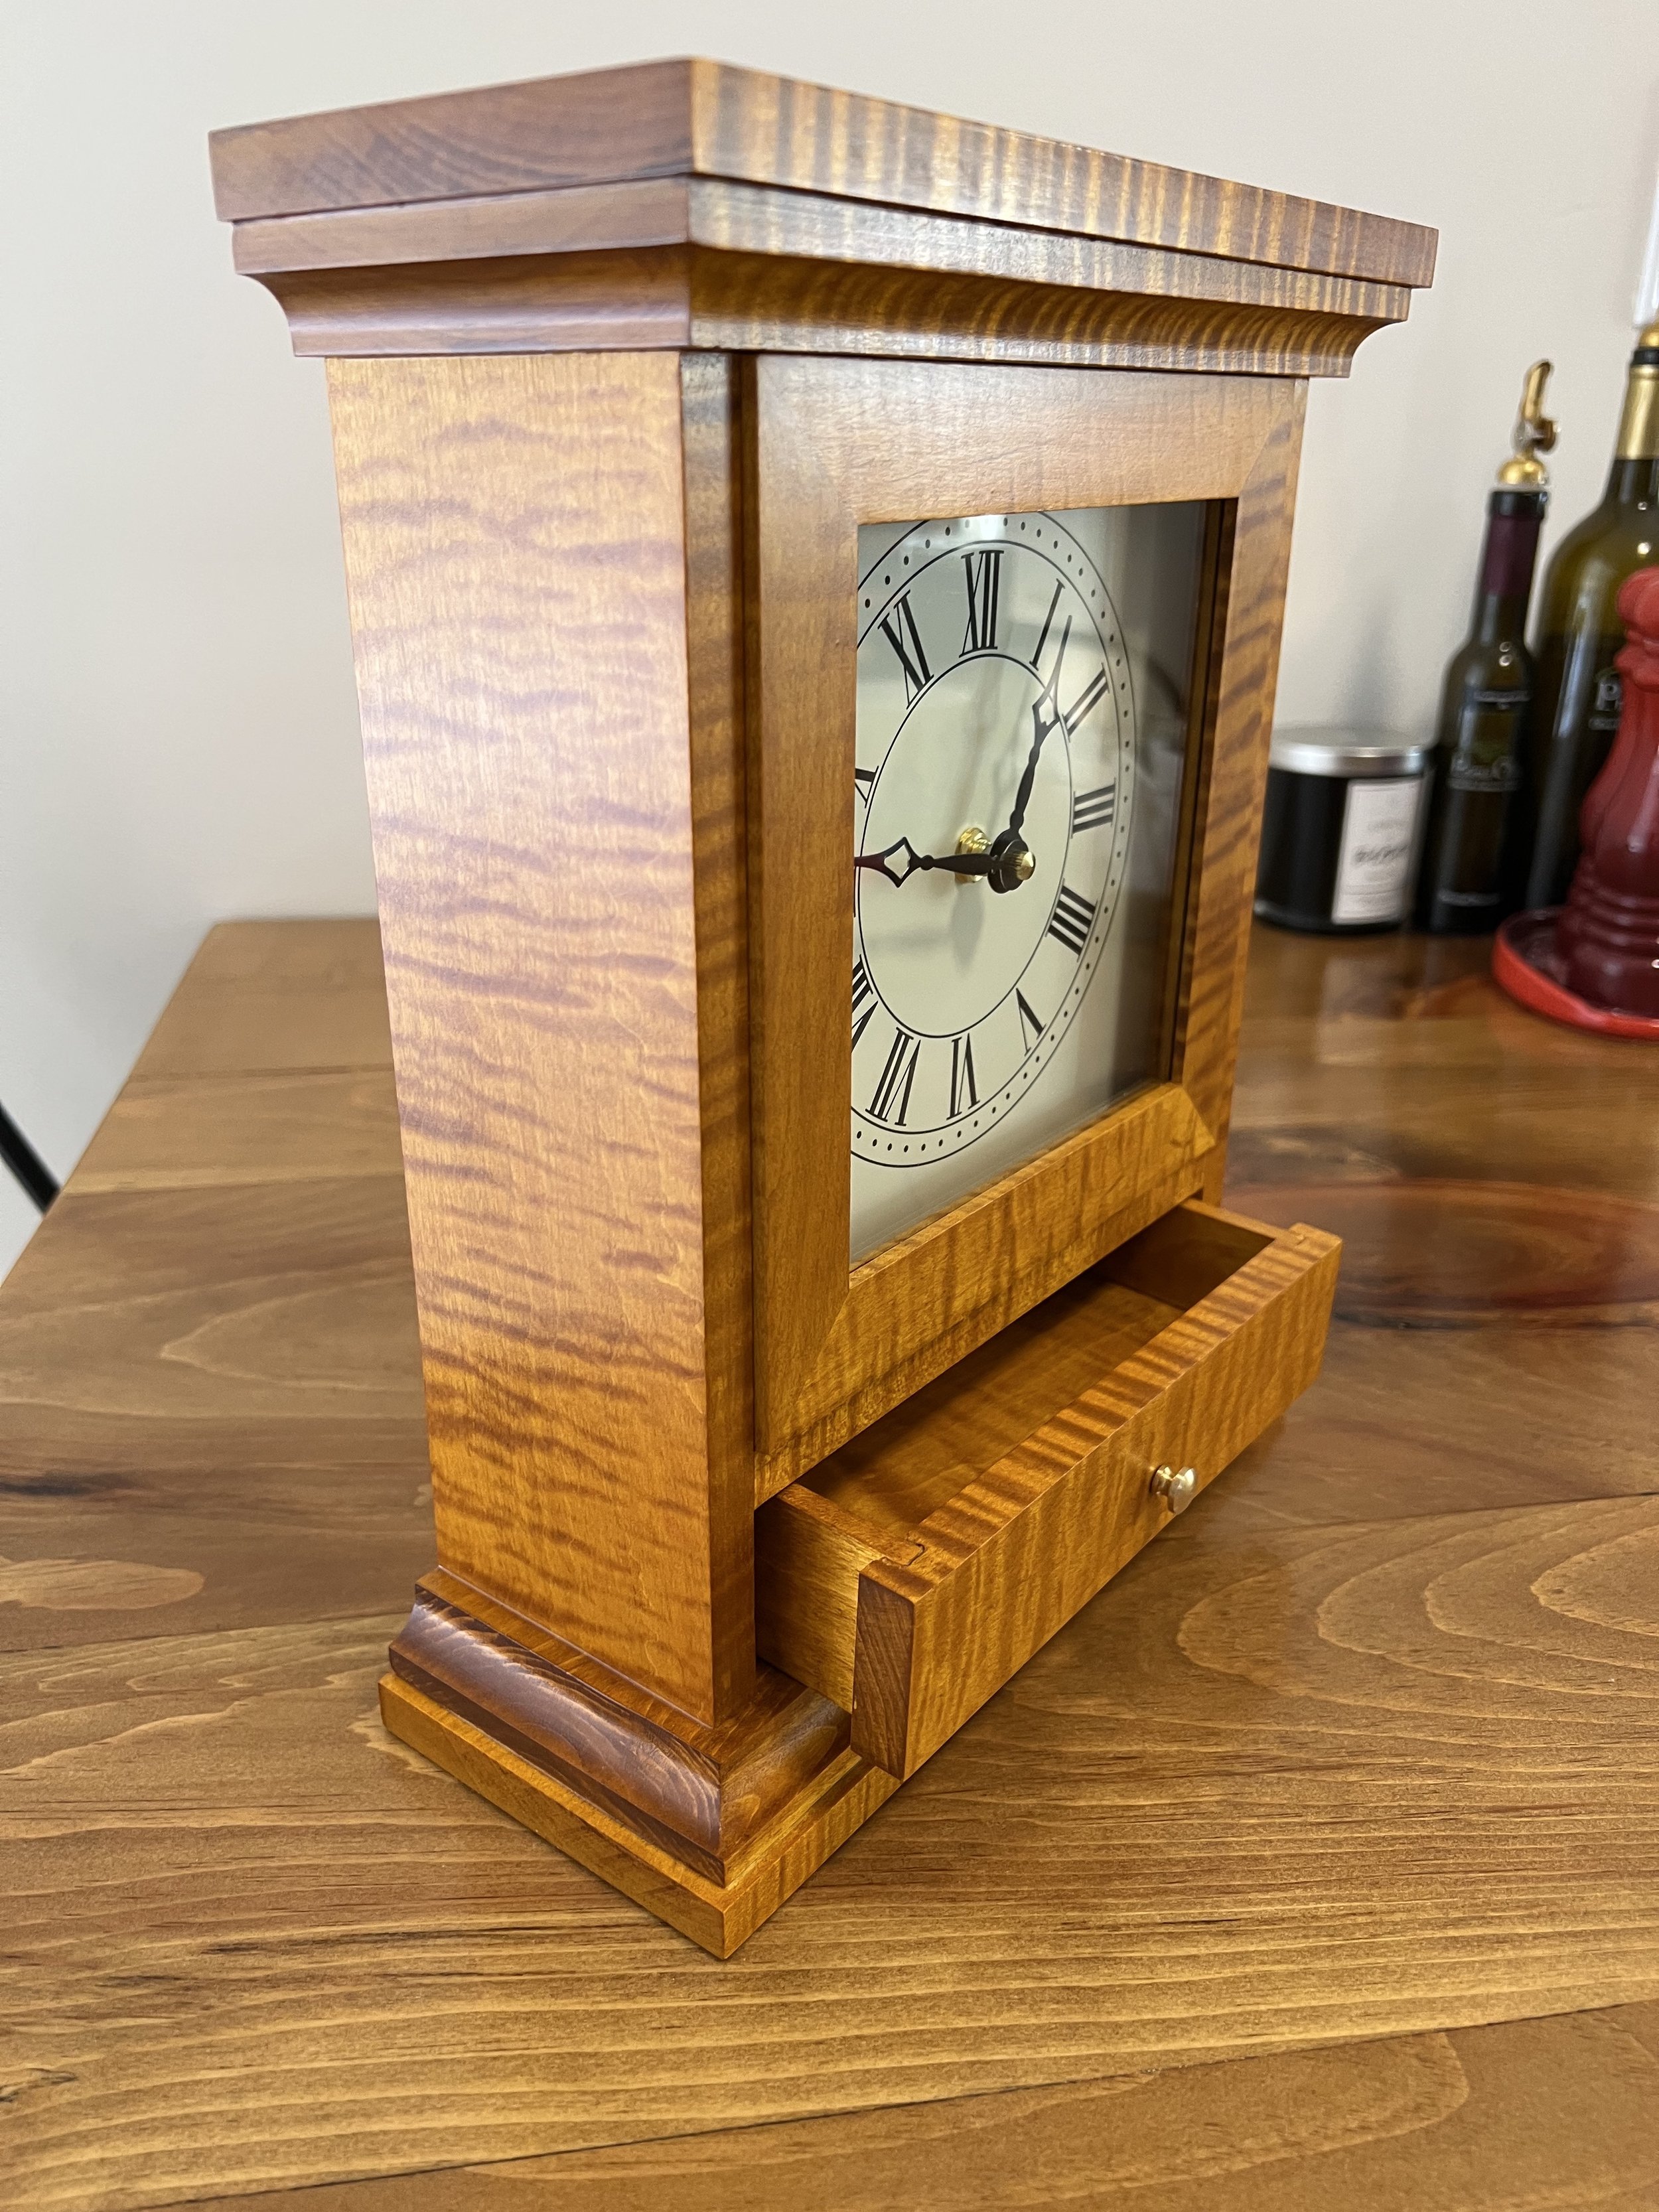
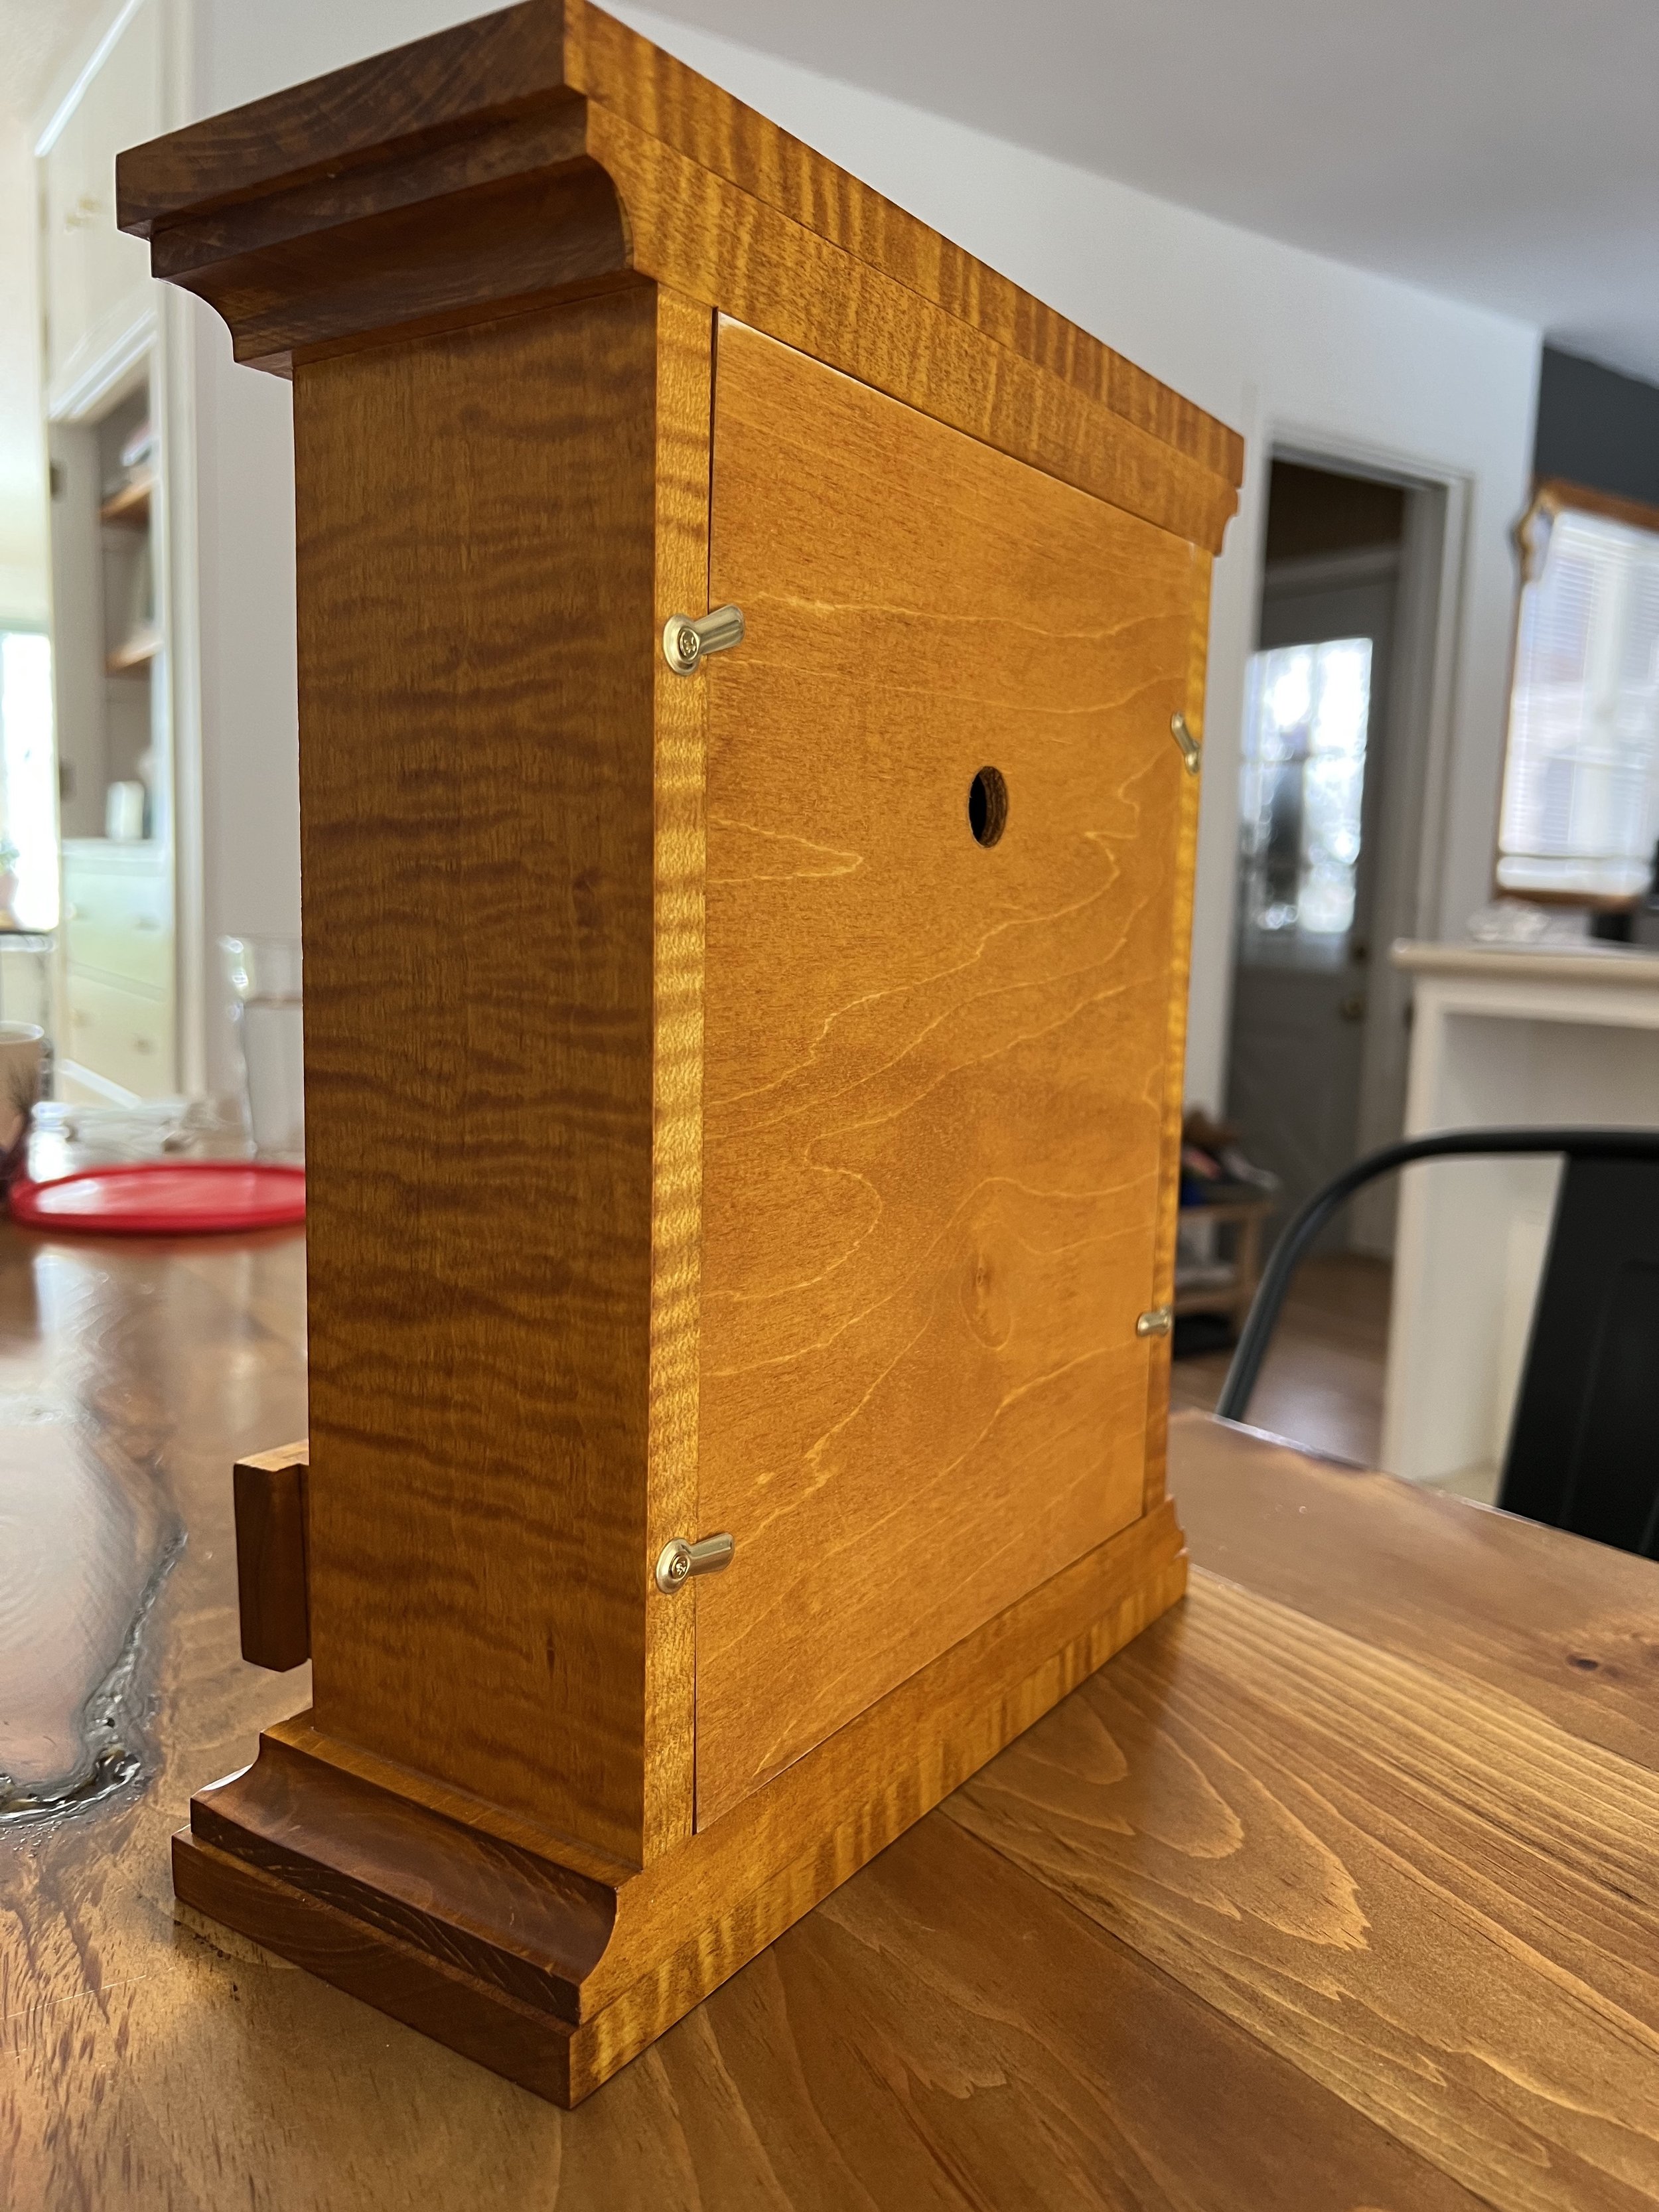
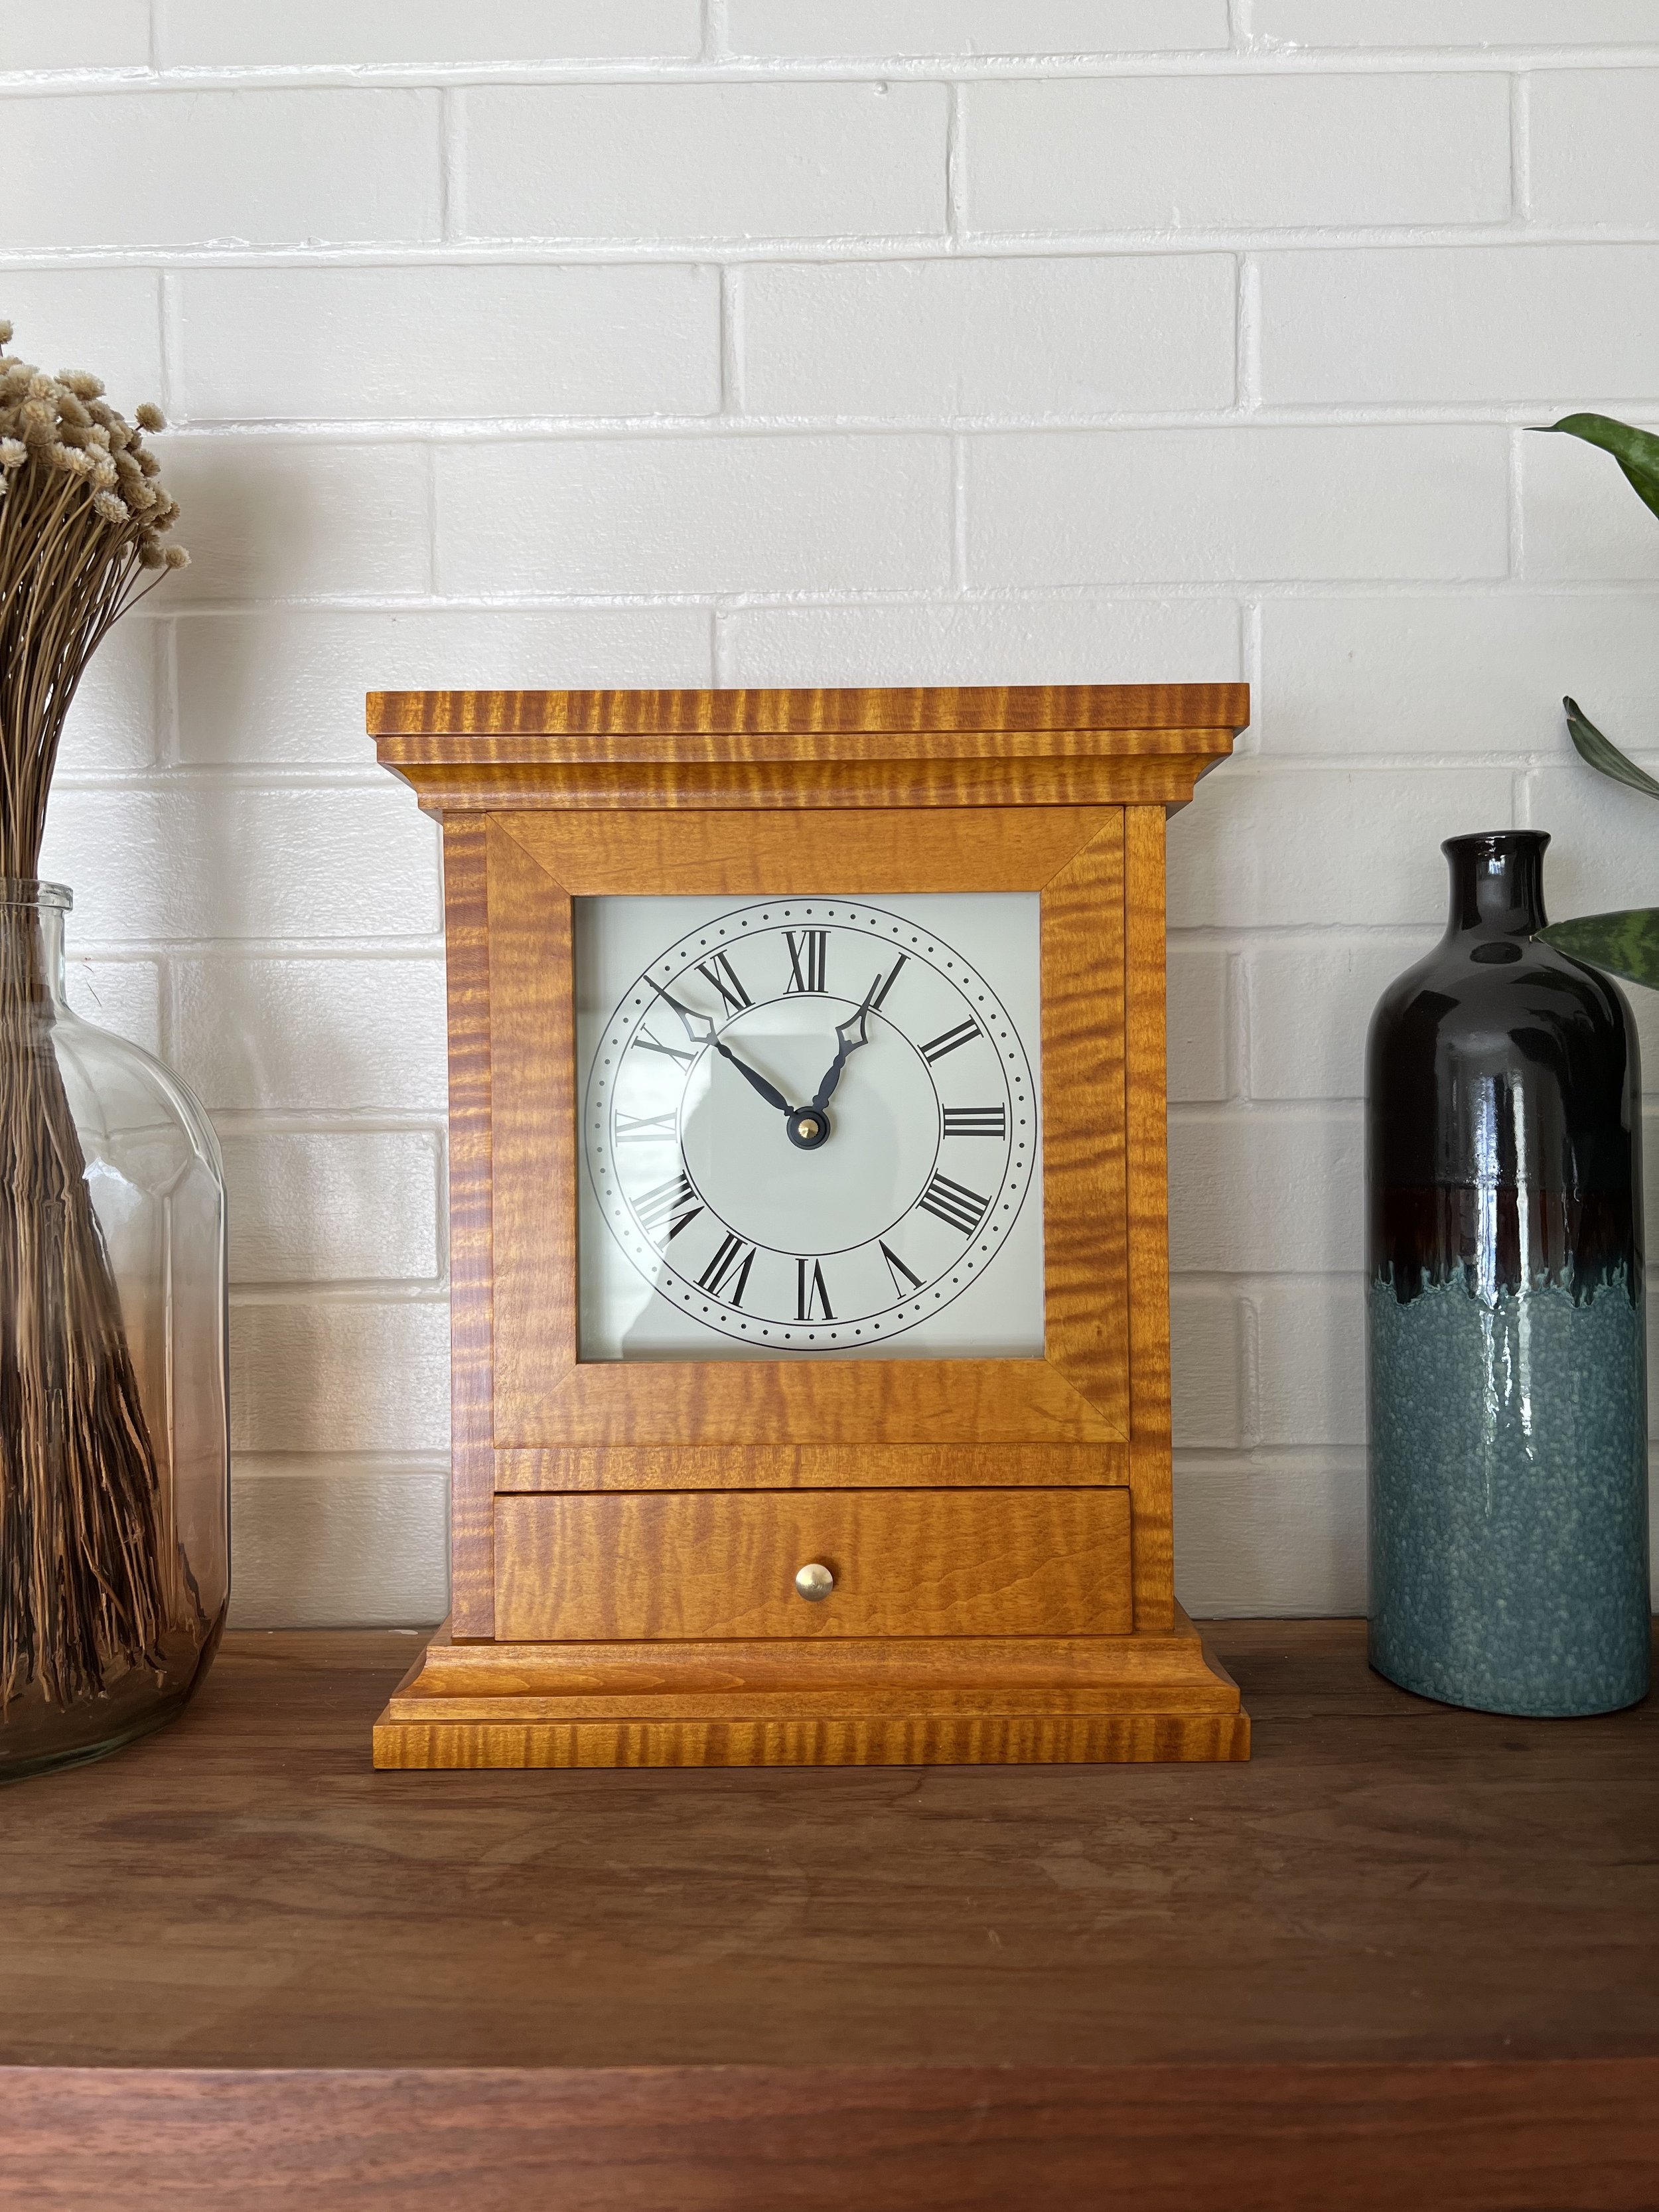
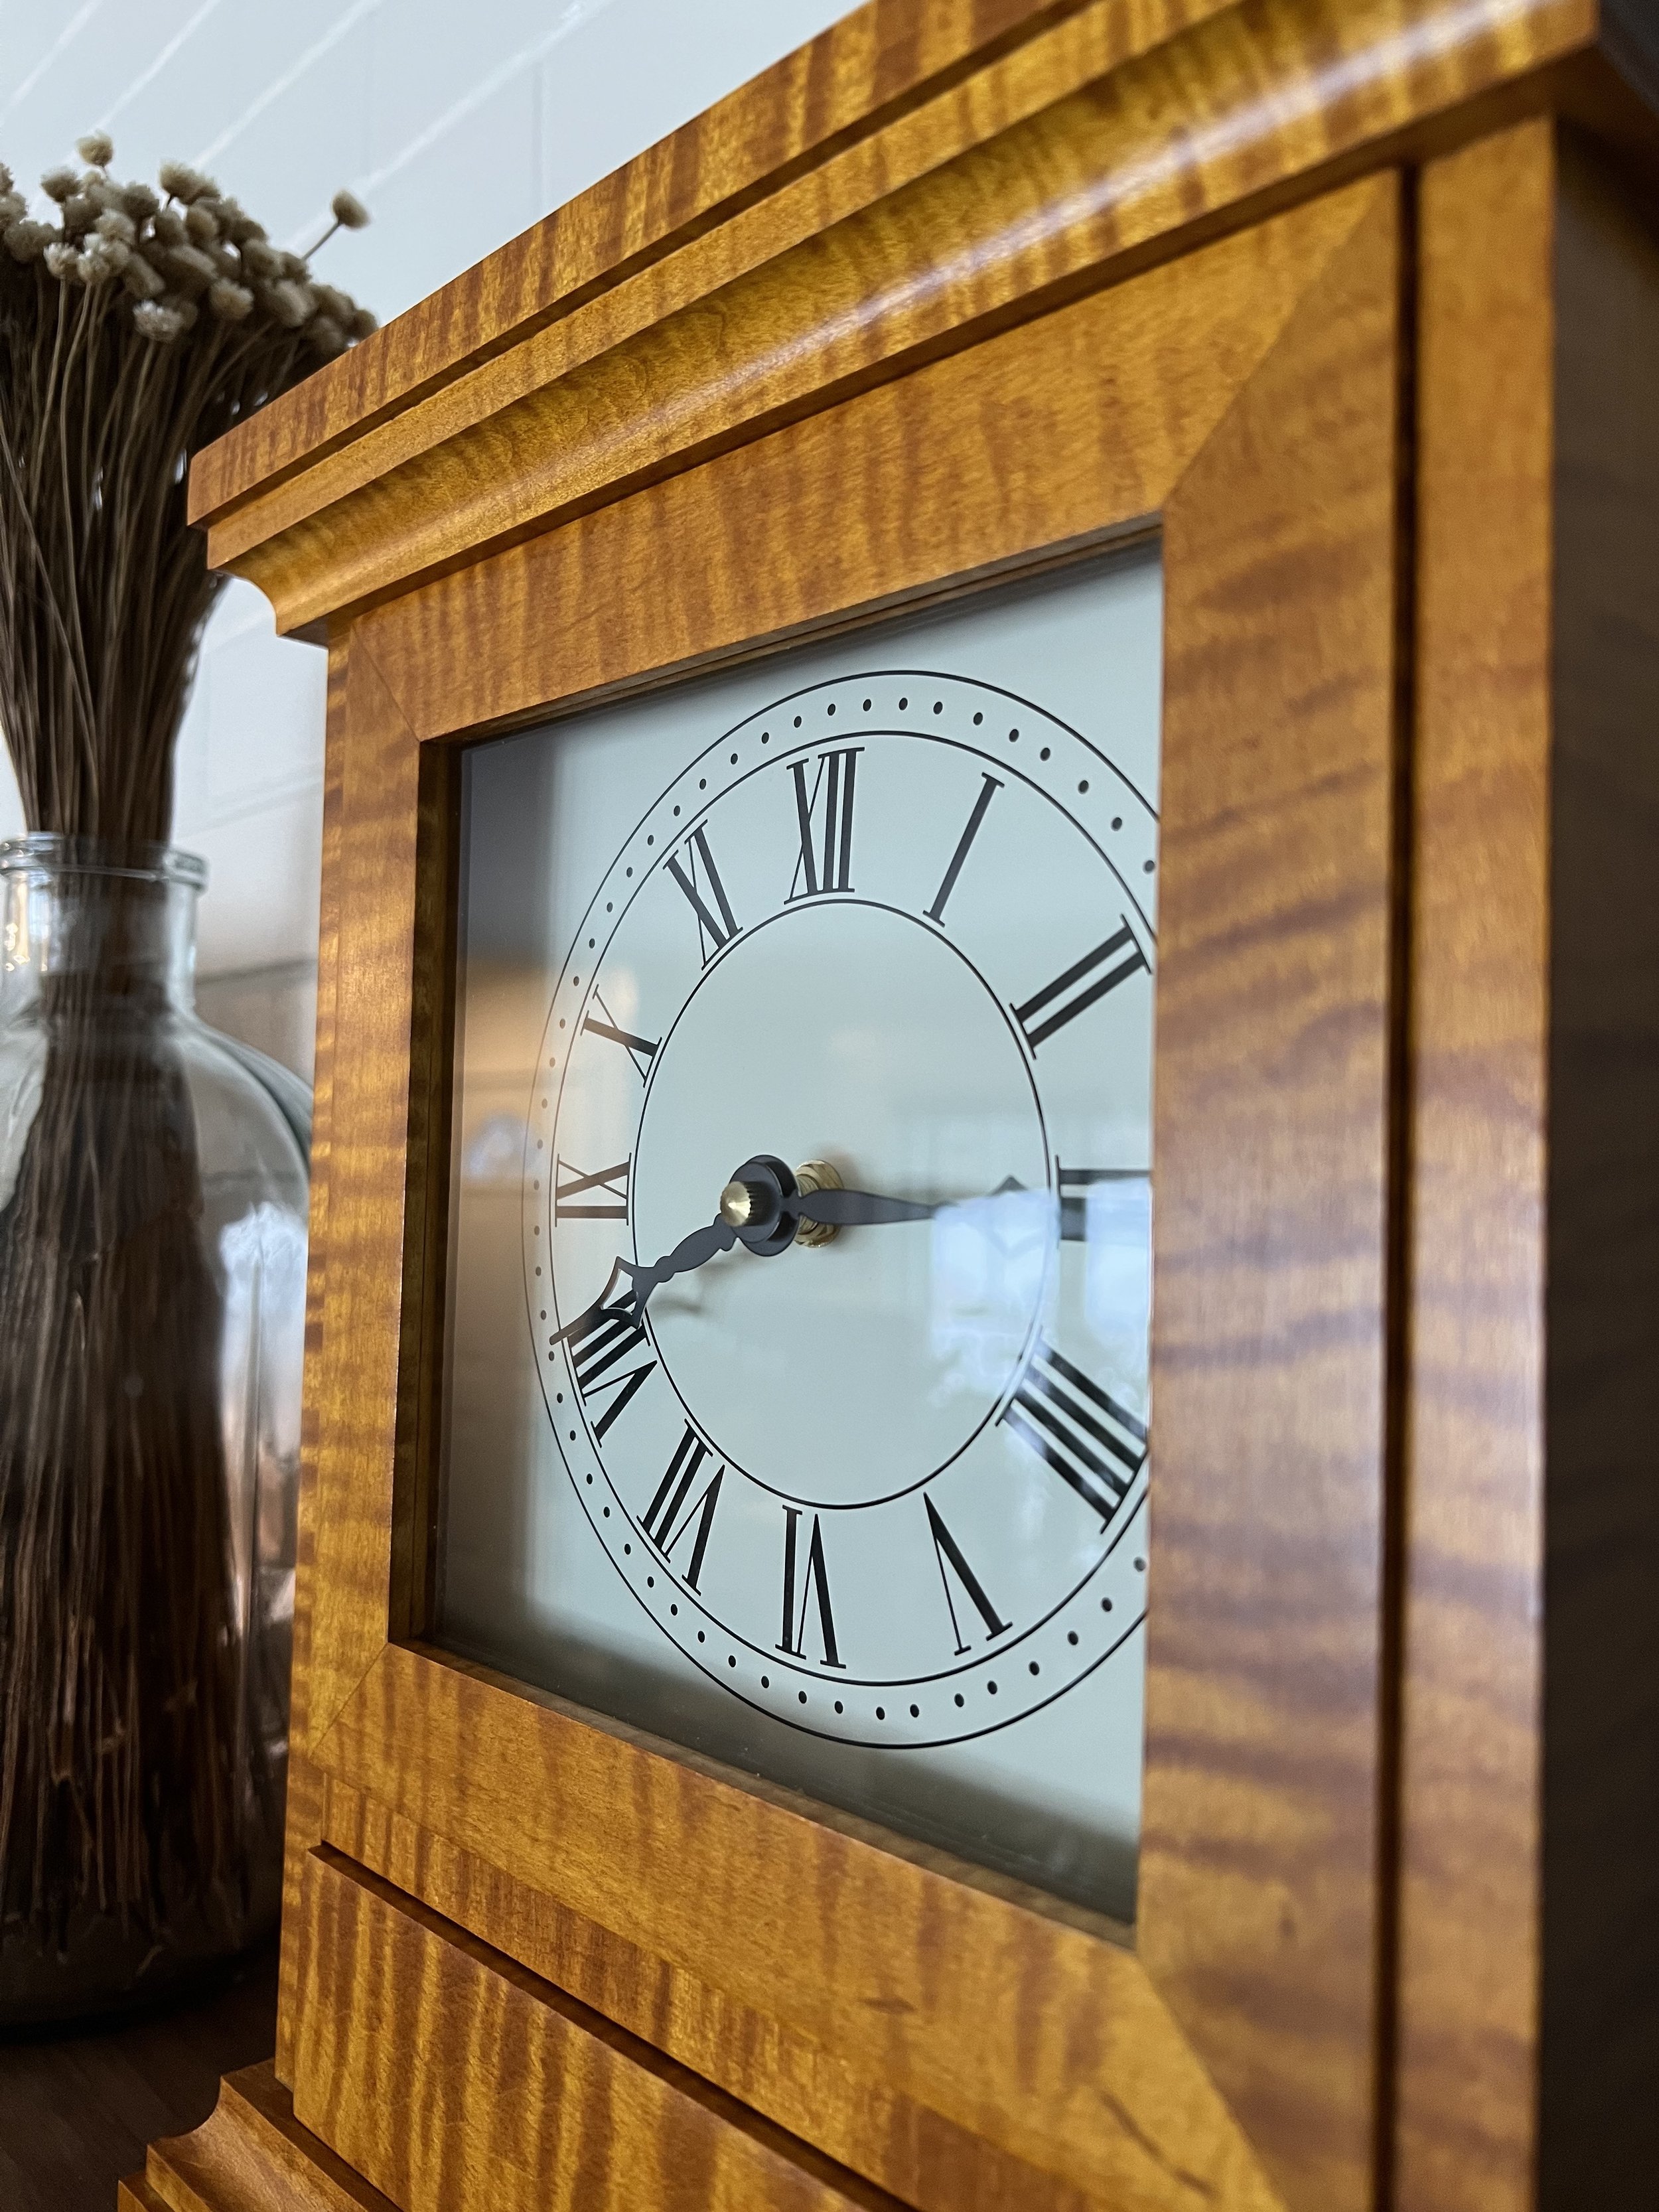
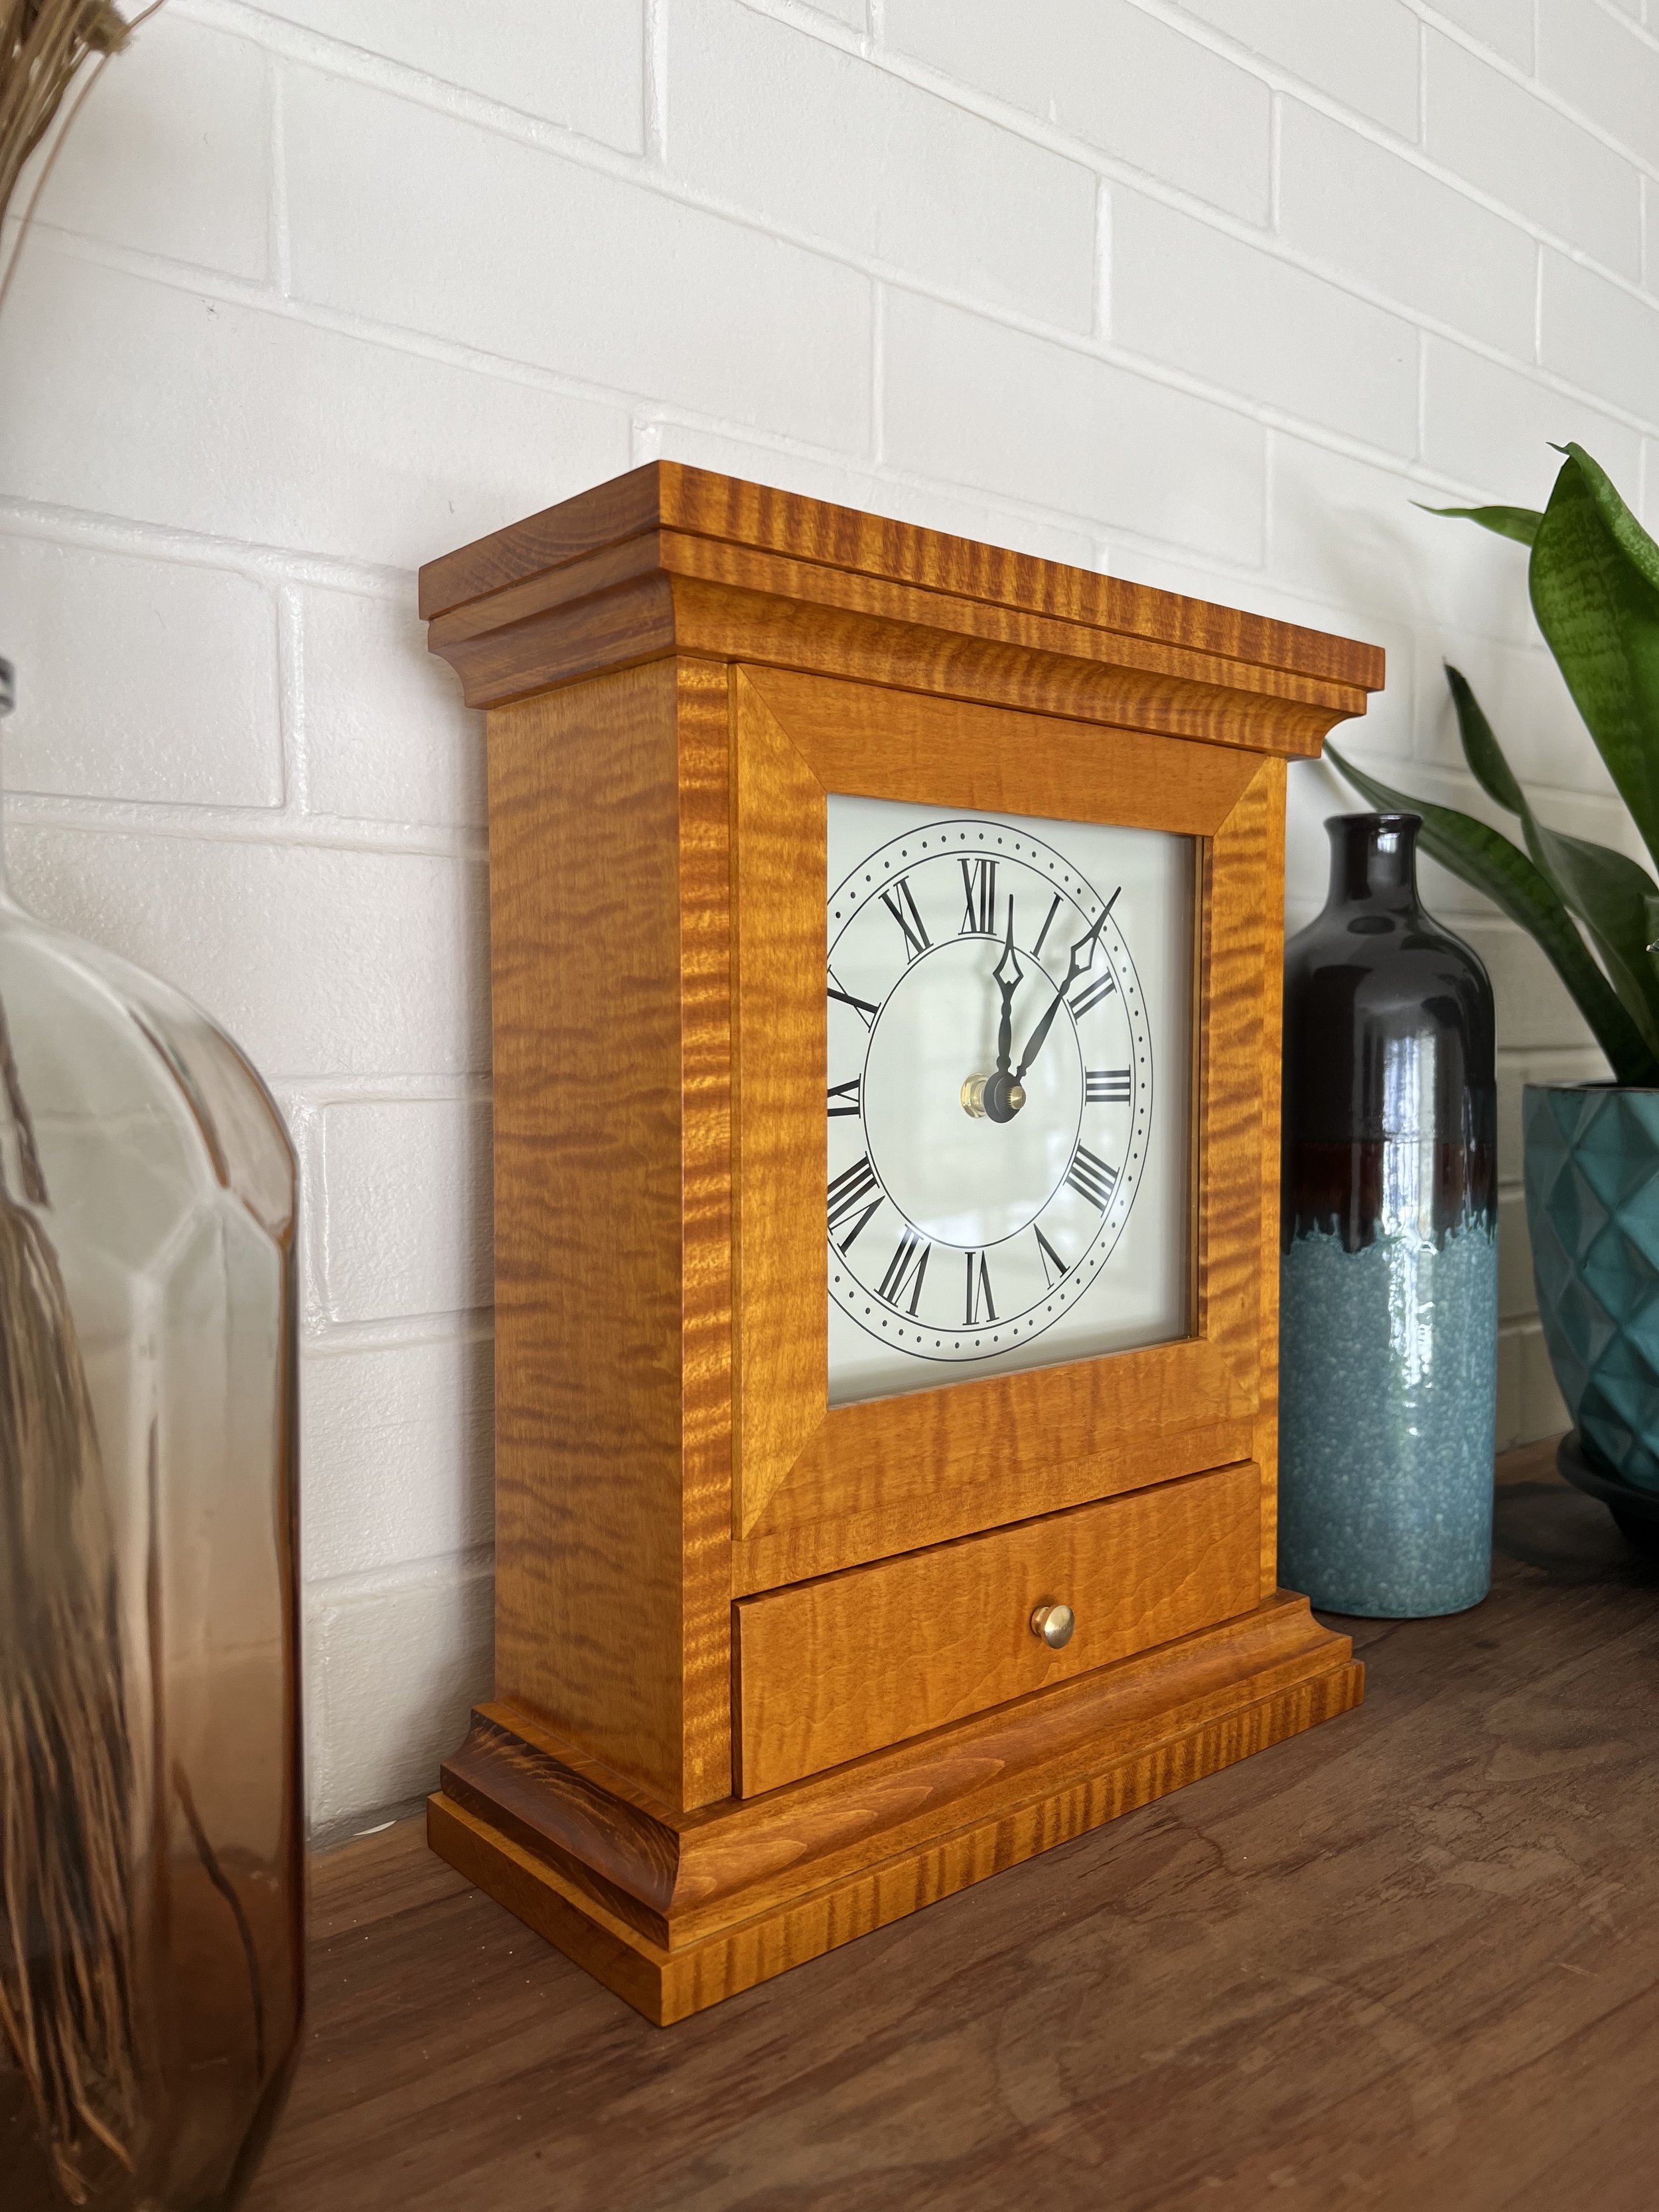
I’ve always held a fascination in clocks. After a few larger projects, I decided I wanted to build something smaller scale. This mantel clock was just the right project. The clock is made of solid curly maple with an amber aniline dye-stain applied to bring out the beautiful wood grain characteristics. The clock features a roman numeral shaker-style dial and hands, and a quartz movement. The clock itself fits snugly inside the body and a mitered frame with a 1/8” glass panel protects the face. The clock also features a pull out drawer with a brass knob, cove moulding, and an easy access back panel for adjusting the time.


Build Story
I followed a plan to build this clock so I didn’t encounter too many surprises along the way, however several components of this build were new to me and it made for a fun and challenging process.
Assembling the Clock Body
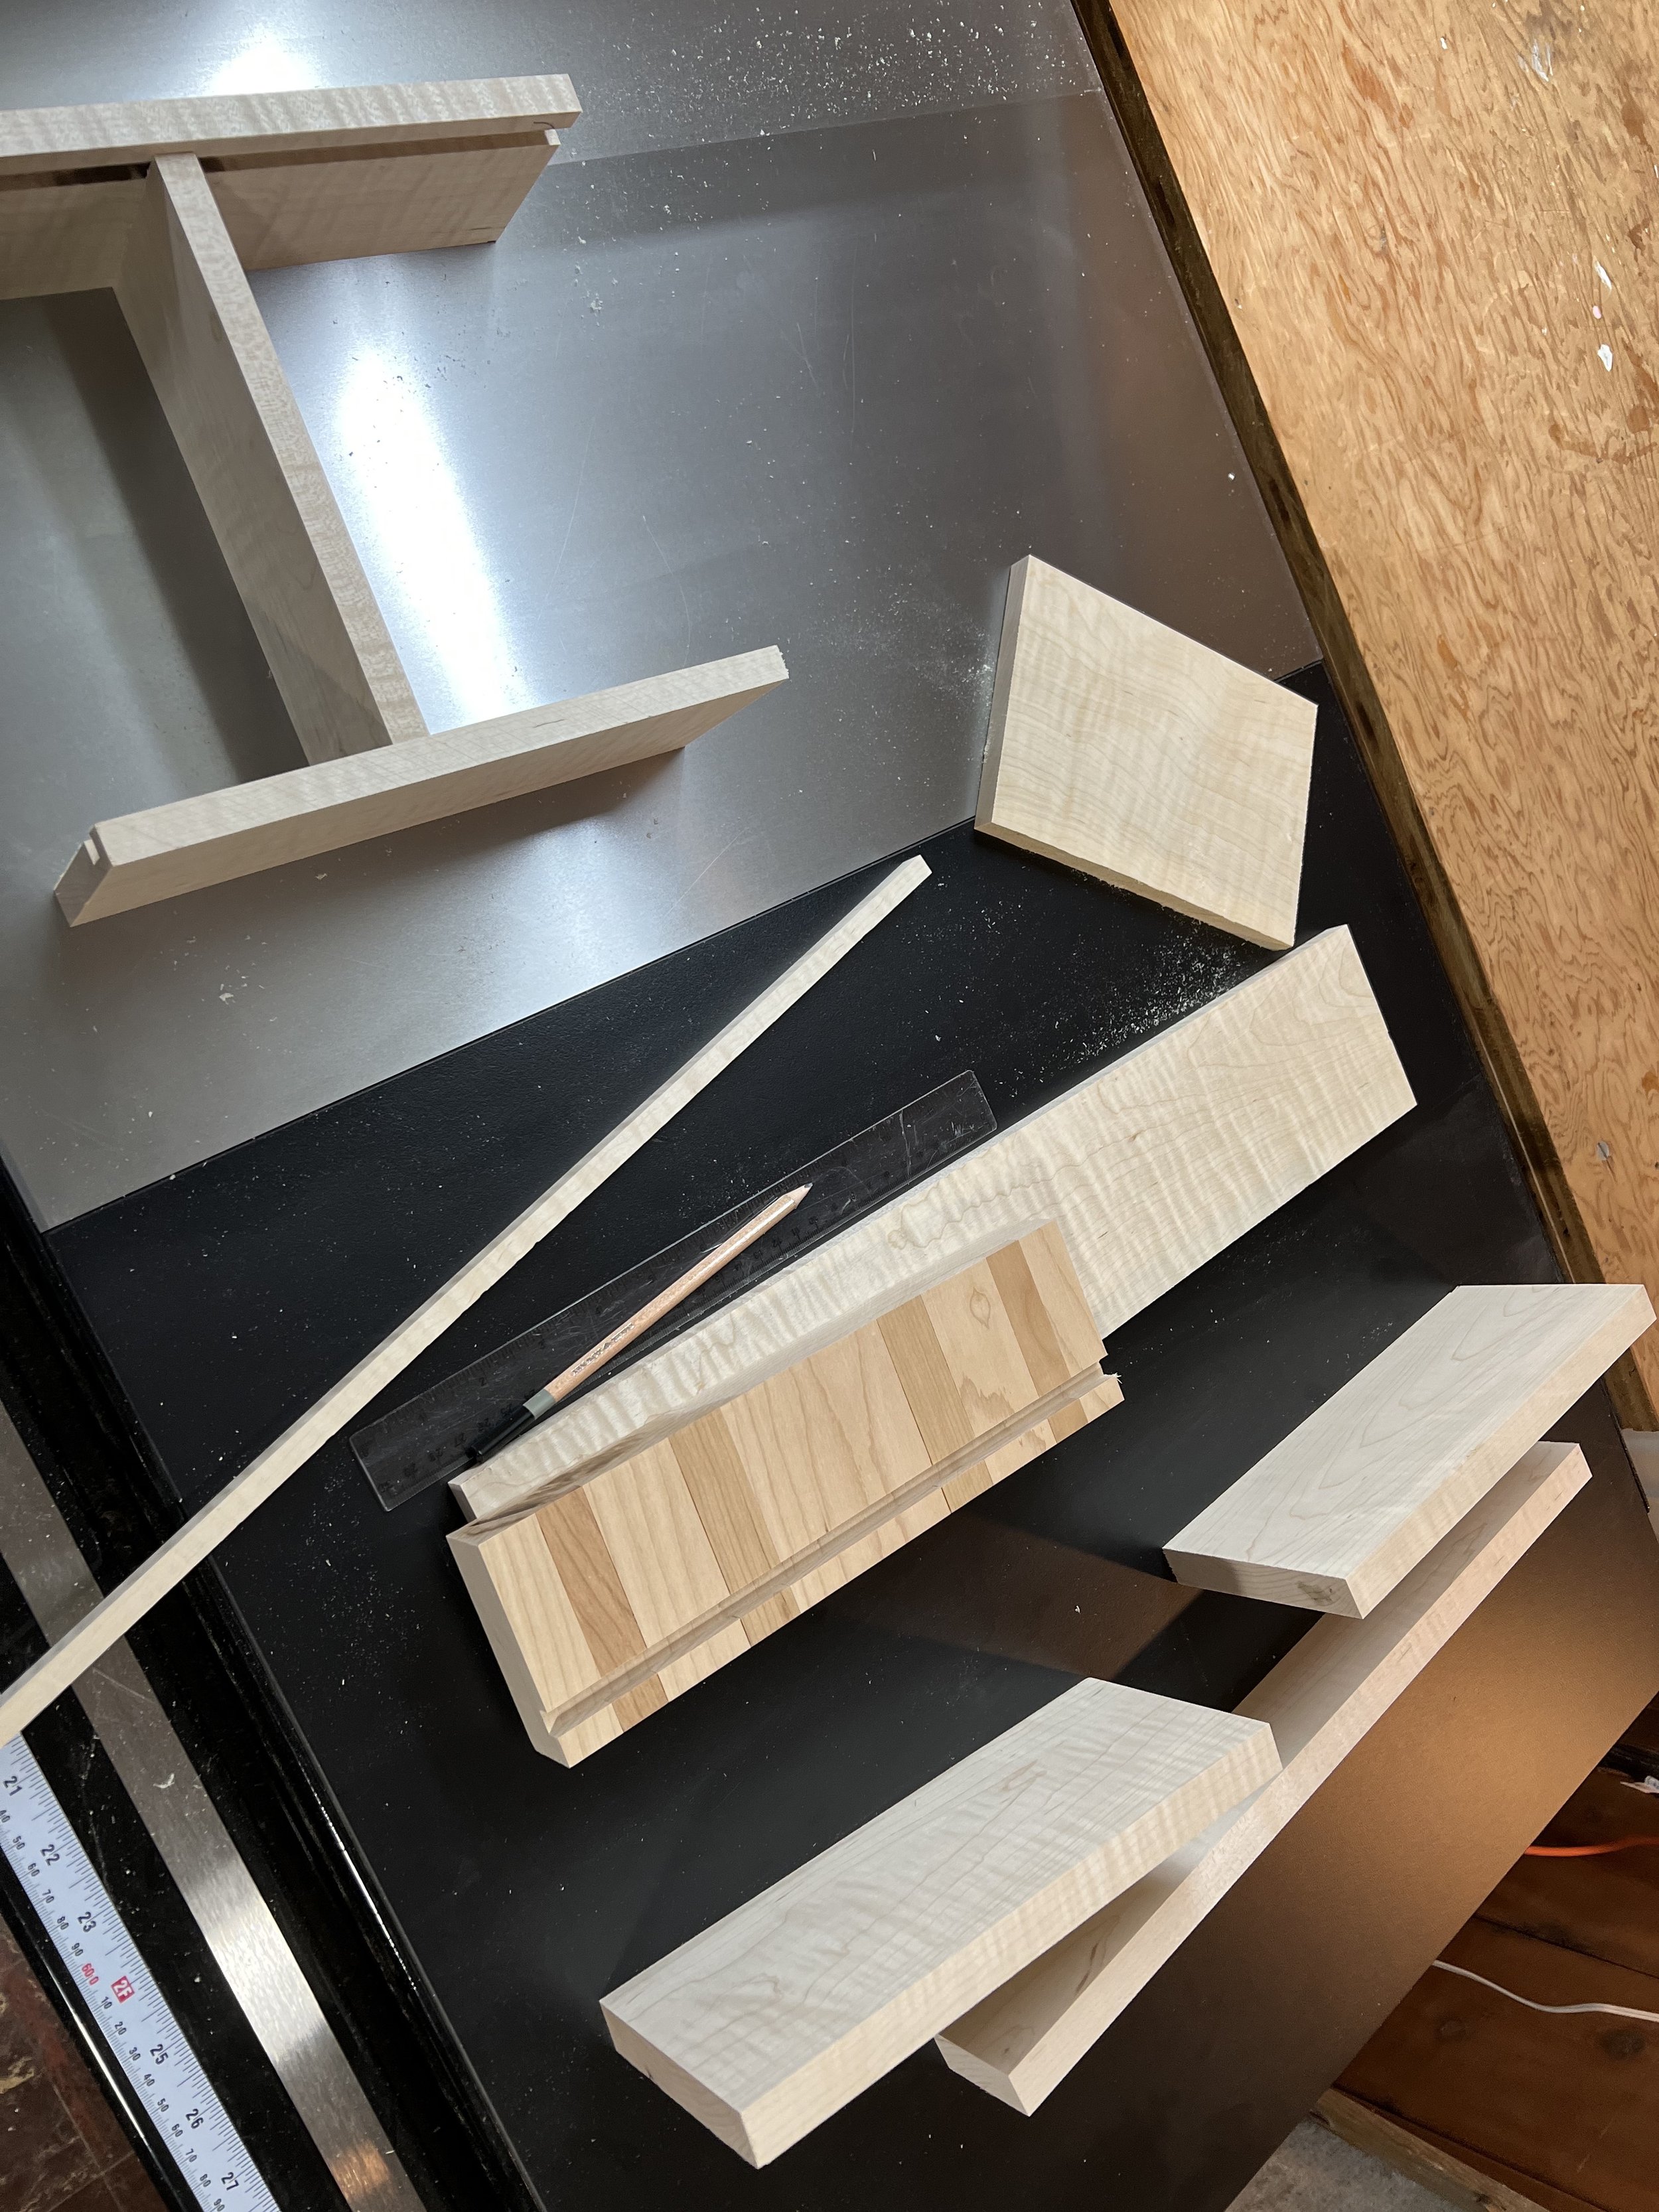
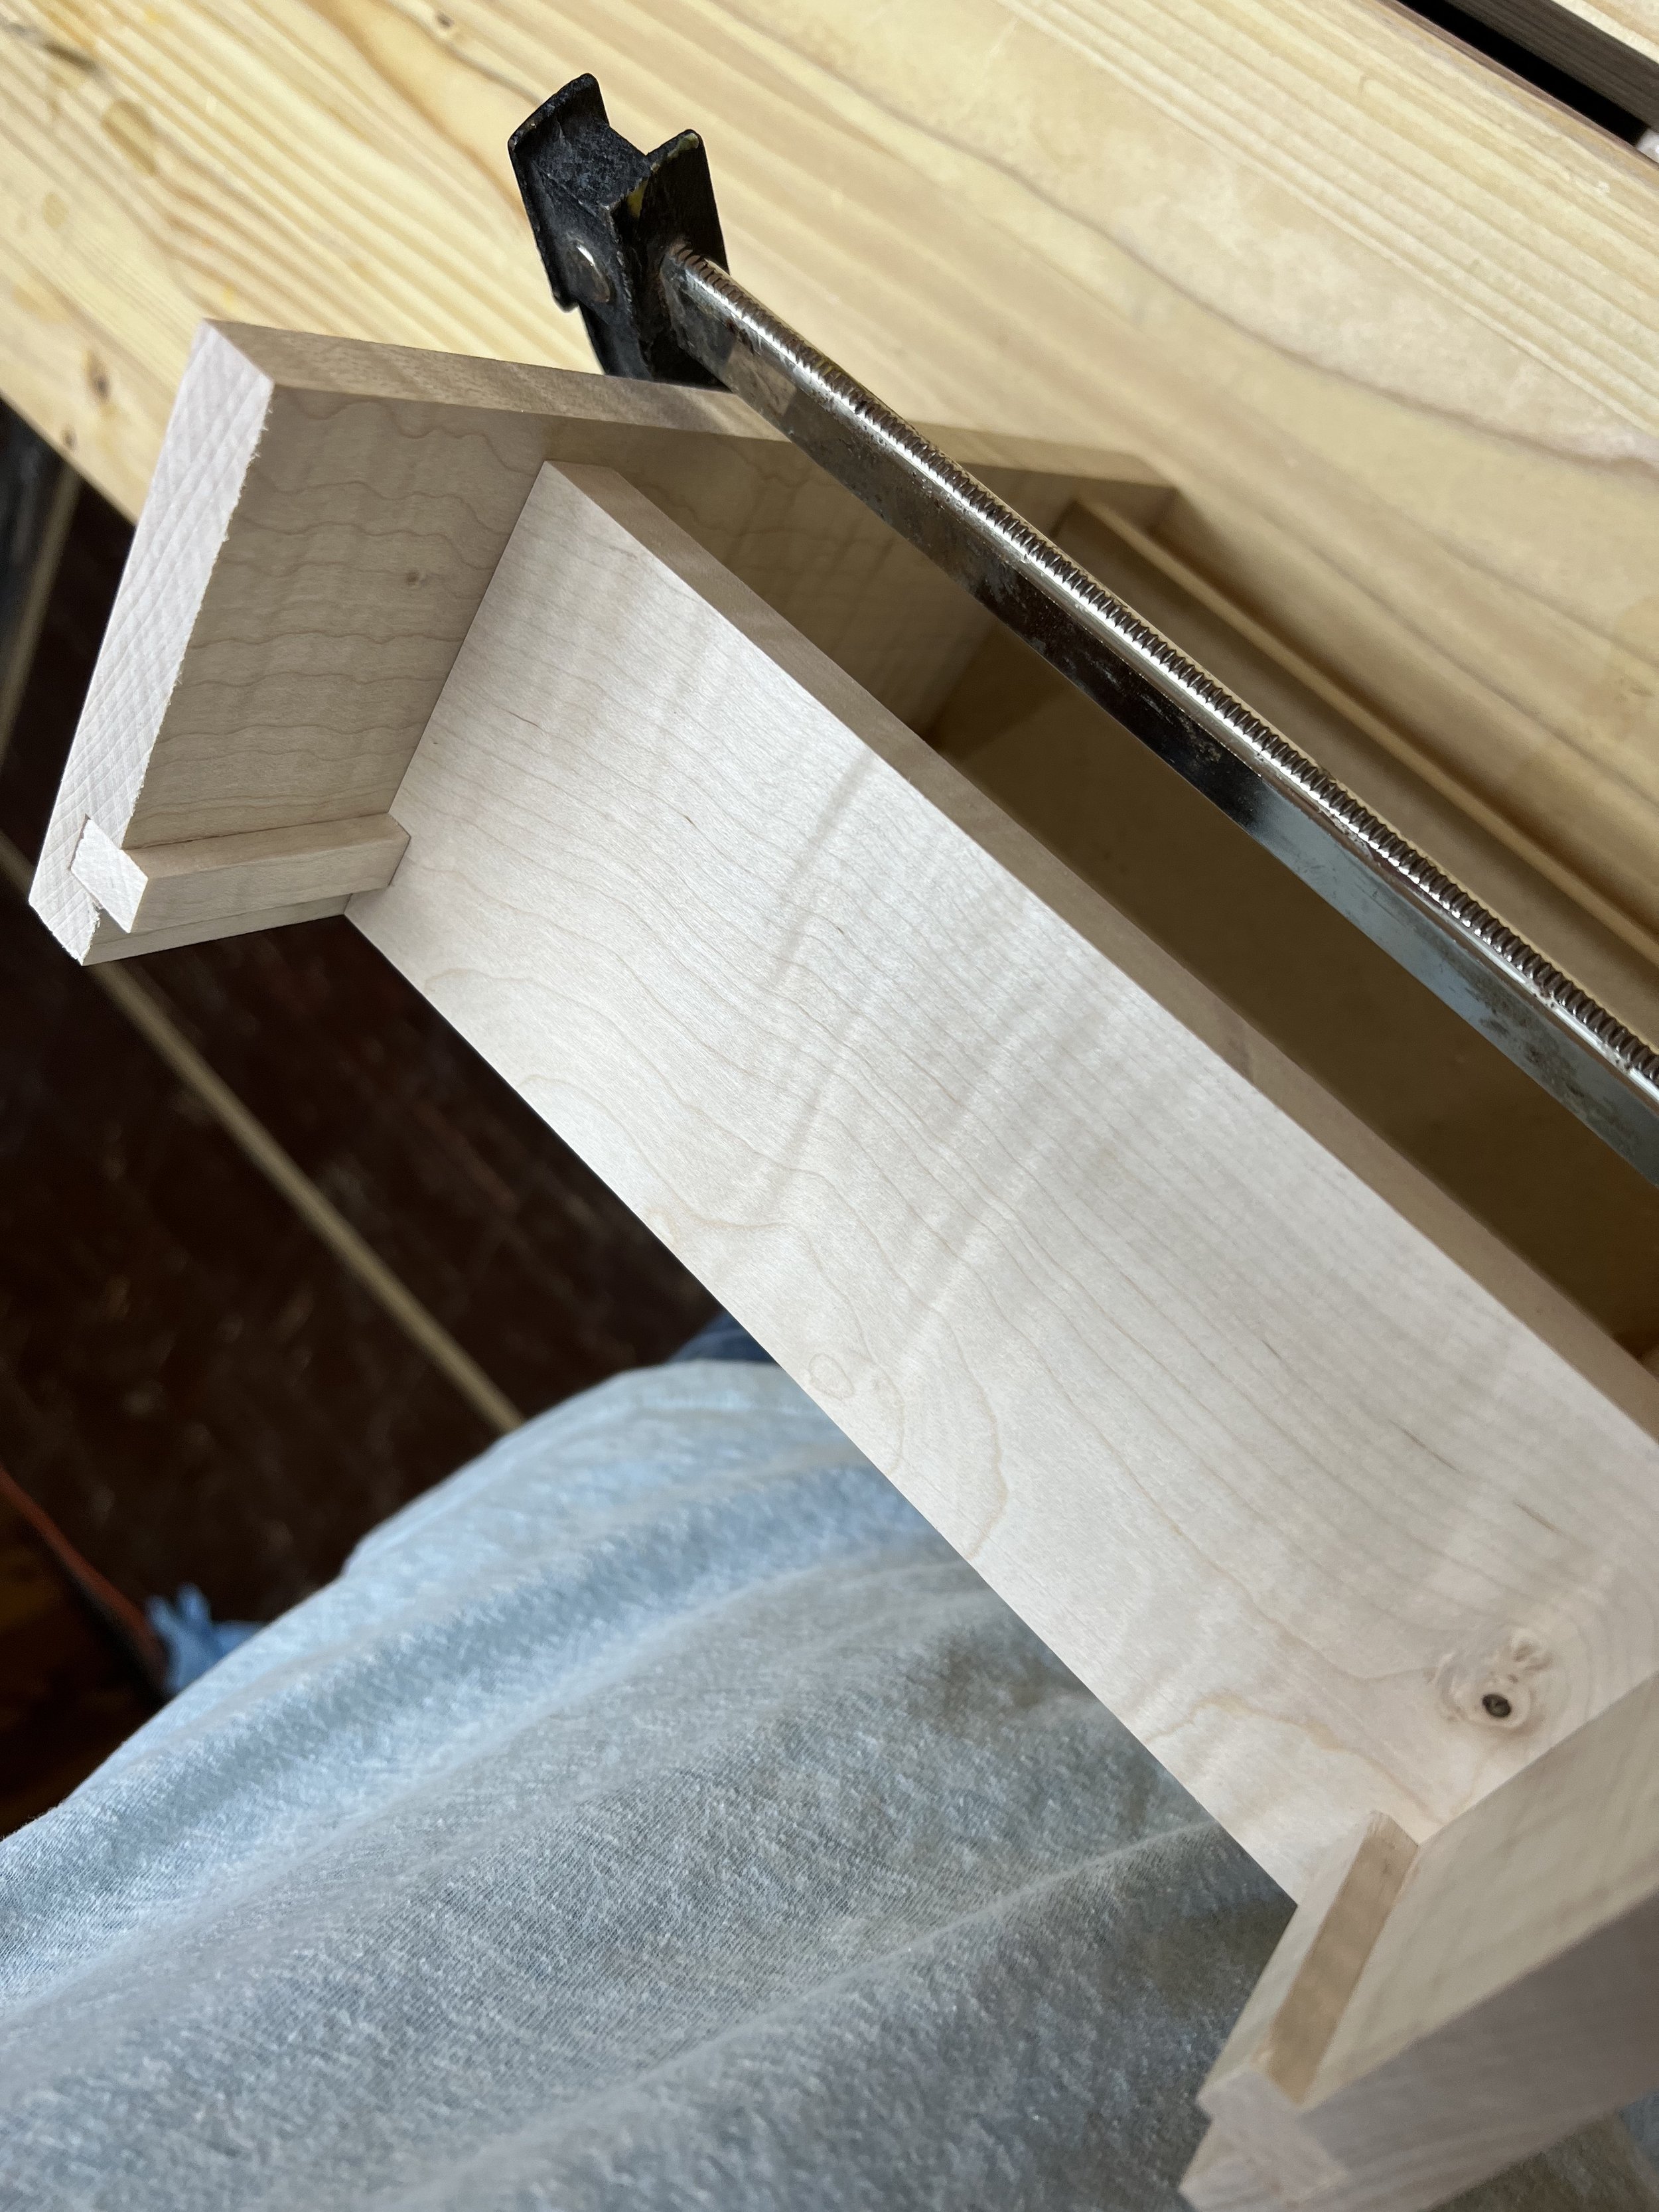
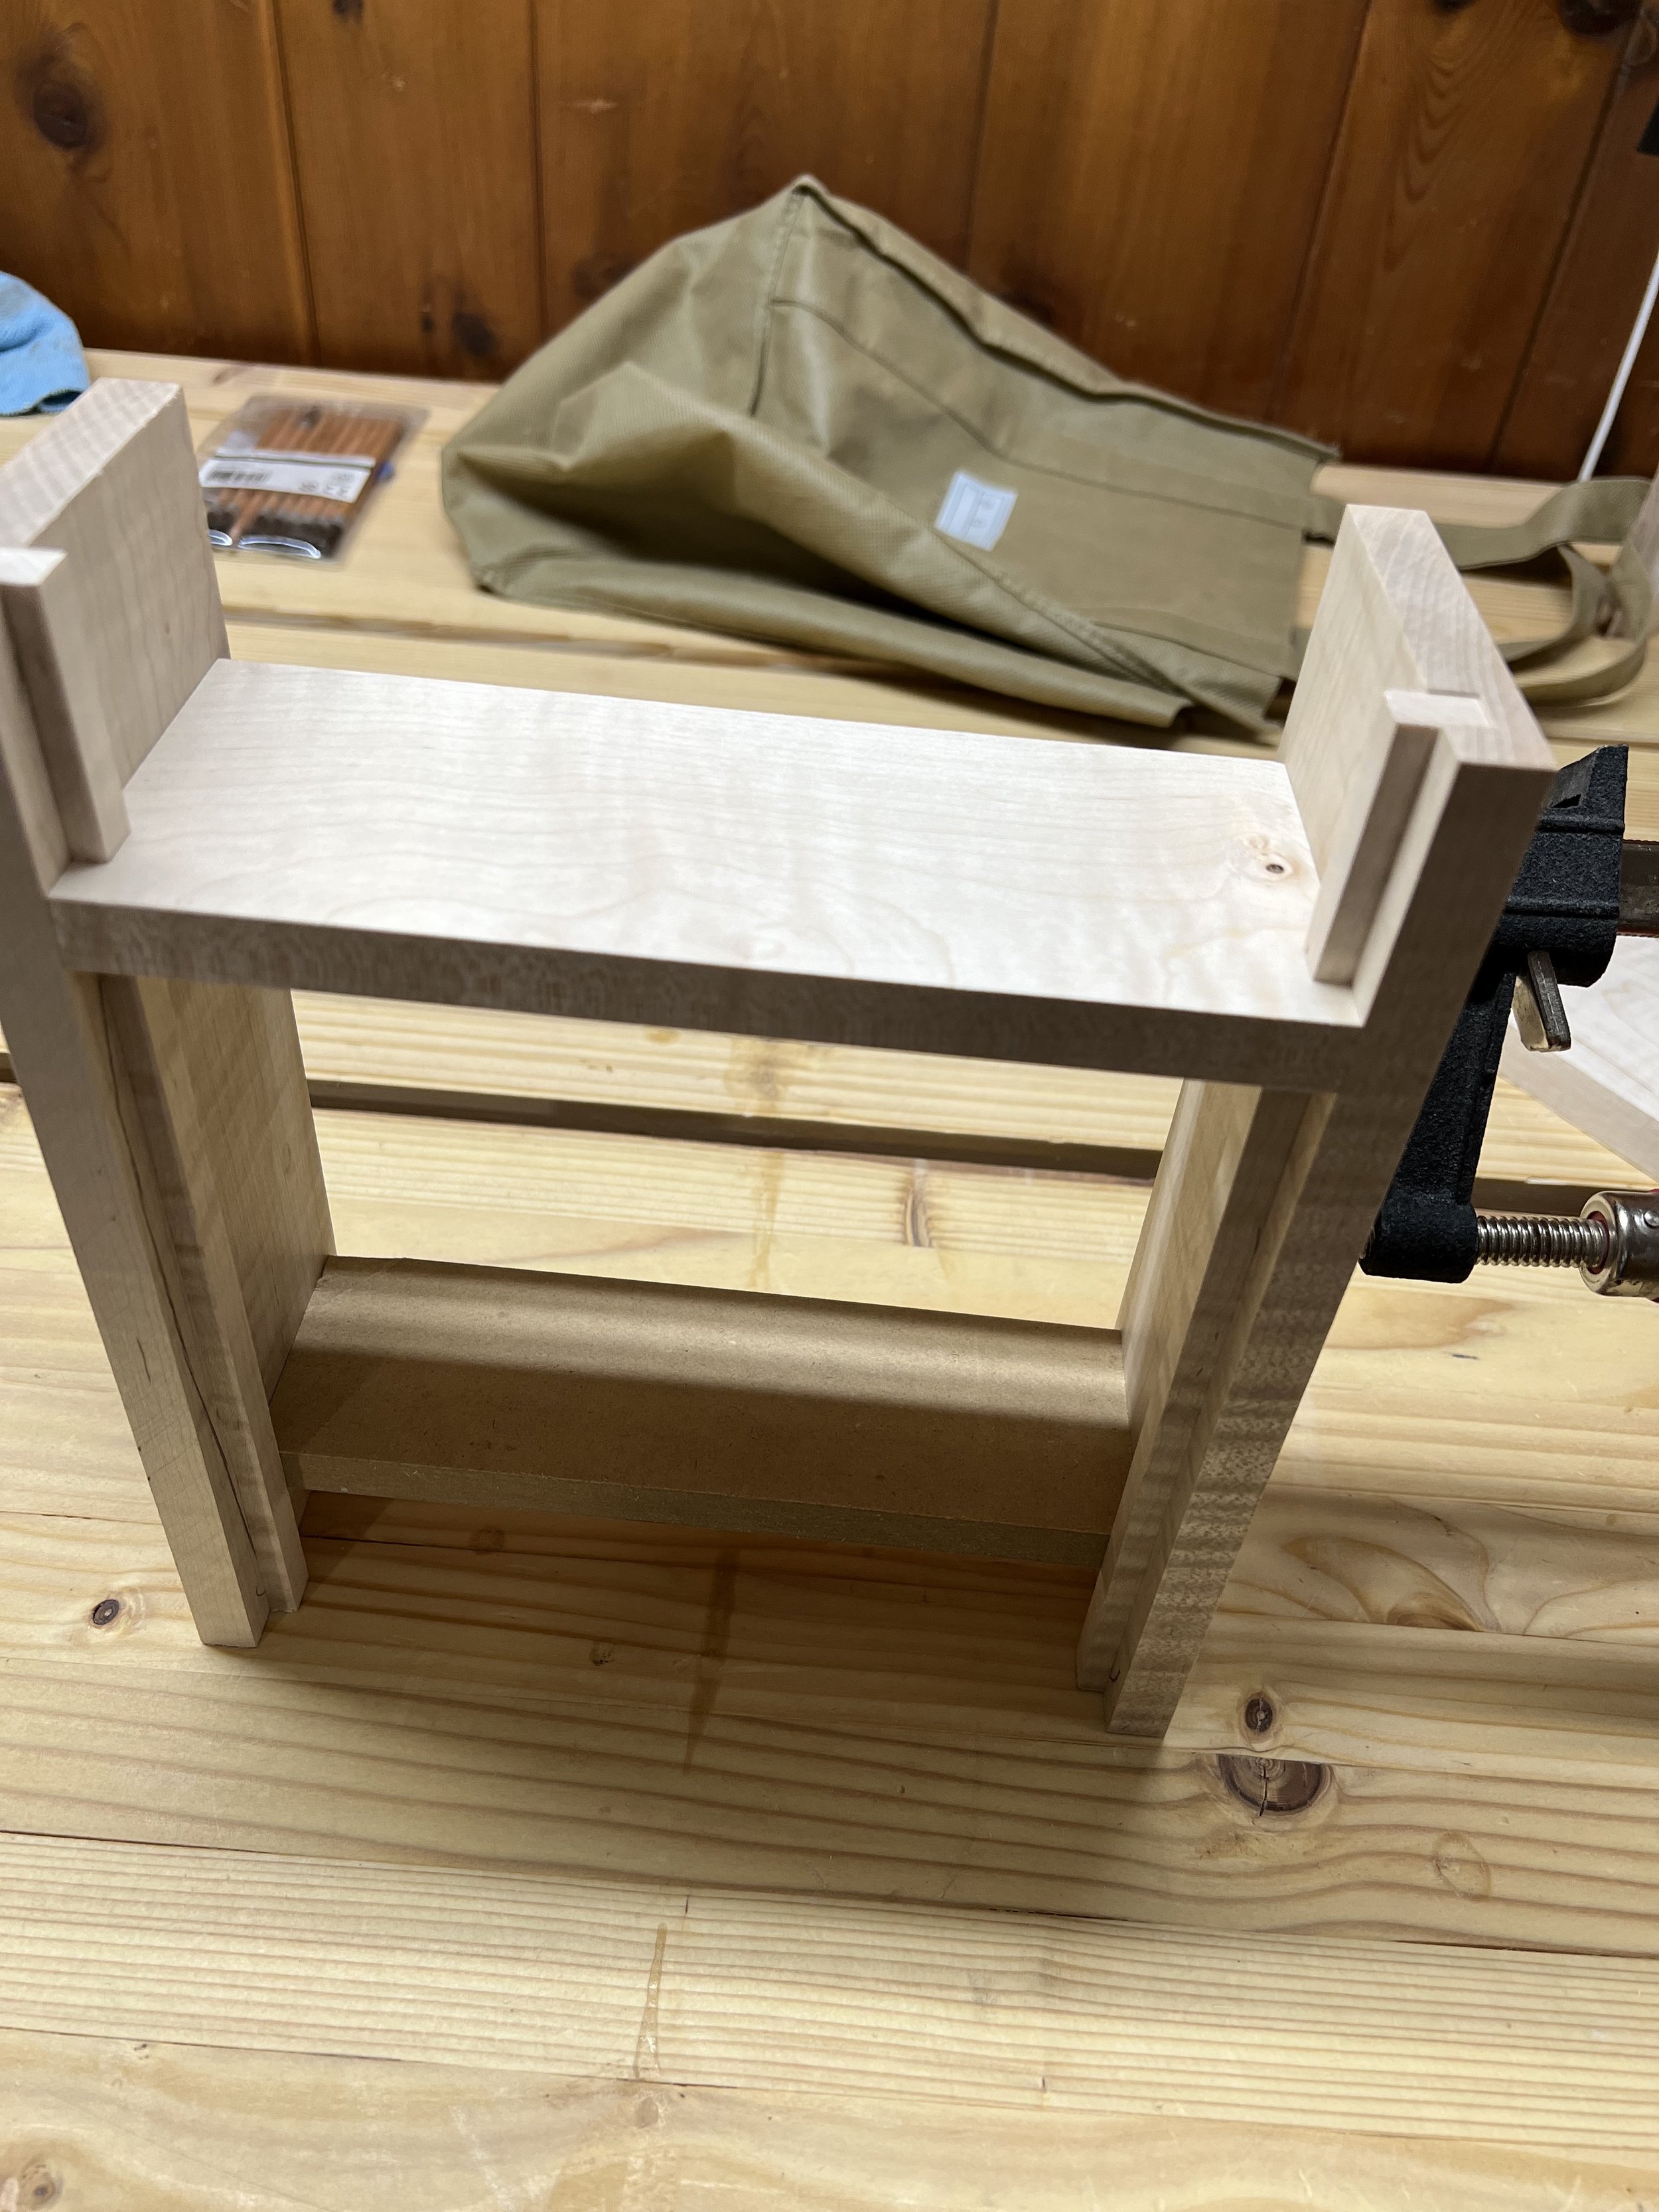
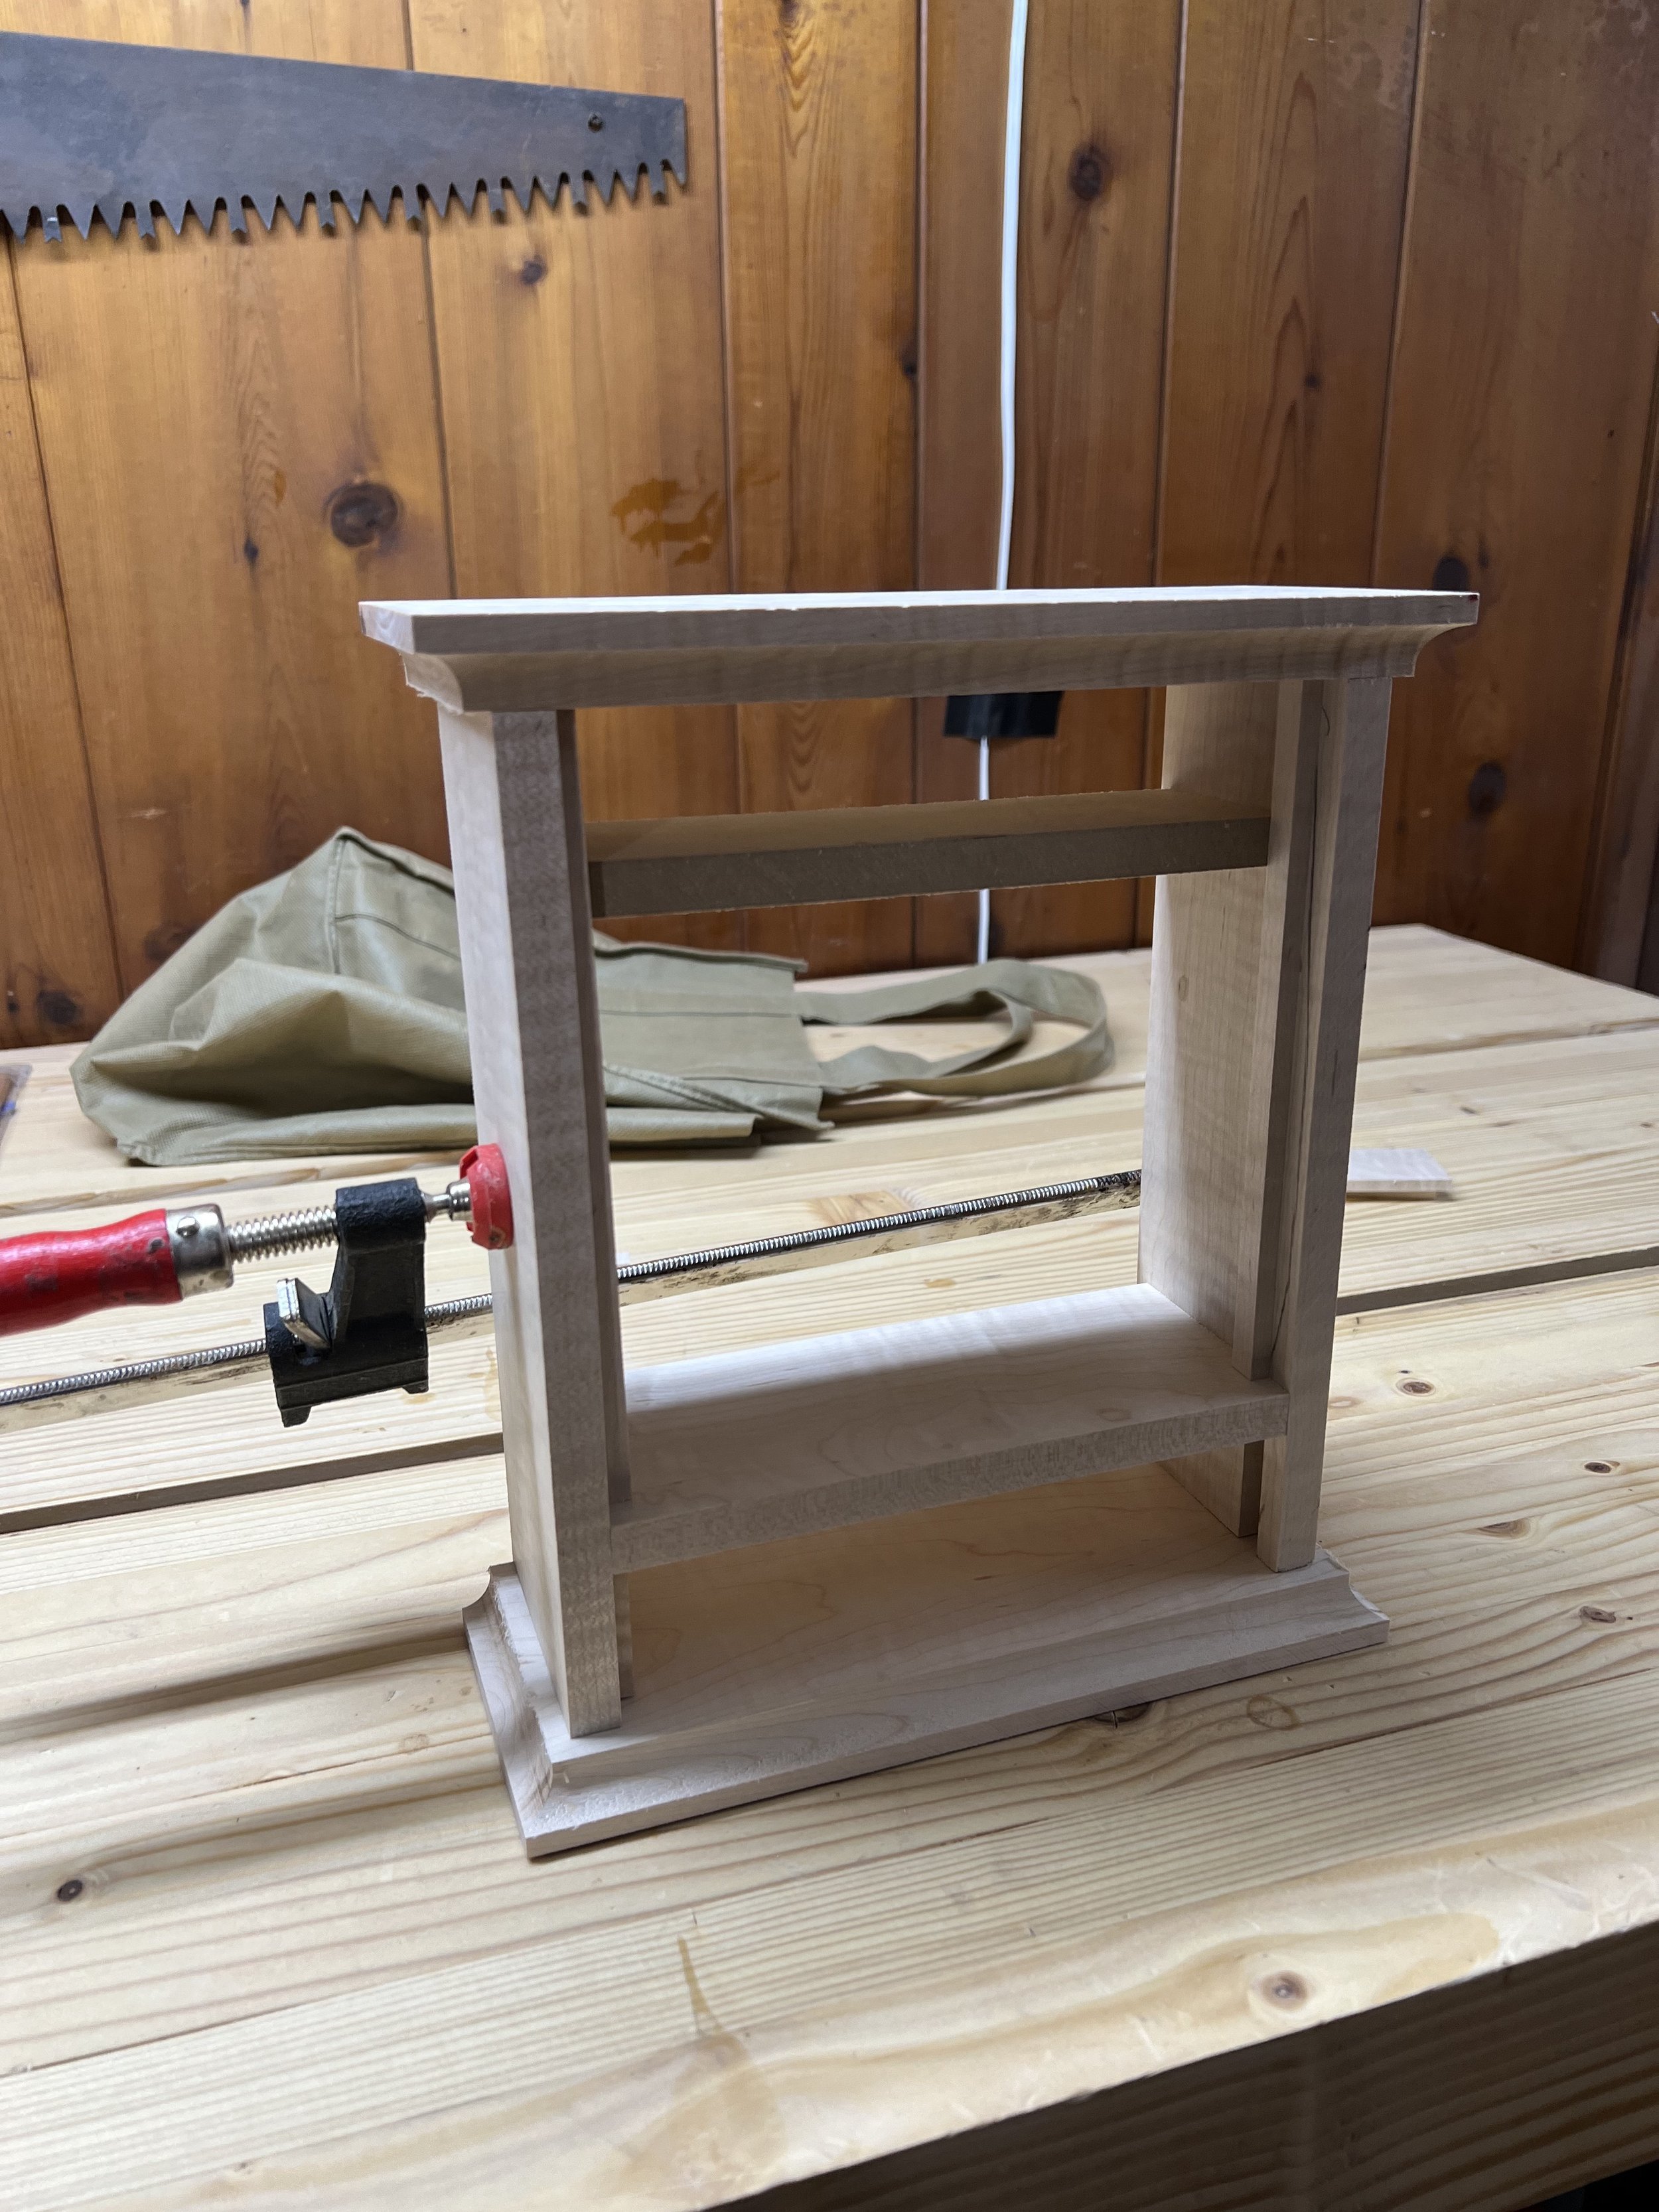
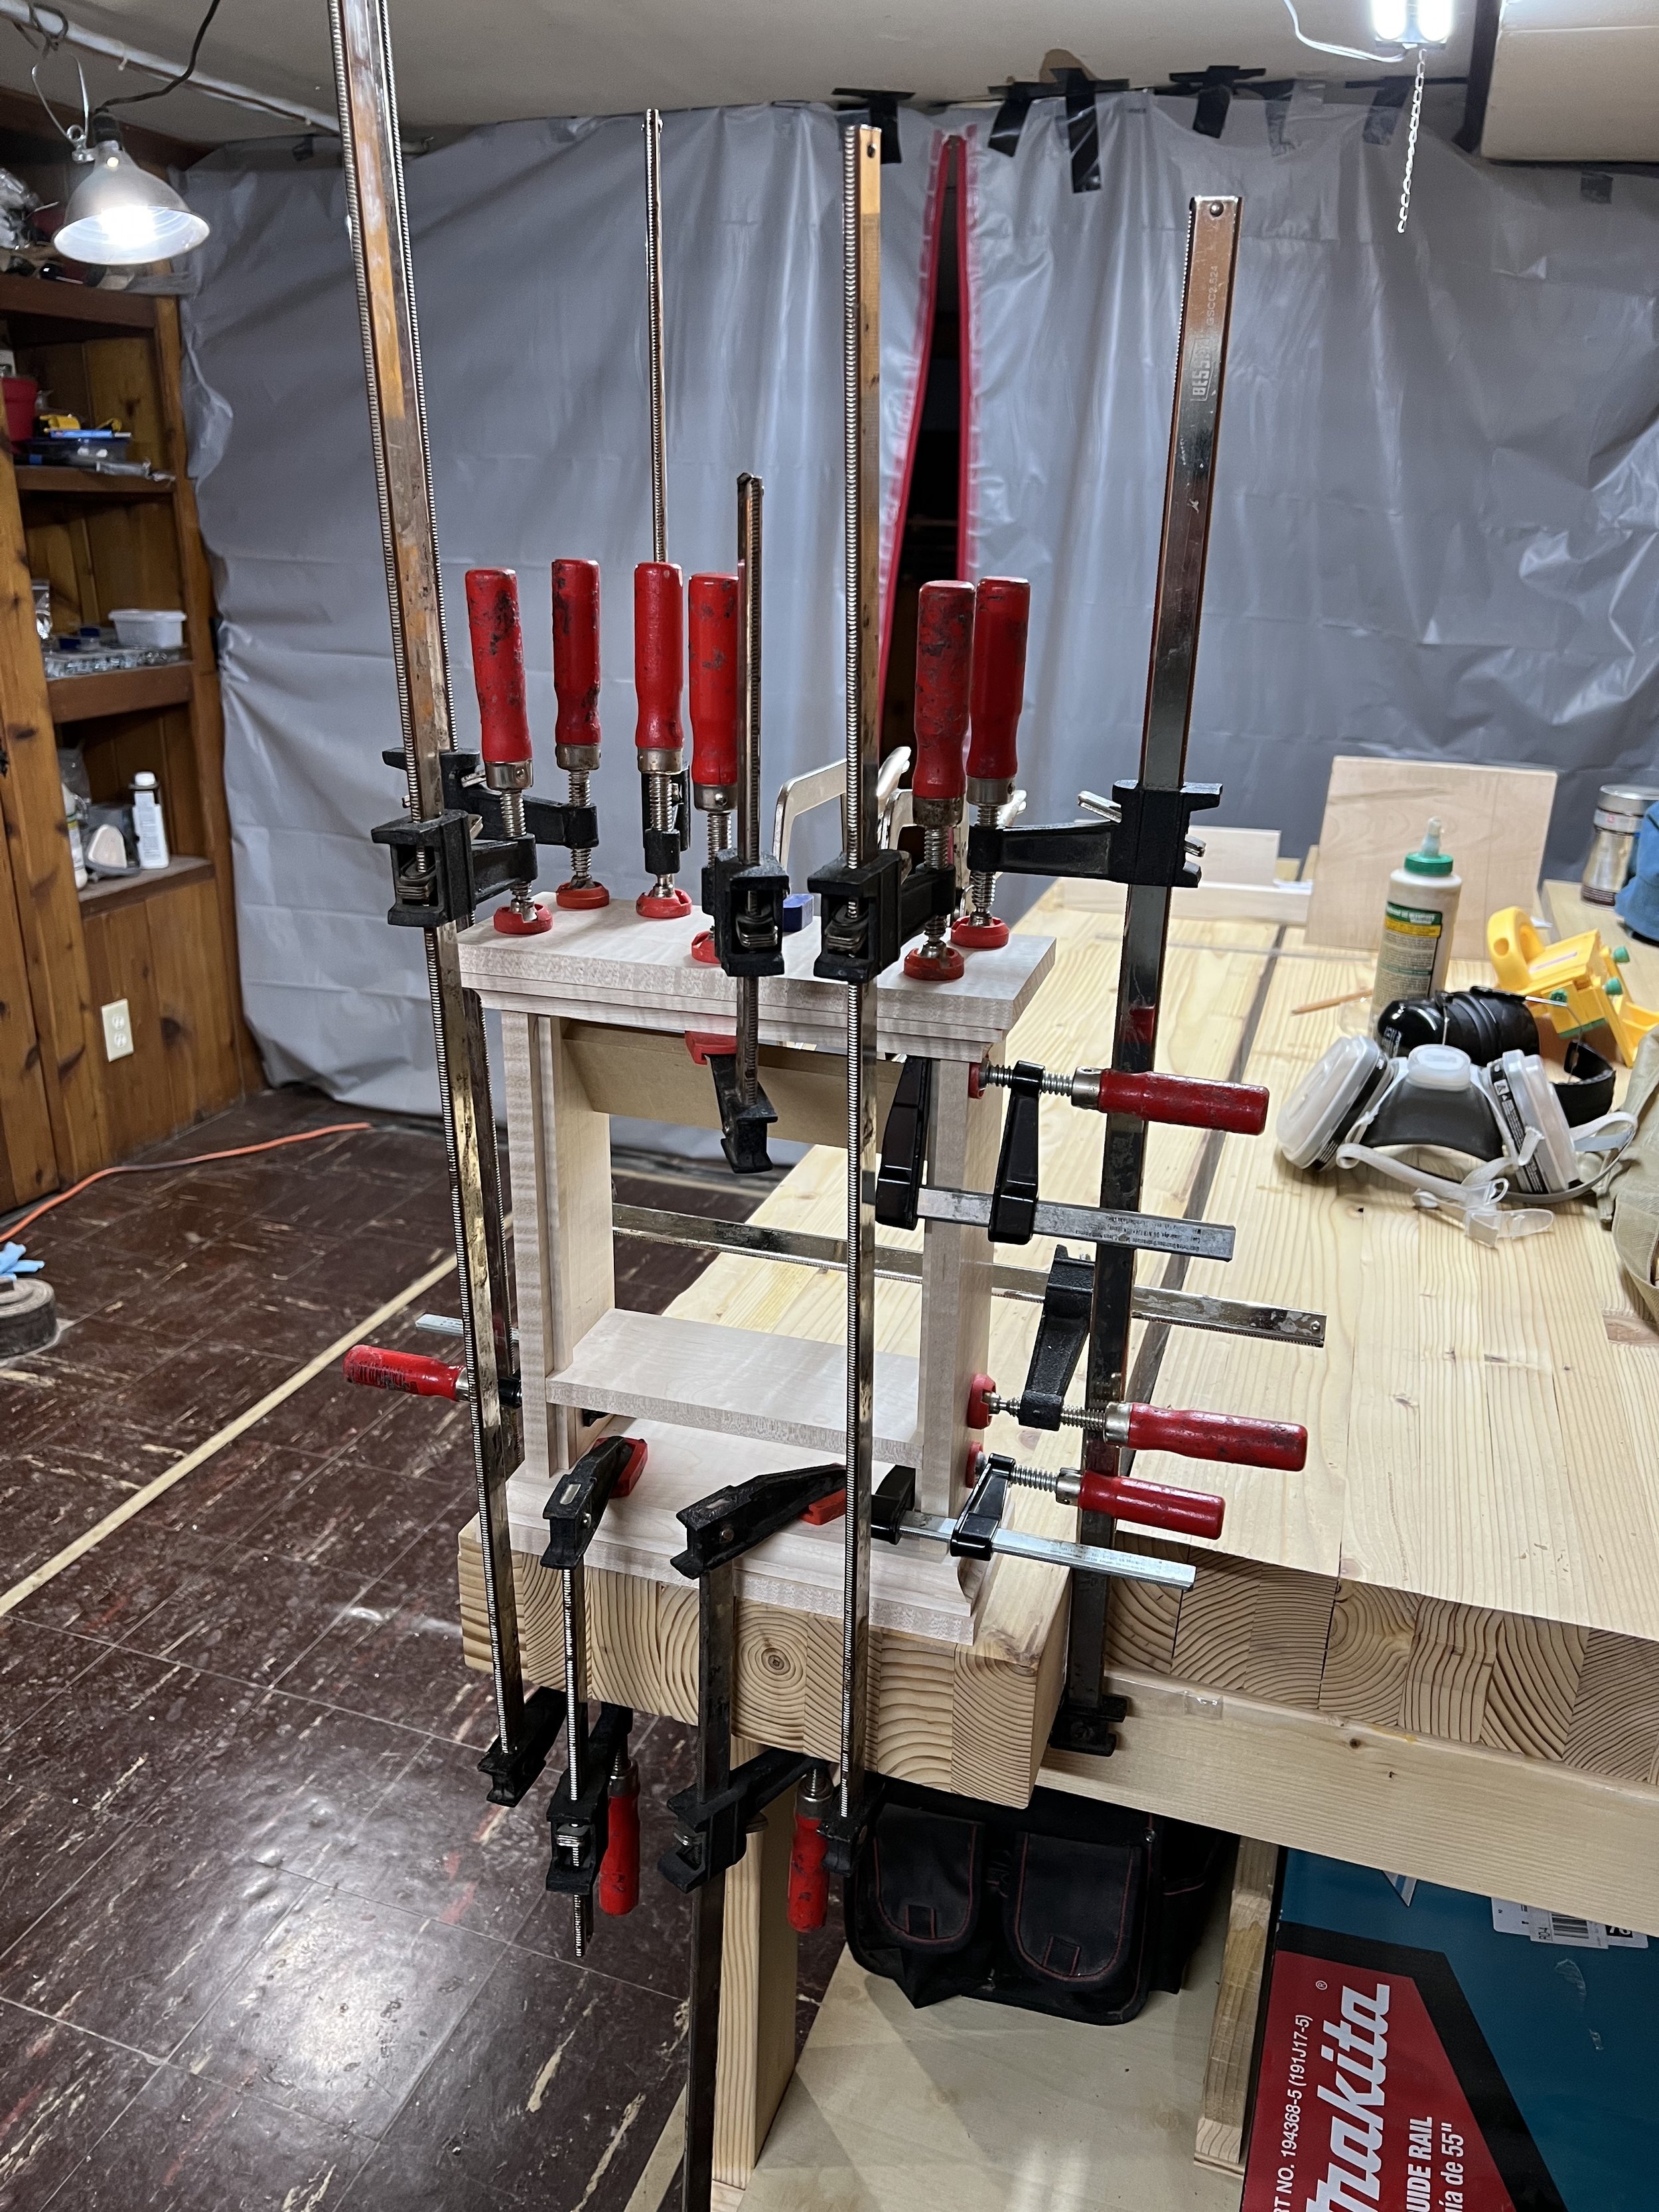
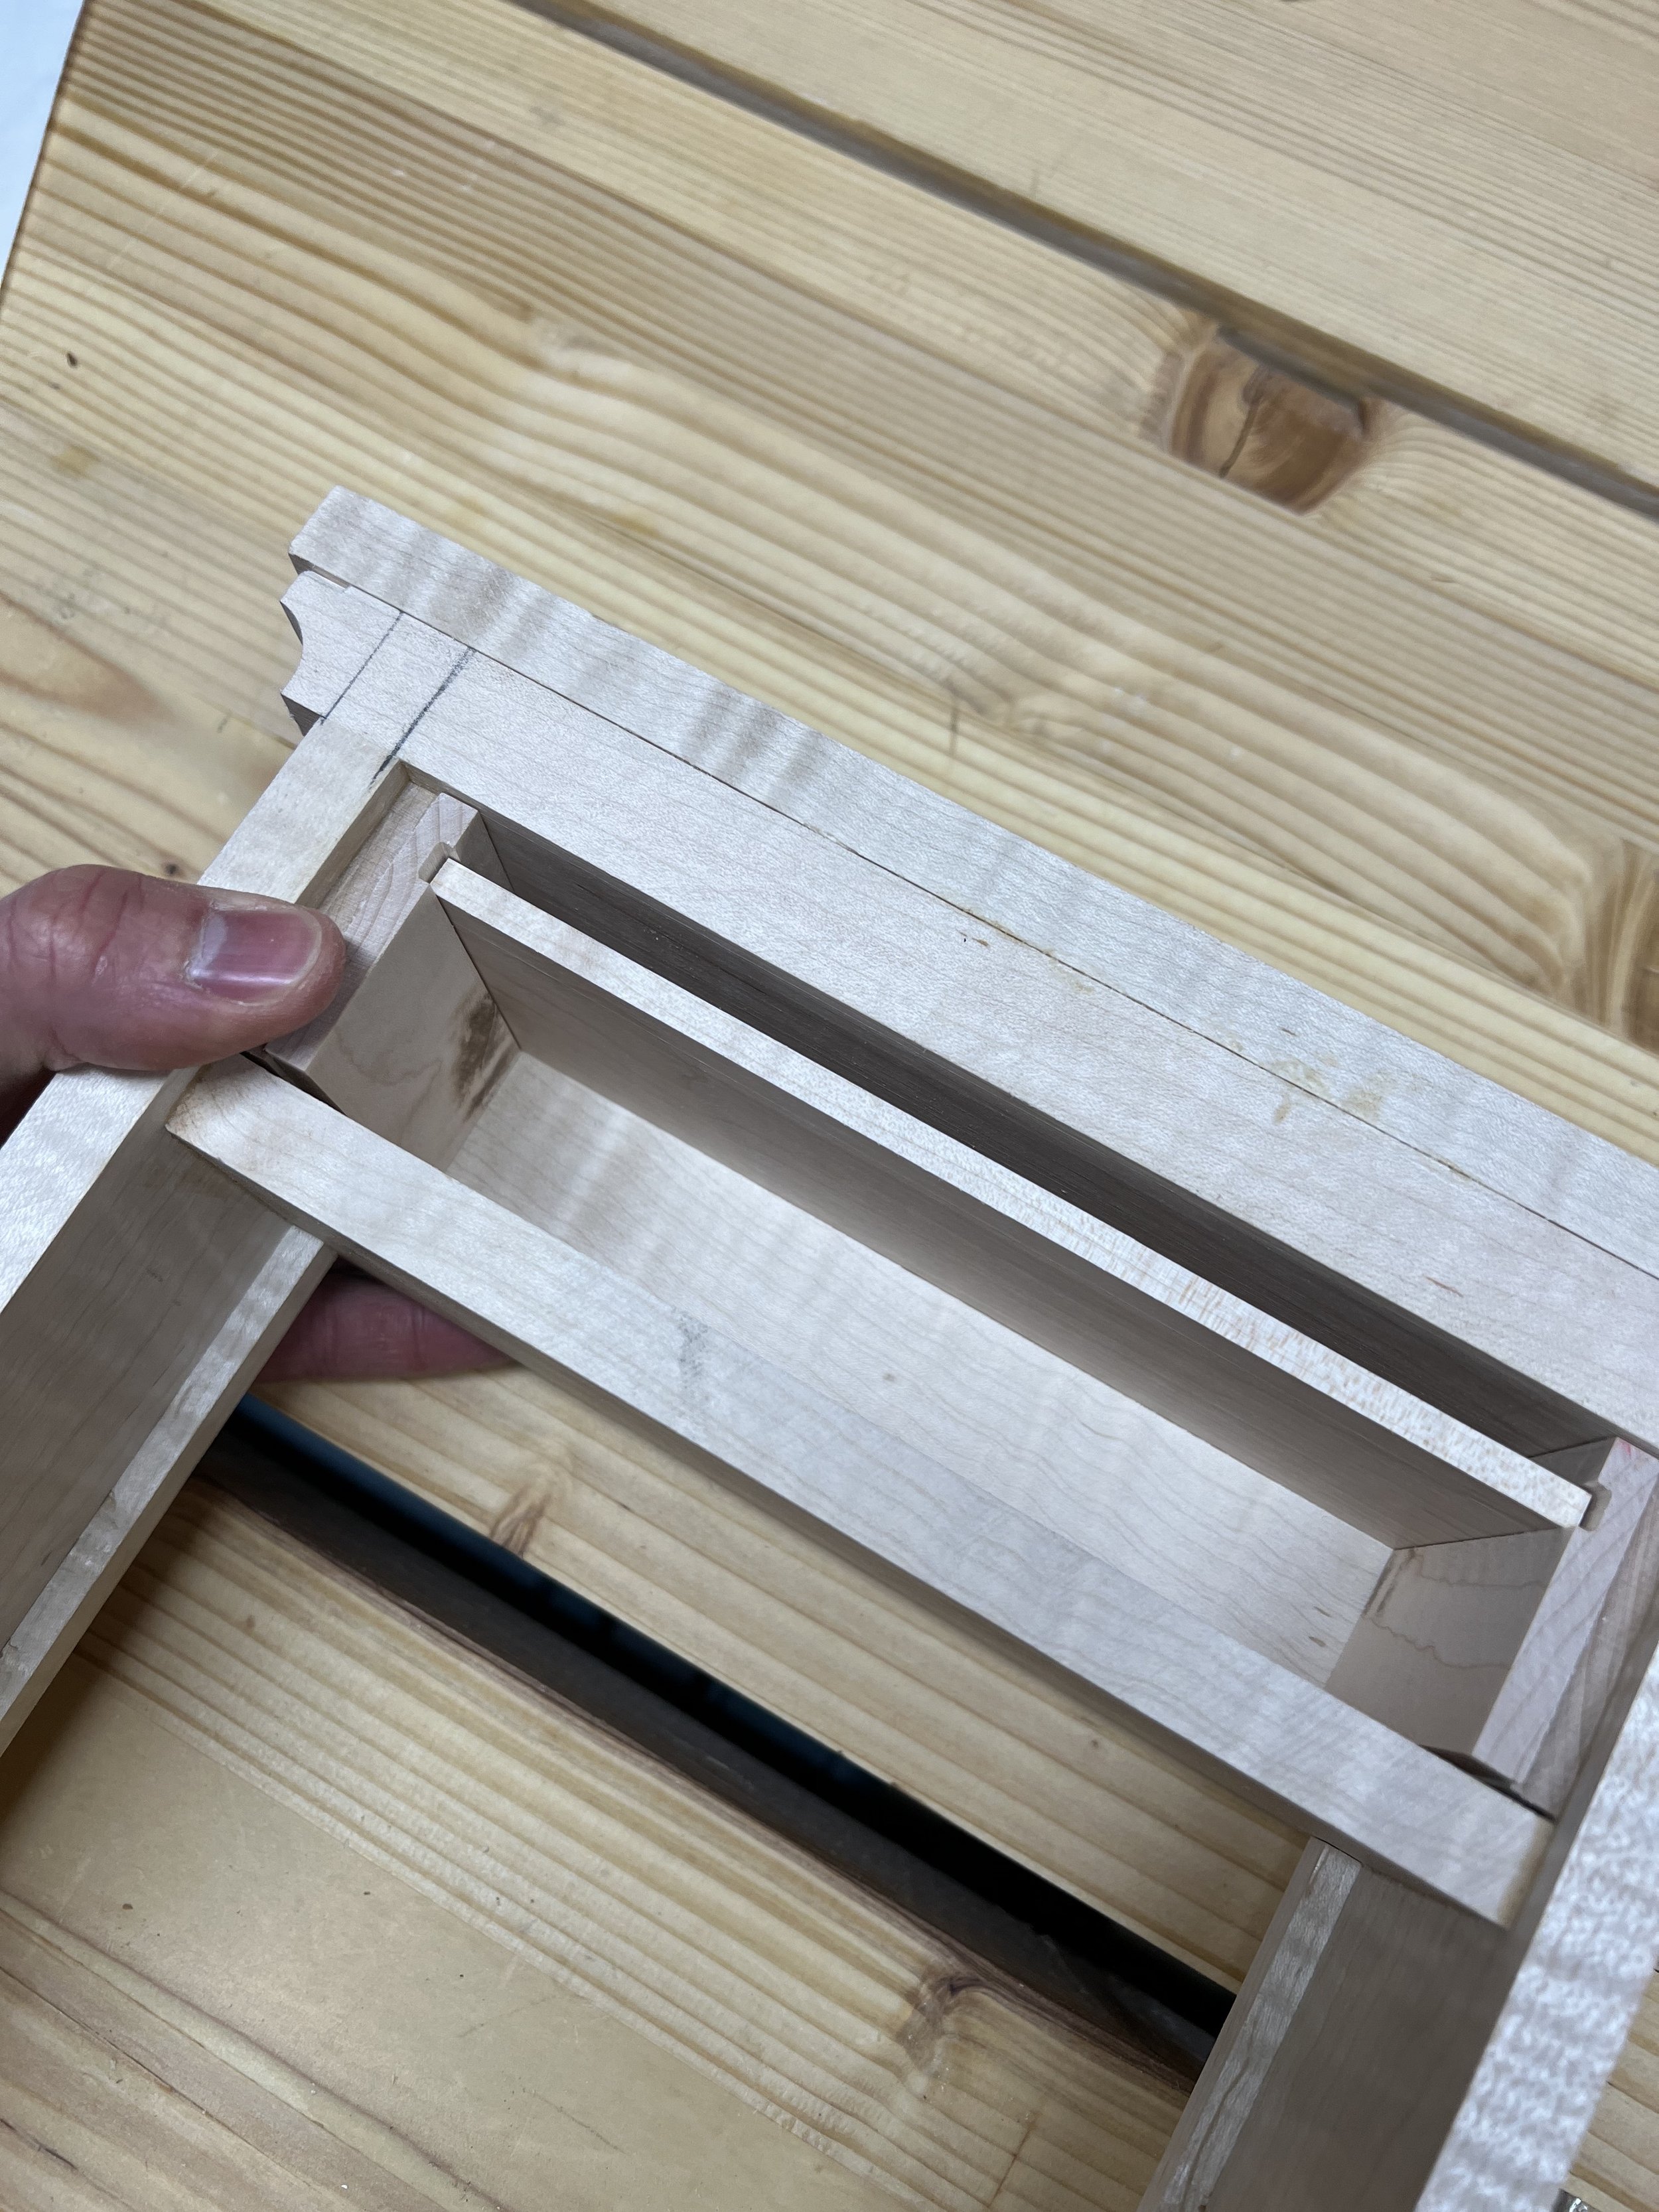
The most challenging part of assembling the clock body was working with the smaller pieces and ensuring that everything was cut exactly to size and glued up square; the mitered frame, drawer and clock dial needed to fit together snugly for a nice result.
Cove Molding
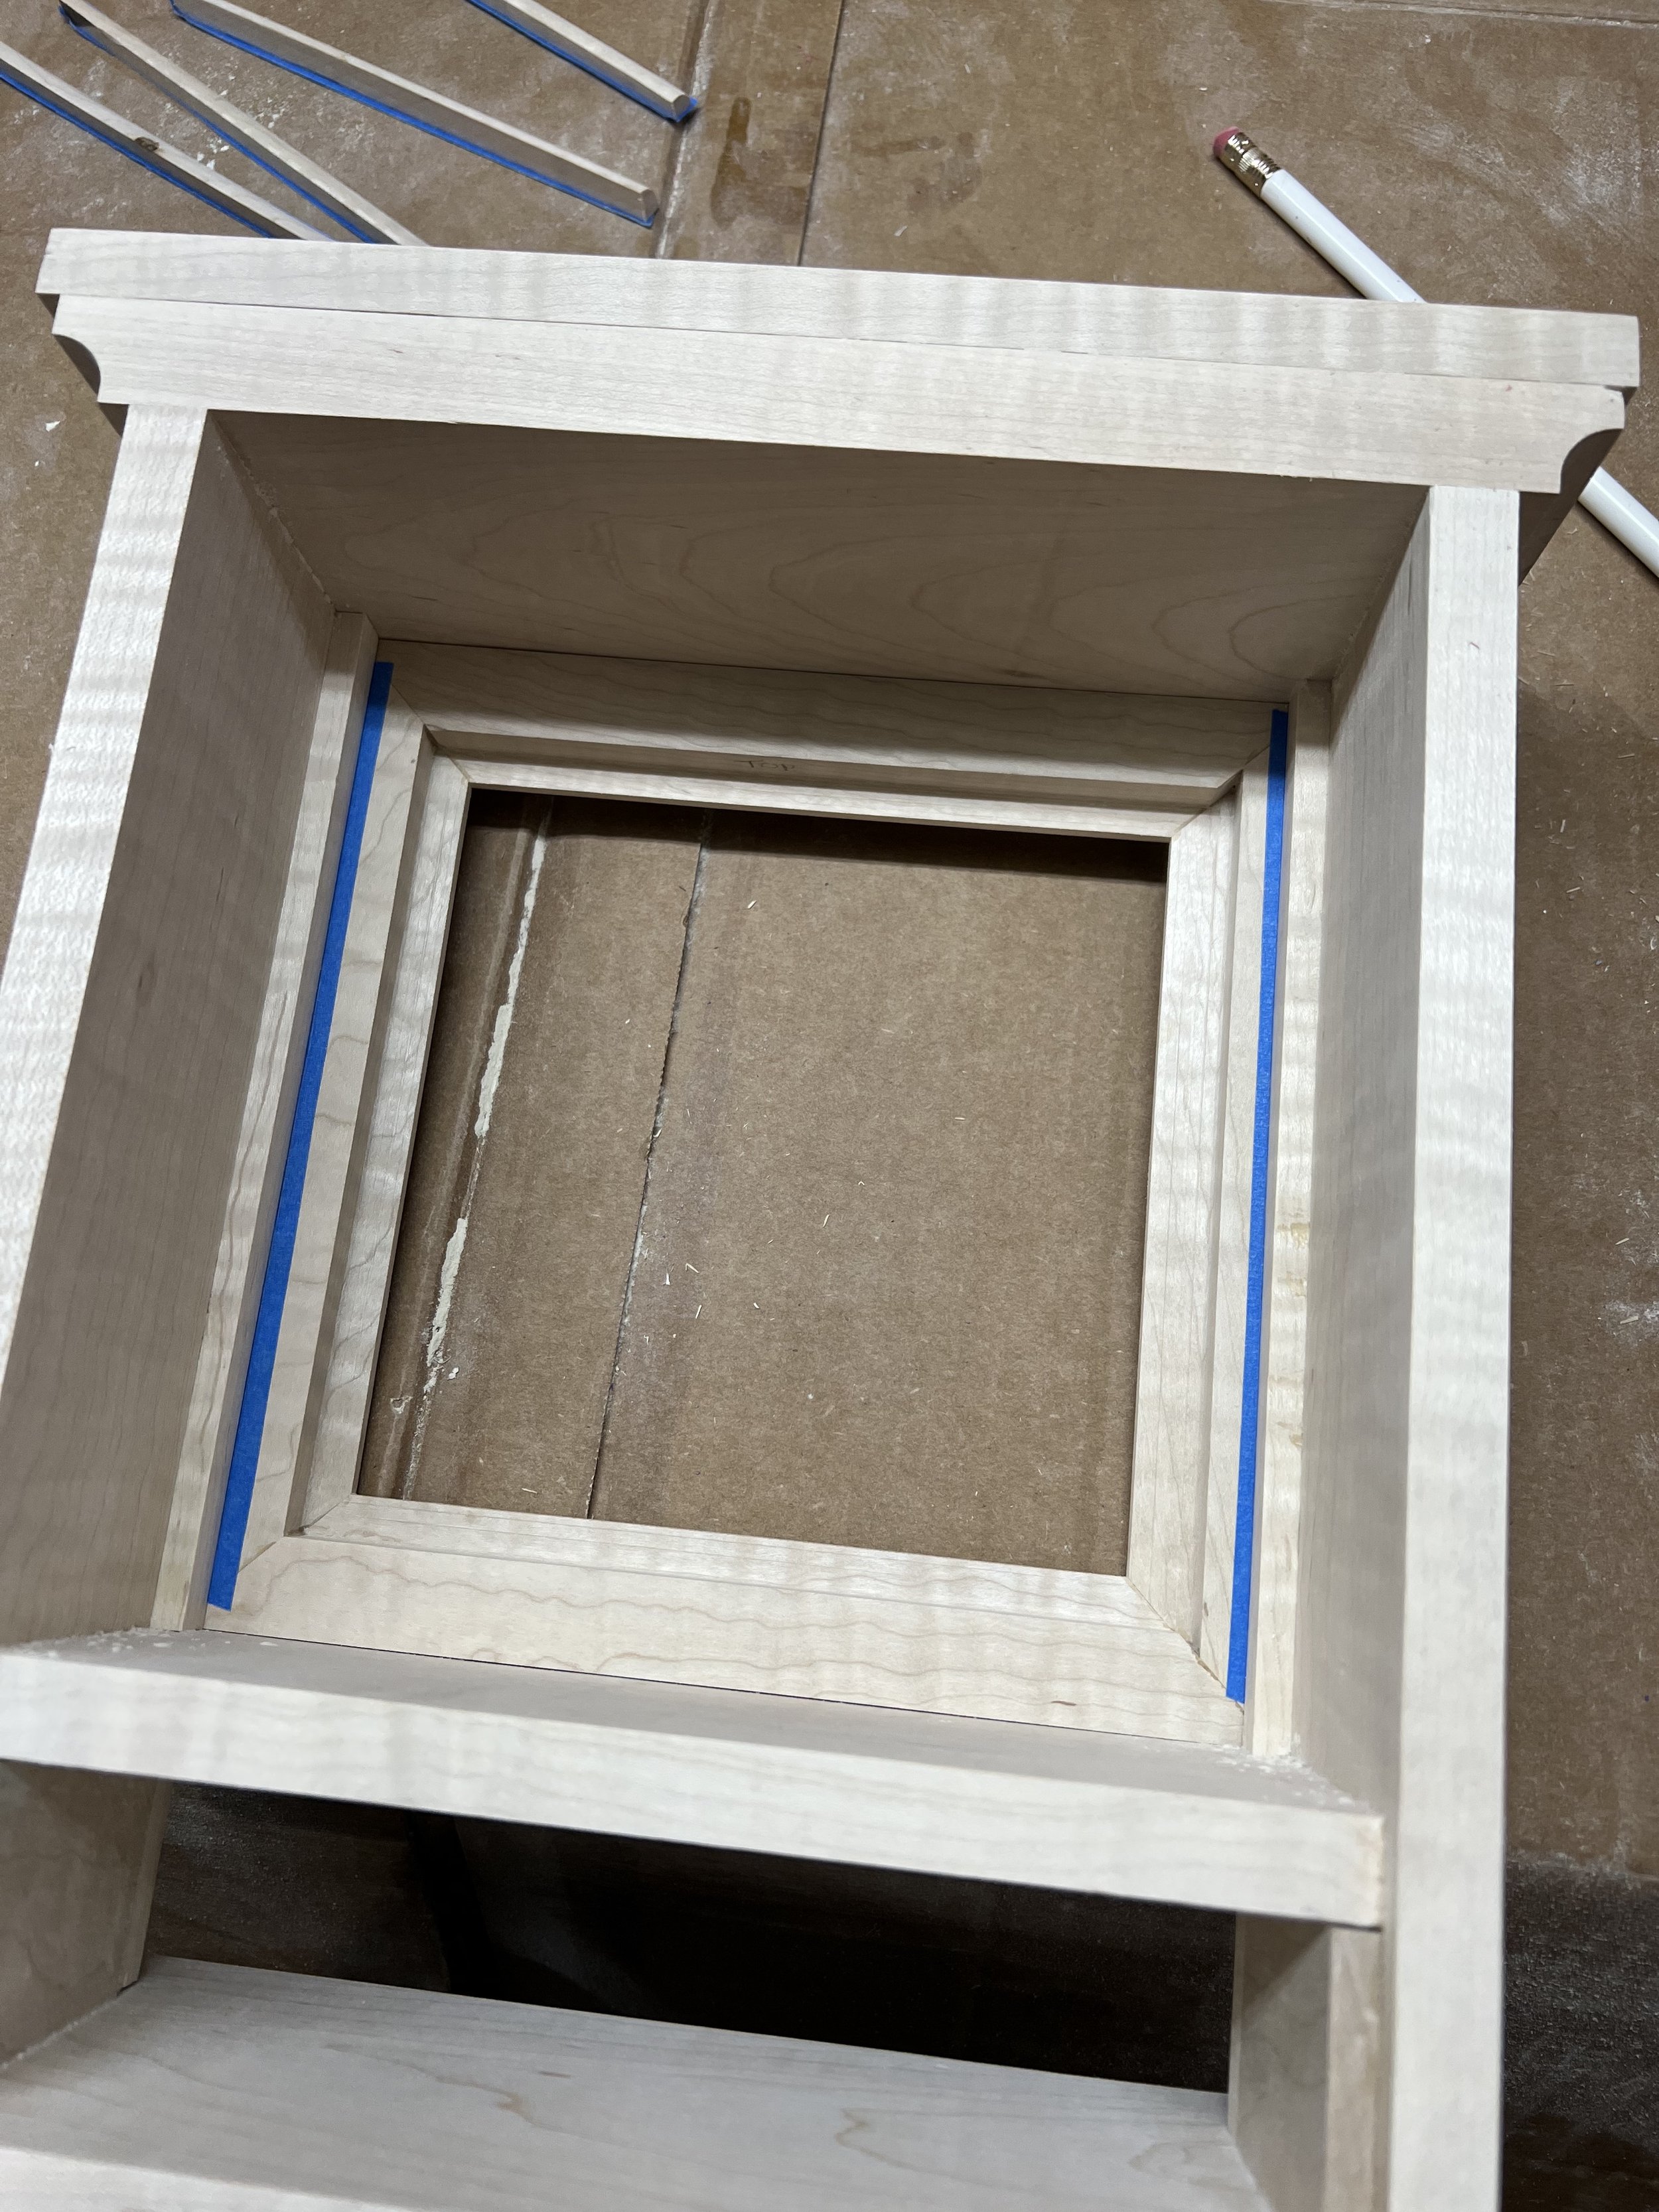
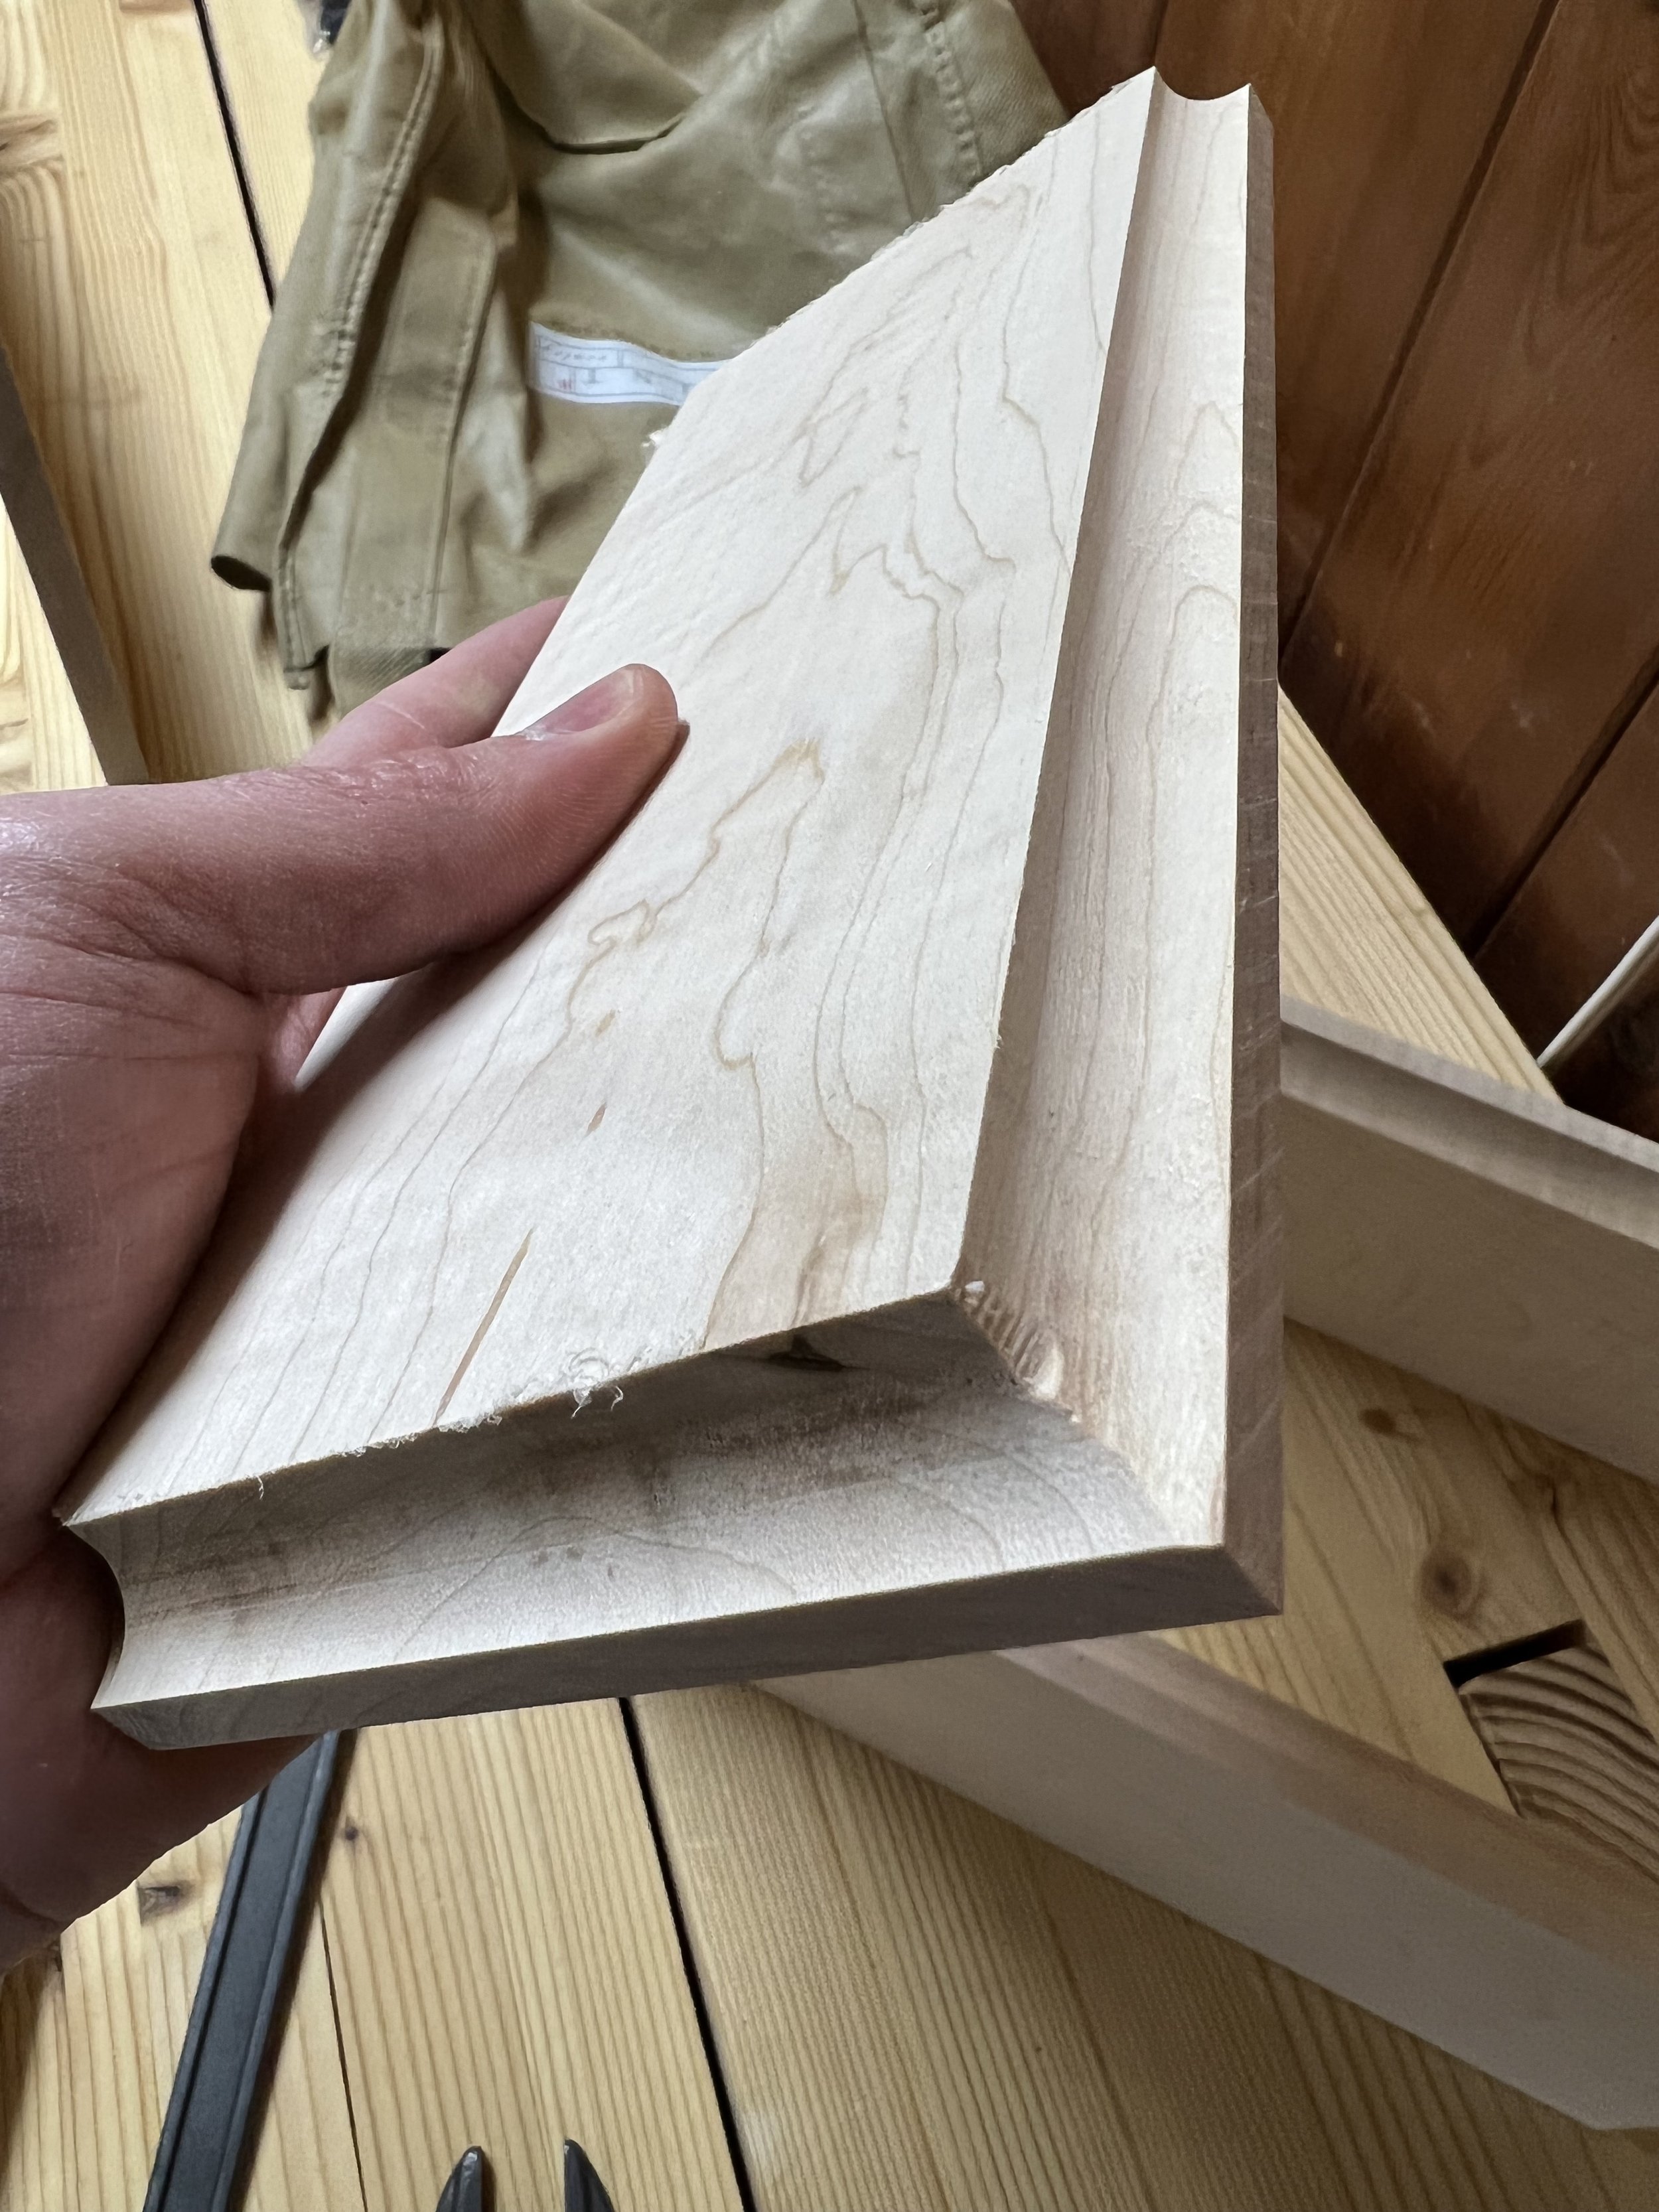
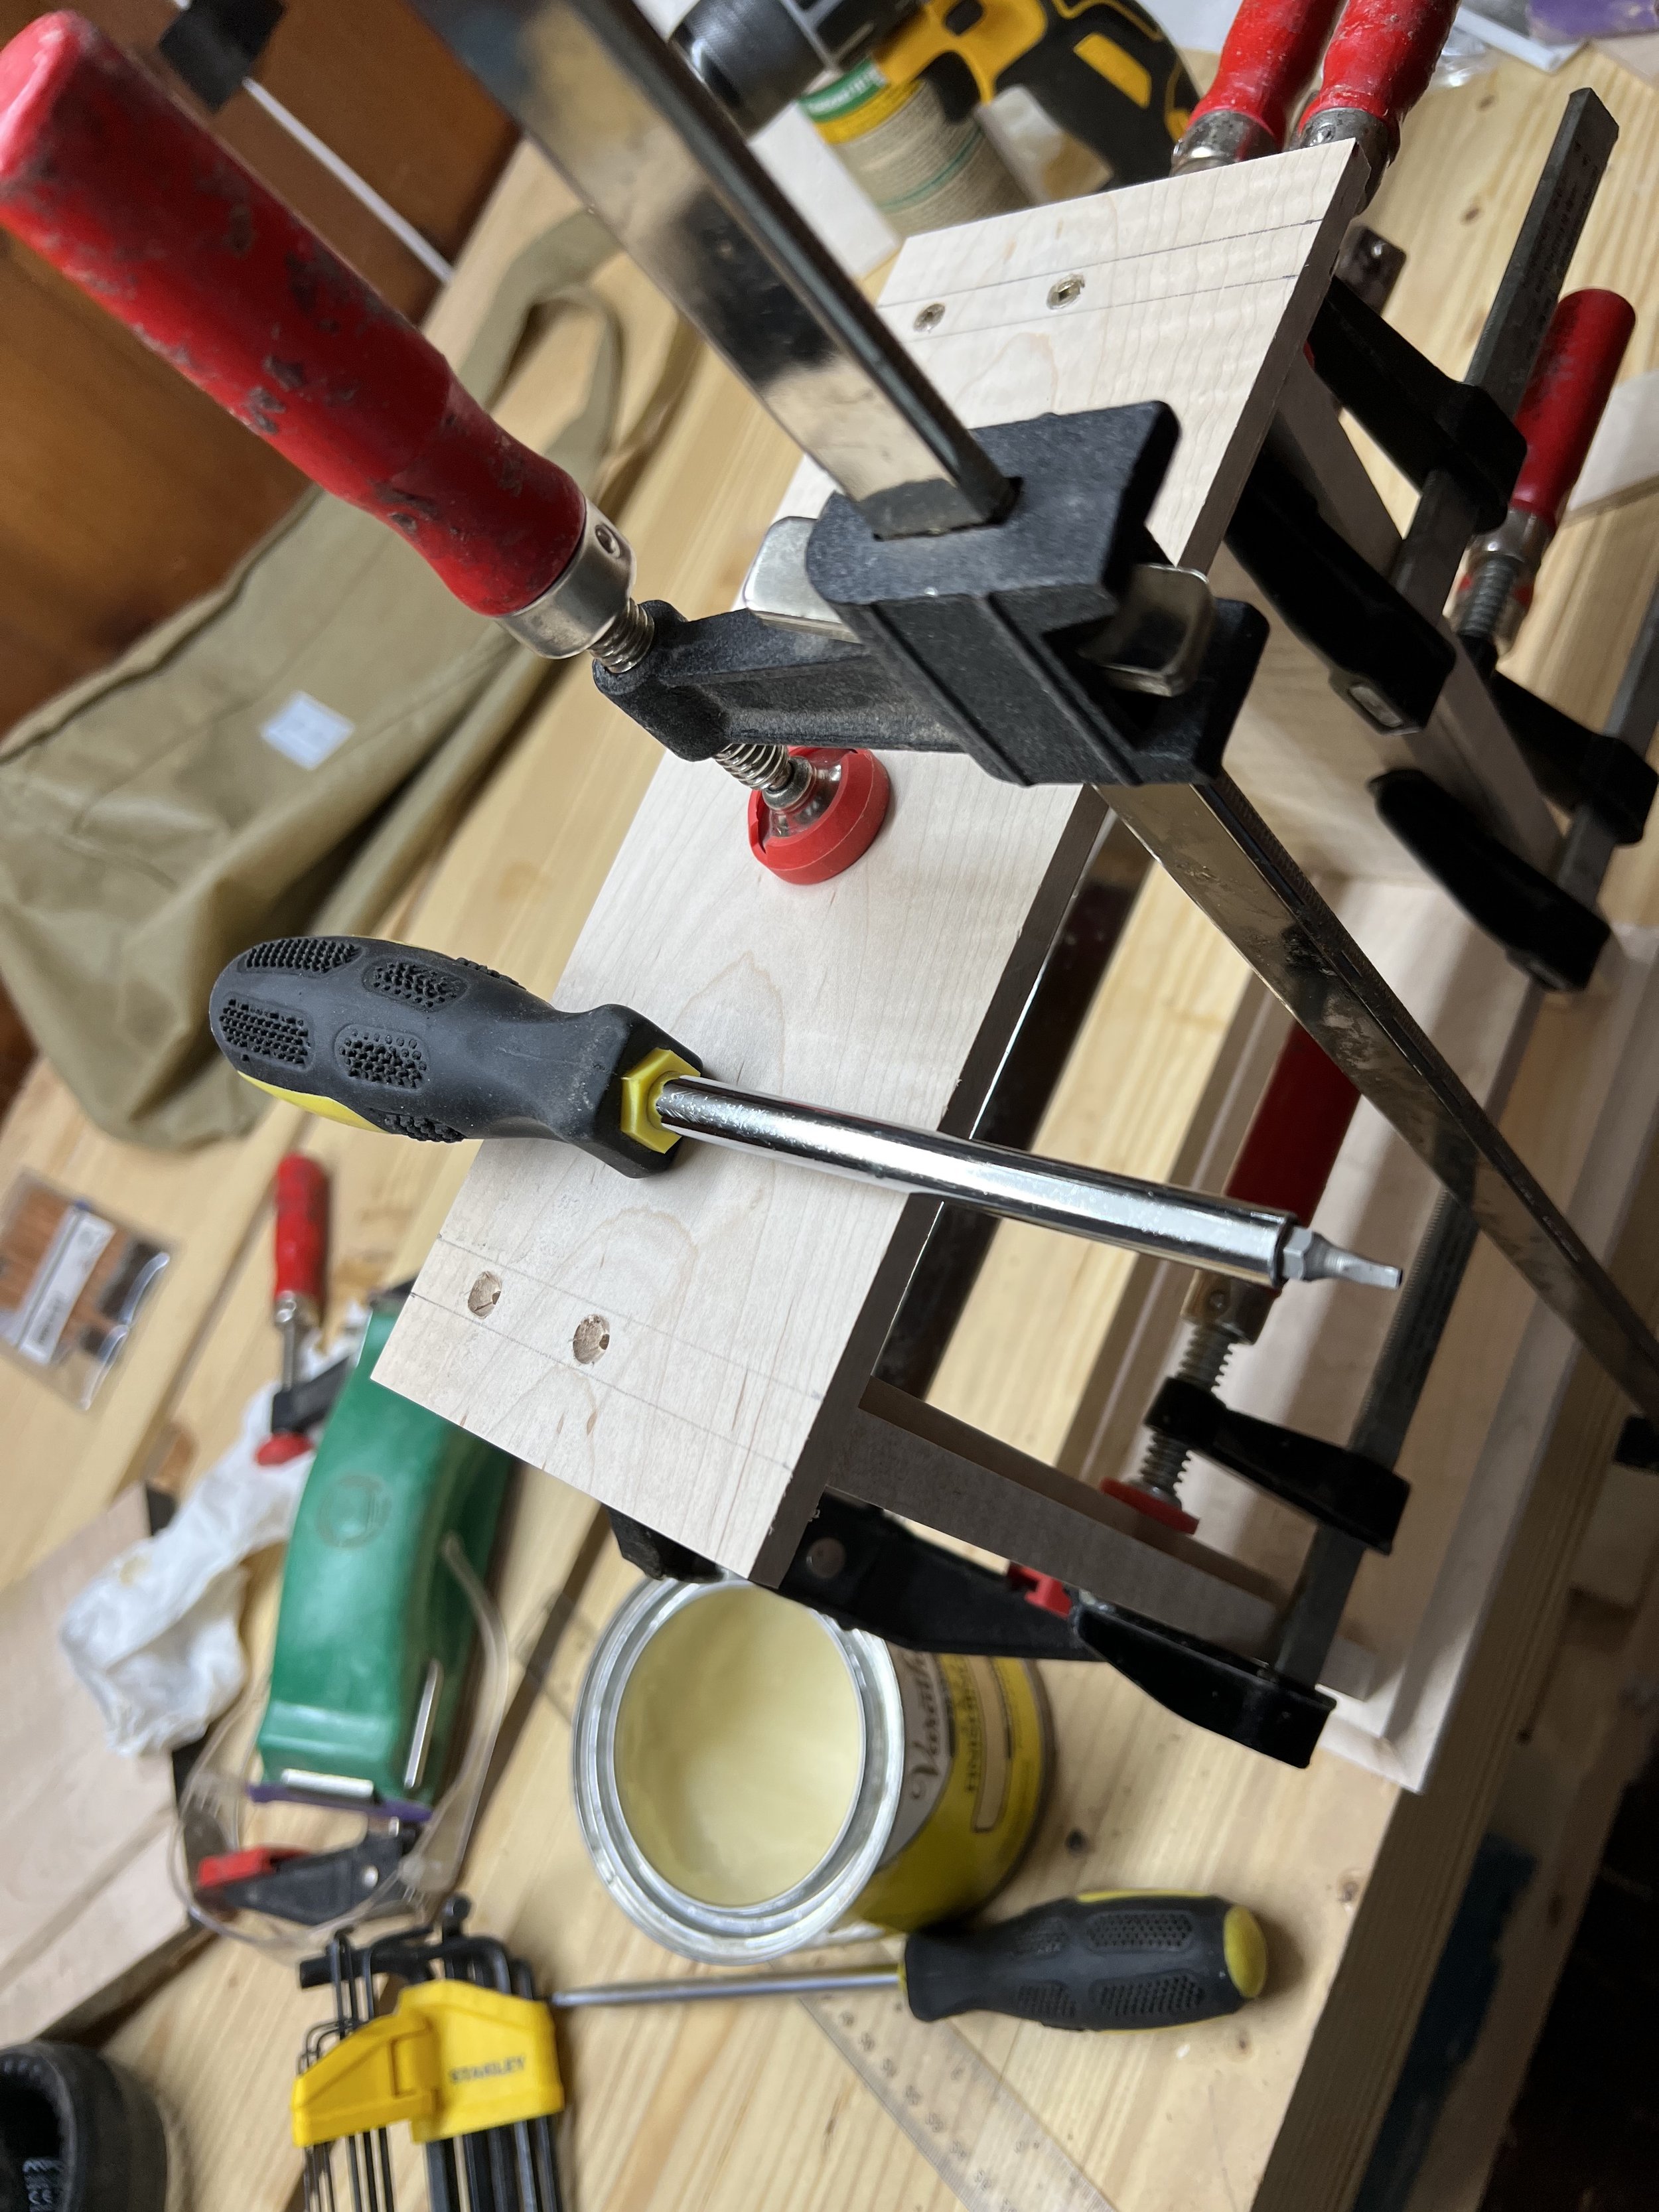
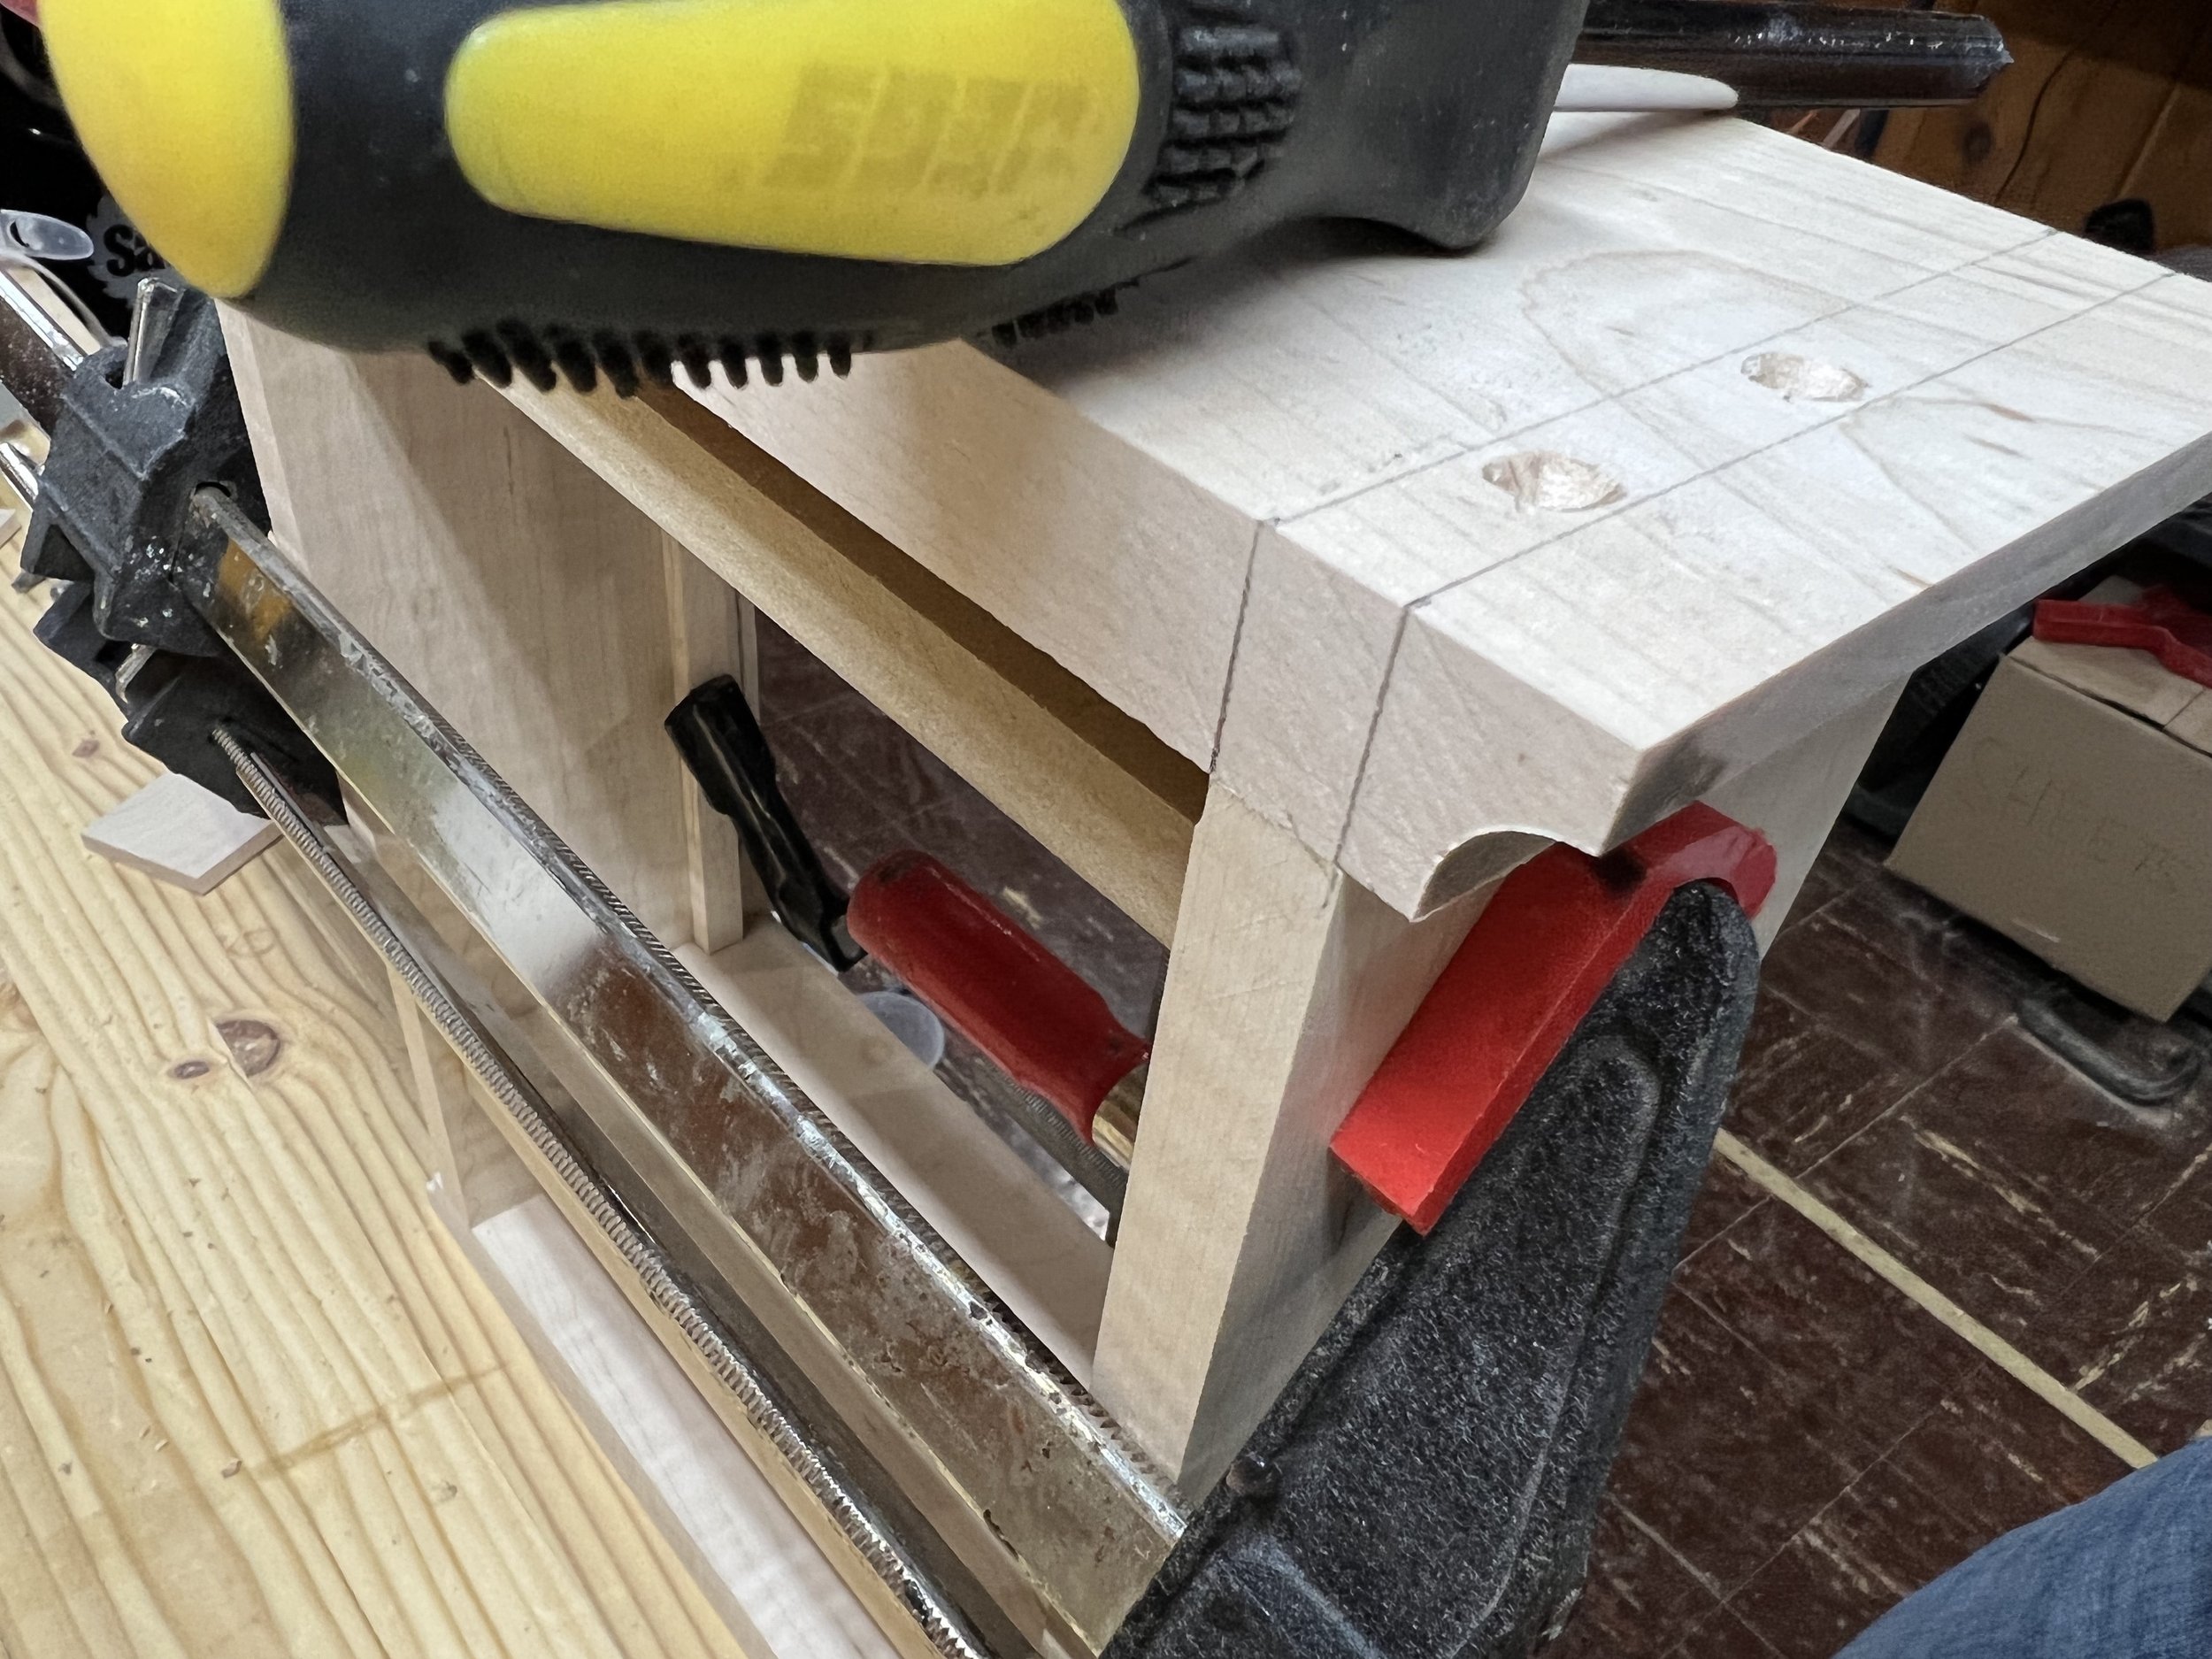
Once I assembled the clock body, I started to create the cove molding pieces. This took me more than one attempt as I had a cheap router bit and wanted the molding to result without router burn or tear-out. I used scrap stock as a backer when routing the molding to minimize risk of tear out, but I still found I needed a few tries to perfect this. I adjusted my router fence, speed, and feed rate in between passes. In addition to taking several small passes, I learned an easy way to remove router burn: rout ~1/32 shy of the desired depth to eliminate burnt wood fibers on the final pass. This proved easier than trying to sand them out afterward which can ruin the cove profile. Once I was happy with the molding, I fastened both pieces to the body by clamping and then screwing them in place. I drew reference lines for where the screws would go, drilled pilot holes with a countersink bit, and finally applied paste wax to the threads to ensure the screws went in extra smoothly without splitting the wood.
Mitered Frame
I redid my first attempt at the mitered frame as there was a slight gap and noticeable glue line in one of the corners of the frame which I wasn’t happy with. Fortunately my second attempt came out nicely and the frame fit snug in the clock body face (I cut the frame slightly oversized - about 1/64” too large on all sides - and sanded it to fit perfectly flush). Before finishing the frame to final dimensions, I added maple splines to reinforce the miters. They aren’t visible in the end result because they do not protrude the clock body like the rest of the mitered frame does.
Finishing
The finishing process for this clock was rather long and meticulous given many pieces needed to be finished individually (drawer, mitered frame, etc.), and finish applied on all sides inside and out, and on the cove routed profile. The aniline dye I used was also water-based, which required extra dry time before applying my oil based top coat. Generally I do not like using wood stains, as even light scuffing in between coats of finish can risk sanding into the stain beneath (I also love and prefer the natural look of wood species in many cases). I especially did not want to risk sanding into the dye here, given it penetrates deep into the wood fibers and removal would prove very difficult without a blotchy result or reapplication. The molding was already fixed in place as well, so reapplication would mean sanding the profile by hand which would’ve ruined its appearance.
I took my time during the finishing process, using 1000 grit sandpaper instead of my usual 400 for the first few coats. I also used Bulls Eye wax-free shellac in between the dye stain and topcoat layers as a barrier. Finally after I had finished all components including the mitered frame, I installed the glass in the frame using maple stops, and glued the frame itself into the clock body. It was ready for the mantel.
